essential sourdough tools
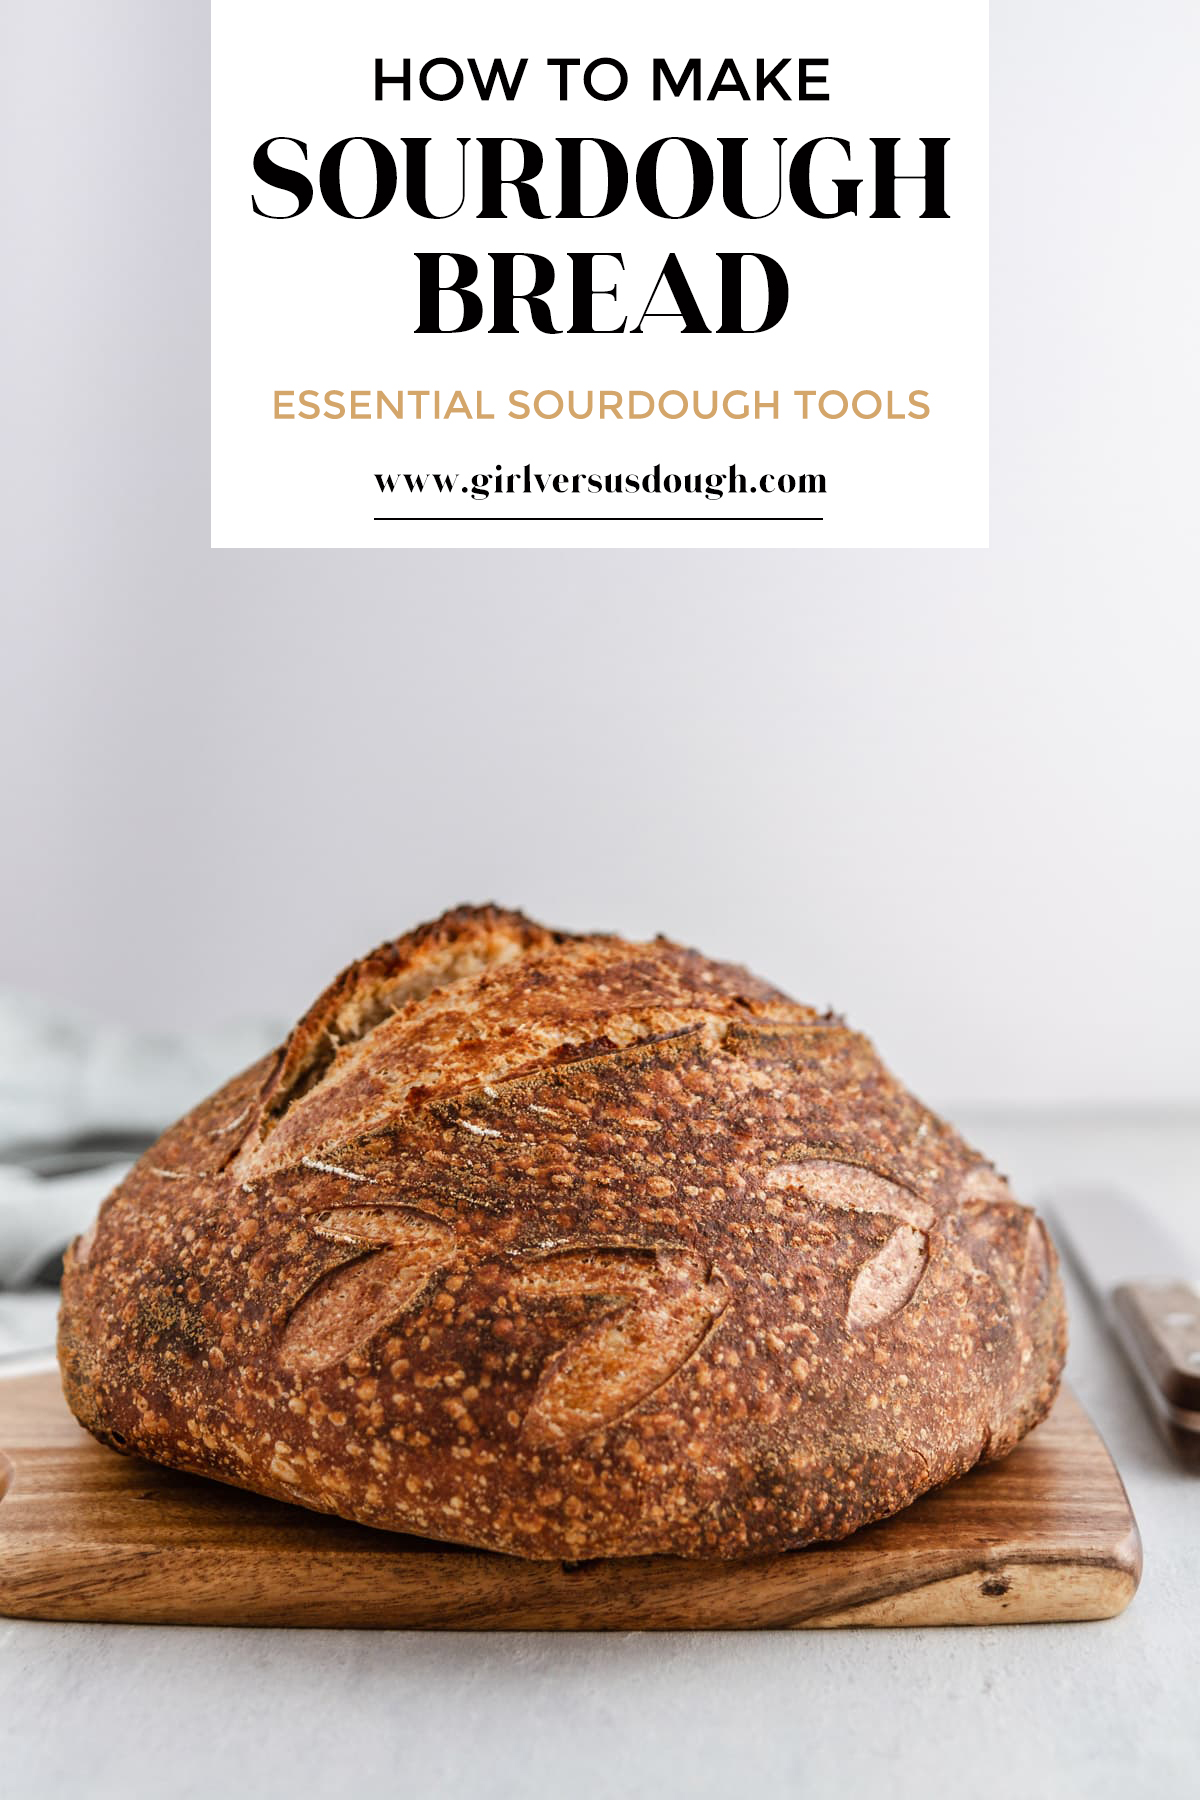
Welcome to the first post of How to Make Sourdough Bread, a two-week series on Girl Versus Dough focusing on all things sourdough bread. Today’s post is about my essential sourdough tools — that is, the tools I regularly use to make the best-ever sourdough loaves in my own kitchen. I firmly believe that with a few simple, easy-to-acquire kitchen tools, you’re already off to a great start to make your own sourdough. Scroll to the bottom of the post for a printable guide to help you check off everything you need to get started!
Happy Monday! Usually I’m very meh about Mondays, but today is super exciting because we are kicking off my How to Make Sourdough Bread series, which I introduced yesterday. Today’s post is all about essential sourdough tools, aka a simple checklist of kitchen utensils that I find necessary or helpful to achieve the best results in sourdough prep and baking. Once you have these tools in your kitchen, you’ll be set for the entire process from start to finish. Ready? I’M READY.
Here is exactly what you’ll need to make sourdough bread, from starter to loaf:

LONG, SKINNY SPATULA
This spatula from GIR is my all-time favorite spatula for mixing my sourdough starter. The long handle makes it easy to reach all the way down to the bottom of the mixing jar, and the silicone gives it the right amount of flexibility to get into all the corners. Its slim profile also helps to reach down into the jar and get a good stir in. It’s not absolutely necessary, but I’ve found it to be the best spatula for mixing my starter.
GLASS JARS
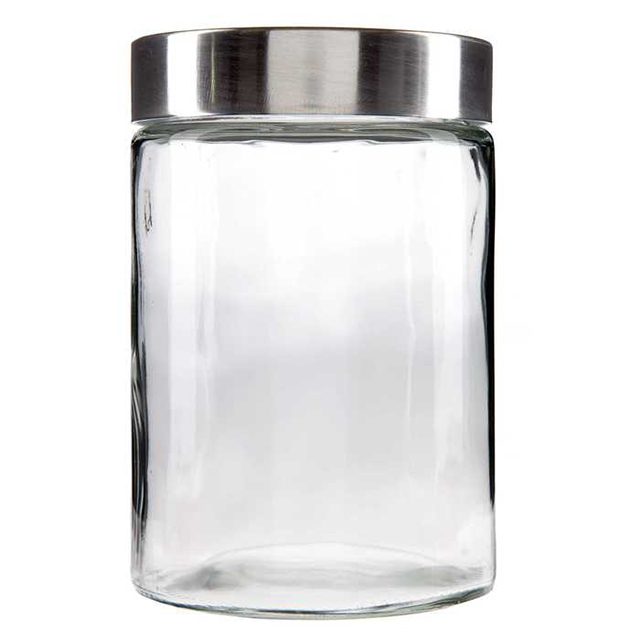
In order to make your sourdough starter, you’ll need at least two glass jars, ideally with straight sides, a flat bottom, a wide mouth and a lid that can rest on top (not airtight). As far as size, something around 26-40 ounces is ideal. The straight sides and flat bottom will allow you to get into every crevice of the starter so no dry flour is left behind; the wide mouth allows for vigorous stirring of the starter; and the lid helps to protect the starter from letting anything fall in or out. I purchased my jars from Hobby Lobby, but I’ve also heard great things about these Weck jars (with the silicone seal removed to allow for some air flow).
KITCHEN SCALE
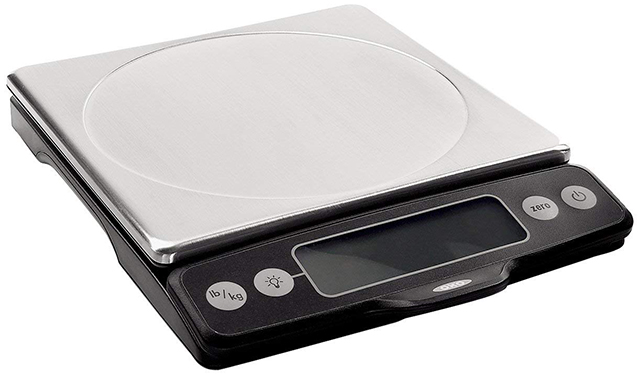
A kitchen scale is absolutely, 100% necessary for making sourdough. In most cases with baking, accurate measurements are key, and in sourdough it’s a non-negotiable. You have to be as precise as possible with all measurements, from starter to loaf. Thankfully, this kitchen scale from OXO (my personal go-to) is affordable and also versatile — you can use it for any baking projects, not just sourdough!
GLASS MIXING BOWLS
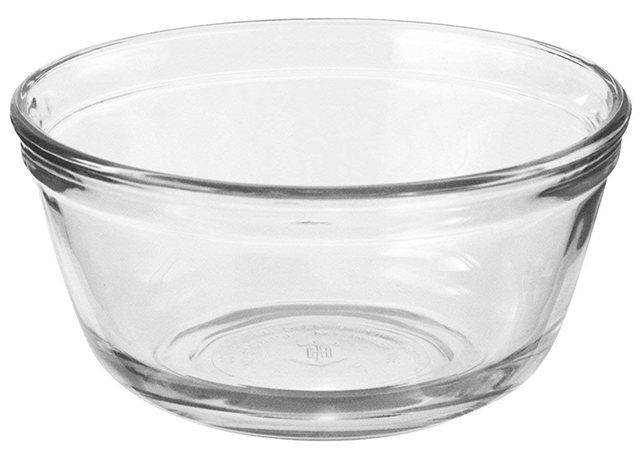
It’s likely you already have some of these in your kitchen, but extra large glass mixing bowls are imperative for making sourdough. I use these for the autolyse and bulk fermentation stages (both of which are part of the actual loaf-making process) when I’m working with a large amount of dough that rises. Sourdough bakers use a lot of different types of containers for these phases, but since I expect most people have bowls already in their kitchen, this is my personal go-to container.
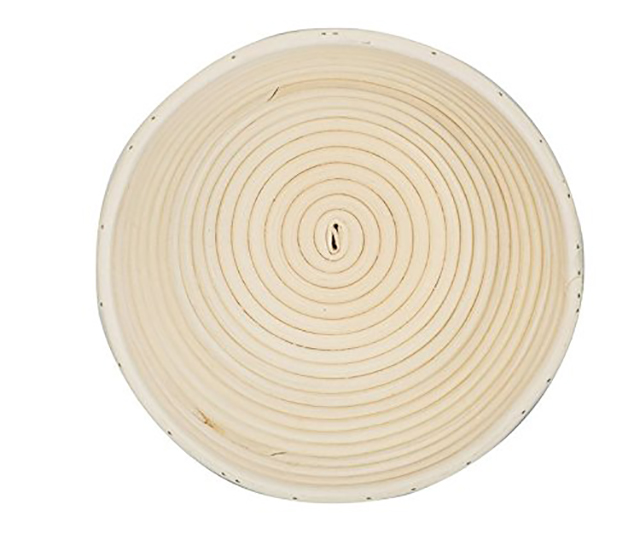
BANNETONS OR LINEN-LINED BOWLS
When it comes to shaping and cold-proofing the loaves (aka, letting them rest and rise in the refrigerator overnight), these banneton baskets are my favorite size and shape. I prefer to bake boule-shaped (round) loaves, and the 8.5-inch diameter gives me just the right size. A banneton also gives your loaf those pretty lines on the surface, which always makes me feel extra fancy. I actually only have one banneton — for my second loaf, I use a regular melamine bowl of the same size, lined with the linen cover that comes with the banneton. So you can buy one or two — up to you!
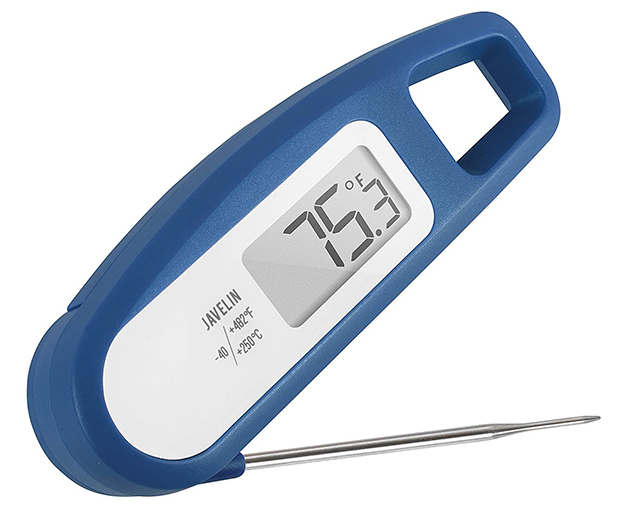
INSTANT-READ THERMOMETER
Like the scale, an instant-read thermometer is also essential to the sourdough baking process. Temperature is treated like an ingredient in sourdough — it’s that important. And when you’re prepping your dough to bake some loaves, you’re going to want to check the temperature of your dough mix and add warm water at a specific temperature to achieve as close to a final dough temperature of 78 degrees F as possible. But I’m getting ahead of myself — we’ll talk about that more next week! For now, just know an instant-read thermometer is needed.
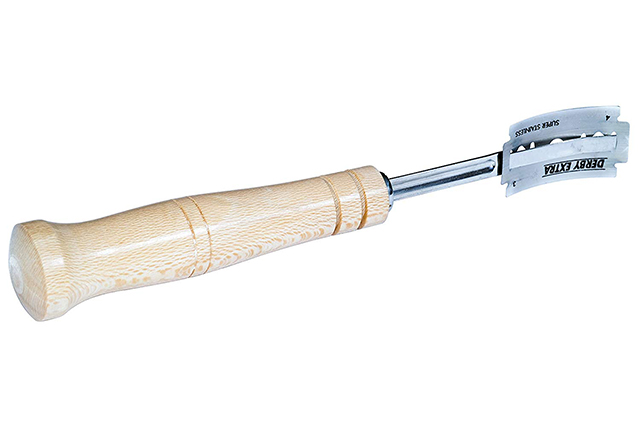
BREAD LAME
Pronounced “lahm,” a bread lame is an important tool to use when scoring the tops of your sourdough loaves just before baking. I like to use this bread lame because the handle is sturdy and gives me a steady hand, but I also know a lot of people like to use this UFO lame to make ridiculously pretty designs in their breads. TBH, I’m not a sourdough artist when it comes to scoring, but maybe when I get a better hang of it I’ll give the UFO lame a try. For now, this one does just fine.
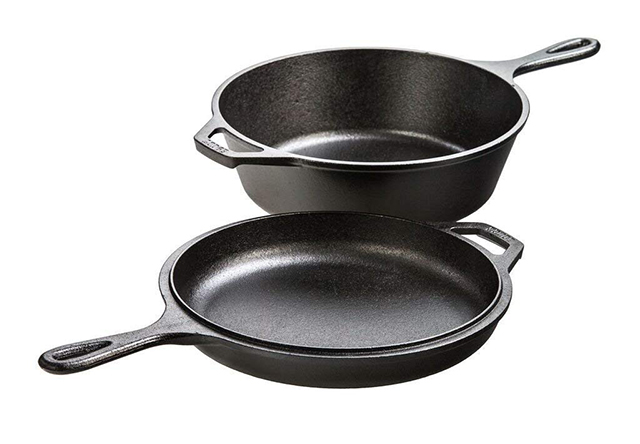
COMBO COOKER OR BREAD PAN
At the suggestion of The Perfect Loaf, I purchased this 3-quart combo cooker on Amazon for baking my sourdough loaves. It creates the perfect enclosed steam chamber for the loaf. You also can use a 3- to 4-quart Dutch oven if you have one. I wouldn’t suggest going with anything larger than 5-quart size — it’s likely to negatively affect the shape of the loaf. So a 3-quart combo cooker or 3- to 4-quart Dutch oven are your best bets. UPDATE: I recently tried the Challenger Breadware Bread Pan for my sourdough baking and am officially a convert. It has baked my best loaves so far, and you can use it to make oval-shaped loaves and other breads, too. If you’re willing to make the investment, I highly recommend this bread pan!
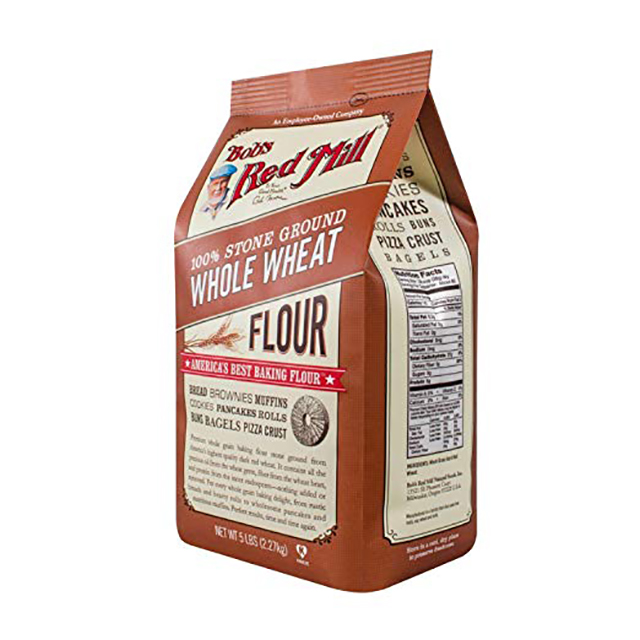
FLOURS AND DISTILLED WATER
When it comes to the main ingredients, I consider these essential sourdough tools, too. Flour and water are the base for sourdough, and they’re incredibly important. I recommend using high-quality and/or organic flours when possible. For my sourdough baking process, here are all the flours you’ll need:
1. Unbleached all-purpose flour
2. Whole wheat flour
3. Bread flour
4. White rice flour (for dusting the banneton(s)/linen-lined bowls)
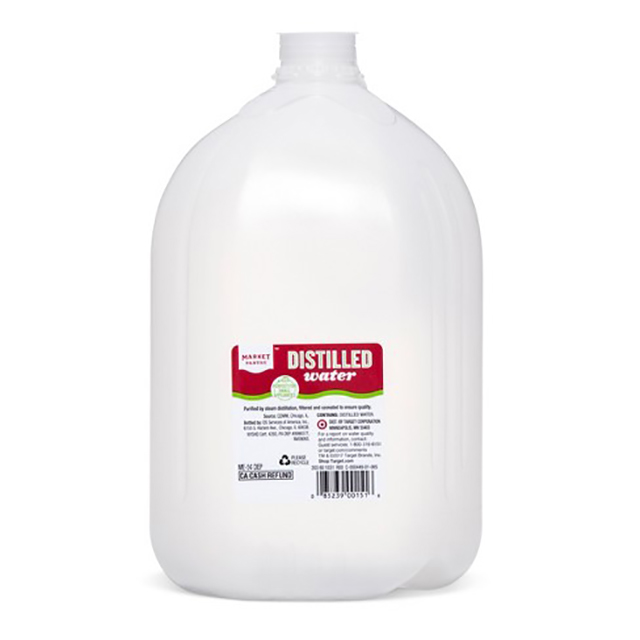
As for water, I exclusively use distilled water for my sourdough starter/loaves to avoid any potential complications from tap water. You can use filtered water, too. Basically, I just recommend you don’t use tap water. I buy my distilled water from Target.
A FEW MORE TOOLS TO HAVE ON HAND
A few more tools you’ll use during the sourdough process that you should be sure to have on hand: A cutting board, parchment paper and a large spatula for mixing. For maintaining temperatures of the starter and sourdough, some people recommend a proofing box like this one from Brod & Taylor. I might invest in one of these someday, but for now, I use my oven with the light on as my “warm place” to let the starter grow and the sourdough dough mix proof.
As promised, below is the printable checklist to help you gather all the materials you need to get started on your sourdough journey! Just click the link, download the file, print it and follow the (super simple) instructions. Easy peasy.
DOWNLOAD THE ESSENTIAL SOURDOUGH TOOLS CHECKLIST HERE
On Thursday, I’ll share how to make a sourdough starter from scratch in seven days (!), so if you order your tools from Amazon Prime today, they should be here by then (thank the heavens for Amazon Prime, amiright).
Of course, if you have any questions at all, please reach out to me in the comments, via e-mail or on Instagram or Facebook. And don’t forget to tag #GVDsourdough on any posts you share as you follow along with me! I will be such a proud sourdough mama.
See you Thursday, frands!
KEEP GOING! Head to my next post in the series: How Make a Sourdough Starter in Seven Days.

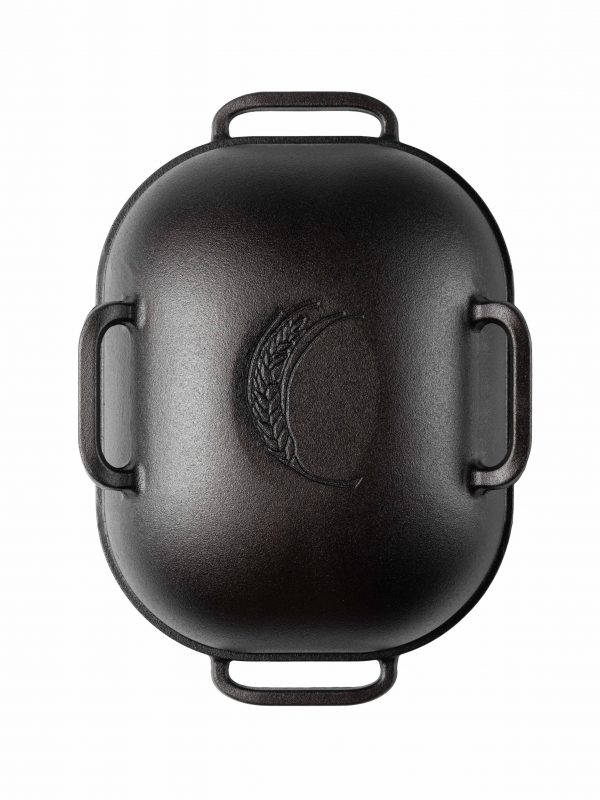
Question: I have a small 2 quart Dutch overnight and shallow (2-inch deep) cast iron skillet. Should I buy a dome top for the skillet or use the Dutch oven. I would like to avoid buying another kitchen item for my tiny nyc apartment ?
Thanks!
Dutch oven*
Darian, Great question! You can probably go ahead and use the Dutch oven and its cover without a problem. Or, if you have an oven-safe pot that you can use as a domed cover for the cast-iron skillet, that could work. You’re essentially trying to keep the loaf completely covered while baking for a while to let it rise and bake through without browning too much on the outside, so whatever gets the job done works! Hope that helps. 🙂
Just a couple of comments on your list, or personal preference observations. anyway.
1. I use a 1 quart snap lid plastic container for starter, i dont like glass jars much because I drop things .
2. I keep a package of single edge razer blades for scoring. I’ve used lame but dont like the loose razer blade in a drawer, left over from kids at home days.
3. A lodge dutch oven from Amazon works great also
4. large plastic bowls for autolyze and overnight starter prep
5 KAF white whole wheat flour and Honeyville Alta Artisan flour are a nice combination. the Alta Artisan is lower protein then so many flours and makes a really nice loaf
6. Kitchen scale is essential
Stephanie, thank you for your very detailed instructions. I have a question about the jars. I have a few 1-quart Ball (canning) jars. Are they suitable for the starter? I’m assuming they should be very clean — I’m thinking hot-rinse in the dishwasher and completely dry on heat setting. I think my jars have the lids, but if they don’t would it work to put a piece of aluminum foil over the top of the jar?
Jen, Yes a 1 quart canning jar will work just fine! And if you don’t have the lids, foil works, too. As long as the starter has some breathing room (meaning, put the foil on top loosely) you should be OK!