homemade goldfish crackers
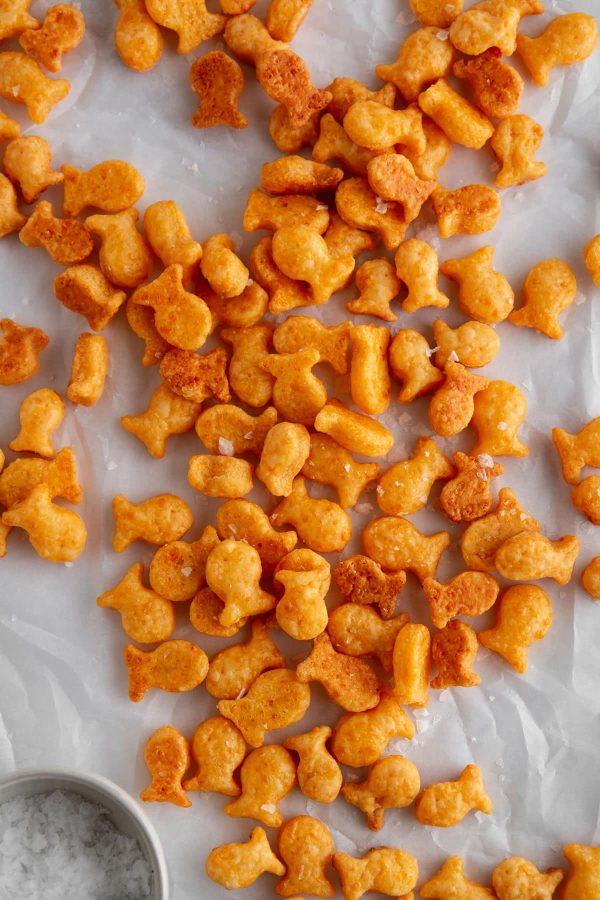
Ever get a snack attack but want something more than the typical fare? These homemade goldfish crackers will fit the bill. Exceedingly flaky, flavorful and heckin’ cheesy, once you give this elevated version of the snack favorite a try, you might not want to ever by the bag from the store again. You’ve been warned!
Welcome to The Snack Series!
Hello and happy 2023! My, what a year 2022 has been. I am not one for resolutions, but I can’t help but reflect on the past year around this time and all that has happened/all that has been learned/all that is worth celebrating and all that worth letting go of. I hope that you can look back on 2022 with some level of fondness, and if not, that 2023 is your redeeming year. I feel like it’s gonna be a good one.
That said, I’m kicking off the new year with a fun new series on the blog called The Snack Series! Every week this month (January), I’ll share a new recipe for a homemade version of a classic snack. I was inspired to do this series by the Snack Vs. Chef show on Netflix, which I watched with my family all last month. We had so much fun watching it together and it made me want to make all the snacks! So, here we are.
All the snacks in this series will be considered an “elevated” version of the original, so don’t expect complete dupes. Instead, this is what you’d want the food to be if you were eating it at, say, a restaurant or a bakery. We’re going for gourmet, while still keeping it fun and unfussy, per us.
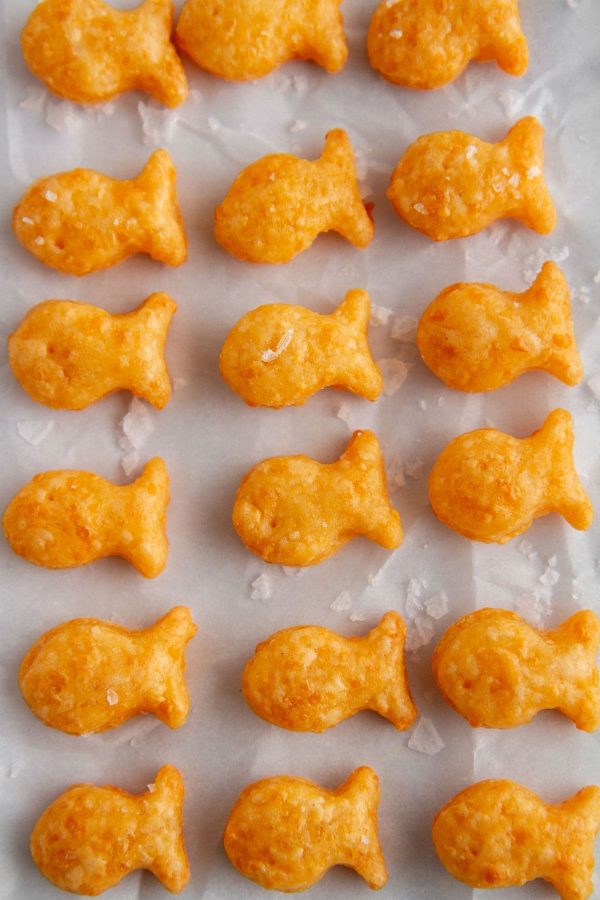
Homemade Goldfish Crackers Recipe
I’m kicking off The Snack Series today with homemade goldfish crackers, aka the fancy cousin to the bag-at-the-store version. These goldfish are incredibly delicious — so delicious, in fact, that we scarfed up a whole 14 dozen of them in one day. That’s gotta be some kind of record. Here’s what you can expect from this recipe:
- Flaky, buttery crackers made from scratch
- Ultra-cheesy flavor in every bite
- A fancy-yet-unfussy version of your favorite savory snack
- A new addition to lunch boxes, snack packs, cheese boards, etc.
Ingredients for Homemade Goldfish Crackers
The ingredient list for these lil’ fishes that are so delicious is really simple and straightforward, as we want just a few flavors to really shine. Here’s what you’ll need:
- Sharp cheddar cheese (HIGHLY recommend buying a block and shredding it yourself; see my Notes in the recipe below)
- Unsalted butter, cold, cut into cubes
- All-purpose flour
- Salt, garlic powder and onion powder, for flavor
- Cold water, to bind the ingredients
- Flaky sea salt, to finish (optional, but I love the added salty crunch it provides!)
How to Make Homemade Goldfish Crackers
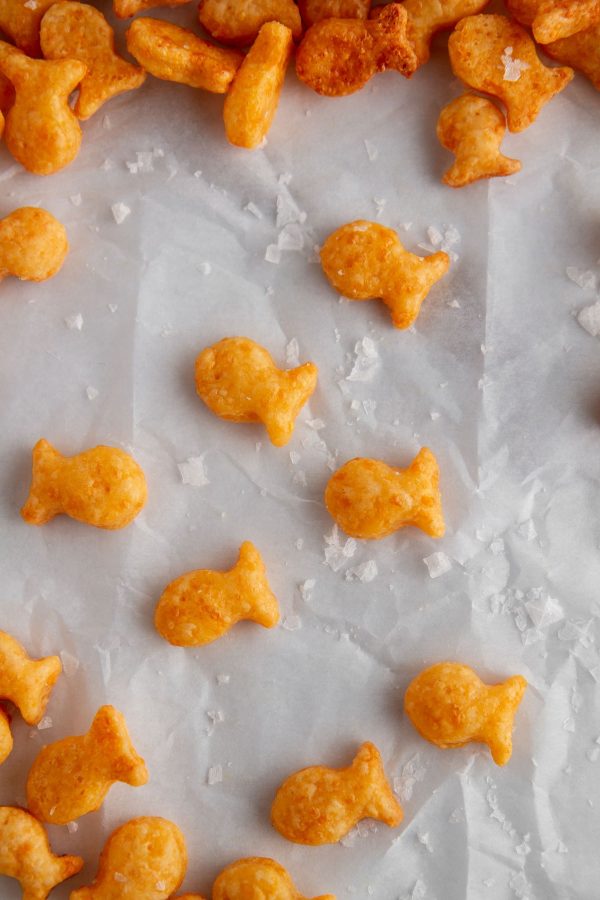
If you’ve never made homemade crackers before, it will blow your mind how easy it is to do. You’re basically making a flaky pastry dough, cutting it into shapes and baking. As always, please scroll to the bottom of the post for the FULL recipe, but here’s the basic rundown:
- Step One: Pulse the dry ingredients. In the bowl of a food processor, pulse together cheese, butter, flour, salt, garlic powder and onion powder.
- Step Two: Form the dough. Pulse in cold water just until a dough comes together, then wrap the dough in plastic wrap and chill in the fridge.
- Step Three: Shape and bake. Roll out the chilled dough on a lightly floured surface. Use a goldfish cookie cutter or other small cookie cutter to cut out shapes from the dough. Place the crackers on a parchment paper-lined baking sheet and bake until puffed and golden.
Can I Make These Ahead of Time?
Yes! You can make the dough and refrigerate it up to 24 hours before you plan to bake it. I have a hunch you can also freeze the dough (and let it thaw in the fridge overnight before using), but I have not tested this, so I can’t say with 100% confidence that it works. If you try it, let me know the results!
Can I Use a Different Kind of Cheese?
Yes, you can. I would recommend using another kind of semi-hard cheese, such as white cheddar, mild cheddar, Gouda or Havarti, or a combination of cheeses.
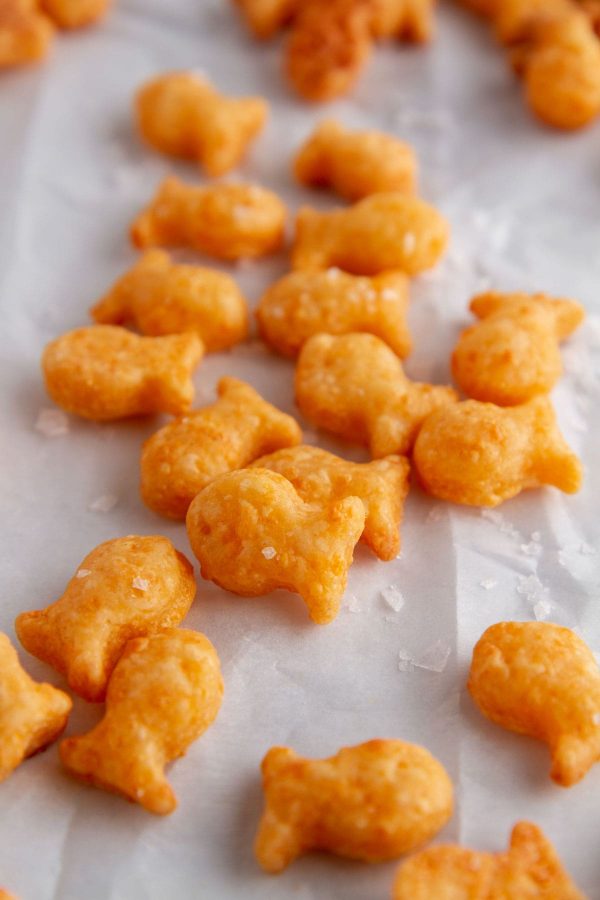
More Snack Recipes!
- 5 Ingredient Cheese Straws
- Homemade Fruit and Nut Crisps
- Apple Peanut Butter Granola Bars
- Slow Cooker Mexican Grilled Corn Dip
- Moroccan Spiced Nuts
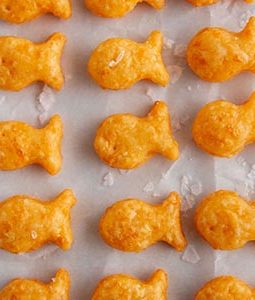
Homemade Goldfish Crackers
- Prep Time: 30 minutes
- Cook Time: 15 minutes
- Total Time: 45 minutes
- Yield: 14 dozen crackers 1x
- Category: Snack
- Method: Bake
- Cuisine: American
Description
Flaky, cheesy, homemade Goldfish crackers taste like your favorite snack elevated to the next level of yum. So easy and so fun to make!
Ingredients
- 1 block (8 oz) sharp cheddar cheese, shredded*
- 1/4 cup (4 tablespoons) cold unsalted butter, cut into 1/2-inch cubes
- 1 cup all-purpose flour
- 3/4 teaspoon salt
- 1/4 teaspoon garlic powder
- 1/4 teaspoon onion powder
- 2 tablespoons cold water
- Flaky sea salt, for topping (optional)
Instructions
- Preheat your oven to 350°F. Line a baking sheet with parchment paper; set aside.
- In the bowl of a food processor, pulse together cheese, butter, flour, salt, garlic powder and onion powder until mixture resembles coarse sand. Drizzle in water while pulsing the food processor just until a dough comes together.
- Remove dough from food processor; press and roll into a disk shape, then cover tightly with plastic wrap. Chill dough for at least 20 minutes (up to 1 day).
- On a lightly floured surface, roll out dough to 1/4-inch thickness. Using a goldfish cracker cookie cutter or other small cookie cutter, cut dough into shapes. Poke each cracker once with a toothpick to form the “eye” and also keep crackers from puffing too much in the oven. Reroll scraps once, if needed, to make more crackers.
- Place crackers at least 1/2-inch apart on prepared baking sheet (you may need to bake in batches). Sprinkle with flaky sea salt, if desired. Bake for 11 to 13 minutes or until crackers are puffed and golden. Cool completely on baking sheet.
- Store fully cooled leftover crackers in an airtight container at room temperature for up to 1 week.
Notes
- *I highly recommend using a block of cheese and shredding it yourself rather than using the pre-shredded variety, which has extra anti-caking agents mixed in (thereby making your crackers a little gummy).

Can’t wait to make these. So excited about what’s to come with the snack series
Laura, I hope you love them! I’m excited to share. 🙂
Just made these for my son and he absolutely loves them. They are light , crispy and packed with flavor. I will definitely be making these again!
Hi Sabrina, Thank you so much for the thoughtful comment and review! I’m so glad you and your family love them as much as we do. 🙂
Even better than goldfish, whales, penguins, cheeze its you name it. This recipe beats them all! Thank you for sharing!
Hi Alexis, Thank you so much!
What did I do wrong, they taste kind of bitter…help! Lol
Hi Suzie, Oh no! I’m not sure what went wrong! Did you use all of the ingredients as listed?
Do you think a flour alternative like almond flour with egg, or something else would work? These would be even cooler if I could pack in extra protein or nutrients!
Sierra, I haven’t tested this recipe any other way than it is written, but an alternative flour is definitely worth a try! The added egg might make them too moist, but it could work.
Has anyone tried these dairy free? We have a dairy free toddler in the house – thanks in advance for answering
Hi Mary, I have not tried them dairy free but I think they would work? If you give it a try, please let me know!
I’ve tried a few recipes and these are simply the BEST. I make them for my son every weekend and they last us the week – he loves them and I feel good about giving him a healthy goldfish cracker! Thank you for sharing such a great recipe!!
Hi Michelle, Thank you so much! I’m so glad you love them as much as we do!
These were absolutely tasty and easy to make! A perfect snack to eat between meals. I’m gonna make a second batch and share them at work. I’m sure everyone will love them. Thanks for the recipe.
I’m so glad to hear it, thank you!!
My first batch was not like bread. Second was a bit mor crunchy but still not like a cracker. Am I not cooking it long enough or do they need to be thinner?
My first batch was more like bread. Second was better but not cracker consistency. Do I need to cook longer or make them thinner? I’m going to keep trying until I get them right!
Hi Jess, It sounds like you might need to roll them out thinner. That said, they will not bake up to be just as dry/cracker-like as the store-bought variety. They’ll always be a bit softer, but they should still have somewhat of a crunch. Hope that helps!
Solid recipe as is. Some other methods I’ve used stemming from this as a base: Recommend using 375 degree oven for ~12-13 minutes – I also use a baking stone. If you want them more crunchy, after those 12-13 minutes, turn off the oven and prop the door open for another ~10-15min. You can get a bit of lift using 1/2tsp of baking powder (would roll to 1/8in if using) to get a more oyster cracker type consistency. Add some cayenne (1/4 – 1/2tsp) and drop the garlic/onion for a more classic cheese straw taste.
Hey there! Came across you blog can you do this with silicone molds? Have you tried it?
Mine puffed up a lot! Should the “eye” hole poke all the way through? The flavor is great, and my toddler still loved them. We’ll absolutely make again.
I made these and they are delicious! I added in Cayenne, Tumeric, Paprika just for added spice. I used a small cookie buyer bc I don’t have a goldfish. These taste so much better than goldfish and are real food. Thank you for this recipe!
Haha “real food”. Totally with you there, Kristen! Thanks for commenting!
So very impressed with these results! I definitely prefer this than goldfish. My boyfriend says they taste like Better Cheddars (haven’t had them so I dunno). I don’t have a food processor so I just used my hands with an extra splash of water. Thank you so much for this beautiful recipe!!! : )
That makes me so happy to hear, Emma! I have had Better Cheddars and they are delish! A total compliment. Also great to know it can be made by hand! ~Lindsey
I keep seeing recipes for this all around. I think it it’s a sign I need to make these.
It is definitely a sign!!