brioche buns
These Brioche Buns are soft, buttery buns that are easy to make! Try them for hamburgers, bbq chicken sandwiches, or as an instant upgrade to any sandwich! You can also make them into dinner rolls!
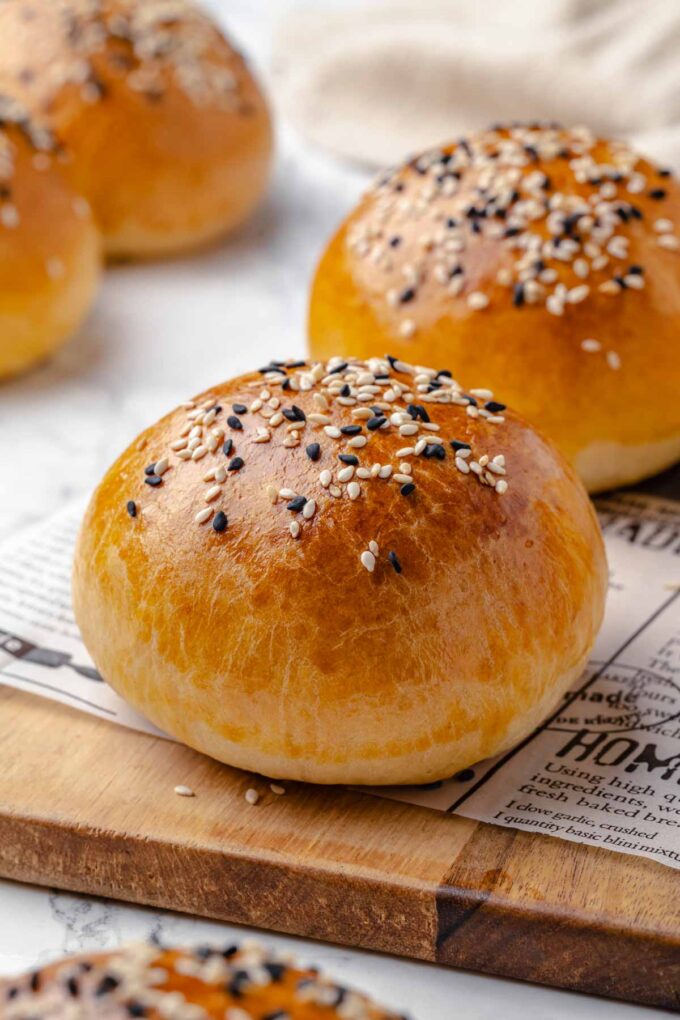
Table of contents
Why You Will Love this Brioche Bun Recipe
- Developed by a professional chef. They taste like they came out of a restaurant kitchen, because they did! Tested and perfected by a pastry chef.
- Soft, tender and just buttery enough. The flavor is unparalleled! Just the right amount of butter and a hint of sweetness. For a more decadent brioche recipe try this brioche bread recipe or this sweet Hawaiian bread.
- A flavor that accentuates, not overpowers. This bun has a subtle sweetness and buttery flavor that balances a rich burger, stands up to bbq chicken, and is light enough to compliment lobster rolls or egg salad.
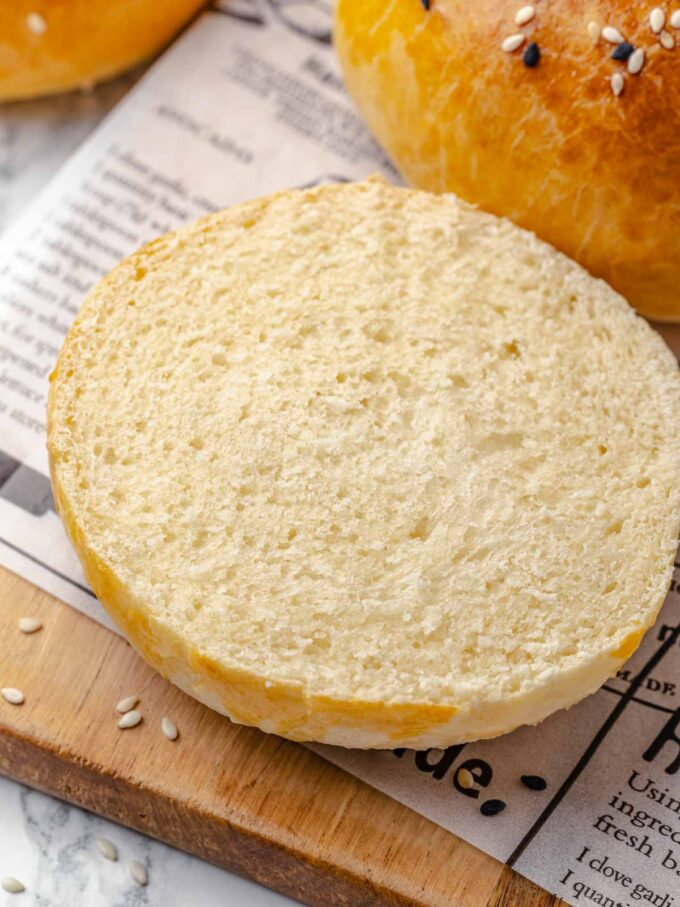
Professional Tips for Making Brioche Burger Buns
- Don’t skip either proofing. It is tempting to skip the bulk proof (the first proofing), but resist the urge because that time is essential for developing the flavor and structure of the dough. You can make these 40 Minute Burger Buns if you are in a time crunch.
- Measure by weight to easily scale this recipe up or down. You can make as large a batch as your mixer can hold with confidence. You can also divide the recipe in half to only make 4 burger buns or 18 sliders. I have made 40 quarts of this recipe in a commercial kitchen, so use a kitchen scale and bake with confidence.
- Different sizes or shapes for different purposes. Use this same dough to make excellent slider buns, dinner rolls, or hamburger buns!
Ingredients Needed
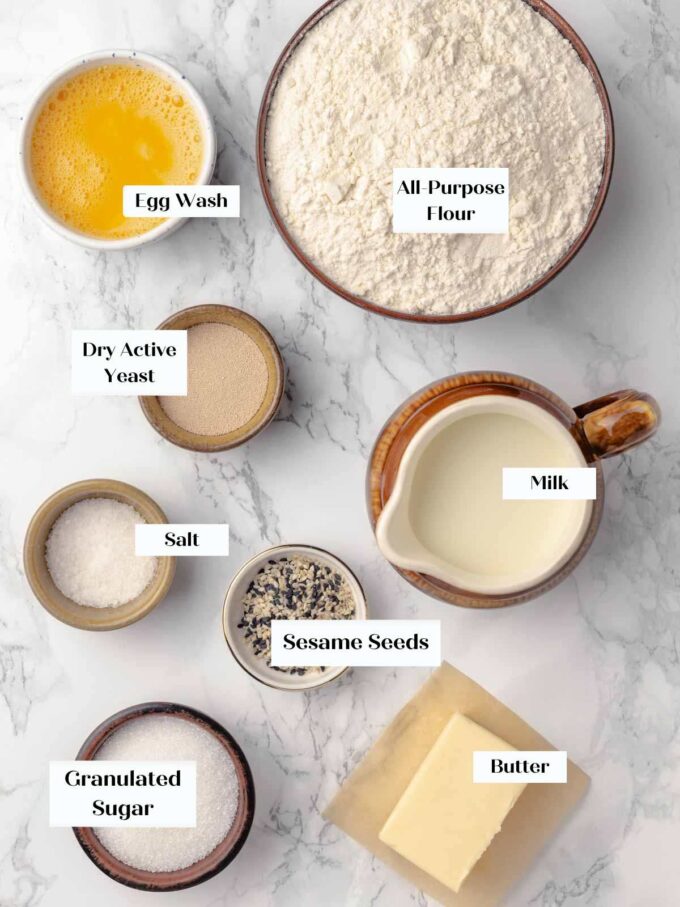
- Dry Active Yeast: I use dry active yeast because it is more consistent than instant yeast. The additional proofing time ensures the best flavor and gives the gluten network enough time to strengthen.
- Granulated Sugar
- All-Purpose Flour: I use all-purpose flour because it has just enough gluten to provide a strong network but not enough to make the bread too chewy or tough. Bread flour will also work in this recipe but the texture will be a little less light.
- Unsalted Butter: Butter is what makes it a brioche, if you would rather not use it but still want soft buns, try these soft hamburger buns instead! They are also made in 40 minutes!
- Kosher Salt: There is a significant amount of salt in this recipe. Be sure you are using kosher salt, which is less salty per teaspoon than table salt or sea salt because the granules are larger. The salt is essential for flavor and texture.
- Whole Egg: Brushing the tops of the buns with beaten egg will give it that classic burger bun shine. You can also brush them with butter before baking but the resulting buns will be more matte.
- Sesame Seeds
See the recipe card for full information on ingredients and quantities.
How to Make Brioche Buns
Use these instructions to make the perfect buns every time! Further details and measurements can be found in the recipe card below.
Make & Shape the Brioche Dough:
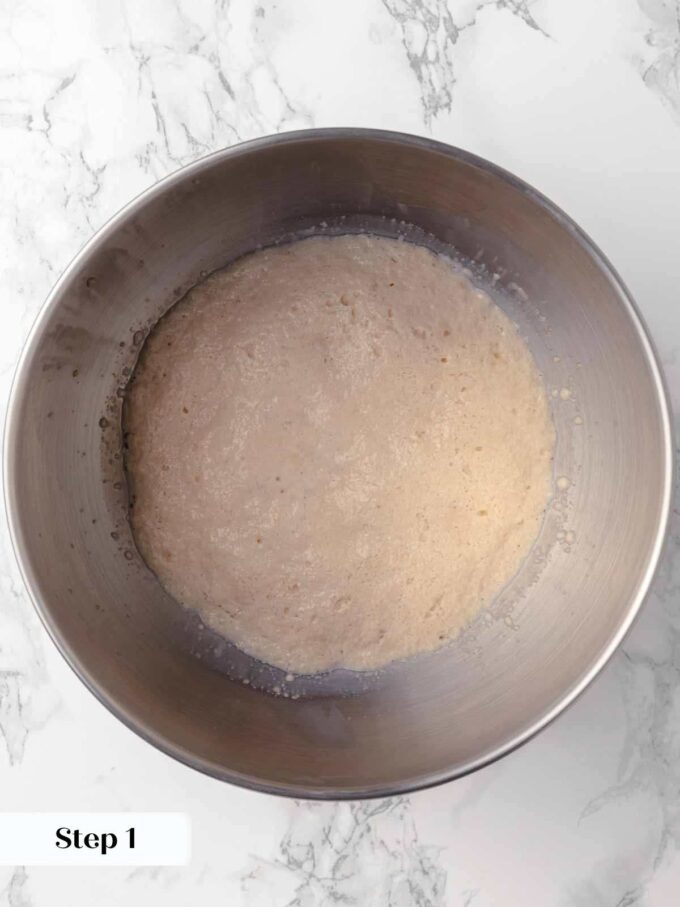
Step 1: In the bowl of a stand mixer whisk together active dry yeast, warm milk (warmed to between 100 – 110°F) and sugar. Allow to sit, undisturbed, for about 10 minutes until bubbly.
Step 2: To the yeast mixture in the mixer bowl add flour, butter and salt. Mix with paddle attachment to combine then switch to the dough hook attachment and knead on medium to develop gluten. Mix until smooth dough forms. It will pull away from the sides of the bowl and the surface will be smooth and slightly glossy.
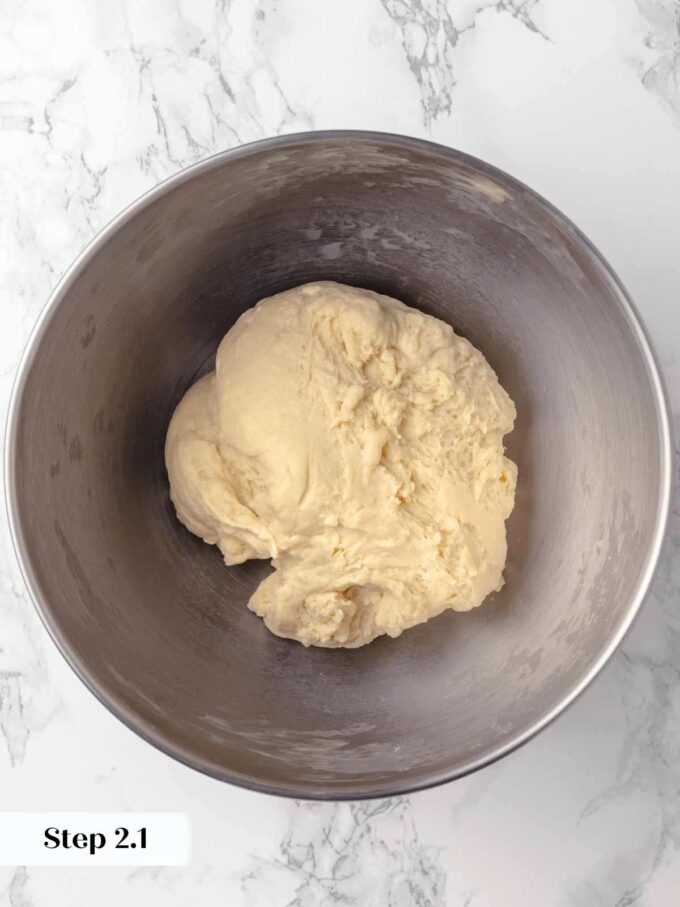
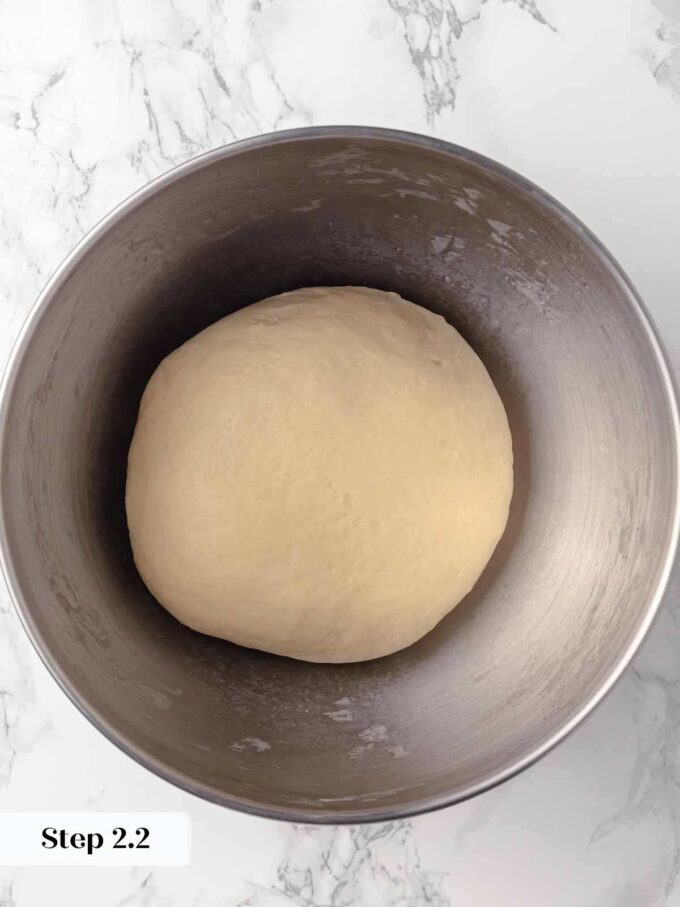
Consistency is key. An inexpensive kitchen scale will not only ensure you have the right amount of ingredients in the dough but also that each bun is the same size. Consistently sized buns will proof and bake at the same time.
Step 3: Place in large bowl coated with cooking spray or lightly oiled. Cover the bowl with plastic wrap and proof in a warm spot until double in size. This will take approximately 1 – 1.5 hours.
Step 4: For burger buns divide into 110 – 115 g pieces, or just eye-ball eight pieces. Slider buns or rolls should be between 45-50g and hotdog buns should be between 75-85g. This recipe will yield 8 hamburger buns, 36 slider buns or 22 hotdog buns.
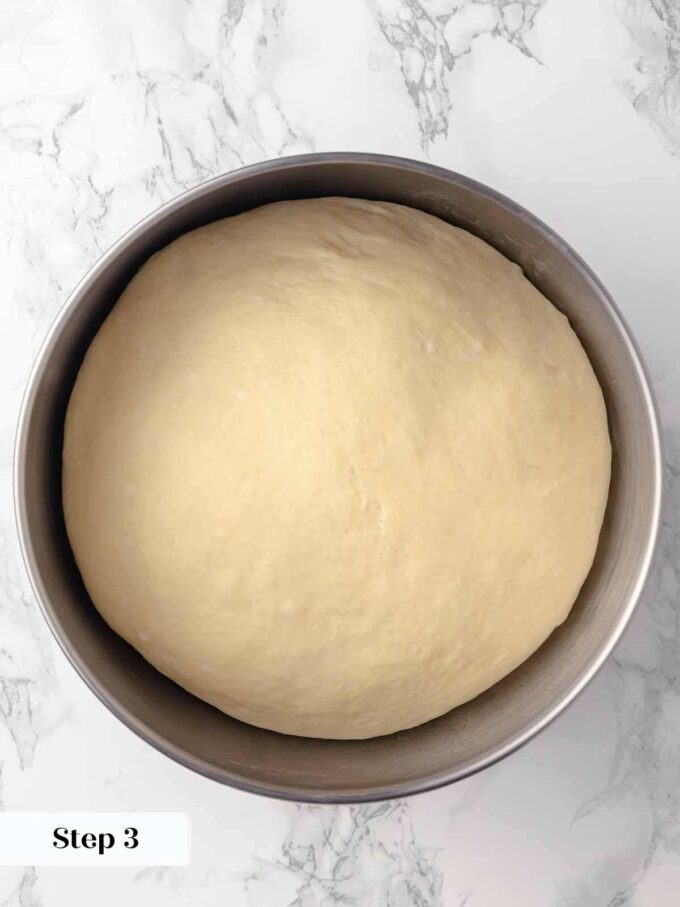
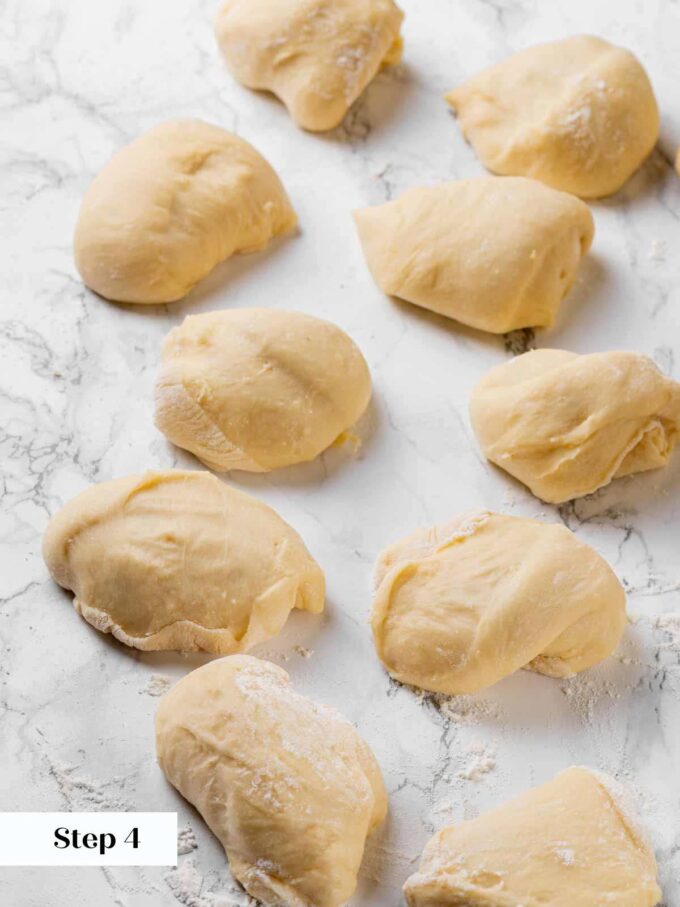
Step 5: Shape the dough: Take each piece and fold the four corners into the center. Flip it over (seam side down) onto an un-floured surface. Let the natural stickiness work with you here. Roll in the palm of your hand without letting the dough roll around, tighten it into a ball. Use your thumb to press the dough under itself and then pull back towards you with your other fingers. Tightening until the surface is smooth and the ball stands up tall and proud on the counter.
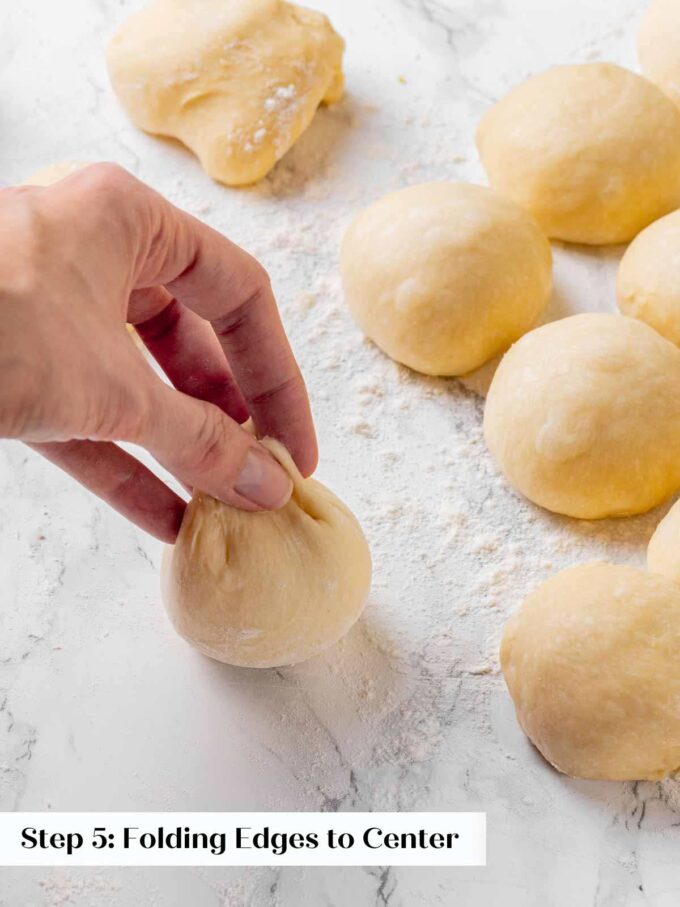
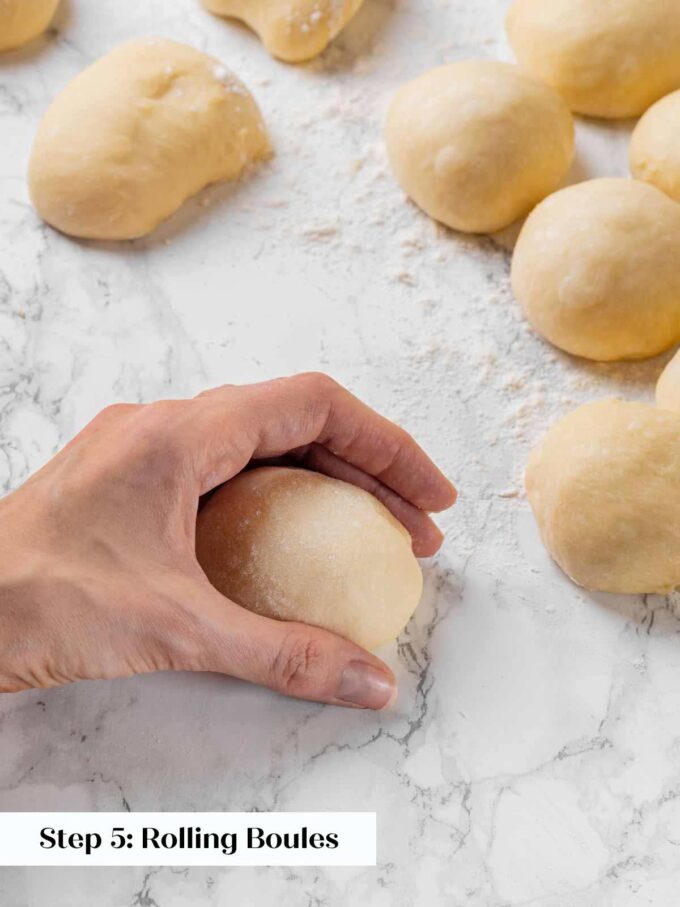
If the surface begins to crack during shaping, then they are too tight! Continuing to shape will only make the gluten contract more. Just shape the next one less! The ideal amount of shaping makes a dough ball that sits up tall on the counter and has a smooth top surface.
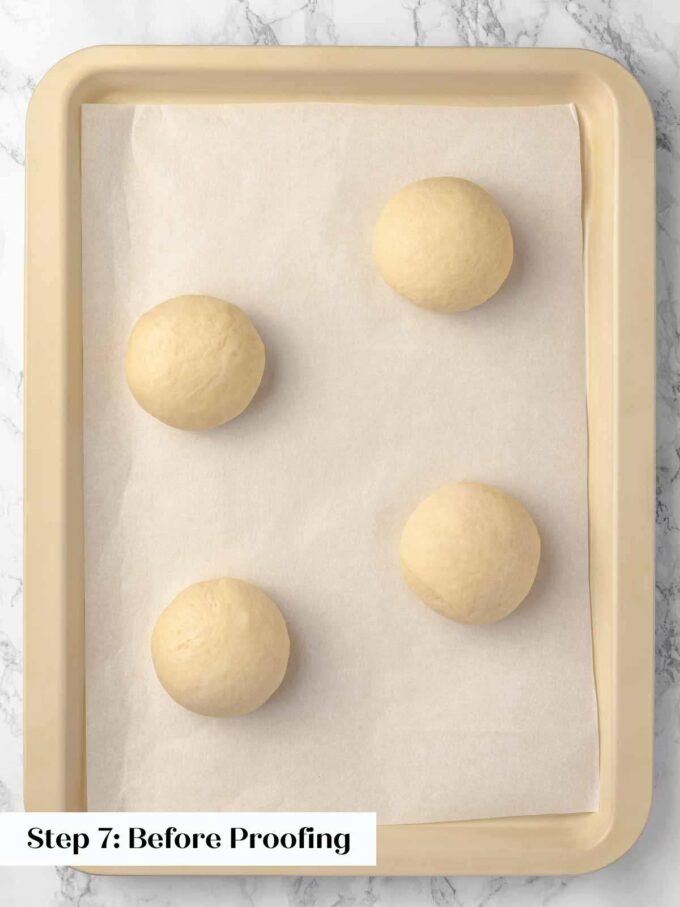
Step 6: Place on parchment paper lined baking sheet about 3 inches apart. Spray the surface of plastic wrap with non-stick cooking spray and cover the dough directly on the surface.
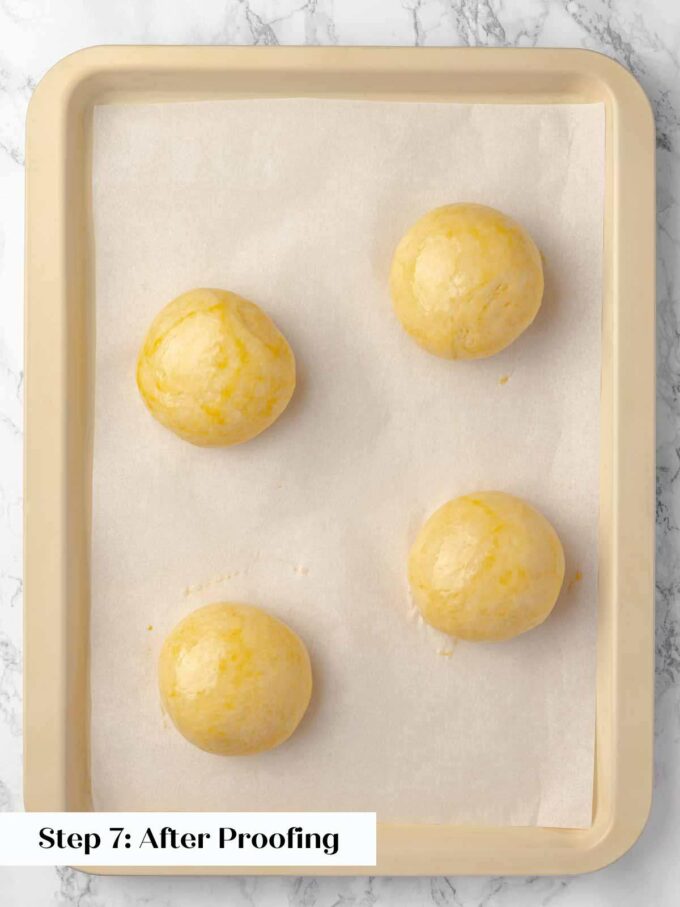
Step 7: Final Proofing. Let the dough rise in a warm spot until they feel light and airy when gently squeezed. They will be a bit more than doubled, approximately 30-45 minutes depending on the heat of your kitchen.
Using plastic wrap or a reusable option will lock in the moisture during the proofing process. This keeps the top of the dough from drying out. If you must use a towel, dampen it.
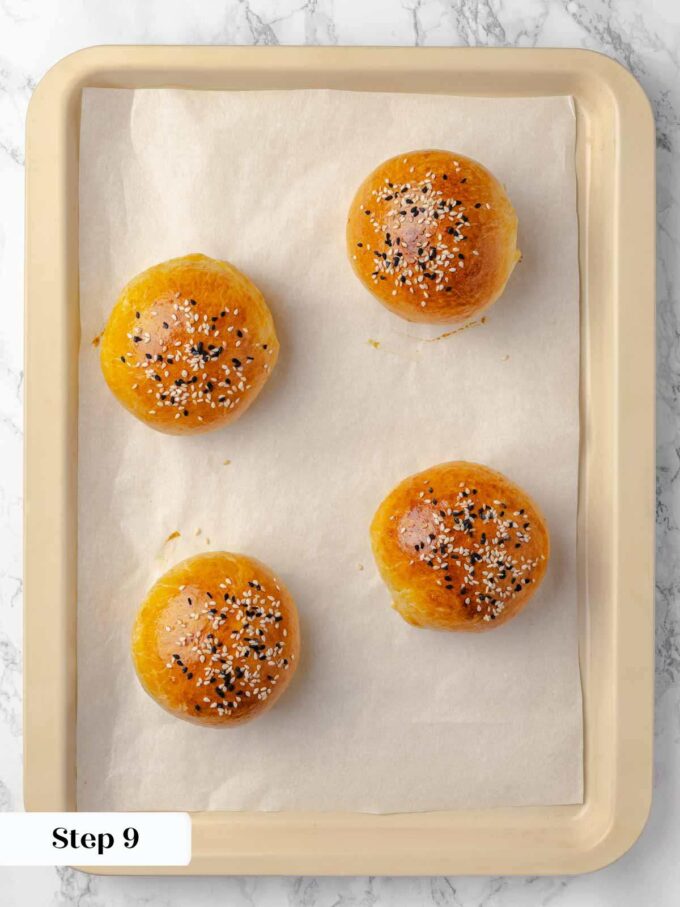
Step 8: Pre-heat the oven to 350°F convection (with the fan) or 375°F conventional (no fan) while the buns proof. Brush the tops with beaten egg or melted butter. Sprinkle with sesame seeds (optional)
Step 9: Bake in preheated oven until golden brown, approximately 12-15 minutes.
How to use Brioche Buns
The options are almost endless for this versatile brioche bun recipe!
- The perfect complement to burgers. They are phenomenal on these bbq veggie burgers, blue cheese turkey burgers or with a decadent cheese stuffed juicy lucy burger!
- Make them into dinner rolls: This same recipe will make 36 slider buns or rolls. They are a great alternative to parker house rolls or to pile with your favorite toppings for sliders. You could even use them on these Southern style chicken sandwiches.
- Make the best hot dog buns! These rolls shaped into a hot dog bun are fabulous for your favorite Frank or as a decadent lobster roll.
- Make any sandwich better: The easiest way to turn a good sandwich into an excellent sandwich is to upgrade your bread! Try it on this turkey bacon bravo sandwich, a spicy thai veggie sandwich, sloppy joes or to soak up all the lemon caper sauce on this catfish sandwich.
Tips for Storing Brioche Buns
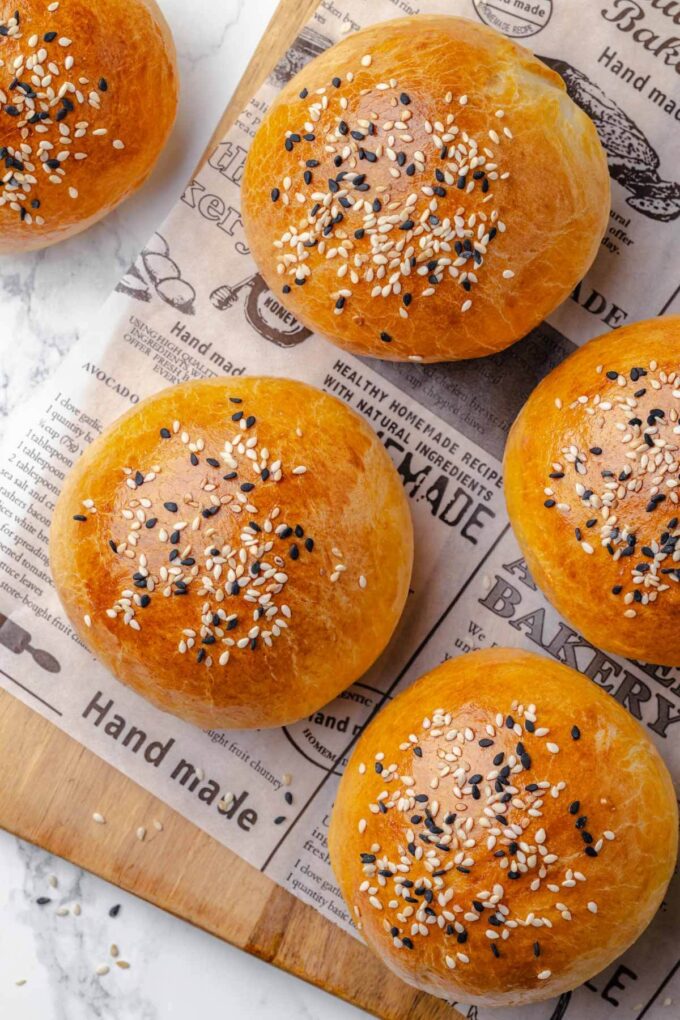
- Store, well-wrapped, at room temperature for up to 2 days. They will keep up to 5 days at room temperature but I find the texture best when consumed during 2 days. You can store them in the refrigerator for a week but it will dry them out faster and could impact the flavor.
- Longer storage in the freezer: To keep fresh longer than 2 days, store in an air-tight bag or well-wrapped in the freezer for up to 2 months. Thaw them unwrapped at room temperature.
Frequently Asked Questions
Brioche is a bread enriched with milk, sugar, butter and sometimes eggs. A normal bun is typically less enriched meaning it has less butter, milk and sugar.
Brioche buns are better than regular buns but they are extra soft and tender from the added enrichment. Their buttery flavor enhances any burger or sandwich. They are also absorbent but don’t get soggy too easily, which makes them perfect for soaking up those burger juices!
You can’t go wrong with a simple brush of beaten egg for a shiny finish or a brush of melted butter after baking, but why not give a little sprinkle of flavor and color on top! Try a mix of seeds like I did on these seeded hamburger buns, poppy seeds, sesame seeds or even everything bagel topping!
Brioche Buns
- Prep Time: 30 minutes
- Proofing Time: 2 hours
- Cook Time: 12 minutes
- Total Time: 2 hours 45 minutes
- Yield: 8 1x
- Category: Bread
- Cuisine: American
Description
These Brioche Buns are soft, buttery buns that are easy to make! Try them for hamburgers, bbq chicken sandwiches, or as an instant upgrade to any sandwich! You can also make them into dinner rolls!
Ingredients
- 1 cup + 2 tablespoons whole milk, warm
- 4 teaspoons dry active yeast
- 2.5 tablespoons sugar
- 4 cups all-purpose flour
- 5 tablespoons unsalted butter
- 1 tablespoon kosher salt
- 1 egg, beaten for egg wash
- 1/4 cup sesame seeds, optional
Instructions
- In the bowl of a stand mixer combine yeast, milk (warmed to between 100 – 110°F) and sugar. Allow to sit, undisturbed, for about 10 minutes until bubbly.
- To the mixer bowl add flour, butter and salt. Mix with paddle attachment to combine then switch to hook attachment and mix on medium to develop gluten. Mix until smooth dough forms. It will pull away from the sides of the bowl and the surface will be smooth and slightly glossy.
- Place in large bowl coated with cooking spray or lightly oiled. Cover the bowl with plastic wrap and proof in a warm spot until double in size. This will take approximately 1 – 1.5 hours.
- For burger buns divide into 110 – 115 g pieces, or just eye-ball eight pieces. Slider buns or rolls should be between 45-50g and hotdog buns should be between 75-85g. This recipe will yield 8 hamburger buns, 36 slider buns or 22 hotdog buns.
- Shape the dough: Take each piece and fold the four corners into the center. Flip it over (seam side down) onto an un-floured surface. Roll in the palm of your hand without letting the dough roll around, tighten it into a ball. Use your thumb to press the dough under itself and then pull back towards you with your other fingers. Tightening until the surface is smooth and the ball stands up tall and proud on the counter. Place on parchment lined baking sheet about 3 inches apart.
- Spray the surface of plastic wrap with non-stick cooking spray and cover the dough directly on the surface.
- Proof in a warm spot until they feel light and airy when gently squeezed. They will be a bit more than doubled, approximately 30-45 minutes depending on the heat of your kitchen.
- Pre-heat the oven to 350°F convection (with the fan) or 375°F conventional (no fan) while the buns proof.
- Brush the tops with beaten egg or melted butter. Sprinkle with sesame seeds (optional)
- Bake in preheated oven until golden brown, approximately 12-15 minutes.
Notes
Yield – 8 Burger Buns; 36 slider buns; or 22 hotdog buns
Presentation – Brush with well-beaten egg before topping with seeds for that shiny top! The egg wash will also help the seeds stick to the dough during baking.
Storage – Store well-wrapped at room temperature for up to 5 days or frozen for up to 2 months. There are no preservatives, so it will have the best texture if consumed within 2-3 days.
Before You Go
I hope you enjoyed this professional chef developed recipe. Check out our sister-site’s dinner roll recipes or peruse our hundreds of bread recipes!

great idea to make these from scratch and broche, always trying to find a tastier at home burger and buns are to me the key component, thank you!