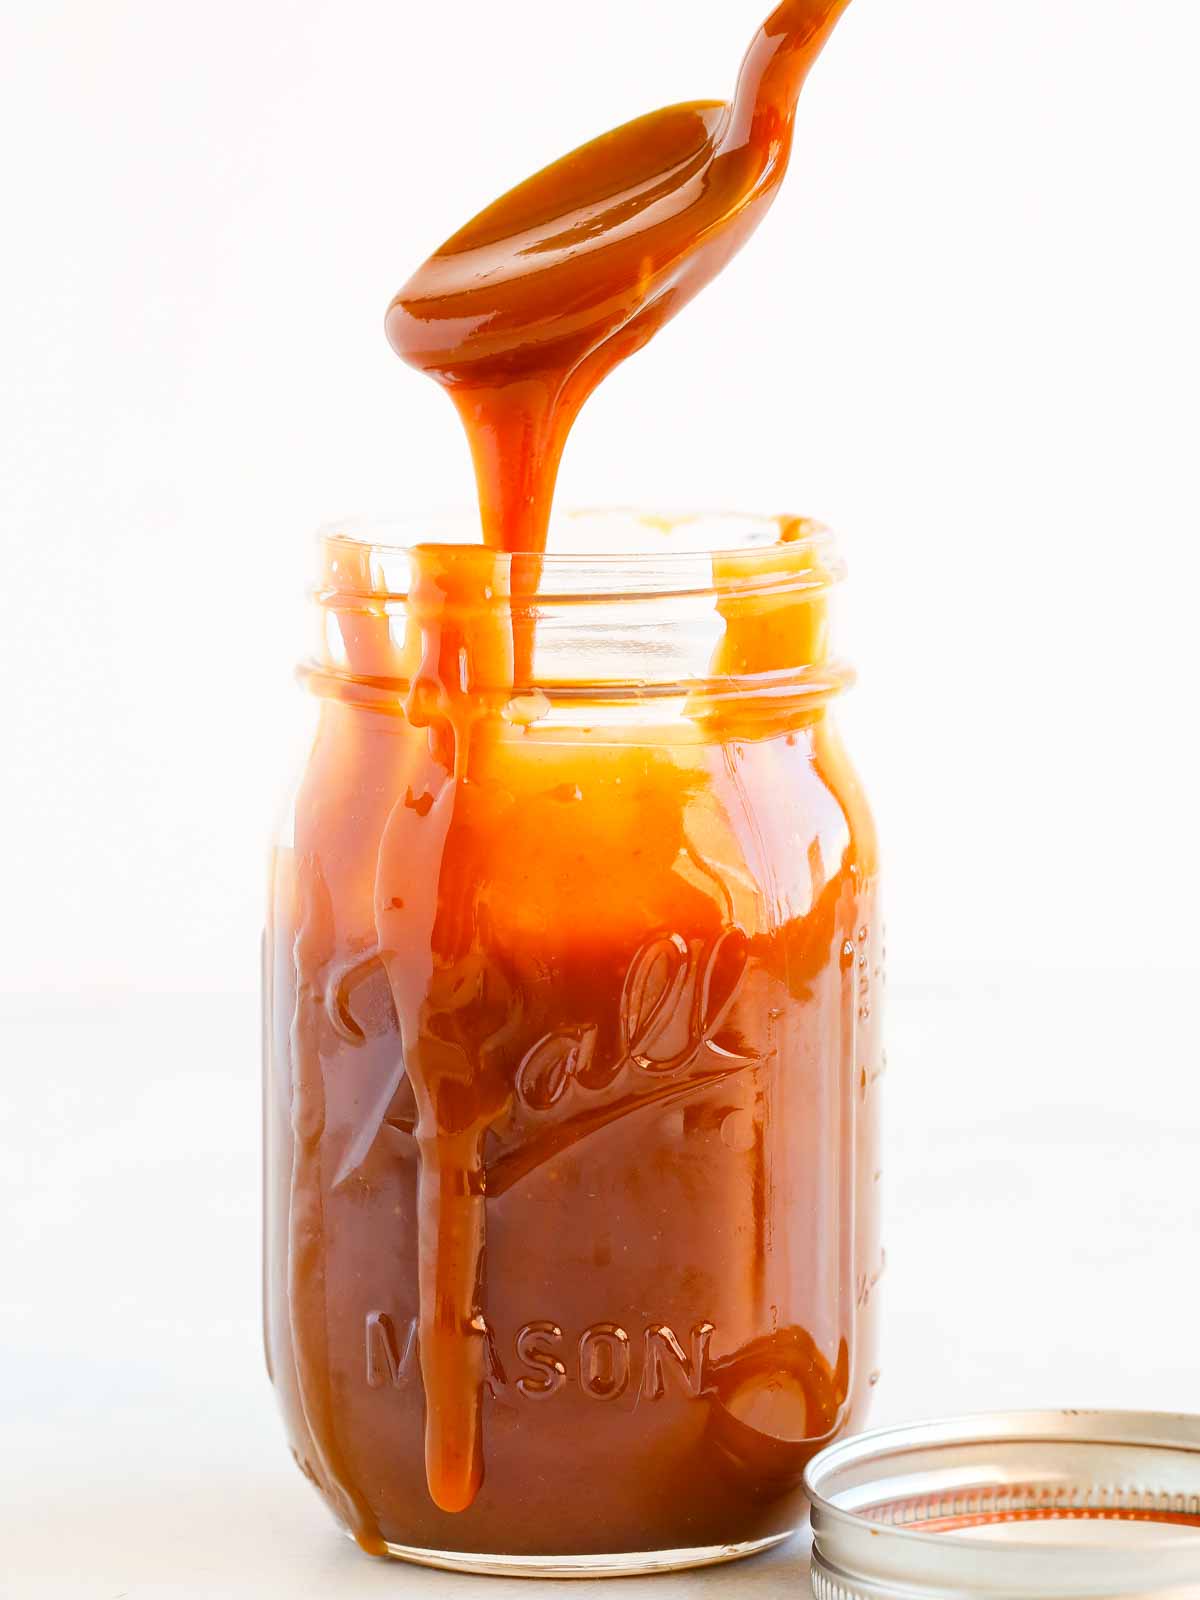
This is an easy salted caramel sauce recipe that only needs 6 ingredients. It is an easy, hands-off recipe from a professional pastry chef that is thick, rich, and perfect for pouring over brownies, my favorite blondie recipe, cakes, and more!

A Quick Look At The Recipe
This is a brief summary of the recipe. Jump to the recipe to get the full details.
Prep Time
5 minutes
Cook Time
15 minutes
Total Time
20 minutes
Servings
8
Difficulty
Moderate
Calories *
327 kcal per serving
Technique
Heat cream and butter, make caramel, whisk in cream mixture, and cool.
Flavor Profile
Rich salted vanilla caramel sauce.
* Based on nutrition panel
This is the BEST caramel sauce! It really was easy (I made it to go with your blondies) and I felt like I had a professional holding my hand throughout the steps. Thank you! I’m making another batch today because my family used the rest on ice cream last night ⭐⭐⭐⭐⭐
Michelle
There are two methods for making caramel sauce: the dry caramel method like this salted caramel sauce recipe and the wet caramel method. This easy salted caramel recipe is made using the wet method, which just means the sugar is cooked with water. The resulting sauces are indistinguishable.
I prefer making caramel sauce with the added water and corn syrup. The corn syrup is optional and can simply be omitted. This method allows for a more hand-off approach, is more consistent, better on an induction stovetop, and, I believe, easier. You can still use this caramel sauce for topping instant pot chocolate cheesecake, homemade brownies, or filling chocolate thumbprint cookies!
Why This is the Best
- A hands off cooking method. Hydrating the sugar with water before cooking adds a little cooking time, but will more evenly cook the sugar. An occasional swirl is all it takes to redistribute the caramelizing sugar.
- The best recipe for cooking on gas or induction stovetop. Making a dry caramel (no water) on induction is tricky because of the inconsistent heat source. I make this exact same recipe in large and small batches on an induction burner in restaurants all the time.
- No stress from lumps and chunks of un-melted sugar! The wet caramel method won’t give you those large chunks of unincorporated sugar because you hydrated it and separated the crystals.
- Thick, pourable and perfectly salted. The perfect ratio of sugar to butter and heavy cream gives you a thick, pourable caramel sauce. The salt is dialed in to make it just salty enough to balance the sweetness and highlight the caramel notes.
Table of contents
Ingredients & Possible Substitutes
- Unsalted Butter: This recipe calls for unsalted butter because of the additional salt that is added. You could roll the dice with salted butter and omit the salt.
- Heavy Cream: The heavy cream is here for flavor, texture and also to loosen the caramel into a sauce consistency. You can use milk but the caramel will be looser.
- Vanilla Extract: I love the added vanilla extract in the sauce. I recommend adding it at the end for the most impactful flavor.
- Kosher Salt: I use kosher salt because it is consistent and has a neutral flavor. Many recipes call for sea salt or flaky sea salt. Professionally speaking fleur de sel is delightful, but it is a finishing salt. Depending on the size of the crystals, it is difficult to ensure it dissolves in the final caramel sauce. I also find the “sea salt” flavor to be overpowering, but these are just my opinions.
- Granulated Sugar: The most and least important ingredient. Any granulated sugar will do just fine!
- Water: The amount of water isn’t important but do know that the more water you add, the longer the caramel will take because the water needs to evaporate before the sugar can caramelize. Not a big deal. Just something to know.
- Light Corn Syrup: I have added corn syrup as an insurance policy against crystallization but it is not necessary to make a wet caramel. You can simply omit it or use glucose.
See the recipe card for full information on ingredients and quantities.
How to use salted caramel sauce
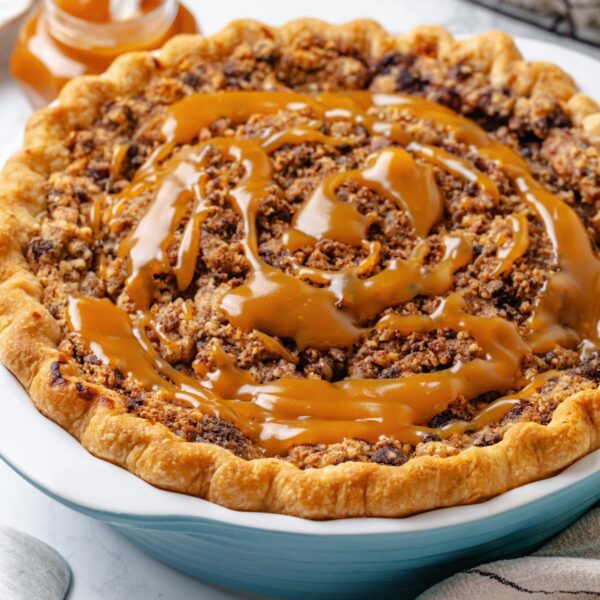
- Bake caramel into desserts! The thickness of this sauce makes it ideal for baking into desserts like caramel apple pie, carmelitas, caramel butter bars, or caramel chocolate chip cookie bars! It won’t loosen the batter too much or change the texture.
- Uses it as a topping for cakes, pies, tarts, & ice cream. Pour this salted caramel sauce over just about anything like I did on these flourless brownies or this caramel pear tart! Even just a drizzle on vanilla bean ice cream makes a fantastic dessert.
- Mix it in to change the flavor of buttercreams or custards. Use caramel sauce to flavor buttercream like this caramel Swiss meringue buttercream or even cream cheese frosting to spread on top of these carrot cake cookies with cream cheese frosting. Then move beyond buttercream and make better-than-childhood caramel pudding.
- It makes a delicious filling or swirl. Use it to fill cupcakes or cakes like this naked caramel cake, or swirl into ice cream! Make an easy dessert by making salted caramel tartlets.
Professional Tips for Making Homemade Caramel Sauce
- Practice makes perfect. Sometimes the best way to learn what is “too dark” is, is to take it there. Now you know the signs that the caramel is done and you can add your cream mixture sooner. The same goes in a professional kitchen. I’m like Goldie Locks: too light, too dark, waaaay too dark, just right. The bigger the batch, the more difficult to tell.
- Never stir a wet caramel! Stirring encourages sugar crystal formation because the sugar is hydrated and primed for crystallization. These crystals don’t dissolve like the clumps in a dry caramel. They also are too small to be strained out. A little swirl is all it takes.
- Breathe, remember you are in control. Before culinary school I let fear run my kitchen, but I have since learned that I am in control of the temperature, my preparation and pace. The same rule applies to pie crusts!
- Heating the cream and butter together before adding. Adding warm cream and butter to the caramelized sugar reduces the risk of the caramel seizing. It also makes it bubble less ferociously. Safety first.

How to Make Homemade Salted Caramel Sauce
Everything you need to know about making this easy caramel sauce. Further details and measurements can be found in the recipe card below.
Step 1: In a small saucepot combine cream, butter, vanilla and salt. Bring just to a boil over medium heat and set aside.
Try to keep this warm. If it cools too much and you are in a cold room, it could still seize when added to the caramelized sugar. I add the salt in the step to ensure it dissolves and distributes evenly throughout the caramel.
Step 2: Pour the sugar into a heavy bottomed pot with high sides. Shake to distribute sugar in an even layer over the bottom. Pour the water around the edges and stir to hydrate the sugar. Stir carefully so that no sugar gets on the sides of the pot. If you did get sugar on the sides, don’t worry. Dip a clean pastry brush (or folded paper towel) in water and wash the sugar off.
Don’t be concerned with the amount of water because it will all evaporate anyways. If you don’t have a brush or a paper towel, use your finger. It’s not that serious.
Step 3: Pour the corn syrup into the sugar water mixture and turn on the burner to medium high. Allow the sugar to come to a boil before you disturb it. Gently swirl the pot but do not stir! This will allow you to redistribute the caramel around the pot and control the hot spots.
Step 4: Continue to cook and occasionally swirl the pan until a dark amber color is achieved.
There is a sliding scale of acceptable caramel flavor. From the very light in color to the almost burnt, dark, sultry caramel that I prefer. I add the butter when the sugar turns a deep amber color. The lighter the caramel, the sweeter the caramel sauce. Don’t forget that adding the cream and butter will lighten the color and dampen the flavor (in a good way).
Step 5: Remove from the heat and place on a trivet or folded towel. Slowly pour in your cream/butter mixture while constantly whisking. You don’t want to add the cream too fast or it will bubble up aggressively and could burn you. Choose a whisk with the longest handle possible and keep whisking.
Don’t fear the caramel. Take precautions but don’t have fear. Fear makes people do dumb stuff or act erratically and you should never act erratically around 340°F sugar. Make slow but purposeful movements. The worst thing that can happen is your sugar gets too dark and you have to start over. Sugar burns are the worst. Trust me.
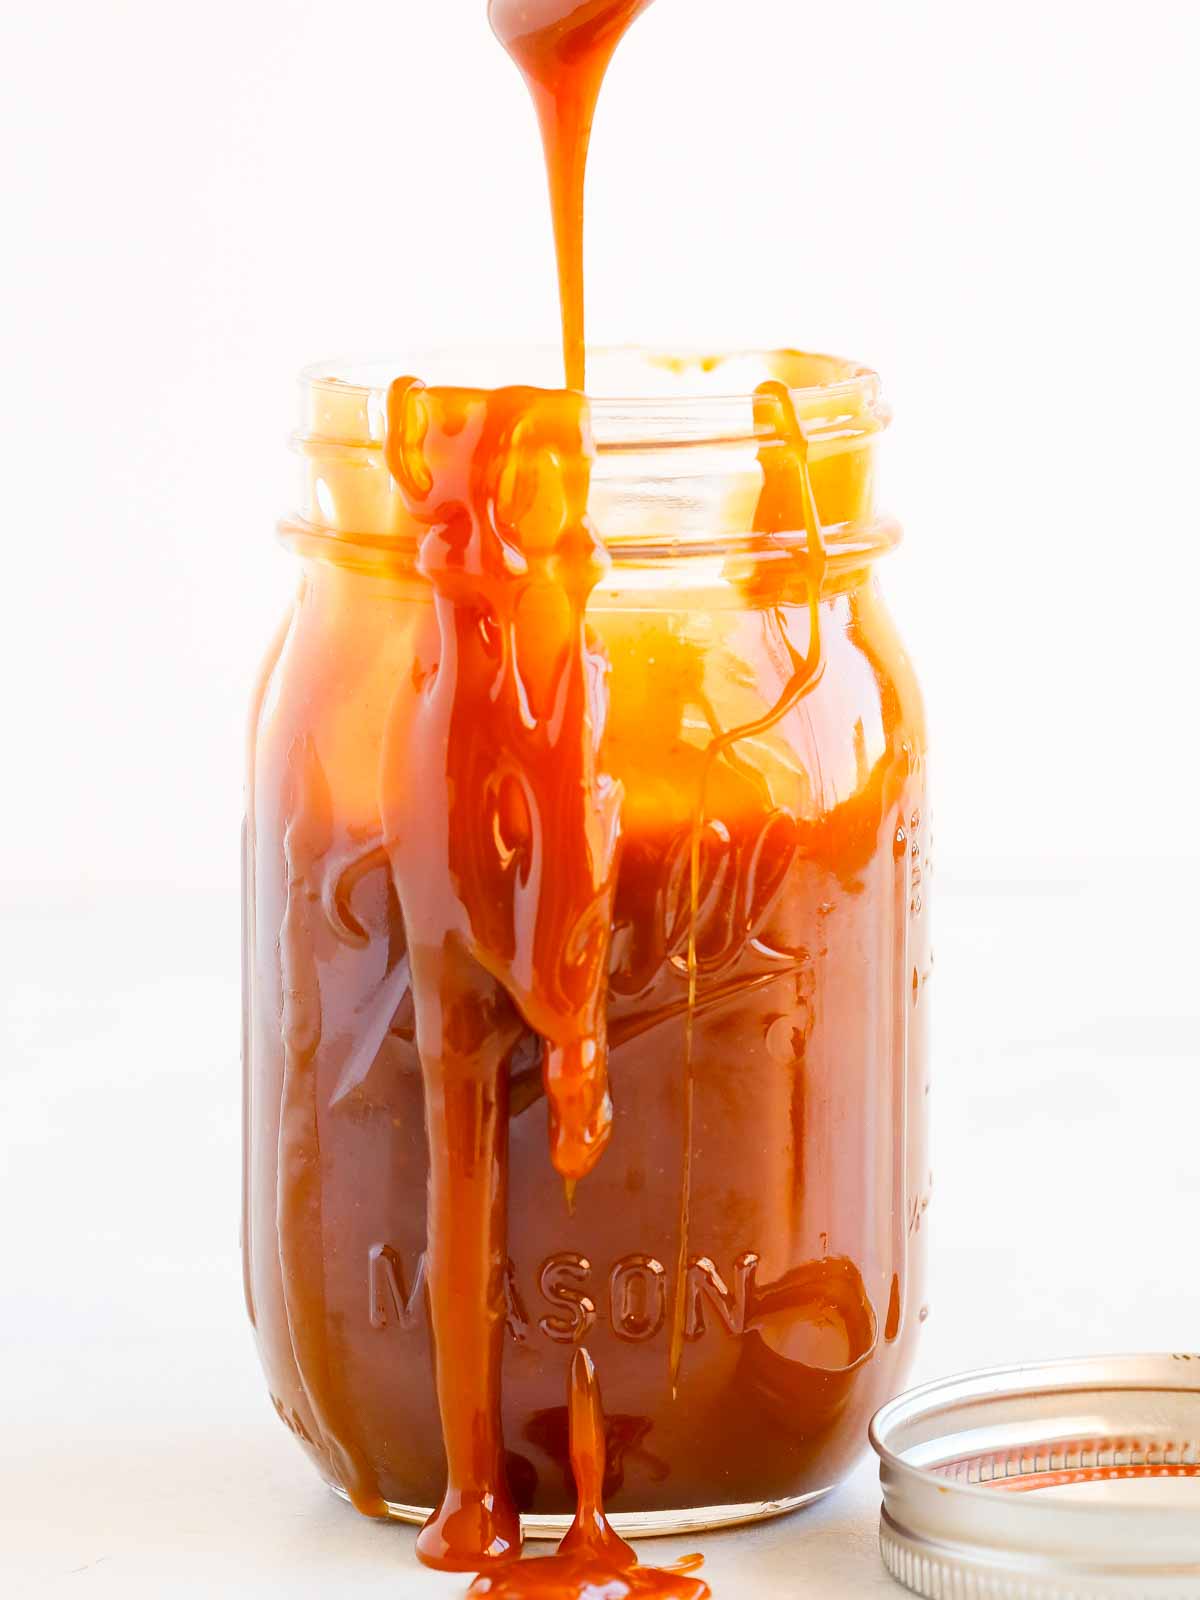
Step 6: Once all the liquid is incorporated, pour into a heat safe bowl. Allow to cool to room temperature then pour into the storage container of your choice.
Pouring it into a container with a large surface area allow the caramel to stop cooking and cool quickly. The process of food continuing to cook after being removed from heat is called “carry-over cooking,” and your caramel can go from perfect to too dark during this time especially in a larger batch.
Recipe FAQs
Cool to room temperature then transfer into a clean, airtight container. I really like storing it in canning jars. Store caramel sauce at room temperature for up to 7 days, refrigerated for a month or frozen for 3 months.
You can freeze cooled caramel sauce for up to 3 months. Allow it to thaw at room temperature or in the refrigerator overnight.
You can reheat caramel sauce for serving in the microwave by microwaving in 30 second intervals at 50% power. Stir between each interval. This will ensure even heating.
For larger batches or if you prefer, you can reheat the sauce in a small saucepan on the stovetop.
You do not need a candy thermometer. You’re making caramel sauce, not solving a differential equation. There is no need to over complicate. Although I don’t suggest over complicating differential equations either.
Due to the nature of caramelizing sugar, there are parts of the sugar syrup that will be hotter than others. Using a thermometer can give you mis-information. Making it by eye is better.
Recommended Recipes to Top with Caramel
Pies & Tarts

Gluten-Free

Drinks

Fall
If you enjoyed this recipe, please leave a star rating and let me know how it goes in the comments below! I love hearing from you and your comments make my day!
Salted Caramel Sauce
Ingredients
- 1 cup heavy cream
- ¼ cup unsalted butter, cubed
- ½ teaspoon vanilla extract
- ½ teaspoon kosher salt
- 1 ½ cups granulated sugar
- ¼ cup water
- ¼ cup light corn syrup
Instructions
- In a small pot combine cream, butter, vanilla and salt. Bring just to a boil and set aside.
- Pour the sugar into a heavy bottomed pot with high sides. Shake to distribute sugar in an even layer over the bottom. Pour the water around the edges and stir to hydrate the sugar. Stir carefully so that no sugar gets on the sides of the pot. If you did get sugar on the sides, don’t worry. Dip a clean pastry brush (or folded paper towel) in water and wash the sugar off. Don’t be concerned with the amount of water because it will all evaporate anyways.
- Pour the corn syrup into the sugar water mixture and turn on the burner to medium high. Allow the sugar to come to a boil before you disturb it. Gently swirl the pot but do not stir! This will allow you to redistribute the caramel around the pot and control the hot spots.
- Continue to cook and occasionally swirl until a dark amber color is achieved.
- Remove from the heat and place on a trivet or folded towel. Slowly pour in your cream/butter mixture while constantly whisking. You don’t want to add the cream too fast or it will bubble up aggressively and could burn you. Don’t fear, just keep whisking.
- Once all the liquid is incorporated, pour into a heat safe bowl. Allow to cool to room temperature then pour into the storage container of your choice.
Video
Notes
Nutrition
Nutrition information is automatically calculated, so should only be used as an approximation.
 Like this recipe? Rate & comment below!
Before You Go
I hope you enjoyed this professional chef tested recipe. Check out our other delicious dessert recipes!


I’ve always been intimidated by homemade caramel, but the wet method made it much less stressful than I expected. I took it to a dark amber, and the result was this rich caramel sauce that was just perfection. I made it for a cake but ended up making more just to keep in the kitchen for when the need for a drizzle arose, like with a brownie, vanilla ice cream, or both!?
This is the BEST caramel sauce! It really was easy (I made it to go with your blondies) and I felt like I had a professional holding my hand throughout the steps. Thank you! I’m making another batch today because my family used the rest on ice cream last night.
Hi Michelle! Ahh, this makes us so happy thank you! I’m thrilled you found it easy and that it paired so well with the blondies (what a combo). Love that your family polished it off on ice cream, sounds like another batch was meant to be. ~gvd team
First time making caramel sauce. It will not be the last time either! Thanks for sharing.
Hi Maggie! I’m so happy to hear you say that! Thanks for coming back to comment, always makes our day. ~gvd team
Hi!! thanks for the recepie!
If I am not using corn syrup I still do this step:
Allow the sugar to come to a boil before you disturb it. Gently swirl the pot but do not stir! This will allow you to redistribute the caramel around the pot and control the hot spots ?
Thanks!
Hi Marcella! Yes, you will still need to do that step to help you caramelize evenly. Enjoy!
interesting! glad to have the easy version since I’ve never tried to make caramel sauce before but always prefer from scratch recipes, so thank you!
I’m glad you liked it, Sabrina!