
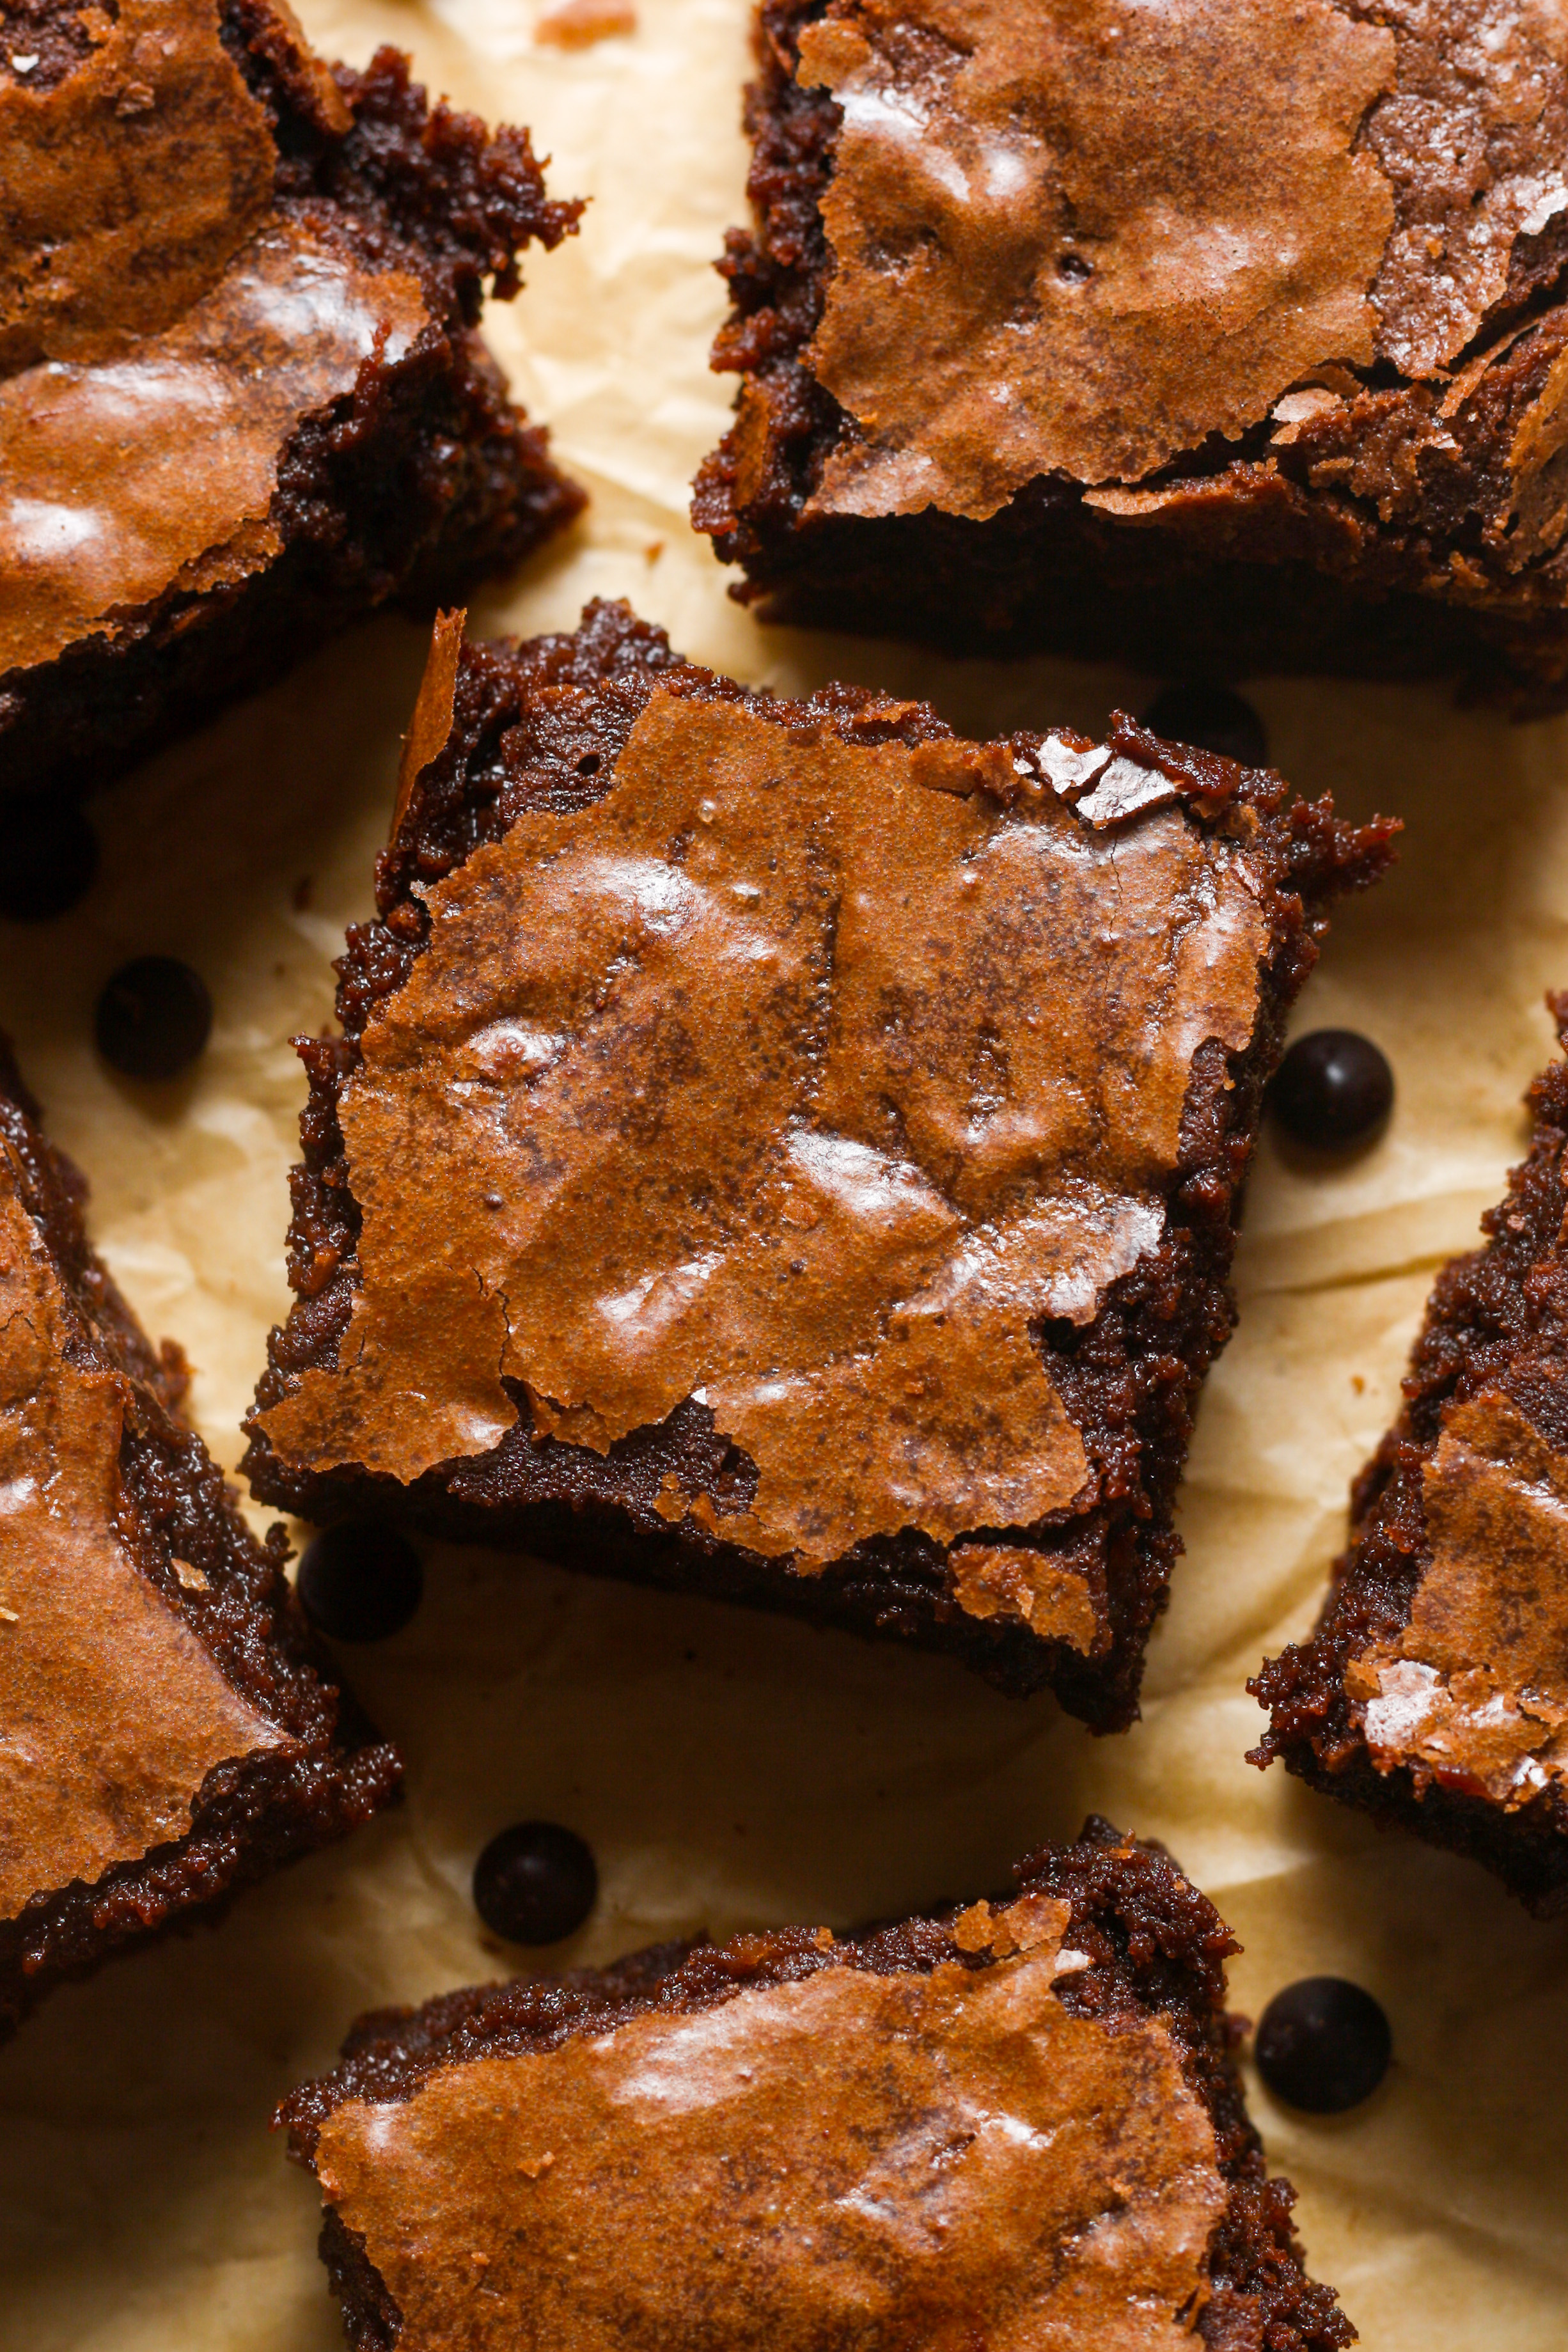
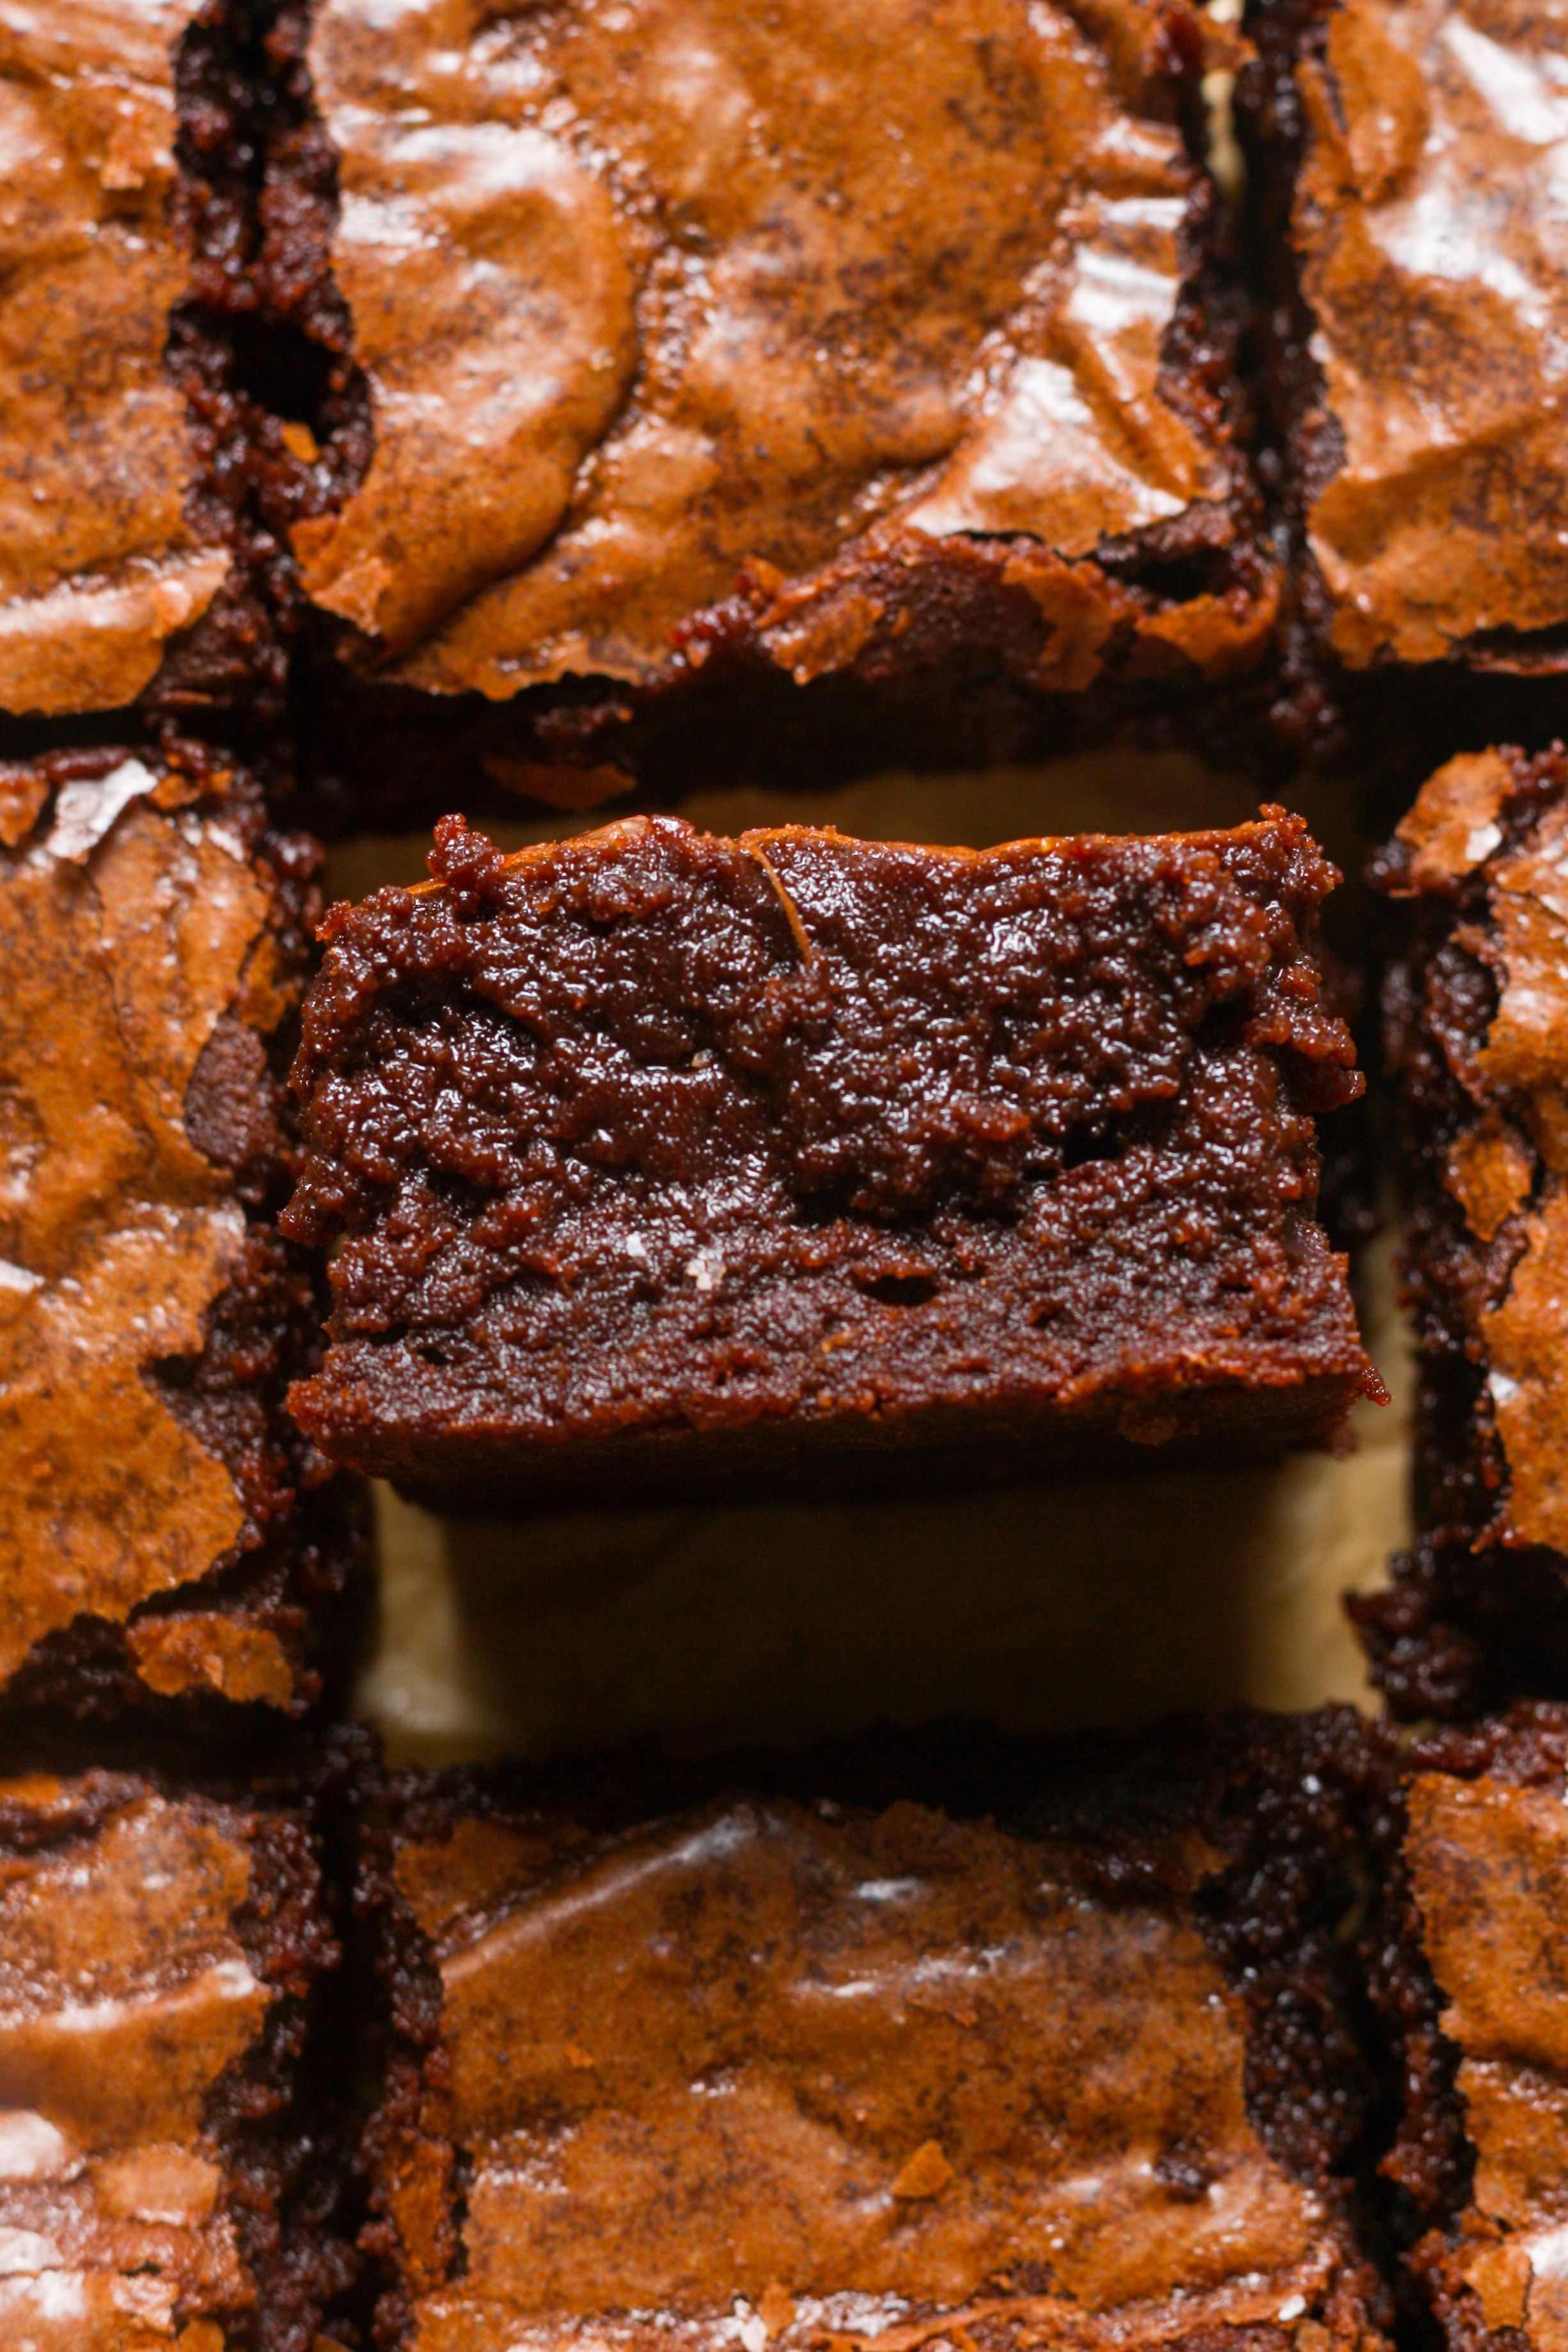
These homemade brownies are fudgy, deeply chocolatey, and come together in one bowl with no mixer required. They’re ready in 35 minutes from start to finish.

A Quick Look At The Recipe
This is a brief summary of the recipe. Jump to the recipe to get the full details.
Prep Time
10 minutes
Cook Time
25 minutes
Total Time
35 minutes
Servings
16 brownies
Difficulty
Easy
Calories *
285 kcal per serving
Technique
Baked, one-bowl
Flavor Profile
Rich, fudgy, deeply chocolatey, lightly sweet
* Based on nutrition panel
“I’ve made a lot of brownie recipes over the years and these are the ones I keep coming back to. The batter came together so quickly and the texture was perfectly fudgy, not cakey at all. My kids demolished the whole pan before they even cooled completely!”
⭐⭐⭐⭐⭐
Sarah
Why You Will Love This Recipe
- One bowl, no mixer. Everything comes together in a single bowl using just a whisk and a spatula. There’s no equipment to drag out and no extra dishes piling up in the sink.
- Ready in 35 minutes. Ten minutes of prep and 25 minutes in the oven is all it takes. These are a legitimate last-minute dessert option when you need something fast.
- Fudgy, not cakey. The texture is dense and rich, not light and airy like a cake. That comes from the combination of melted butter, chocolate chips, and a full 2 minutes of whisking the eggs and sugar until frothy.
- Endlessly riffable. Once you have the base down, it’s easy to build on. My Oreo Brownies use the same starting point with an extra layer of cookies pressed right in.
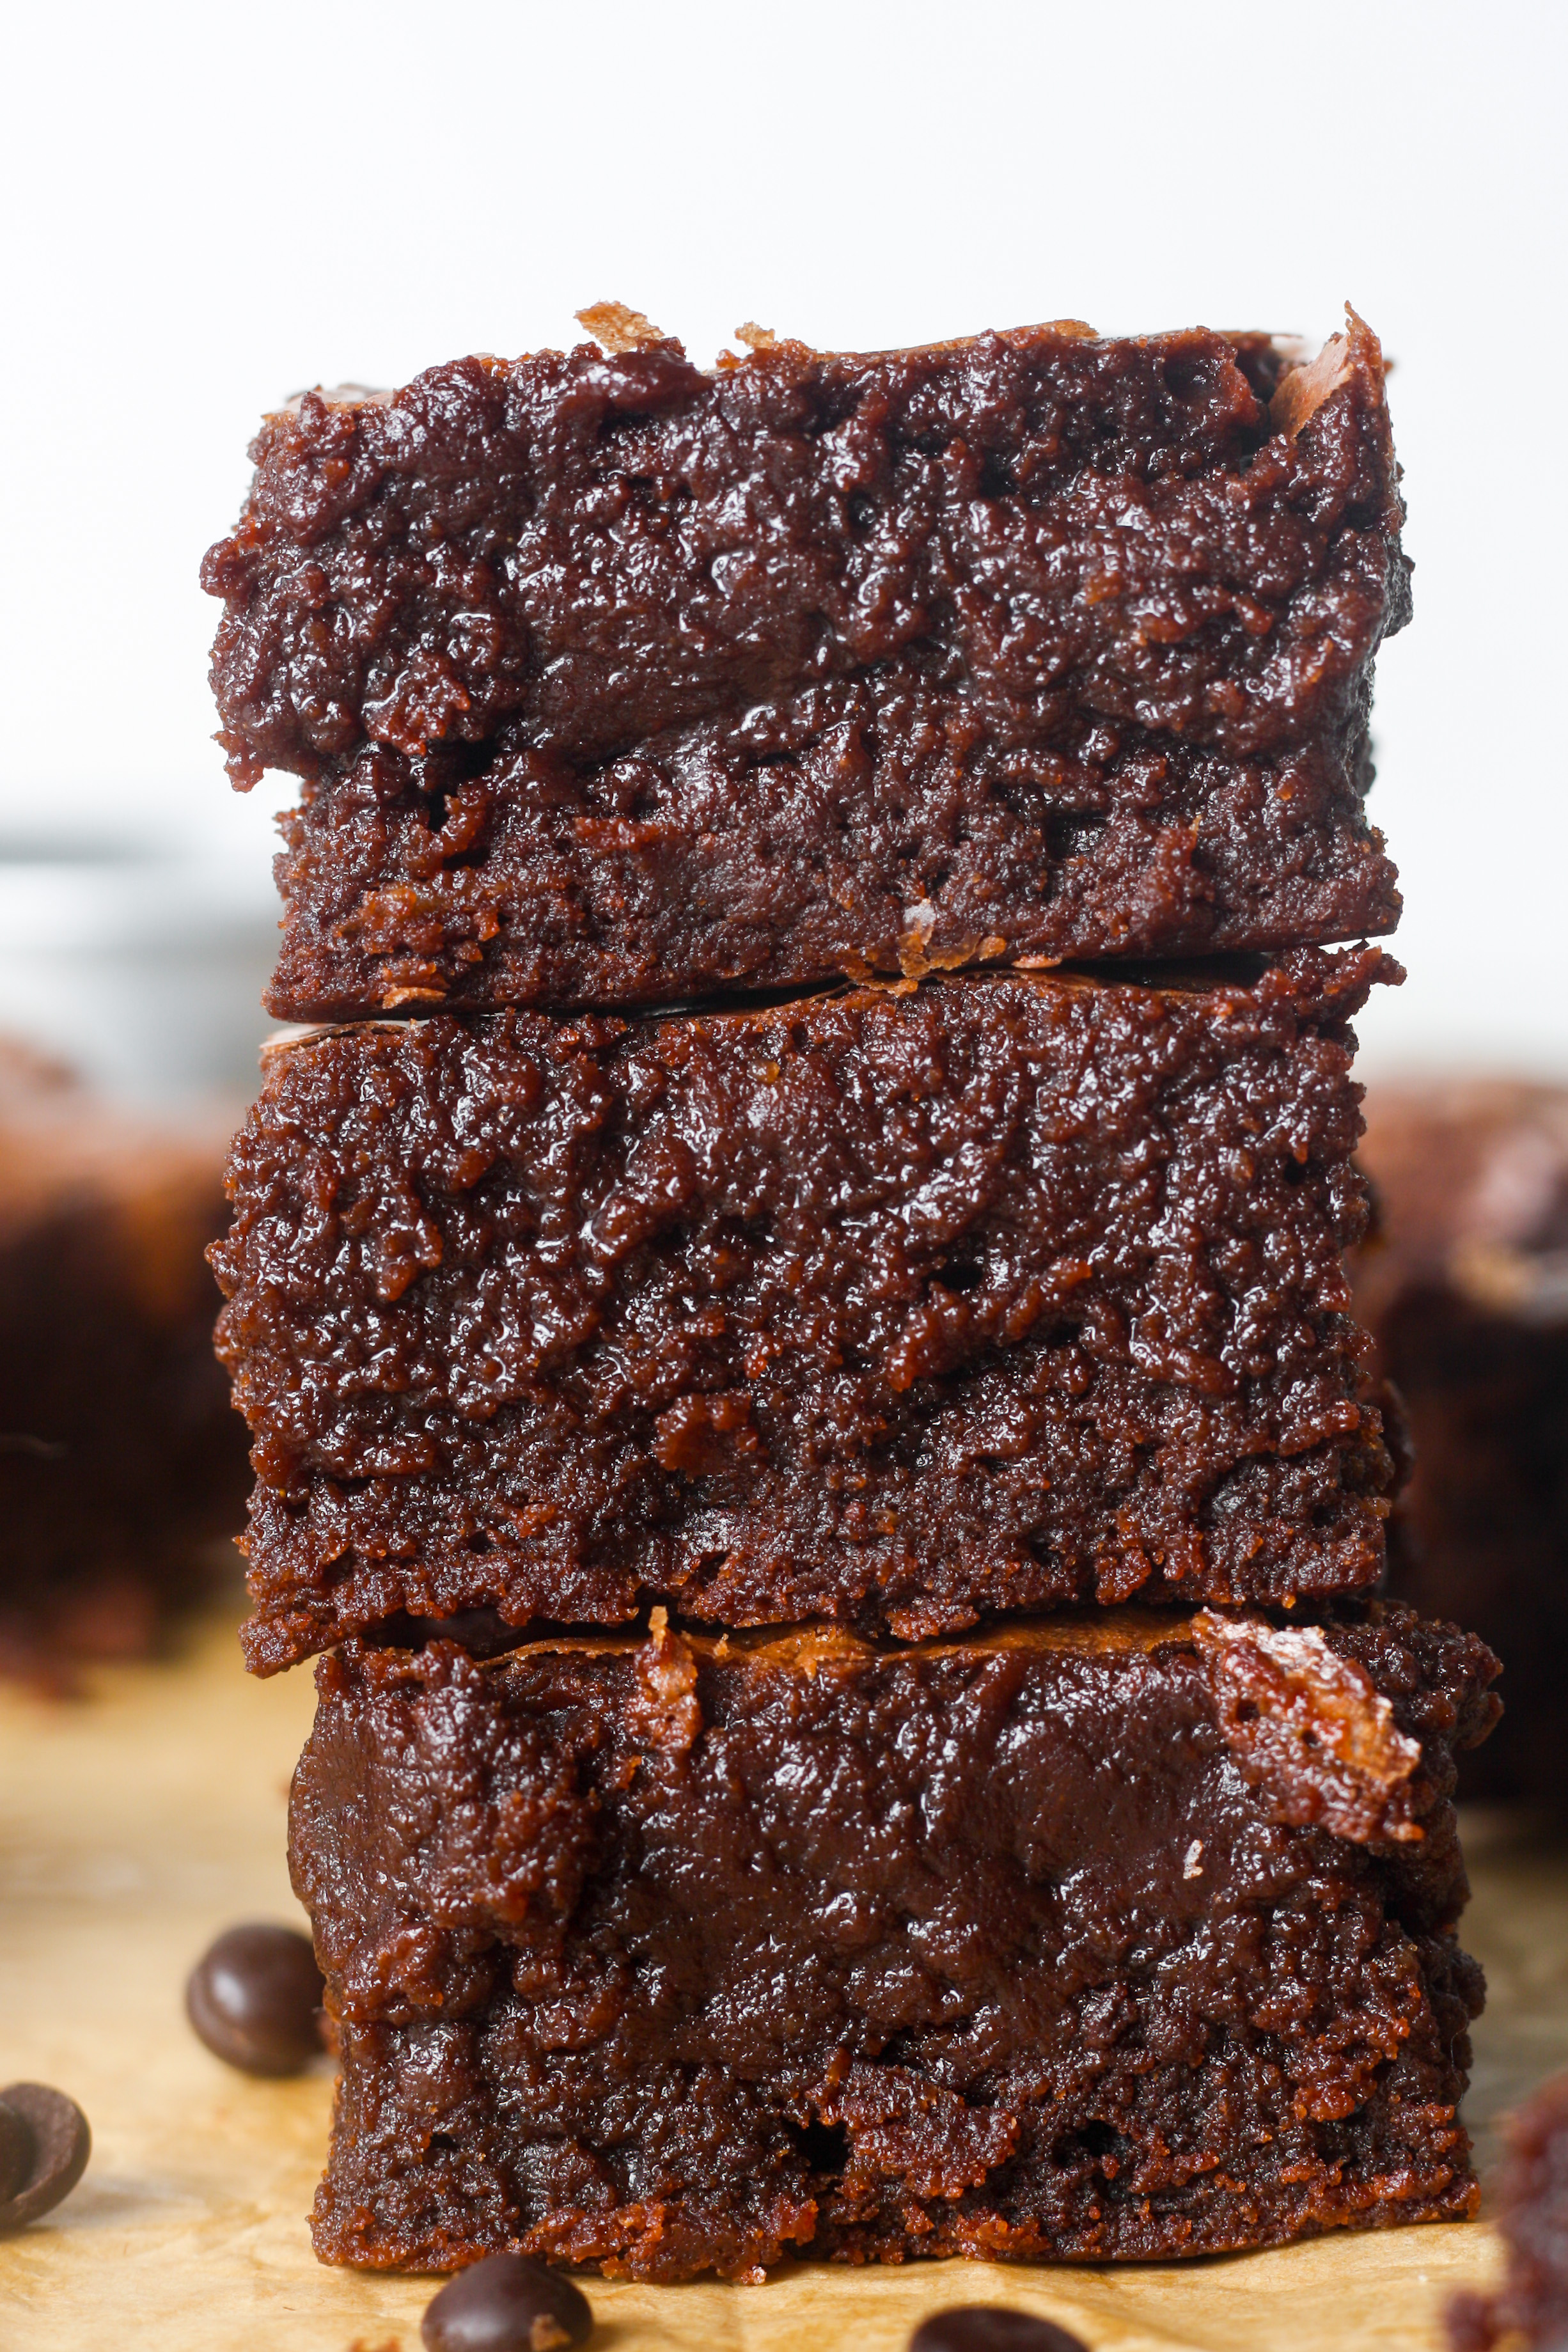
These homemade brownies are gooey, chocolaty, rich and decadent! They are pure chocolate indulgence in every single bite. These brownies are much better than boxed brownies. They take only 35 minutes from start to finish. The result is dense, thick, ultra fudge-like brownies. They are every chocolate lover’s dream!
They work just as well at a casual weeknight dinner as they do on a holiday dessert table, which is what keeps them in constant rotation around here. If you’re already in a chocolate mood, my Brookies or these sourdough discard brownies are another great excuse to keep the oven on a little longer, or you can make this blondie recipe!
Ingredients & Substitutions
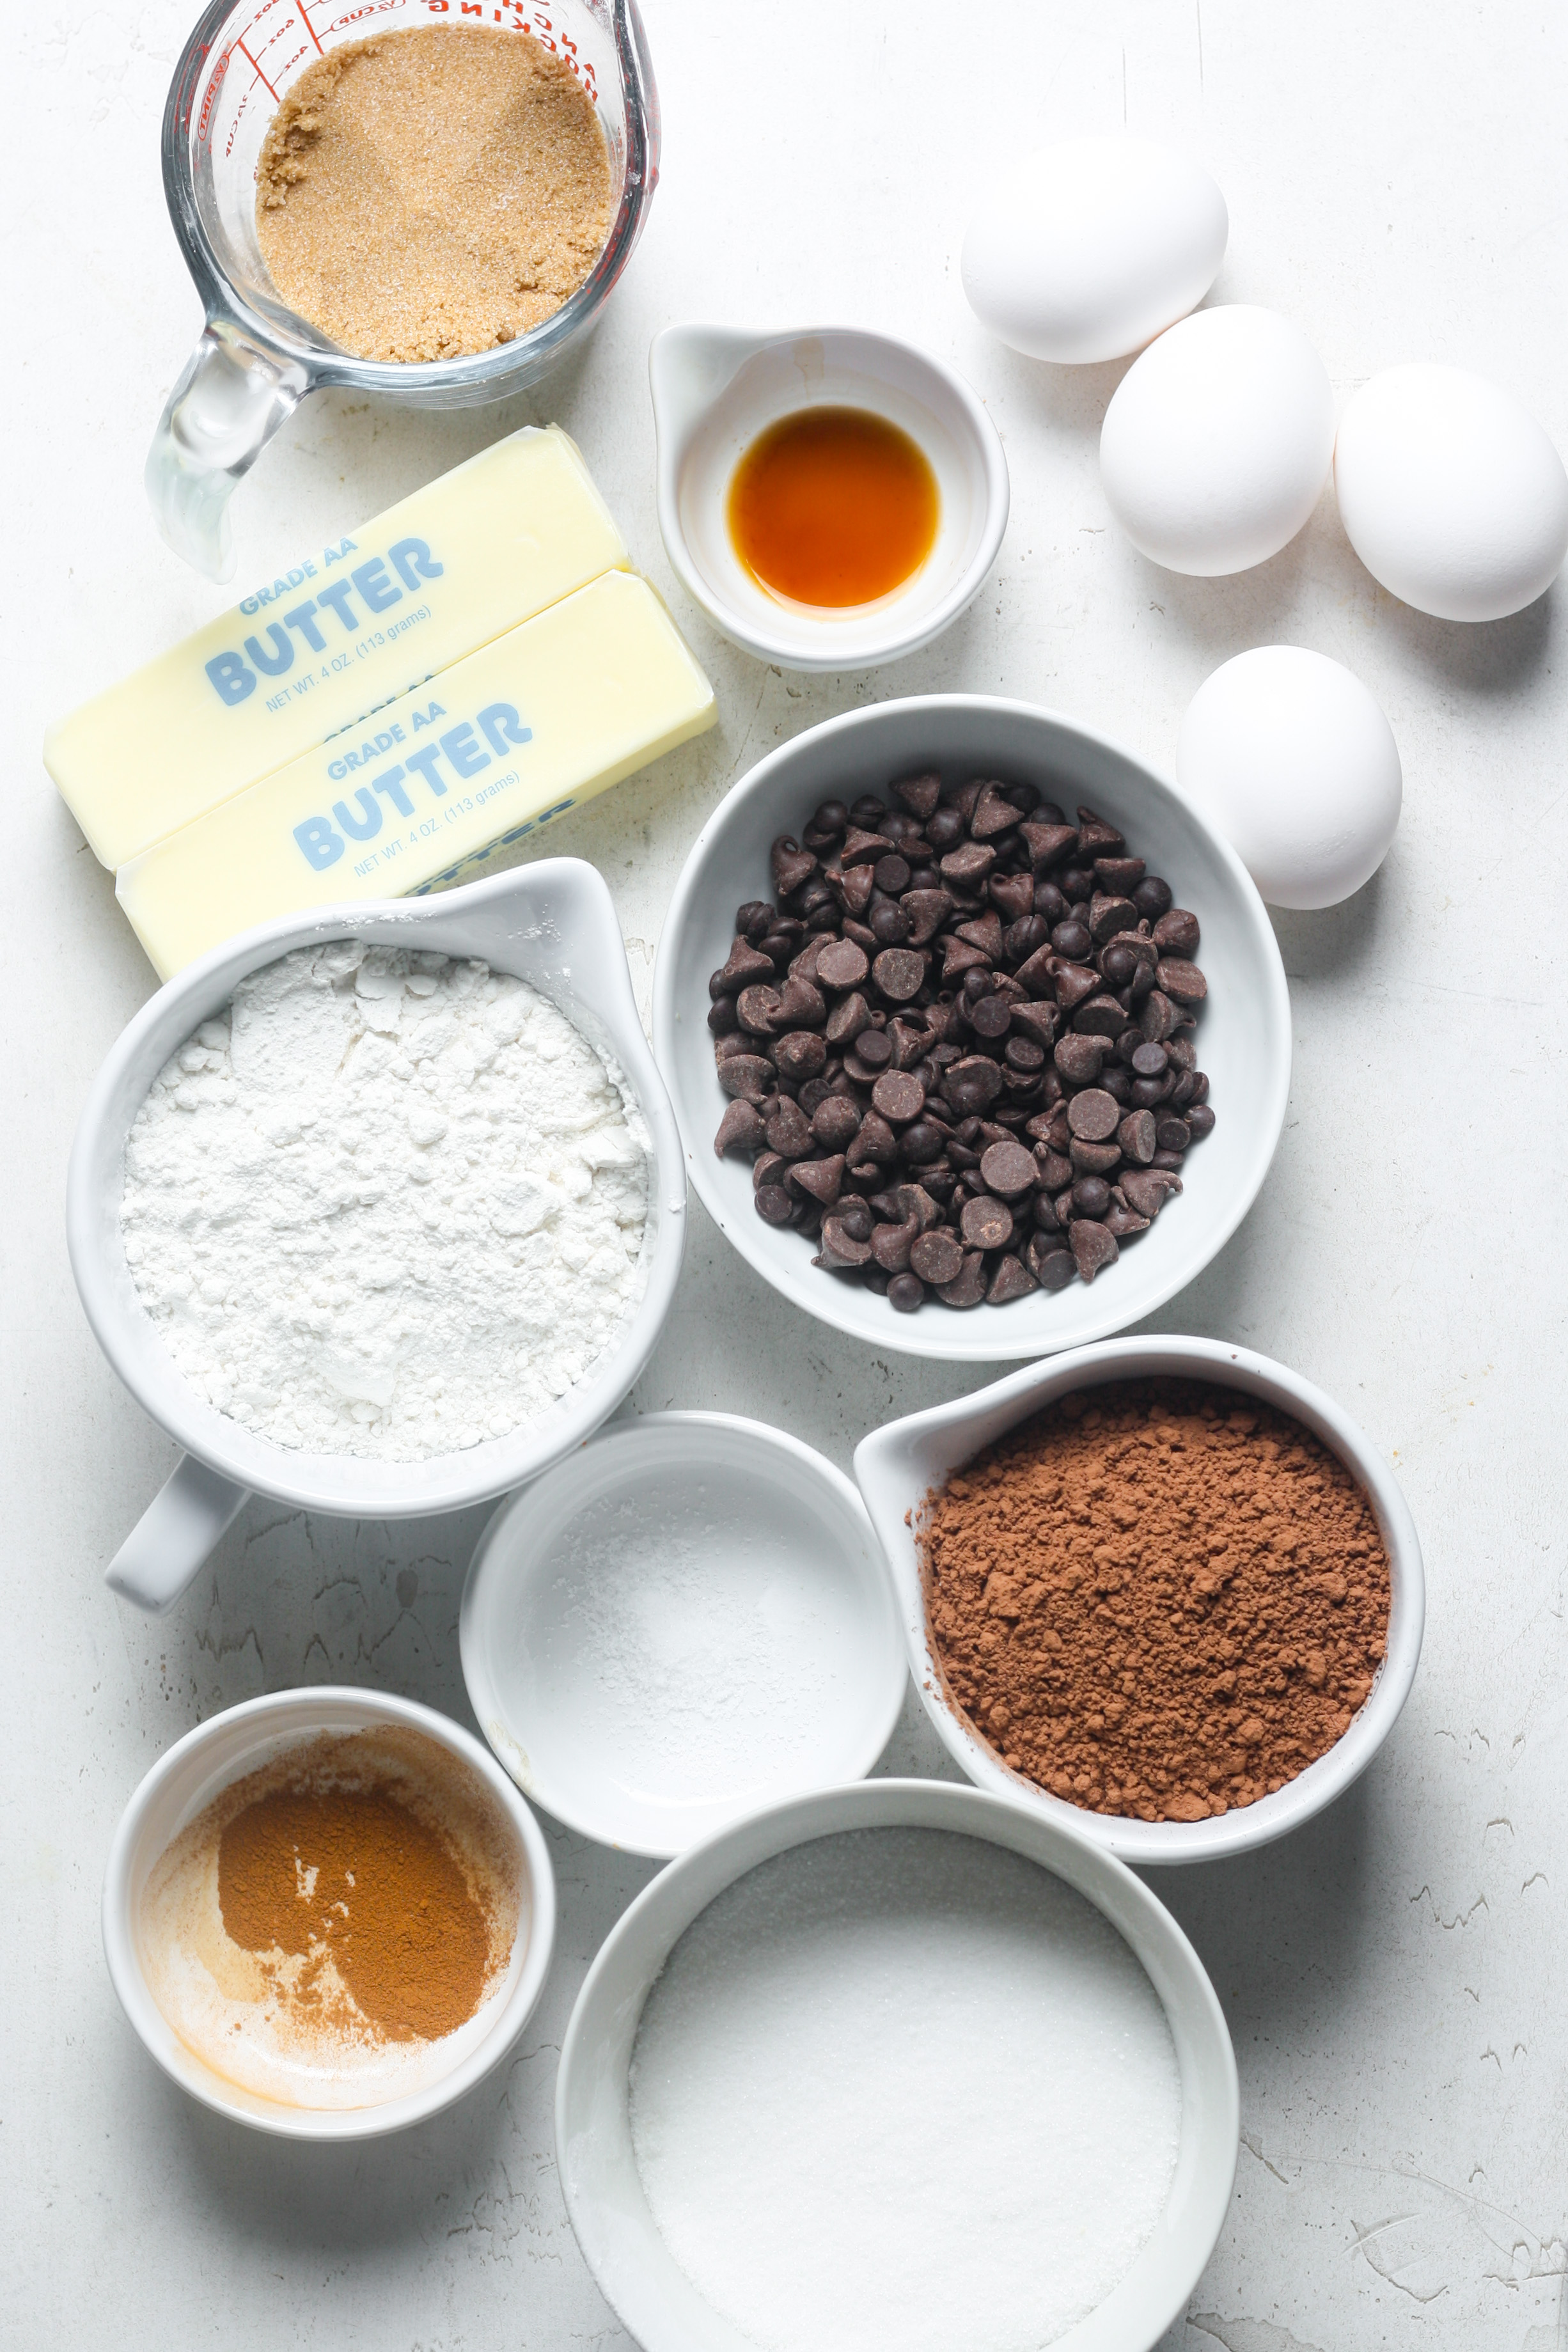
- Unsalted Butter: Melted butter gives these homemade brownies their dense, fudgy structure rather than a cakey crumb. Use unsalted so you control the salt level precisely with the added sea salt later.
- Chocolate Chips: Stirred directly into the hot melted butter, the chips melt into a smooth, glossy chocolate base that runs through every bite. Semi-sweet chips work best here, but bittersweet will give you a deeper, less sweet brownie if that’s your preference, or you can make them with milk chocolate.
- Granulated Sugar
- Light Brown Sugar
- Large Eggs: Whisked vigorously with the sugars for a full two minutes, the eggs create lift and that characteristic glossy top. Room temperature eggs blend more smoothly into the batter and help the sugars dissolve evenly, so don’t skip that step.
- Vanilla Extract
- All-Purpose Flour
- Cocoa Powder: Sifted in along with the flour, cocoa powder deepens the chocolate flavor beyond what the melted chips alone provide.
- Sea Salt
- Espresso Powder: This is optional, but it quietly intensifies the chocolate flavor without making the brownies taste like coffee. If you love a deeply chocolate dessert, consider also trying my Peppermint Mocha Brownies for another version that leans into that combination.
Variations for Homemade Brownies
- Salted Caramel Swirl: Drizzle a few spoonfuls of Easy Salted Caramel Sauce over the batter just before baking, then drag a toothpick through to swirl it in. The caramel bakes into ribbons of buttery sweetness that contrast the dense chocolate base.
- Cream Cheese Swirl: Beat softened cream cheese with a little sugar and an egg yolk, then dollop it over the batter and swirl gently before baking. It bakes into a tangy, cheesecake-like layer that cuts through the richness of the chocolate.
- Nuts: Fold a generous handful of chopped walnuts or pecans into the batter just before transferring it to the pan. They add a toasty crunch that works especially well against the fudgy interior.
- Add some fruit! Use my cherry brownies as inspiration! Try frozen or fresh cherries, strawberries, or you can make these banana brownies!
Professional Tips for Perfect Homemade Brownies
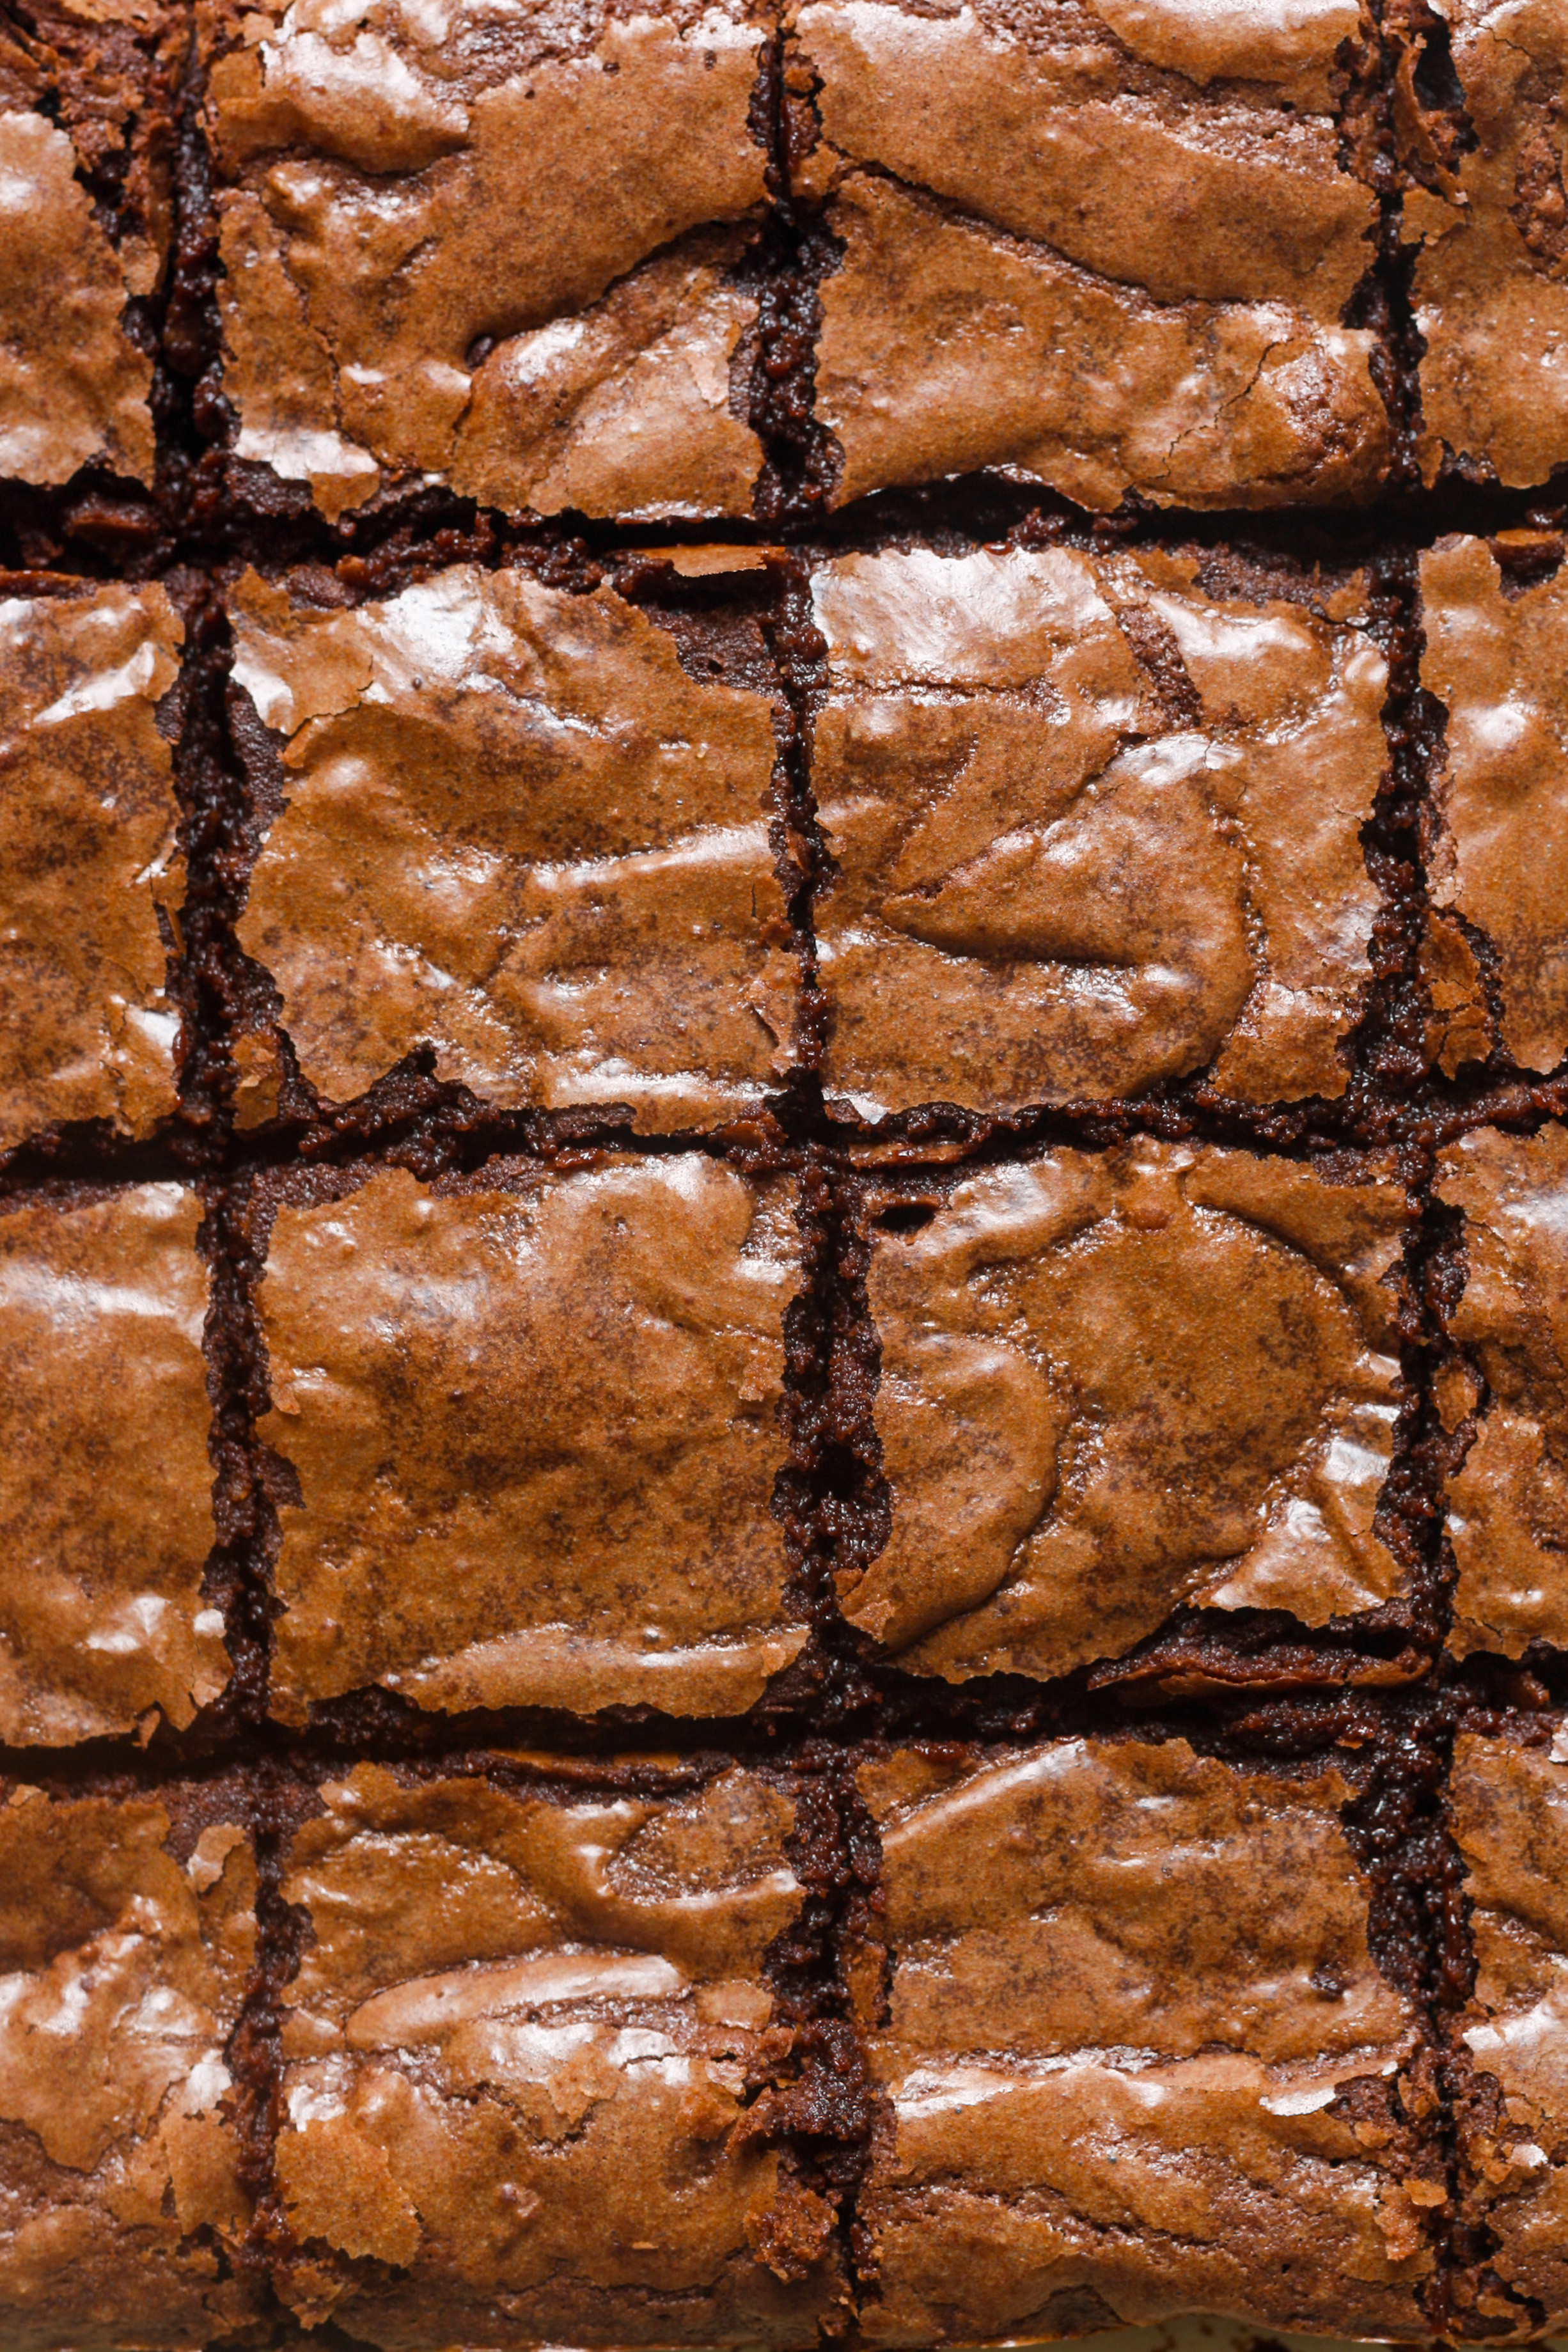
- Whisk the eggs and sugars for the full two minutes. This step isn’t just about combining ingredients; vigorous whisking dissolves the sugars and incorporates air, which creates that signature shiny, crackled top. Rushing it means flat, matte brownies with a denser bite.
- Don’t overbake. Pull the brownies when a toothpick comes out with moist crumbs, not a clean pick. A clean toothpick means the brownies are already past fudgy and on their way to dry and cakey, which is the most common disappointment with homemade brownies.
- Cool completely before slicing. It’s hard to wait, and I won’t pretend I always manage it, but cutting into warm brownies causes them to crumble and fall apart at the edges. Give them at least an hour at room temperature, and you’ll get those clean, sharp slices.
- Sift the dry ingredients. Cocoa powder and espresso powder both clump, and folding lumps directly into the batter leaves uneven pockets of dry powder in the finished brownie. A quick sift before adding them takes thirty seconds and makes a real difference in the final texture.
How to Make Homemade Brownies
Use these step-by-step instructions to make rich, fudgy homemade brownies with a shiny crackled top and a dense, chocolatey center. Further details and measurements can be found in the recipe card below.
Step 1: Prep your pan. Preheat the oven to 350°F and line an 8-inch square pan with parchment paper, leaving a little overhang on two sides so you can lift the brownies out cleanly after they cool. The parchment is worth the extra thirty seconds — it makes removal and slicing so much easier.
Make the batter
Step 2: Melt the butter. Melt the butter in a large microwave-safe bowl in short bursts, stirring between each, until it’s fully melted and hot. You want it genuinely hot here, not just softened, because that heat is what will melt the chocolate chips in the next step.
You can also heat the butter and chocolate chips over a bain-marie.
Step 3: Melt in the chocolate chips. Add the chocolate chips to the hot melted butter and stir steadily until the mixture is completely smooth and glossy. If you see a few stubborn chips that aren’t quite melting, the residual heat will take care of them with an extra minute of stirring — just keep going until there are no lumps at all.
Step 4: Whisk the eggs and sugars. In a separate large mixing bowl, combine the granulated sugar, packed brown sugar, eggs, and vanilla extract. Whisk vigorously for a full 2 minutes until the mixture is pale, light, and noticeably frothy. It will look thicker and ribbony compared to when you started, and that change is exactly what you’re looking for. (photos 1 & 2)
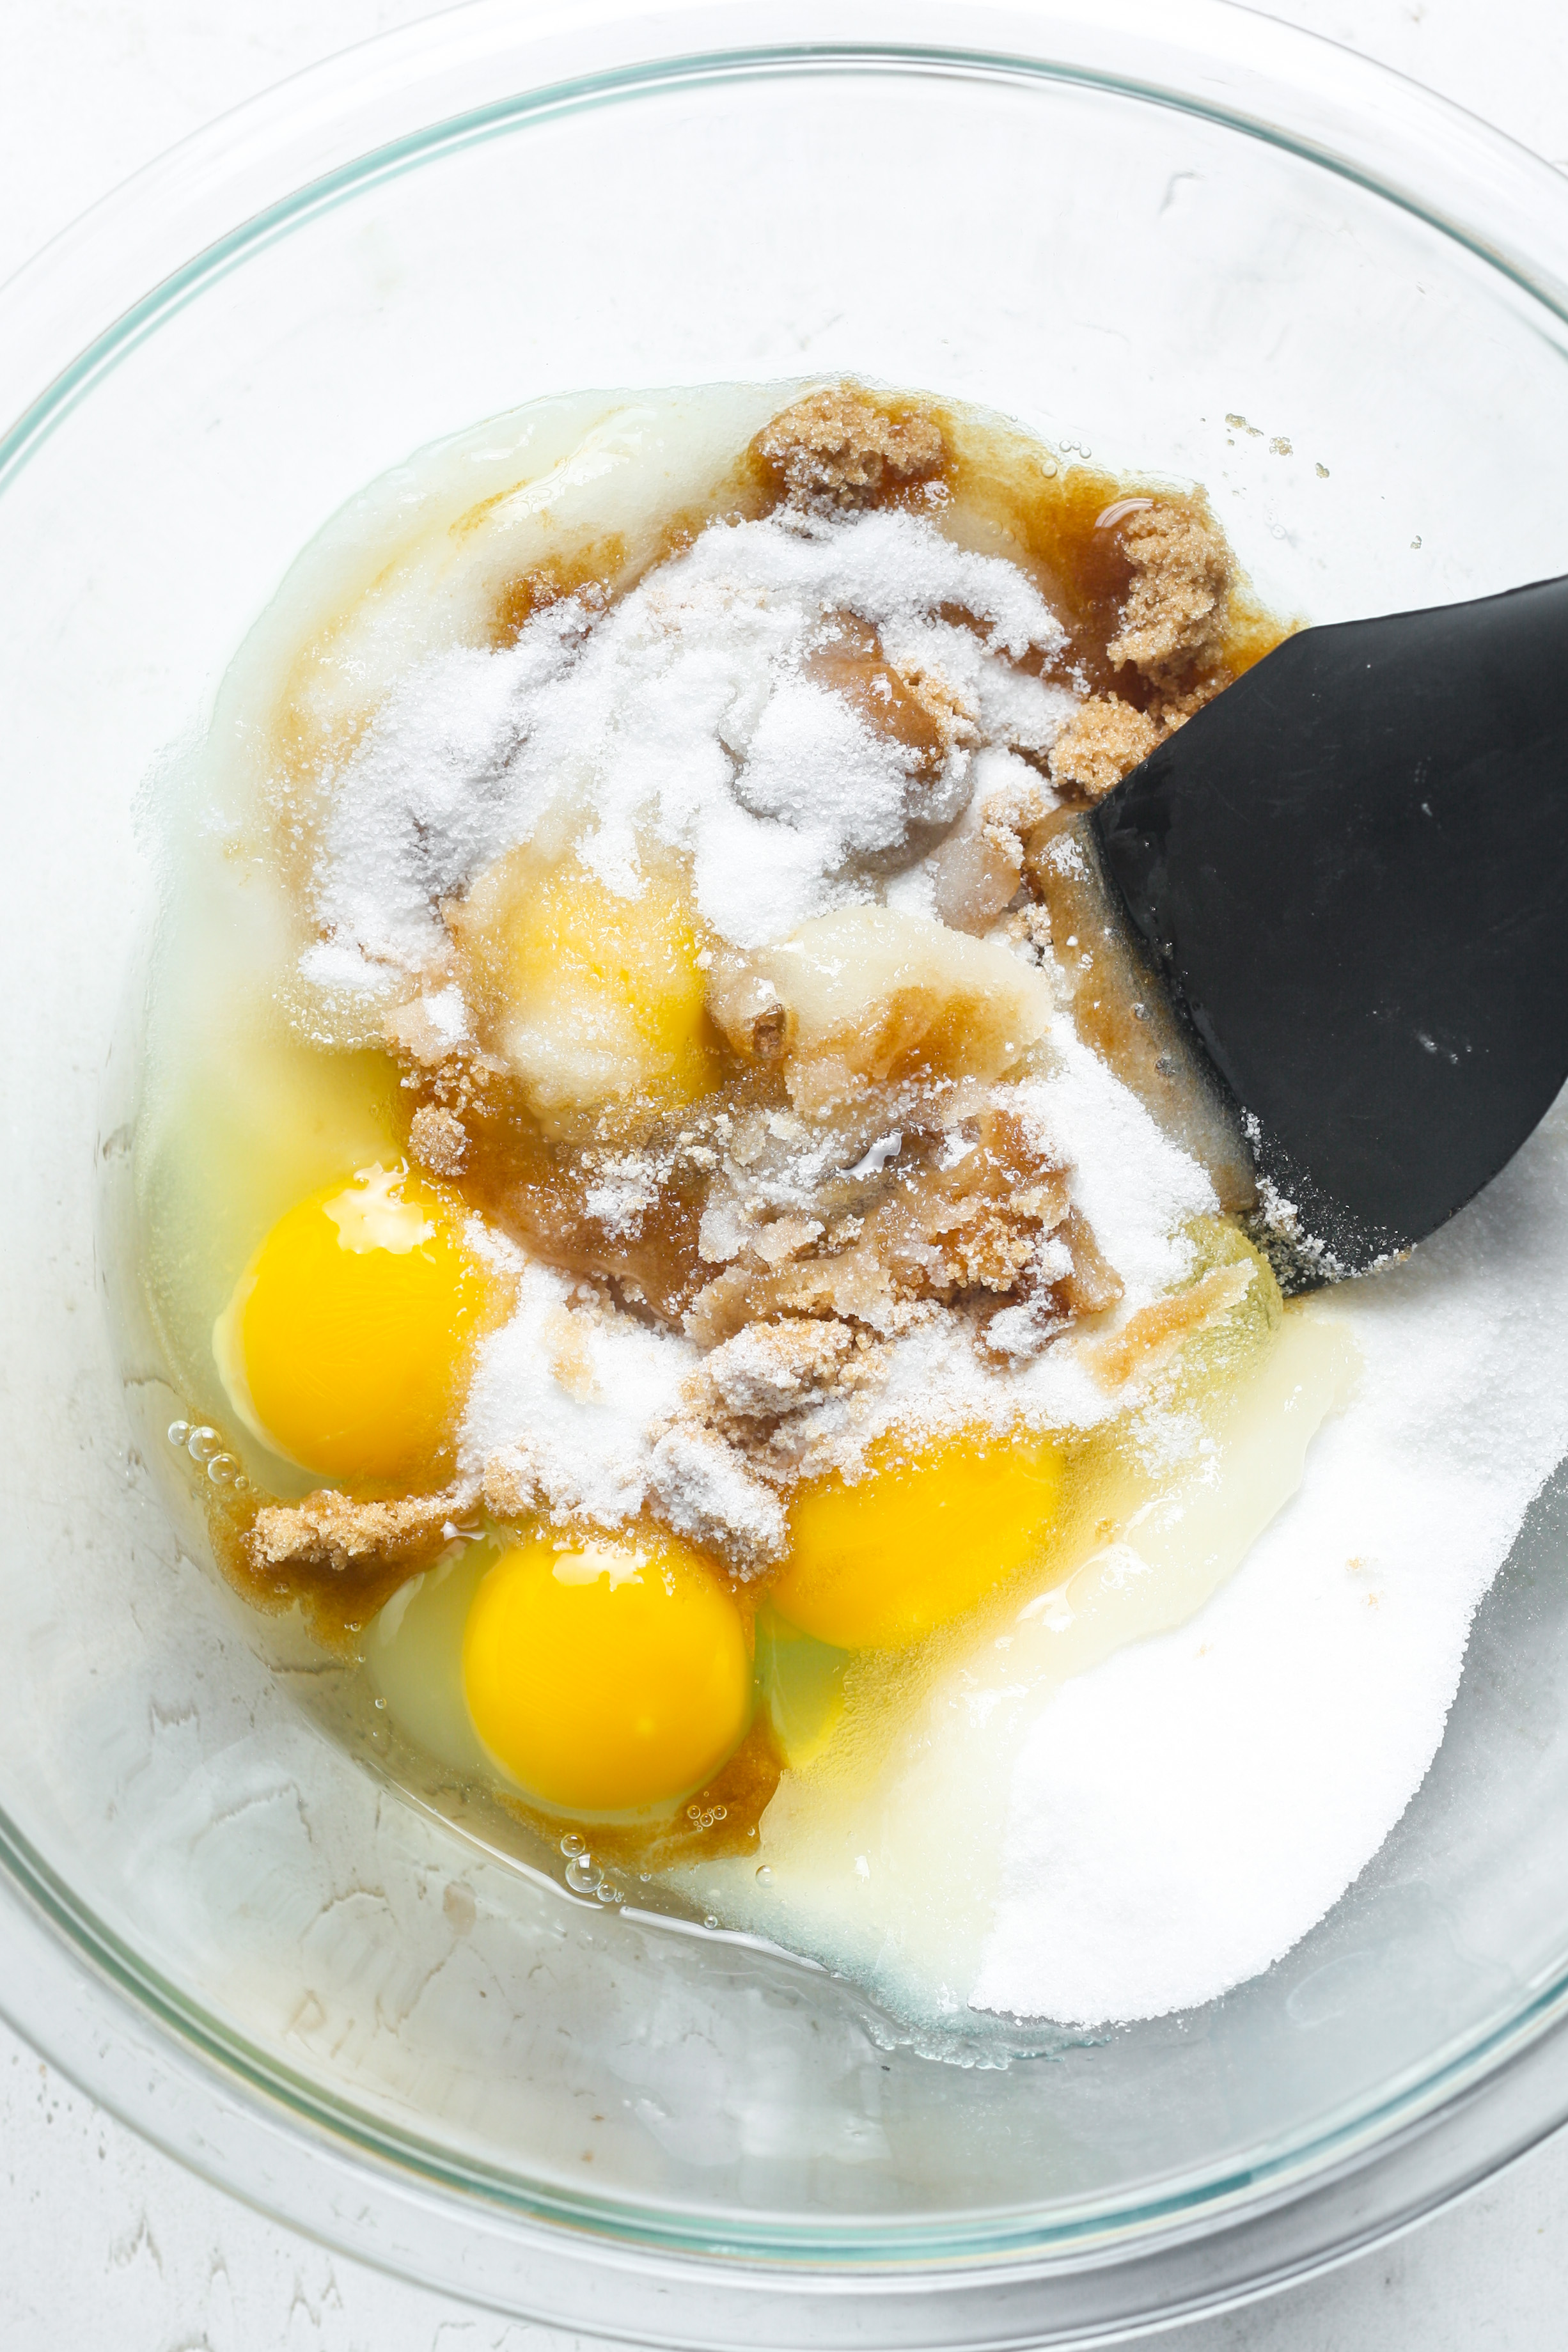
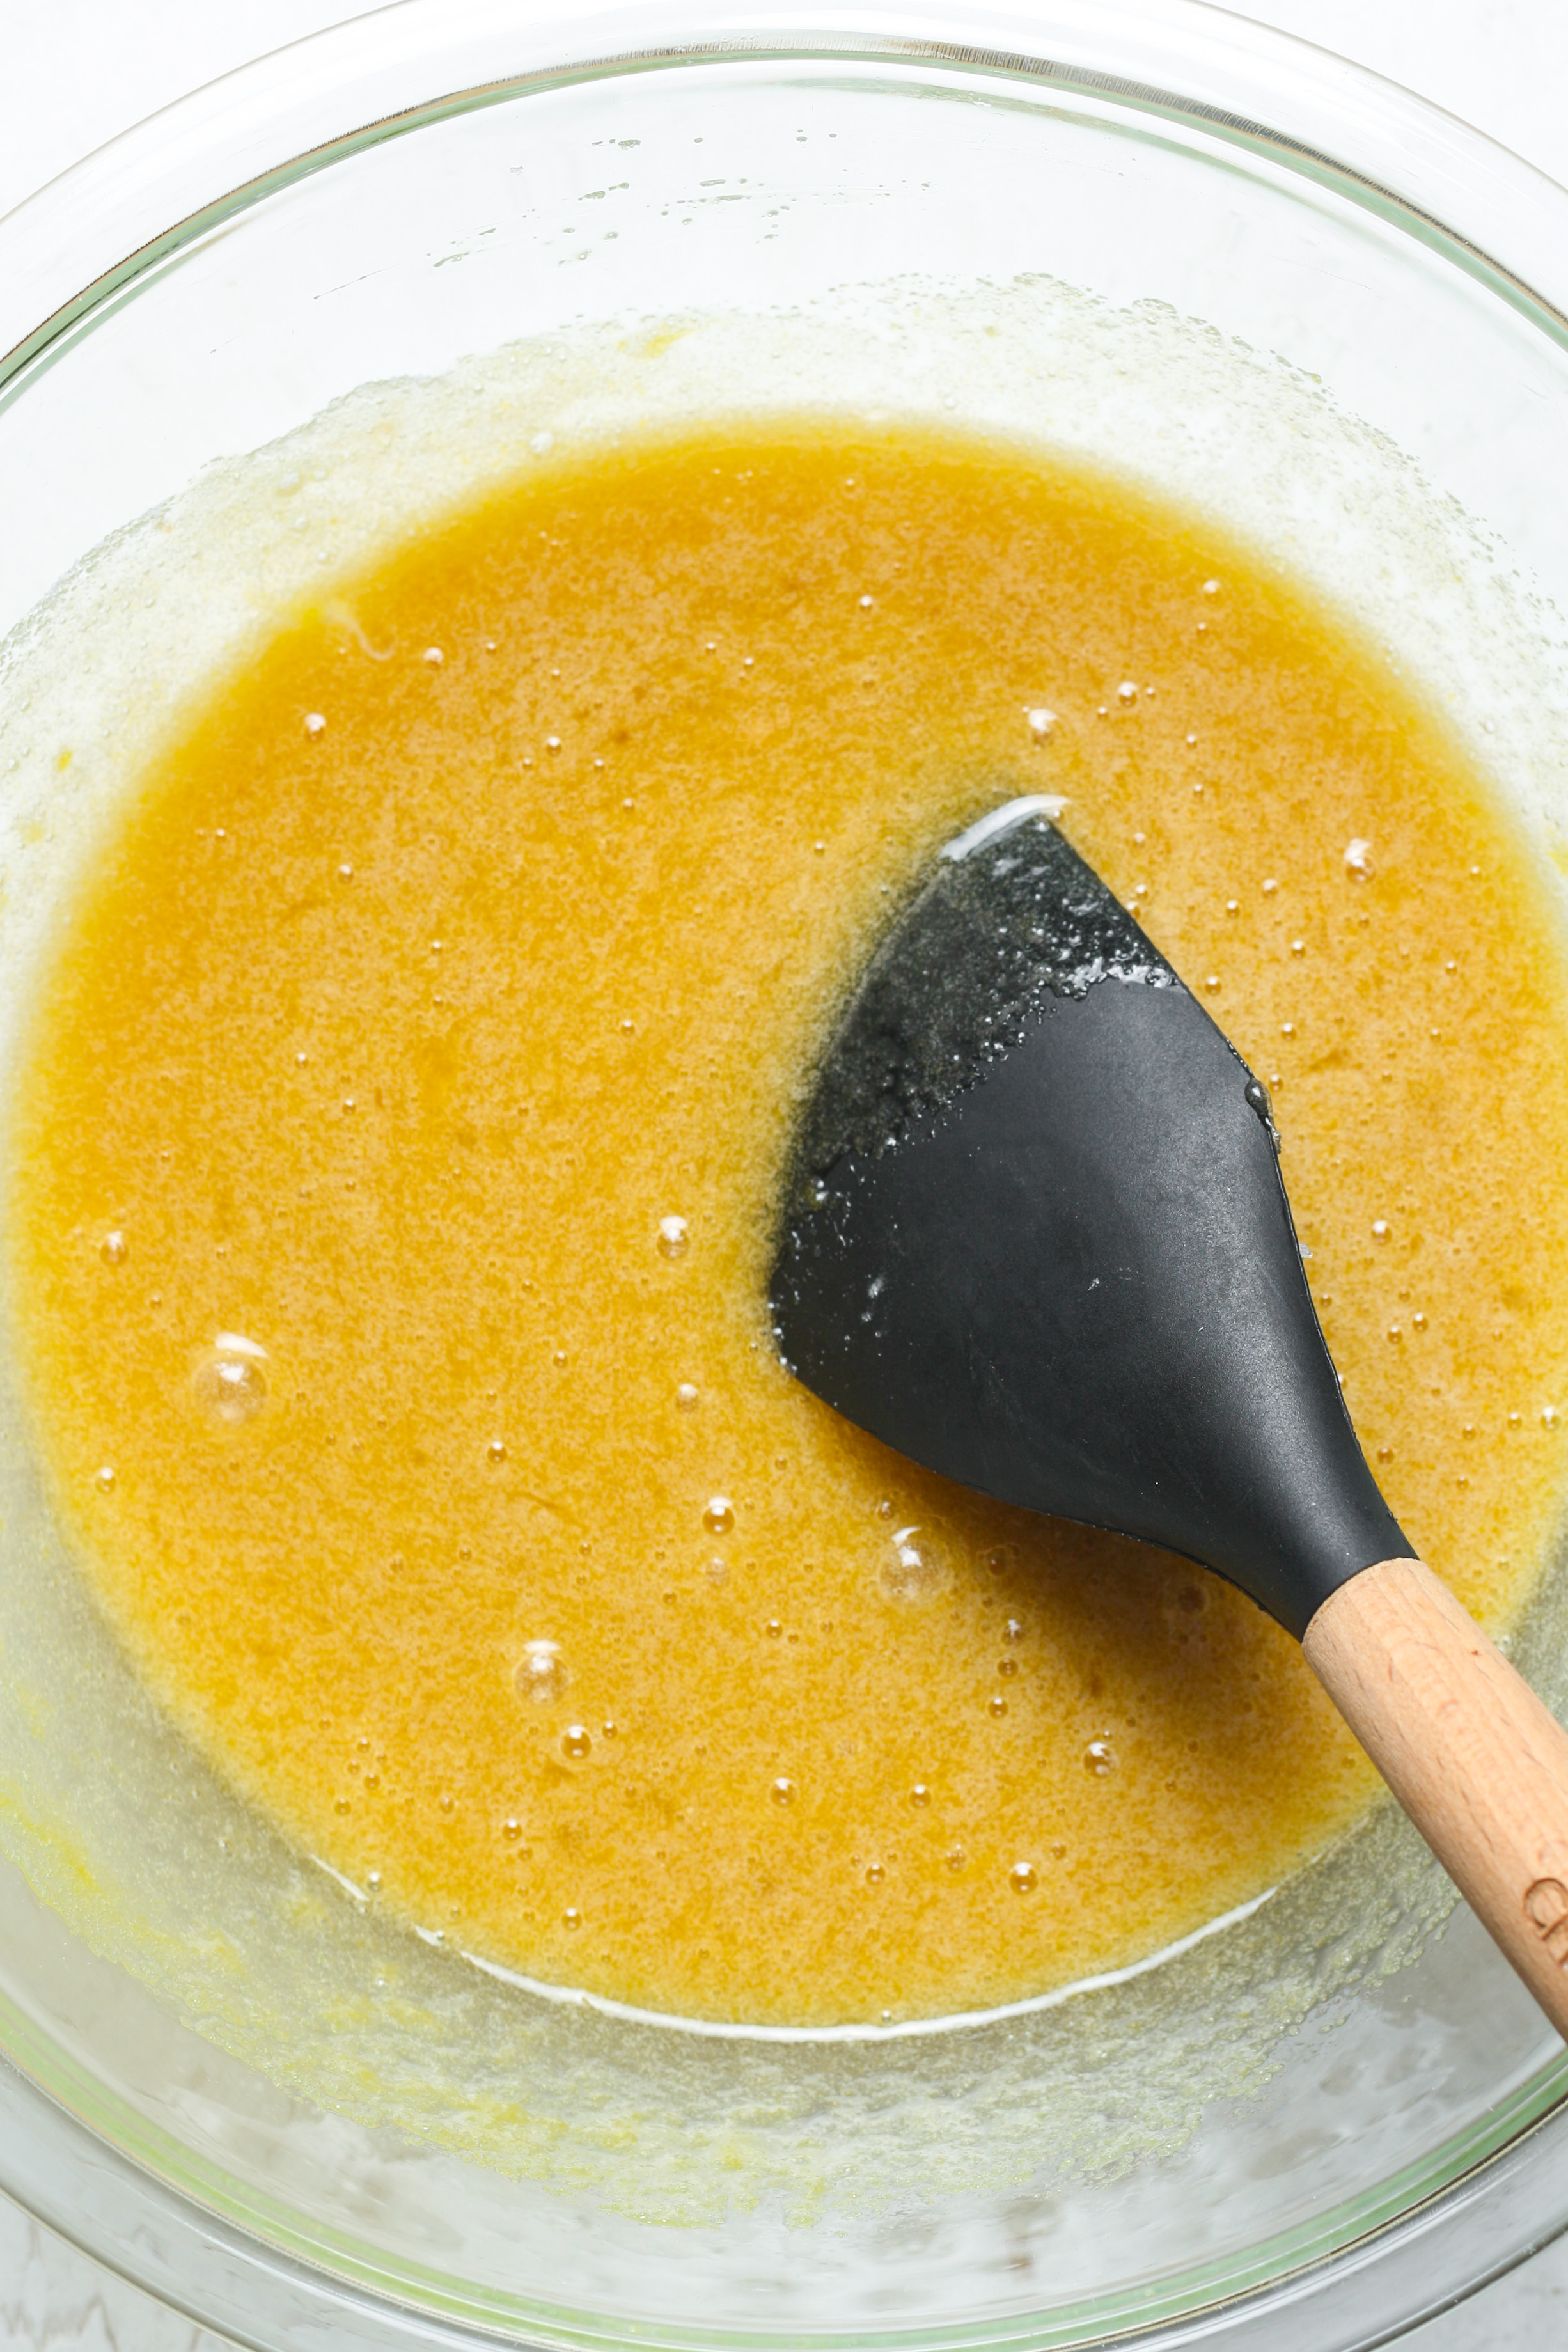
You can do this in a stand mixer fitted with a whisk attachment. You are looking for the ribbon stage, which means it’s pale yellow and will fall like a ribbon off the whisk and hold on top of itself for 2 seconds before combining.
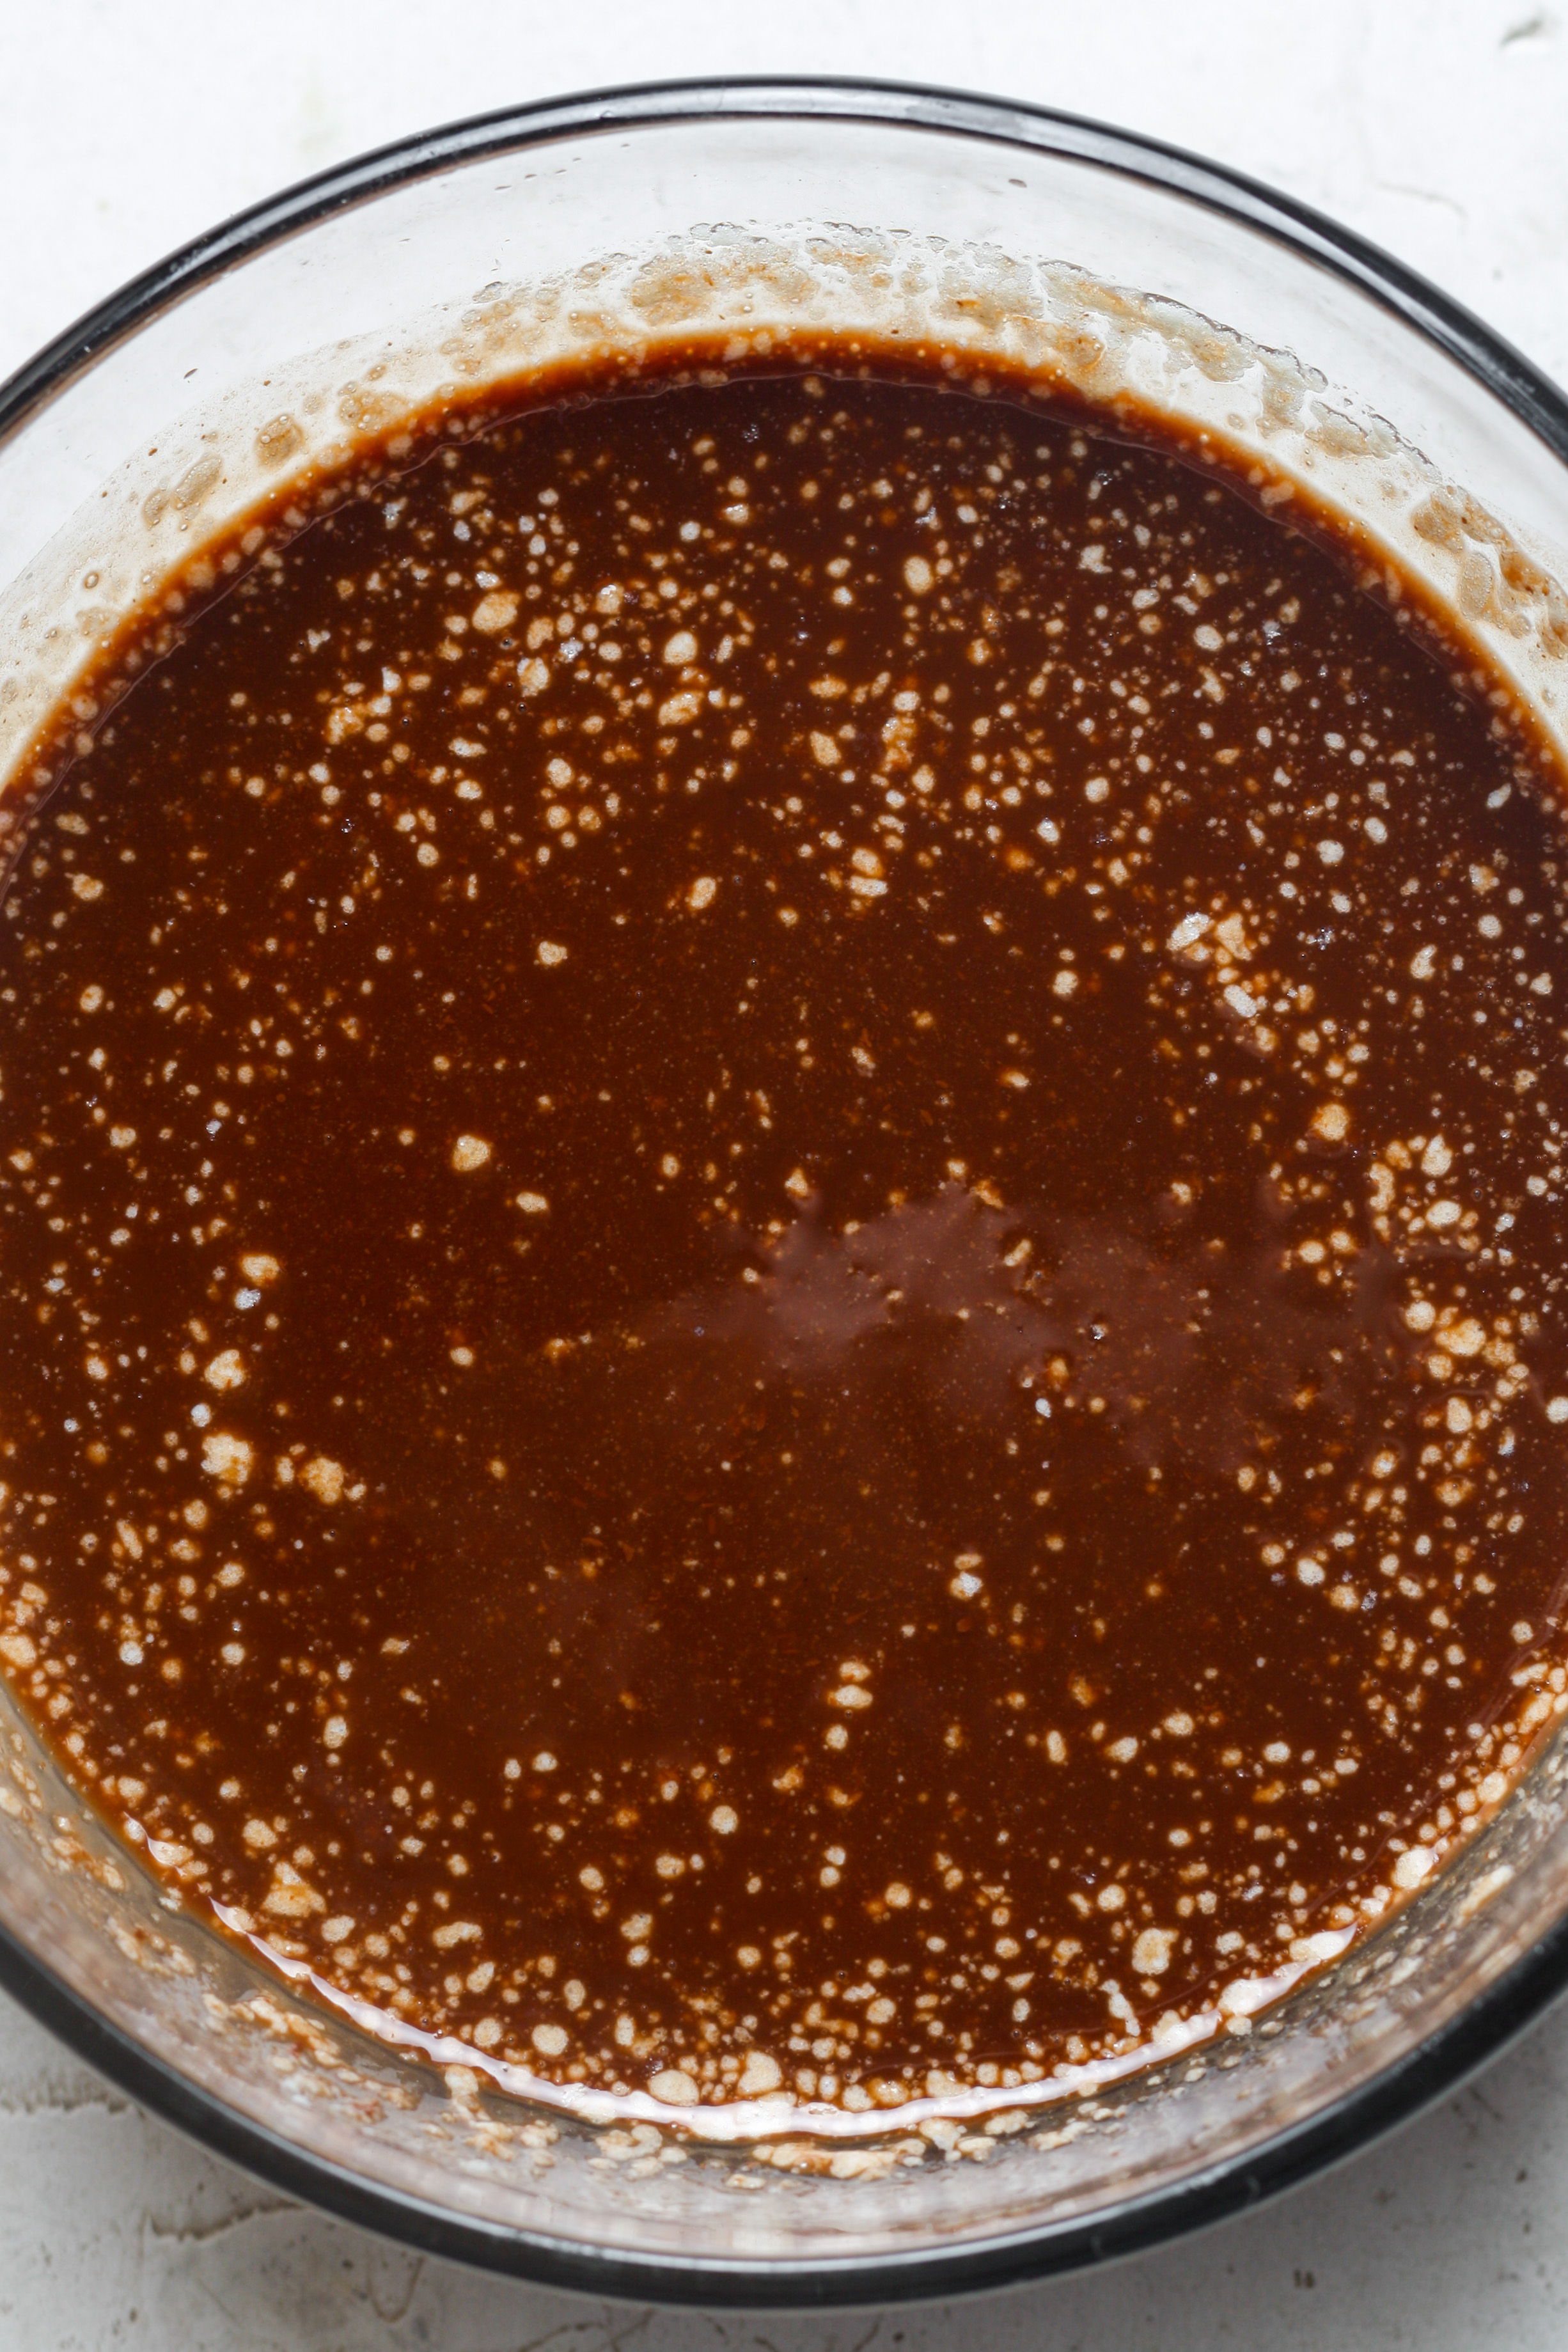
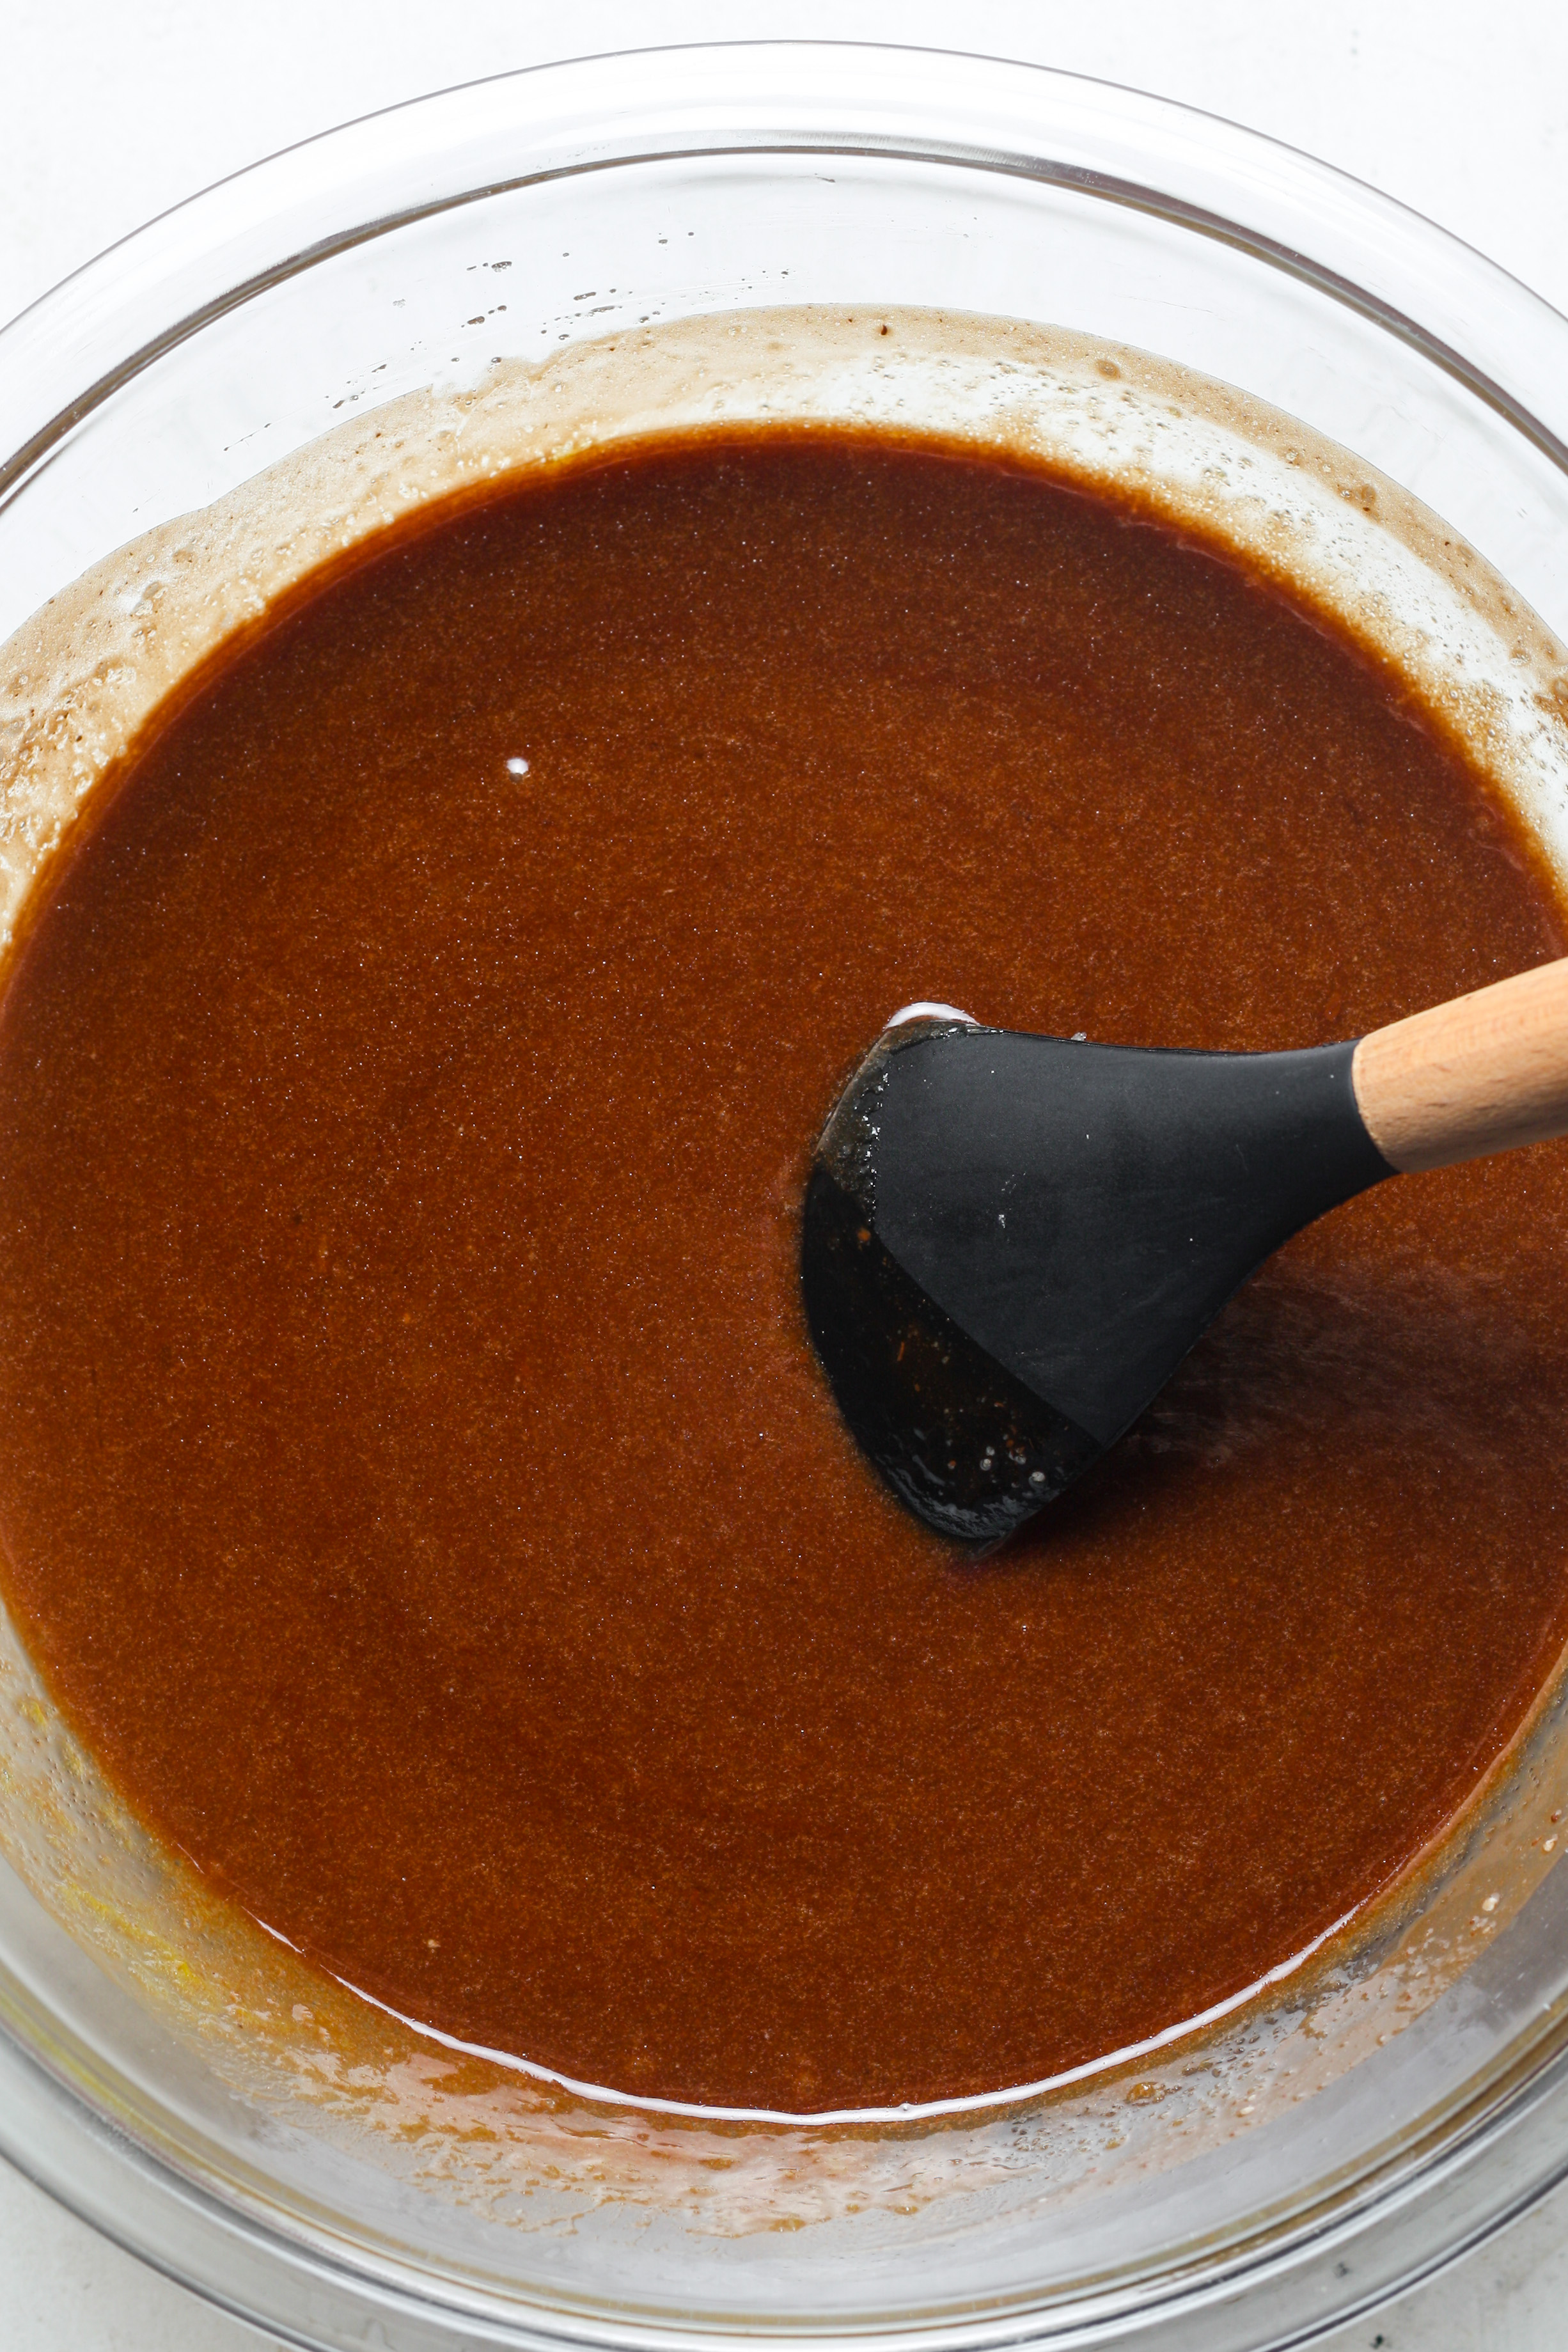
Step 5: Combine the chocolate mixture. Pour the melted chocolate and butter mixture into the egg and sugar mixture and stir until fully combined. The batter will turn a deep, glossy brown and smooth out as you fold the two together. (photos 3 & 4)
Be careful that the chocolate mixture isn’t too hot; it can scramble the egg mixture. If it is hot to the touch, place it in the fridge or actively cool over an ice bath.
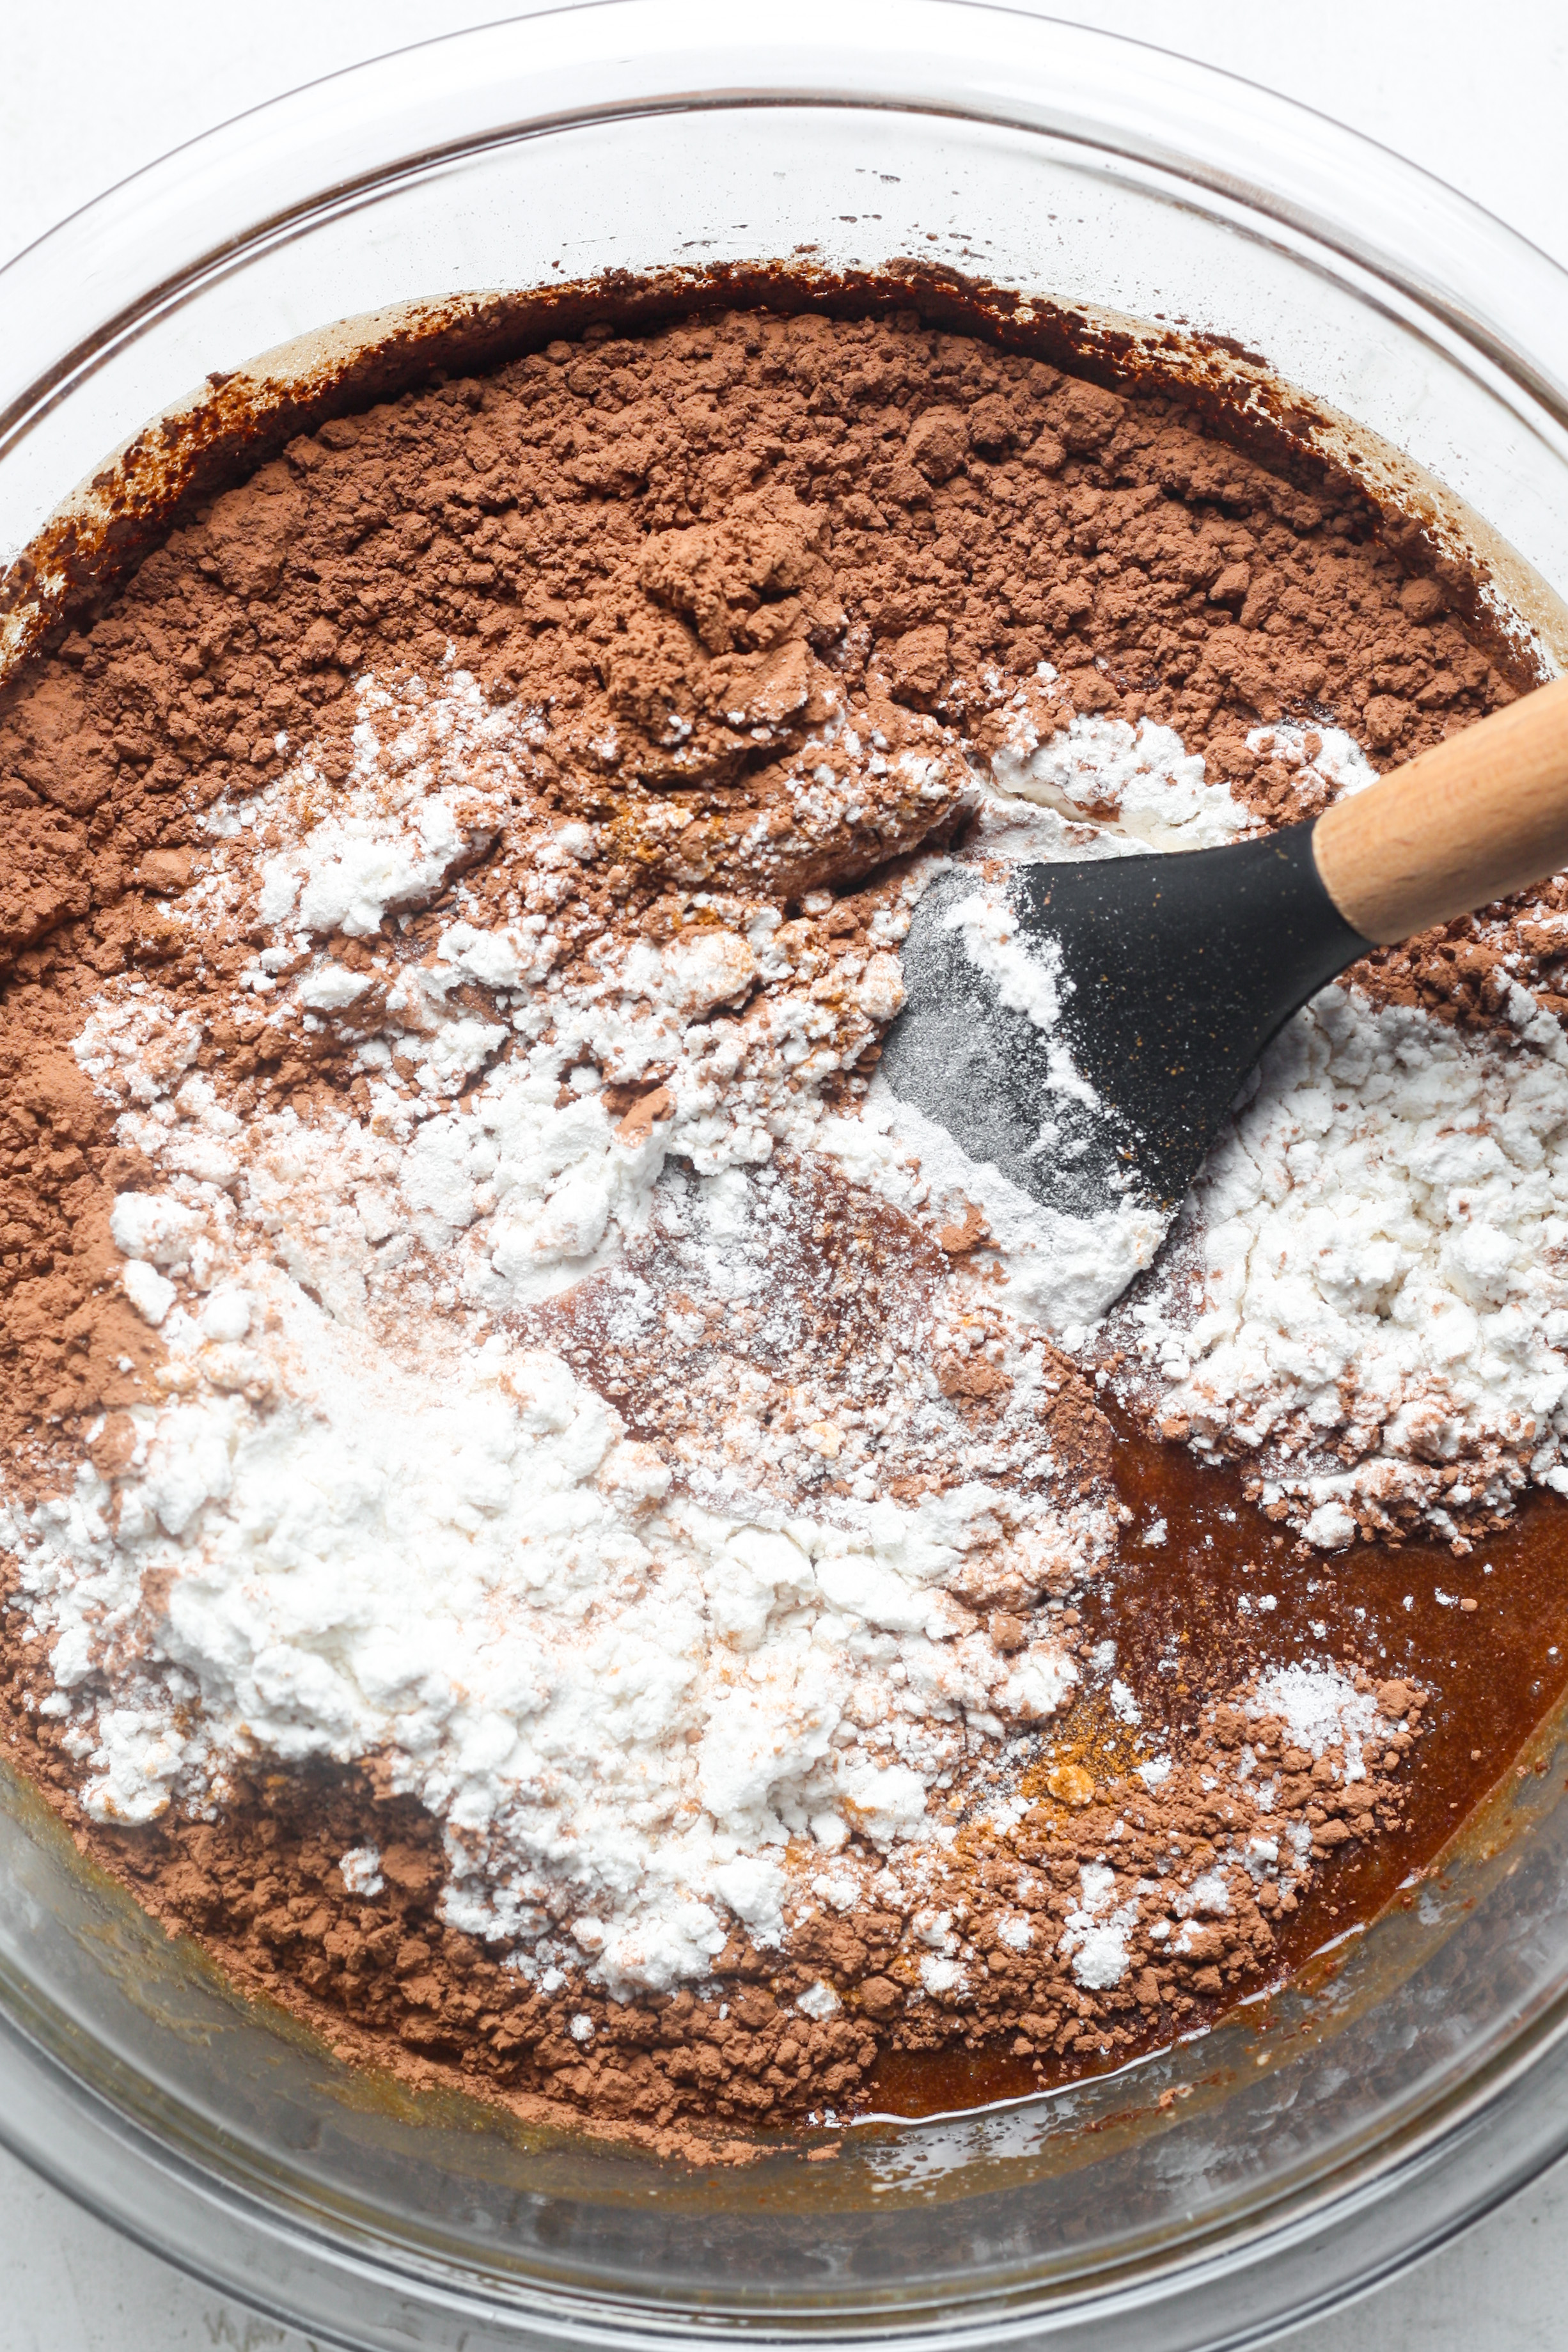
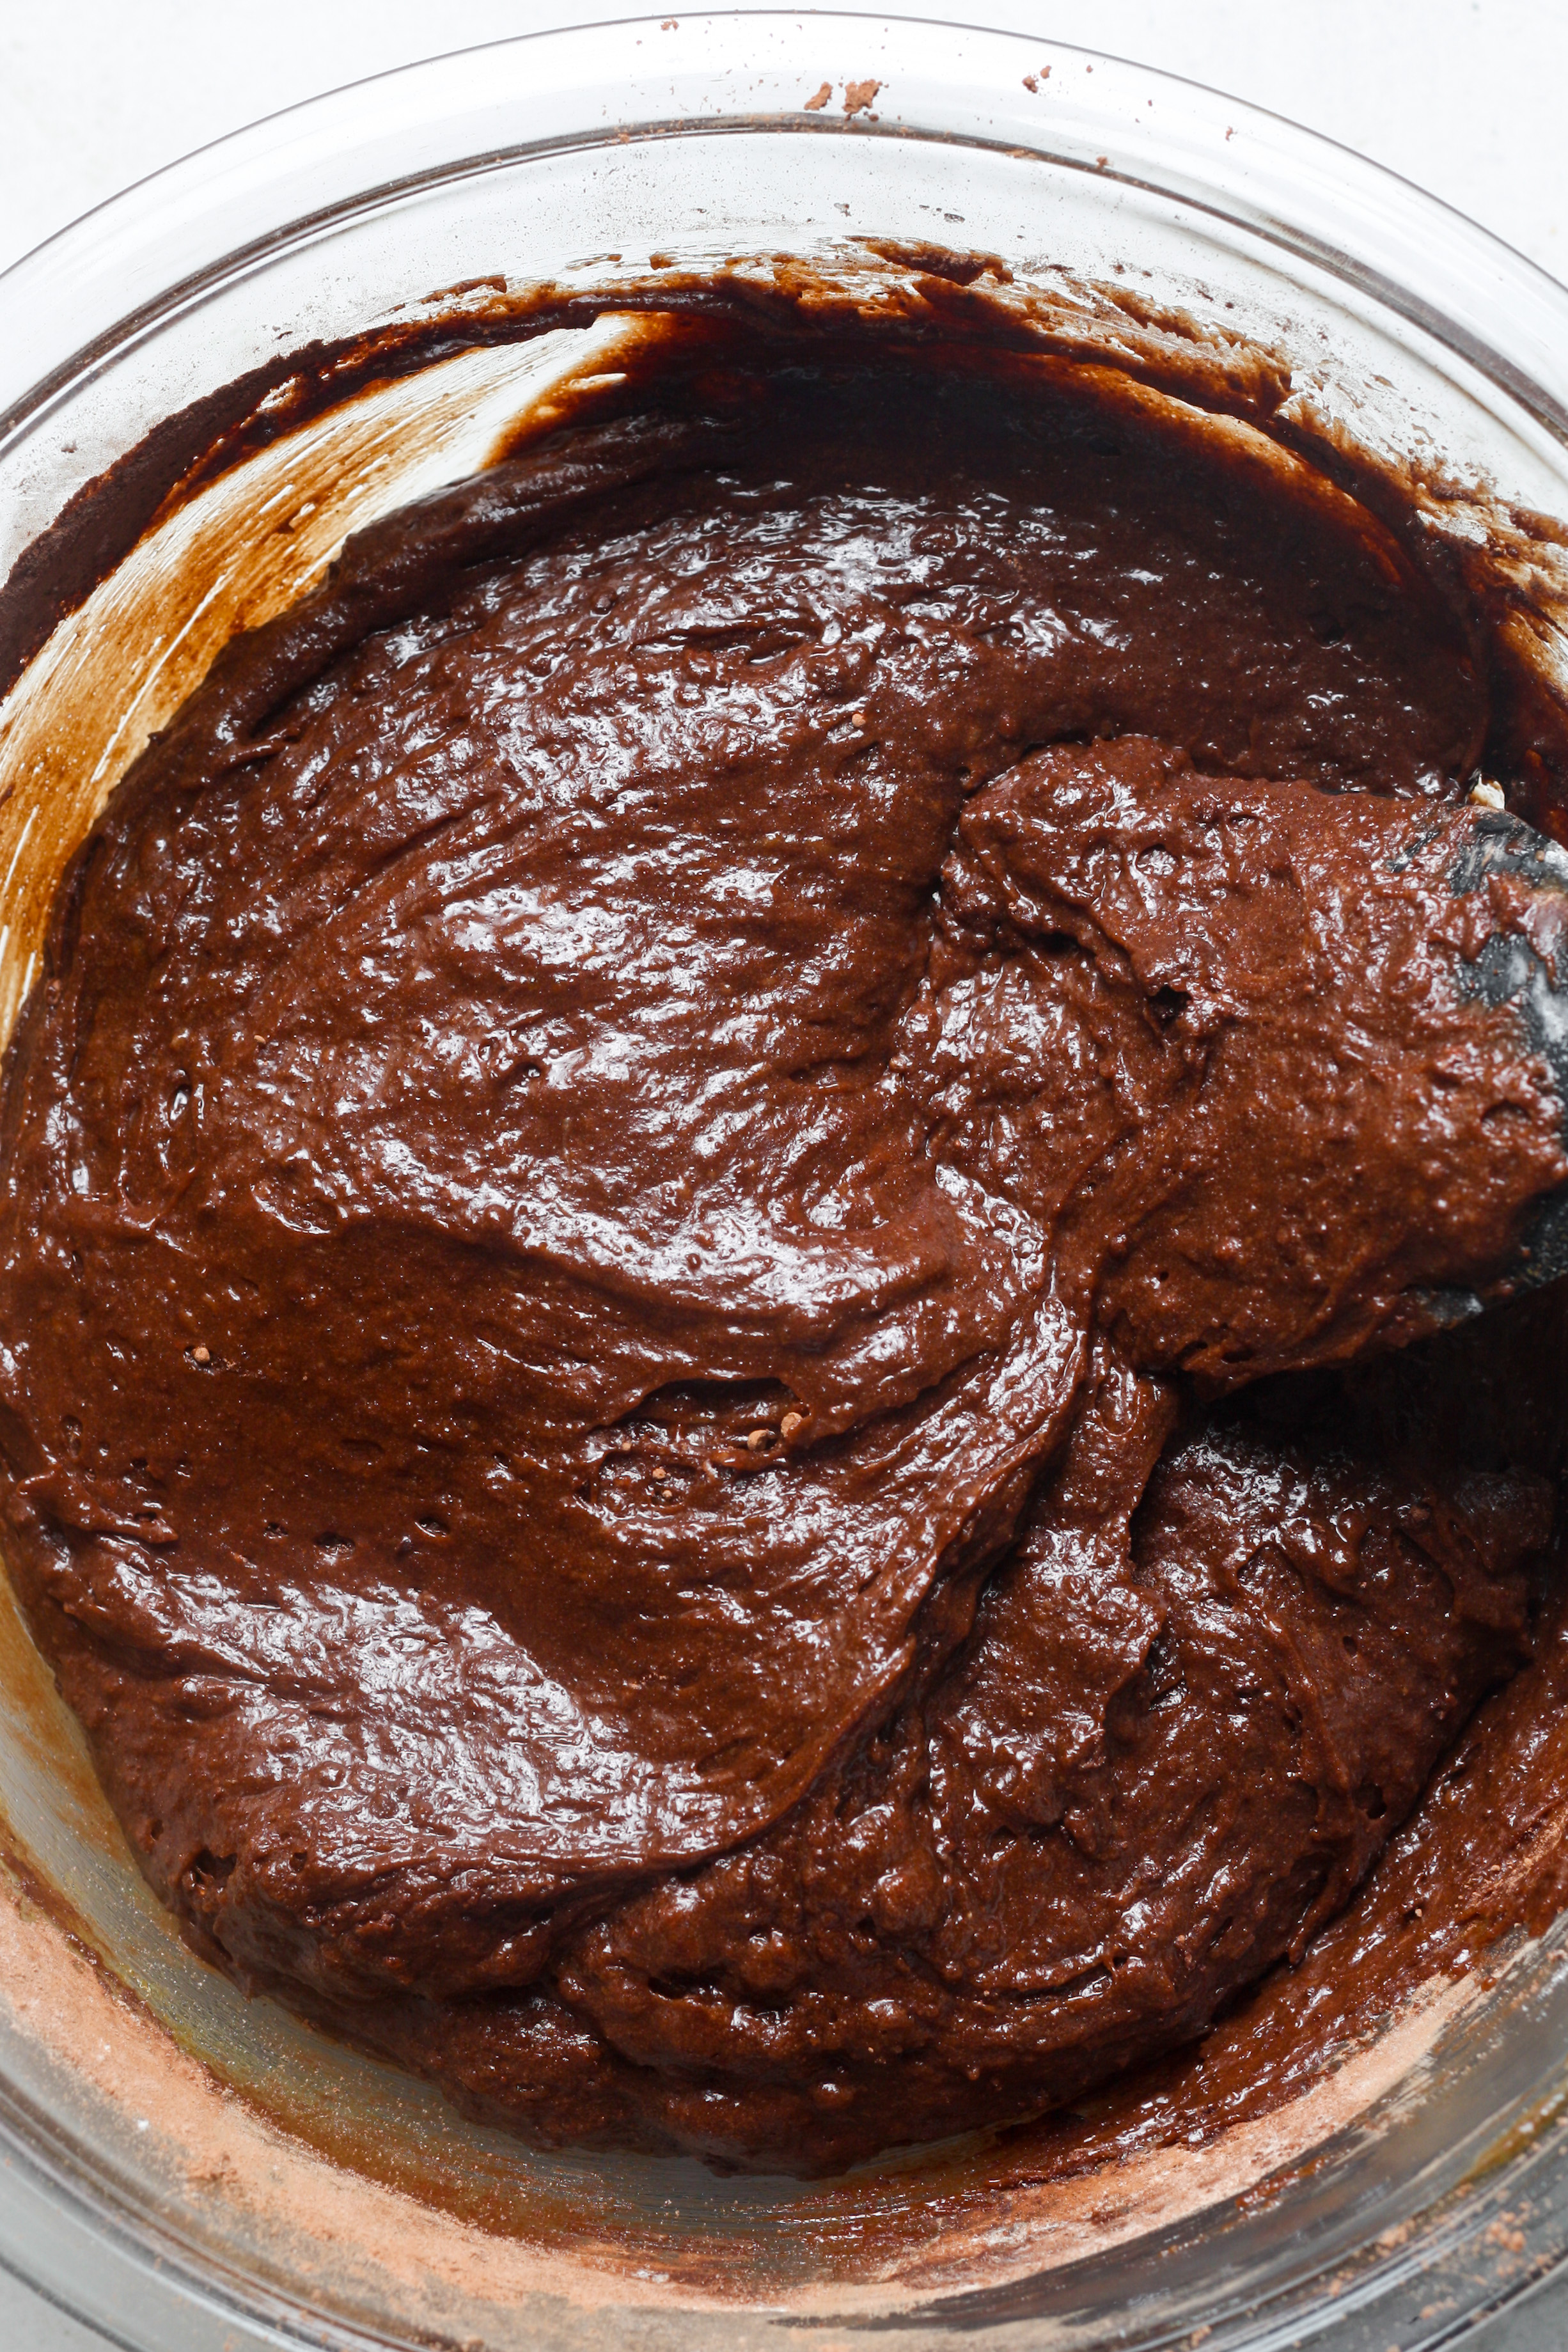
Step 6: Add the dry ingredients. Sift the flour, cocoa powder, espresso powder (if using), and sea salt directly into the bowl. Stir with a spatula until a thick, glossy batter forms and no dry streaks remain. Don’t worry if it seems very thick.( photos 5 & 6)
Sifting the cocoa powder and espresso powder directly into the bowl prevents dry clumps from hiding in the finished batter. It takes seconds and makes a real difference in the final texture.
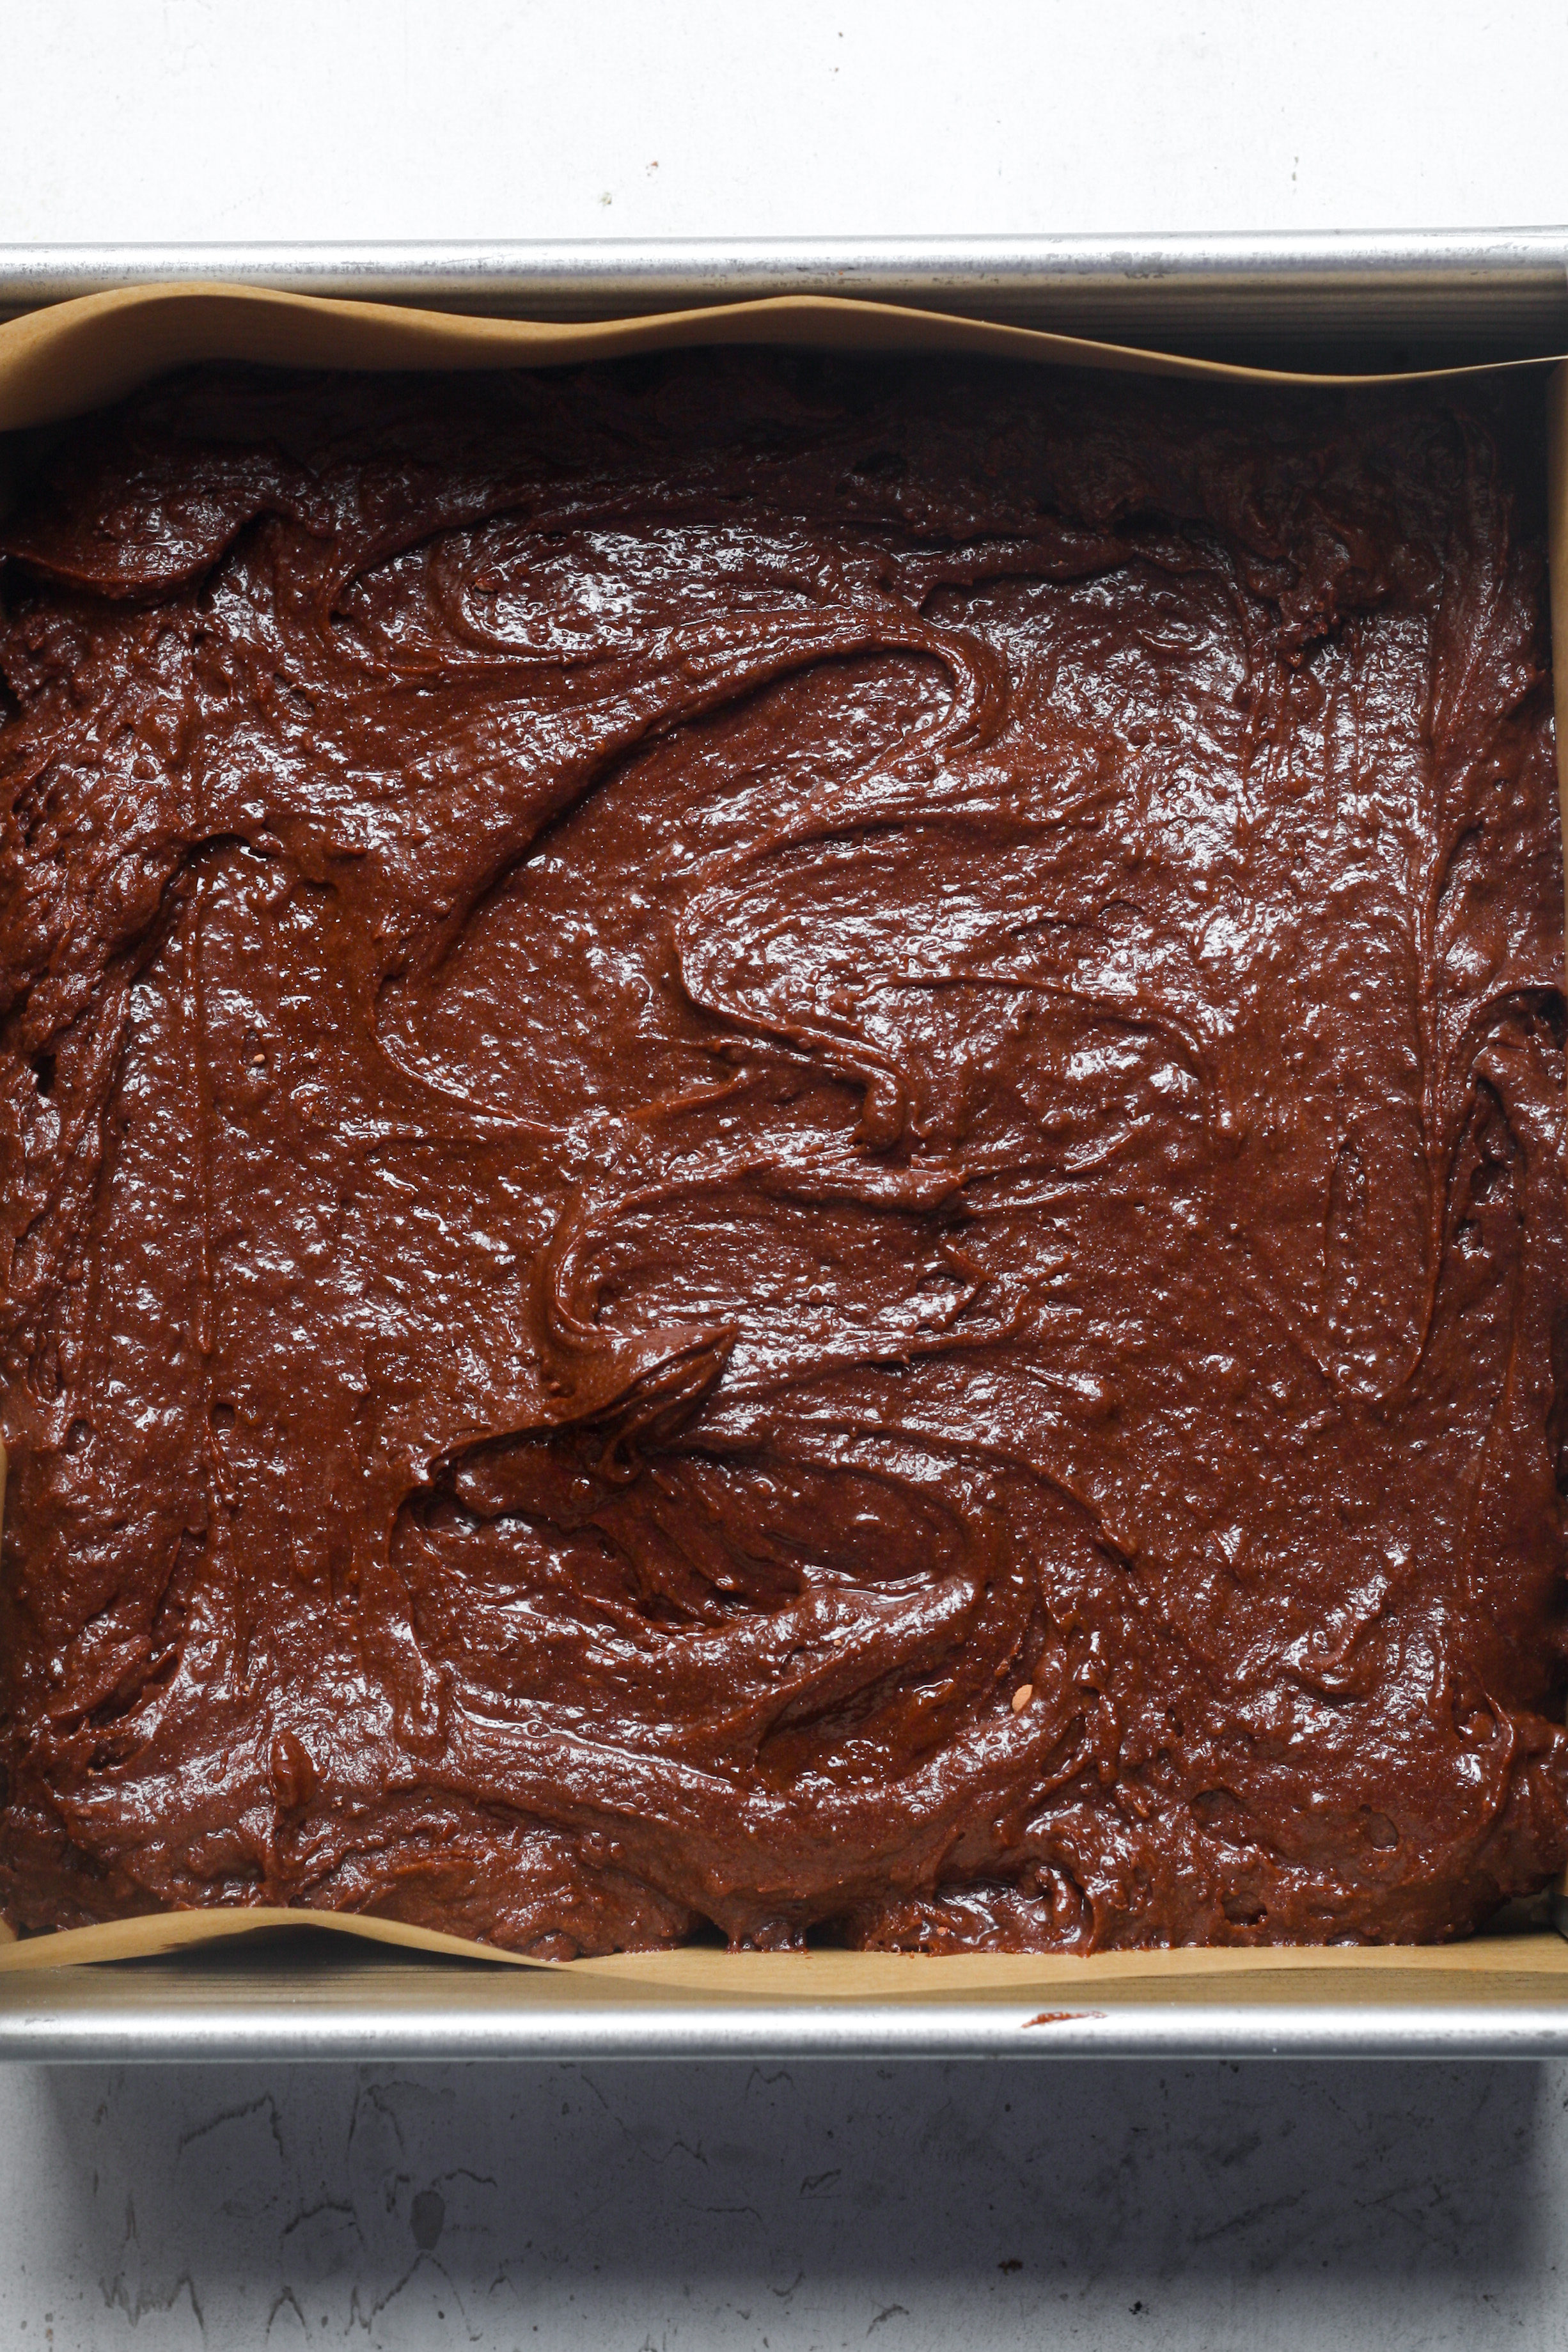
Step 7: Transfer and smooth the batter. Pour the thick brownie batter into your prepared pan and spread it into one even layer with a spatula. It won’t spread on its own the way a thinner batter would, so take a moment to push it gently into the corners and level the top. (photo 7)
Bake
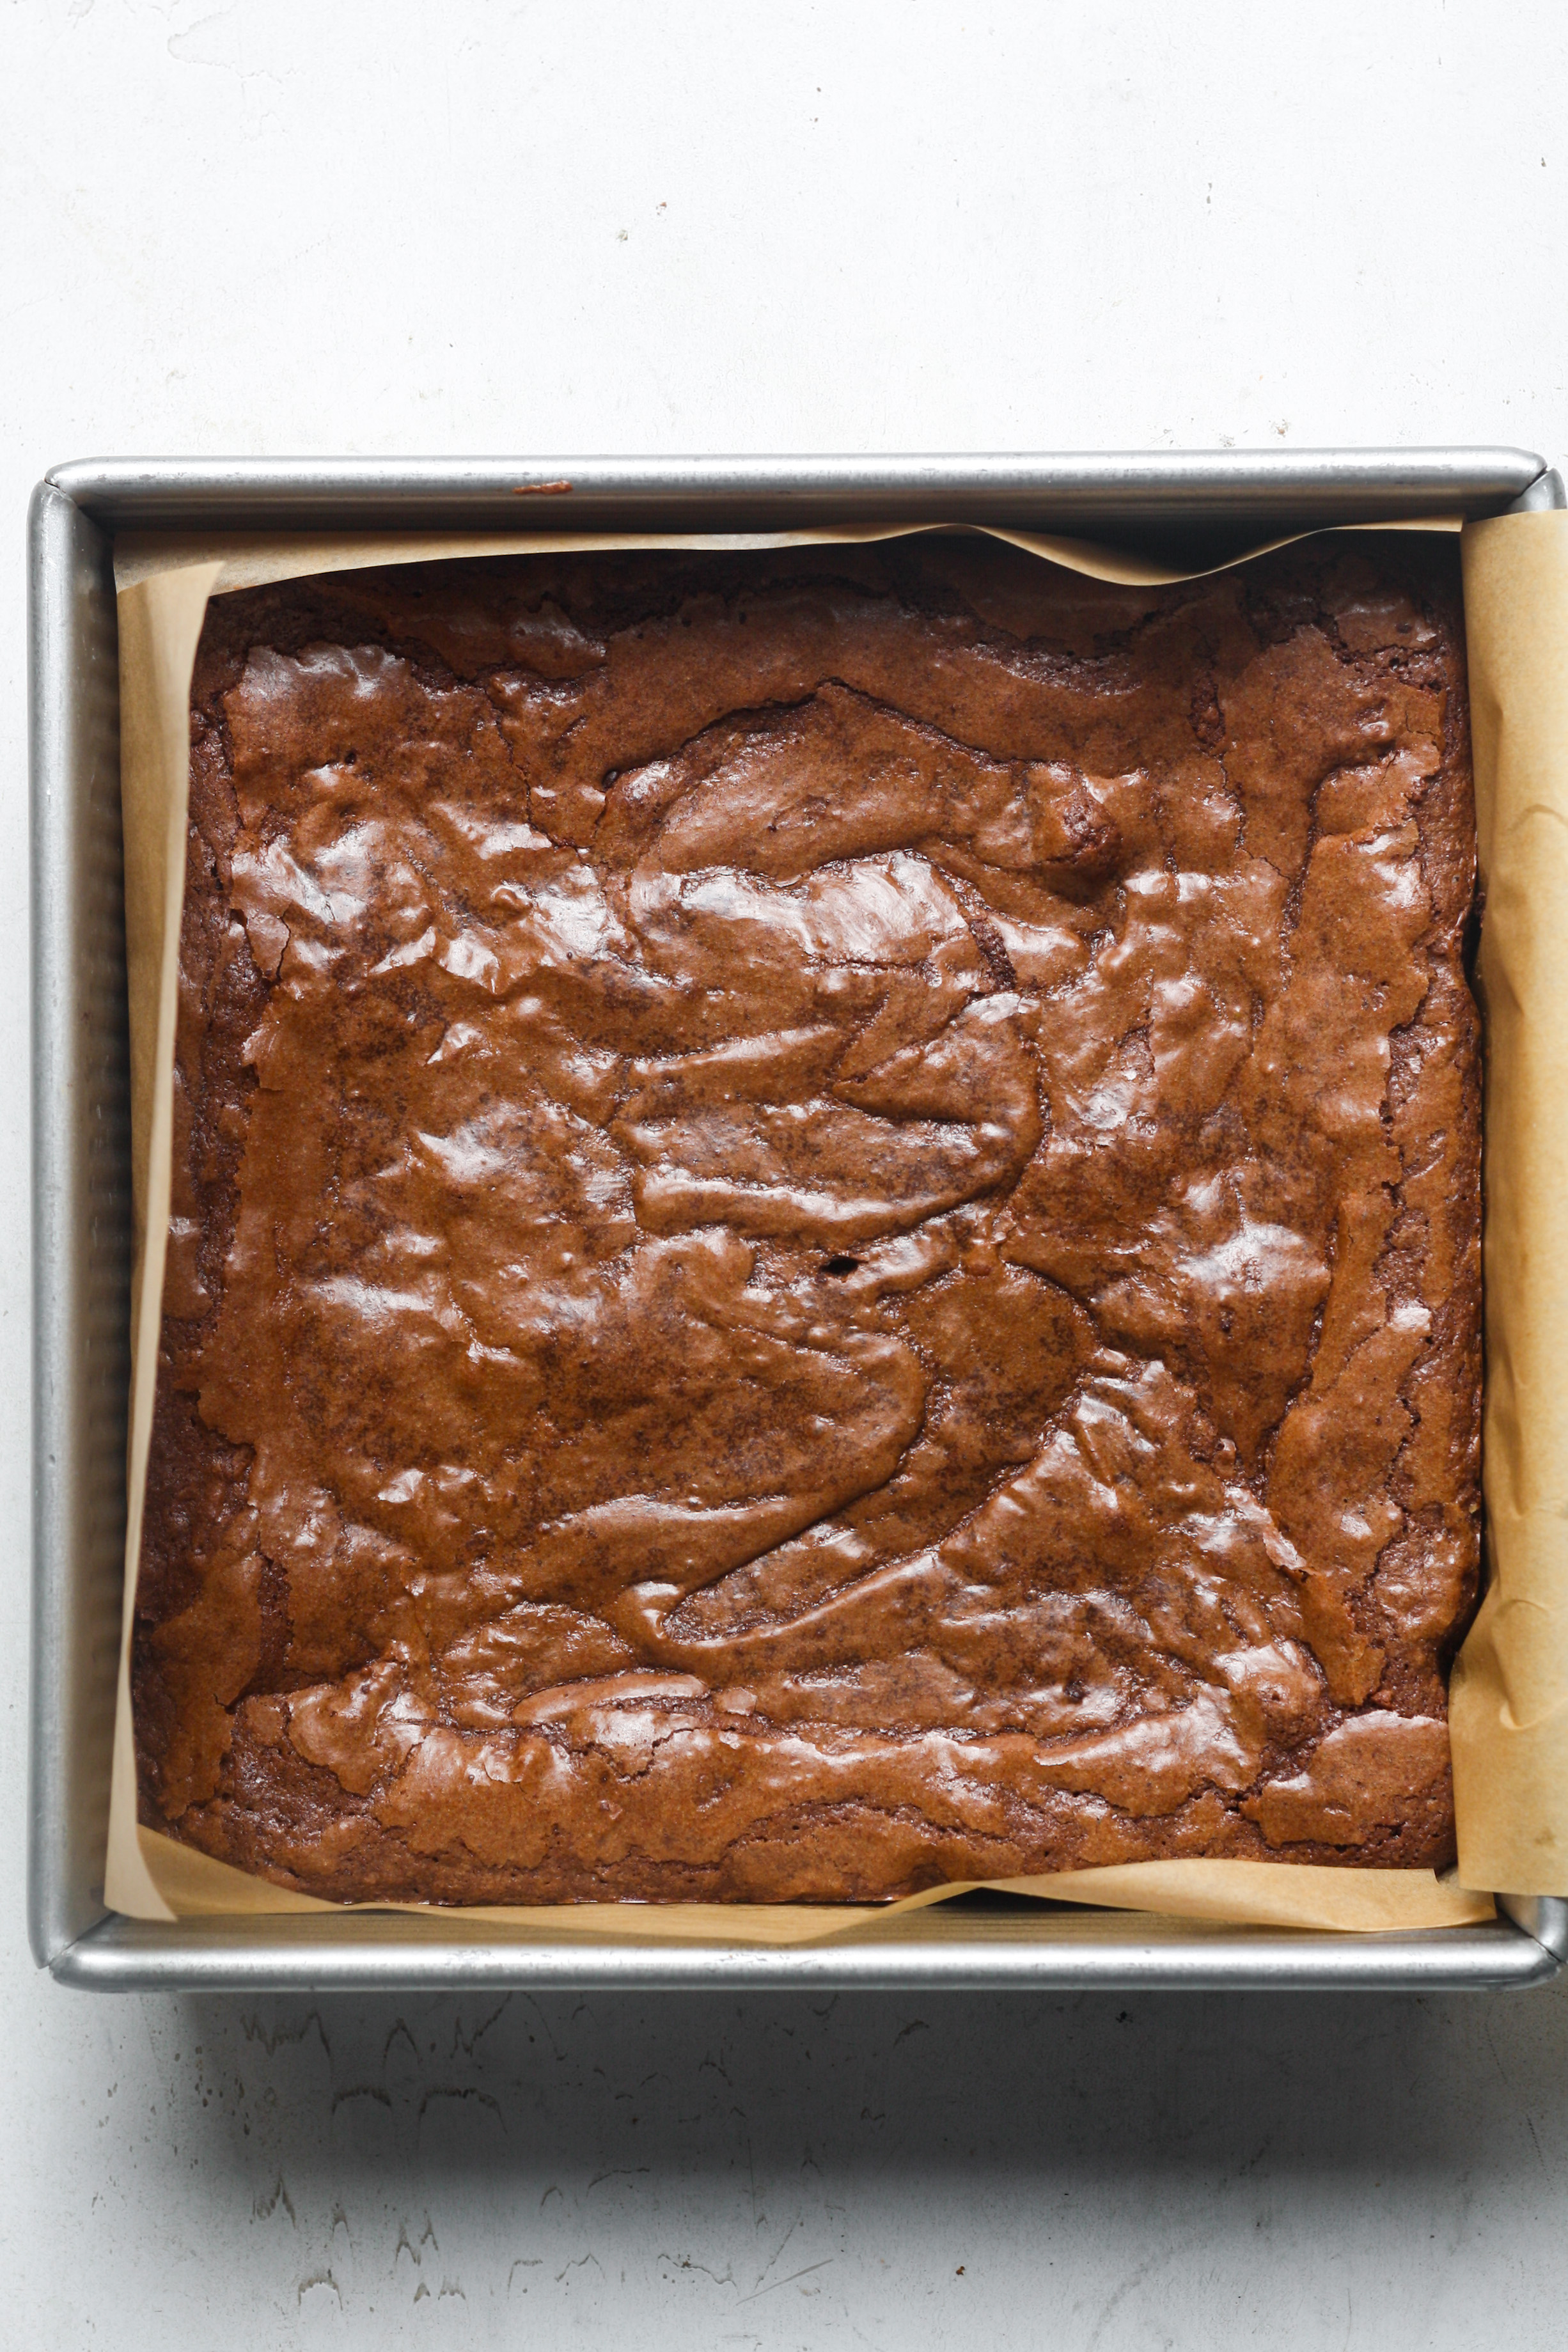
Step 8: Bake for 25 to 30 minutes, until a toothpick inserted into the center comes out with only a few moist crumbs clinging to it. The edges will look set and slightly pulled from the sides of the pan while the center may still look just barely underdone, which is fine — they continue to firm up as they cool. (photo 8)
Moist crumbs are the goal here, not a clean toothpick. If it comes out completely clean, the brownies are overbaked, and you’ll lose that fudgy center.
Cool completely before slicing
Step 9: Remove the pan from the oven and let the brownies cool fully in the pan before lifting them out and slicing. It’s tempting to cut in early, but a warm brownie is still setting up inside and you’ll get cleaner, neater squares if you give them the time they need.
Recipe FAQs
Store brownies in an airtight container at room temperature for up to 4 days. They also freeze beautifully — wrap individual squares in plastic wrap, place them in a freezer-safe bag, and freeze for up to 3 months. To reheat, just let them come to room temperature or warm them in the microwave for about 15 seconds, like I do when I need one right now.
The most common culprit is over-mixing the batter after you add the flour. Stirring too aggressively once the dry ingredients go in develops the gluten and pushes the texture toward cakey rather than dense and fudgy. Stir just until the batter comes together and no dry streaks remain, then stop.
These homemade brownies are a classic deep-chocolate, fudgy square built on butter, eggs, and cocoa. My Strawberry Brownies are a fruity, pastel twist that starts from a completely different flavor base. If you love chocolate, start here — if you want something bright and a little unexpected, the strawberry version is worth a try!
Yes, espresso powder is optional. It doesn’t make the brownies taste like coffee, it just deepens and intensifies the chocolate flavor, which is why I like to include it. If you skip it, your brownies will still be rich and delicious, just very slightly less complex in flavor.
Recommended Bar Recipes!

Brownies & Bars

Brownies & Bars

Summer

Brownies & Bars
Homemade Brownies
Ingredients
- 1 cup unsalted butter
- ½ cup chocolate chips
- 1¼ cups granulated sugar
- ¾ cup light brown sugar, tightly packed
- 4 large eggs, room temperature
- 1 teaspoon vanilla extract
- 1 cup all-purpose flour
- ⅔ cup cocoa powder
- ½ teaspoon sea salt
- 1 teaspoon espresso powder, optional
Instructions
- Preheat the oven to 350°F. Line an 8-inch square pan with parchment paper.
- Melt the butter in a microwave-safe bowl, then stir in the chocolate chips until completely smooth and creamy.
- In a large mixing bowl, whisk together the granulated sugar, brown sugar, eggs, and vanilla extract vigorously for 2 minutes until the mixture is light and frothy.
- Pour the melted chocolate mixture into the sugar mixture and stir to combine.
- Sift in the flour, cocoa powder, espresso powder, and sea salt. Stir until a thick batter forms and no dry streaks remain.
- Transfer the batter to the prepared pan and smooth into an even layer.
- Bake for 25 to 30 minutes, or until a toothpick inserted in the center comes out with only moist crumbs.
- Remove from the oven and allow the brownies to cool completely before slicing and serving.
Notes
Measuring: Spoon and level your flour rather than scooping directly from the bag. Scooping packs in extra flour, which dries out the batter and can make the brownies less fudgy.
Storage: Store brownies in an airtight container at room temperature for up to 4 days. To freeze, wrap individual squares in plastic wrap, place in a freezer-safe bag, and freeze for up to 3 months. To reheat, let them come to room temperature or warm in the microwave for about 15 seconds.
Nutrition
Nutrition information is automatically calculated, so should only be used as an approximation.
 Like this recipe? Rate & comment below!
Before You Go
I hope these homemade brownies earn a permanent spot in your baking rotation the way they have in mine. Browse our Dessert Recipes or make these gluten free brownies next!




These brownies were terrific. My husband said if he knew a resturant charged for these he would gladly pay. We had them for dessert with vanilla ice cream on Christmas Day.
Hi Linda! This absolutely made our day! Aw, tell your husband that is the highest compliment. Thank you so much for taking the time to come back and leave a comment! Happy baking! ~gvd team
I used chopped dark chocolate and folded in some walnuts, and these brownies were unreal! I honestly can never have enough brownies! I love that it’s easy to pull together and the crackly top is just the best.
Am I missing something? There is vanilla extract in the list of ingredients, but it is completely omitted from the step-by-step instructions.
Hi Shayne! Thank you. I just updated the post to reflect when to add the vanilla. Enjoy!
thank you, every once in a while I get a brownie craving, usually not because of the chocolate dominance, but these look wonderful, and only 35 minutes total, I’m in! I can always offset the overwhelming chocolately chocolate with a glass of milk
I brought these to a BBQ last weekend and they were such a hit! Not a crumb left after about 10 minutes of setting them out! Next time, I’ll make more!
These were perfect and had the shiny crackle top! I loved all the tips and information included in the post. Will definitely be making my brownies homemade from now on… goodbye boxed brownies!
These brownies are so rich and chocolatey! Kids can’t get enough of them, they love to bring it to school. Highly recommended!
These brownies were fantastic! I took them as a last minute dessert to a Memorial Day bbq. Perfect!
I recently made a batch of homemade brownies, and they turned out to be an absolute hit! The texture was delightful, perfectly complemented by the rich chocolate flavor. Even my kids couldn’t resist! They are requesting more!
I’m a huge fan of homemade brownies. It’s fun to get the kids in on it, too. We make them together, and then we all sit down and eat them when they come out of the oven.