
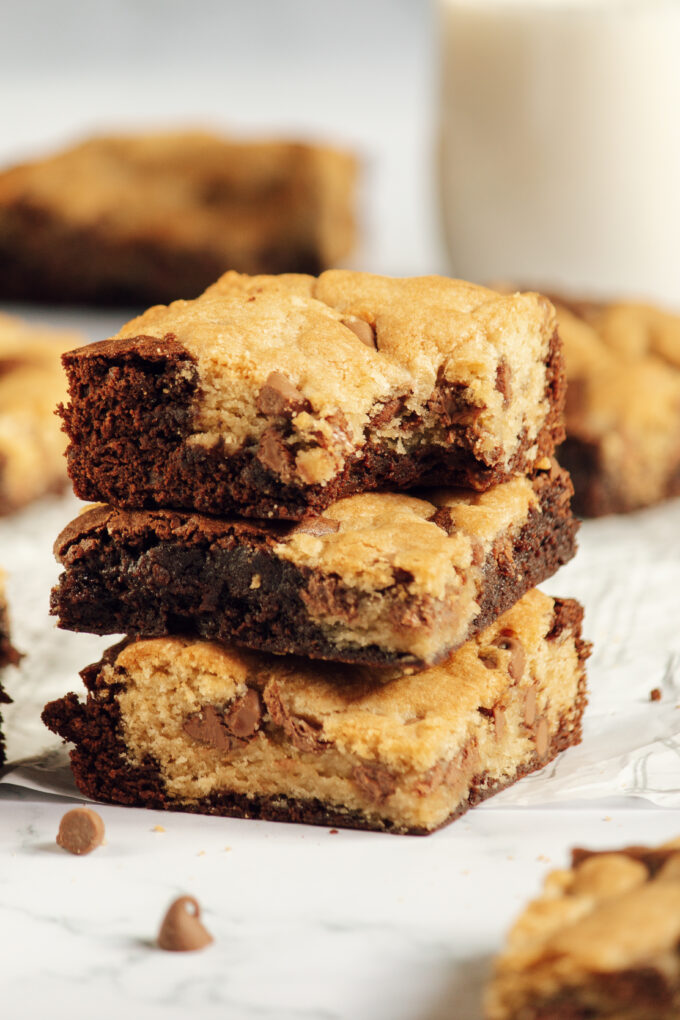
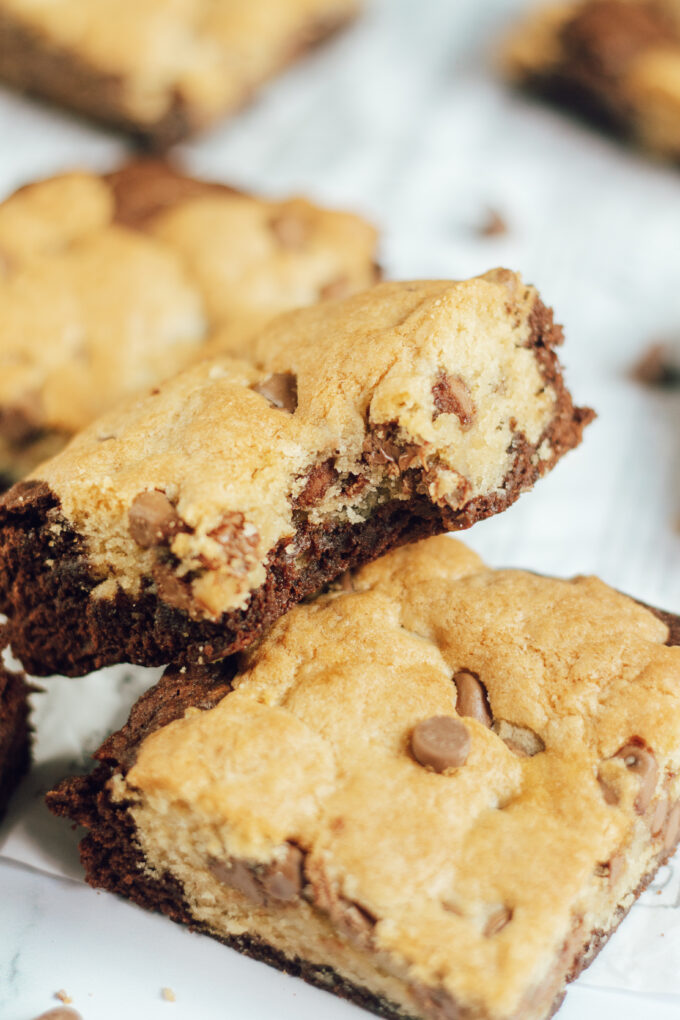
When you just want both a classic chocolate chip cookie and a decadent brownie, make these Brookies! These are rich and fudgy. These bars are arguably the best dessert for tea, milk, or coffee. They are easily a crowd favorite and perfect for any celebration!
Why You Will Love This Recipe
- Brookies provide a perfect mix of rich, fudgy, gooey, and buttery.
- This recipe is beginner-friendly, no special training is required just like my easy blondie recipe.
- The ingredients are accessible and affordable. In fact, you may already have a number of these ready in your pantry.
- There is no dough chilling required. These brownie cookies are quick and easy!
- This recipe is highly customizable and can be adjusted to include your favorite dessert pairings.
- If you have any diet restrictions or allergies, you can easily swap out ingredients for healthier alternatives.
- For gluten-free, replace all-purpose flour with gluten-free 1 to 1 flour.
- This recipe keeps well. Perfect for advanced prepping, holidays, birthdays, and more.
- This simple dessert keeps its shape and can be cut to provide perfect proportions for any gathering.
- Check out these Oatmeal Chocolate Chip Cookies for another classic dessert recipe! These Chocolate Cake Pops are so fun too!
What are Brookies?
Brookies are a perfect mix of your childhood dessert favorites.
It is part brownie, part cookie. They are the ultimate treat for when you cannot decide between rich and fudgy or chewy and buttery.
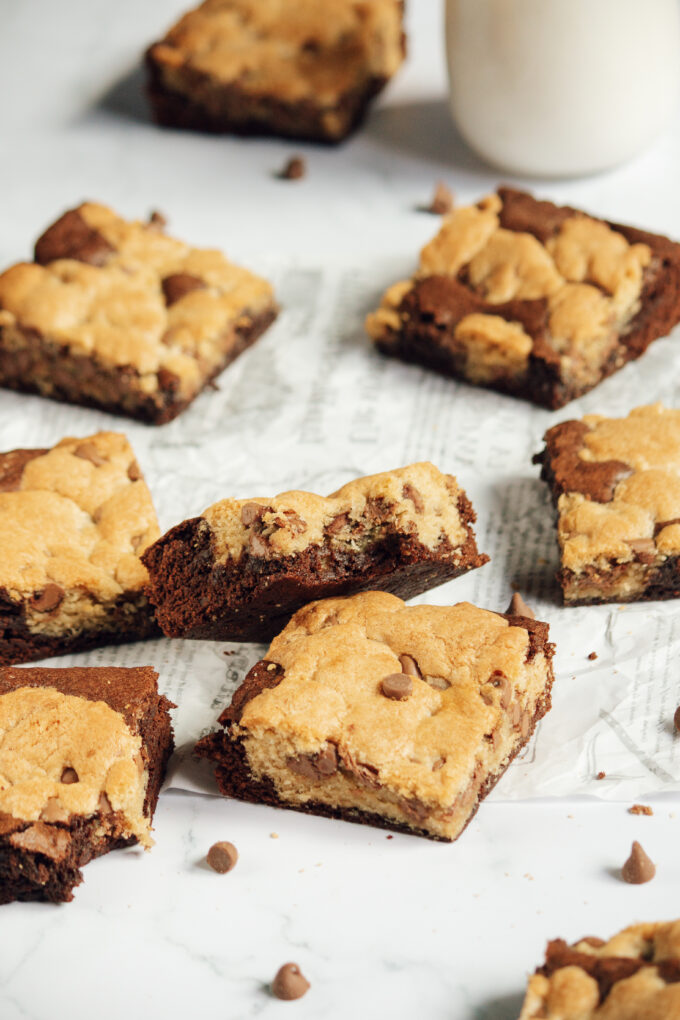
With every bite, you will get a nostalgic cookie layer, marbled with a fudgy brownie layer.
It is definitely a treat for every age, perfect for dinner potlucks, afternoon tea, or breakfast indulgence.
Ingredients & Substitutions
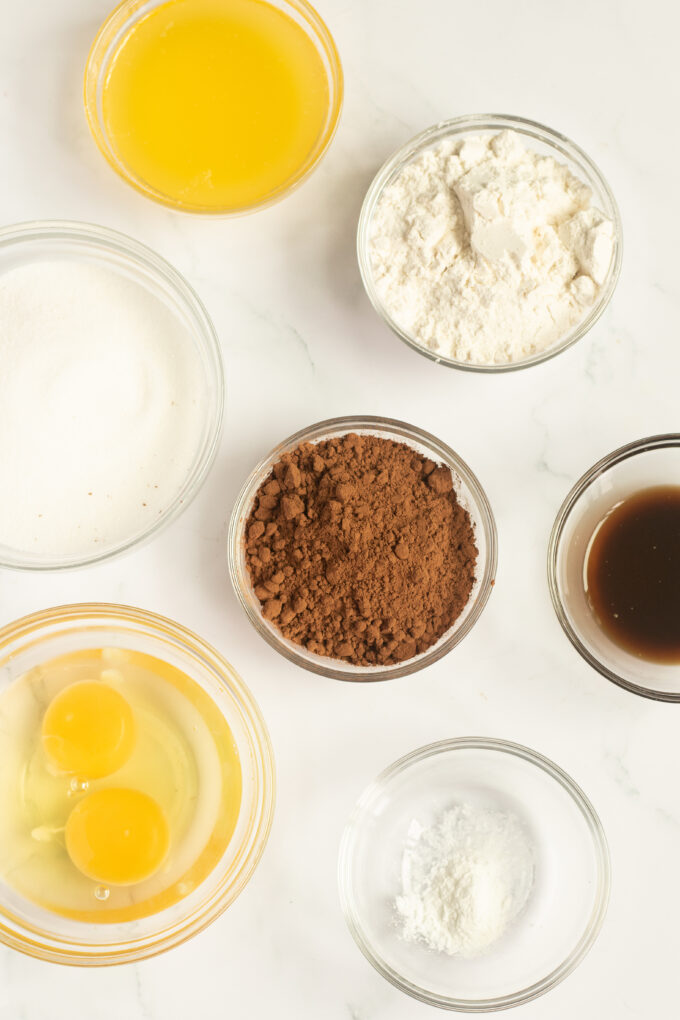
These are the main ingredients and substitutions for Brookies. Scroll down to the recipe card at the bottom for the full ingredients list and instructions.
Unsalted butter gives this recipe its flavor and richness. If absolutely in a pinch, this could be substituted with salted butter. Then, omit a pinch of sea salt later in the recipe.
Granulated and brown sugar keeps the brookies moist and soft while giving them their signature sweetness. Healthier low-carb sugars will alter the texture of these bars.
Eggs act as an emulsifier, which allows the dry ingredients to properly bind with the butter. Do not substitute the eggs in this recipe.
Vanilla extract complements the classic cookie taste and brings out a more decadent chocolate flavor for the brownies.
Cocoa powder gives the brownies its signature texture and it is the straightest path to an intense chocolate flavor. Both dark and regular cocoa powder work well with this recipe.
All-purpose flour can be substituted for gluten-free flour, using a 1 to 1 ratio.
Baking soda helps the cookie layer rise while baking powder helps the brownie layer keep its rich and fudgy texture.
The cookie layer is made complete with chocolate chips, feel free to use any type (dark, white, or semisweet). You can also add in chopped chocolate bars, for melty pools of chocolate.
Taste & Texture
The cookie layer is chewy and buttery, complementing the gooey brownie layer. You will get an intense chocolate flavor that is not too sweet.
These brookies are neither dry nor cakey. The melty chocolate chips add a familiar homemade feel to the texture.
How to Make
Step 1
First, preheat your oven to 350 degrees Fahrenheit (175 degrees Celsius) and line a 9-inch by 9-inch baking pan with parchment paper.
Step 2
First, make the brownie batter. Melt the butter in a microwave-safe bowl. Let it cool slightly.
Step 3
In a large mixing bowl, combine the melted butter, granulated sugar, eggs, and vanilla extract. Mix until well combined.
Step 4
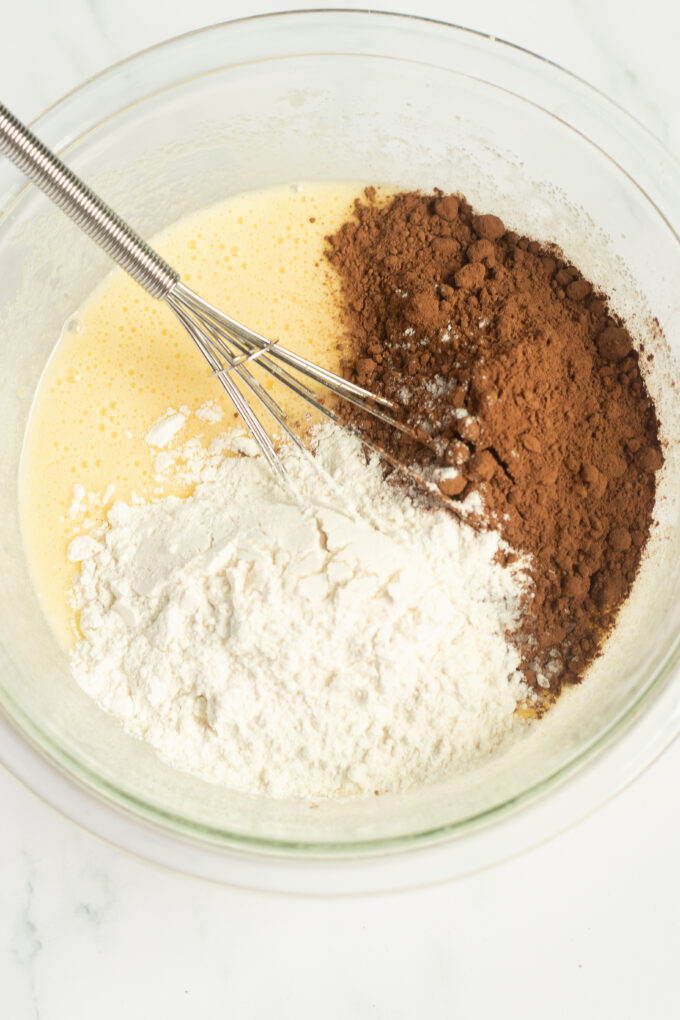
Then, add the cocoa powder, flour, salt, and baking powder to the bowl. Stir until all the ingredients are fully incorporated and the batter is smooth.

Step 5
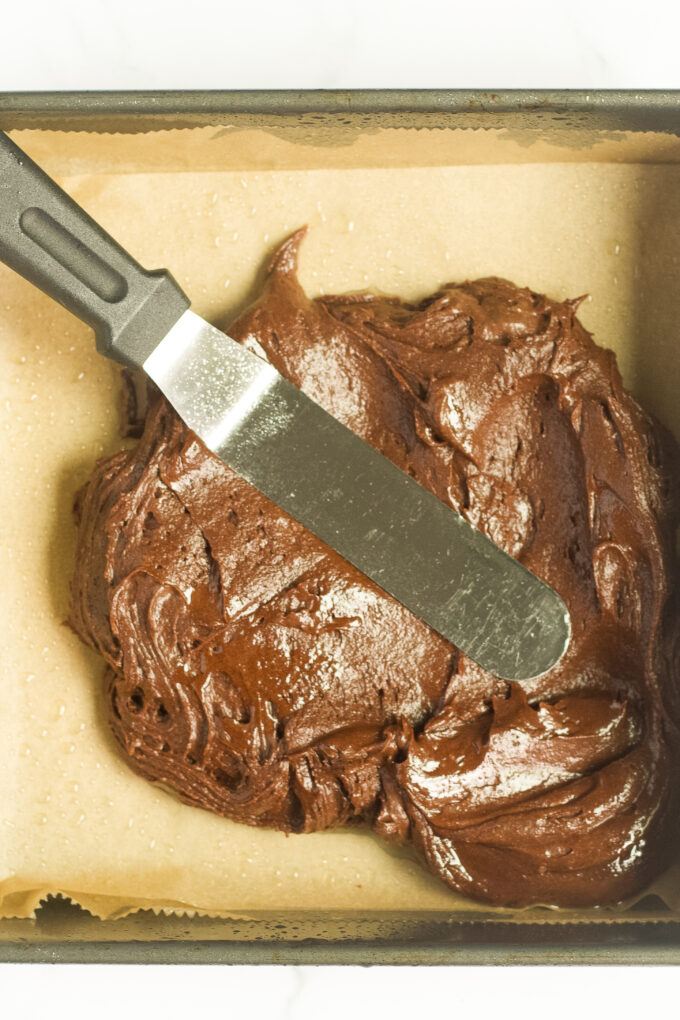
Spread the brownie batter evenly into the prepared baking pan. Smooth the top with a spatula. Set aside.
Step 6
Next, make the cookie dough. In a separate mixing bowl, cream together the butter, granulated sugar, and brown sugar until light and fluffy.

Step 7
Add the egg and vanilla extract to the bowl. Mix until well combined.
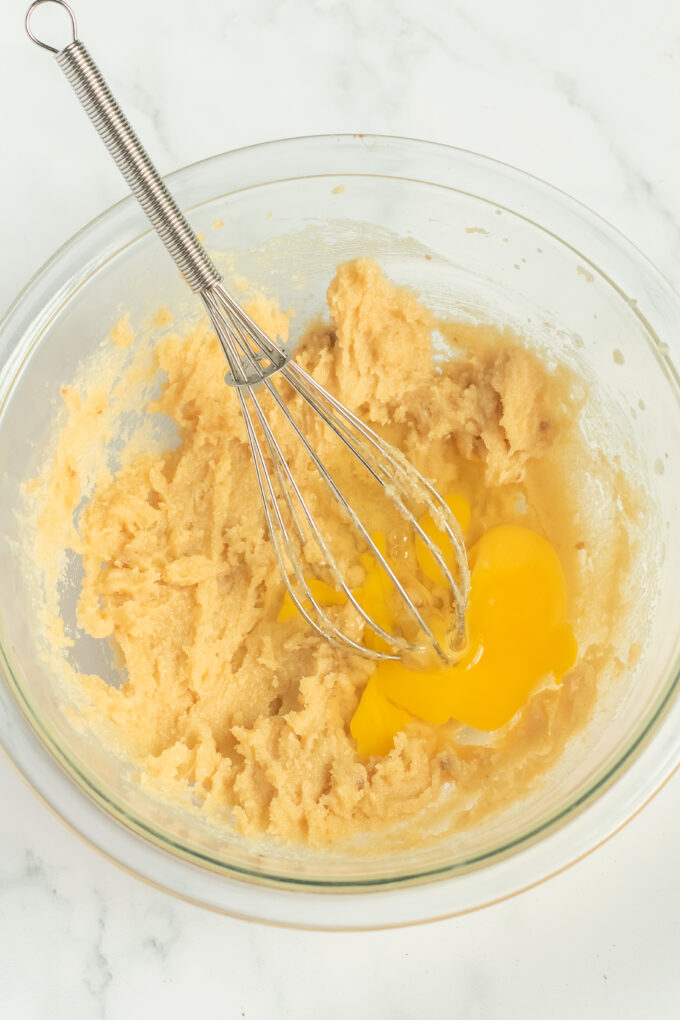
Step 8
In another bowl, whisk together the flour, baking soda, and salt. Gradually add the dry ingredients to the wet ingredients, mixing until just combined.
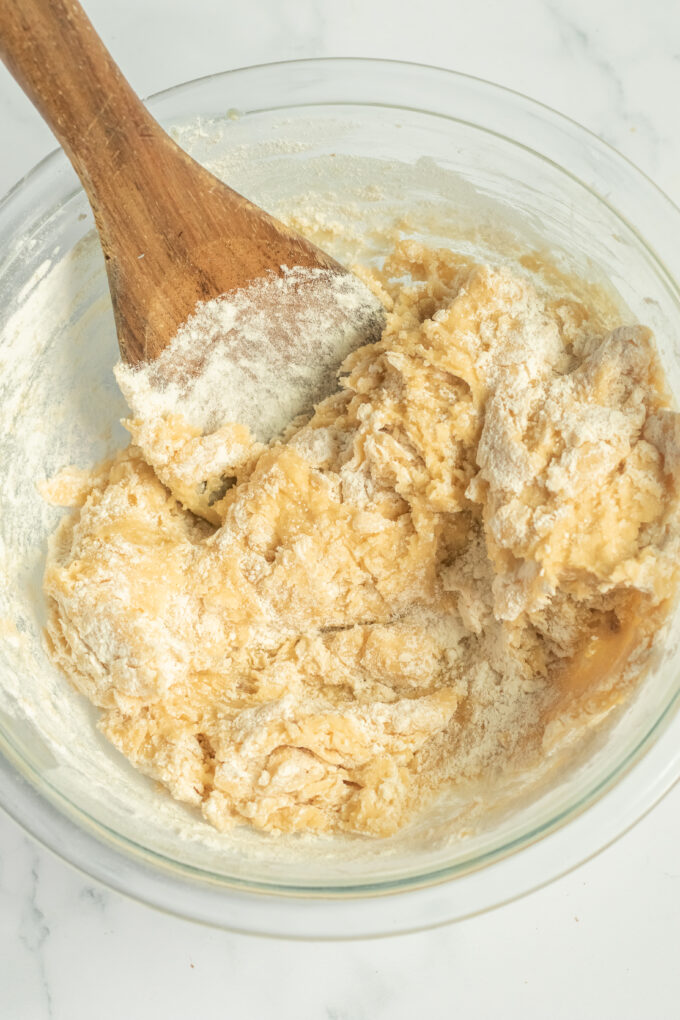
Step 9
Fold in the chocolate chips.
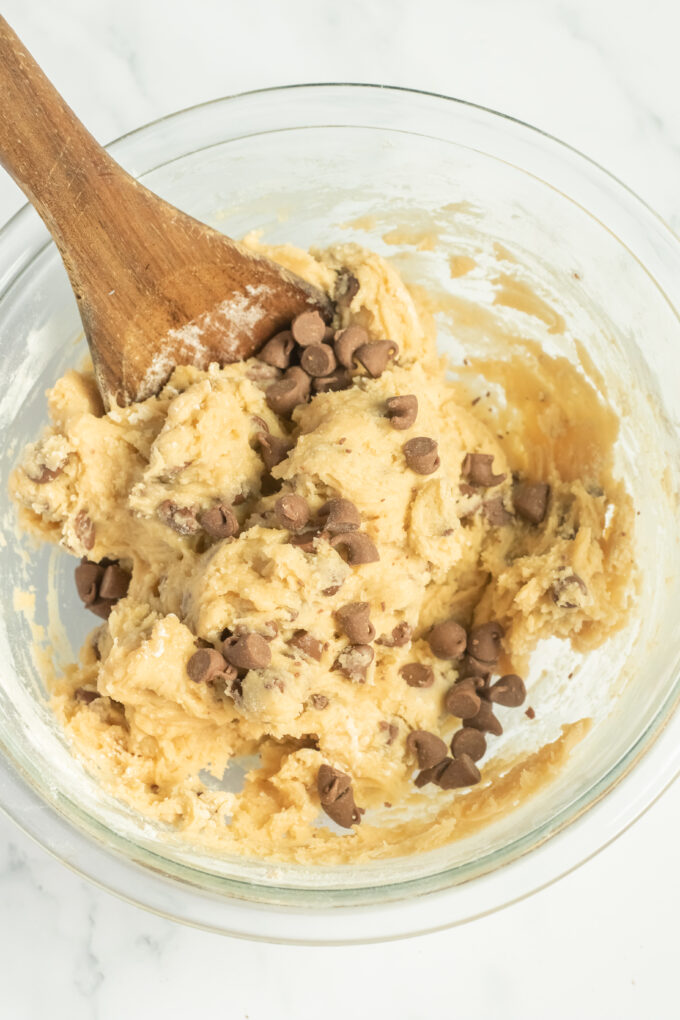
Step 10
Drop spoonfuls of the cookie dough onto the brownie batter in the baking pan. Use a spatula or your fingers to gently press the cookie dough down into the brownie batter.

Step 11
Bake in the preheated oven for about 25 to 30 minutes or until a toothpick inserted into the center comes out with a few moist crumbs. The brownie and cookie layers should be set.
Step 12
Remove the brookies from the oven. Let them cool in the pan on a wire rack.
Step 13
Once cooled, lift the brookies out of the pan using the parchment paper as handles. Finally, cut into squares and serve.
Tips & Tricks for Success
To ensure success, carefully follow the measurements given for each ingredient.
The secret to glossy and rich brownies is to beat the eggs and sugar together well.
Use good-quality cocoa powder for an extra decadent brownie layer!
This recipe uses a classic chocolate chip cookie layer, but you can use any cookie recipe for a unique twist.
Do not forget to line the baking pan with parchment paper so the brookies can be removed with ease.
Do not overbake, the brookies will come out of the oven softer than you may think but will continue to bake and set as it cools.
Make sure to completely let the brookies cool before removing them from the pan and slicing. They will be too soft when warm, so it will be harder to cut into perfect bars.
Flavor Variations & Add-Ins
This recipe is highly customizable!
For added crunch, you can try adding in toasted nuts such as almonds, walnuts, or pecans.
For a fruity twist, you can add in orange zest or dried fruits.
You can also add mini marshmallows or use any type of chocolate chip: dark, semisweet, or white.
You may also opt to use chopped chocolate.
For a decadent treat, top it with Buttercream Frosting!
For a fun dessert, make these Strawberry Brownies!
How to Serve & Store
Slice and serve these brookies once slightly cooled, for clean-cut bars. These pair well with tea, hot chocolate, coffee, or milk. For a sweeter treat, you could also serve this with a scoop of vanilla ice cream.
These brookies keep well if stored in an airtight container. They can last up to three days at room temperature, up to a week if stored in the fridge, and up to three months if stored in the freezer.
Frequently Asked Questions
Brookies have a gooey chocolate chip layer, sitting atop a layer of rich and fudgy brownies. It boasts chewy and fudgy bites, filled with decadent, buttery goodness. This unique pairing satisfies childhood nostalgia and adult cravings.
These brookies will be nice and golden brown on top, with crisp brownie edges. If a toothpick inserted into the center comes out with a few moist crumbs, remove from the oven.
Absolutely! You can freeze these brownie cookies for up to 3 months when stored in an airtight container. Make sure to completely thaw and reheat before serving.
Visually, it is easy to tell a brookie and a blondie apart. Blondies are paler in color, while brookies have layers of chocolate marbled in. While a brookie houses both a cookie and a brownie taste, blondies use brown sugar as their primary flavoring.
Yes! Use gluten-free 1 to 1 flour to make gluten-free Brookies.
Equipment Needed
Hand Mixer: This hand mixer is great for mixing brownie batter and cookie dough.
KitchenAid Stand Mixer: This is one of my favorite kitchen appliances! Great for mixing together baked goods and dessert recipes.
Pre-Cut Parchment Paper Sheets: These parchment paper sheets are great for lining pans.
Pyrex 3 Glass Mixing Bowls: These are great mixing bowls.
Pyrex Glass Measuring Cups: These easy-to-clean cups are perfect for measuring ingredients.
You May Also Enjoy
- Fudgy Oreo Brownies
- Chocolate Chip Cookies
- Fudge Brownies with Cashew Butter Frosting
- Black Forest Cherry Brownies
- Oatmeal Chocolate Chip Cookies
If you enjoy this Brookies recipe, please leave a rating and review! You can find more great recipes on Facebook, Instagram, and Pinterest. Check out these Brownies & Bars for more recipes!
Brookies

Ingredients
For the brownie batter:
- ½ cup unsalted butter
- 1 cup granulated sugar
- 2 large eggs
- 1 teaspoon vanilla extract
- ⅓ cup cocoa powder
- ½ cup all-purpose flour
- ¼ teaspoon salt
- ¼ teaspoon baking powder
For the cookie dough:
- ½ cup unsalted butter, room temperature
- ½ cup granulated sugar
- ½ cup packed brown sugar
- 1 large egg
- 1 teaspoon vanilla extract
- 1 ¼ cups all-purpose flour
- ½ teaspoon baking soda
- ¼ teaspoon salt
- 1 cup chocolate chips
Instructions
- First, preheat your oven to 350 degrees Fahrenheit (175 degrees Celsius) and line a 9 by 9 inch baking pan with parchment paper.
- Start by making the brownie batter. In a microwave-safe bowl, melt the butter. Let it cool slightly.
- In a large mixing bowl, combine the melted butter, granulated sugar, eggs, and vanilla extract. Mix until well combined.
- Then, add the cocoa powder, flour, salt, and baking powder to the bowl. Stir until all the ingredients are fully incorporated and the batter is smooth.
- Spread the brownie batter evenly into the prepared baking pan. Smooth the top with a spatula. Set aside.
- Next, make the cookie dough. In a separate mixing bowl, cream together the butter, granulated sugar, and brown sugar until light and fluffy.
- Add the egg and vanilla extract to the bowl. Mix until well combined.
- In another bowl, whisk together the flour, baking soda, and salt. Gradually add the dry ingredients to the wet ingredients, mixing until just combined.
- Fold in the chocolate chips.
- Drop spoonfuls of the cookie dough onto the brownie batter in the baking pan. Use a spatula or your fingers to gently press the cookie dough down into the brownie batter.
- Bake in the preheated oven for about 25 to 30 minutes or until a toothpick inserted into the center comes out with a few moist crumbs. The brownie and cookie layers should be set.
- Remove the brookies from the oven. Let them cool in the pan on a wire rack.
- Once cooled, lift the brookies out of the pan using the parchment paper as handles. Finally, cut into squares and serve.
Notes
- The brownie batter should be smooth.
- The cookie dough will resemble classic cookie dough.
- If needed, use gluten-free 1 to 1 flour.
- Do not bake too long. They are meant to be gooey.
- Allow the bars to cool before slicing and serving.
- Store brookies in an airtight container for up to 3 days.
- Freeze bars for up to 1 month.
Nutrition
Nutrition information is automatically calculated, so should only be used as an approximation.
 Like this recipe? Rate & comment below!
Enjoy these Brookies! Have you signed up for my newsletter? It features the best desserts, recipes, baking tips, and more!



Very tasty, but I can never get it to cook the whole way through without being dry. I cooked them for about 40 mins in a glass pan and still after cooling, when I removed them from the pan they fell apart because they were considerably undercooked. I understand all ovens are different, but I don’t usually have this issue with other recipes to this extent. They are very good though!
HI Ava, That is so disappointing. I am the new owner of GVD and I have not personally tried this recipe but reading through it I don’t see any glaring issues. Did you do the toothpick test as suggested? Glass pans also cook differently than metal, so depending on what Adison used to test this recipe, that might be part of the issue. I personally never bake brownies or blondies in a glass or pyrex pan because I find the edges and bottom cook too fast while the center stays underbaked. ~Lindsey
So tasty definitely would recommend!