
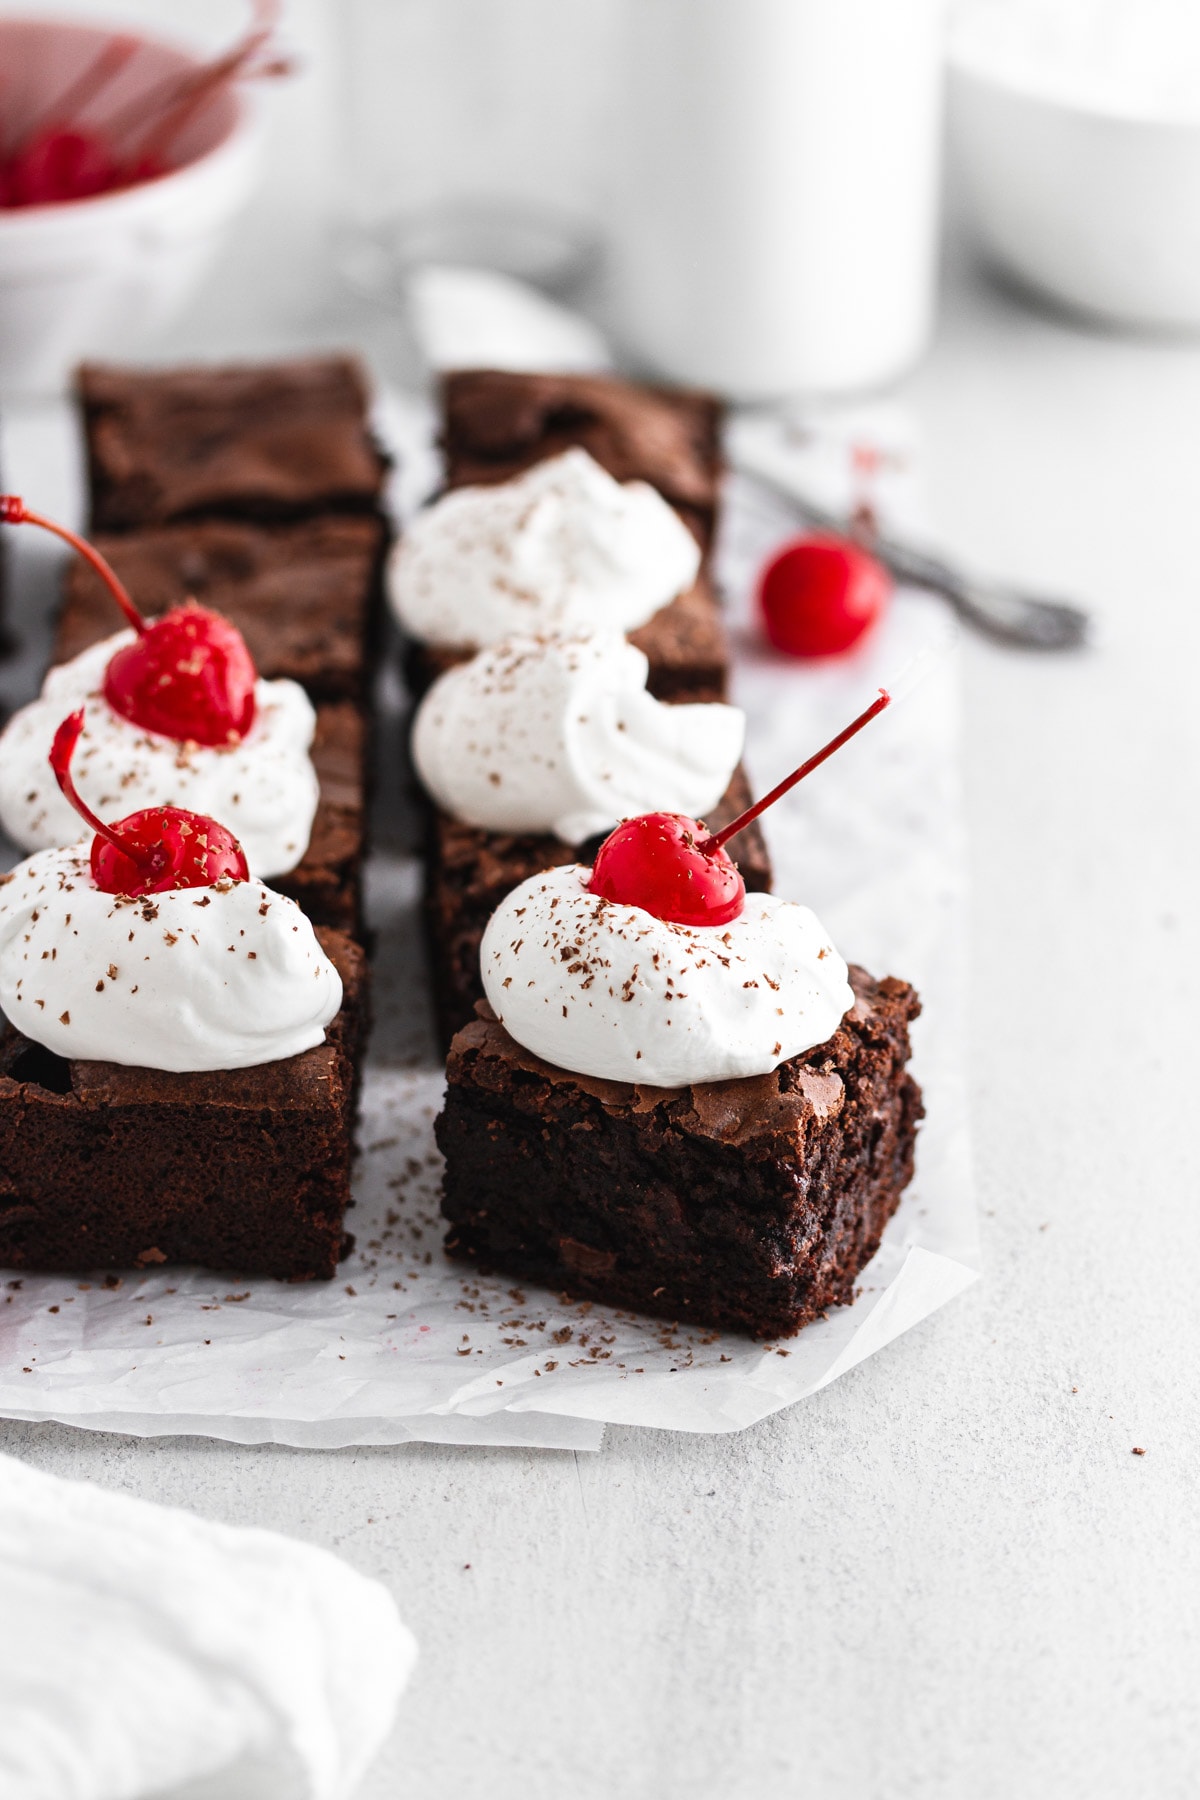
Cherry brownies are deeply fudgy, loaded with real cherries, and finished with a cloud of whipped cream. They come together in under an hour and taste like a chocolate-cherry celebration in every bite.

A Quick Look At The Recipe
This is a brief summary of the recipe. Jump to the recipe to get the full details.
Prep Time
20 minutes
Cook Time
35 minutes
Cooling Time
1 hour
Total Time
1 hour 55 minutes
Servings
16 brownies
Difficulty
Easy
Calories *
389 kcal per serving
Technique
Baked, one-bowl
Flavor Profile
Rich, fudgy, fruity, lightly sweet
* Based on nutrition panel
“I made these with fresh Bing cherries and they were absolutely incredible. The cherries burst into little pockets of fruit throughout the brownie, and the whipped cream on top made them feel really special. My family asked me to make them again before the pan was even halfway gone!”
⭐⭐⭐⭐⭐
Rachel
Why You Will Love This Recipe
- Fudgy texture every time. These cherry brownies are dense and rich, not cakey. Beating the sugars and eggs together for several minutes before folding in the chocolate mixture builds structure that keeps the interior moist and fudgy.
- Real cherries folded right in. Cherries go directly into the batter, not on top. They soften as the brownies bake and create pockets of fruit throughout every square.
- One bowl, no special equipment. The batter comes together with a hand mixer and a couple of bowls. From mixing to the oven, you’re looking at about 20 minutes of active time.
- Works for fresh or frozen cherries. You don’t need peak-season fruit to make these work. Frozen cherries go in straight from the freezer without thawing, which makes these a year-round option.
Black Forest cherry cake is one of those classic flavor combinations I keep coming back to, and these brownies are my way of capturing all of it in a smaller, simpler form. There’s something about the pairing of dark chocolate and tart cherries that just works, and adding whipped cream on top makes the whole thing feel a little celebratory.
If you love baking with cherries, my cherry pie and this [cherry cobbler recipe] are worth bookmarking for when fresh cherries are in season and you have a pile of them to use up.
Ingredients & Substitutions
- Unsalted Butter: It forms the base of the chocolate mixture, melting together with the cocoa powder and chopped chocolate to create a rich, fudgy foundation. Using unsalted butter lets you control the salt level precisely.
- Unsweetened Cocoa Powder: It deepens the chocolate flavor and gives these cherry brownies their dense, brownie base. Regular or Dutch-process both work here, with Dutch-process producing a slightly darker, more chocolate flavor.
- Semisweet Chocolate Bar: It melts into the butter-cocoa mixture and adds a smooth, intense chocolate richness that cocoa alone can’t deliver.
- Granulated Sugar and Light Brown Sugar: Together they sweeten the batter and contribute to the chewy, slightly crackly top that makes a good brownie so satisfying. The brown sugar adds a subtle molasses depth that pairs beautifully with the cherries.
- Eggs: They’re beaten with the sugars until pale and thickened, which builds structure and gives these brownies a light lift. Don’t rush this step — the aeration happens here, and it matters for the final texture.
- Vanilla
- All-Purpose Flour
- Salt:
- Pitted Cherries: They’re the signature addition that makes these unmistakably Black Forest, adding bursts of tart fruitiness throughout every bite. If you’re using frozen cherries, do not thaw them first — thawed cherries release too much liquid and can make the batter wet and uneven.
- Semisweet Chocolate Chips: They’re folded in with the cherries and stay mostly intact through baking, adding extra pockets of melty chocolate in the finished brownies just like with these gluten free brownies.
- Heavy Cream
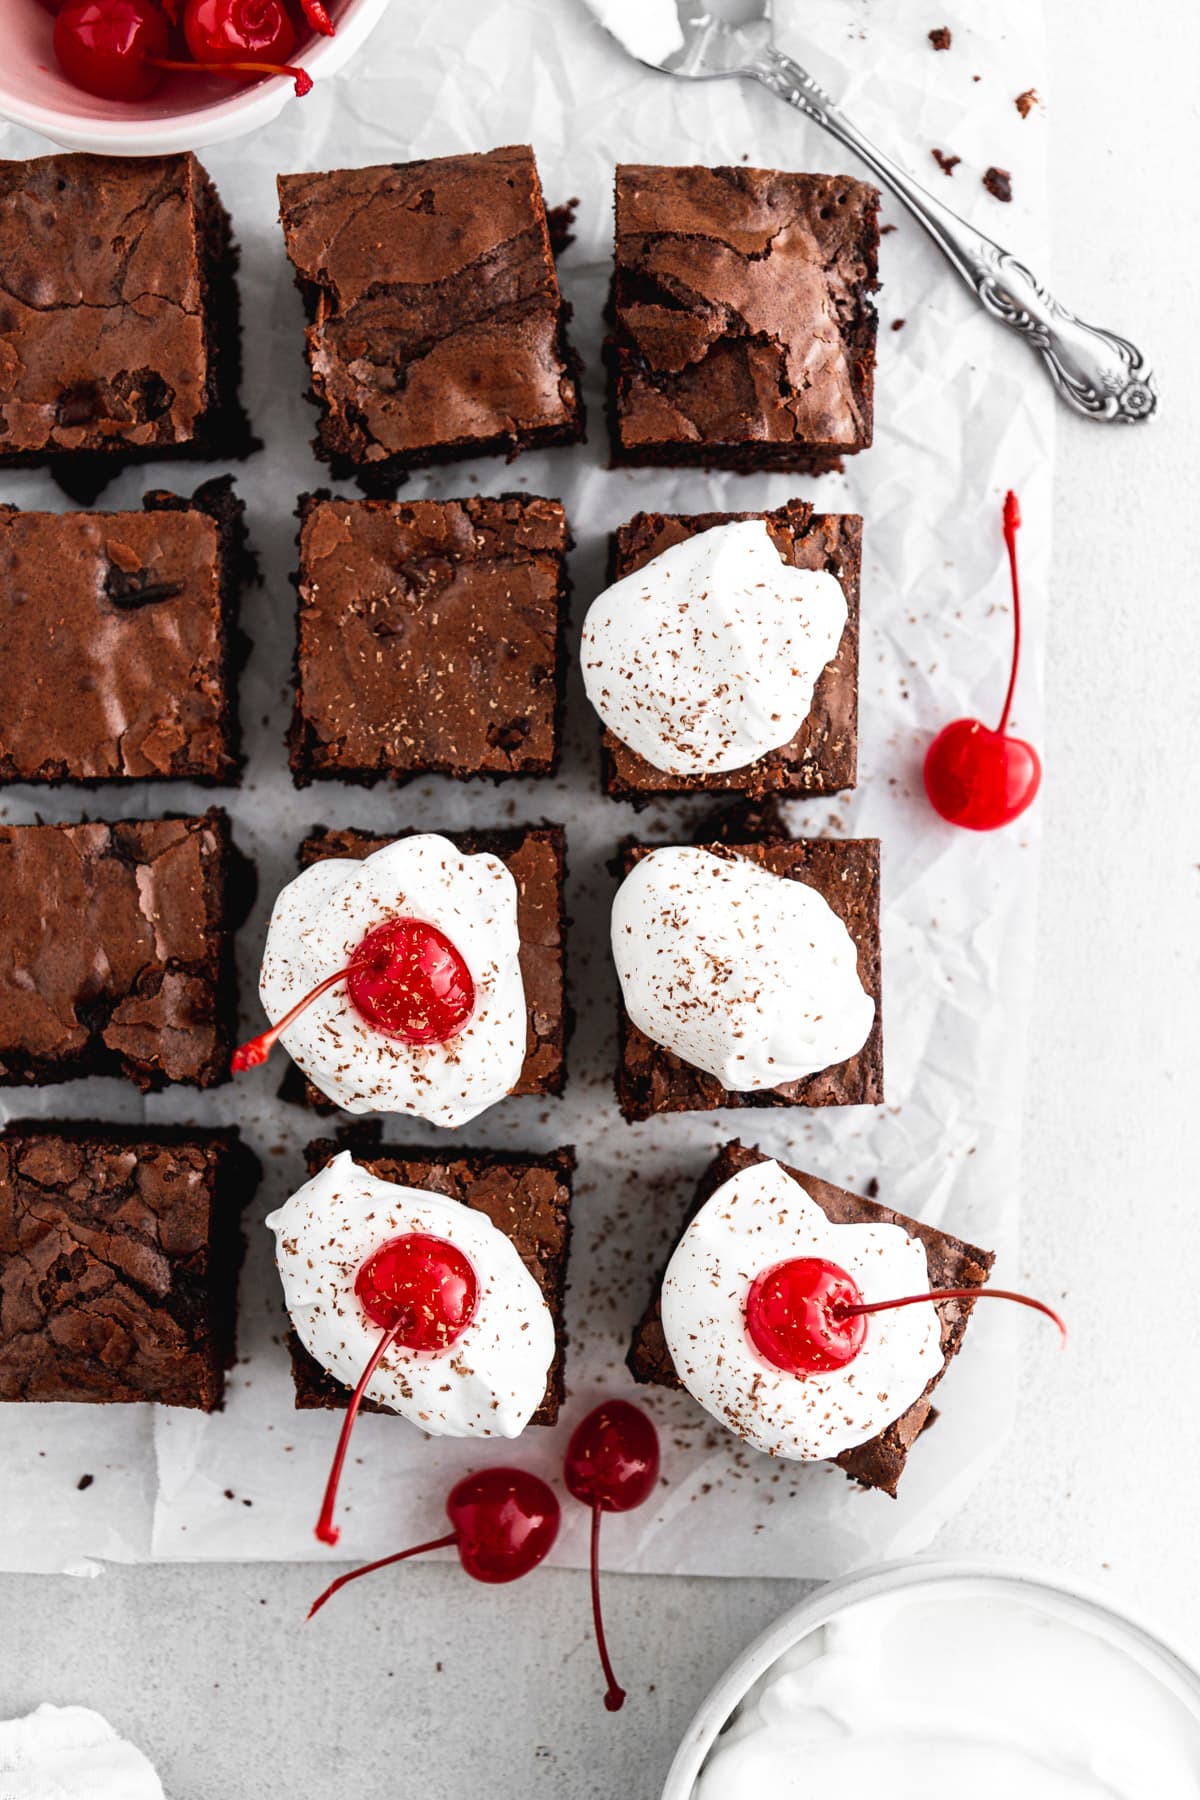
- Grated Semisweet Chocolate: It’s an optional garnish that adds a decorative, chocolatey finish on top of the whipped cream.
- Maraschino or Fresh Cherries (for topping): They’re the finishing touch that signals exactly what kind of brownie you’re eating, like I do with a stem-on maraschino for a little flair.
Variations for Cherry Brownies
- Fruit Swap: Replace the pitted cherries with an equal amount of fresh or frozen strawberries or raspberries for a different but equally classic chocolate-fruit combination. Keep the same rule: if using frozen, do not thaw them before folding into the batter.
- Mocha Cherry: Add a teaspoon of instant espresso powder to the butter-chocolate mixture as it melts. The coffee deepens the chocolate flavor without being obvious and makes the cherry contrast sharper. If you love that chocolate-coffee combination, my Peppermint Mocha Brownies play in a similar space.
- Cherry Brownie Sundae: Cut the cooled brownies into larger squares and serve them warm with a scoop of vanilla ice cream in place of the whipped cream. The contrast of warm, fudgy brownie and cold ice cream makes the whole thing feel more like a plated dessert.
- Milk Chocolate Version: Swap the semisweet chocolate bar and chips for milk chocolate to produce a sweeter, creamier brownie that lets the cherries stand out even more. The bake time stays the same, but watch for doneness on the earlier end since milk chocolate can make the batter set slightly faster.
Professional Tips for Perfect Cherry Brownies
- Beat the eggs and sugar long enough. The instructions call for 3 to 4 minutes on medium-high speed for a reason, just like with my Oreo brownies: you’re building the only real lift in this batter here. The mixture should turn pale, nearly ivory, and fall from the beaters in a thick ribbon before you move on. Stopping too early gives you flat, dense brownies with no structure.
- Cool the chocolate mixture before adding it. If the melted butter-chocolate mixture is still hot when it hits the beaten eggs and sugar, it will scramble the eggs and deflate everything you just whipped. Give it at least 10 minutes off the heat, and touch the bottom of the pan to check it’s no longer warm before stirring it in.
- Fold, don’t stir. Once the flour goes in, switch to a rubber spatula and use a slow, deliberate folding motion. Overmixing develops gluten, which turns fudgy brownies cakey and tight. Stop the moment you can no longer see streaks of flour.
How to Make Cherry Brownies
Use these step-by-step instructions to make deeply fudgy, cherry-studded brownies topped with clouds of fresh whipped cream. Further details and measurements can be found in the recipe card below.
Step 1: Prep your pan and oven. Heat your oven to 350°F and line an 8×8-inch square baking pan with a parchment paper sling, then spray the parchment with cooking spray. The sling (two overlapping strips of parchment with the ends hanging over the sides of the pan) makes it easy to lift the whole batch out cleanly once the brownies are fully cooled.
Make Brownie Batter
Step 2: Melt the butter, cocoa, and chocolate. Combine the butter, cocoa powder, and chopped chocolate in a small saucepan over medium heat, stirring occasionally until everything is melted and smooth, about 4 to 5 minutes. The mixture will look a little grainy at first, which is completely normal — keep stirring and it will come together into a glossy, deeply chocolate sauce. Once smooth, remove the pan from the heat and set it aside to cool.
Don’t skip the cooling step. If the chocolate mixture is still warm when it hits the eggs, it will scramble them. Give it at least 10 minutes and touch the bottom of the pan to confirm it’s no longer hot before you move to the next step.
Step 3: Beat the sugars and eggsIn a large bowl using a hand mixer, or in the bowl of a stand mixer fitted with the whisk attachment, beat the granulated sugar, brown sugar, and eggs together on medium-high speed for 3 to 4 minutes until the mixture turns pale yellow and falls from the beaters in a thick ribbon. This is the step that builds structure into these cherry brownies, so don’t rush it. A pale, thickened mixture here means a fudgy, lifted brownie later.
Step 4: Add the vanilla and chocolate mixture. Gently stir the vanilla into the beaten egg mixture, then pour in the cooled butter-chocolate mixture and stir until fully incorporated. The batter will turn a deep, glossy chocolate brown and lose some of its volume.
Step 5: Fold in the flour and salt. Add the flour and salt and fold them in with a rubber spatula using slow, deliberate strokes. Stop the moment you can no longer see dry streaks of flour. The batter will be thick and smooth, and it should hold its shape briefly when you lift the spatula before slowly dropping back into the bowl.
Overmixing here is the most common reason brownies turn cakey instead of fudgy. Fold gently and stop early — a couple of small flour streaks finishing off in the next step is fine.
Step 6: Fold in the cherries and chocolate chips. Add the chopped cherries and chocolate chips and fold them in gently until just distributed throughout the batter. Pour the finished batter into the prepared pan and use the spatula to spread it into an even layer.
Bake
Step 7: Slide the pan into the oven and bake for 35 to 40 minutes, until a toothpick inserted near the center comes out clean or with just a few moist crumbs clinging to it. The top should look set and slightly crackled, and the edges will have pulled just barely away from the sides of the pan. Pull them at moist crumbs, not a clean toothpick, if you want the fudgiest result.
Step 8: Cool completely. Set the pan on a cooling rack and let the brownies cool in the pan for about 1 hour until completely room temperature. It’s tempting to cut into them early, but they need this full cool time to set up into the dense, fudgy texture you’re after. Cutting warm brownies will give you a gooey, collapsed edge.
Step 9: Slice. Lift the brownies out of the pan using the parchment sling, running a butter knife along any edges that seem stuck before pulling. Use a sharp serrated knife to gently saw the slab into a 4×4 grid for 16 squares, wiping the blade clean between cuts for the neatest edges.
Make the Whipped Cream
Step 10: Pour the heavy cream into a medium bowl and beat with a hand mixer on medium-high speed for 3 to 4 minutes until stiff peaks form. The cream will look loose and slightly foamy for the first minute or two before it suddenly thickens and holds its shape, which is when you know it’s ready.
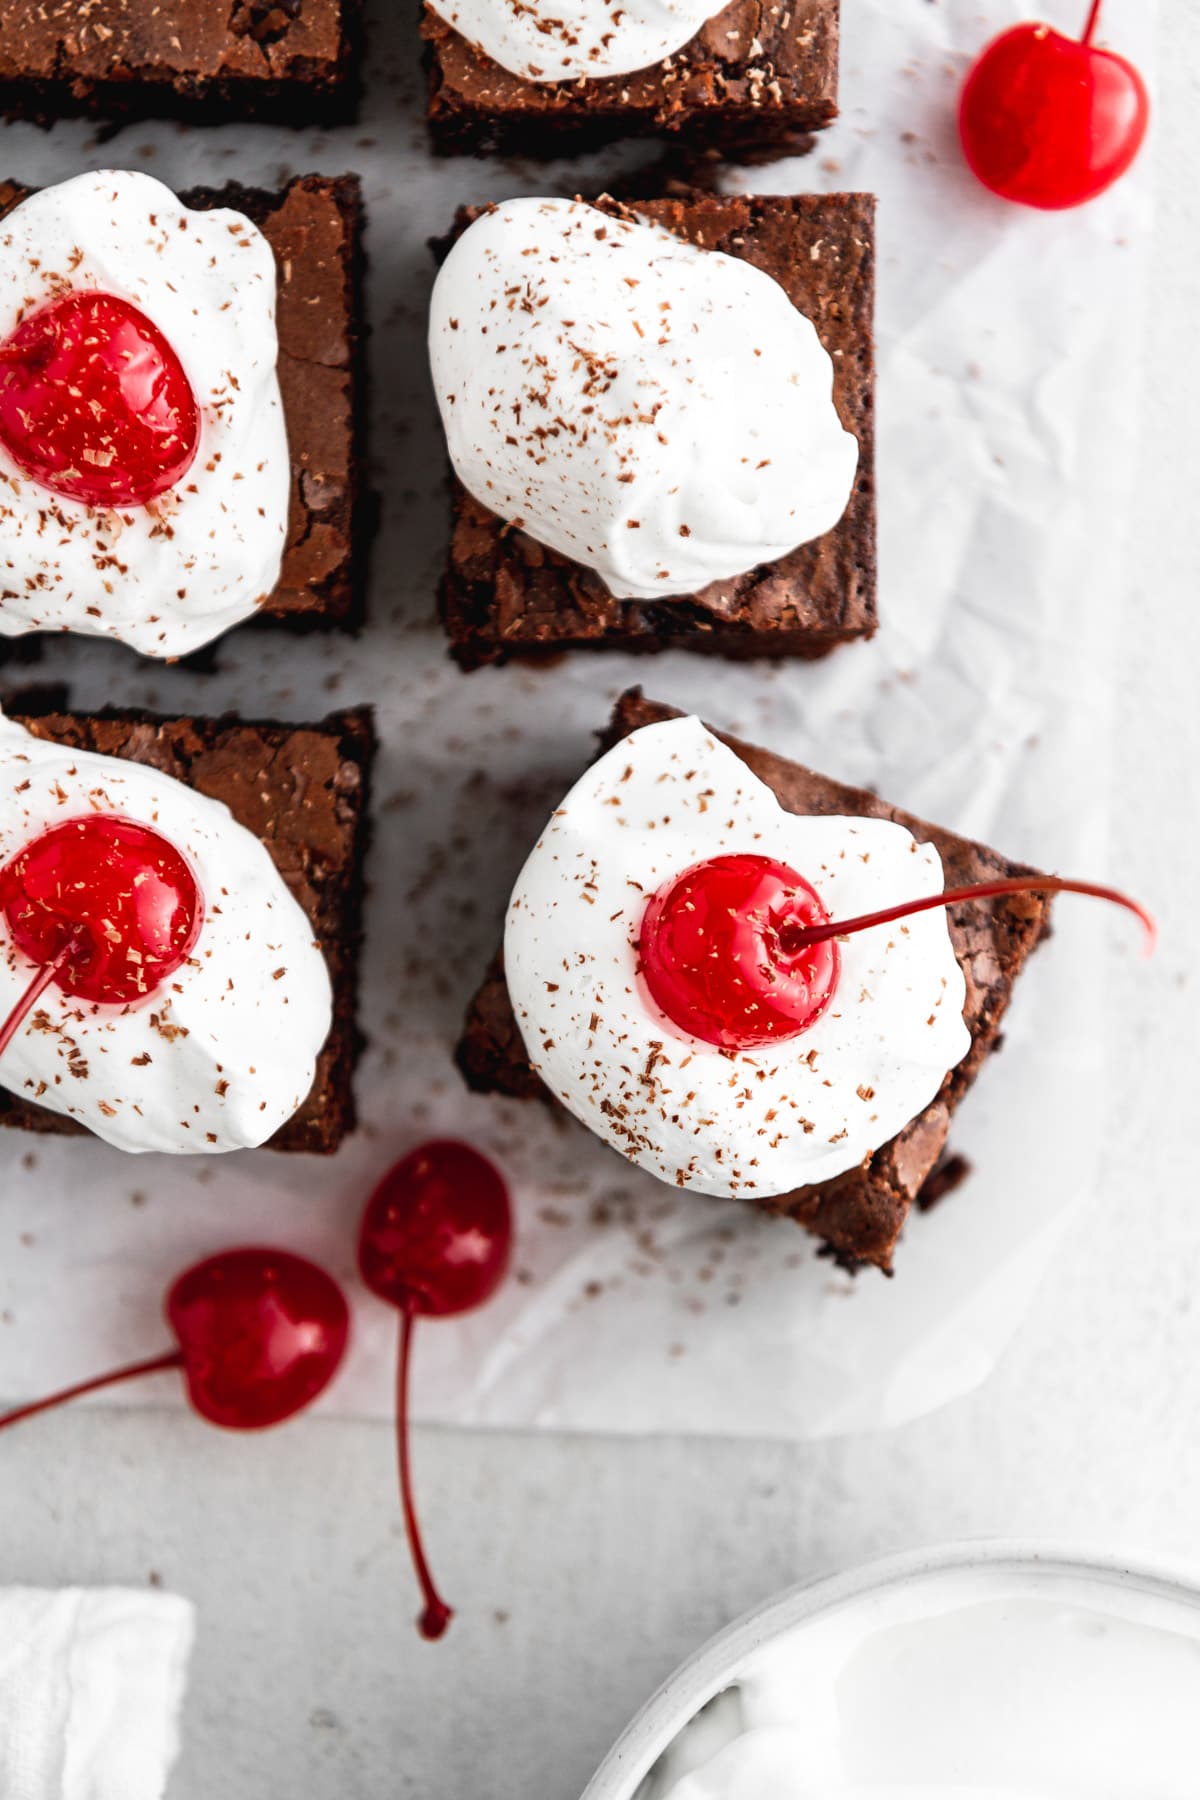
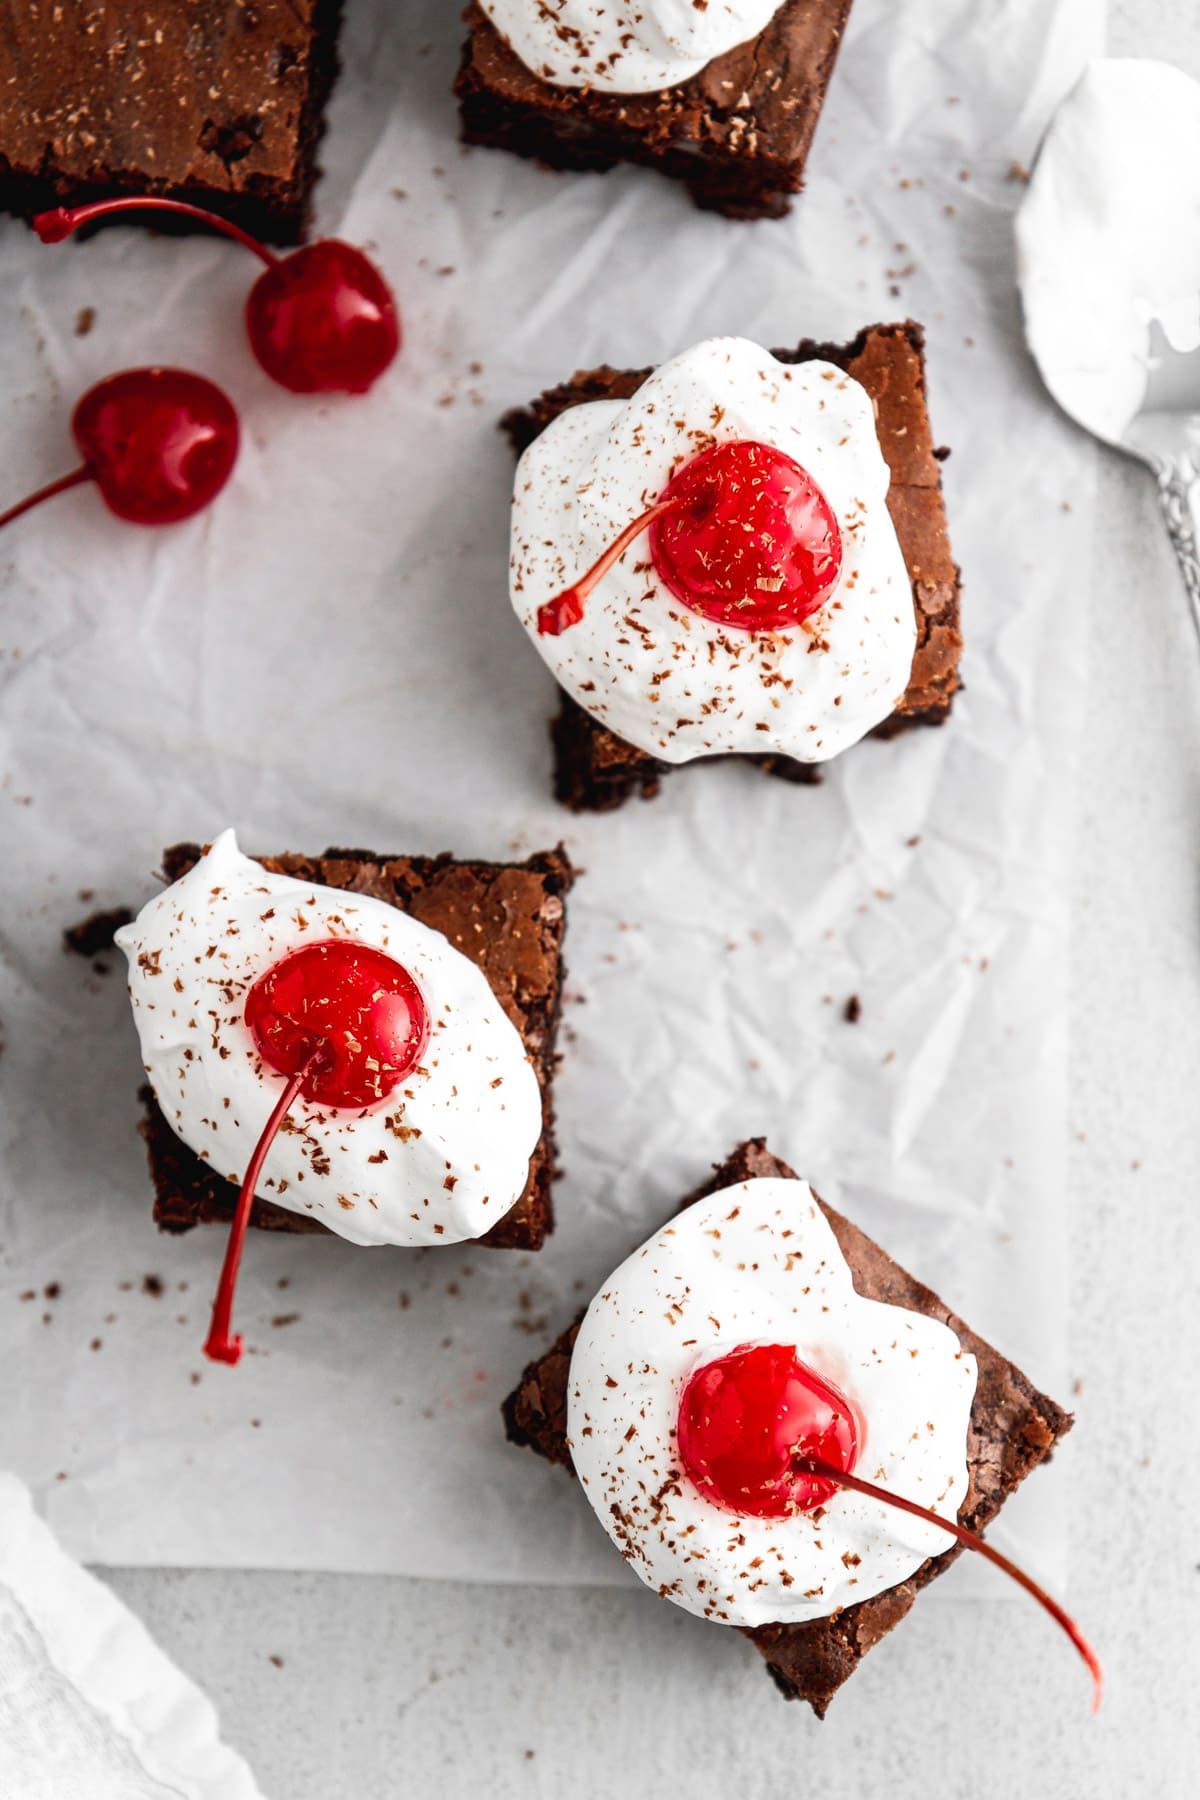
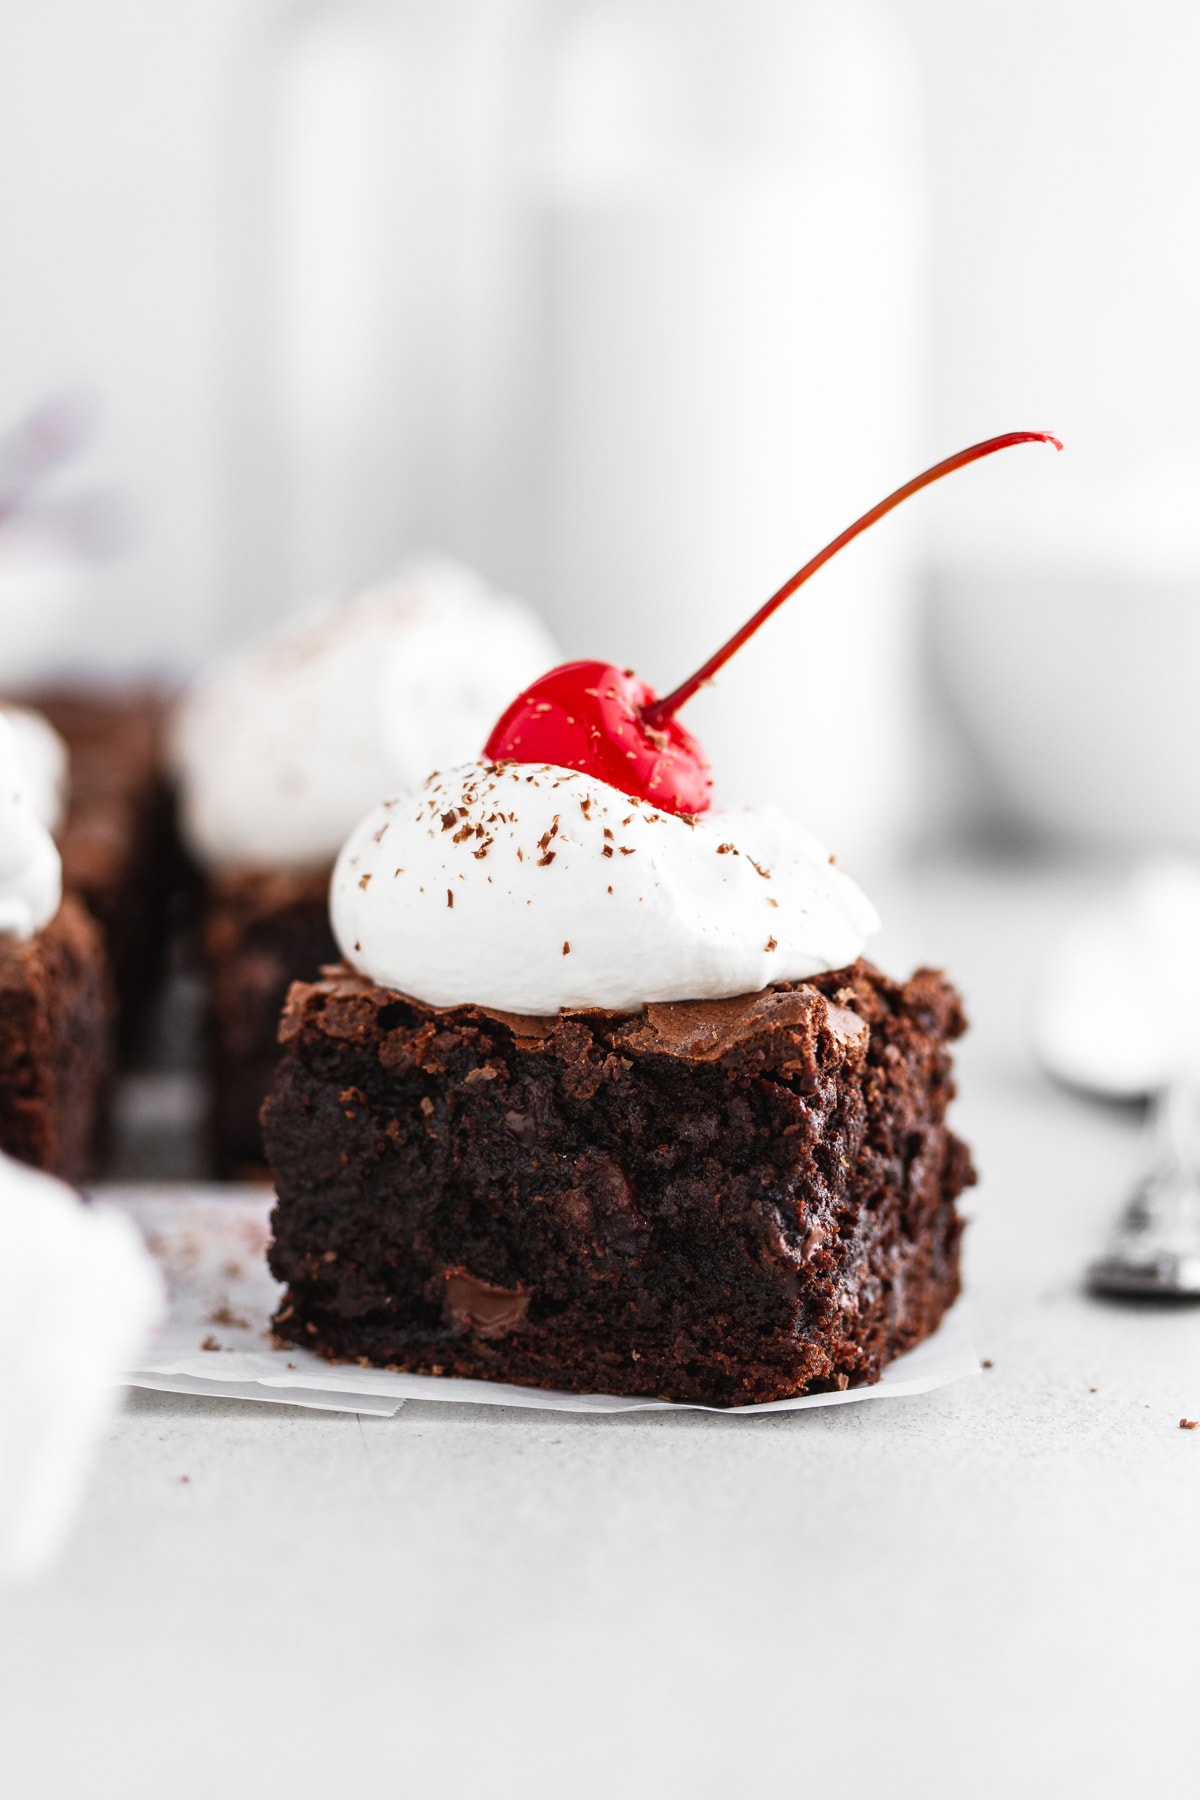
Step 11: Top and garnish. Spoon a generous dollop of whipped cream onto each brownie square just before serving, then finish with a pinch of grated semisweet chocolate and a maraschino or fresh cherry on top if you’d like. The garnishes are optional, but the cherry on top is a nice nod to the Black Forest flavors already inside.
Recipe FAQs
Store the brownies (without whipped cream) in an airtight container at room temperature for up to 3 days. If you’ve already topped them with whipped cream, keep them covered in the refrigerator and plan to eat them within 2 days. To freeze, wrap individual untopped brownies tightly in plastic wrap and store in a freezer-safe bag for up to 2 months, then thaw at room temperature before serving.
Both use a similar butter-and-cocoa base, but these Black Forest Cherry Brownies take it further with chopped fresh or frozen cherries folded into the batter and a whipped cream and grated chocolate finish. My Homemade Brownies are your go-to classic, while these lean into that Black Forest flavor profile with the fruit and the garnish.
Frozen cherries work great here, which is what I reach for when fresh cherries aren’t in season. The key detail in the instructions is to use them NOT thawed; fold them in straight from the freezer so they don’t bleed excess liquid into the batter and throw off the texture. Coarsely chop them before they thaw, and they’ll distribute evenly through the brownie without creating wet pockets.
Recommended Cherry Recipes

Gluten-Free

Drinks

Breakfast & Brunch

Breakfast & Brunch
Black Forest Cherry Brownies

Ingredients
Brownie
- ¾ cup unsalted butter
- ⅓ cup unsweetened cocoa powder, regular or Dutch-process
- 4 ounces semisweet chocolate bar, chopped
- 1 cup granulated sugar
- ¼ cup light brown sugar
- 3 whole eggs
- 1 teaspoon vanilla
- ¾ cup all-purpose flour
- ¼ teaspoon salt
- 1 cup cherries, pitted fresh or frozen, coarsely chopped
- 1 cup semisweet chocolate chips
Topping
- 1 cup heavy cream
- 1 cup semisweet chocolate, optional, grated, for topping
- Maraschino cherries with stems or fresh cherries, optional, for topping
Instructions
- Heat oven to 350°F. Line an 8×8-inch square baking pan with a parchment paper sling and spray with cooking spray.
- In a small saucepan over medium heat, melt butter, cocoa powder, and chopped chocolate together, stirring constantly, 4 to 5 minutes until melted and smooth. Remove from heat and set aside to cool.
- In a large bowl using a hand mixer, or in the bowl of a stand mixer with the whisk attachment, beat sugars and eggs together on medium-high speed 3 to 4 minutes until pale and thickened. Gently stir in vanilla, then the cooled butter-chocolate mixture. Fold in flour and salt until just combined.
- Gently fold in chopped cherries and chocolate chips until just combined. Pour batter into the prepared pan.
- Bake for 35 to 40 minutes until a toothpick inserted near the center comes out clean or with moist crumbs clinging. Cool completely in the pan on a cooling rack, about 1 hour.
- Remove brownies from pan using the parchment sling, running a butter knife along the edges first if needed. Use a sharp serrated knife to saw brownies into a 4×4 grid for 16 squares.
- Just before serving, beat heavy cream on medium-high speed 3 to 4 minutes until stiff peaks form. Dollop whipped cream on each brownie and garnish with grated chocolate and a cherry, if desired.
Notes
Technique: Do not overbake. These brownies are done when the toothpick comes out clean or with a few moist crumbs — completely clean with zero crumbs means they’ve gone too far. Start checking at the 35-minute mark.
Storage: Store untopped brownies in an airtight container at room temperature for up to 3 days, or refrigerate brownies already topped with whipped cream and eat within 2 days. To freeze, wrap individual untopped brownies tightly in plastic wrap, store in a freezer-safe bag for up to 2 months, and thaw at room temperature before serving.
Nutrition
Nutrition information is automatically calculated, so should only be used as an approximation.
 Like this recipe? Rate & comment below!
Before You Go
These cherry brownies are worth making the moment fresh cherries show up at the market, and honestly, just as worth making in the middle of January with a bag of frozen ones. Browse our Dessert Recipes or make these cherry pie bars next!




I made these with fresh Bing cherries and they were absolutely incredible. The cherries burst into little pockets of fruit throughout the brownie, and the whipped cream on top made them feel really special. My family asked me to make them again before the pan was even halfway gone!
Rachel, Bing cherries- honestly, it doesn’t get better than that! ? And a repeat request before the pan is halfway gone? Your family has excellent taste. Hope you’re making them again soon! ~GVD team
Chocolate and cherries are always iconic together. I love the cherries in the brownie and I added a bit of kirsh to the whipped cream to really bring home the black forest flavor.
Wow, these black forest cherry brownies are a heavenly twist on a classic! The rich chocolate with tart cherries is pure indulgence.
I couldn’t agree more! Thanks for coming back to comment.
These are some pretty amazing brownies! We devoured them. Thank you so much for this recipe.
Helene, Thank you so much for your feedback! I’m so glad you enjoyed them. 🙂
Thank you so much for sharing this outstanding recipe, my kids really love brownies and i am going to try this on upcoming weekend.
Adam, Thank you! Hope you and the kids love it!
Thank you for sharing your memories of Oma. I hope I have inherited some of her baking talents, too, and I miss her just like you! Hope to try this recipe one day!
Bea, Yes! I bet you certainly have. 🙂 I think you’d love this recipe as much as I do!
Stephanie, YUM! Can’t wait to make these! I just love your blog!
Mary, Aw, thank you so much! I hope you love them! 🙂