
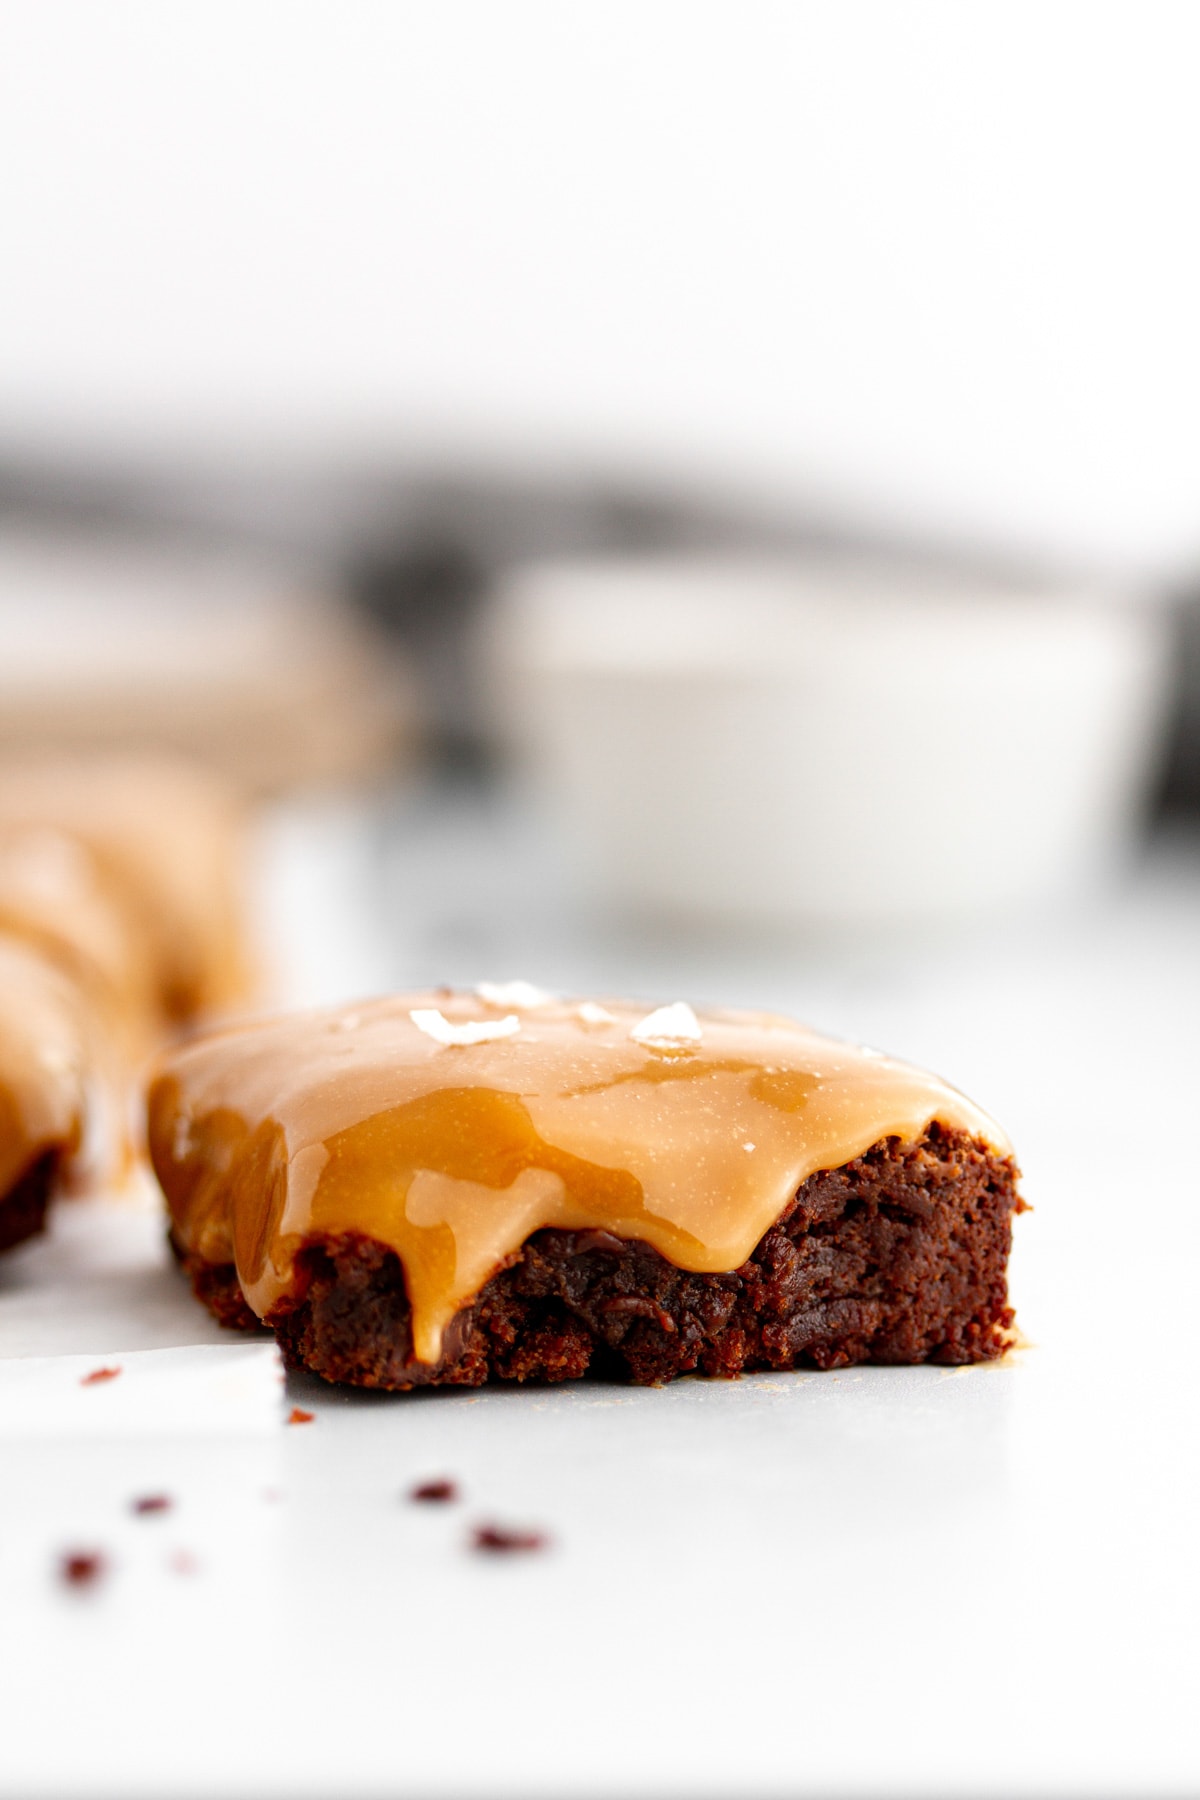
These gluten free brownies are deeply chocolatey, impossibly fudgy, and finished with a velvety salted caramel topping that sets right in the pan.
A Quick Look At The Recipe
This is a brief summary of the recipe. Jump to the recipe to get the full details.
Prep Time
20 minutes
Cook Time
35 minutes
Total Time
55 minutes
Servings
16 brownies
Difficulty
Easy
Calories *
243 kcal per serving
Technique
Baked, one-bowl
Flavor Profile
Rich, fudgy, chocolatey, salted caramel
* Based on nutrition panel
“I made these for a family gathering and nobody believed they were gluten free. The caramel layer was a perfect addition and set about 45 minutes in the fridge and cut beautifully into clean squares.”
⭐⭐⭐⭐⭐
Lisa
Why You Will Love This Recipe
- Naturally gluten free. These brownies contain no flour at all, so there’s nothing to swap or adapt. Cornstarch is the only binder, and it gives the brownies a dense, fudgy texture rather than a cakey one.
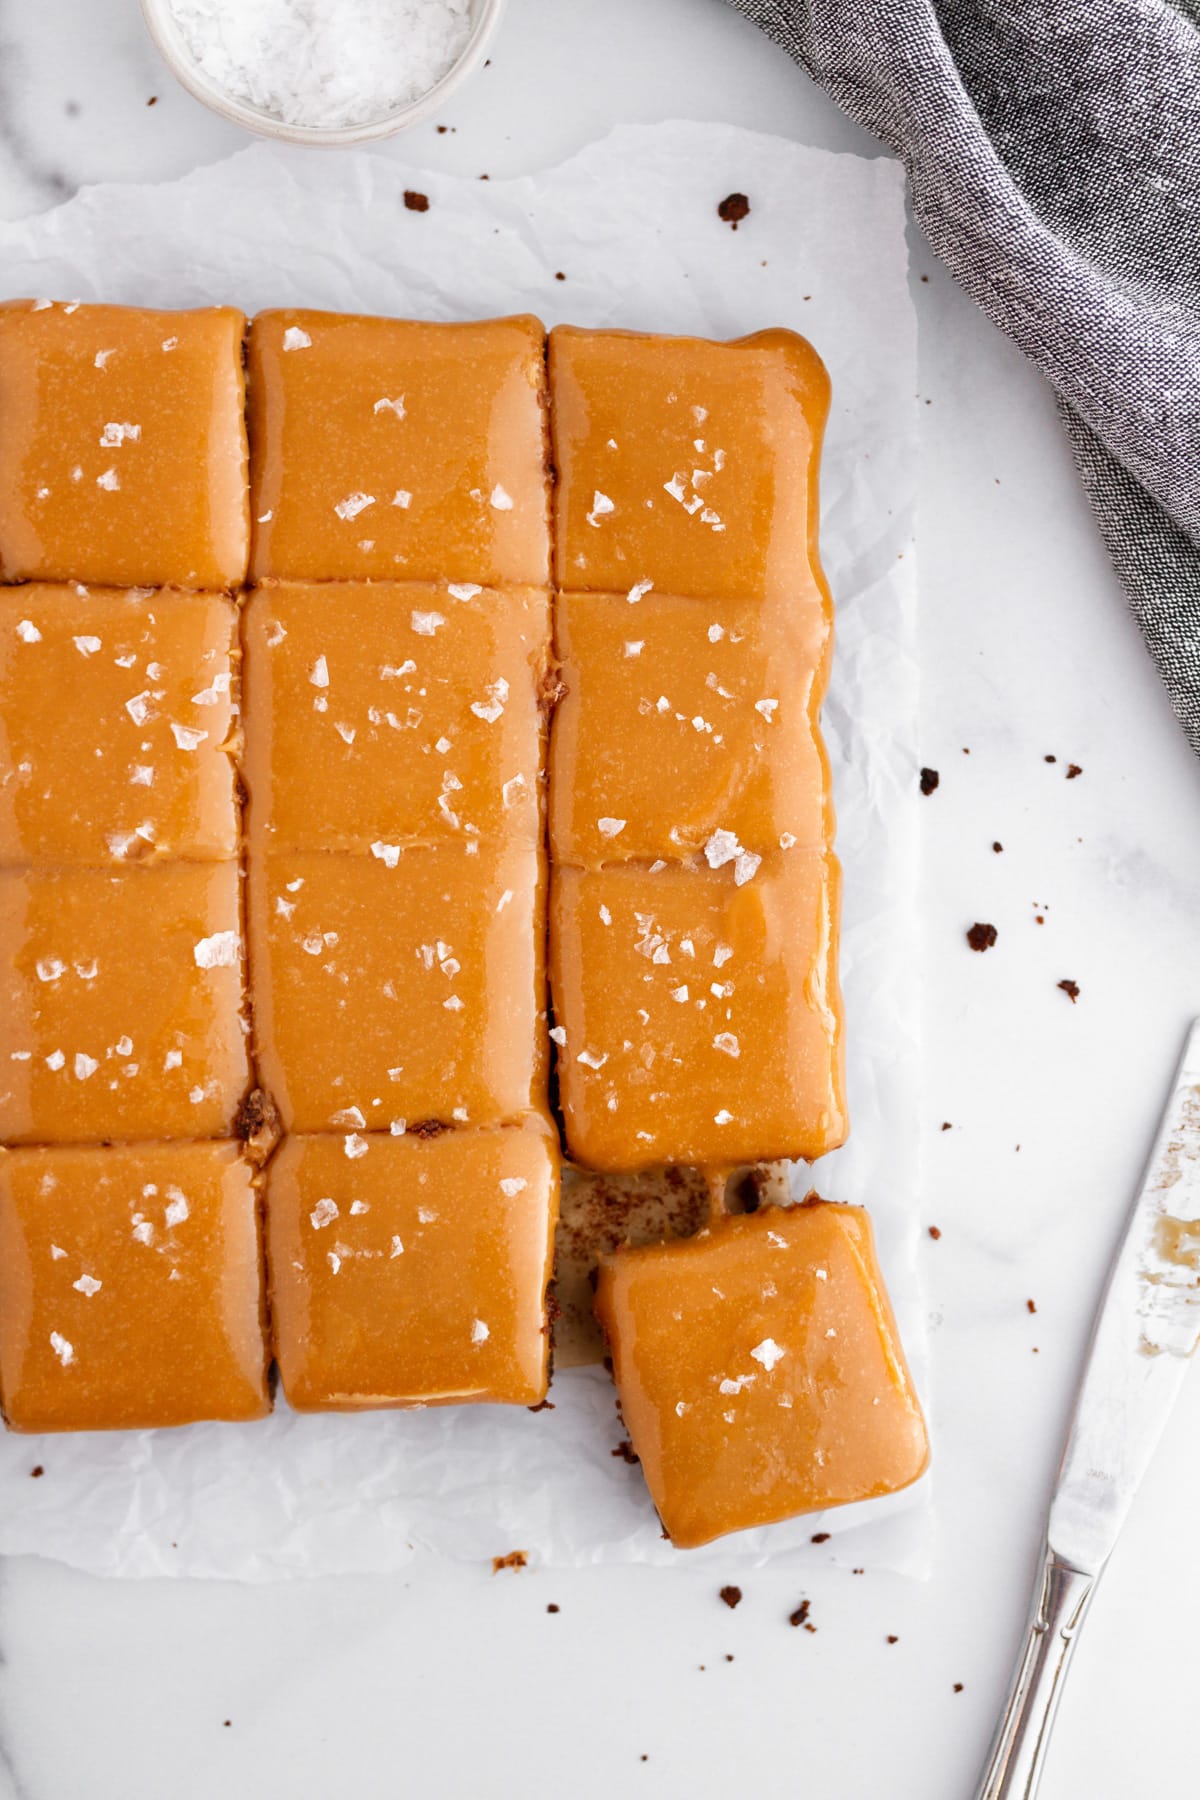
- That salted caramel topping. The caramel layer is made right on the stovetop by melting soft caramel candies with a splash of heavy cream until smooth and velvety. It pours over the cooled brownies and sets firm in the fridge, so every square has a clean, glossy top.
- Rich chocolate flavor in every bite. Both unsweetened cocoa powder and semisweet chocolate chips go into the batter, which means you’re getting chocolate two ways. The depth of flavor you get from that combination is hard to beat.
Brownies have always been my go-to when I need something that feels a little special without a lot of effort, and this version with the salted caramel topping has become a favorite I keep coming back to. The combination of deeply chocolatey, fudgy squares with that sweet, slightly salty caramel layer is exactly what a brownie should be.
They’re perfect for bringing to a gathering, cutting into neat squares for a cookie tray, or just keeping in the fridge for the week because I can promise they won’t last long. If caramel and chocolate together are your thing, try my Caramel Coconut Chocolate Chip Bars, or you can go the classic route with these Homemade Brownies.
Ingredients & Substitutions
- Unsalted Butter
- Unsweetened Cocoa Powder: This is the primary chocolate flavor in the batter, giving these gluten-free brownies their deep, rich color and intensity. Use a good-quality unsweetened cocoa for the best result; it makes a noticeable difference in flavor. The cocoa is stirred directly into the melted butter while still on the heat, which blooms it and pulls out more flavor than stirring it in cold.
- Granulated Sugar: It sweetens the batter and helps create that shiny, set top you want to see when the brownies come out of the oven. Do not reduce it; the sugar also contributes to the fudgy texture.
- Brown Sugar
- Vanilla
- Eggs: They bind the batter and are added one at a time so they incorporate evenly without scrambling in the warm mixture. The eggs also help the top of the brownie set up shiny and smooth.
- Cornstarch: This is what replaces flour in this recipe and gives the brownies structure without any gluten. It keeps the texture dense and fudgy rather than cakey. If you’ve ever made gluten-free chocolate chip cookies, you know how well cornstarch performs as a flour alternative in gluten-free baking.
- Salt
- Semisweet Chocolate Chips: Folded gently into the batter at the end, they melt partially during baking and create pockets of melty chocolate throughout. Ghirardelli is called out specifically in the recipe and it’s worth using a brand you trust here.
- Soft Caramel Candies: These melt down with heavy cream into a smooth, pourable caramel topping. Unwrap them fully before you start — it takes longer than you think, like I do the measuring and prep for everything else while the brownies bake.
- Heavy Cream: It loosens the melted caramels into a velvety, spreadable sauce. If you want to make a sauce from scratch instead, my Easy Salted Caramel Sauce works beautifully in its place.
- Flaky Sea Salt: Sprinkled lightly over the caramel topping before it sets, it cuts through the sweetness and makes every bite more interesting. A little goes a long way here — you want just a light, even scatter, not a heavy coating.
Variations for Flourless Brownies
- Dark Chocolate and Espresso: Stir a teaspoon of instant espresso powder or coffee extract into the cocoa and butter mixture along with the sugars. It deepens the chocolate flavor without making the brownies taste like coffee.
- Peppermint Chocolate: Add a half teaspoon of peppermint extract to the batter along with the vanilla and top the finished caramel layer with crushed candy canes. If you love the combination, my Peppermint Mocha Brownies take that flavor even further.
- Brownie Bites: Divide the batter into a lined mini muffin pan and reduce the bake time to around 12 to 15 minutes. Prefect individually portioned pieces that are easy to serve at a party.
- Add some mix-ins! Like these Oreo brownies, you can add your favorite candy, chocolate cookies or nuts!
Professional Tips for Perfect Flourless Brownies
- Cool the brownies completely before adding the caramel. If there’s any warmth left in the brownies, the caramel will sink in rather than sit on top as a distinct layer. Give them the full hour on the rack, and don’t rush it — the texture of the finished bar depends on this step.
- Stir the caramel constantly and keep the heat low. Caramel candies can scorch quickly if the heat climbs too high, and scorched caramel turns grainy and bitter. Stay at medium heat and keep a spatula moving the whole time until the mixture is completely smooth and velvety.
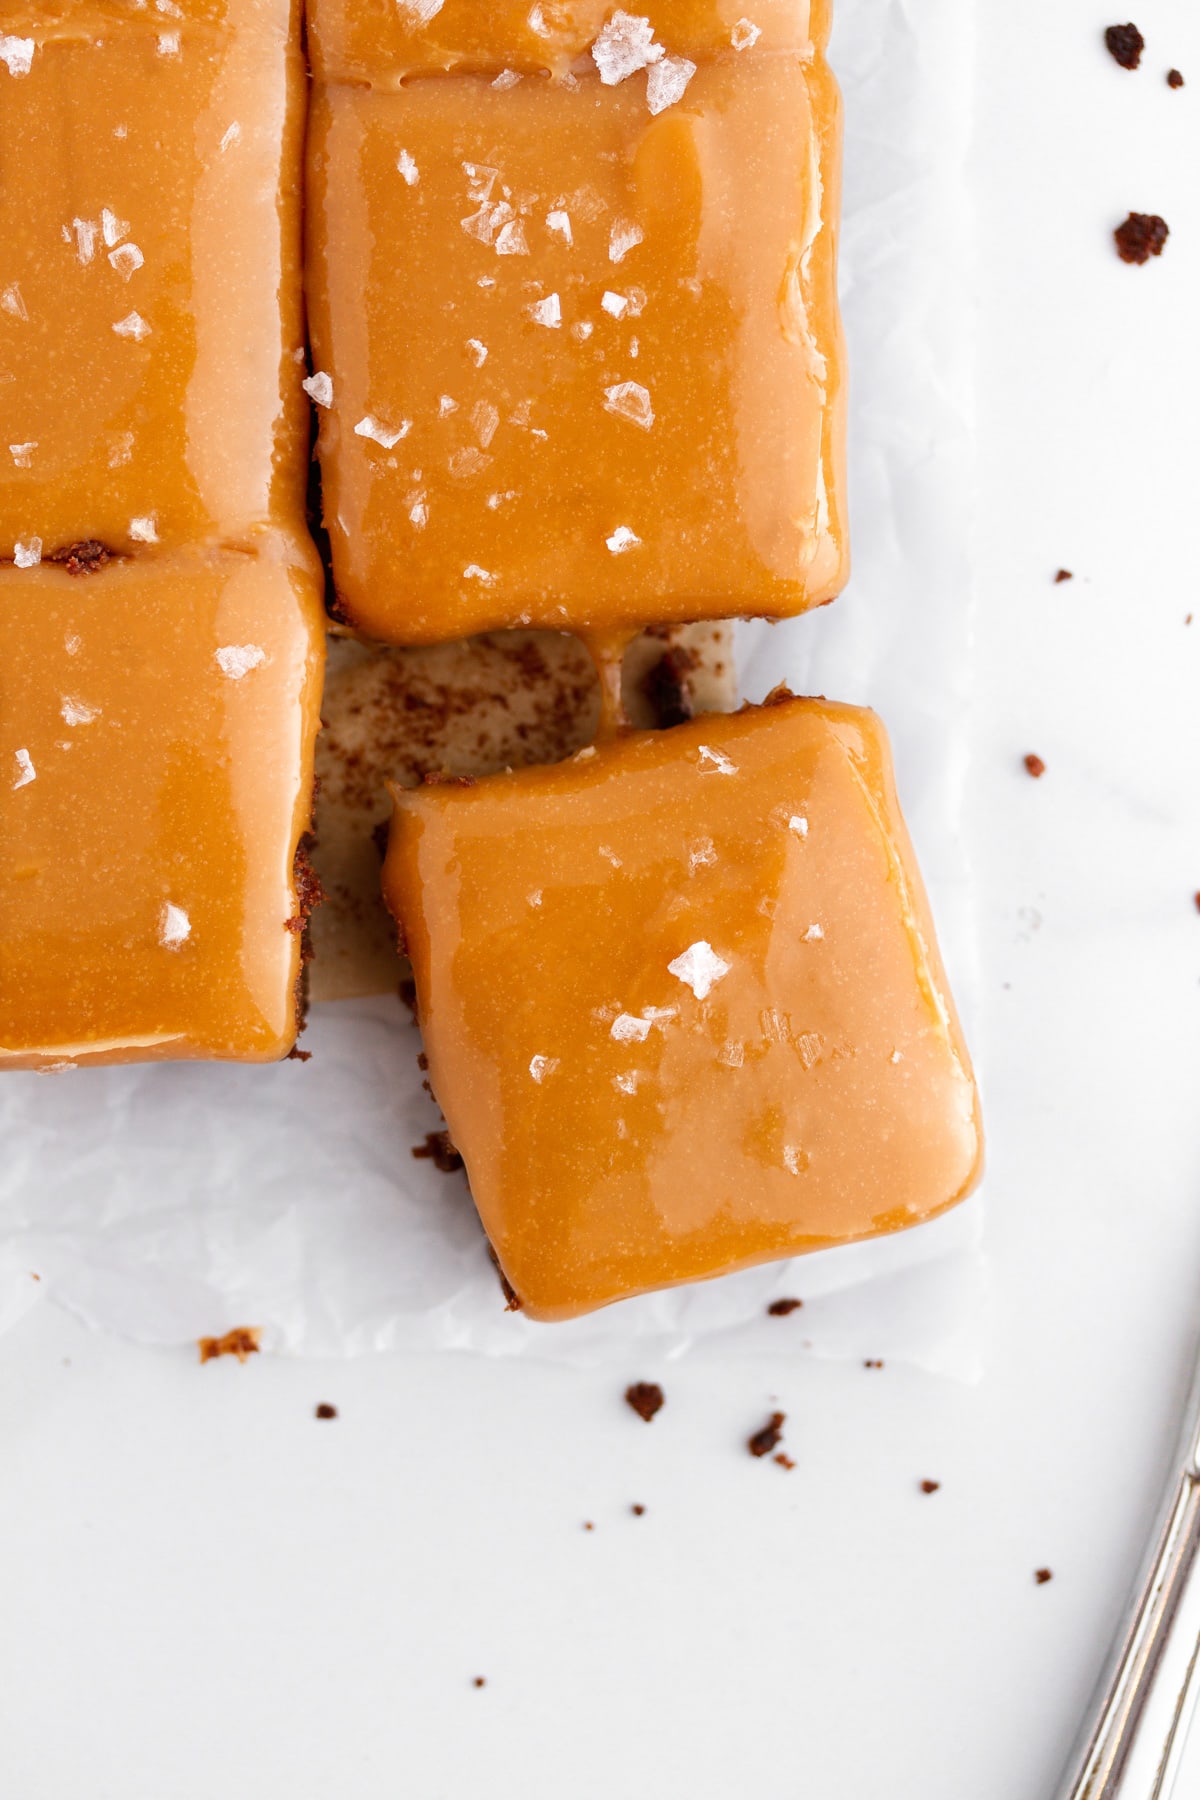
- Refrigerate until the caramel is fully set before cutting. At least 30 minutes in the refrigerator is the minimum, but if your kitchen runs warm, give it closer to an hour. A fully set caramel layer cuts cleanly.
- Add the flaky sea salt right after you spread the caramel, not after it sets. Salt pressed onto wet caramel adheres and stays in place through slicing. Salt scattered on a hardened caramel surface tends to slide off before anyone takes a bite.
How to Make Flourless Brownies
Use these step-by-step instructions to make rich, fudgy gluten free brownies topped with a silky salted caramel layer. Further details and measurements can be found in the recipe card below.
Step 1: Prep the pan and preheat. Preheat your oven to 350°F and line an 8×8-inch square baking pan with parchment paper, leaving a little overhang on the sides so the brownies are easy to lift out later. Spray the parchment with cooking spray so nothing sticks.
Make Brownie Batter
Step 2: Melt the butter and bloom the cocoa. Place the butter in a medium saucepan over low heat and let it melt slowly. Once it’s fully melted, stir in the cocoa powder until the mixture is completely smooth and no dry streaks remain.
Step 3: Add the sugars and vanilla. Remove the saucepan from the heat entirely before adding anything else. Stir in the granulated sugar, brown sugar, and vanilla until the mixture is smooth and glossy. It will loosen up noticeably as the sugars dissolve into the warm butter and cocoa base.
Step 4: Stir in the eggs. Add the eggs one at a time, stirring well after each addition before adding the next. Because the mixture is still warm, you want to incorporate each egg fully before introducing the next one so they blend in smoothly rather than scrambling. The batter will turn shiny and slightly thickened after both eggs are in.
Step 5: Stir in the cornstarch and salt. Add the cornstarch and salt and stir until the batter is completely smooth with no lumps. Cornstarch can clump if it hits a wet batter unevenly, so stir in a wide circular motion and scrape the sides and bottom of the pan as you go. The batter should look thick, smooth, and deeply chocolatey at this point.
Step 6: Fold in the chocolate chips. Add the semisweet chocolate chips and stir them in gently until they’re evenly distributed. You don’t need to stir vigorously here — a few slow folds are all it takes. The batter is now ready to go into the pan.
Bake
Step 7: Pour the batter into the prepared pan and spread it into an even layer all the way to the corners. Bake for 25 to 30 minutes, until the brownies top look shiny rather than wet or glossy. Don’t be tempted to pull them early; the shiny top is your clearest signal that they’re done.
Step 8: Cool the brownies completely. Transfer the pan to a wire cooling rack and let the brownies cool in the pan for a full hour before adding the caramel.
Make the Salted Caramel Topping
Step 9: While the brownies cool, combine the unwrapped soft caramel candies and heavy cream in a small saucepan over medium heat. Stir constantly as the mixture melts, keeping it moving so nothing scorches on the bottom. After a few minutes it will turn smooth, velvety, and pourable — that’s when it’s ready.
Step 10: Pour the caramel and add the sea salt. Pour the warm caramel directly over the fully cooled brownies and spread it to the edges in an even layer. Immediately sprinkle the top lightly with flaky sea salt before the caramel sets. The salt is subtle but it sharpens the chocolate flavor and keeps the whole thing from tasting overly sweet.
Step 11: Refrigerate until set. Place the pan in the refrigerator for at least 30 minutes, until the caramel topping is fully hardened and no longer tacky to the touch. Once set, lift the brownies out using the parchment overhang, slice into squares, and keep them covered in the refrigerator until you’re ready to serve.
Recipe FAQs
With the caramel topping, these gluten-free brownies need to be kept refrigerated. Store them covered in the pan or transfer to an airtight container, and they’ll keep well for up to 5 days. I let mine sit at room temperature for about 10 minutes before serving so the caramel softens slightly, which makes them so much easier to cut cleanly.
The most common reason is pulling them from the oven too early. These brownies need the full 25 to 30 minutes until the top is shiny and the center feels set when you give the pan a gentle nudge. They’ll firm up even more as they cool completely, so don’t skip that full cooling hour before adding the caramel.
Both are rich, deeply chocolatey brownies, but they’re quite different in texture and topping. These flourless brownies are dense and fudgy with a sweet, salty caramel layer on top, while the brownies with frosting are finished with a creamy nut butter frosting instead. If you love the salted-sweet combination, these are your recipe, but the cashew butter version is worth bookmarking too!
The recipe calls for semisweet chocolate chips, and I’d stick with that for the best balance of sweetness and depth. Bittersweet chips work if you want a less sweet brownie, but I’d avoid milk chocolate here since the batter already has both granulated and brown sugar and it can tip into overly sweet territory. Whatever you use, a good quality chip like Ghirardelli melts more evenly into the batter.
Reccomended Brownie Recipes

Christmas Recipes

Cookie Recipes

Brownies & Bars

Brownies & Bars
Gluten Free Brownies

Ingredients
Brownie Batter
- ½ cup unsalted butter
- ¼ cup unsweetened cocoa powder
- ½ cup granulated sugar
- ½ cup packed brown sugar
- 1 teaspoon vanilla
- 2 whole eggs
- ¼ cup cornstarch
- ½ teaspoon salt
- ½ cup semisweet chocolate chips, such as Ghirardelli
Salted Caramel Layer
- 1 ½ cups soft caramel candies, unwrapped
- ¼ cup heavy cream
- Flaky sea salt, for topping
Instructions
- Preheat the oven to 350°F. Line an 8×8-inch square baking pan with parchment paper and spray with cooking spray.
- In a medium saucepan over low heat, melt the butter. Stir in the cocoa powder until smooth.
- Remove the pan from heat. Add the granulated sugar, brown sugar, and vanilla and stir until smooth. Stir in the eggs one at a time until well combined. Stir in the cornstarch and salt until smooth, then gently stir in the chocolate chips.
- Pour and spread the batter evenly into the prepared pan. Bake 25 to 30 minutes, until the brownies are firm, the center is set, and the top is shiny. Cool completely in the pan on a cooling rack, about 1 hour.
- Meanwhile, make the salted caramel: In a small saucepan over medium heat, stir the caramel candies and heavy cream constantly until melted, smooth, and velvety.
- Pour and spread the caramel evenly over the fully cooled brownies. Sprinkle lightly with flaky sea salt.
- Refrigerate until the caramel topping is fully hardened, at least 30 minutes. Cover and keep refrigerated until ready to serve.
Notes
Technique: Do not rush the cooling step before adding the caramel. If the brownie base is still warm, the caramel will absorb into the top layer instead of setting into a distinct, sliceable coating.
Switch out the caramel: Try these brownie with a chocolate frosting or the strawberry frosting from my strawberry cake!
Storage: Keep brownies covered in the pan or in an airtight container in the refrigerator for up to 5 days. Let them sit at room temperature for about 10 minutes before serving so the caramel softens slightly and the brownies cut cleanly.
Nutrition
Nutrition information is automatically calculated, so should only be used as an approximation.
 Like this recipe? Rate & comment below!
Before You Go
I hope these gluten free brownies earn a permanent spot in your recipe rotation. Browse our Dessert Recipes or make these strawberry brownies next!




I made these for a family gathering and nobody believed they were gluten free. The caramel layer was a perfect addition and set about 45 minutes in the fridge and cut beautifully into clean squares.
Fooling a whole family gathering into thinking they were regular brownies — mission accomplished! Thanks for making them and sharing! ~GVD team
Just yum! I love the gluten-free recipe that doesn’t seem like a gluten-free recipe. The brownies are so easy to make and the texture is unreal, so fudgy. Melting caramel on top is a genius move. What else can we melt caramel on top of?
Thanks for the recipe! I made these yesterday & they are so amazing! Perfect ratio of caramel to brownie!
Jenny, Ahh that makes me so happy, thank you! So glad you loved them. 🙂