
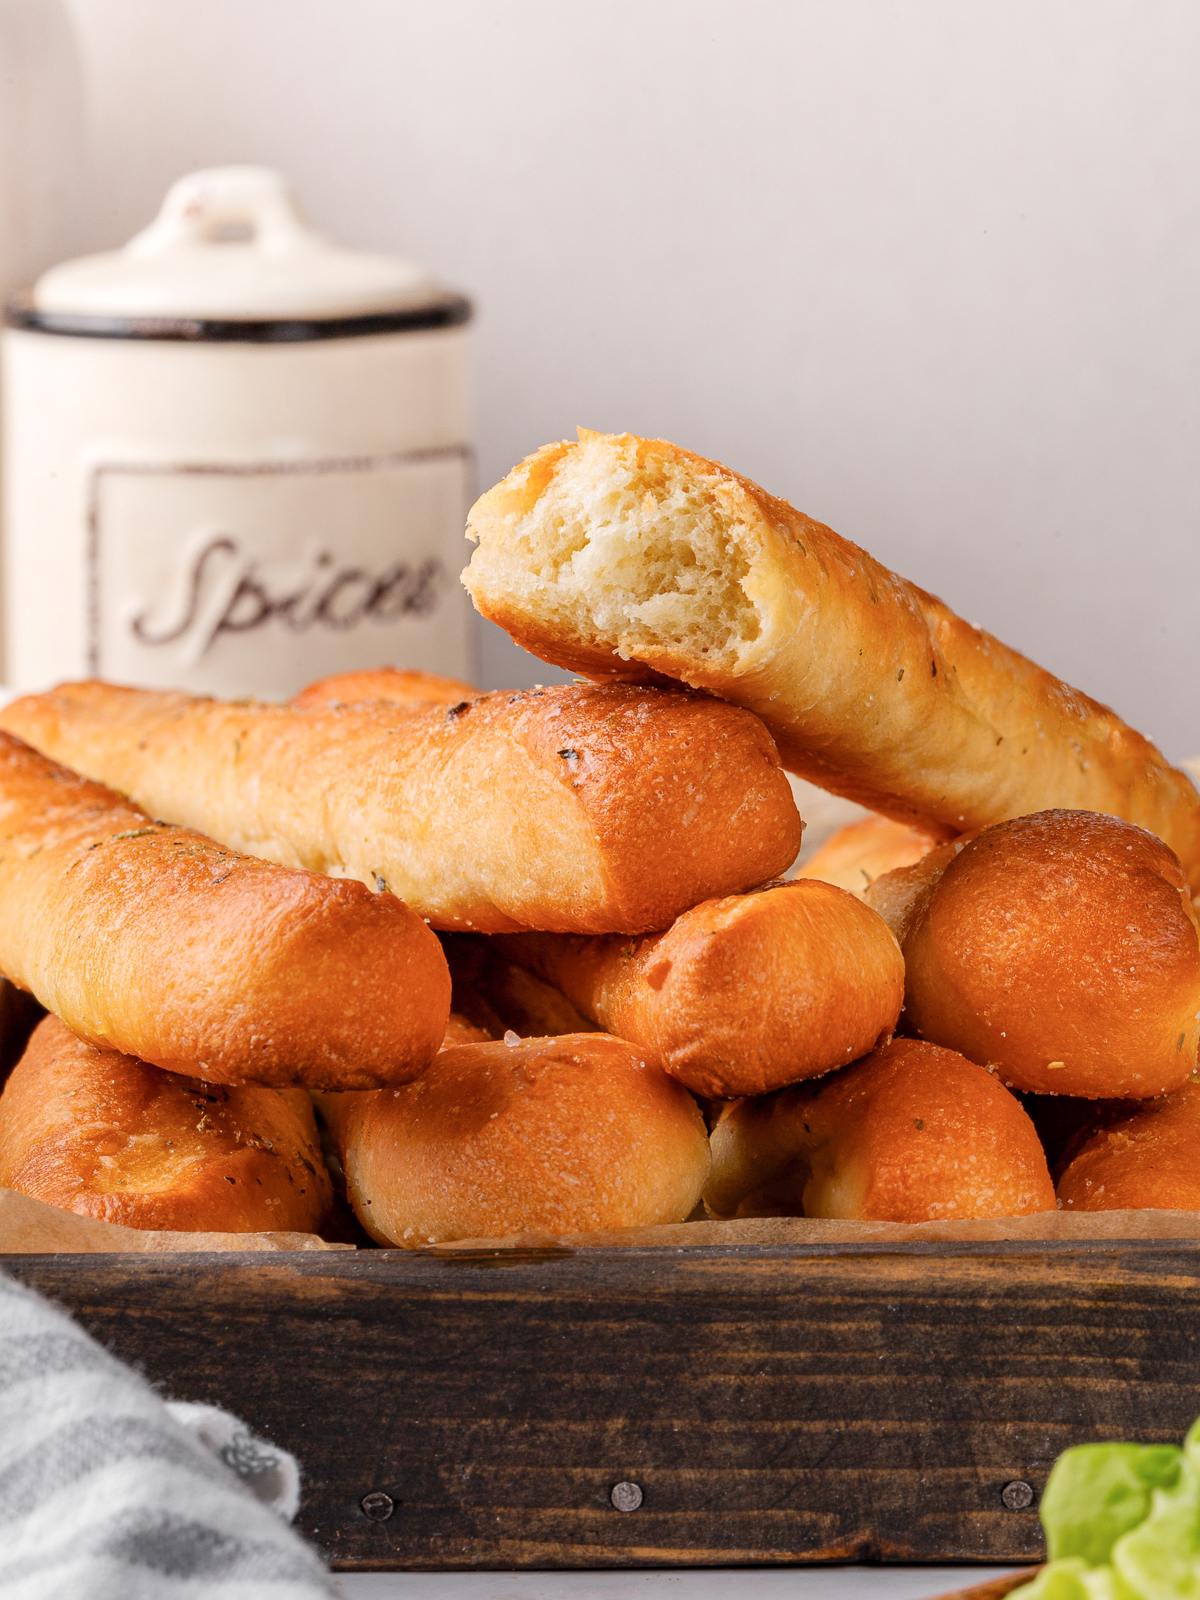
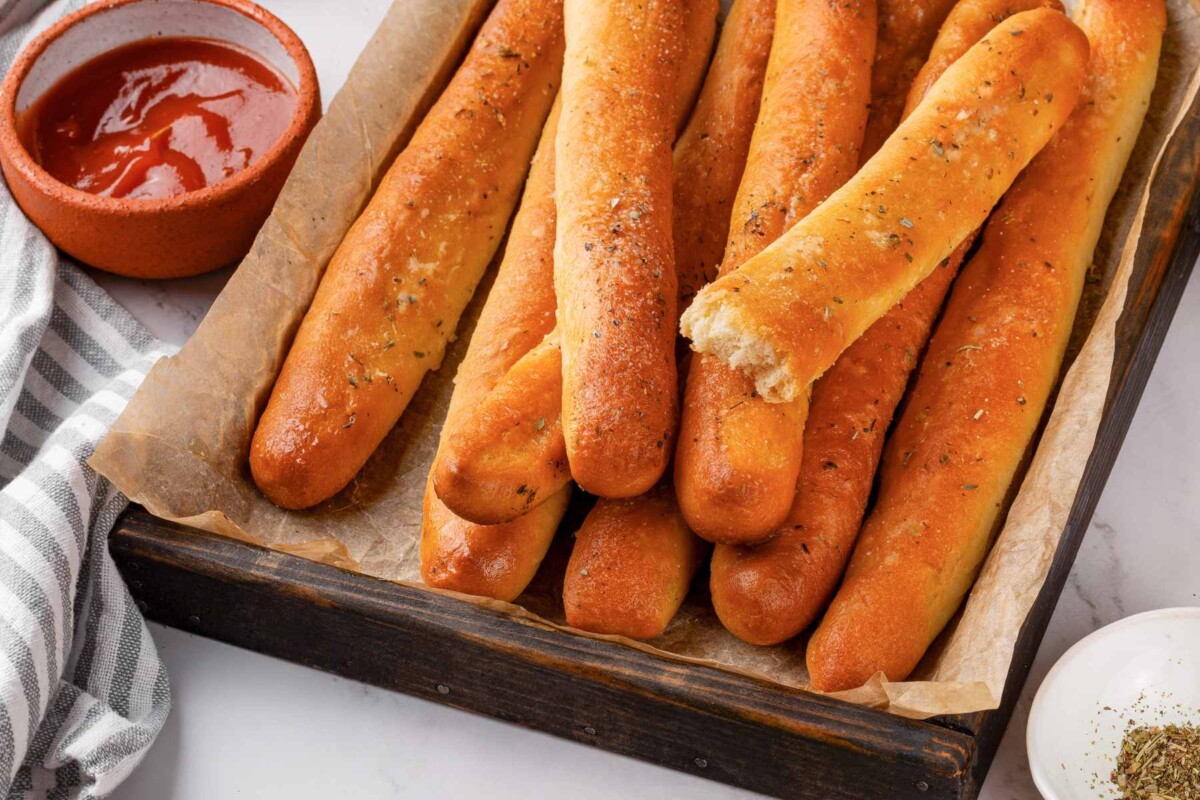
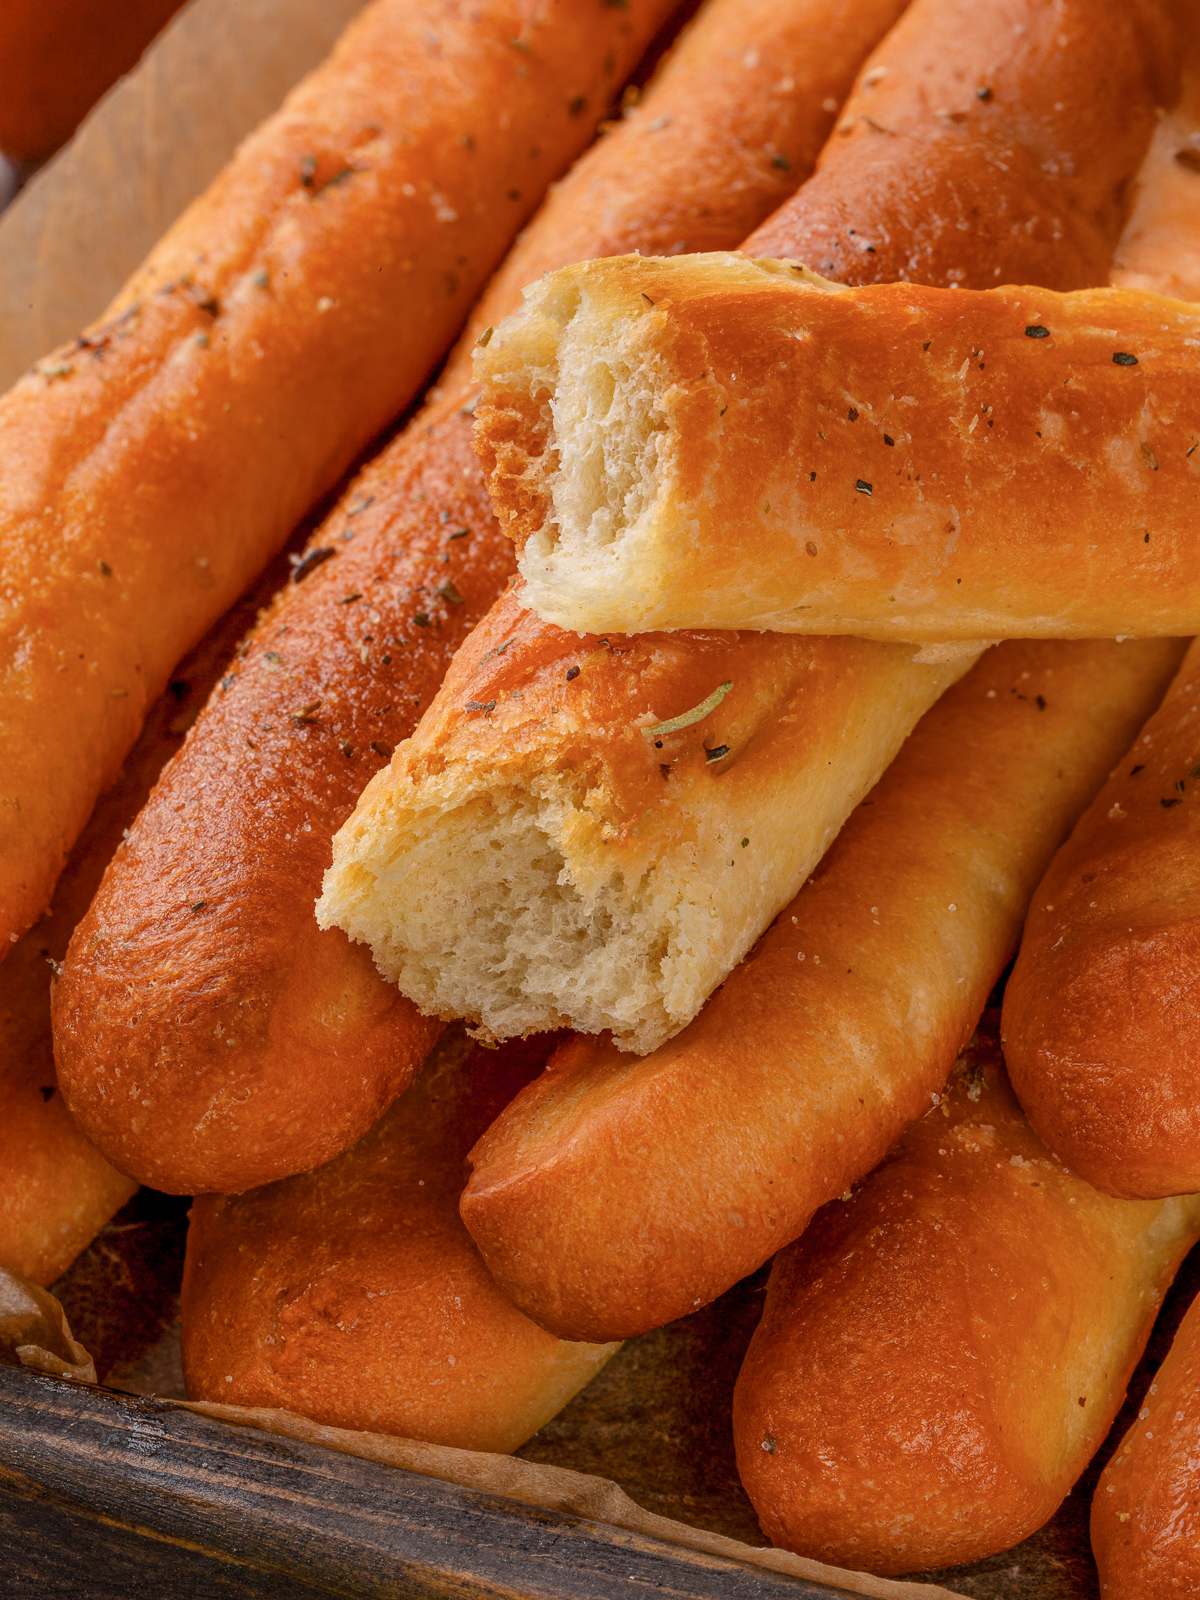
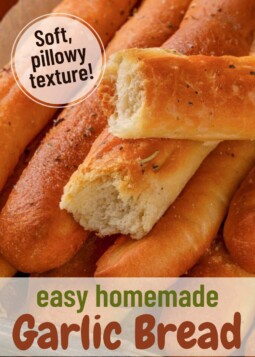
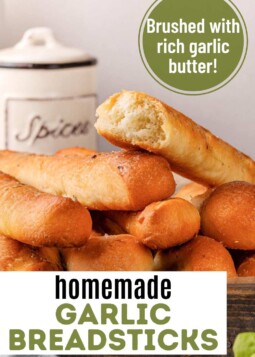
Garlic breadsticks bake up soft, buttery, and golden, finished with a generous brush of garlic butter. An easy yeast dough delivers pillowy texture and rich flavor that tastes straight from a restaurant!
A Quick Look At The Recipe
This is a brief summary of the recipe. Jump to the recipe to get the full details.
Prep Time
35 minutes
Cook Time
15 minutes
Total Time
50 minutes
Servings
16 breadsticks
Difficulty
Easy to intermediate—great if you’ve made yeast dough once or twice before.
Calories *
138 kcal per serving
Technique
Bloom yeast, mix and knead dough, rise, shape, bake, and finish with garlic butter.
Flavor Profile
Soft, fluffy breadsticks with rich butter and savory garlic flavor.
* Based on nutrition panel
I made these with dinner last night and they disappeared immediately. The rise times were spot on, and brushing the butter after baking made them taste exactly like restaurant breadsticks. My family already asked when I’m making them again. ⭐⭐⭐⭐⭐
Lauren
Why You Will Love These
- Soft, fluffy texture with a golden exterior. The dough bakes up tender with just enough structure to hold all that butter.
- Straightforward yeast dough. No complicated techniques—just classic bread fundamentals that work.
- Garlic butter done right. Brushing after baking keeps the flavor bold and the breadsticks soft.
- Perfect for sharing. These are made for pasta nights, soups, or just pulling apart while they’re still warm.
Table of Contents
Making breadsticks from scratch can feel intimidating, but this recipe is exactly the kind that builds confidence. If you’ve made pizza dough or dinner rolls before, this will feel familiar—and if you haven’t, it’s a great place to start.
If you enjoy baking bread at home, you might also love my classic sandwich bread recipe or faster options like same day sourdough bread when you’re short on time.
Ingredients & Substitutions
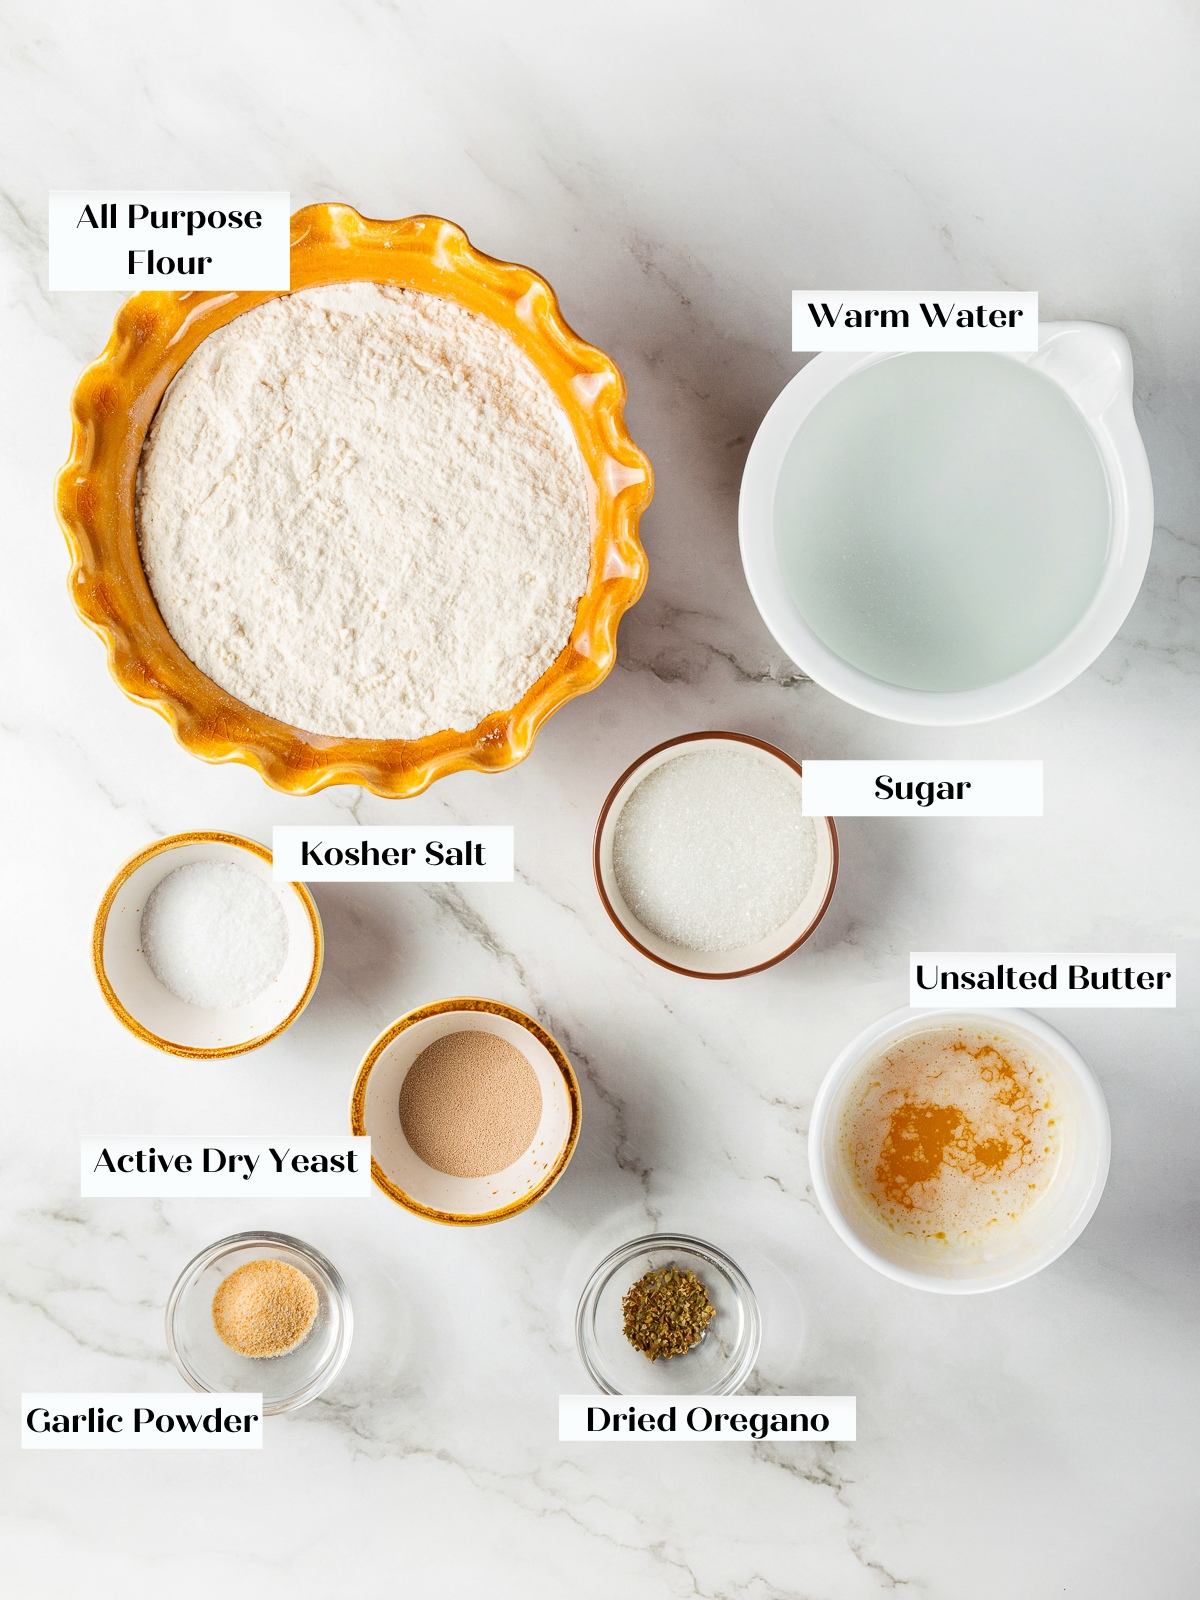
- Warm water (110–115°F): The temperature matters here—too hot can kill the yeast, too cool will slow the rise.
- Active dry yeast: Blooming it first ensures it’s alive and ready to work. You can also use instant yeast; no blooming required.
- Granulated sugar: Feeds the yeast and helps with browning.
- All-purpose flour: Creates a soft, fluffy crumb that’s perfect for breadsticks.
- Unsalted butter: Used both in the dough and for brushing—this is where richness comes from.
- Garlic powder & dried oregano: Simple seasonings that give classic garlic breadstick flavor without overpowering.
See the recipe card for full information on ingredients and quantities.
Variations for Garlic Breadsticks
- Add cheesy flair: Sprinkle freshly grated Parmesan cheese or mozzarella over a batch right after baking so it melts into the butter.
- Experiment with shapes: Twist the dough into garlic knots for a fun variation and serve alongside easy marinara sauce!
- Use fresh garlic: Swap garlic powder for finely grated fresh garlic, mixed into the melted butter just before brushing.
- Make them herby: Add dried basil, parsley, or Italian seasoning to the butter topping for extra aroma. For a bolder herb-and-garlic vibe, you’ll also love this rosemary garlic bread.
Professional Tips
- Aim for soft dough. The dough should feel slightly tacky but not wet—adding too much flour will make dense breadsticks.
- Respect the second rise. That short rest after shaping gives you lighter, fluffier breadsticks.
- Butter after baking. This keeps the garlic flavor strong and prevents scorching.
How do you make garlic breadsticks in the oven?
Use these instructions to make perfect garlic breadsticks every time. Further details and measurements can be found in the recipe card below.
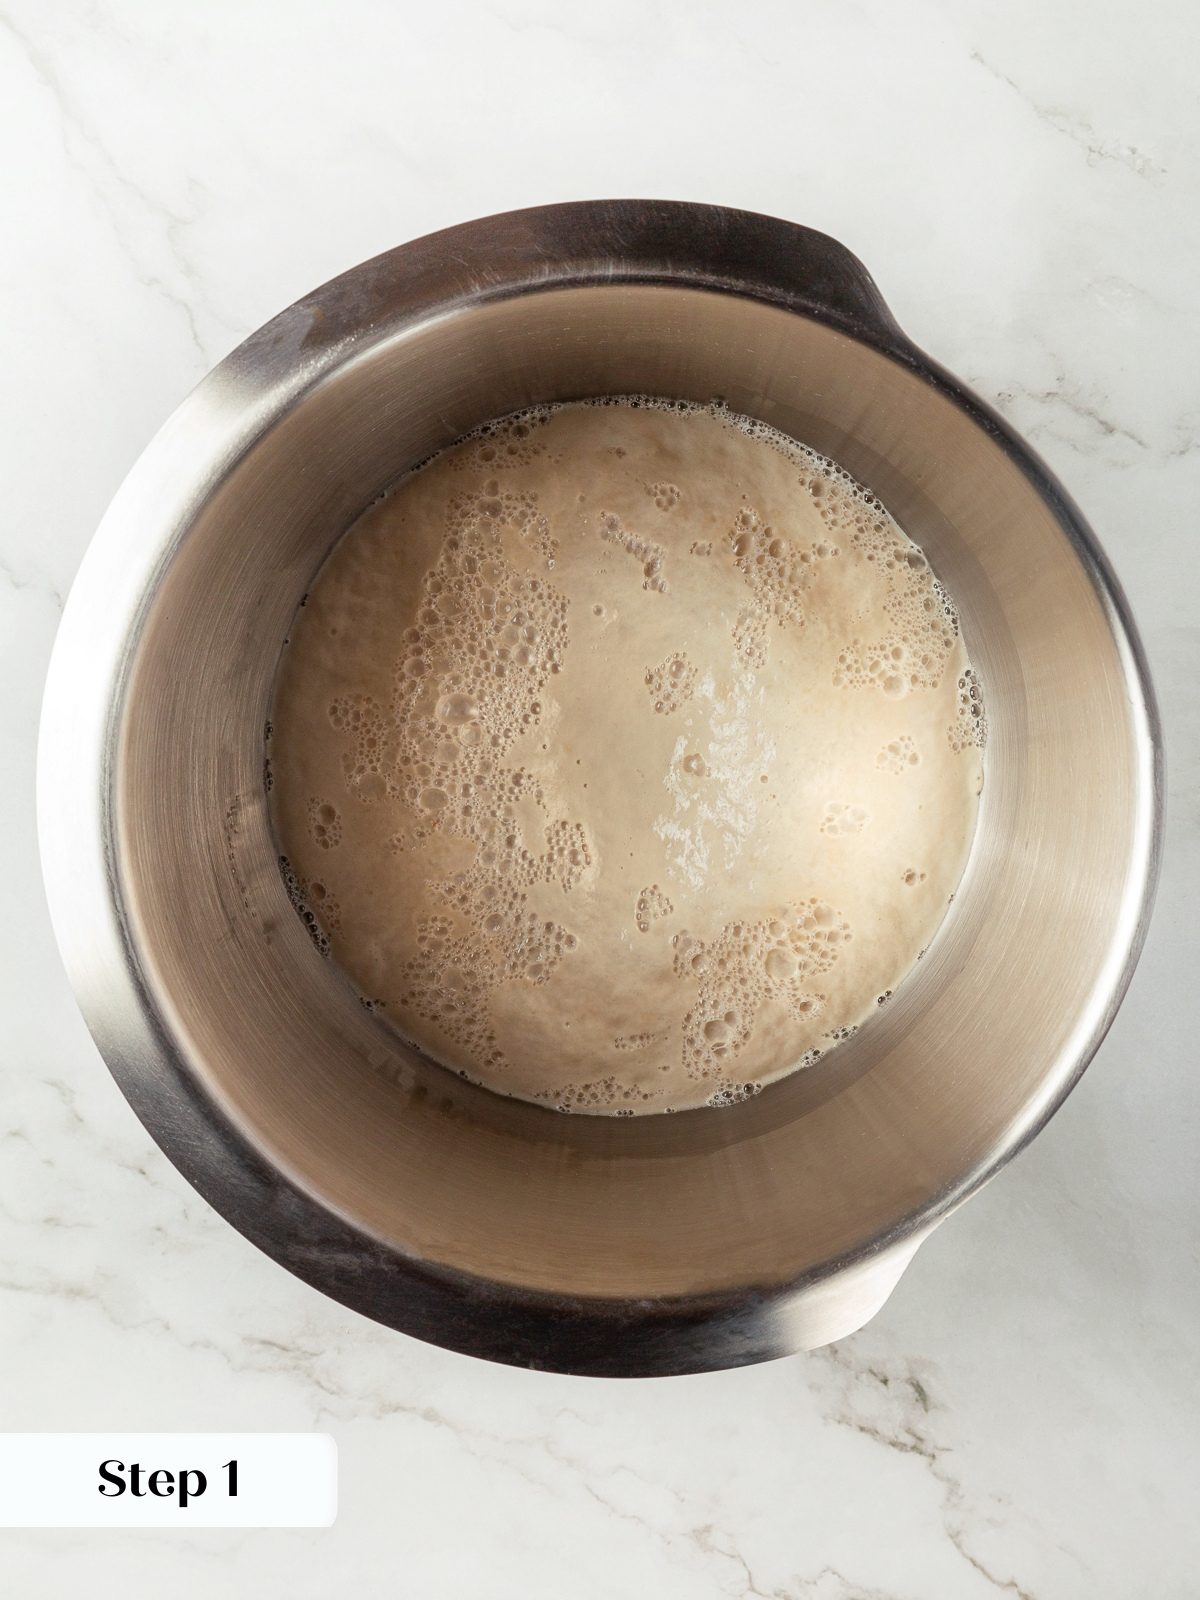
Step 1: Bloom the yeast. In a large bowl or the bowl of a stand mixer, whisk the sugar and yeast into the warm water. Let sit for about 10 minutes, until foamy and active (photo 1).
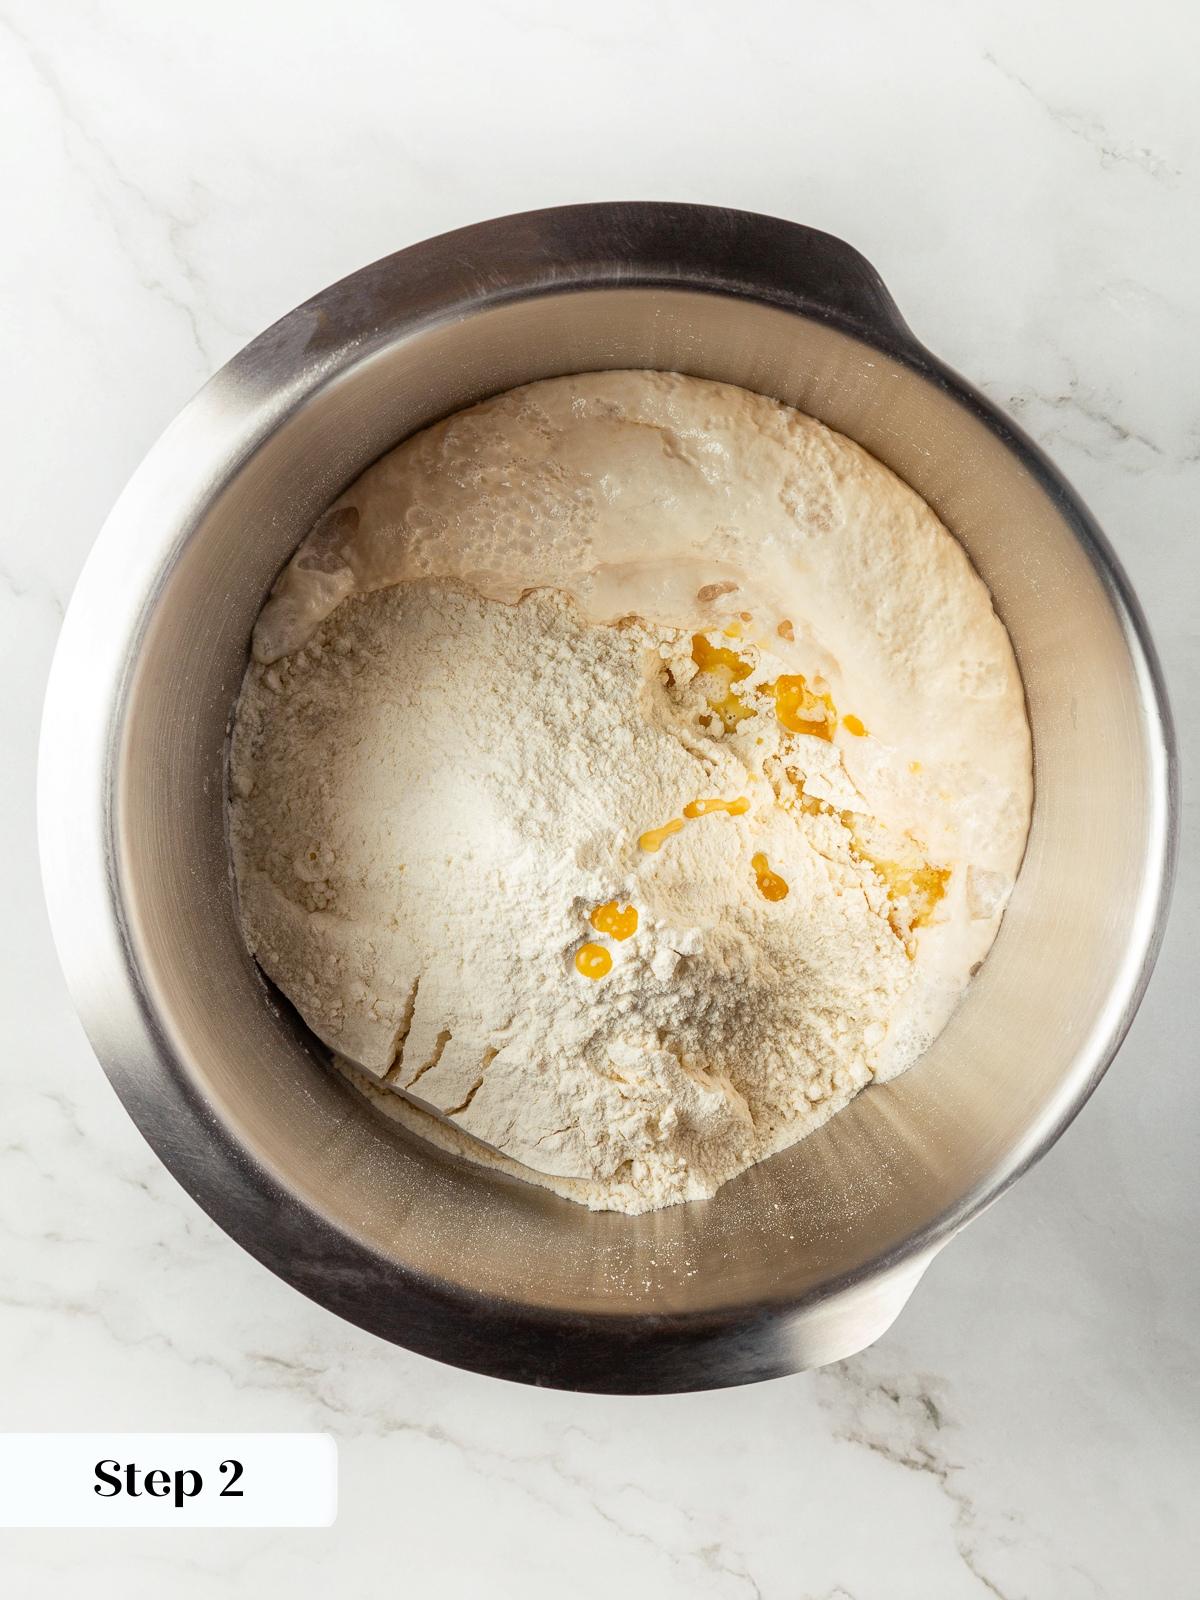
Step 2: Form the dough. Add 3½ cups of the flour, the salt, and the melted butter. Stir until a shaggy dough forms (photo 2).
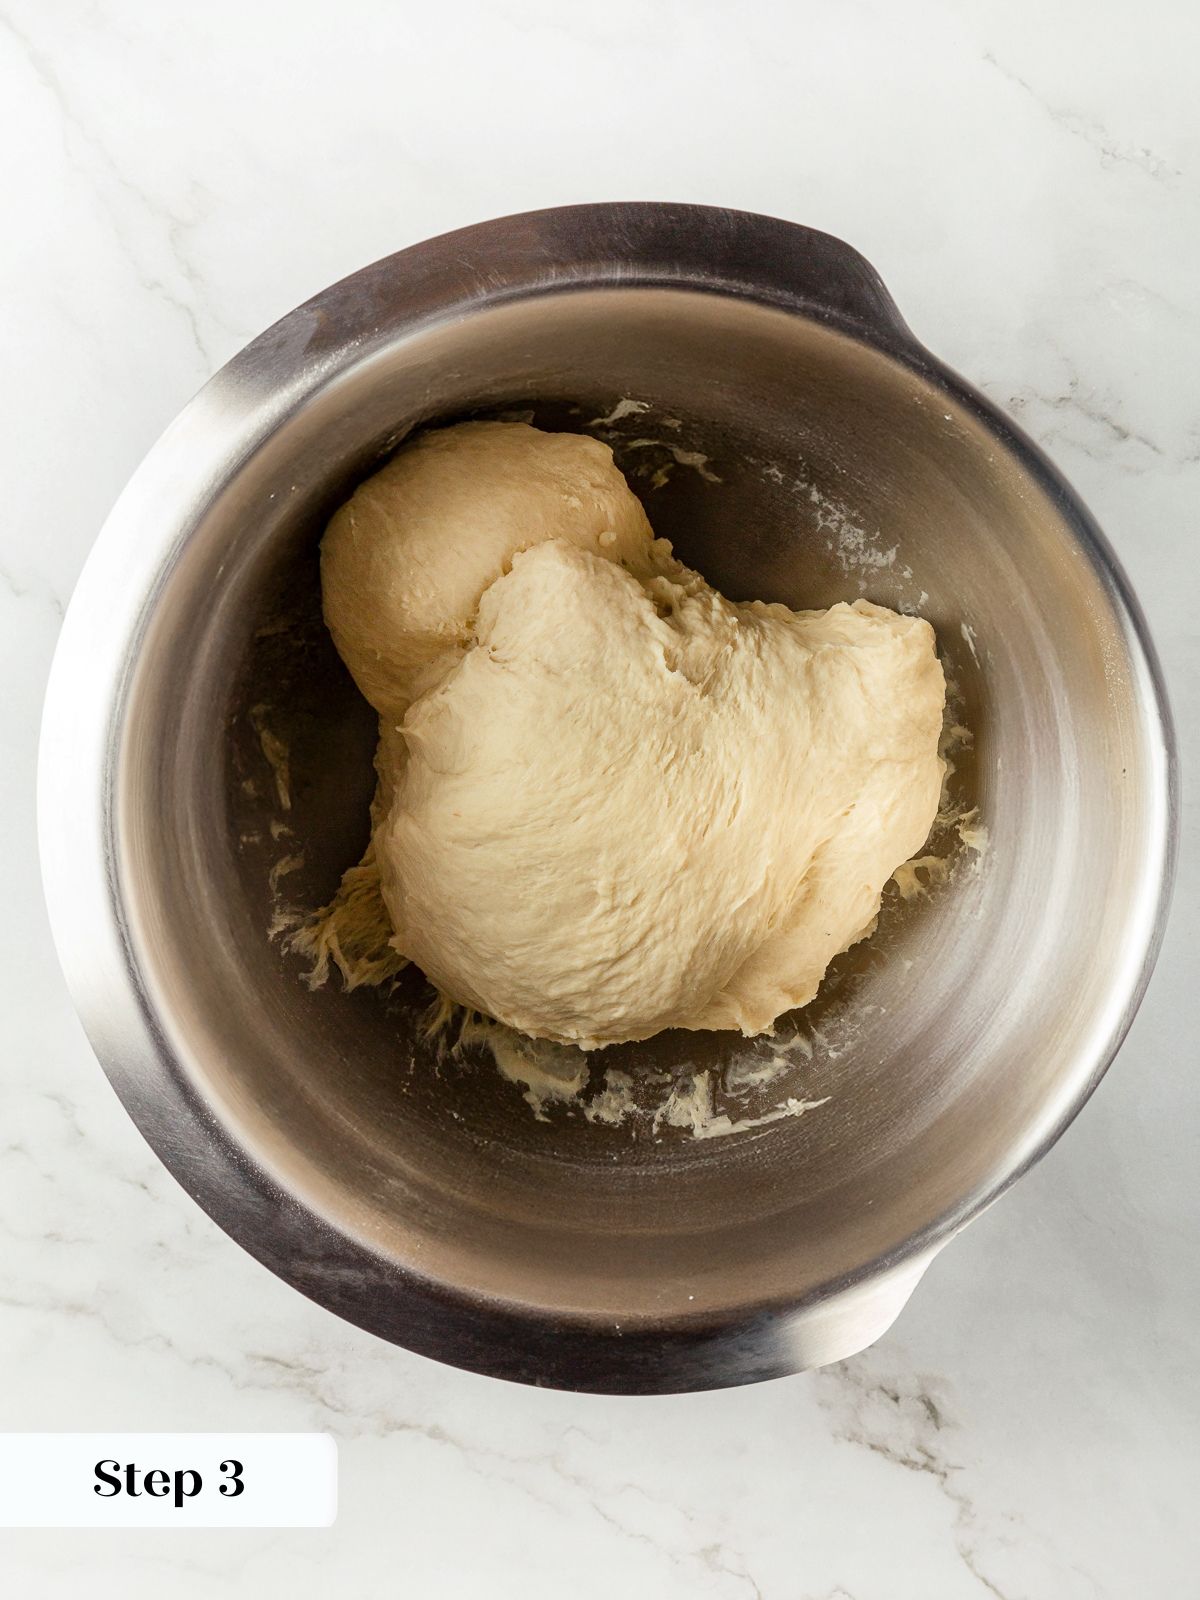
Step 3: Knead until smooth. Knead by hand for about 10 minutes, or with a dough hook attachment, on medium speed for 5 minutes, adding only enough remaining flour to create a soft, slightly sticky dough that pulls away from the bowl (photo 3).
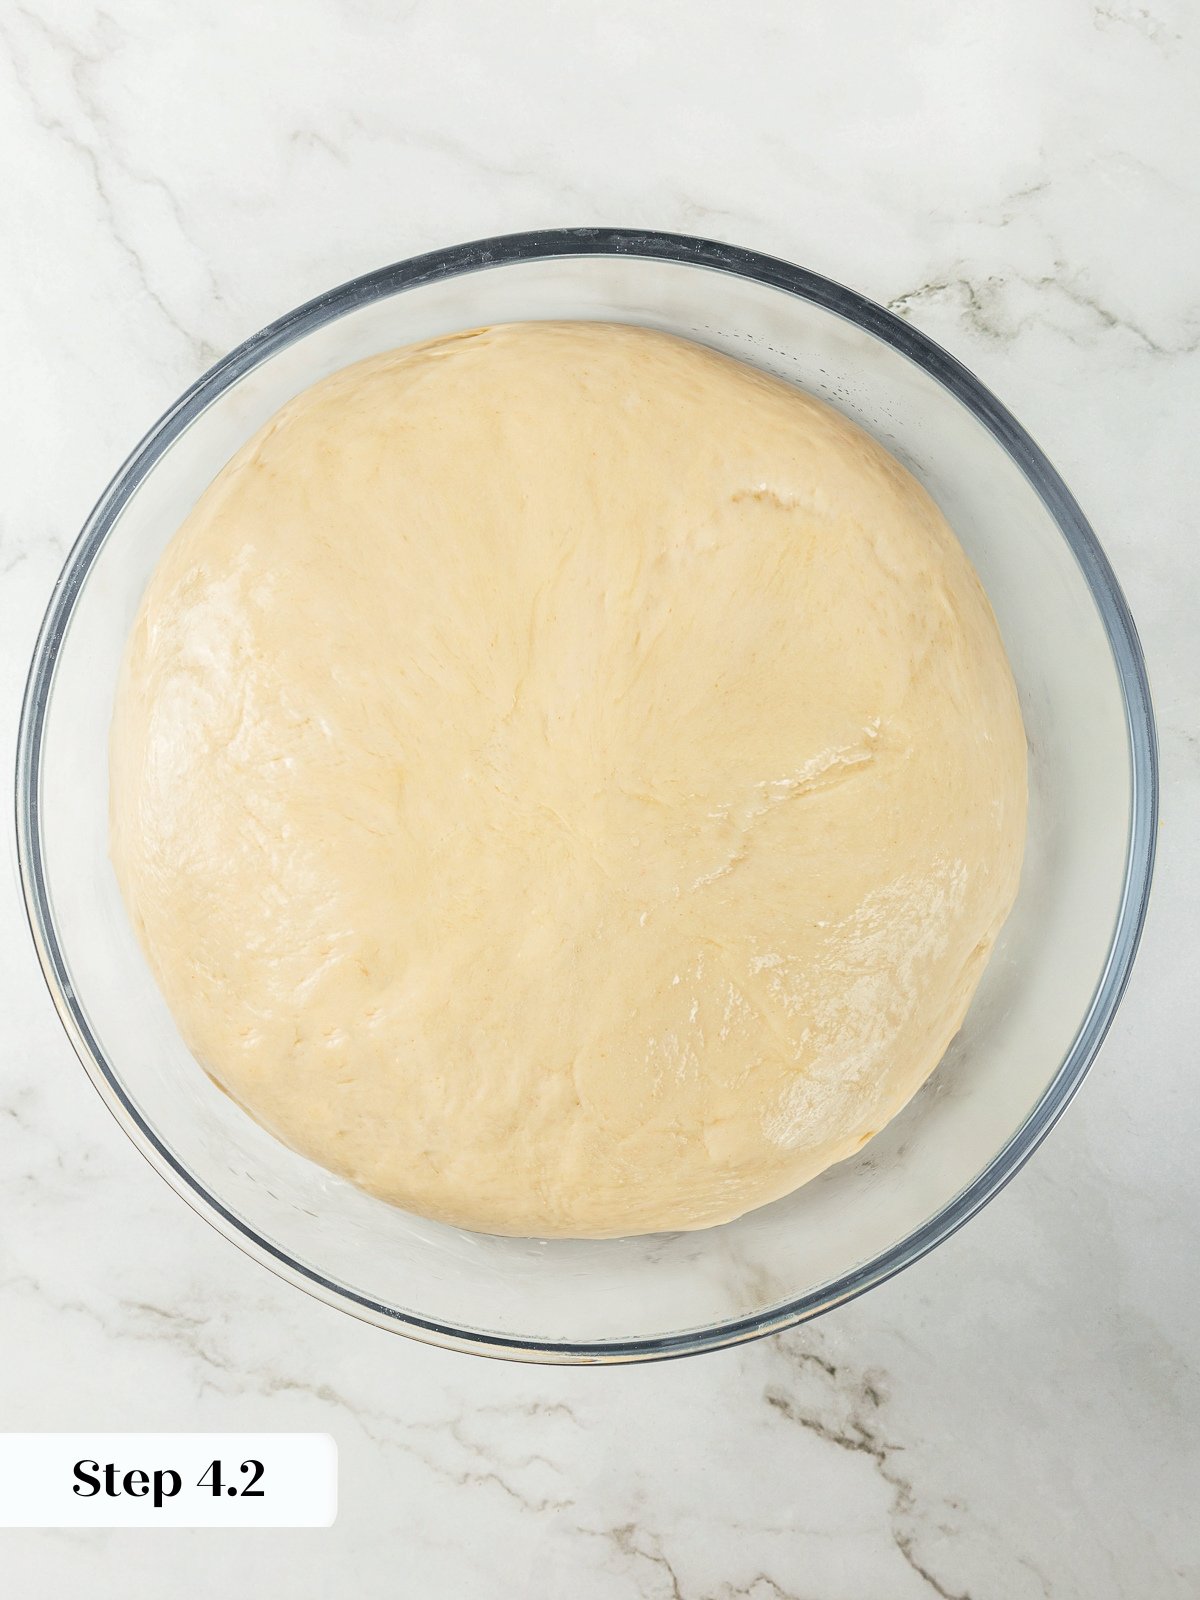
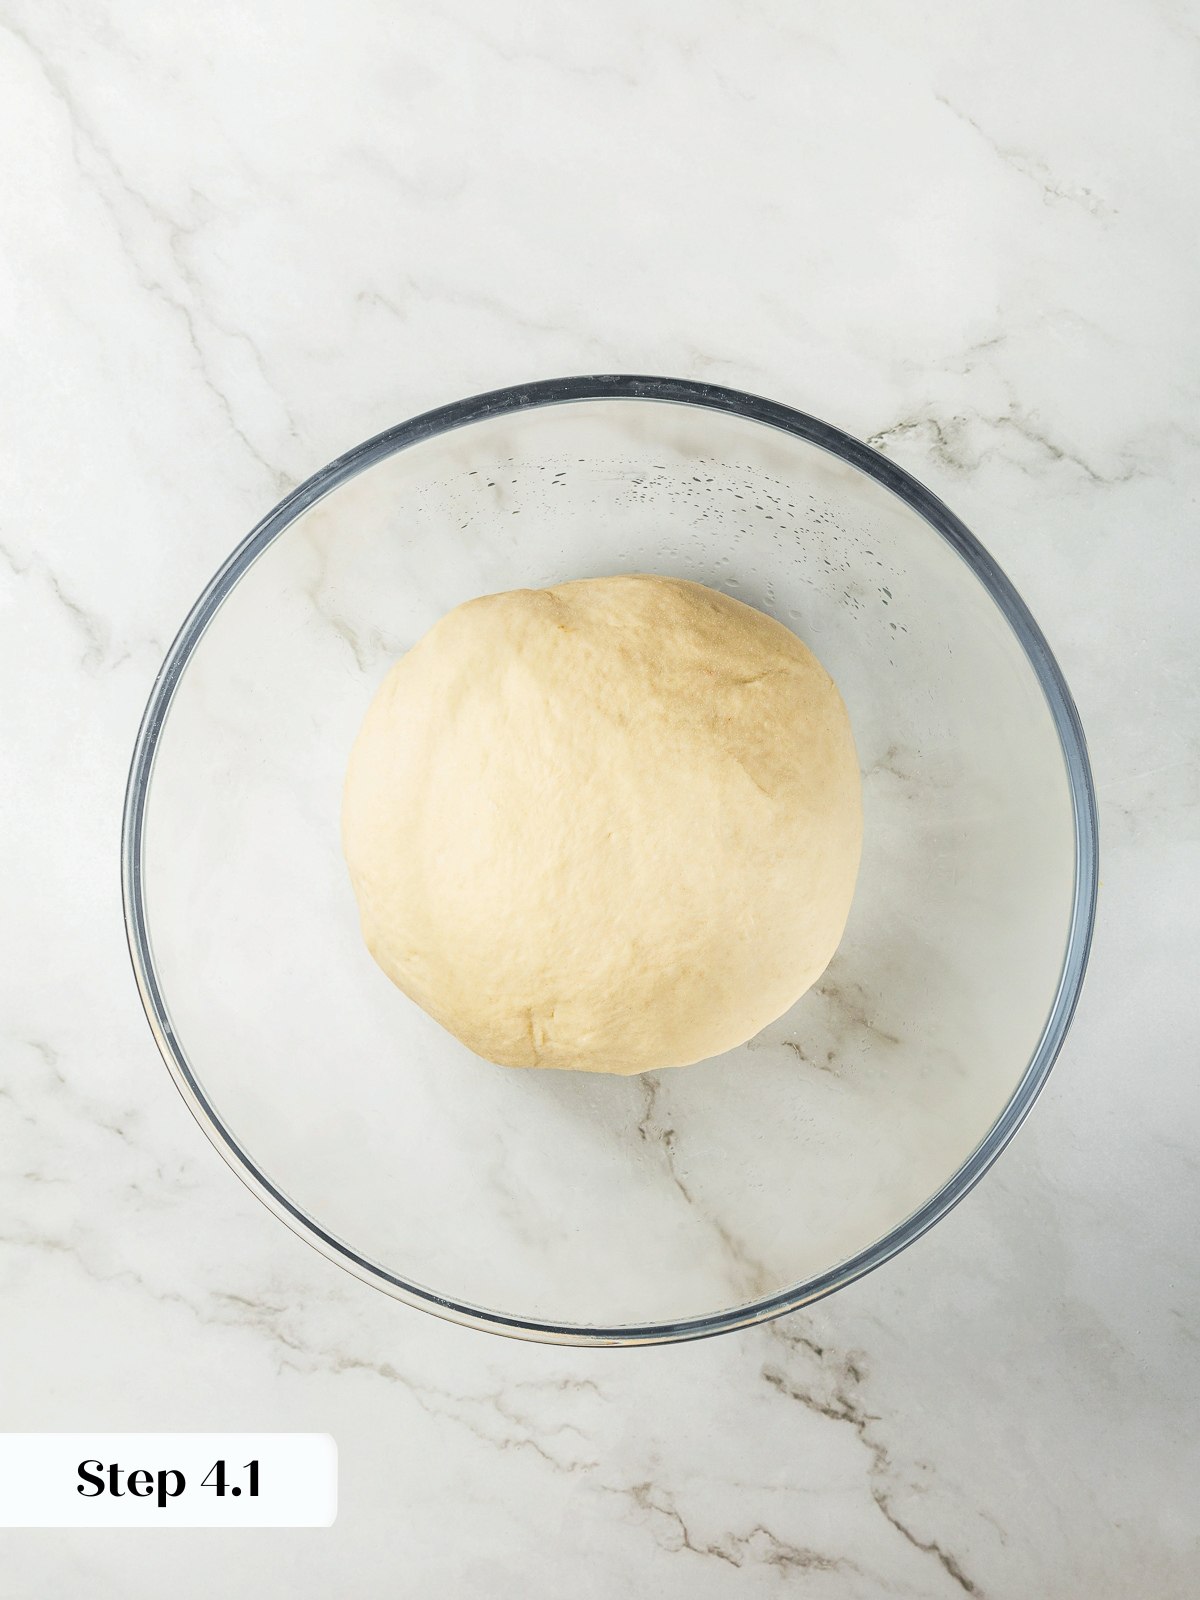
Step 4: First rise. Transfer the dough to a lightly oiled bowl, turning once to coat. Cover and let rise for 1 hour, or until doubled in size (photos 4 & 5).
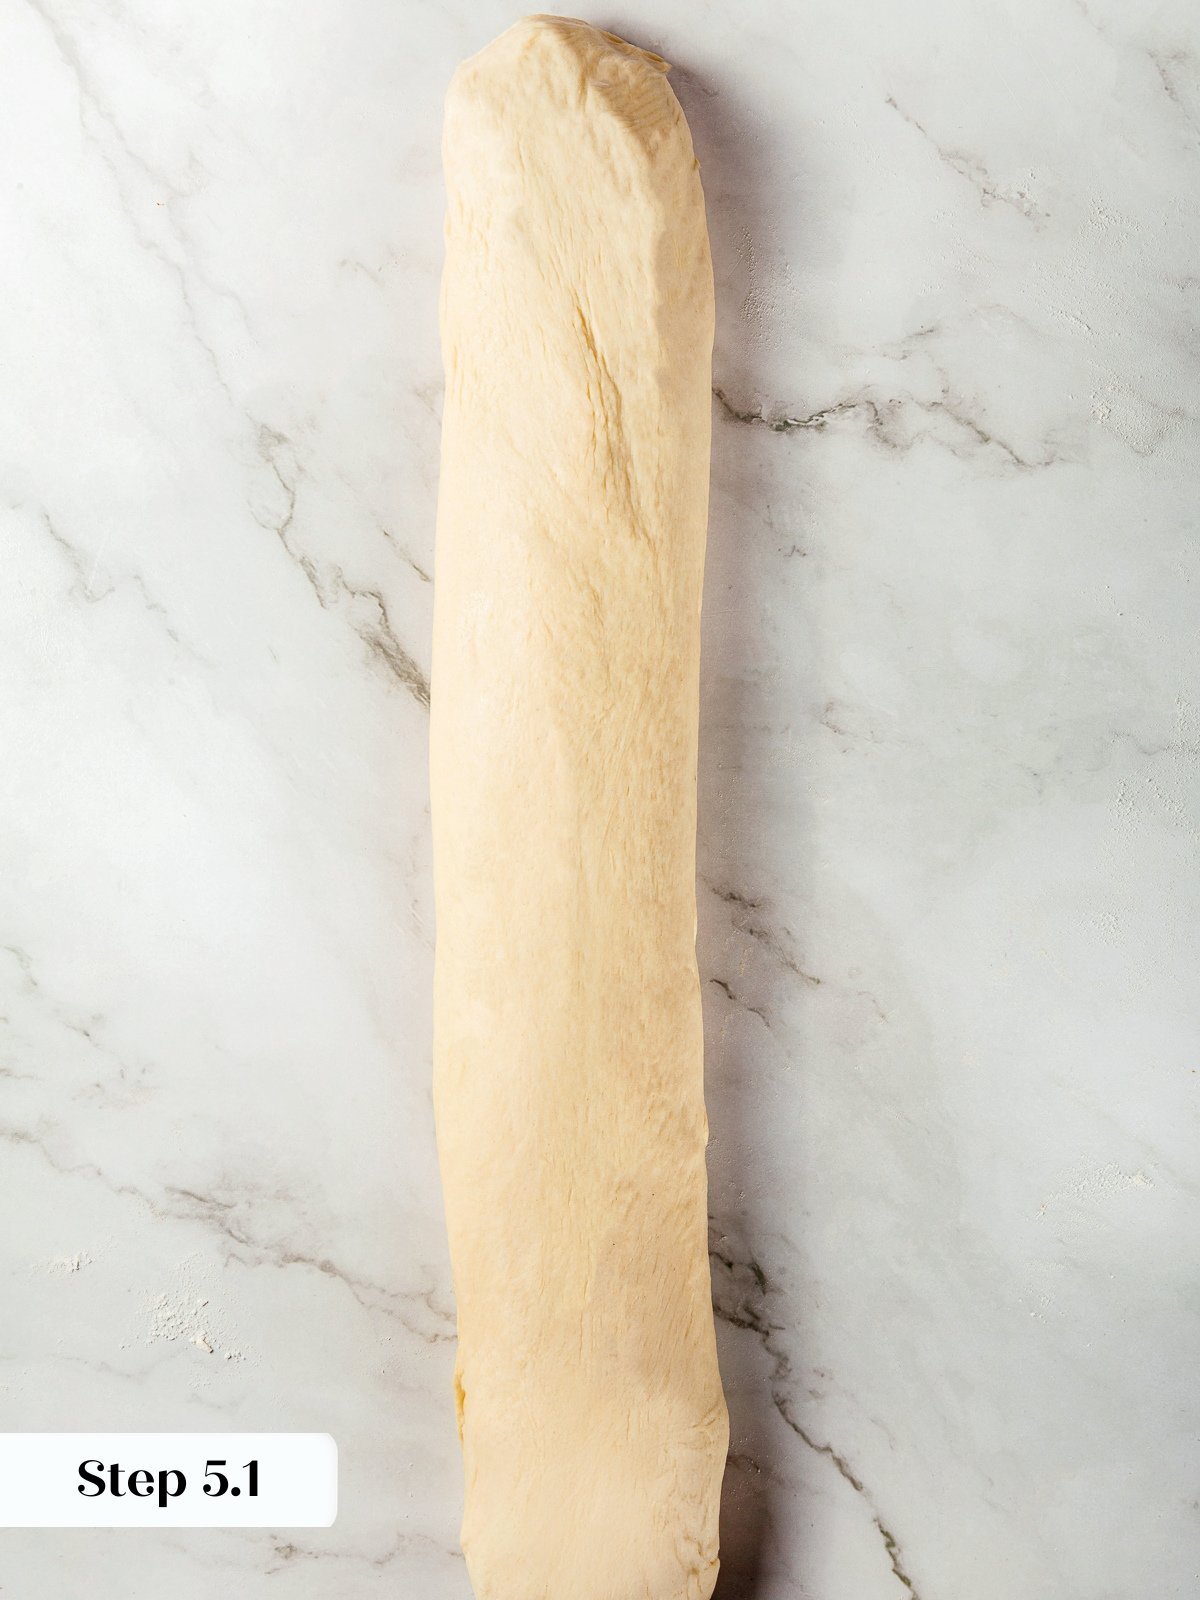
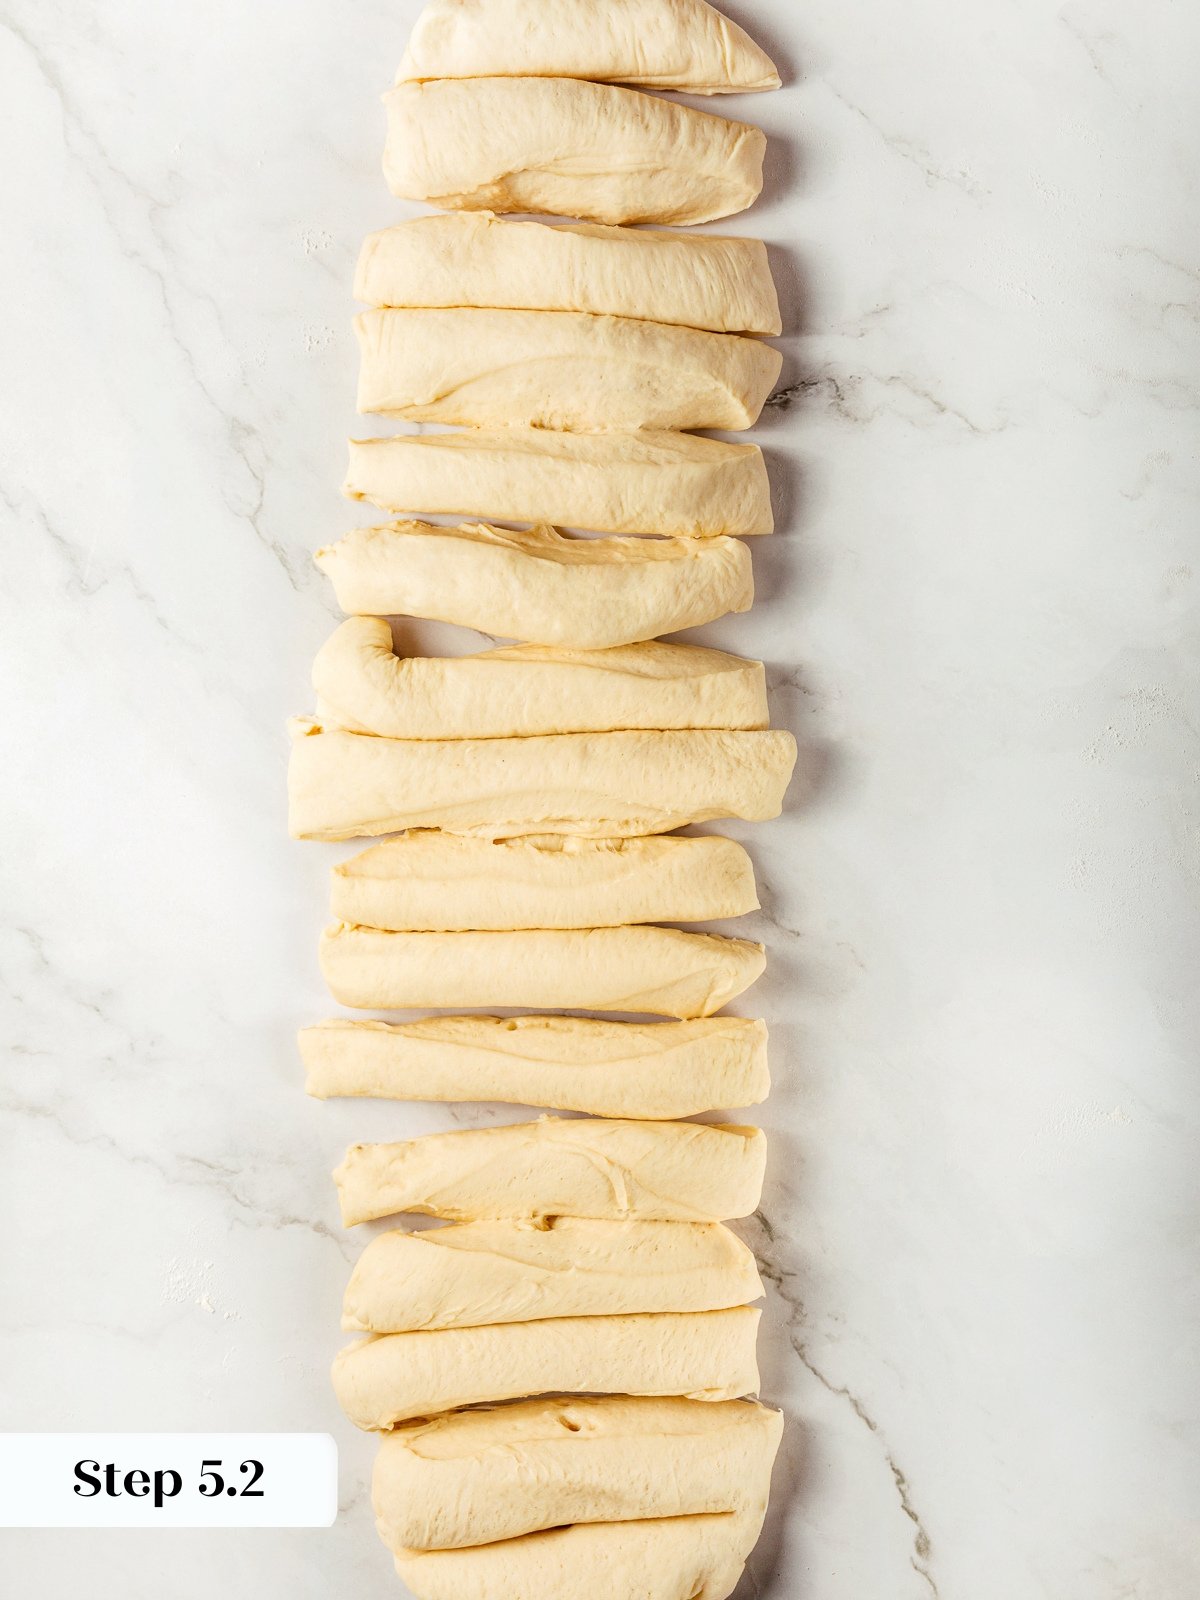
Step 5: Divide the dough. Punch down the dough and roll it into a long log. Cut into 16 equal pieces, each about 1½ inches wide (photos 6 & 7).
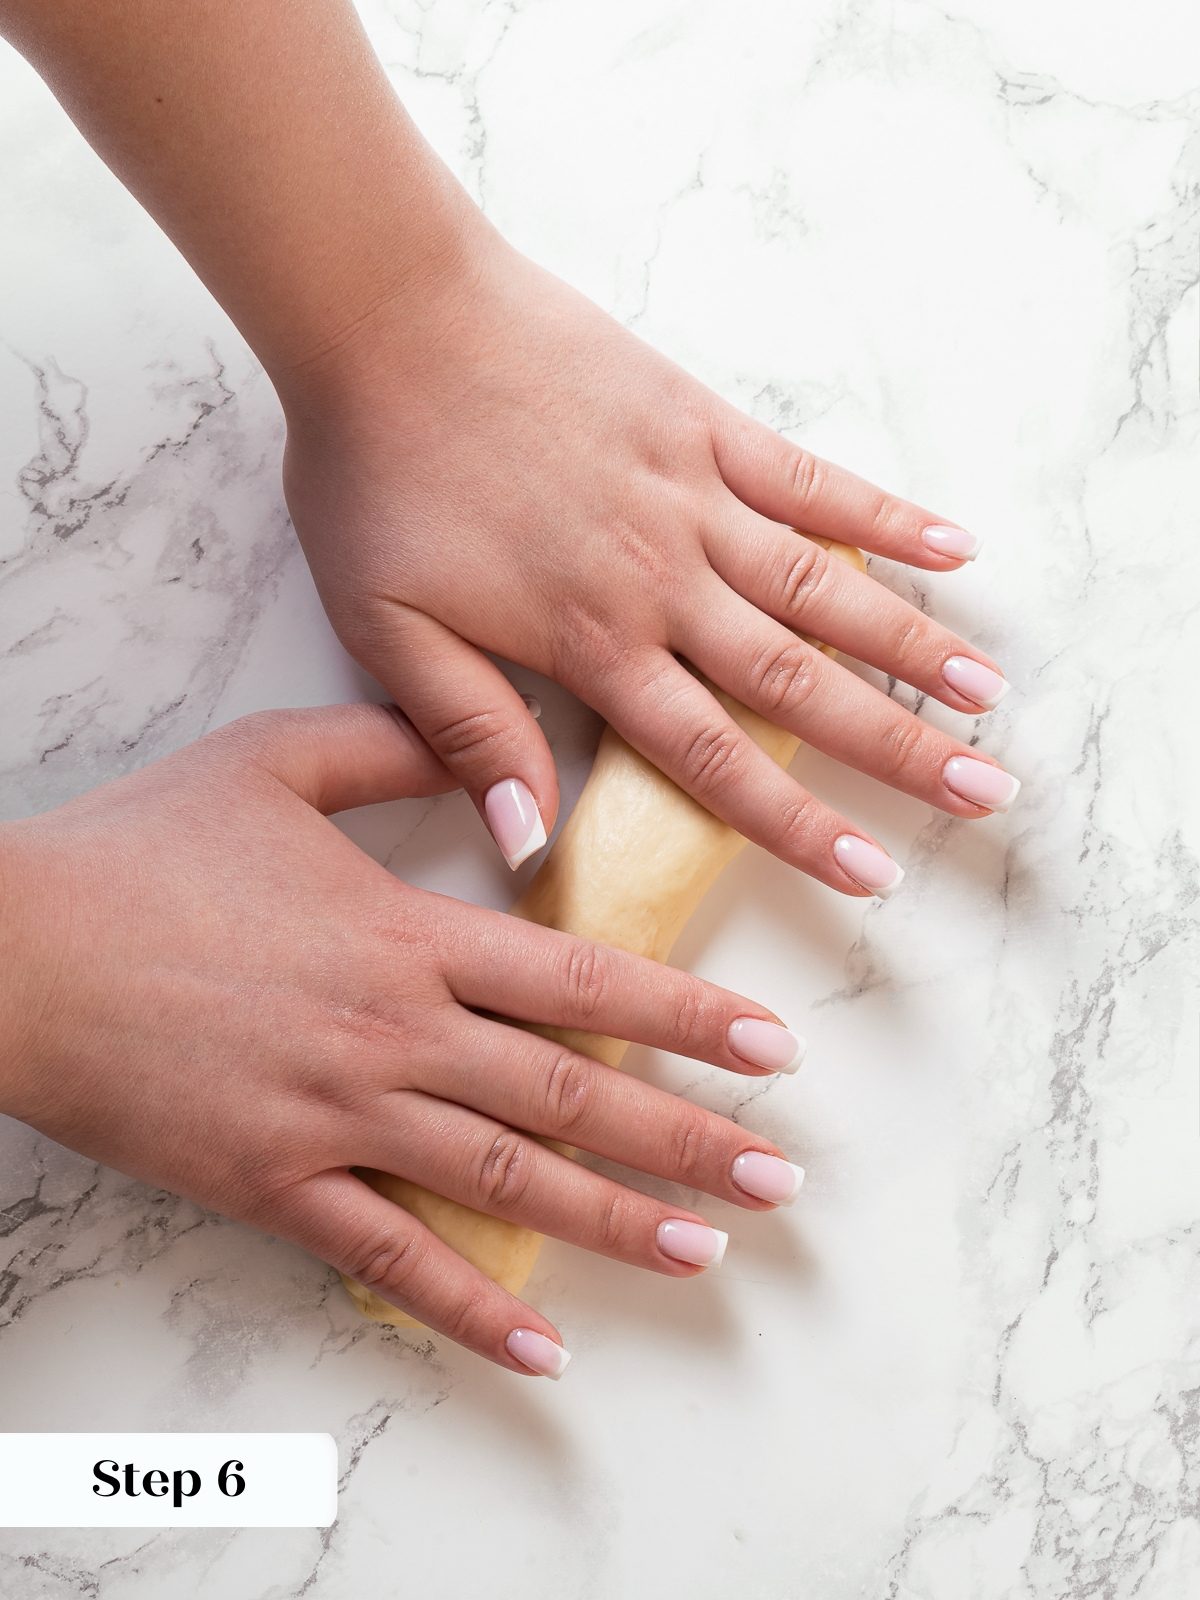
Step 6: Shape the breadsticks. Roll each piece of dough into a 7–8 inch rope and place on parchment-lined baking sheets, spacing them about 2 inches apart (photo 8).
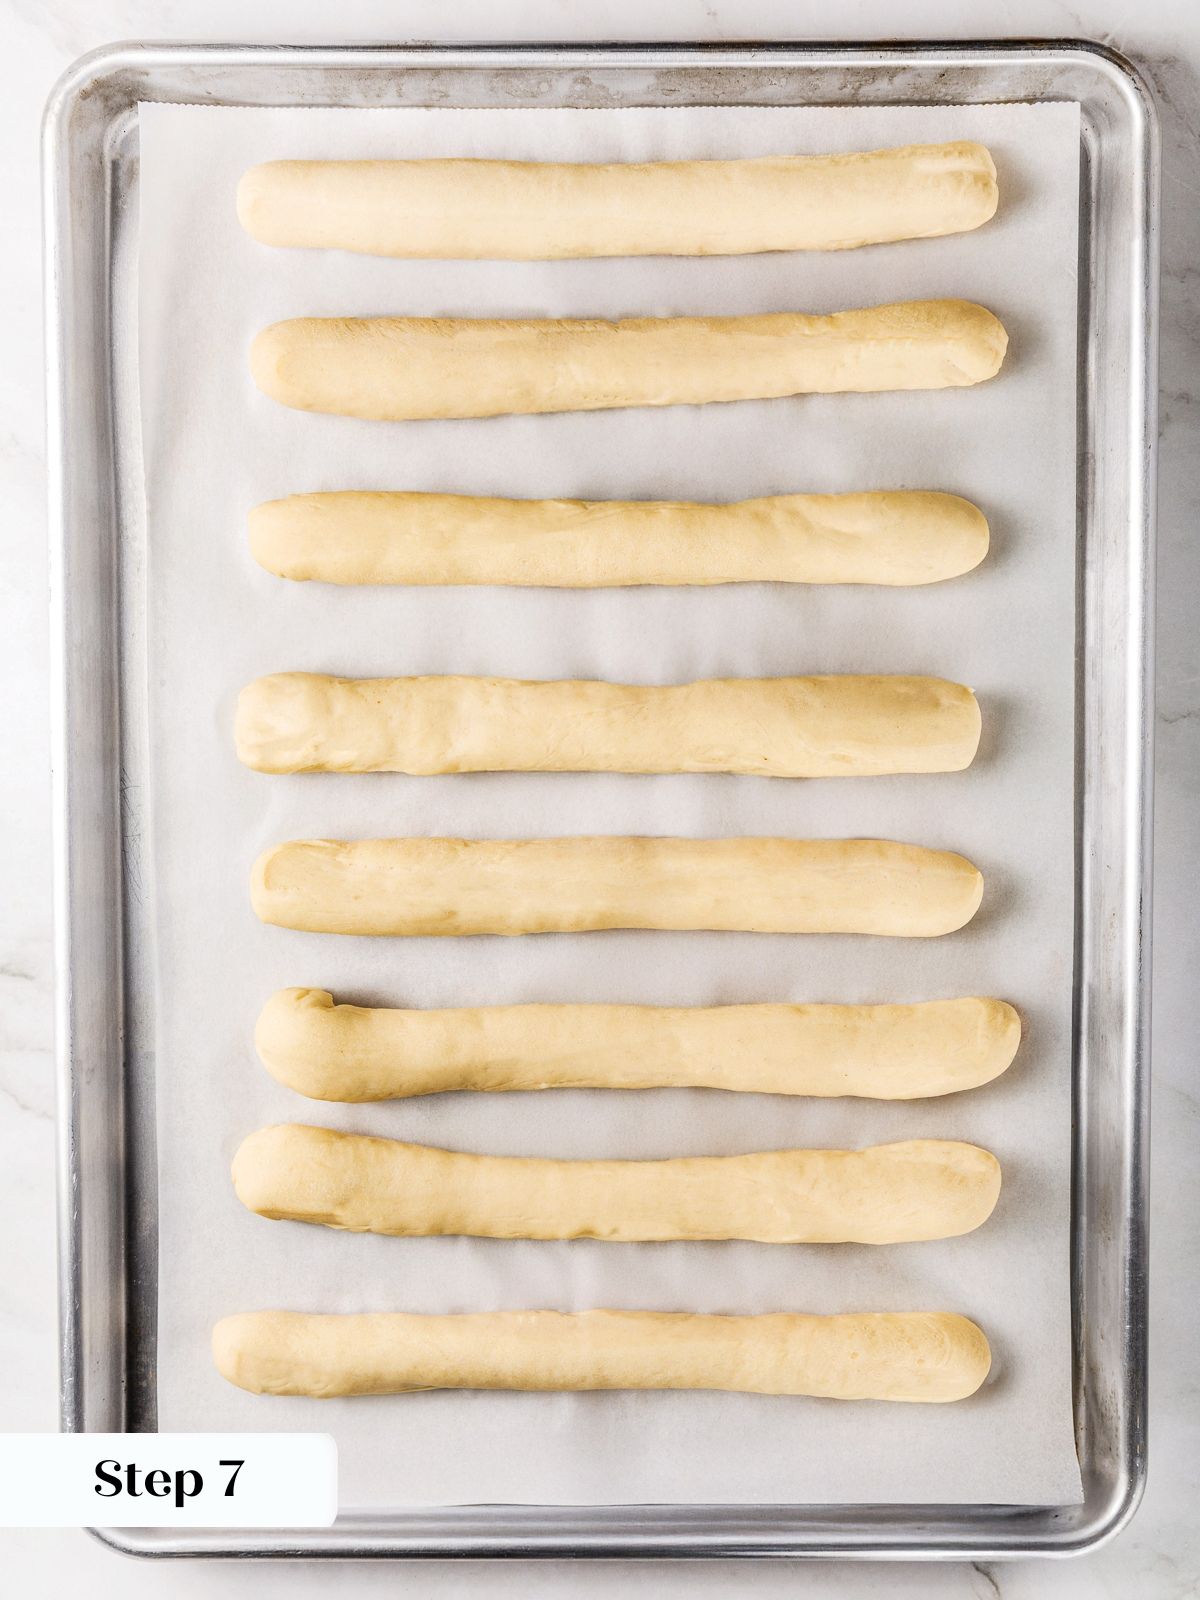
Step 7: Second rise. Cover and let the breadsticks rise for 30 minutes, until slightly puffy (photo 9).
If making ahead, shape the dough and refrigerate overnight, then let rise slightly before baking.
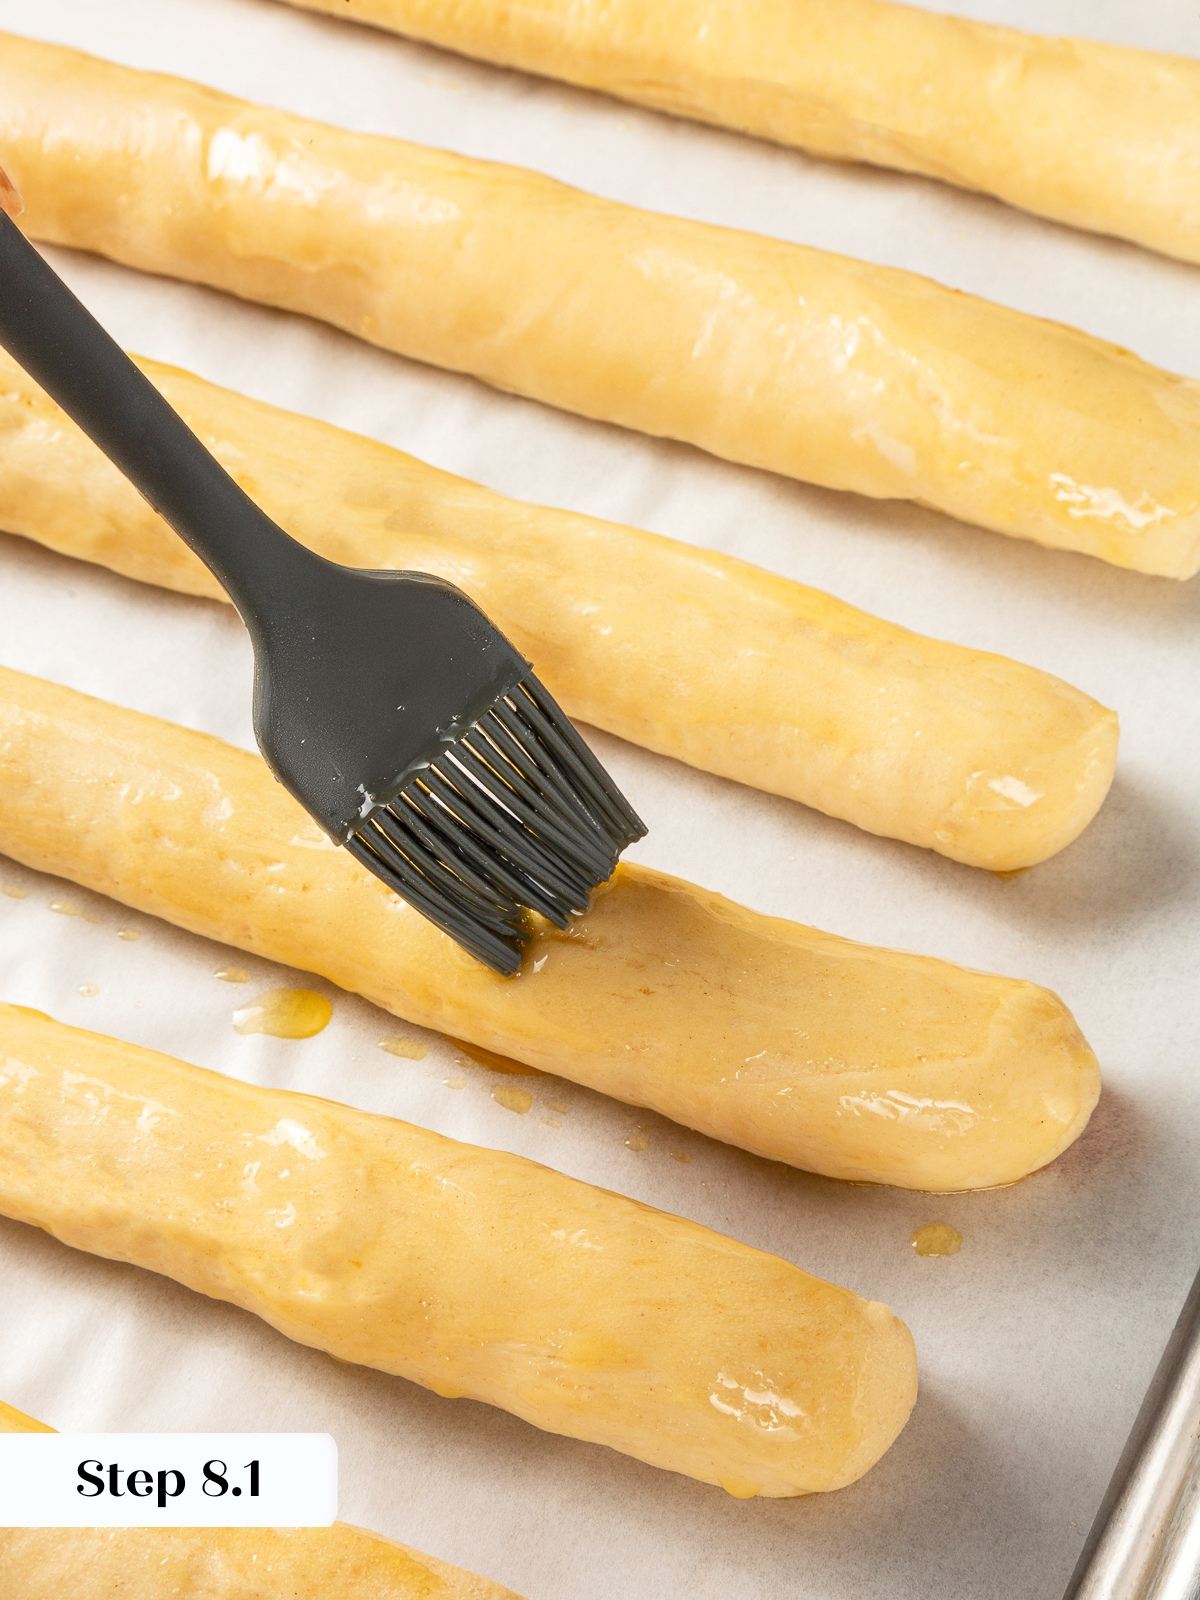
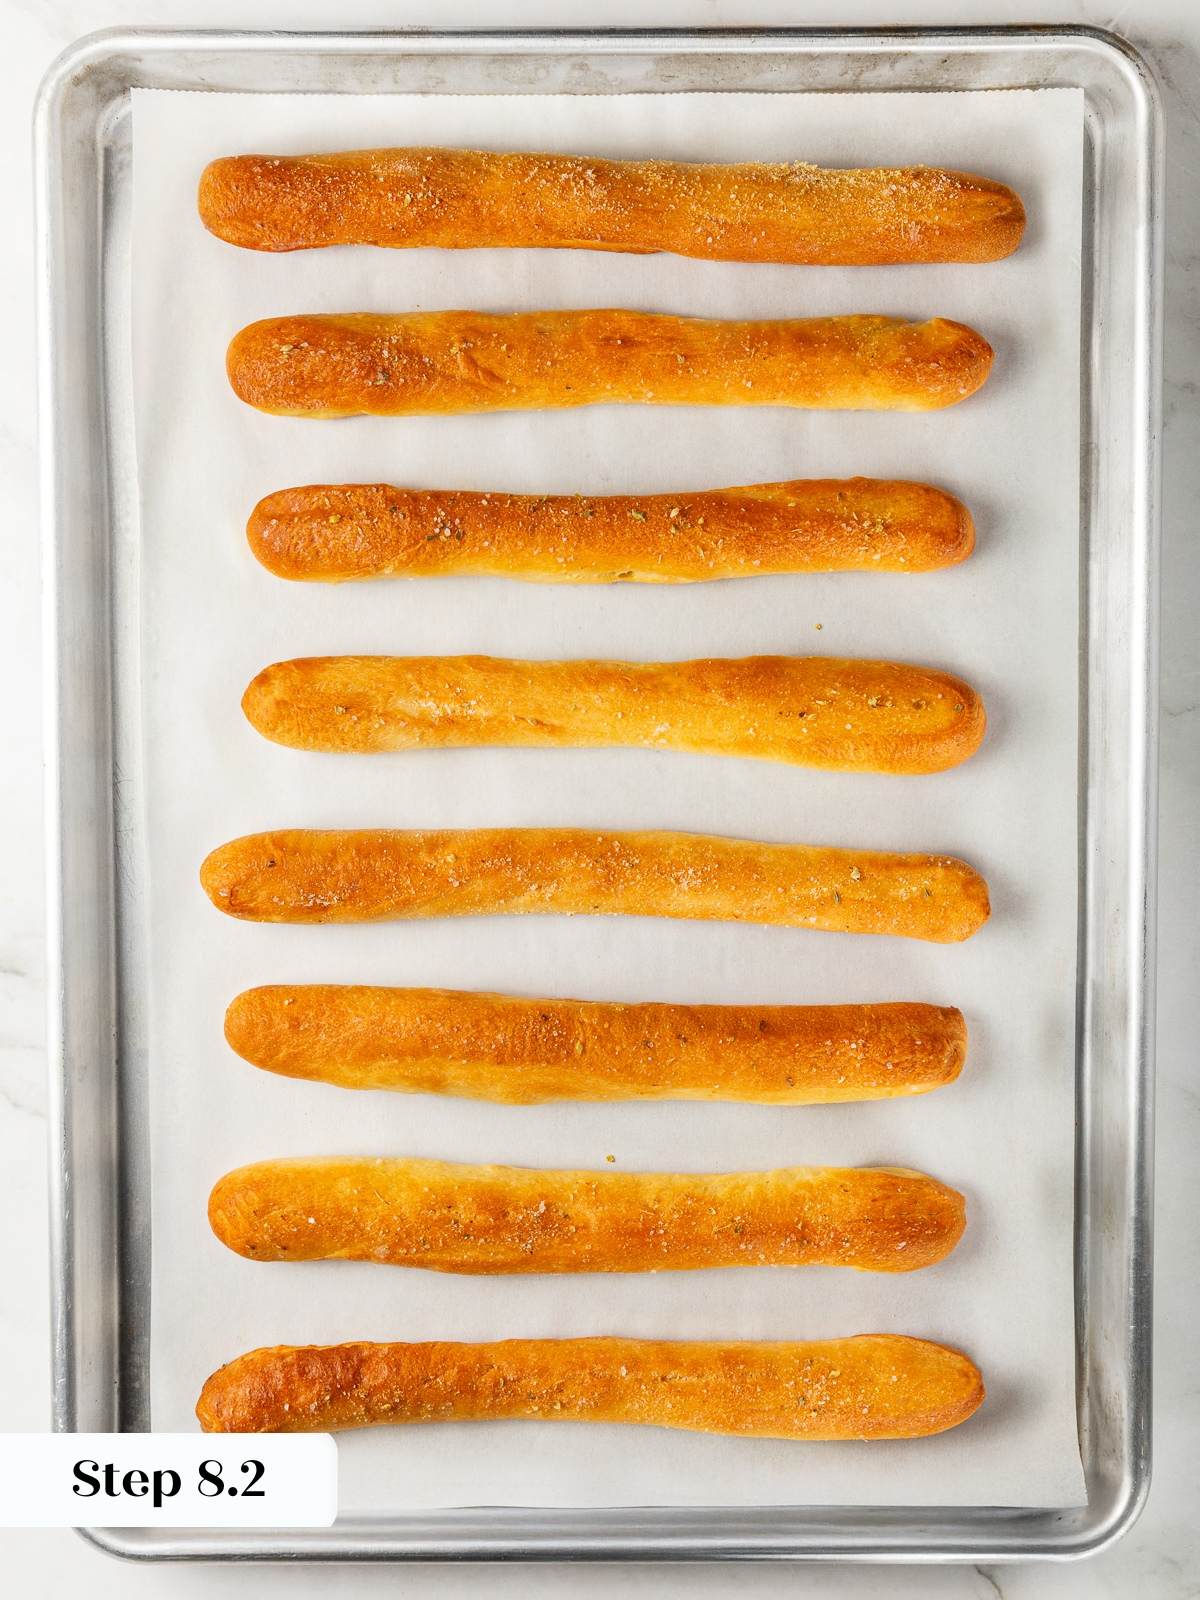
Step 8: Bake until golden. Brush with 1 tablespoon melted butter and sprinkle with half the salt. Bake at 400°F for about 15 minutes, rotating pans as needed, until lightly golden brown (photos 10 & 11).
Bake on lined cookie sheets using parchment paper or aluminum foil for easy cleanup.
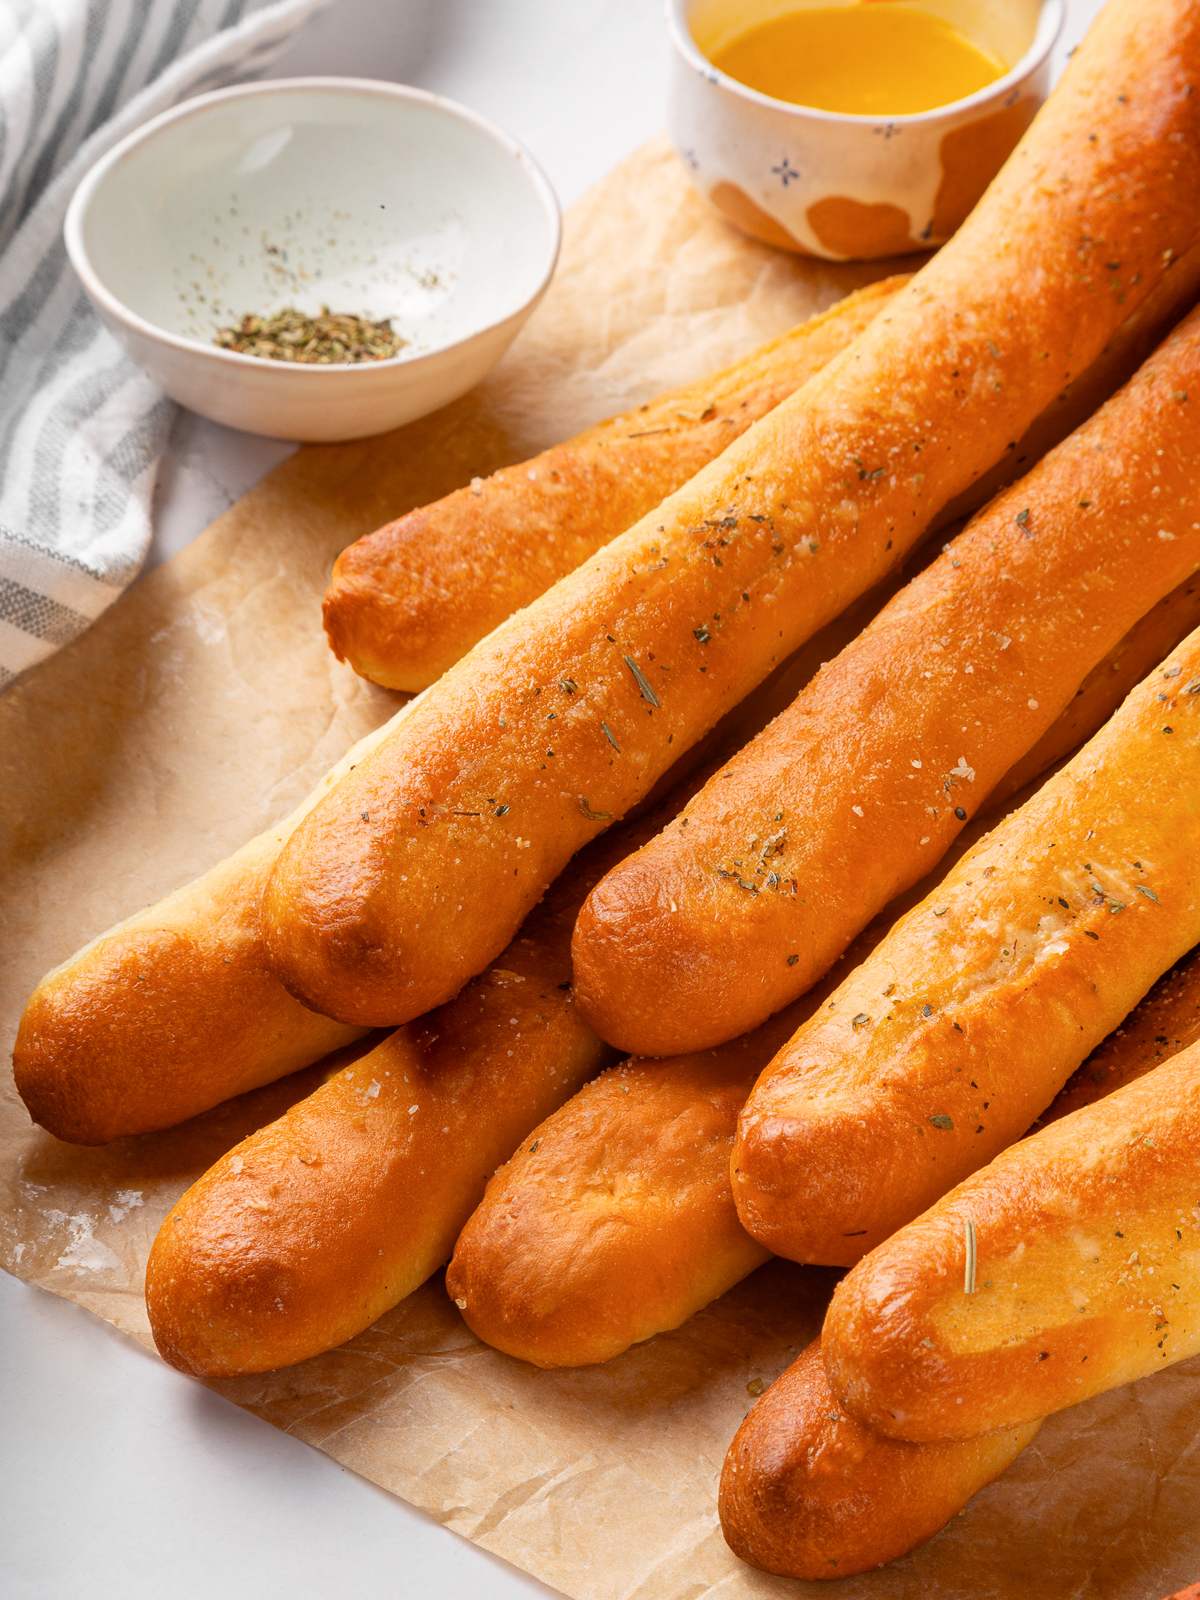
Step 9: Finish with garlic butter. Brush hot breadsticks with remaining butter and sprinkle with garlic powder, oregano, and remaining salt. Serve warm (photo 12).
Recipe FAQs
Store leftovers in an airtight container at room temperature for up to 2 days. Freeze fully cooled breadsticks tightly wrapped for up to 1 month.
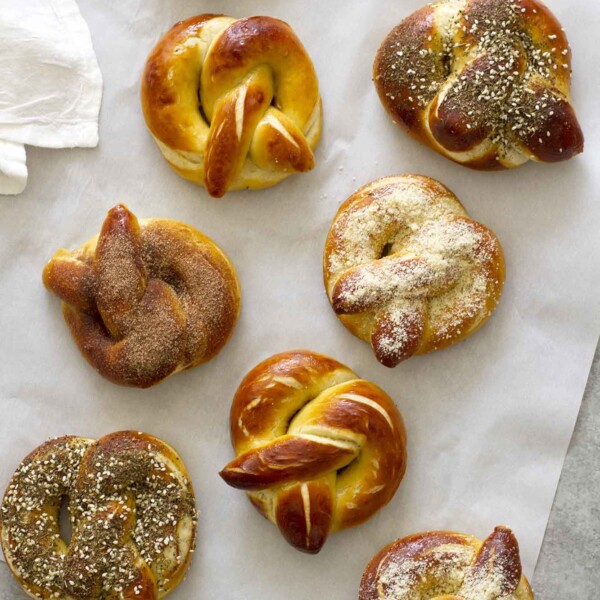
They’re perfect alongside pasta dishes, stews, your favorite soups, or a simple salad like this roasted vegetable salad. For game-day spreads, pair them with my soft pretzel recipe and a couple dips.
Warm in a 350°F oven for 5–7 minutes or until heated through.
Recommended Bread Appetizers

Yeast Breads
Yeast Breads
Appetizers & Snacks
Appetizers & Snacks
If you enjoyed this recipe, please leave a star rating and let me know how it goes in the comments below! I love hearing from you and your comments make my day!
Garlic Breadsticks
Ingredients
For the Dough
- 2 tablespoons granulated sugar
- 2¼ teaspoons active dry yeast, 1 packet
- 1½ cups warm water, 110–115°F
- 3½ – 4½ cups all-purpose flour
- 1 tablespoon kosher salt
- 2 tablespoons unsalted butter, melted
For the Garlic Butter Topping
- 3 tablespoons unsalted butter, melted
- ½ teaspoon kosher salt
- ½ teaspoon garlic powder
- ¼ teaspoon dried oregano
Instructions
- In a large bowl or stand mixer bowl, whisk together the sugar, yeast, and warm water. Let stand 8–10 minutes, until foamy and active.
- Add 3½ cups flour, salt, and melted butter. Stir until a shaggy dough forms. Add additional flour 1–2 tablespoons at a time only if the dough feels very wet.
- Knead by hand for 8–10 minutes, or with a dough hook on medium speed for 5 minutes, until the dough is smooth, elastic, and slightly tacky but not sticky. The dough should pull away from the sides of the bowl.
- Transfer dough to a lightly oiled bowl, turning once to coat. Cover and let rise in a warm place for about 1 hour, or until doubled in size.
- Punch down the dough and roll into a log. Cut into 16 equal pieces. Roll each piece into a 7–8 inch rope and place on parchment-lined baking sheets, spacing about 2 inches apart.
- Cover loosely and let rise for 25–30 minutes, until slightly puffy but not doubled.
- Preheat oven to 400°F. Brush breadsticks with 1 tablespoon melted butter and sprinkle with half the salt. Bake for 14–16 minutes, rotating pans halfway through, until lightly golden on top.
- Immediately brush hot breadsticks with remaining butter and sprinkle with remaining salt, garlic powder, and oregano. Serve warm.
Notes
- Texture: Dough should feel soft, not dry.
- Flavor Tip: Butter after baking for best garlic flavor.
- Storage: Best enjoyed fresh but reheats well.
Nutrition
Nutrition information is automatically calculated, so should only be used as an approximation.
 Like this recipe? Rate & comment below!
Before You Go
I hope you enjoyed this cozy, buttery breadstick recipe. Be sure to check out my other homemade yeasted bread recipes for more baking inspiration.



Cindy — Ugh, I wish we lived closer so we could talk more about that together in person. Over pastrami and latkes. 😉
This recipe sounded yummy and so easy, I had to make them. Awesome!!! My family loved them. Thanks for sharing this recipe. They will become a ‘go to’ recipe!!
These look incredible! Carbs 4 Ever!
I feel you on the feels. I think when we met up I was REALLY in the thick of some serious blogger emotions and probably talked about it way too much. I’m still struggling with insecurity and feelings, but I also thinks it’s part of the territory–a not-good-enough feeling that maybe drives us? IDK, maybe I’m making that up to make myself feel better. But, I get what you’re saying…solidarity!!
Saw on IG and almost drooled on my phone. Love!
Fresh garlic rolls, I love it.
Janelle — Thank you! 🙂
Nicole — So true. Thanks, friend! Hope you are well!
PennyW — Just keep swimming… ha, I love it! 🙂 Thank you so much!
Nicole — Thank you!
Laura — Thanks, friend! xo