
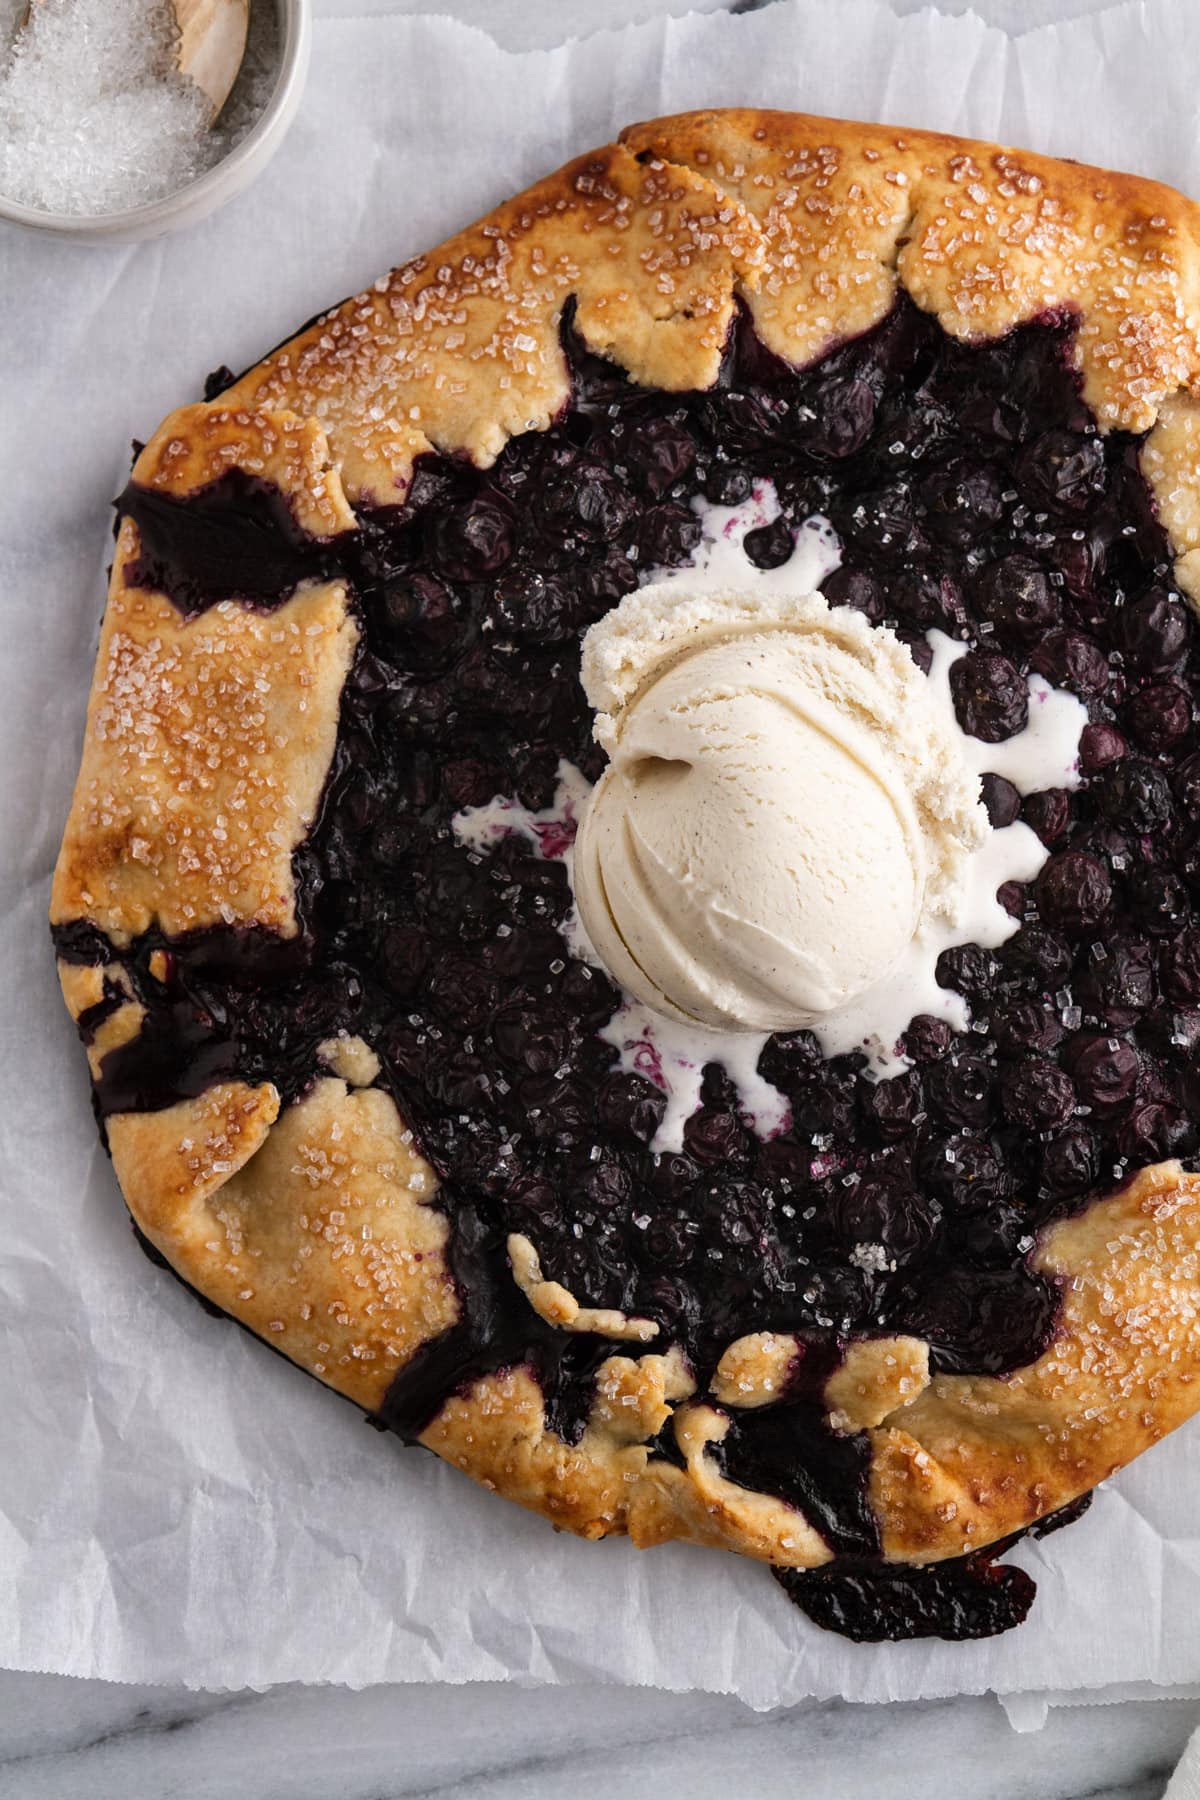
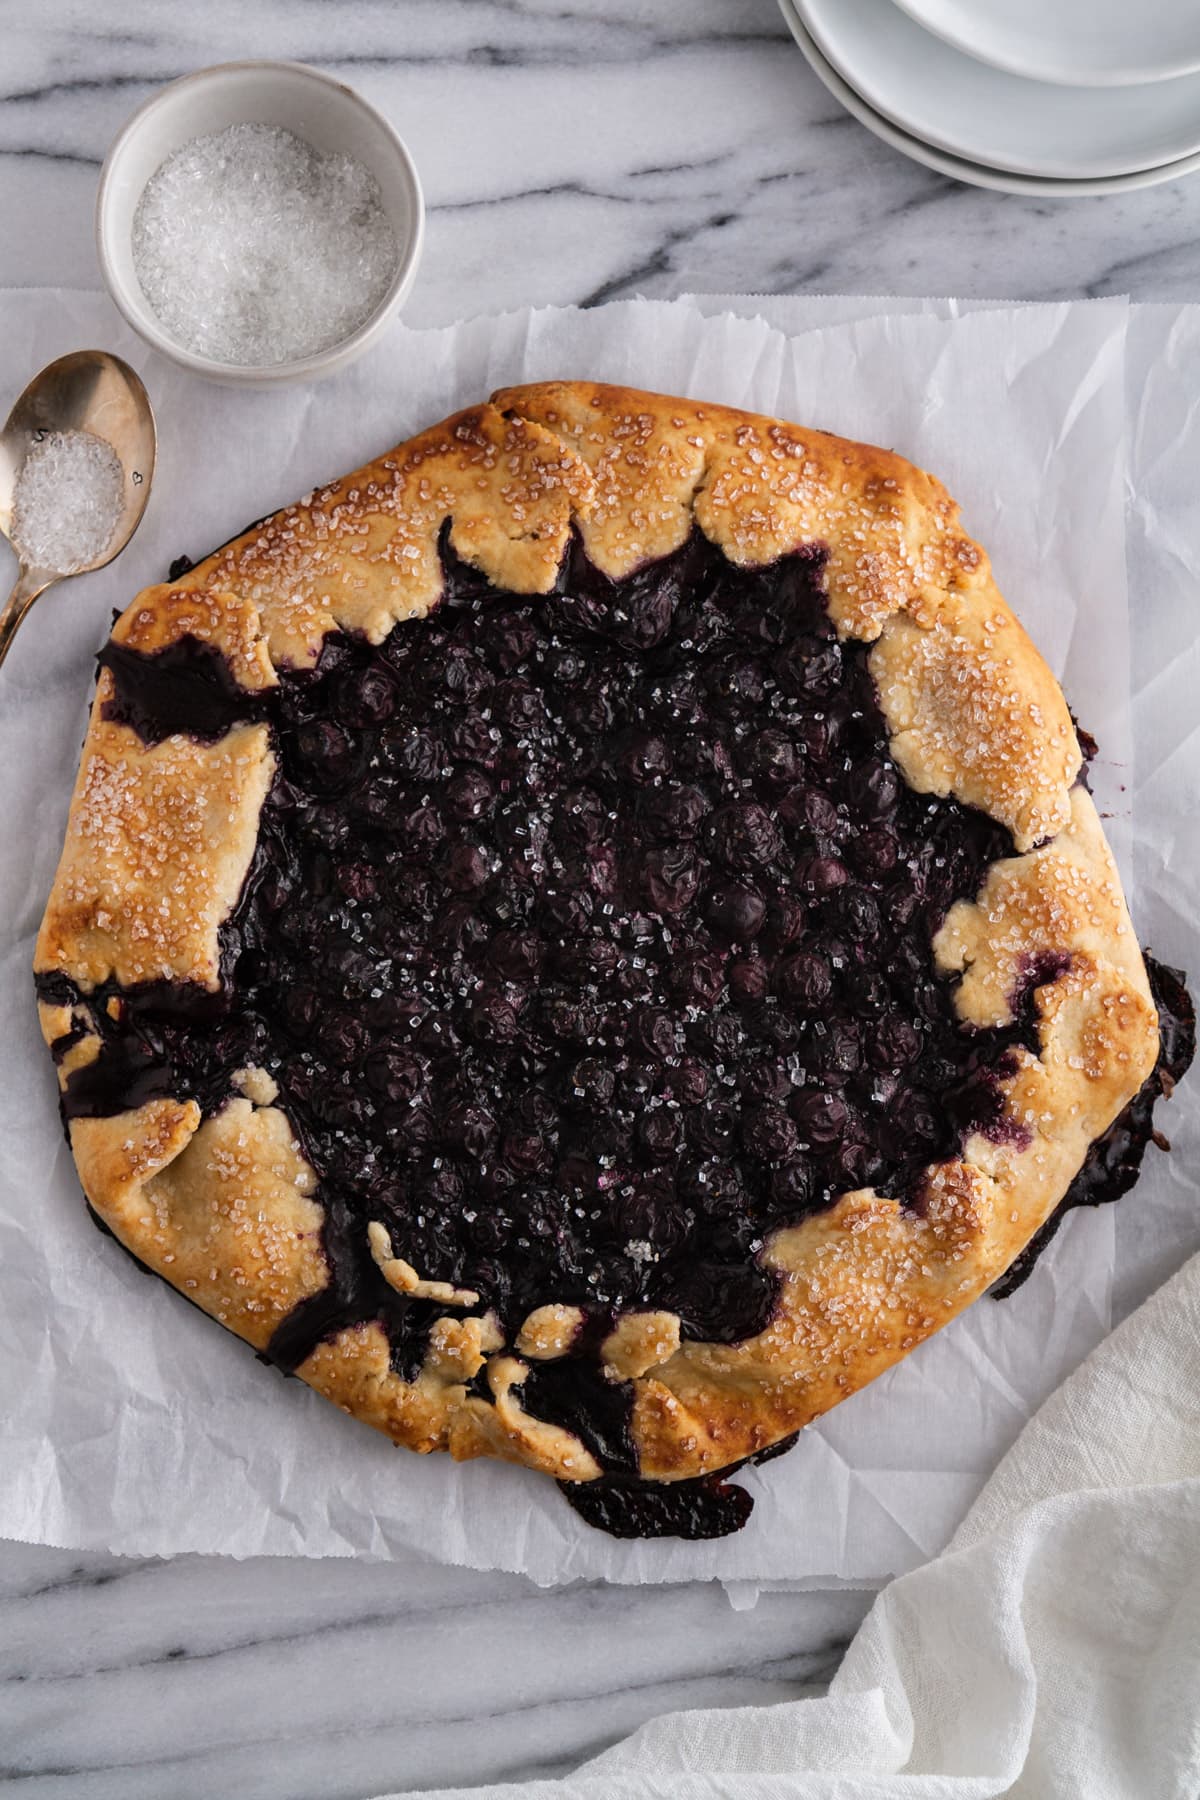
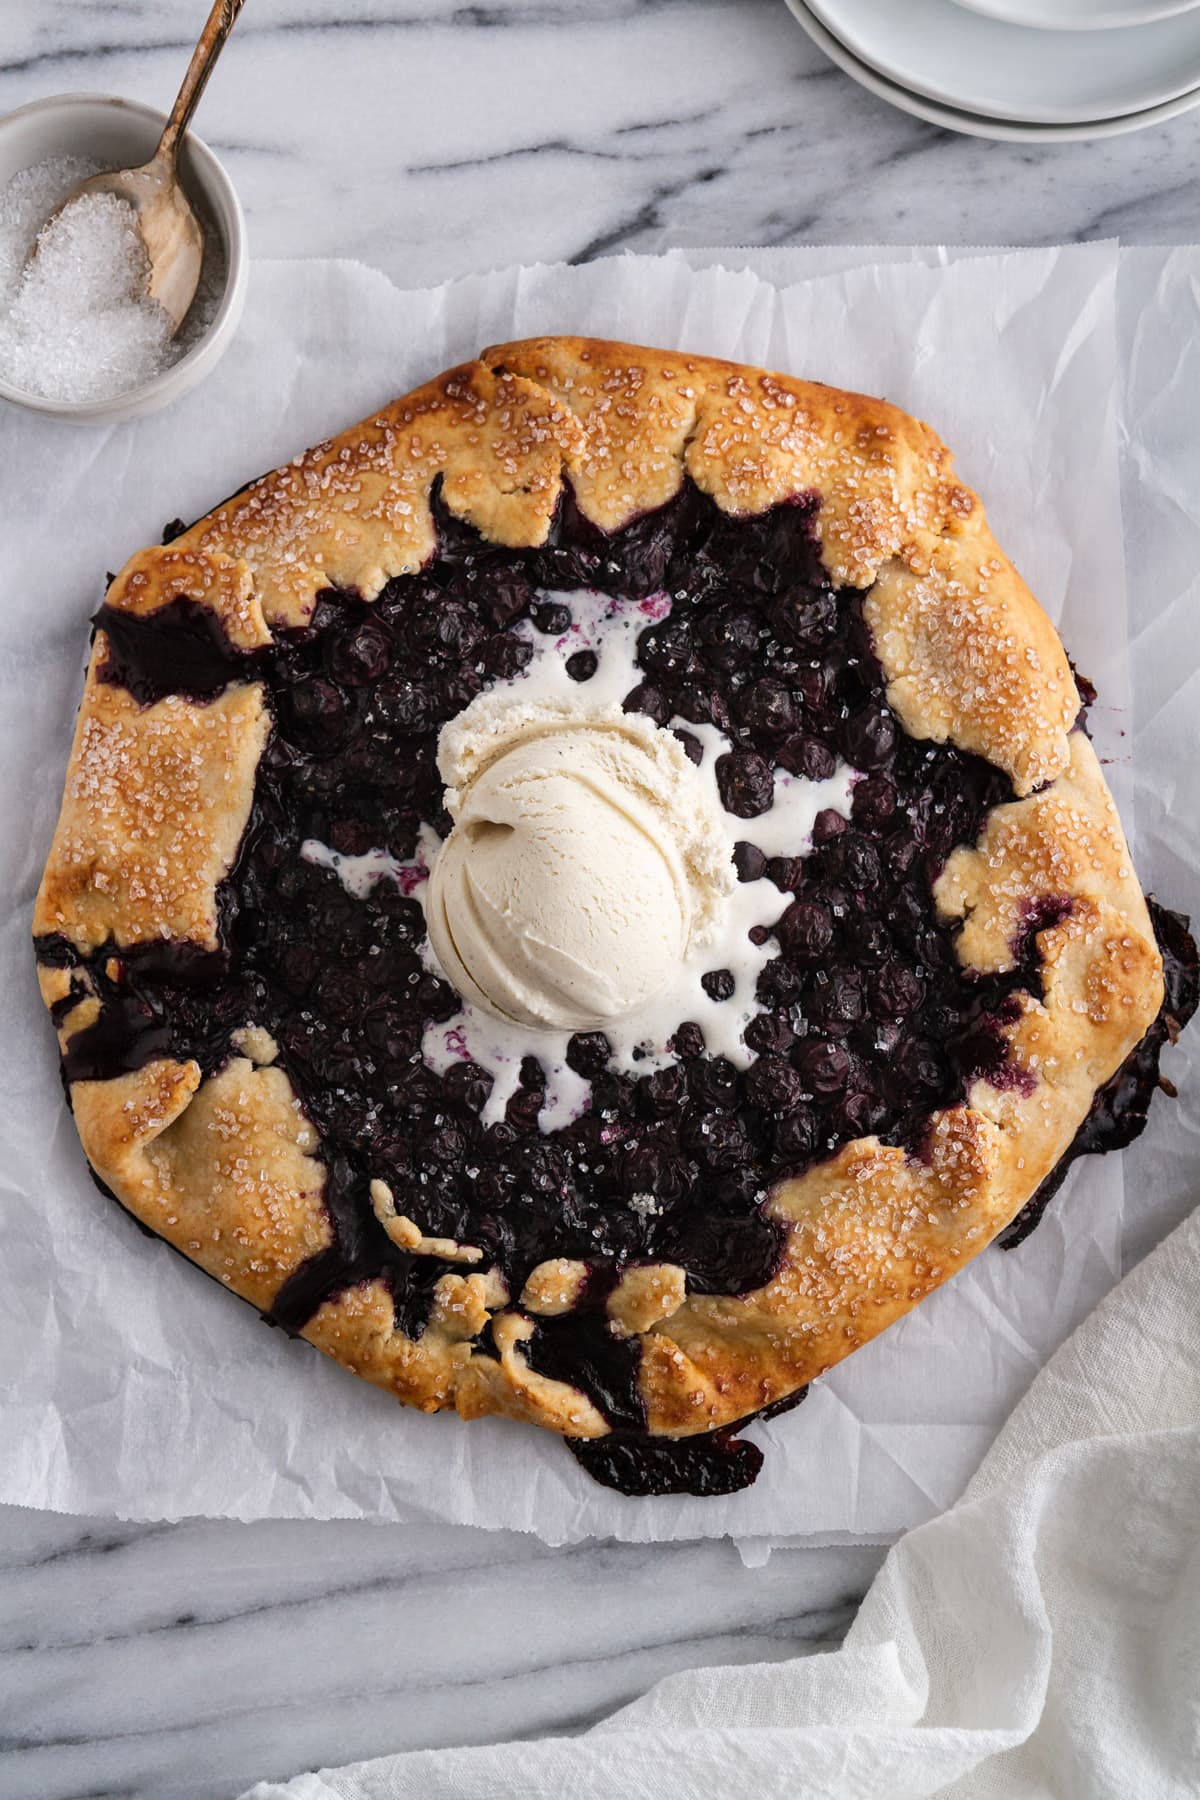
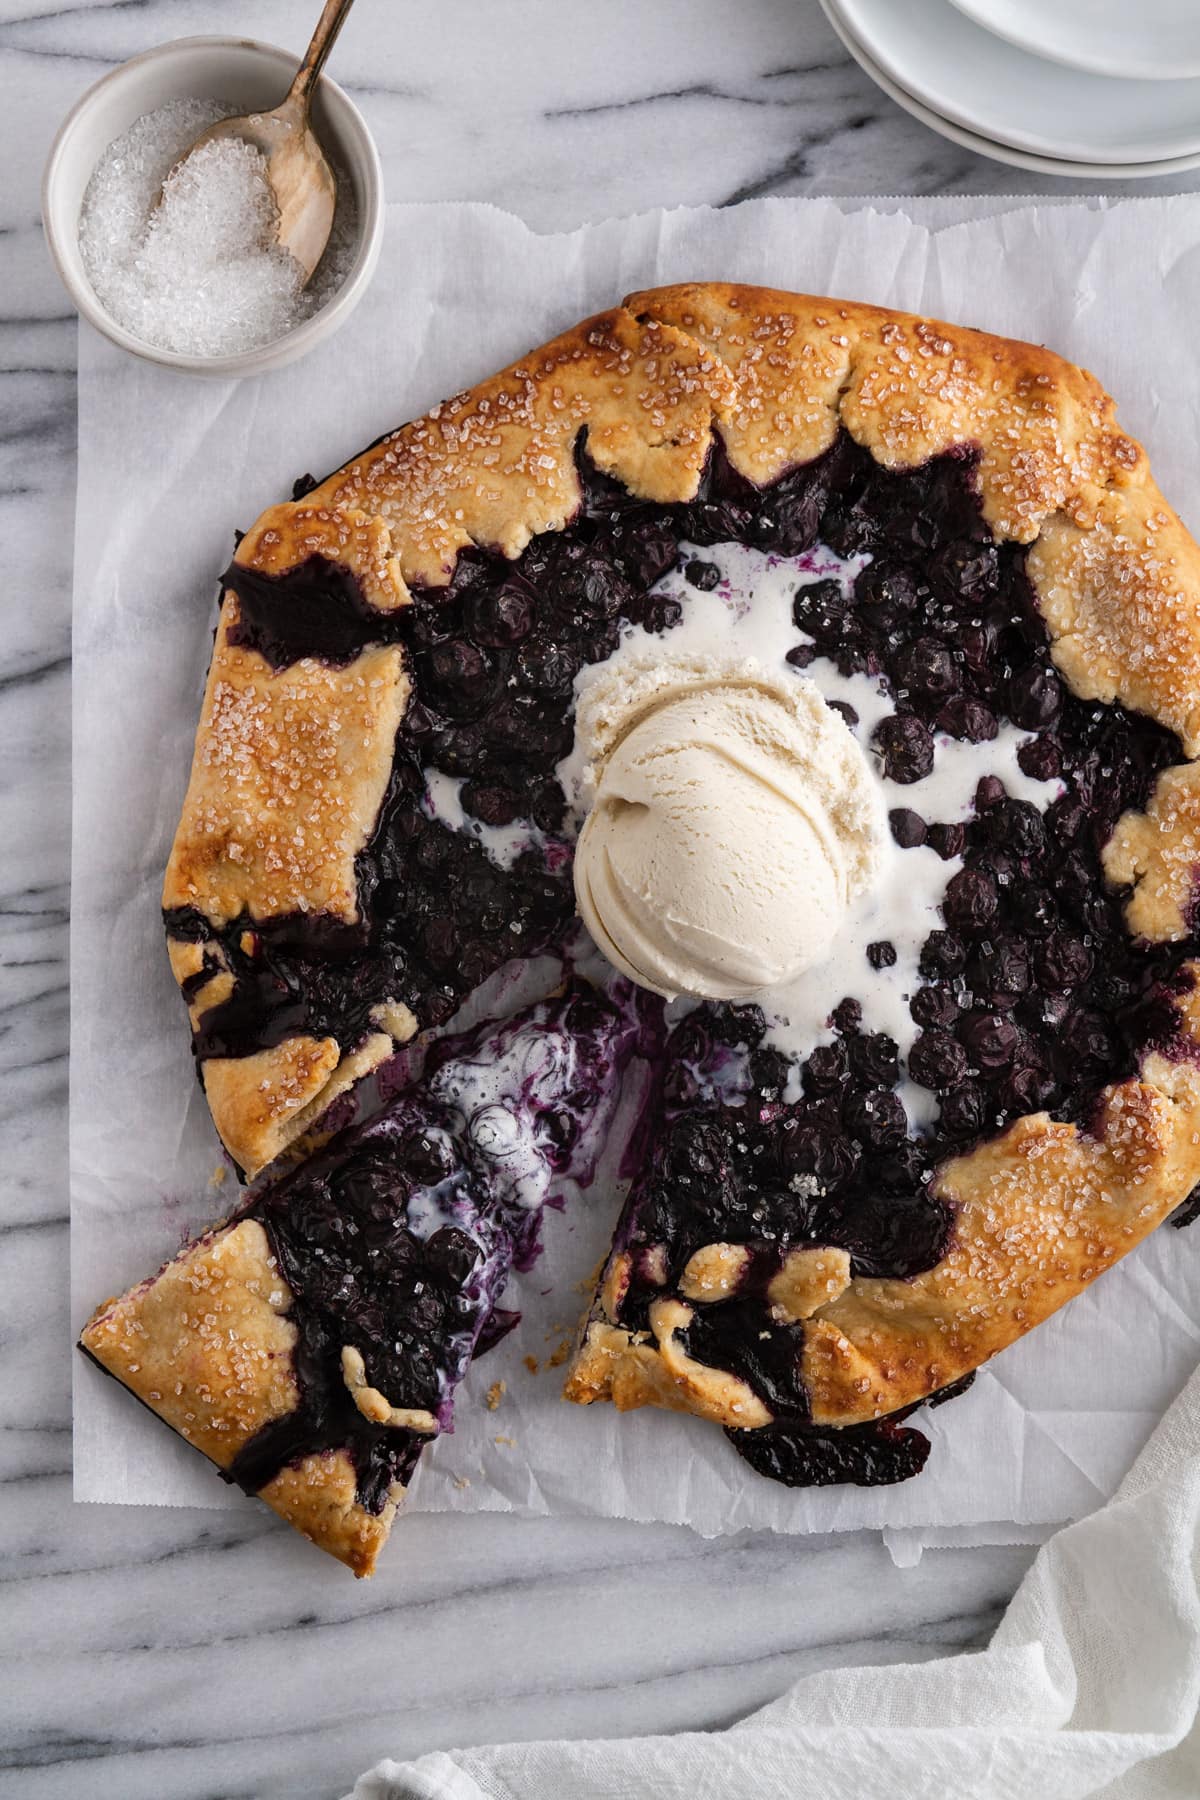
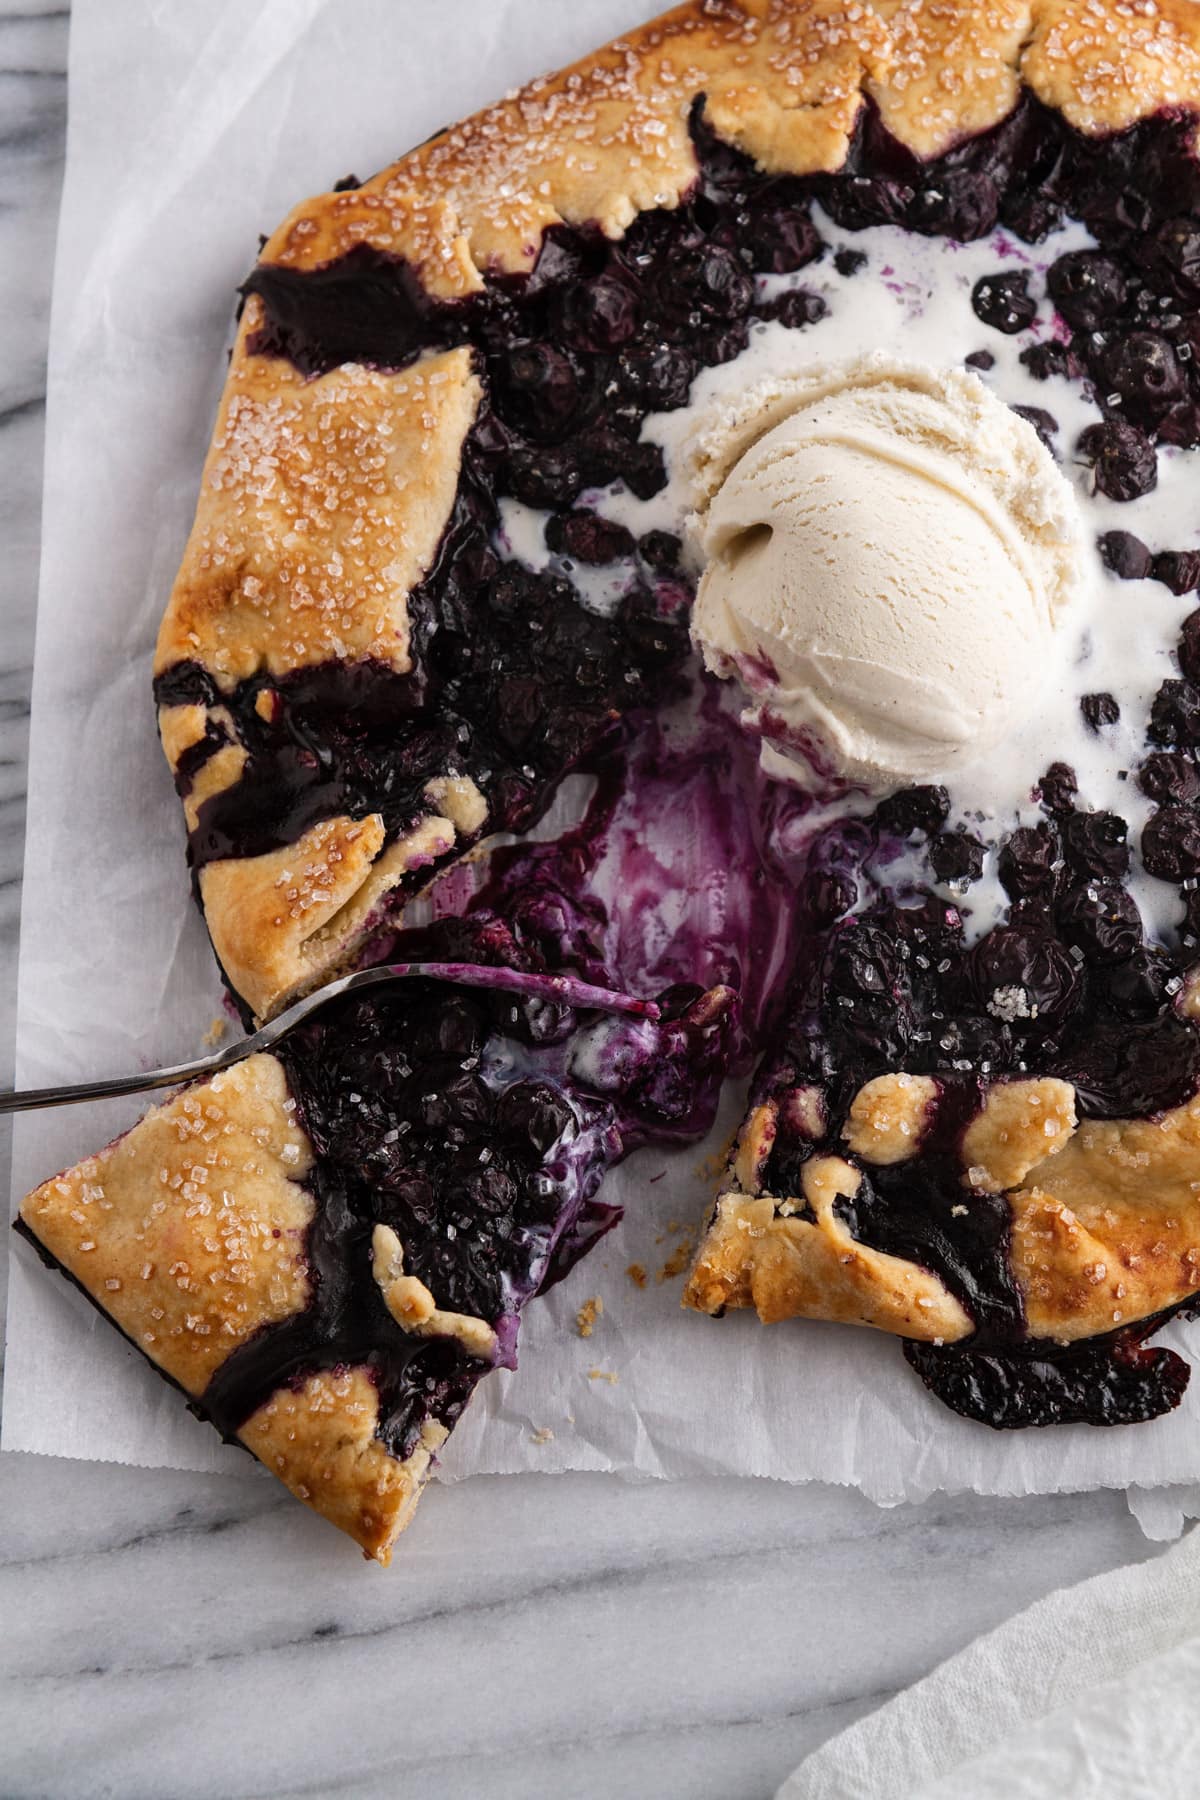
This blueberry galette has a golden, flaky crust and a bubbling, jammy filling made with fresh blueberries, and it comes together without any special equipment or pie-crimping skills.

A Quick Look At The Recipe
This is a brief summary of the recipe. Jump to the recipe to get the full details.
Prep Time
20 minutes
Cook Time
40 minutes
Total Time
1 hour
Servings
10 Slices
Difficulty
Intermediate
Calories *
161 kcal per serving
Technique
Baked, rustic pastry
Flavor Profile
Fruity, lightly sweet, buttery, bright
* Based on nutrition panel
I made this for a dinner party and everyone thought I had spent hours on it. The crust came out perfectly golden and the blueberry filling was so jammy and bright. I’ll be making this all season long and in the winter with frozen blueberries!
⭐⭐⭐⭐⭐
Luke
Why You Will Love This Recipe
- No pie dish needed. A galette is a free-form pastry that bakes flat on a sheet pan. You fold the edges over by hand, which means no crimping, no fitting dough into a dish, and no sticky cleanup.
- The crust is genuinely flaky because of two fats. Both cold butter and vegetable shortening go into the dough. Butter adds flavor and shortening adds structure, and together they produce layers that shatter when you cut through them.
- It fits almost any summer fruit. Blueberries are the star here, but the same crust and same technique works beautifully with peaches in my Peach Galette if you want to mix things up through the season.
Galette is one of those desserts I come back to every summer because it asks very little of you and gives a lot back. The crust is forgiving, the filling is flexible, and the whole thing looks like you put in far more effort than you actually did.
It’s a natural fit for a casual backyard dinner or an afternoon when you just want something warm and fruity on the table without much fuss. If you love baking with fresh berries, my Strawberry Galette follows the same method and is just as easy to pull together. You can also make this blueberry bread with all those blueberries you have!
Ingredients & Substitutions
- All-Purpose Flour
- Granulated Sugar: A small amount goes into the crust for subtle sweetness, and the rest is tossed with the blueberries to draw out their juices and balance their tartness.
- Salt
- Unsalted Butter: Cold butter creates flaky, distinct layers in the crust as it steams during baking. The most common mistake is using softened or room-temperature butter, which blends fully into the flour and gives you a crumbly, mealy crust instead of a flaky one. Cut it into cubes and keep it in the fridge until the moment you need it.
- Vegetable Shortening: Shortening works alongside the butter to make the crust tender and easier to roll out without cracking. It has a higher melting point than butter, so it holds the crust together as the galette bakes.
- Ice Water
- Fresh Blueberries: Fresh berries give the filling the right texture and flavor once baked. If you love baking with blueberries, my Sourdough Blueberry Muffins use them similarly and are worth bookmarking too.
- Cornstarch: Cornstarch thickens the blueberry juices as the galette bakes so the filling sets up instead of running all over the baking sheet. Don’t leave it out or you’ll end up with a soggy crust.
- Fresh Lemon Juice: A small amount brightens the filling and keeps the blueberry flavor from tasting flat or one-dimensional. Bottled lemon juice works in a pinch, but fresh makes a noticeable difference.
- Milk or Heavy Cream
- Sparkling Sugar: This is optional, but sprinkling it over the brushed crust before baking adds a satisfying crunch and a pretty finish, just like when making this orange bread!
Variations for Blueberry Galette
- Mixed Berry Filling: Swap up to half the blueberries for raspberries, blackberries, or sliced strawberries for a mixed-berry version. If you love that combination, my Blackberry Pie is another great way to use a big berry haul.
- Brown Sugar Filling: Replace the granulated sugar in the filling with an equal amount of packed brown sugar for a deeper, more caramel-like sweetness. It pairs especially well with the lemon juice and makes the filling taste a little richer.
- Add chocolate: Milk, dark, or white chocolate will be delightful with the blueberries. You can use my chocolate cherry galette as inspiration!
- Savory Galette: Skip the sugar and blueberries entirely and follow the same crust and assembly method with a savory filling instead. My Sweet Corn Slow Roasted Tomato Galette is a great example of how well this crust translates to a savory direction.
Professional Tips for Perfect Blueberry Galette
- Keep everything cold right up until baking. This crust’s flakiness depends on the butter staying in distinct pieces as the dough goes into the oven. If the dough starts to feel warm or greasy while you’re assembling the galette, slide the whole baking sheet into the fridge for 10 to 15 minutes before baking.
- Don’t skip the chill time after making the dough. Two hours in the refrigerator isn’t just a suggestion — it lets the dough relax so it rolls out without snapping back and cracking at the edges. Rushing this step is the most common reason galette crusts tear during folding.
- Leave a full 2-inch border when you mound the filling. It’s tempting to pile in more blueberries, but overfilling makes the crust fold unevenly, and the juices are more likely to spill out onto the baking sheet. A modest, well-contained mound gives you a neater fold and a cleaner bake.
- Wait the full 15 minutes before slicing. The filling comes out of the oven still bubbling and loose, and it needs that resting time to set up properly. Cutting into it too soon means the juices run everywhere and you lose the cohesive, jammy texture that makes this worth making.
How to Make Blueberry Galette
Use these step-by-step instructions to make a buttery, flaky galette crust and a jammy fresh blueberry filling. Further details and measurements can be found in the recipe card below.
Make Tart Dough
Step 1: Pulse the dry ingredients. Add the flour, 1 teaspoon of granulated sugar, and salt to the bowl of a food processor and pulse a few times until everything is evenly combined. The mixture will look like pale, fine sand with no visible clumps.
Step 2: Add the butter and shortening. Scatter the cold butter cubes and vegetable shortening over the flour mixture, then pulse repeatedly until the fats break down and the butter pieces are roughly pea-sized. You’ll still see distinct bits of butter throughout the flour, and that’s exactly what you want. If the mixture looks smooth and uniform, you’ve overworked the butter.
Don’t let the processor run continuously here. Short pulses give you much more control over the texture of the dough.
Step 3: Add the ice water. With the processor running in short pulses, gradually pour in 4 tablespoons of ice water. Pulse just until the dough starts to come together in shaggy clumps. If the dough still looks dry and powdery after adding all the water, add 1 to 2 more tablespoons, one at a time, pulsing between each addition. Stop as soon as the dough holds when you press a small amount between your fingers.
Resist the urge to add extra water too quickly. A slightly shaggy dough is fine at this stage and it will come together fully once it chills.
Step 4: Shape and chill the dough. Turn the dough out onto a sheet of plastic wrap and gently pat it into a disc about 1 inch thick. It won’t look perfectly smooth, which is completely normal. Wrap it tightly in the plastic wrap and refrigerate for at least 2 hours before rolling.
The dough can be refrigerated for up to 3 days, so this is a great step to do well ahead of when you want to bake.
Make Filling
Step 5: Make the blueberry filling. In a medium bowl, toss the fresh blueberries with the remaining granulated sugar, cornstarch, and lemon juice until the berries are evenly coated. The mixture will look a little syrupy and the sugar will start drawing moisture from the berries almost immediately. Set it aside while you prepare to roll out the chilled dough.
Step 6: Roll out the dough. Preheat your oven to 375ºF and line a rimmed baking sheet with parchment paper. On a lightly floured surface, roll the chilled dough disc out into a rough 12-inch circle. It doesn’t need to be perfect — a slightly irregular shape is part of what makes a galette look so good. Transfer the rolled dough carefully to the prepared baking sheet.
To move the dough without tearing it, gently fold it in half or roll it loosely around the rolling pin, then unroll it onto the baking sheet.
Assemble
Step 7: Add the filling and fold the edges. Mound the blueberry filling in the center of the dough, leaving at least a 2-inch border all the way around the edges. The filling will look like a lot at first, but it settles and concentrates as it bakes. Fold the border of the dough up and over the outer edge of the filling, overlapping the crust as you go and pressing gently to help each fold hold its shape.
Step 8: Brush and sugar the crust. Brush the folded crust edges with milk or heavy cream, then sprinkle the sparkling sugar over the top if you’re using it. The milk helps the crust brown evenly, and the sparkling sugar gives the edges a beautiful, crunchy glitter that holds up even after baking.
Bake
Step 9: Bake the galette for 40 to 45 minutes, until the filling is visibly bubbling in the center and the crust is deep golden brown all the way through. You’ll be able to smell the blueberries jamming down and the butter crisping in the last 10 minutes or so, which is a good sign you’re close.
Don’t pull the galette early if the crust looks golden but the filling isn’t bubbling yet. The cornstarch needs to reach a full boil to thicken properly, so let it go until you see those bubbles.
Step 10: Cool before slicing. Let the galette cool on the baking sheet for at least 15 minutes before cutting into it. The filling thickens as it cools, and slicing too soon will give you a runny, soupy result rather than the jammy, set filling you’re after.
Recipe FAQs
Store leftover blueberry galette loosely covered at room temperature for up to 2 days. For longer storage, wrap it well and refrigerate for up to 4 days. To reheat, slide it into a 325ºF oven for 10 to 15 minutes until the crust crisps back up — it comes out tasting nearly as good as fresh.
You can make the pie dough up to 3 days ahead and keep it wrapped tightly in the refrigerator until you’re ready to assemble. You can also mix the blueberry filling a few hours in advance and store it covered in the fridge. When you’re ready to bake, just roll, fill, fold, and go.
You can use frozen blueberries, but don’t thaw them first — add them straight from frozen so they don’t release too much liquid before baking. You may want to add an extra teaspoon of cornstarch to help absorb the extra moisture as it cooks. Bake a few minutes longer, keep an eye on the crust color, and wait until the filling is fully bubbling before pulling it from the oven.
Recipes to Make With Blueberries!

Cakes & Cupcakes

Breakfast & Brunch

Cakes & Cupcakes
Quick Breads
Blueberry Galette

Ingredients
For the pie crust:
- 1 ¼ cups all-purpose flour
- 1 teaspoon granulated sugar
- ½ teaspoon salt
- ¼ cup unsalted butter, cold, cut into ½-inch cubes
- 2 tablespoons vegetable shortening
- 4 tablespoons ice water, more as needed
For the blueberry filling:
- 2 cups blueberries, fresh or frozen
- ¼ cup granulated sugar
- 1 tablespoon cornstarch
- 2 teaspoons fresh lemon juice
For finishing:
- 1 tablespoon milk or heavy cream, for brushing
- Sparkling sugar, optional, for sprinkling
Instructions
- In the bowl of a food processor, pulse the flour, 1 teaspoon granulated sugar, and salt until combined. Add the cold butter cubes and shortening and pulse until the butter and shortening are incorporated and the butter pieces are the size of small peas. Gradually add the ice water, pulsing just until the dough comes together. If the dough seems dry, add 1 to 2 tablespoons more ice water.
- Transfer the dough to a sheet of plastic wrap. Pat it into a disc about 1 inch thick, wrap tightly, and refrigerate for at least 2 hours or up to 3 days.
- In a medium bowl, toss the blueberries with 1/4 cup granulated sugar, cornstarch, and lemon juice. Set aside.
- Preheat the oven to 375ºF. On a lightly floured surface, roll the chilled dough out to a rough 12-inch circle and transfer it to a parchment-lined rimmed baking sheet.
- Mound the blueberry filling in the center of the dough, leaving at least a 2-inch border around the edges. Fold the edges of the dough up and over the filling, overlapping slightly as you go. Brush the dough with milk and sprinkle with sparkling sugar if using.
- Bake for 40 to 45 minutes, until the filling is bubbling and the crust is deeply golden and baked through. Cool for at least 15 minutes on the baking sheet before slicing and serving.
Notes
Measuring: Roll the dough to a full 12-inch circle so you have enough border to fold up around the filling. A short crust means the filling can spill out during baking.
Frozen blueberries: If using frozen blueberries, add them straight from the freezer without thawing and increase the cornstarch by an extra teaspoon. The bake time may run a few minutes longer — wait for a fully bubbling filling before pulling it from the oven.
Storage: Store leftover blueberry galette loosely covered at room temperature for up to 2 days. For longer storage, wrap it well and refrigerate for up to 4 days. To reheat, slide it into a 325ºF oven for 10 to 15 minutes until the crust crisps back up.
Nutrition
Nutrition information is automatically calculated, so should only be used as an approximation.
 Like this recipe? Rate & comment below!
Before You Go
I hope this blueberry galette earns a permanent spot in your summer baking rotation. Browse our Bread Recipes or make this blueberry cake next!




I made this for a dinner party and everyone thought I had spent hours on it. The crust came out perfectly golden and the blueberry filling was so jammy and bright. I’ll be making this all season long and in the winter with frozen blueberries!
Luke, that is wonderful to hear. Frozen fruit is perfect for making desserts year-round! Thank you for taking the time to share ~GVD tema
I had some leftover blueberries in the freezer from Thanksgiving, and I wanted to use them. This galette was perfect. I really enjoyed the flaky crust, and topping the whole thing with sugar gave it a great crunch.
Wow… Amazing recipe. Thanks for sharing. Will surely try this.
Really delicious recipe. I love it yummy!!! It’s really awesome
Chris, Thank you!
well worth the calories! yay and a very nice new (for me) way to eat blueberries (nutritional staple for me), plus nice tip about using cornstarch to absorb the blueberry moisture as they cook, so thank you!
Sabrina, Thank you so much!