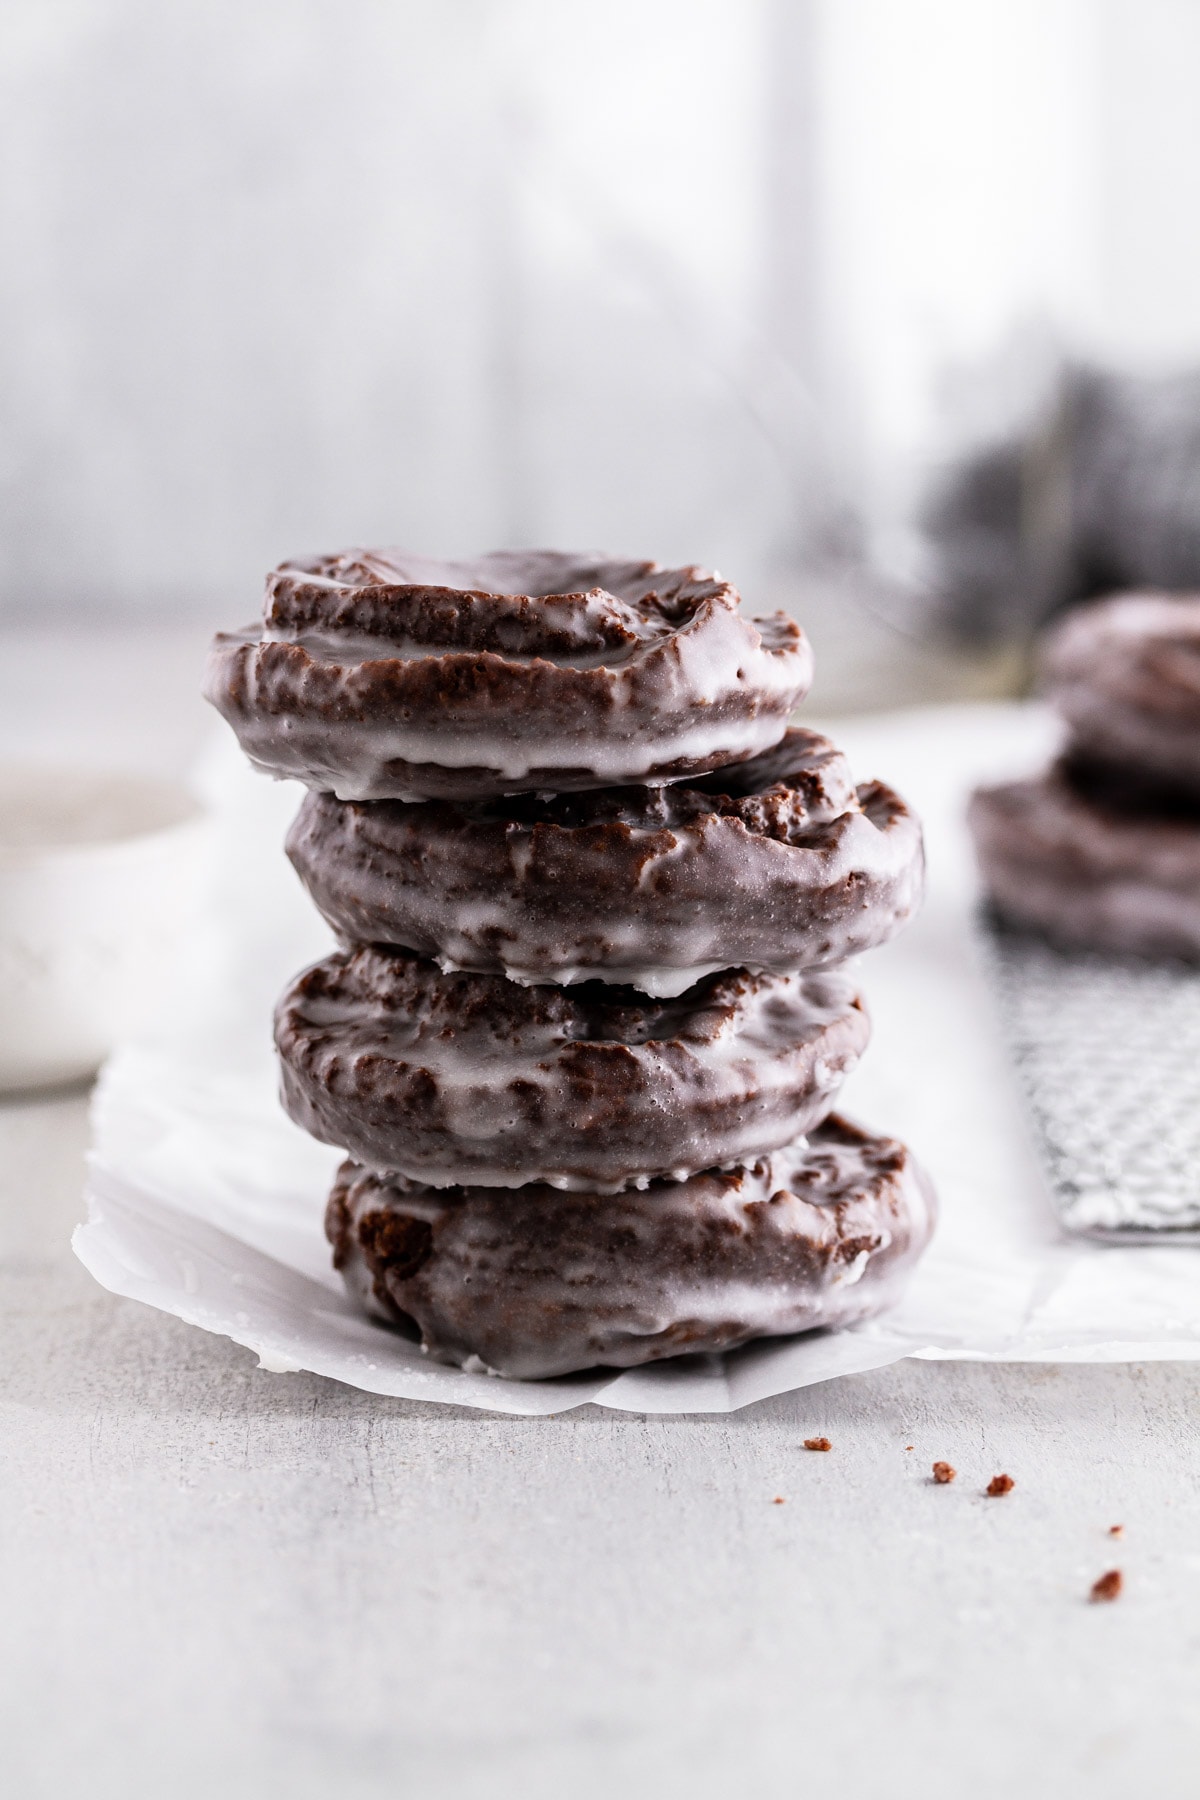
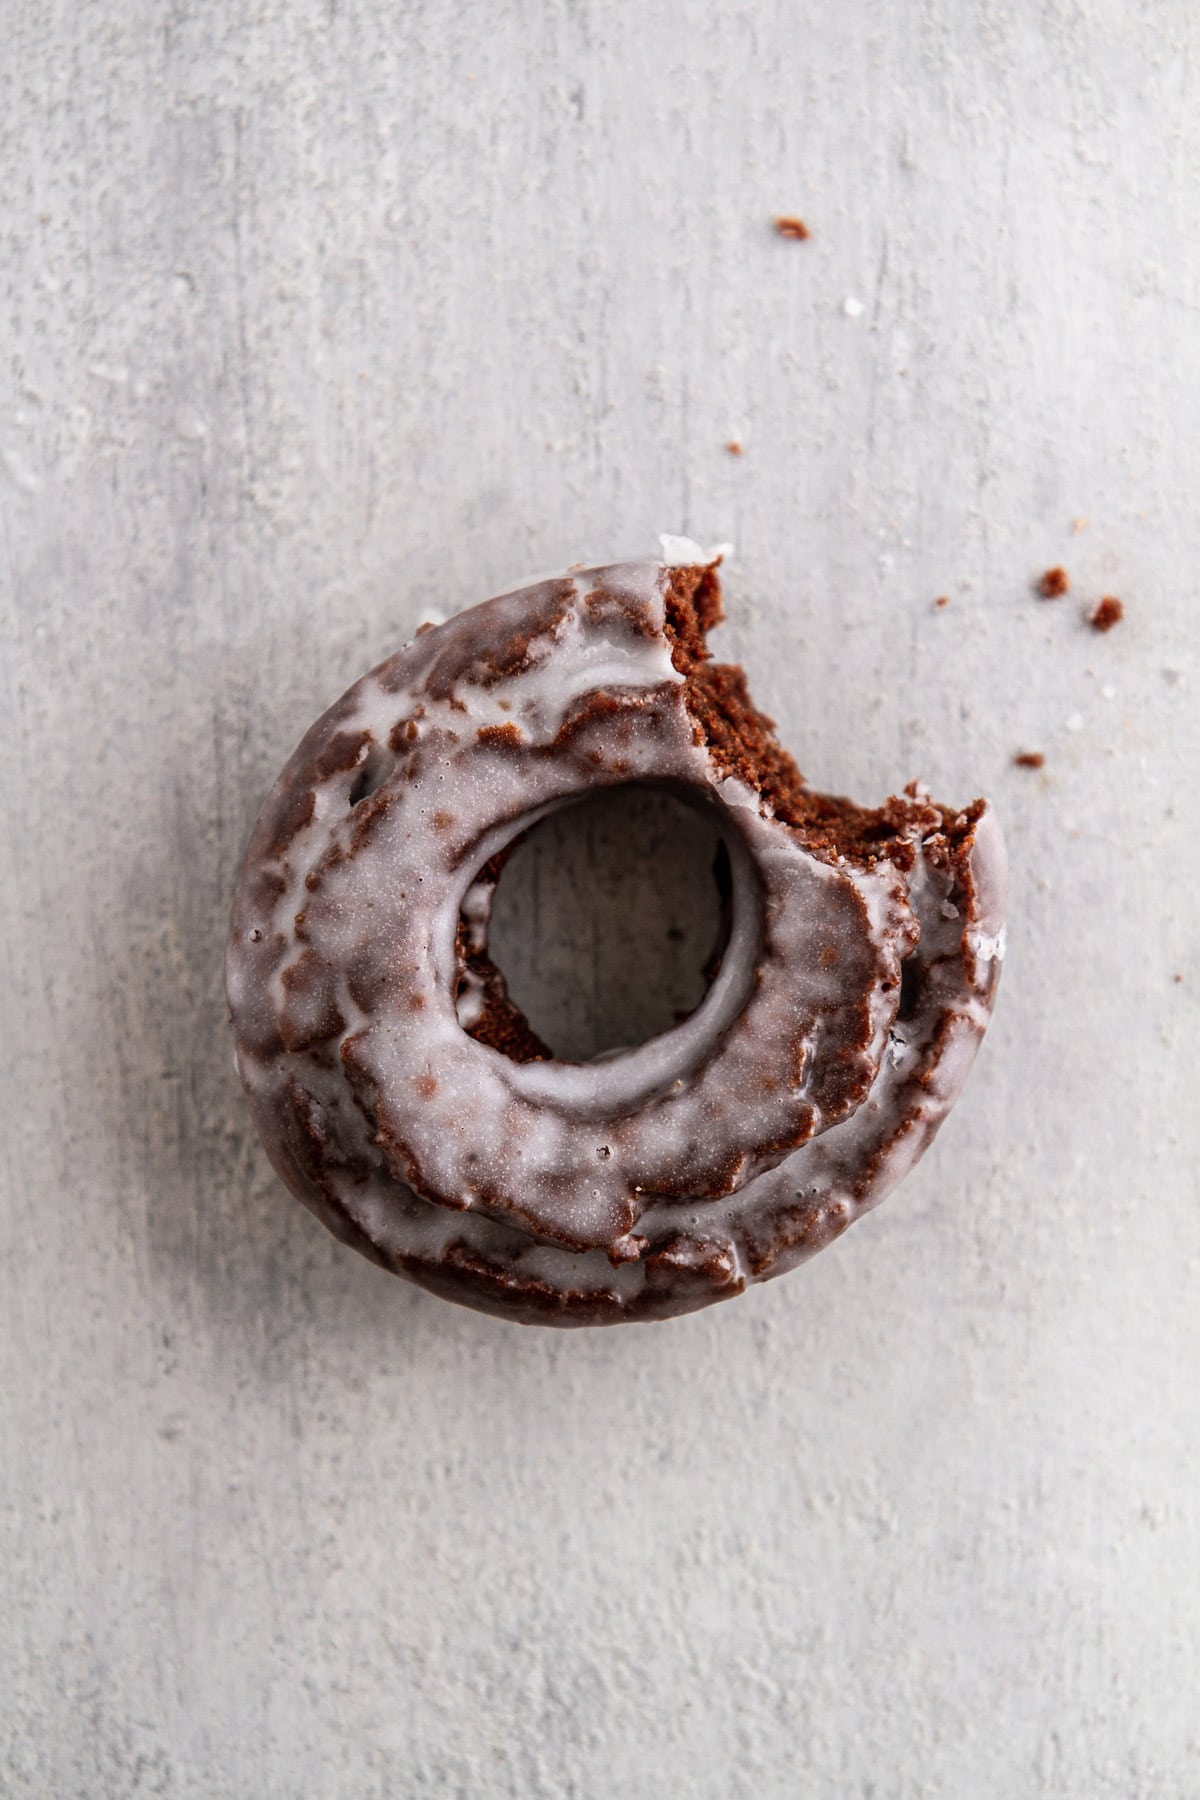
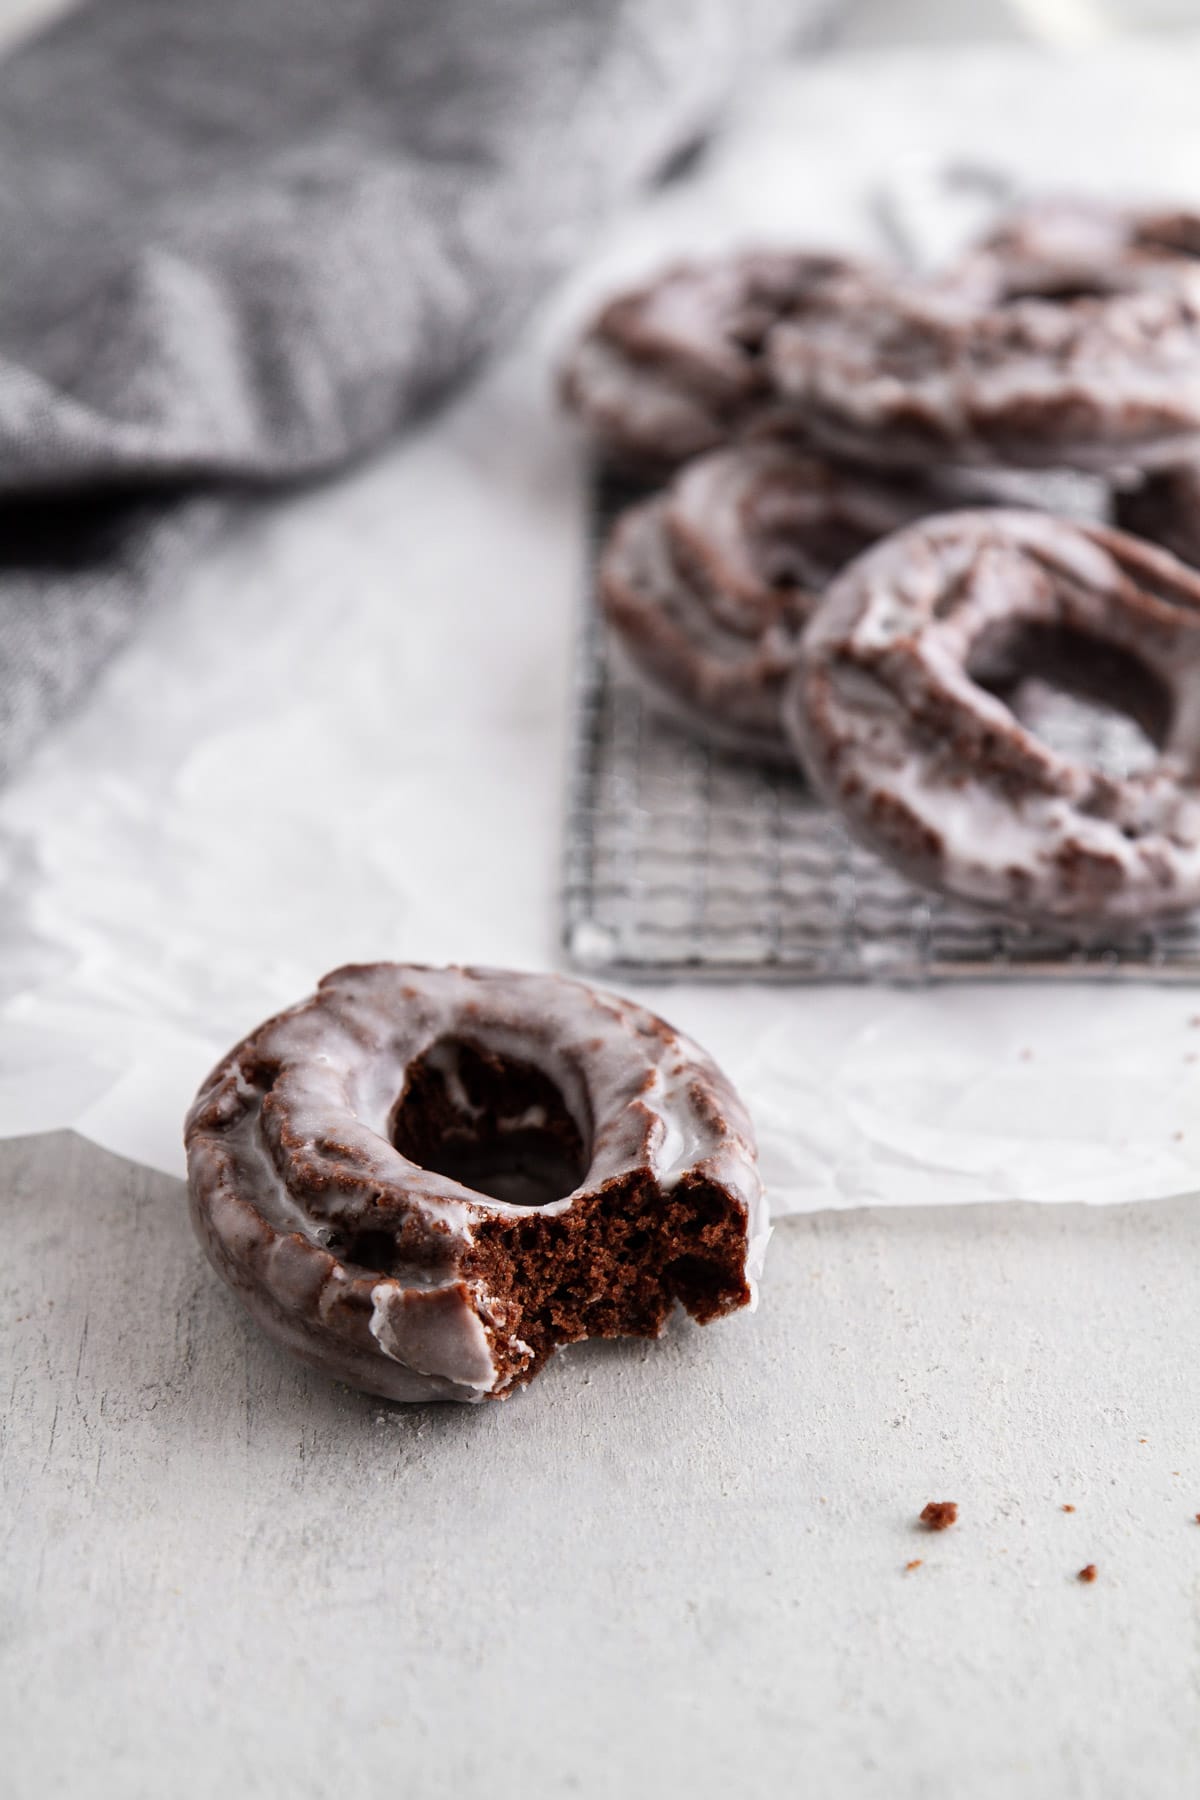
One good thing to come out of 2020: these Chocolate Old-Fashioned Donuts. Homemade donuts are the real deal, and when you make them with a chocolate- and sour cream-based batter, deep-fry them in your own kitchen and dip them in a simple glaze, you’ll never want to go back to store-bought again. Breakfast, snack, dessert — heck, dinner — there’s never a wrong time to indulge in this delicious treat!

A Quick Look At The Recipe
This is a brief summary of the recipe. Jump to the recipe to get the full details.
Prep Time
20 minutes
Cook Time
20 minutes
Chilling Time
1 hour
Total Time
1 hour 40 minutes
Servings
16 Donuts
Difficulty
Intermediate
Calories *
218 kcal per serving
Technique
Mix and chill dough, roll and cut, deep fry, then dip in a warm vanilla glaze.
Flavor Profile
Rich, cakey chocolate donuts, finished with a sweet vanilla glaze.
* Based on nutrition panel
Made these yesterday and they were awesome! they are reminiscent of Dunkin Donuts chocolate cake donuts which are my favorite. Will be making them again but will be thinning out the glaze a bit as we all went into sugar comas after eating just one. Thanks for the great recipe!⭐⭐⭐⭐⭐
Anne

I feel like I could just drop the mic here and let you get right to the kitchen to make these chocolaty donuts, BUT — there is so much to say about them that I wouldn’t do these delectable round treats the justice they are due if I just left you here. So, let’s grab some coffee, take a cozy seat and talk about DONUTS.
If you’d rather bake them, my baked chocolate donut recipe has you covered! And, for the vanilla version, make these Baked Vanilla Donuts.
What Are Old-Fashioned Donuts?
First, a primer on all the types of donuts out there. There are yeast donuts, cake donuts, baked donuts, old-fashioned donuts, frosted donuts, fritters, bear claws, long johns, twists, crullers… you get it. How can we possibly differentiate them all from each other?? Apart from trying each kind (which I highly support), I’ll save my lessons on the other types of donuts and today focus solely on the old-fashioned donut — a tried-and-true variety loved by many.
An old-fashioned donut is, in short, a variety of cake donut with a sort-of tapered-edge round shape that’s usually made with sour cream or buttermilk and without yeast. You cook them in a deep fryer and usually coat them with a simple powdered sugar-based glaze (like the recipe below). Flavors range from something as simple as vanilla or chocolate to more adventurous ones like pumpkin, cherry and blueberry. Whenever I’m in the mood for donuts, old-fashioned donuts are my first choice. They’re moist and cakey but also delightfully dense and flavorful. My only issue with them is that I can’t stop eating them when they’re around.
The Best Ingredients
If you’re gonna go big and make donuts at home, you want to be sure you’ve got the best ingredients to make them. So! Here’s what you’ll need:
- All-purpose flour
- Cocoa powder (you can use regular unsweetened or Dutch-process cocoa powder in this recipe!)
- Cornstarch, which gives these donuts their light texture without falling apart
- Nutmeg — a surprising yet essential spice for donut recipes!
- Sour cream, to give these donuts their classic sweetness with a tang
All of these ingredients, plus a few standards (such as salt, butter, eggs, etc.), combine to make the best donuts you’ve ever had — but be sure everything is fresh and of good quality, since every flavor shines through every tasty bite.
How to Make Homemade Donuts
When it comes to chocolate old-fashioned donuts, my first piece of advice is to plan ahead — that is to say, make sure you have all of the correct equipment on hand. For this recipe, two special tools are key:
- A deep-fry thermometer, for calculating the oil temperature
- A donut cutter, to make those perfect round donut shapes
Once you’ve got these tools in your baking collection, everything else is easy-peasy! Here’s how to make these yummy treats:
- Step 1: Whisk together all the dry ingredients.
- Step 2: Beat the butter and sugar together, then add the eggs.
- Step 3: Combine the dry ingredients with the butter mixture and sour cream.
- Step 4: Refrigerate the batter for about 1 hour so it firms up a bit; this makes it easier to roll out before frying.
- Step 5: Heat your oil in a pot to 325°F. Roll out the dough on a very well-floured surface, then cut into donuts.
- Step 6: Fry donuts in batches until cooked through. Fry the donut holes, too!
- Step 7: Make the simple powdered sugar glaze.
- Step 8: Dunk the donuts into the glaze, then let them sit for a few minutes to allow the glaze to set.
With just 20 minutes of prep time, you can have more than a dozen fresh-fried donuts in your home ready to devour at a moment’s notice. WHAT BETTER NEWS COULD EXIST.
Tips
I know that homemade donuts might seem intimidating (hot oil! rolling out dough! using a fancy donut cutter!) but trust me, they’re so very simple. Donuts are the kind of thing that get easier the more often you make them from scratch, and the batter is so quick to put together, you can whip them up on a whim. And, I have some pro tips below that make the process even less overwhelming, so you can power through right to the deliciousness:
- To make sure the oil temperature stays roughly around 325°F at all times, keep an eye on the deep fry thermometer and adjust the heat on your stove top burner as needed. It’s really as easy as: if the oil is too hot, turn down the heat and if the oil is too cold, turn it up. You don’t need to keep the temperature EXACTLY at 325°F, but within 10 degrees either way is ideal. This keeps the donuts from burning (oil too hot) or getting soggy (oil too cold).
- If you don’t have a donut cutter but you DO have two different sizes of round biscuit or cookie cutters, use those instead!
- Be sure to liberally flour everything when you roll out and cut the dough. The dough is rather sticky at first and will firm up in the fridge, but you’ll still want to use enough flour on your surface, your rolling pin and your donut cutter to keep it from sticking as you go.
Fellow donut lovers, if 2020 has taught us anything, it’s that we can find joy in the little things — and these little donuts bring me so much joy (bonus points if served with a gallon of coffee, amiright). I hope you can find the joy in eating them, too.
Recommended Old-Fashioned Bakes

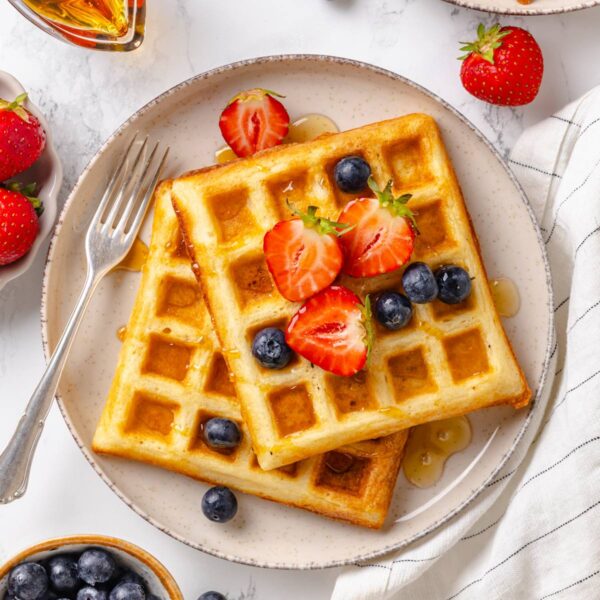
Breakfast & Brunch

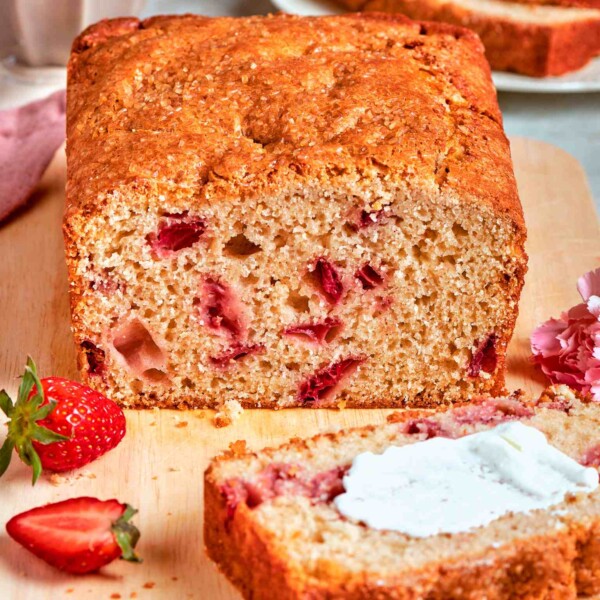
Breakfast & Brunch

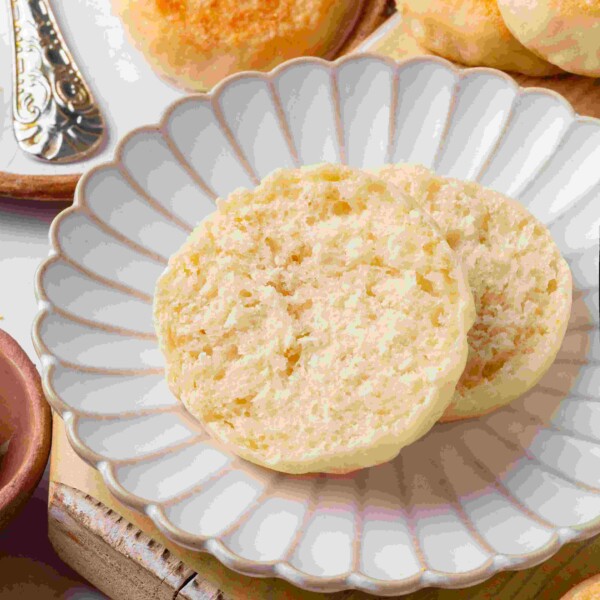
Breakfast & Brunch

Cakes & Cupcakes
If you enjoyed this recipe, please leave a star rating and let me know how it goes in the comments below! I love hearing from you and your comments make my day!
Chocolate Old-Fashioned Donuts

Ingredients
For the donuts:
- 1 ¾ cup all-purpose flour
- ½ cup cocoa powder
- ¼ cup cornstarch
- 1 ½ teaspoons baking powder
- 1 teaspoon salt
- ¼ teaspoon nutmeg
- ½ cup granulated sugar
- 3 tablespoons butter, room temperature
- 2 egg yolks
- 1 cup sour cream, room temperature
- 2 quarts vegetable oil, for frying
For the glaze:
- ¼ cup milk
- 2 ½ cups powdered sugar
- pinch salt
- 1 teaspoon vanilla extract
Instructions
Make the donut dough:
- In a large bowl, whisk together flour, cocoa powder, cornstarch, baking powder, 1 teaspoon salt and nutmeg until well combined.
- In a separate large bowl using an electric hand mixer or in the bowl of a stand mixer with the paddle attachment, beat granulated sugar and butter on medium speed just until mixture appears sandy, about 1 minute. Beat in egg yolks on medium speed until mixture is light and thickened, about 1 to 2 minutes. Add flour mixture in three additions, alternating with sour cream, beating after each addition until batter is well-combined.
- Cover bowl with plastic wrap; refrigerate at least 1 hour, up to 4 hours, until batter is slightly firm.
- Meanwhile, heat oil in a large pot or deep saucepan with deep fry thermometer with a clip attached to the sides. Heat oil to 325°F.* On a very well-floured surface using a well-floured rolling pin, roll dough out to 1/2-inch thickness. Use a well-floured or two different-sized biscuit cutters to cut dough into approximately 16 to 18 donuts and donut holes (re-roll scraps once, if needed).
- Fry donuts in batches, about three at a time, 2 minutes each side or until puffed and cooked through. Use a slotted spoon or deep fry skimmer to transfer cooked donuts to a paper bag or paper towel-lined baking sheet to drain excess oil. Repeat with remaining donuts and donut holes.
Glaze donuts:
- Next, make the glaze: In a small saucepan over low heat, heat milk to just below a simmer (when it begins to steam). Remove from heat; whisk in powdered sugar, pinch salt and vanilla until smooth. Use a fork to carefully dunk donuts one at a time into glaze, coating both sides. Lift to allow excess glaze to drip off donut, then transfer to a cooling rack with parchment or paper towel underneath to catch excess glaze. Allow donuts to sit until glaze is fully set, about 15 to 20 minutes.
- Donuts are best served the day they’re made, but will keep in an airtight container at room temperature for up to 2 days.
Notes
- *If using a deep-fry thermometer, you’ll need to raise or lower the stove top burner temperature as needed to maintain 325°F as best as possible. Too hot, and the donuts might burn before they’re cooked through; too low, and they’ll end up soggy and dense.
- Recipe adapted from Handle the Heat.
Nutrition
Nutrition information is automatically calculated, so should only be used as an approximation.
 Like this recipe? Rate & comment below!
Do I put all the egg in or just the yolk
Hi Anton! Use just the yolks! The yolks keep the donuts rich, tender, and classic old-fashioned style instead of cakey or bready. Enjoy! ~gvd team
I made this recipe 3 times. I made sure not to over mix, not wait too long and checked my baking powder for efficacy and each time I was met with flat donuts. Unfortunately can’t recommend this recipe.
Hi Kyle, I’m so sorry to hear that your donuts didn’t turn out as expected! If they came out flat, it might help to make sure the oil temperature is right around 325°F and that the dough is well chilled before cutting. Sometimes if the oil is too hot or the dough is too soft, the donuts don’t puff properly during frying. I’ve tested these myself, and I didn’t have that trouble, so I hope you’ll give them another go. Thanks again for your feedback, it helps us keep recipes as reliable as possible! ~gvd team
This was a great easy recipe! Chocolate cake donuts are my favorite, and I’ve been wanting to make them for a while. The dough was very easy to handle, and I was worried they’d be dry, but after the addition of the glaze, they had a great texture. The donuts themselves are not sweet, which is perfect because the glaze is pure sugar – I did end up thinning the glaze a bit due to personal preference. The only other thing I would wish is for the recipe to include metric gram measurements, since I like to use a scale to measure my baking ingredients for accuracy. I did translate them myself, but I always wonder if my calculations are a bit off from what the maker intended. I will definitely make these again!
Hi Alex! So glad you loved them! Just a quick tip: you can click the “Metric” button in the recipe card to see all the gram measurements. Makes scaling even easier! Thanks so much for making these and for the thoughtful feedback. ~gvd team