
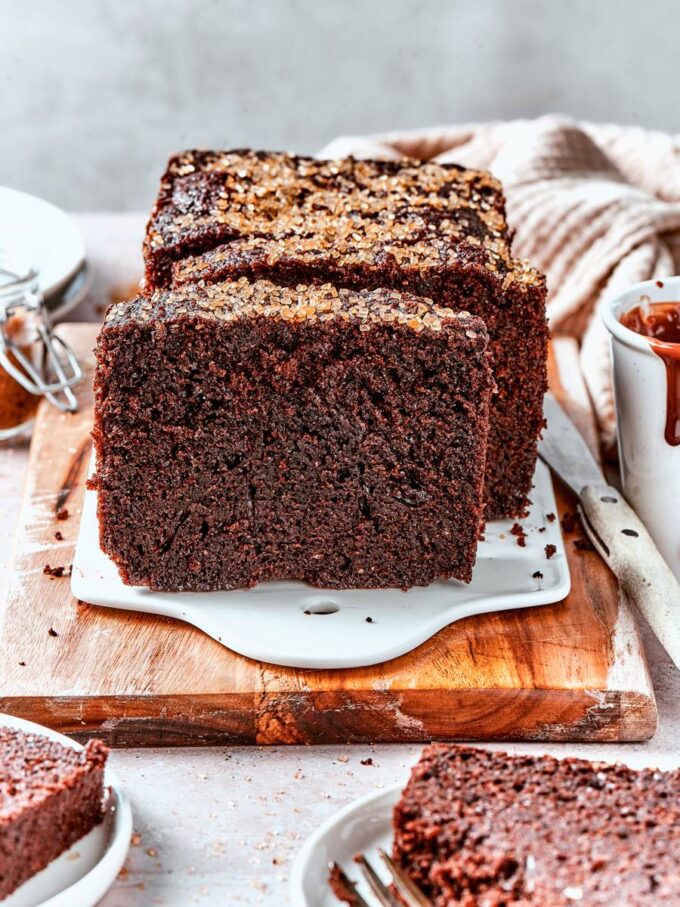
This chocolate bread has all the richness of devil’s food cake baked into a tender, moist quick bread loaf. Cocoa powder, buttermilk, and a touch of coffee extract do the heavy lifting, and the whole thing comes together in one bowl.
A Quick Look At The Recipe
This is a brief summary of the recipe. Jump to the recipe to get the full details.
Prep Time
15 minutes
Cook Time
45 minutes
Total Time
1 hour
Servings
10 slices
Difficulty
Easy
Calories *
272 kcal per serving
Technique
One-bowl mixing method.
Flavor Profile
Rich chocolate, subtle coffee.
* Based on nutrition panel
I made this on Sunday afternoon and it didn’t make it through the night! The coffee extract really deepens the chocolate flavor without tasting like coffee at all. My whole family kept coming back for another slice.
⭐⭐⭐⭐⭐
Renata
Why You Will Love This Recipe
- Deep chocolate flavor without a lot of effort. Cocoa powder alone can taste flat in a quick bread, but coffee extract amplifies it so the chocolate comes through in every bite. You cannot taste the coffee at all; it just amplifies the chocolate.
- Moist, tender crumb with real structure. This is a proper quick bread, meaning it has density and substance without being dry or crumbly. Buttermilk and coconut oil keep the interior soft while giving the edges a satisfying crunch.
- No mixer, no special equipment. Everything comes together in one large bowl with a whisk. If you have made my chocolate chip banana bread before, this process will feel familiar.
- One loaf works for breakfast, dessert, or a snack. It is not as sweet or delicate as a chocolate cake, so it holds its own any time of day. If you love a tender, spiced loaf with the same ease of preparation, my moist gingerbread loaf recipe follows the same basic approach.
There is something genuinely satisfying about a loaf that looks impressive but asks almost nothing of you. I made this one on a weeknight with pantry staples and some leftover coffee from the morning (mom life!), and it disappeared faster than I expected! Like with most things in my house involving chocolate!
It slices cleanly once cool and is just as good the next morning with coffee as it is fresh from the pan. If you love a chocolate quick bread my chocolate banana bread takes this same rich base with a banana bread twist! You should also try this chocolate chip zucchini bread for a quick bread with chocolate and veggies!
Ingredients & Substitutions
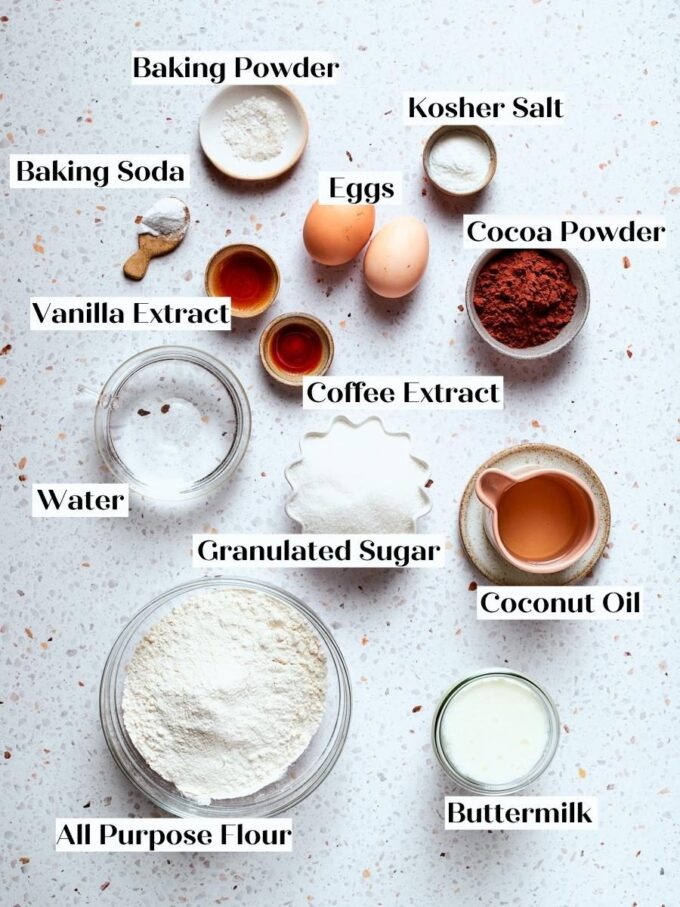
- Buttermilk: The acidity in buttermilk reacts with the baking soda to help the loaf rise, and it adds a subtle tang that rounds out the chocolate flavor. Do not swap for regular milk without adding a small amount of lemon juice or vinegar to replicate the acid.
- Water or Brewed Coffee: Water keeps the batter fluid and the loaf moist. Brewed coffee works here too, though if you use it, omit the coffee extract to avoid an overpowering coffee flavor. My chocolate sourdough bread also uses coffee in place of water; be sure to check it out next!
- Vanilla Extract: Vanilla rounds out the chocolate flavor without drawing attention to itself.
- Coffee Extract: It is undetectable in the finished loaf, but it amplifies the cocoa so the chocolate flavor reads deeper and more complex. If you use brewed coffee as your liquid, leave this out entirely.
- Coconut Oil: Coconut oil keeps the interior moist and the crumb tender without making the loaf greasy. Make sure it is melted and still warm before you add it to the batter. Cold coconut oil will seize up on contact with the other liquids and leave you with visible oil droplets that never fully incorporate just like when making peanut butter bread.
- Cocoa Powder: I usually use Dutch processed cocoa powder but natural would work as well.
- Baking Powder and Baking Soda: Both leaveners work together here, with the baking soda specifically needing the acid from the buttermilk to activate. Use fresh leaveners for a proper lift.
- White Sparkling Sugar: Optional, but it bakes into a satisfying crunchy top. If you love a loaf with crunchy edges and a sparkly finish, my strawberry bread uses the same finishing touch to great effect.
Variations for Chocolate Bread
- Add Chocolate: Fold 3/4 cup of semi-sweet, white chocolate or dark chocolate chips into the batter just before pouring it into the pan. They melt into pockets throughout the crumb and make the loaf feel more indulgent, which is how this recipe got its name in the first place.
- Make into muffins! Divide the batter into a lined muffin tin and bake at 340°F for 18-20 minutes. Don’t open the oven until 18 minutes have passed to check; otherwise, they will sink.
- Add a swirl! Drop spoonfuls of your favorite jam, peanut butter, or Nutella over the batter once it is in the pan, then drag a butter knife through it a few times to create a swirl. I think this easy strawberry jam recipe would make a perfect chocolate strawberry bread!
Professional Tips for Perfect Chocolate Bread
- Whisk the coconut oil in thoroughly before adding the dry ingredients. Once you pour in the warm coconut oil, whisk vigorously until no visible oil droplets remain on the surface of the batter. If you stop too early, those pockets of unincorporated fat will create greasy spots in the finished crumb.
- Do not rotate the pan during baking. Opening the oven mid-bake disrupts the heat around the loaf and can cause the center to collapse before it has set just like when making this orange bread. Leave it alone from the moment it goes in until the toothpick test at the 42-minute mark.
- Cool in the pan before turning it out. The crumb needs 8 to 10 minutes in the pan to firm up after baking. If you turn it out too early, the loaf can crack or lose its shape, and slicing a warm chocolate quick bread never ends well, like I know from experience.
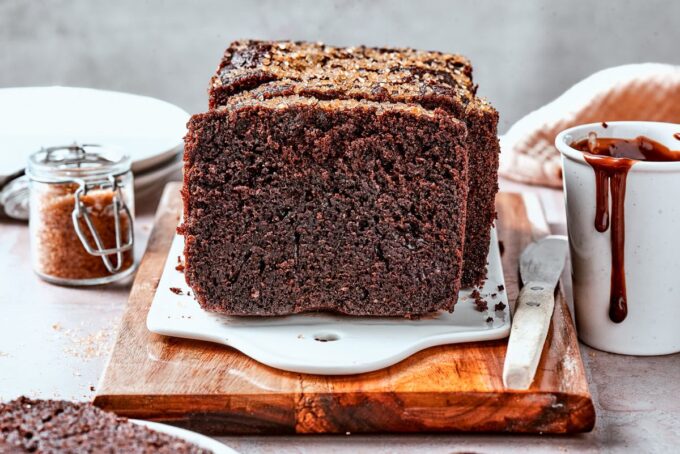
How to Make Chocolate Bread
Use these instructions to make a deeply chocolatey, tender quick bread with crisp edges and a moist, dense crumb. Further details and measurements can be found in the recipe card below.
Step 1: Prep Your Pan and Oven. Preheat your oven to 350°F (conventional, not convection). Spray a 9×5-inch loaf pan with non-stick cooking spray, or line it with a parchment sling for easy removal.
Make the Batter
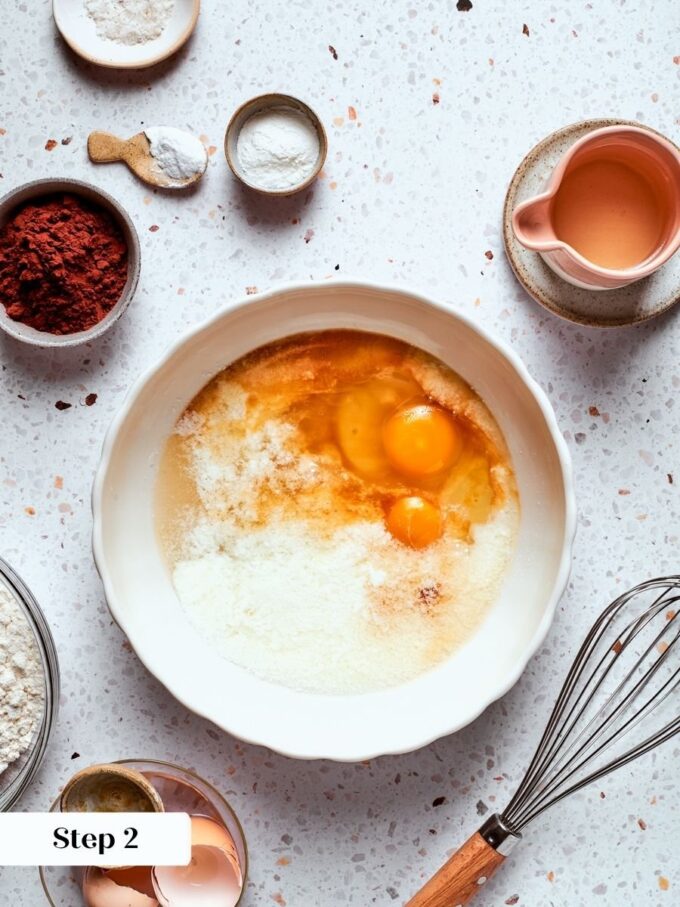
Step 2: Mix the Wet Ingredients. In a large bowl, whisk together the granulated sugar, buttermilk, water (or cooled brewed coffee), eggs, vanilla extract, and coffee extract. Whisk vigorously until the mixture looks smooth and uniform, with no streaks of egg visible. (photo 1)
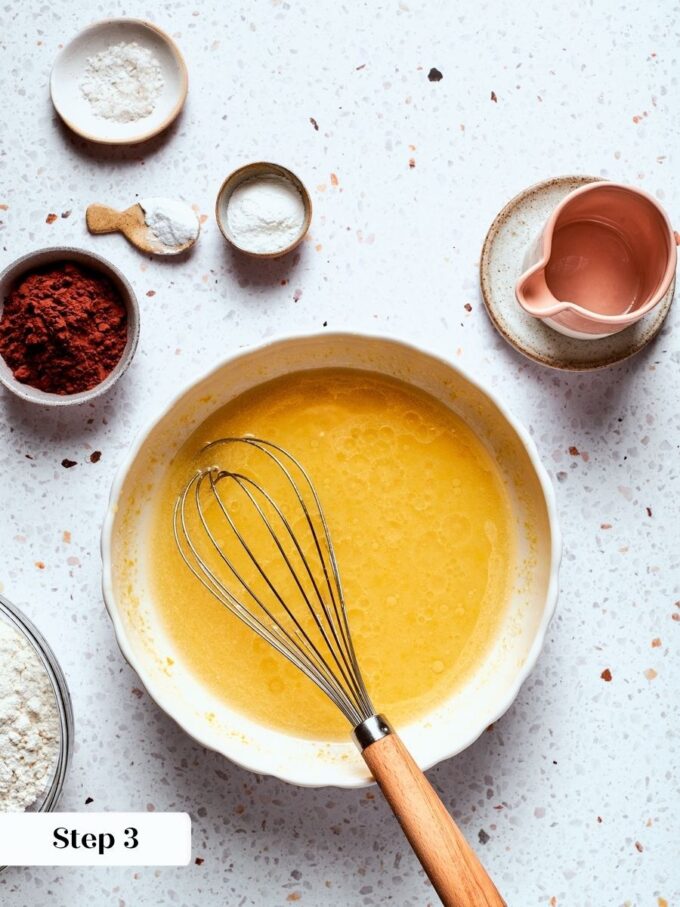
Step 3: Add Coconut Oil. Add the warm melted coconut oil and whisk well. The oil will look like it is floating and separating at first, which is completely normal! Keep whisking until no visible oil droplets remain and the batter looks glossy and cohesive. (photo 2)
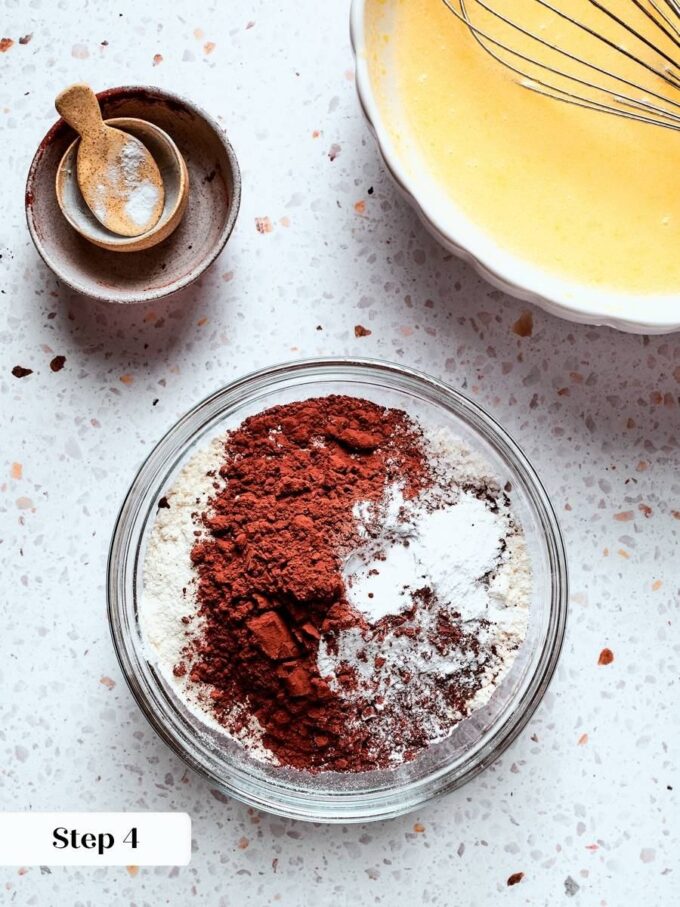
Step 4: Combine Dry Ingredients. In a separate bowl, whisk together the all-purpose flour, cocoa powder, baking powder, baking soda, and salt. (photo 3)
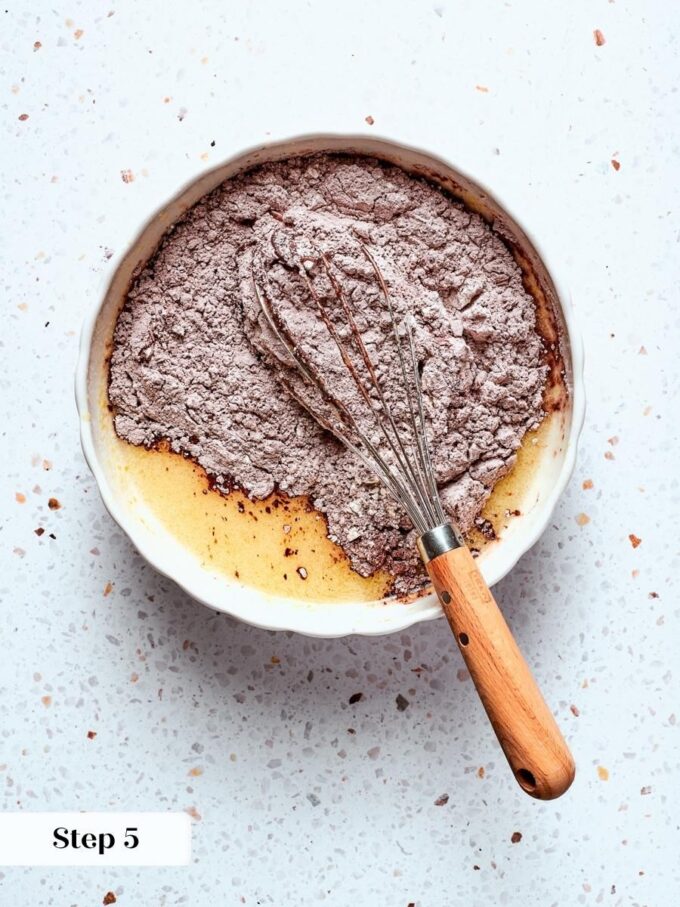
Step 5: Combine Wet and Dry Ingredients. Add the dry ingredients to the wet ingredients and whisk well to combine. The batter will be smooth, dark, and fairly fluid, closer to a thick cake batter than a stiff dough. A few small streaks of flour are fine to start, but keep whisking until the batter is completely uniform with no dry pockets remaining. (photo 4)
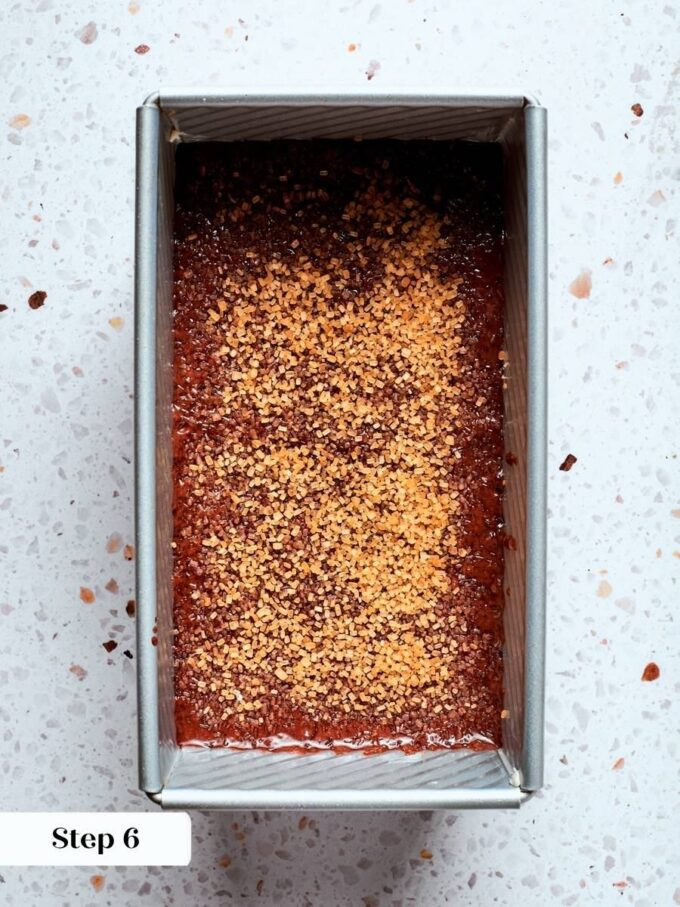
Step 6: Fill the Pan. Pour the batter into your prepared loaf pan. It will settle level on its own, so no need to smooth the top aggressively. If you are using white sparkling sugar, scatter it evenly over the surface now. (photo 5)
Bake
Step 7: Bake for 42 to 45 minutes, until a cake tester or toothpick inserted into the center comes out clean. Do not rotate the pan at any point during baking. Rotating disrupts the rise and can cause the center to collapse before it has set, so just leave it alone and let the oven do its work.
Step 8: Cool and Slice. Cool the bread in the pan for 8 to 10 minutes before turning it out onto a wire rack. The crumb needs this time to firm up, and pulling it out too soon can cause it to tear or deflate in the middle.
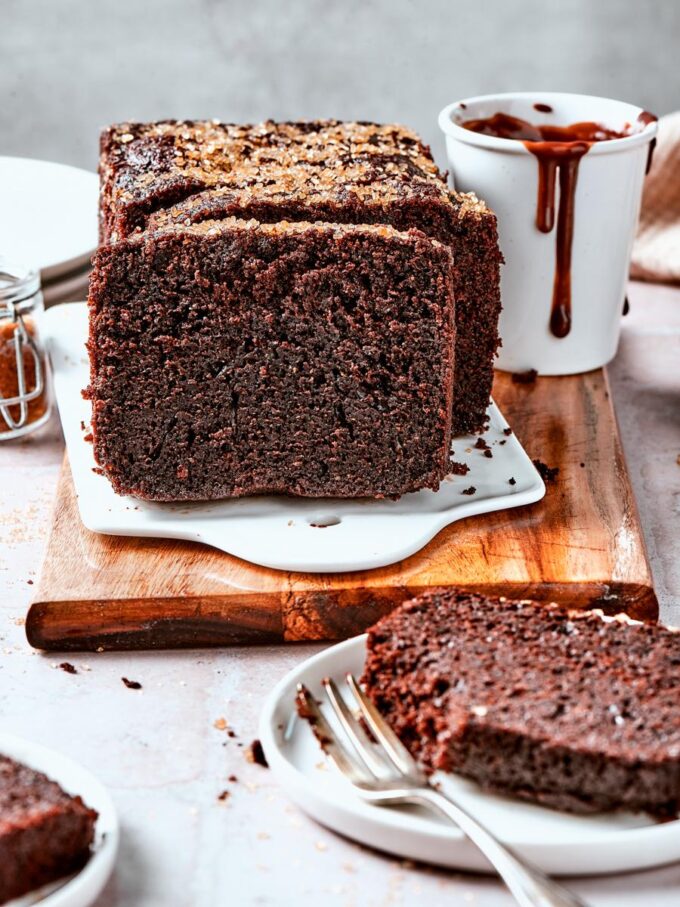
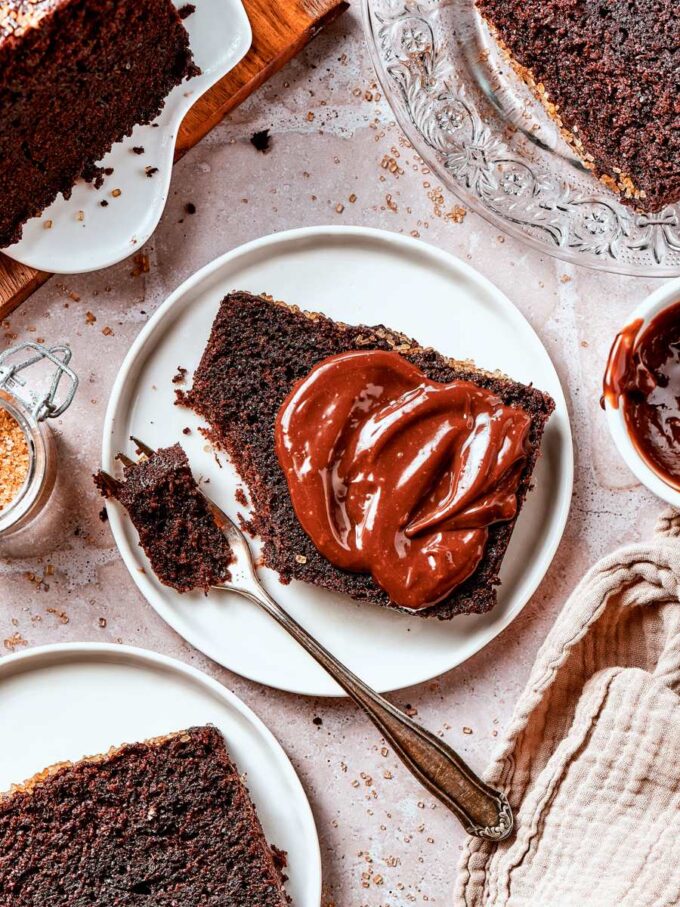
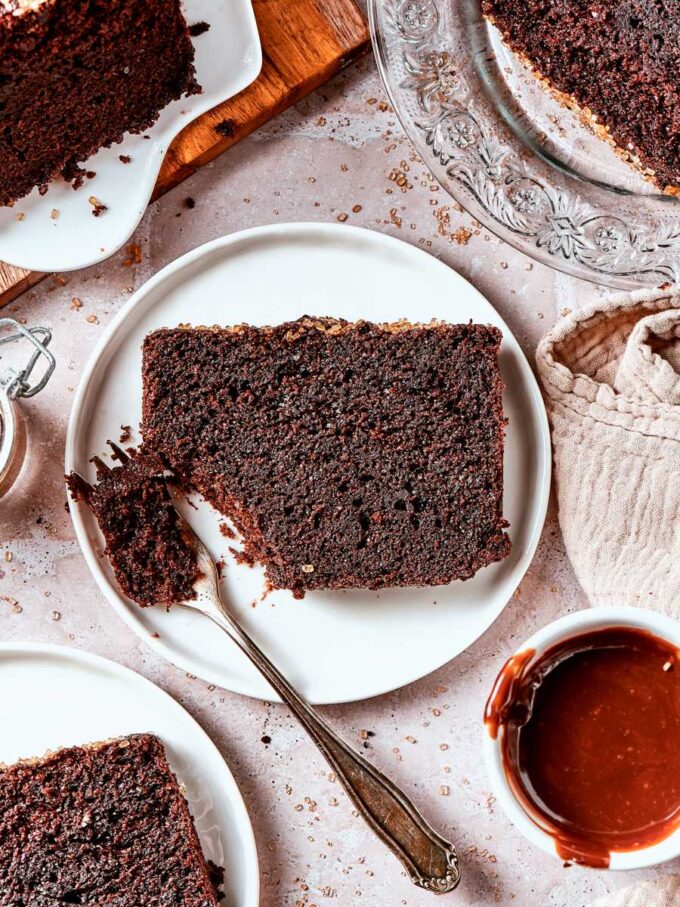
Step 9: Slice. Once fully cool, slice with a serrated knife or a sharp chef’s knife. Slicing while warm will compress that tender crumb, so patience here pays off. (photo 6)
Recipe FAQs
Wrap the loaf tightly in plastic wrap or transfer slices to an airtight container and keep at room temperature for up to 3 days. The crumb actually improves slightly on day two as the moisture redistributes throughout the loaf. For longer storage, wrap individual slices and freeze for up to 2 months, then thaw at room temperature or warm briefly in the microwave.
Yes, and it holds up beautifully. Bake the loaf completely, let it cool, then wrap it tightly and store at room temperature overnight. It slices even more cleanly the next day because the crumb has had time to fully set, which makes it a genuinely good make-ahead option for brunches or gifts.
Both are moist, one-bowl quick breads with a tender crumb and chocolate throughout, but they land in different territory. This latter is all about deep cocoa flavor amplified by coffee extract, with a denser, slightly crunchy-edged texture that leans toward dessert-at-breakfast. My chocolate chip pumpkin bread brings warm spice into the mix and has a softer, more delicate crumb from the pumpkin puree. If you want rich chocolate front and center, this one. If you want spiced and subtly sweet, go pumpkin.
The recipe was developed specifically with coconut oil, which gives it its particular tenderness and moisture. A neutral vegetable oil would likely work in the same quantity, but the behavior is slightly different: coconut oil solidifies at cooler temperatures, which contributes to how the crumb sets as the loaf cools. If you do swap, use the oil at room temperature and whisk it in just as thoroughly until it incorporates before the dry ingredients go in.
Recommendedk Bread Recipes
Quick Breads
Quick Breads
Quick Breads
Breakfast & Brunch
Chocolate Bread
Ingredients
- 1 cup granulated sugar
- ½ cup low fat buttermilk
- ½ cup water, or brewed coffee, cooled
- 2 large eggs
- 2 teaspoons vanilla extract
- ½ teaspoon coffee extract, optional (omit if using brewed coffee)
- ½ cup coconut oil, melted and slightly warm
- 1 ¾ cups all-purpose flour
- ¼ cup cocoa powder
- 2 teaspoons baking powder
- ½ teaspoon baking soda
- 1 teaspoon kosher salt
- White sparkling sugar, for finishing, optional
Instructions
- Preheat the oven to 350°F (conventional, not convection). Spray a 9×5 inch loaf pan with non-stick cooking spray or line with a parchment sling.
- In a large bowl, whisk together the granulated sugar, buttermilk, water, eggs, vanilla extract, and coffee extract until smooth.
- Add the warm coconut oil and whisk vigorously until no visible oil droplets remain.
- In a separate bowl, whisk together the flour, cocoa powder, baking powder, baking soda, and salt.
- Add the dry ingredients to the wet ingredients and whisk well to combine.
- Pour the batter into the prepared pan. Sprinkle with white sparkling sugar if using.
- Bake 42 to 45 minutes, without rotating the pan, until a toothpick inserted in the center comes out clean.
- Cool 8 to 10 minutes in the pan, then turn out onto a wire rack. Slice with a serrated knife once fully cool.
Notes
Nutrition
Nutrition information is automatically calculated, so should only be used as an approximation.
 Like this recipe? Rate & comment below!
Before You Go
If this chocolate chip banana bread earns a spot in your regular rotation, there is plenty more waiting for you. Browse our quick bread recipes or head right over to this sourdough banana bread!



I made this on Sunday afternoon and it didn’t make it through the night! The coffee extract really deepens the chocolate flavor without tasting like coffee at all. My whole family kept coming back for another slice.
Gone before Monday — that’s a record we’re proud of! Thank you so much for sharing — you’ve made us want a slice right now! ? ~GVD team
I followed your lead and added the coffee syrup to the bread, and just wow! It was so moist and the coffee and chocolate flavor was truly delectable.
Clearly your open minded and receptive to other ideas. Many people in the online community are a little more totalitarian. keep it up 😉 Of course– and I probably shouldn’t even have to say this– people are free to run their own websites as they see fit. But I get the highest value from blogs where either the author’s writing is so outstanding that the lack of comments isn’t material a combination of good writing and good comments leaving my personal Research website if you dont mind wael kfoury
great insight and very nice website how long did it take you building your blog? 🙂 i like what you done here …visit mine if you would like to 🙂 Arabic Girls names
So, my friends daughter has this blog. On bread. Hmmm….I love bread so I should probably take a look. What is the first one that I see? Chocolate? Oh, did she hear my call? Print recipe. I have nothing else to do so making a quick bread should be easy. (helloooo!..laundry…bathrooms…dishes…) Have all the ingredients-what true chocoholic doesn’t? But I have to admit-I have gone to the dark side. My dutch processed is dark as is my Ghirardelli 70% bar of chocolate that I will use for chips. We shall see what happens! All ingredients assembled at the table. Look at quantity for butter. 13 tablespoons? 13? Open fridge door. Antique butter dish flies out and breaks on hated tile floor. Tile is fine. Throw out butter. Get out dustpan and sweep up glass. Stand up and hit head on the door left open by someone getting out the vanilla. Oh. That was me. Hope there is more butter. Yes, but of course it is salted. The world is still ok just do not add salt to the batter. Boil water in microwave. Add chocolate. Impossible to stir but it starts to come together. It cools and I add the eggs (pull out rogue eggshell pieces) and the oh-so-real vanilla. Mix with whisk. Batter clumps inside the whisk. Tap it on edge of bowl. Stuff flies everywhere but clumps fall out. Keep whisking and hoping the clumps disappear. Stop when I realize it is futile. Put dry ingredients in mixing bowl. Turn on to stir and overshoot on the button. Flour now sticking to chocolate that flew earlier. Hope there is enough left for bread! Adding butter and chocolate in precise amounts and husband Shawn walks in-I like nuts. Walnuts. Add lots of nuts. Son Robert walks in-I hate nuts. Do not add nuts. OK. My bread, My way. Pecans. Just the right amount. As for the chocolate bar that I need to chop-looking at tablespoon measure and squares on the chocolate bar. One square is equal to one spoon, right? Chop away and hope that knife behaves itself. Injury free and into the bowl! Looking at batter and looking at pan. Hmmm….might need the bigger one. Grease a whole new pan and in goes the batter. Leave enough batter in bowl to lick. Yum. This bread has potential. You can always tell if it is going to be good by the taste of the batter. Why else do you have spatulas but to get every last bit out of the bowl for tasting?? Now we wait for 50 minutes. Take out bottle of Kahlua. Taste it to make sure it is ok. Taste again. Determine that it will be fine. Going to pour it on the bread straight with nothing else mixed in. Why not? Reading about split in bread. What??? 25 minutes. Grab foil and pull out a sheet. Look at pan. Realize I am to make a pup tent, not a family of four tent. Rip foil in half and place over bread. So far so good. 50 minutes. Take bread out and look at gooey center. No toothpick needed. Back into oven. Reset time for 10 minutes. Take a peek at 8 minutes and bread is done. Take off pup tent. Takes off a bit of the top with it. Re-read directions. Supposed to butter pup tent. Brush Kahlua on top straight from the bottle. Taste it to make sure it is ok. Cooling on wire rack for 10 minutes. Invert onto rack and flip right side up. Now has rack marks on top. A lot more attractive than the split recipe calls for. Want instant gratification so slice off the end. Steamy hot chocolate bread smells emit from the sliced end. Take bite. Sigh…bread heaven, Chocolate heaven.
So Stephanie, I have been slow in getting to your blog, but now that I am here I am here to stay. I will now relive the world of bread through your eyes and enjoy your stories. I may or may not attempt another one of the fantastic recipes but I am always available for tasting. I love Elliott’s Pics and I look forward to your newest bread adventures! Congratulations on a beautiful blog.