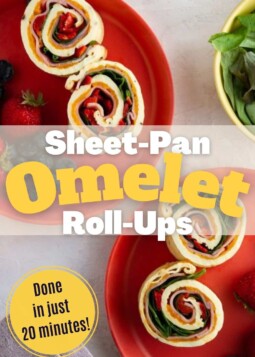
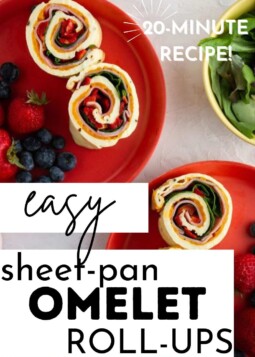
Sheet-pan omelet roll-ups are your new go-to lunch or breakfast recipe for back-to-school season. Customize with your favorite fillings!
Back-to-school means back-to-school lunches, and these easy sheet-pan omelet roll-ups are a fun, delicious and very versatile option for the whole family to enjoy. Simply bake a large, thin omelet, add your favorite toppings, roll it up and slice it into servings, then pack up for an on-the-go meal or as a new way to eat eggs for breakfast during the week.
Sheet-Pan Omelet Roll-Ups Recipe
Are you, like me, completely in the throes of school-lunch packing these days? Now that I have two kiddos in all-day school, I’ve got double the meals to prep every.single.day. While I love to pack them filling, nutritious meals, I also need all the creativity I can get (otherwise, there’s gonna be a lot of sun butter and jelly sandwiches in our future).
These sheet-pan omelet roll-ups have been an absolute game-changer. Not only are they easy to prepare, but they’re so easy to customize to my family’s tastes. And the best part is they keep my kids full and energized! And when they’re both in school all day long, that’s really important to me.

All About Eggs
Sheet-Pan Omelet Roll-Ups, a.k.a., your new favorite back-to-school lunch option (or breakfast—or both!). Here are a few reasons why I’m choosing eggs as a big part of my kids’ meals:
- Eggs are a nutritional powerhouse that contribute to health and well-being at every age and life stage (which is why my husband and I are eating these roll-ups, too!).
- One large egg contains 6 grams of high-quality protein, keeping you satisfied longer.
- At just 70 calories per large egg, eggs pack a protein punch while helping to build and maintain muscle and keep you feeling energized.
- Eggs are an excellent source of choline, an important nutrient for brain health and development (key for our kiddos!).
How to Make Sheet-Pan Omelet Roll-Ups
While you may never have made eggs like this before, trust me when I tell you that it couldn’t be easier—and might just be your new favorite method. Here is how you do it (P.S. be sure to scroll to the bottom of this post for the full recipe ingredient list and instructions):
- Step One: Prepare the pan. Spray a 13×9-inch rimmed sheet pan or ceramic/glass with cooking spray. Line the pan with parchment paper, pressing the paper firmly into the bottom and sides of the pan (this helps keep any egg from cooking underneath the parchment paper). Spray the parchment paper with cooking spray, as well.
- Step Two: Cook the egg. Whisk the milk and flour until no lumps remain, then whisk in the eggs, Dijon mustard (adds just the right amount of flavor and tang!), salt and pepper. Pour the egg mixture into the prepared pan, then bake in the center of the oven for about 8 to 10 minutes or until the egg is fully cooked through. To ensure food safety, eggs should be cooked to 160°F.
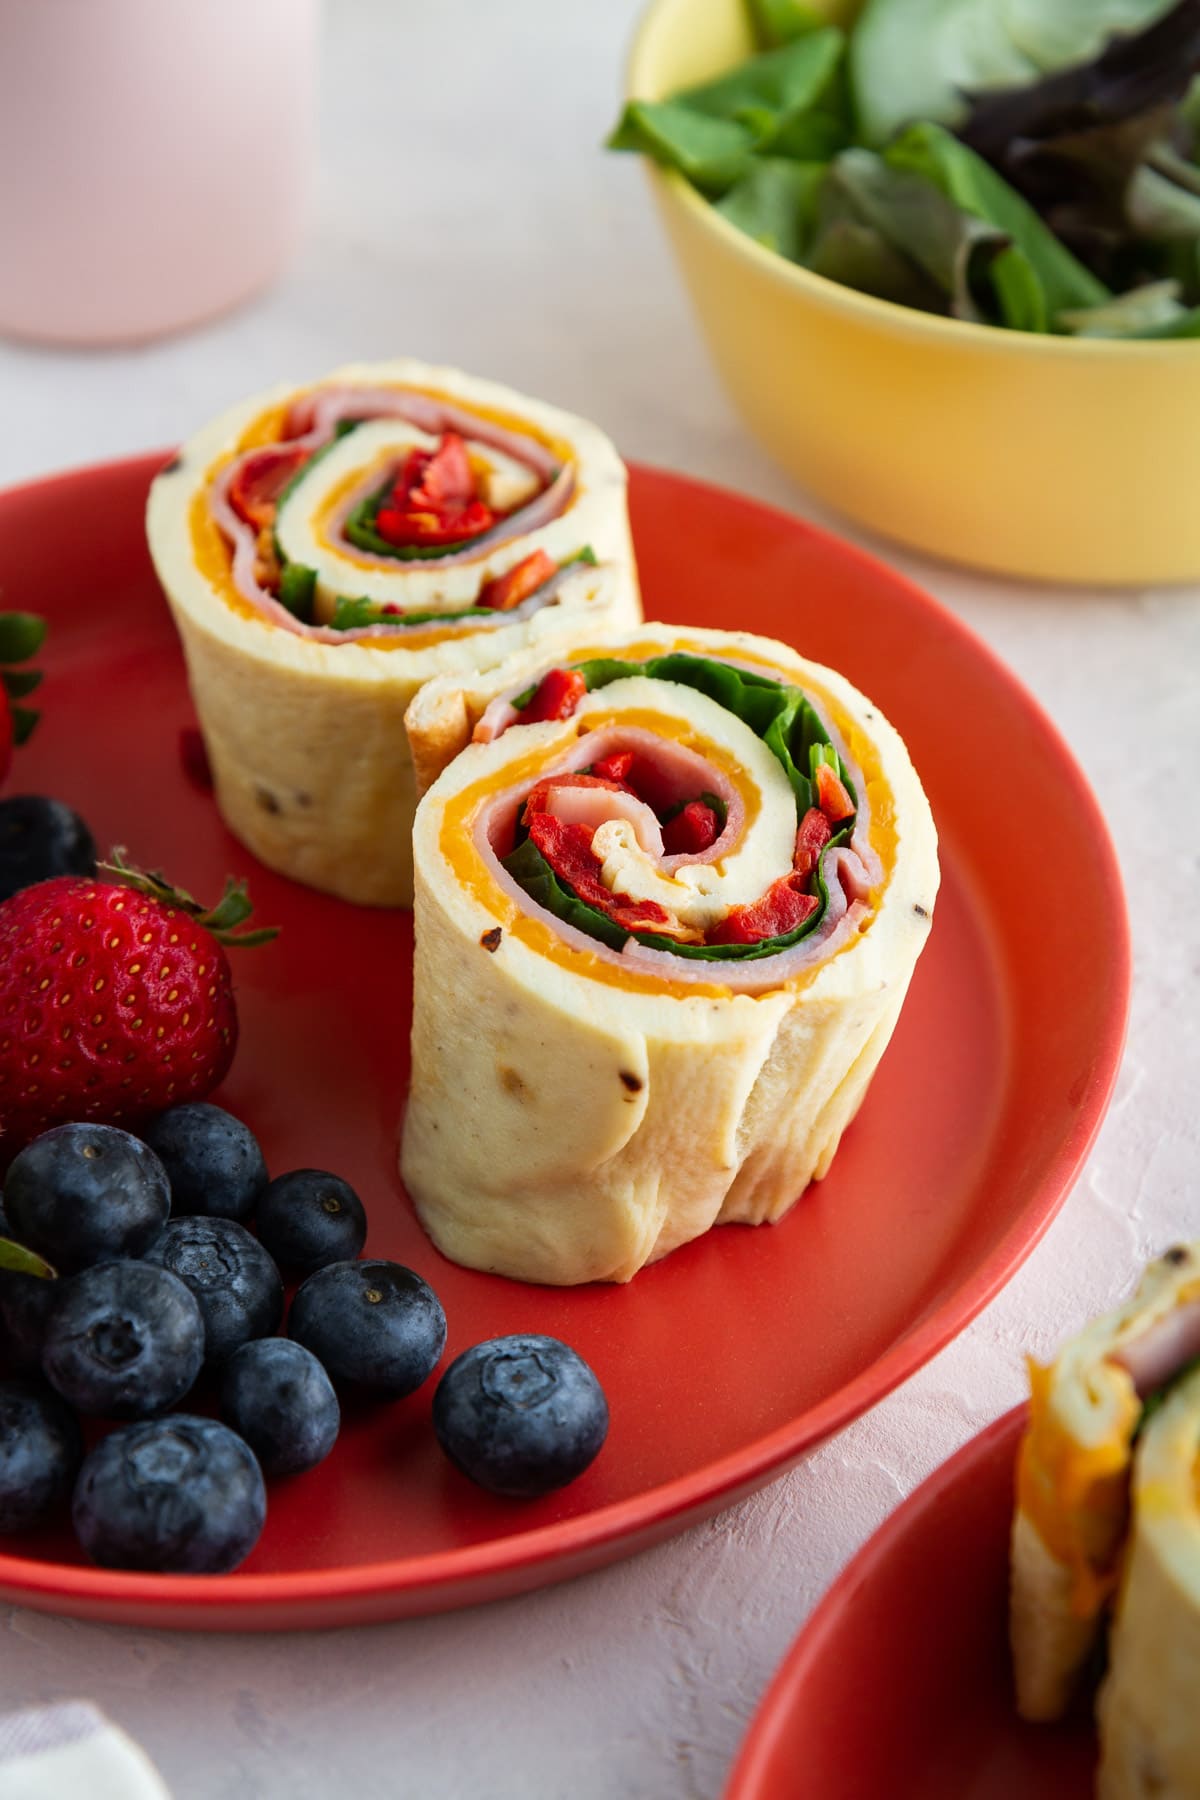
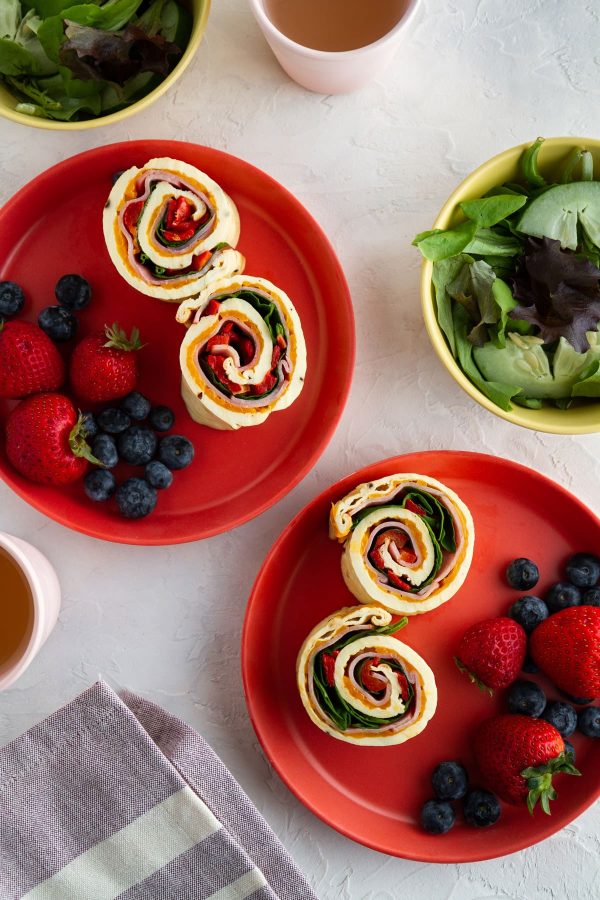
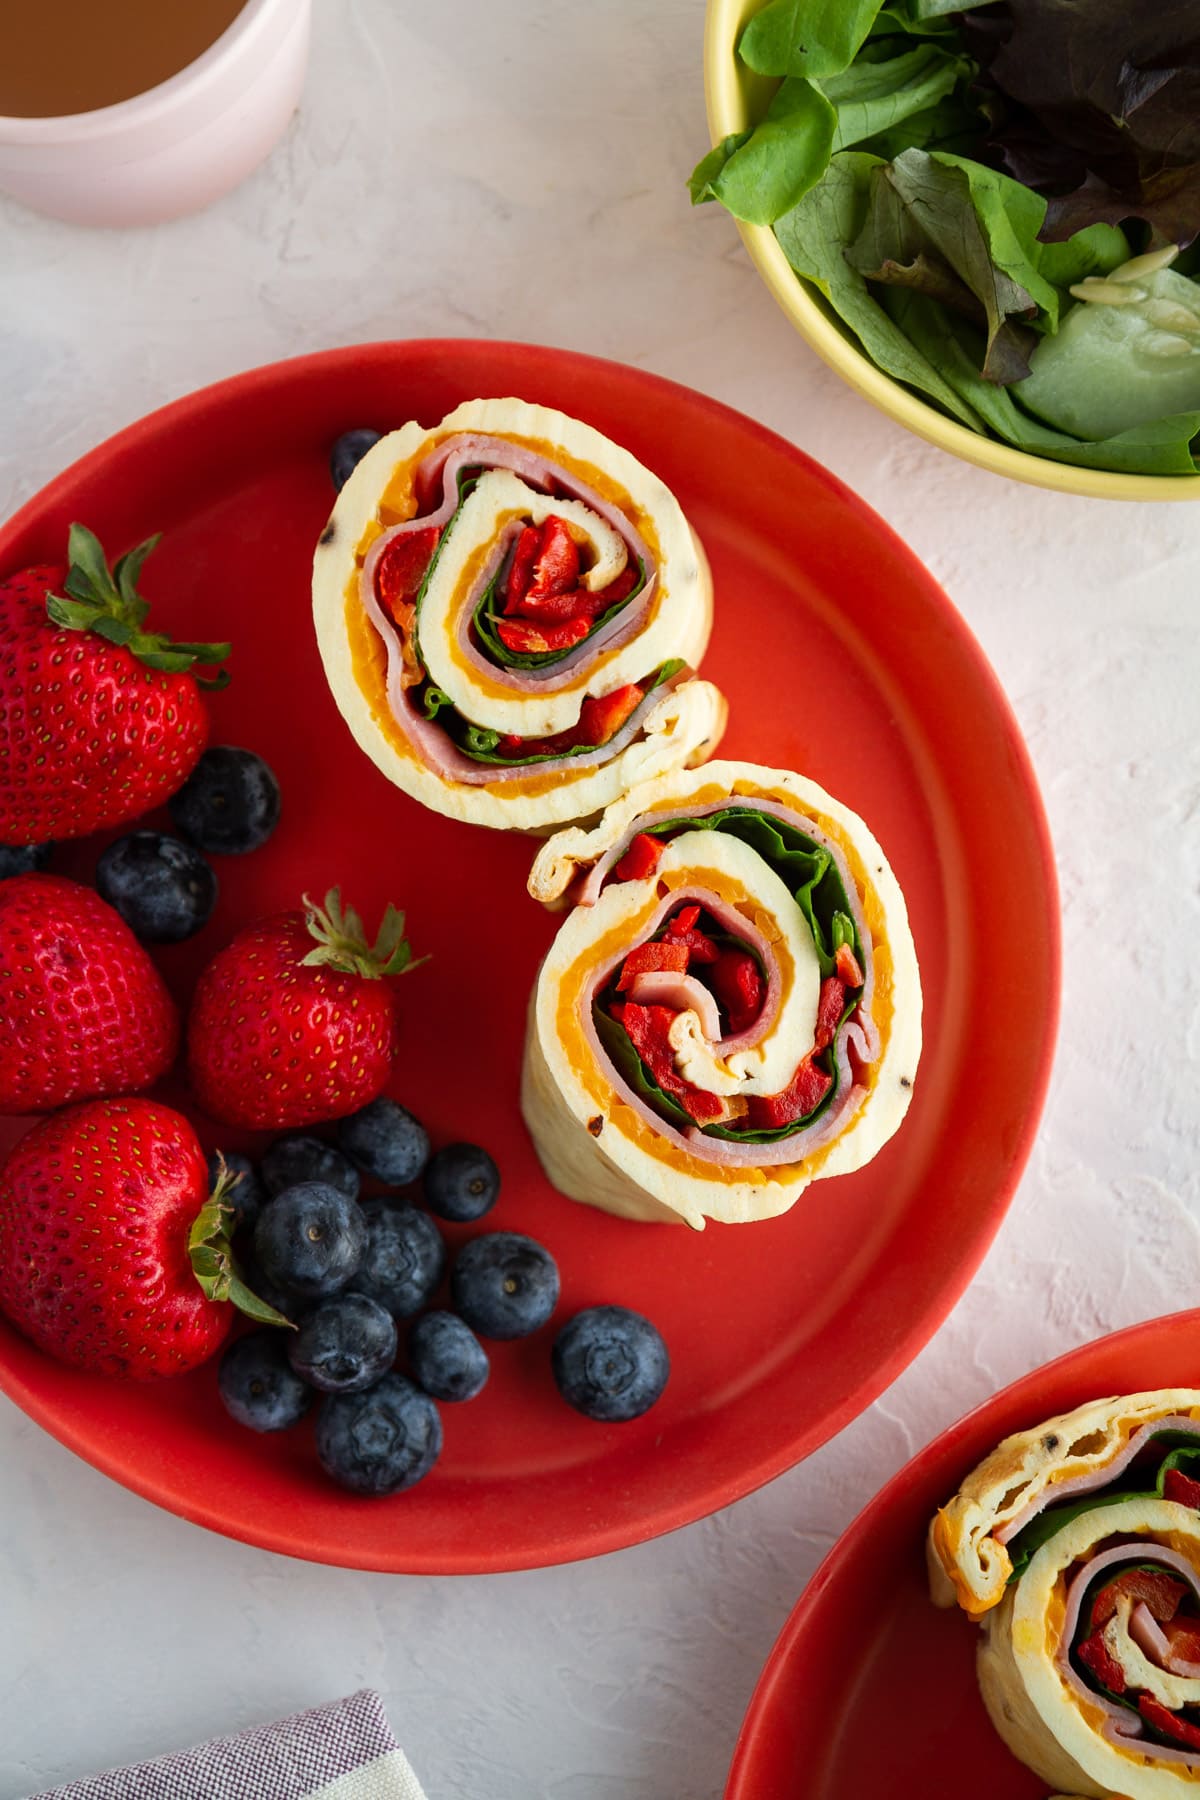
- Step Three: Assemble. Top the just-cooked omelet with cheese, so it melts slightly. Let the omelet cool a couple of minutes in the pan, then carefully transfer it to a cutting board. Top with ham, spinach and red pepper. Carefully and tightly roll up the still-warm omelet into a log, removing the parchment paper as you go.
- Step Four: Slice and serve. Allow the omelet to cool completely on the cutting board, then use a sharp, serrated knife to slice the omelet into rounds. Serve immediately, or pack into lunches for the next day!
Tips
I can’t stress enough how easy this recipe is to make (otherwise I wouldn’t recommend it to you for back-to-school, because we all know we don’t need any more added stress!), but of course, there are always a few extra tips to share to ensure success:
- For best results, generously spray the sheet pan with cooking spray, and make sure the parchment paper is “glued” to the sheet pan. The paper keeps the egg from sticking to the pan (and makes it easier to transfer the omelet from the pan to a cutting board), so it’s important to make sure there’s little chance of the egg leaking underneath the paper. I do not recommend swapping the parchment for aluminum foil, as results will not be the same.
- Prep the toppings ahead of time. Don’t wait until the omelet is cooked to chop up the peppers and shred the cheese. Since timing is key to roll up the omelet, you’re in good shape if you prep all the fillings beforehand.
- Roll up the omelet while it’s still warm. This is an important step to make sure the egg doesn’t crack as you roll it. The omelet should be warm enough to roll up easily, but not too hot that you can’t touch it with your hands. If you follow the recipe as written, you should be able to find the “sweet spot” where you can accomplish this step with ease.
- Feel free to use your own favorite toppings! Keep the topping amounts to around 1 1/2 cups total to avoid overstuffing the roll-ups. See the Recipe Notes for some of our favorite topping swaps.
I hope this recipe helps make your lunch prep just a little bit easier and stress-free—and keeps your kiddos happy and full while they’re away.
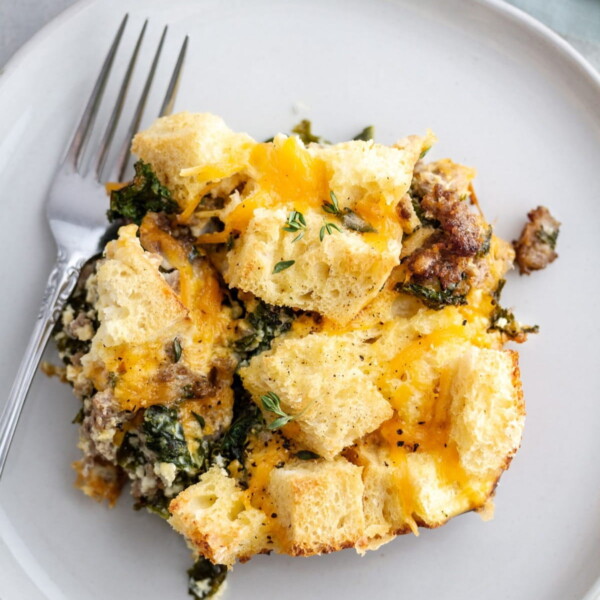
Recommended Breakfast Recipes

Breakfast & Brunch

Breakfast & Brunch
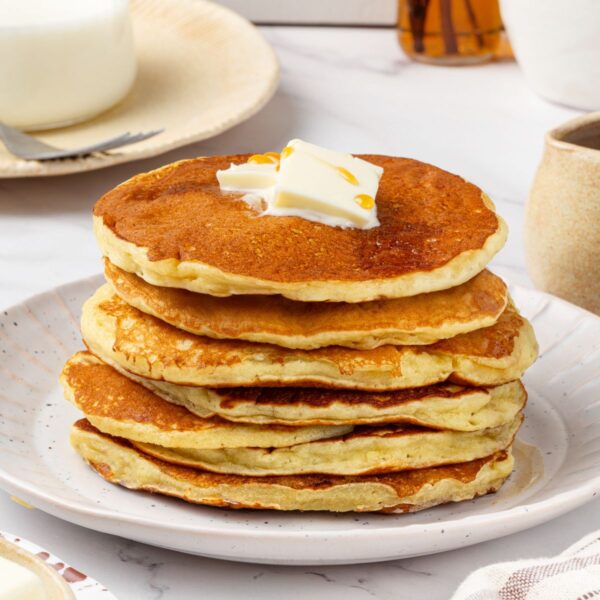
Breakfast & Brunch
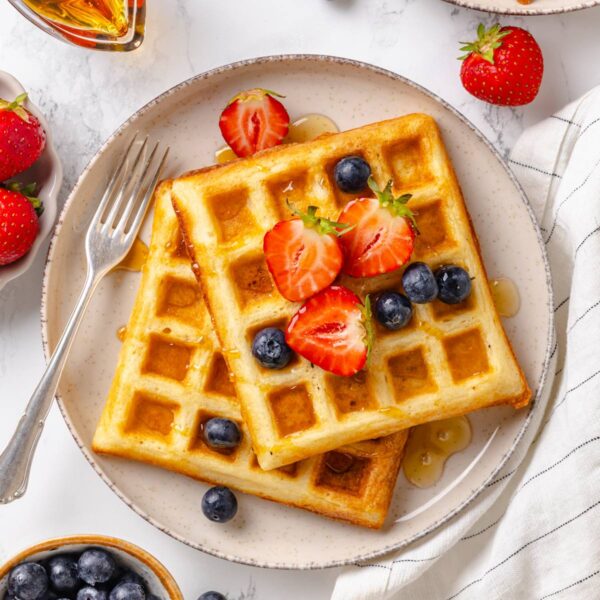
Breakfast & Brunch
If you enjoyed this recipe, please leave a star rating and let me know how it goes in the comments below! I love hearing from you and your comments make my day!
Omelet Roll Ups

Ingredients
For the egg mixture:
- ½ cup milk
- 3 tablespoons all-purpose flour
- 6 large eggs
- 2 teaspoons Dijon mustard
- ½ teaspoon salt
- ¼ teaspoon pepper
For the toppings:
- 1 cup shredded cheddar cheese
- 6 slices smoked deli ham
- 1 cup baby spinach leaves
- ⅓ cup roasted red pepper, chopped
Instructions
- Heat oven to 450°F. Generously spray a 13×9-inch rimmed sheet pan or glass/ceramic baking dish with cooking spray. Line with parchment paper, pressing the paper firmly into the bottom and sides of the pan (it should stick to all sides of the pan with the cooking spray; if it doesn’t, add more cooking spray). Spray parchment paper with cooking spray.
- First, make the egg mixture: In a large bowl, whisk together milk and flour until no lumps remain. Add eggs, Dijon mustard, salt and pepper; whisk until well-combined. Pour the egg mixture into the prepared pan, and carefully transfer to the oven. Bake for 8 to 10 minutes or until the omelet is fully cooked through (it may puff up in the center and on the sides, but will deflate as it cools). To ensure food safety, eggs should be cooked to 160°F.
- Next, add the toppings: Sprinkle cheese evenly over the top of the hot, cooked omelet. Cool 2 minutes in the pan to allow the cheese to melt and the omelet to cool slightly. Carefully, using parchment paper, transfer the omelet from the sheet pan to a cutting board or work surface, with parchment still underneath. Top omelet evenly with ham slices, baby spinach leaves and chopped red pepper.
- Finally, assemble the roll-ups: Starting from one long end, roll up still-warm omelet tightly into a log, seam side-down, removing parchment paper as you roll it up. Allow omelet to cool completely, about 20 minutes.
- Use a sharp, serrated knife to slice log into 8 equal-sized rolls. Serve immediately, or store in an airtight container in the refrigerator for up to 1 day before serving.
Notes
- Choose your own toppings! Use your favorite easy-to-melt cheese, swap the ham for cooked bacon, or add a small handful of finely chopped fresh veggies such as green onions, mushrooms, tomatoes, peppers, onions, etc.
- Use the tip of your fingernail to run along the edge of the parchment paper to help it stick firmly to the pan. This helps keep the egg from leaking underneath the parchment paper while baking.
Nutrition
Nutrition information is automatically calculated, so should only be used as an approximation.
 Like this recipe? Rate & comment below!
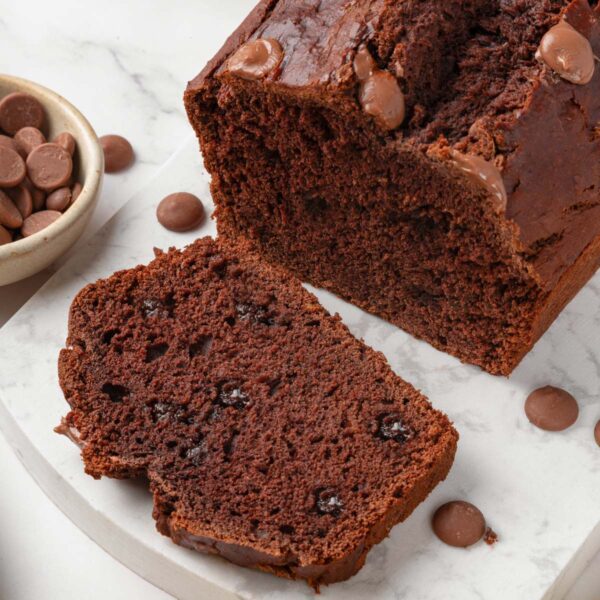


I don’t usually like omelets, but baking this in a sheet pan made it way easier. Rolling it up with ham and spinach gave me all the flavor without the floppy omelet texture I usually avoid. I ended up eating two slices straight off the cutting board and they were perfect warm.