
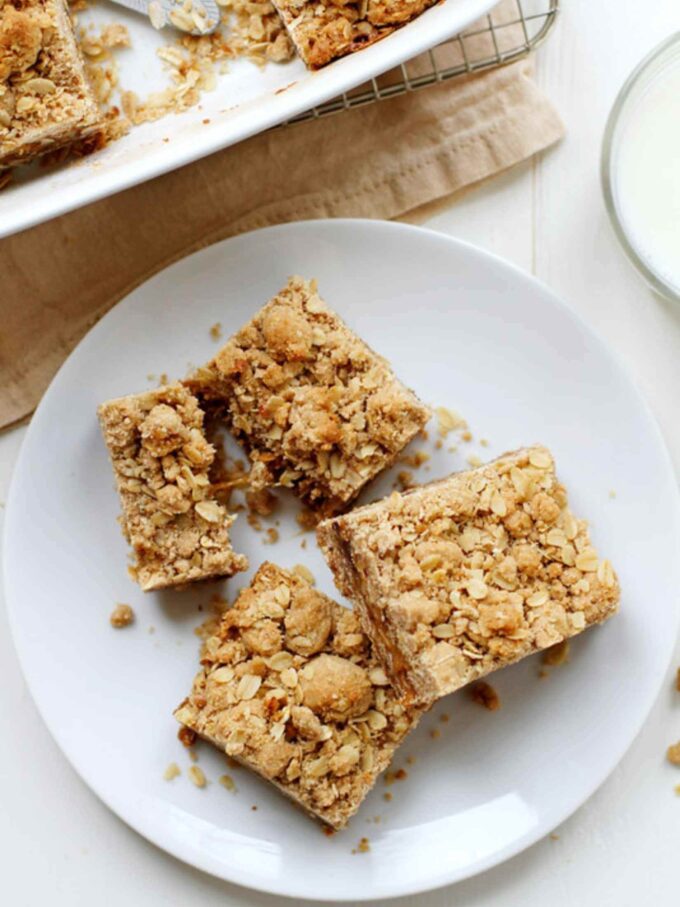
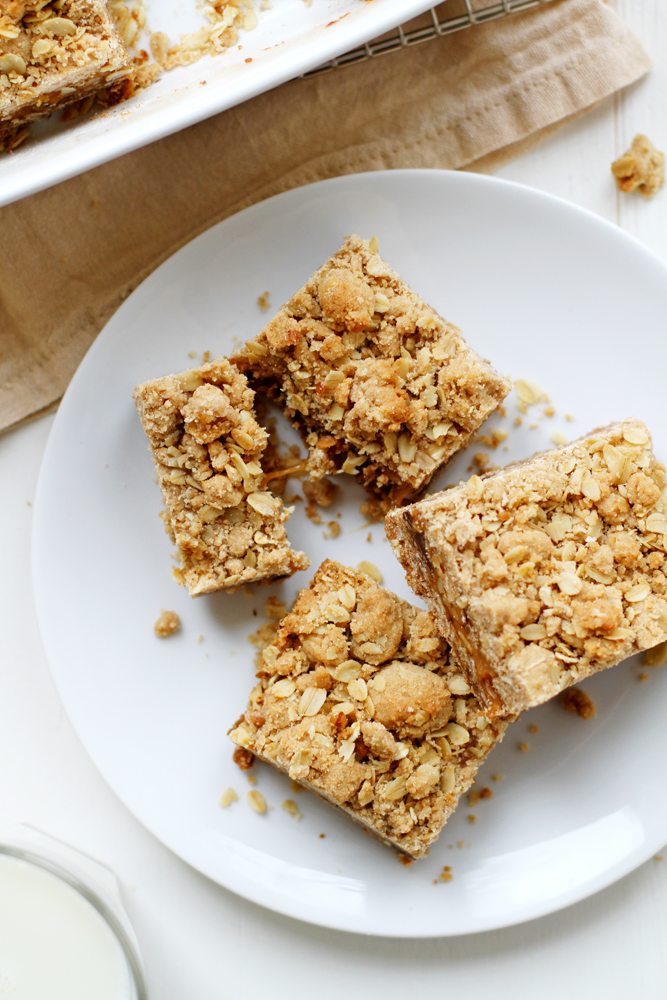
Carmelita bars are layered oat bars with a buttery crumble base, a gooey caramel-and-chocolate filling, and a golden oat topping baked right over it all. They come together in 45 minutes and slice cleanly after a short chill.

A Quick Look At The Recipe
This is a brief summary of the recipe. Jump to the recipe to get the full details.
Prep Time
20 minutes
Cook Time
25 minutes
Total Time
45 minutes
Servings
15 bars
Difficulty
Easy
Calories *
530 kcal per serving
Technique
Baked, one-bowl
Flavor Profile
Buttery, rich, caramel-sweet, nutty
* Based on nutrition panel
I made these for a potluck and came home with an empty pan. The trick of chilling them for the full two hours before cutting made such a clean difference — the layers held together perfectly. I absolutely loved how buttery it was with a perfect amount of caramel and chocolate.
⭐⭐⭐⭐⭐
Arianna
Why You Will Love This Recipe
- Ready in 45 minutes. These bars go from mixing bowl to oven in 20 minutes, with a 25-minute bake and a short chill before cutting. No complicated technique, no special equipment beyond a standard 13-by-9-inch pan.
- The layers hold together. Chilling the bars for at least 2 hours before cutting lets the caramel set, keeping the layers clean and distinct. Slice them straight from the fridge, and they come out in neat, sturdy bars.
- Toasted nuts add real texture. The chopped walnuts are toasted before they go in, which deepens their flavor and keeps them from getting soggy under the caramel. It is a small step that makes a noticeable difference in every bite.
- The oat base does double duty. The same buttery oat mixture forms both the base and the crumble topping, so you are only making one dough for the whole bar. Half gets pressed into the pan, the filling goes on, and the rest gets crumbled over the top. Just like with my raspberry crumble bars!
Oatmeal and caramel and chocolate all rolled into one decadent dessert bar? Yes please. That’s what you get when you bake these carmelitas — a double-layer of oatmeal cookie goodness sandwiching layers of smooth, chewy, ooey-gooey caramel, melted chocolate chips, and toasted nuts. It’s not even Christmas, and I’m already getting out my fat pants. I also love these Oatmeal Chocolate Chip Cookies!
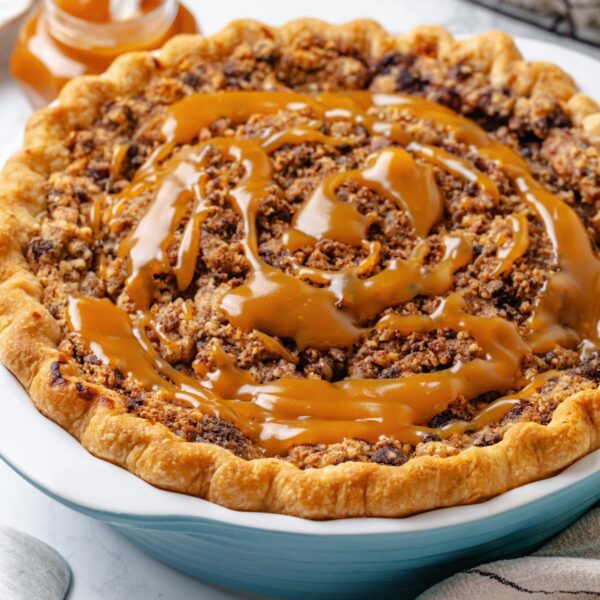
They are a natural fit for a holiday cookie tray or an afternoon bake when you want something a little more layered than a standard cookie, and if you are already a fan of chocolate and caramel together, try my gluten free brownies or make this caramel apple pie!
Ingredients & Substitutions
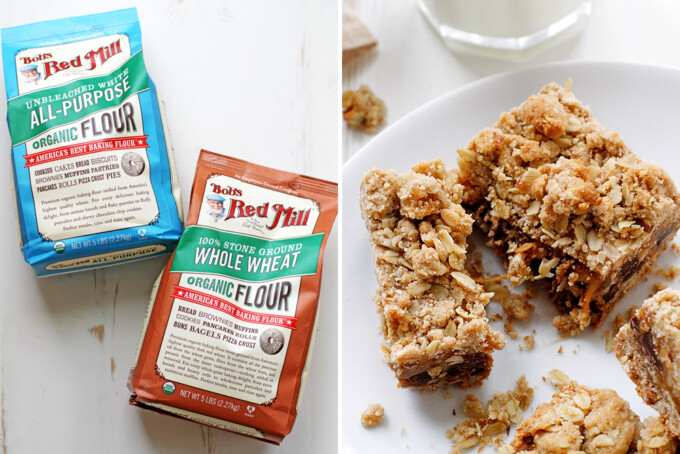
- All-Purpose Flour: This forms the base of the oat crust and crumble, giving the bars structure and a tender chew.
- Whole Wheat Flour: A portion of whole wheat adds a subtle nuttiness and depth to the crust that all-purpose flour alone can’t quite replicate. If you don’t have it on hand, you can use all-purpose flour instead.
- Baking Soda
- Salt
- Unsalted Butter: Creamed with the brown sugar, butter gives the crust its rich, shortbread-like quality.
- Light Brown Sugar: Packed brown sugar adds moisture and a warm, molasses-tinged sweetness to the crust. Dark brown sugar works if that’s what you have, though it will make the bars slightly richer and more molasses-forward.
- Old-Fashioned Rolled Oats: These create the signature chewy, hearty texture in the crust and topping. Don’t swap in quick oats, as they absorb moisture differently and the crumble layer will lose that satisfying bite. If you love an oat-forward bar, my chocolate chip oat bars should be your next bake!
- Caramel Candies: Melted with heavy cream, these form the gooey caramel filling at the heart of the bars. The instructions note that a homemade caramel sauce can be used in place of melted candies if you prefer to make your own.
- Heavy Cream
- Semisweet Chocolate Chips: Scattered over the par-baked crust, these melt slightly under the caramel layer and give each bar a bittersweet chocolate ribbon. Milk chocolate chips are a fine swap if you prefer a sweeter bar.
- Walnuts or Hazelnuts or Pecans: Toasted and chopped nuts add crunch and a slightly bitter contrast to the sweet caramel and chocolate layers. All three options are called for in the recipe, so use whichever you have or like best; just make sure they’re toasted first for the fullest flavor.
Variations for Carmelita Bars
- Change the chocolate. Swap the semisweet chocolate chips for dark, white, or bittersweet chips to adjust the contrast with the sweet caramel layer.
- Peanut Butter Swirl. Drop spoonfuls of creamy peanut butter over the chocolate chips before pouring the caramel, then use a knife to swirl it in lightly. The peanut butter melts into the caramel layer, adding a salty, nutty richness that pairs really well with the oat crust. If you love that chocolate-peanut butter combination, my revel bar recipe is another version worth trying.
- Coconut Caramel. Scatter a handful of sweetened shredded coconut over the chocolate chips along with the nuts before adding the caramel. The coconut toasts slightly during the second bake and adds a chewy, lightly caramelized layer to the filling.
Professional Tips for Perfect Carmelita Bars
- Press the first layer firmly. The bottom crust needs to be compact and even so it holds up under the caramel filling without crumbling when you cut the bars. Use the flat bottom of a measuring cup or a glass to press the dough layer into a uniform thickness across the entire pan, paying extra attention to the corners.
- Don’t rush the caramel. Keep the heat at medium-low and stir constantly the entire time the caramel and cream are melting. If the heat is too high, the caramel can scorch on the bottom or turn grainy, and there’s no fixing that once it happens.
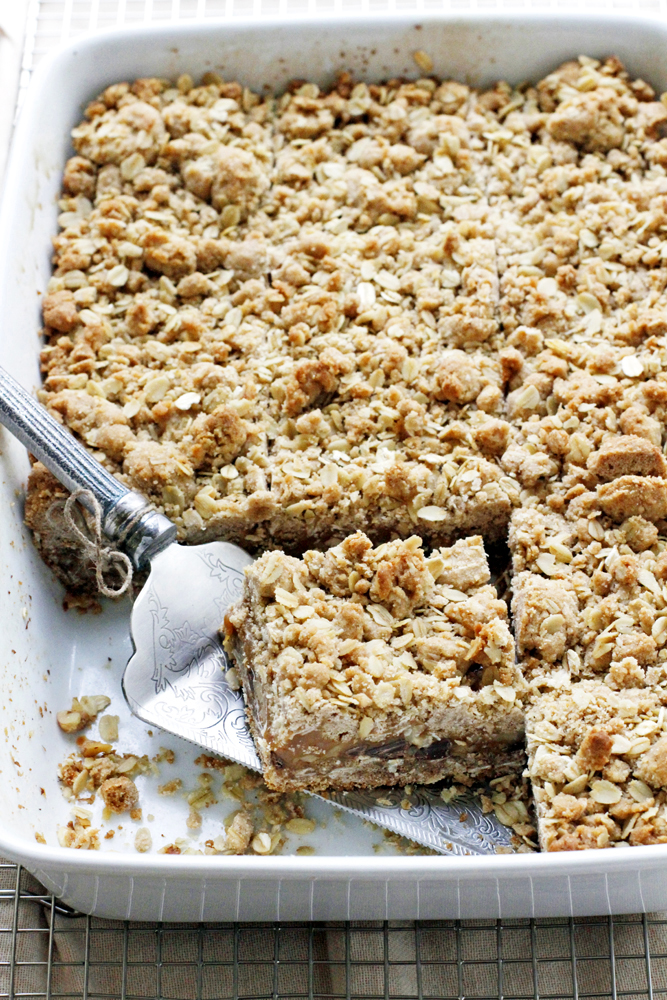
- Cool completely before cutting. The caramel filling needs the full 2-hour chill in the refrigerator to set properly. If you cut them warm or even at room temperature, the filling will ooze, and the layers won’t hold their shape, which is fine if you’re eating them straight from the pan but not great for clean bars.
- Crumble the topping; don’t press it. The remaining dough gets sprinkled over the caramel in uneven pieces, not packed down like the bottom layer. Leaving it loose gives you that crumbly, golden topping rather than a dense second crust.
How to Make Carmelita Bars
Use these step-by-step instructions to make buttery, gooey oat bars layered with caramel, chocolate, and toasted nuts. Further details and measurements can be found in the recipe card below.
Step 1: Prep the pan and heat the oven. Heat your oven to 350°F and lightly spray a 13-by-9-inch baking pan with cooking or baking spray.
Make Oat Base
Step 2: Whisk the dry ingredients. Whisk together the all-purpose flour, whole-wheat flour, baking soda, and salt in a large bowl until evenly combined. The mixture should look uniform with no streaks of baking soda, which can leave bitter spots if it isn’t fully distributed.
Step 3: Cream the butter and sugar. In a separate large bowl using an electric hand mixer, or in the bowl of a stand mixer, beat the room-temperature butter and packed brown sugar together on medium speed for about 2 minutes. The mixture should look noticeably lighter in color and feel fluffy rather than dense and greasy.
Step 4: Add the flour mixture and oats. Reduce the mixer speed to low and stir in the flour mixture until just combined. The dough will look a little crumbly and dry at this point, and that’s completely normal. Stir in the rolled oats until they’re evenly distributed throughout. The finished dough will be thick and slightly sticky, holding together when you press a bit between your fingers.
Par-Bake
Step 5: Press the first layer and par-bake. Press half of the oat mixture firmly and evenly into the bottom of the prepared pan. Use the flat bottom of a measuring cup to compact the dough into a uniform layer, pressing all the way into the corners so you don’t end up with thin edges that overbake. Slide the pan into the oven and bake for 10 minutes to set the base, and it should have a very light golden brown color on the edge.
Don’t rush this par-bake. The bottom crust needs those 10 minutes to firm up enough to support the caramel layer without soaking through. You want it to be puffed and fully matte.
Make Caramel
Step 6: Melt the caramel. While the crust is baking, combine the unwrapped caramel candies and heavy cream in a medium saucepan or skillet over medium-low heat. Stir constantly for 5 to 7 minutes until the caramels are fully melted and the mixture is smooth and glossy. Remove the pan from heat and let the caramel cool while the crust finishes baking.
Keep the heat low and don’t walk away from it. If the heat creeps too high, the caramel can scorch on the bottom or turn grainy, and there’s no recovering it once that happens.
Assemble and Bake
Step 7: Add the fillings. Scatter the chocolate chips and chopped, toasted nuts evenly over the par-baked crust as soon as it comes out of the oven. Pour the cooled caramel sauce evenly over the top, using a spatula to nudge it to the edges if needed. The caramel will pool and settle into any gaps, which is exactly what you want.
Let the caramel cool for a few minutes before pouring so it doesn’t push the chocolate chips around or immediately melt into the crust
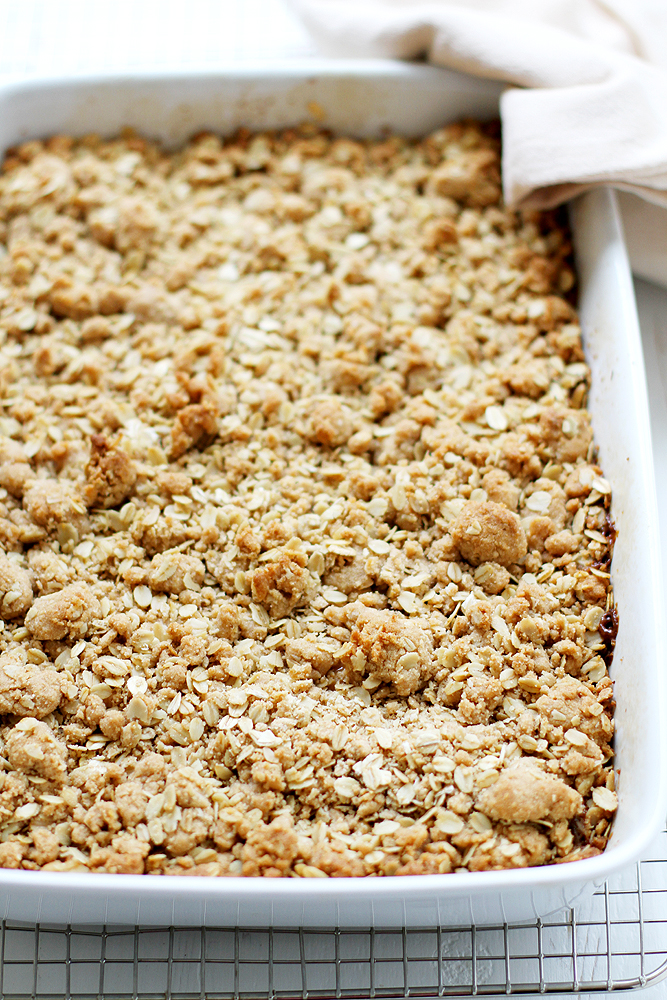
Step 8: Crumble the top layer and bake. Take the remaining oat dough and crumble it as evenly as possible over the caramel layer, covering the surface without pressing it down. The crumbled pieces don’t need to be perfectly uniform — some larger chunks and some smaller bits are how it should look. Bake for 15 to 20 minutes, until the top is lightly golden brown and the center looks set rather than wet or shiny.
Step 9: Cool and chill before cutting. Transfer the pan to a cooling rack and let it cool completely at room temperature. You can chill them in the fridge for up to 2 hours before slicing.
Use a sharp knife and wipe it clean between cuts for the neatest bars. And don’t go over the two hours; if the caramel sets too hard, they can be very hard to cut. You want to hit the sweet spot. I personally always err on the side of slightly warm rather than struggling to slice them.
Recipe FAQs
Store carmelita bars in an airtight container in the refrigerator for up to one week. Because of the caramel layer, they hold their shape best when kept cold, and they slice cleanly straight from the fridge. You can also freeze them in a single layer, then transfer to a freezer bag for up to two months.
Yes, a homemade caramel sauce works well here. You’ll want it thick enough to hold its shape in the bar, so a thinner sauce may need to be reduced slightly before use. Use roughly the same volume as the melted candy mixture to keep the caramel-to-dough ratio balanced.
The caramel needs to cool fully before the bars can hold their shape when sliced. If the pan is still warm, the caramel is still molten and will run the moment you cut through it. Cool the slab to room temperature, then lift it out with the parchment, and cut it on a flat surface.
Recommended Caramel Recipes!

Halloween
Pies & Tarts

Pies & Tarts

Gluten-Free
Carmelita Bars
Ingredients
- 1 cup all-purpose flour
- 1 cup whole wheat flour
- 1 teaspoon baking soda
- ¼ teaspoon salt
- 1 cup unsalted butter, room temperature
- 1 ½ cups light brown sugar, packed
- 2 cups old-fashioned rolled oats
- 14 ounces caramel candies, unwrapped or homemade salted caramel sauce
- ⅓ cup heavy cream
- 1 cup semisweet chocolate chips
- ¾ cup walnuts , or pecans toasted and chopped
- ¼ cup hazelnuts, toasted and chopped
Instructions
- Heat oven to 350°F. Lightly spray a 13-by-9-inch baking pan with cooking spray.
- Whisk both flours, baking soda, and salt together in a large bowl.
- In a separate large bowl, cream butter and brown sugar on medium speed for 2 minutes until light and fluffy. Reduce speed to low and stir in the flour mixture until just combined, then stir in the rolled oats.
- Press half of the oat mixture firmly and evenly into the bottom of the prepared pan. Bake 10 minutes to set.
- While the base bakes, combine caramel candies and heavy cream in a medium saucepan over medium-low heat. Stir constantly for 5 to 7 minutes until fully melted and smooth. Remove from heat and let cool slightly.
- Scatter the chocolate chips and chopped nuts evenly over the par-baked crust. Pour the caramel sauce evenly over the top, spreading with a spatula if needed. Crumble the remaining oat dough evenly over everything.
- Bake 15 to 20 minutes until the top is lightly browned. Cool completely on a wire rack, then cover and refrigerate for up to 2 hours before cutting into bars.
Notes
Technique: Press the first layer of oat dough firmly and evenly into the pan so it forms a solid base. A loose, uneven crust will break apart when you cut the chilled bars.
Storage: Store in an airtight container in the refrigerator for up to one week. To freeze, arrange bars in a single layer first, then transfer to a freezer bag for up to two months.
Nutrition
Nutrition information is automatically calculated, so should only be used as an approximation.
 Like this recipe? Rate & comment below!
Before You Go
If these carmelita bars have you in the mood to keep baking, there is plenty more where that came from. Browse our Dessert Recipes or try this brookie recipe next!




I made these for a potluck and came home with an empty pan. The trick of chilling them for the full two hours before cutting made such a clean difference — the layers held together perfectly. I absolutely loved how buttery it was with a perfect amount of caramel and chocolate.
An empty pan is the only acceptable way to come home from a potluck! So glad those layers held together perfectly and that everyone loved them. ~GVD team