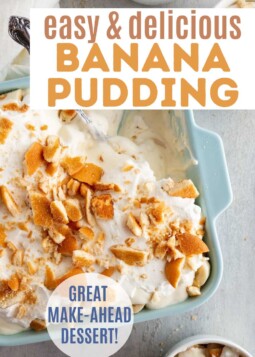
What do you get when you combine homemade vanilla pudding, fresh sliced bananas, pillowy whipped cream and sweet vanilla wafers? This easy and delicious banana pudding recipe! If you’re looking for a low-stress, no-bake, make-ahead dessert, this layered creation is the perfect choice. From BBQs to family dinners, this banana pudding is always a great way to end the meal.

Table of Contents
Banana Pudding Recipe
I cannot believe that it is 2021 and this is my first time ever making banana pudding — WHERE has this been all my life? If you’ve never had the pleasure of enjoying spoonful after spoonful of layered vanilla pudding, bananas, Nilla wafers and whipped cream, now is the time, my friends. Everything in this dish is so easy to make, and it all comes together to make a fuss-free dessert that’s perfect for literally any occasion.
Here’s what you can look forward to when you make this recipe:
- A simple, delicious vanilla pudding made from scratch
- Fresh banana flavor throughout
- Cloud-like layers of homemade whipped cream
- Sweet vanilla flavor and cookie texture from the Nilla wafers (or whatever cookies you choose — see Recipe Notes for ideas!)
Ingredients
This recipe is very pantry-friendly (especially if you have kids, like me, who survive on a steady supply of bananas and Nilla wafers, ahem), but as always, we want to use the best possible (and correct!) ingredients in order for this dessert to shine in every spoonful. Here’s what you’ll need:
- Sugar, for sweetness (duh)
- Cornstarch, to help thicken the pudding
- Salt
- Large egg
- Milk (please use whole milk or 2% — save the skim/1% for your cereal!)
- Unsalted Butter
- Vanilla extract
- Ripe bananas: About 5 large or 6 medium bananas are perfect here. You’ll want just spotted or bright yellow bananas. Save those extra ripe bananas for banana bread muffins, vegan banana bread or banana bars with cream cheese frosting.
- Sweetened condensed milk
- Cream cheese, for added creaminess and tanginess in the pudding
- Heavy cream, to make the whipped cream
- Nilla wafers, for layering in the pudding and for topping (and for snacking as you go, obvi)
How to Make Banana Pudding from Scratch
First things first: Do NOT be intimidated by the idea of making your own pudding from scratch! Trust me, it is so easy and 100% worth it, and it tastes much better than the instant variety. Otherwise, the rest of this recipe is even easier — the hardest part, really, is waiting for everything to chill and set before devouring it!
Let’s take this step by step:
- Step One: Make the vanilla pudding. In a medium saucepan, cook the sugar, cornstarch, salt, egg and milk until the mixture boils, then thickens. Stir in the vanilla and butter, then chill the mixture while you prepare more ingredients.
- Step Two: Finish the pudding. Chop one banana into pieces, then set aside. In a small bowl, whisk the sweetened condensed milk and cream cheese until smooth. Fold the mixture into the pudding along with the bananas. Return the pudding to the fridge to set for an hour.
- Step Three: Make the whipped cream. Beat the heavy cream in a bowl until stiff peaks form. You want the cream to be pretty stiff so it holds up well in the pudding, so better to over-beat than under-beat.
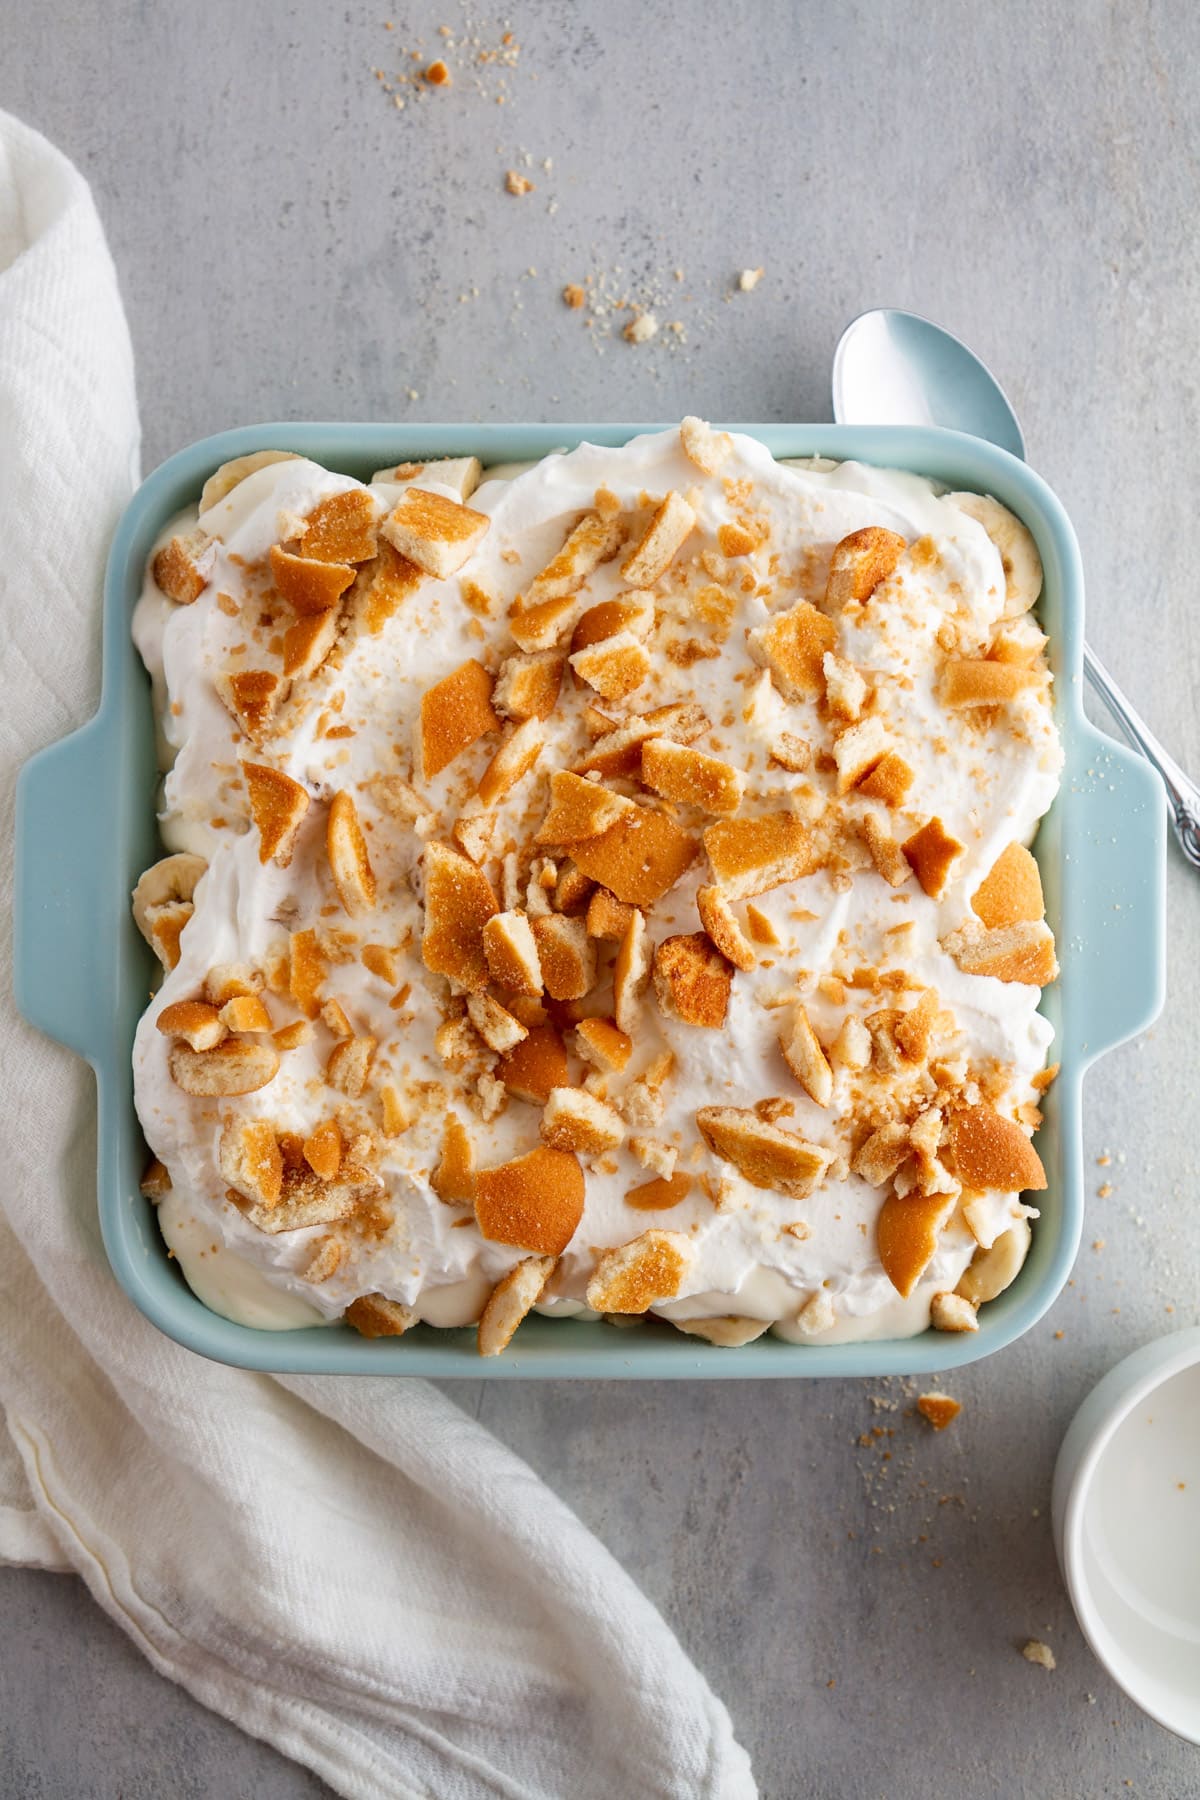
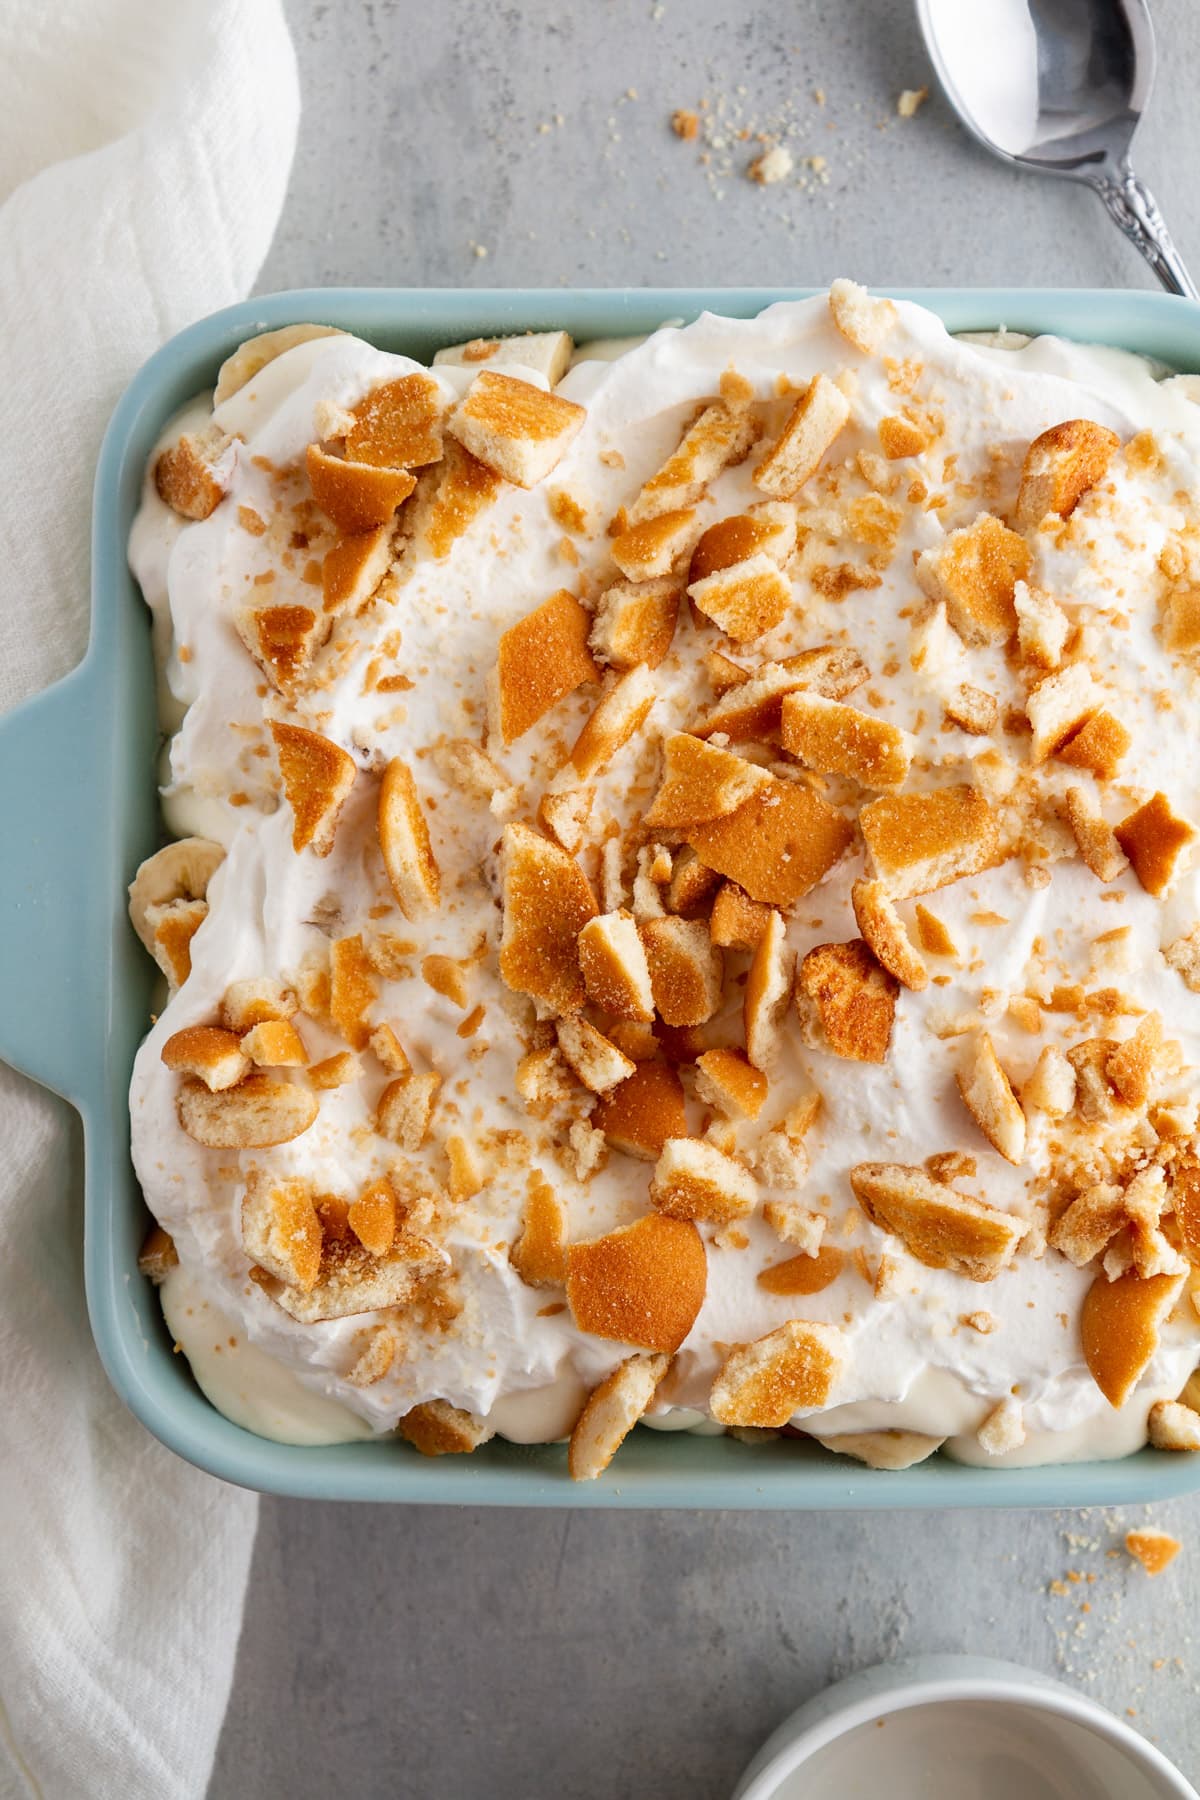
- Step Four: Assemble the layers. Fold some of the whipped cream into the chilled pudding. Spread some of the pudding mixture into a baking dish, then top with Nilla wafers and bananas. Top with more pudding, Nilla wafers and bananas. Finish off with the remaining pudding, whipped cream, and crushed Nilla wafers.
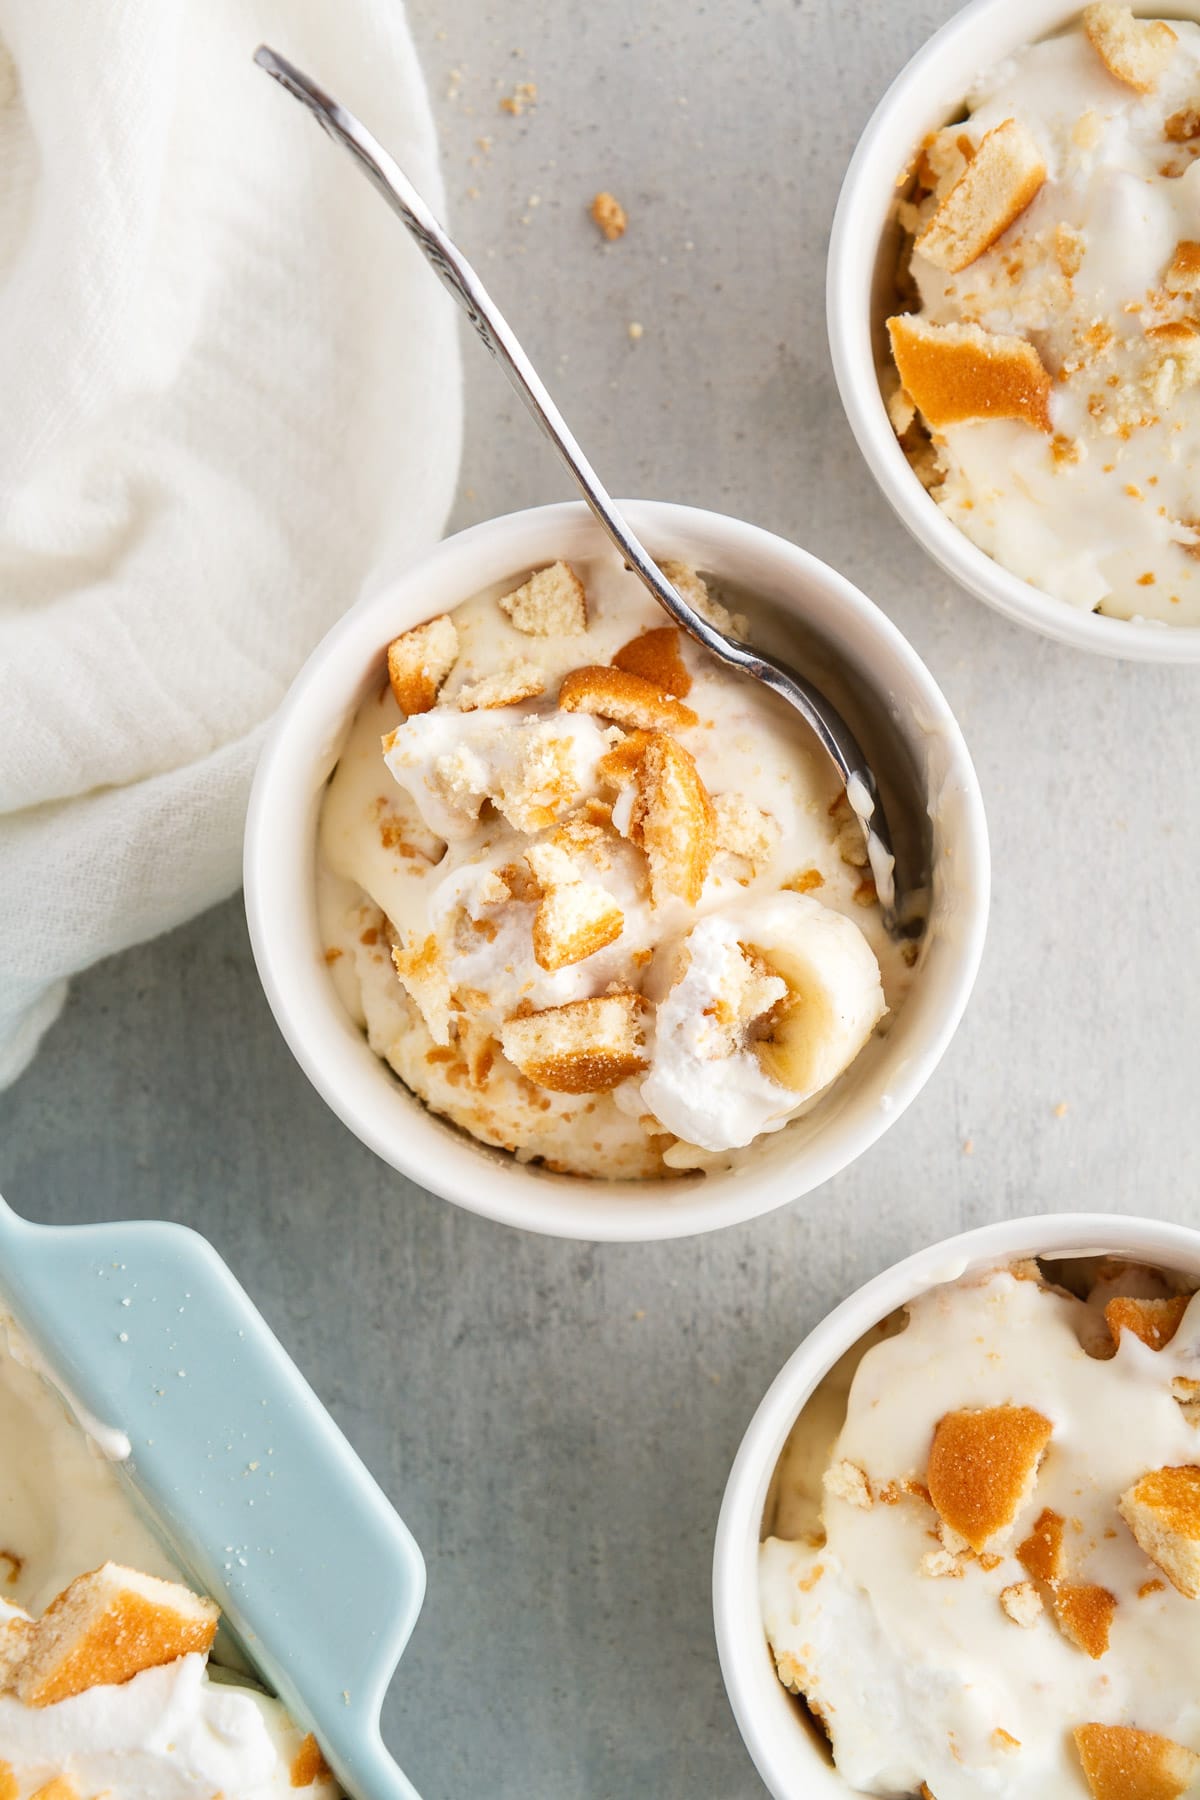
- Step Five: Cover and chill the pudding for at least 6 hours, up to 3 days. Serve in bowls and watch it disappear.
How Long Does Banana Pudding Last?
As stated in the recipe, you can make this banana pudding up to 3 days ahead of time. The only thing that will change about the recipe over time is that any exposed bananas may turn slightly brown, and the wafers will continue to soften. I love to serve this banana pudding after an overnight chill in the fridge, but really, any time within 3 days works for this recipe.
How Can I Keep the Bananas From Browning for Banana Pudding?
Honestly, the browning doesn’t bother me and doesn’t change the taste of the recipe, but I totally get it if it bothers you! You can spritz or brush the bananas with a tiny bit of citrus juice (such as lemon or orange) before layering, and that will help keep them from browning. Just be sure to use a little bit so the citrus doesn’t affect the flavor of the pudding.
Best Wafers to Use
As stated in the recipe, my favorite wafers to use in banana pudding are Nilla wafers, because they are easy to find and yield a sweet vanilla flavor in the recipe. However, you can make many different swaps as you like! Some other wafers/cookies to use that come to mind: shortbread, butter cookies, Golden Oreos, even graham crackers!
With the clock winding down on summertime, I say bring this banana pudding to any and every barbecue or picnic or dinner party you’ve got planned from now until fall (and honestly, I’d even eat this in the cold months, it’s that good). Enjoy!
This recipe is as classic as these banana bread muffins!
Recommended Banana Dessert Recipes
Cookie Recipes

Pies & Tarts

Brownies & Bars
Pies & Tarts
If you enjoyed this recipe, please leave a star rating and let me know how it goes in the comments below! I love hearing from you and your comments make my day!
Banana Pudding

Ingredients
- 2 tablespoons granulated sugar
- 1 tablespoon cornstarch
- ¼ teaspoon salt
- 1 egg
- ¾ cup milk
- 1 tablespoon butter
- ¾ teaspoon vanilla
- 5 bananas, ripe, divided
- ¾ cup sweetened condensed milk
- ½ cup cream cheese, softened
- 1 ½ cups heavy cream
- 32 Nilla wafers, plus more for topping (from one 11-oz box)
Instructions
- In a medium saucepan, whisk together sugar, cornstarch and salt. Whisk in egg and milk, then heat mixture over medium-high heat. Bring mixture to a boil, whisking constantly, then reduce heat to medium. Cook 1 minute more, whisking constantly, until mixture is thickened.
- Remove from heat; whisk in butter and vanilla until pudding is smooth. Use a spatula to transfer pudding to a large bowl; chill in the fridge, uncovered, while you prep the next step.
- Peel 1 banana and chop into 1/2-inch pieces; set aside. In a small bowl, whisk sweetened condensed milk and cream cheese until mixture is smooth.
- Fold banana and milk-cream cheese mixture into pudding with a spatula until just combined. Return to the fridge and chill for 1 hour, uncovered. The pudding will still be quite loose at this point, but that’s OK!
- Once the pudding is chilled, prep the heavy cream: In a large bowl using an electric hand mixer or in the bowl of a stand mixer with the paddle attachment, beat heavy cream on medium speed to stiff peaks (better to make it too stiff than too loose). Fold two-thirds of whipped cream into chilled pudding; set remaining whipped cream aside.
- Slice remaining 4-5 bananas into 1/2-inch thick rounds. Set aside a large handful of Nilla wafers.
- In the bottom of an 8×8-inch dish, spread one-third of pudding mixture in an even layer. Top with 16 Nilla wafers, evenly spaced apart. Top with half of sliced bananas. Repeat layers again, using half of remaining pudding. Top with remaining pudding and reserved whipped cream.
- Coarse chop reserved handful of Nilla wafers; sprinkle evenly over top of whipped cream in dish. Cover pudding loosely with plastic wrap and refrigerate for at least 6 hours before serving.
- Store covered in refrigerator for up to 3 days.
Notes
- Recipe adapted from Bon Appetit.
- Swap Nilla wafers for shortbread, butter cookies, maybe even Golden Oreos?
- Don’t be intimidated by the homemade pudding! It is so, so easy to make, and tastes infinitely better than anything from a box.
Nutrition
Nutrition information is automatically calculated, so should only be used as an approximation.
 Like this recipe? Rate & comment below!


I love love love lightening the pudding with cream cheese, sweetened condensed milk, and whipped cream. It adds a wonderful flavor. I love having a simple dessert with such elevated flavor.