
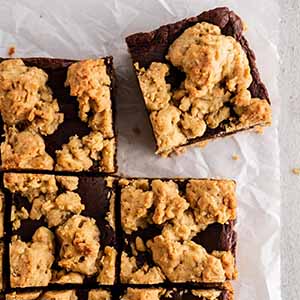
This revel bar recipe layers a chewy peanut butter oat cookie dough with a rich, melted chocolate filling, all baked together in one pan. It makes 24 bars in just 40 minutes.

A Quick Look At The Recipe
This is a brief summary of the recipe. Jump to the recipe to get the full details.
Prep Time
15 minutes
Cook Time
25 minutes
Total Time
1 hour 40 minutes
Servings
24 bars
Difficulty
Easy
Calories *
396 kcal per serving
Technique
Baked, one-bowl
Flavor Profile
Chewy, chocolaty, peanut buttery, lightly sweet
* Based on nutrition panel
I made these for a bake sale and as soon as the word got out on how good they were they were gone! The chocolate layer stays so fudgy even after the bars cool completely, which I wasn’t expecting from a bar this simple to put together.
⭐⭐⭐⭐⭐
Renea
Why You Will Love This Recipe
- One pan, no fuss. Everything bakes in a single 13×9-inch pan, which keeps cleanup minimal. You press the dough in, pour the chocolate layer on top, crumble the rest, and bake.
- Ready in 40 minutes. The prep takes just 15 minutes, and the bars bake in 20 to 25 minutes. There’s no chilling, no resting, no waiting around.
- A fudgy chocolate layer that sets perfectly. The filling is made by melting chocolate chips with peanut butter and sweetened condensed milk on the stovetop, which gives it a dense, silky texture that holds its shape once the bars cool.
- Two textures in every bite. The base and topping are a chewy oat cookie dough, and the middle stays rich and soft from the chocolate layer. If you love that combination, my Carmelitas Bars use a similar layered approach with a caramel filling instead.
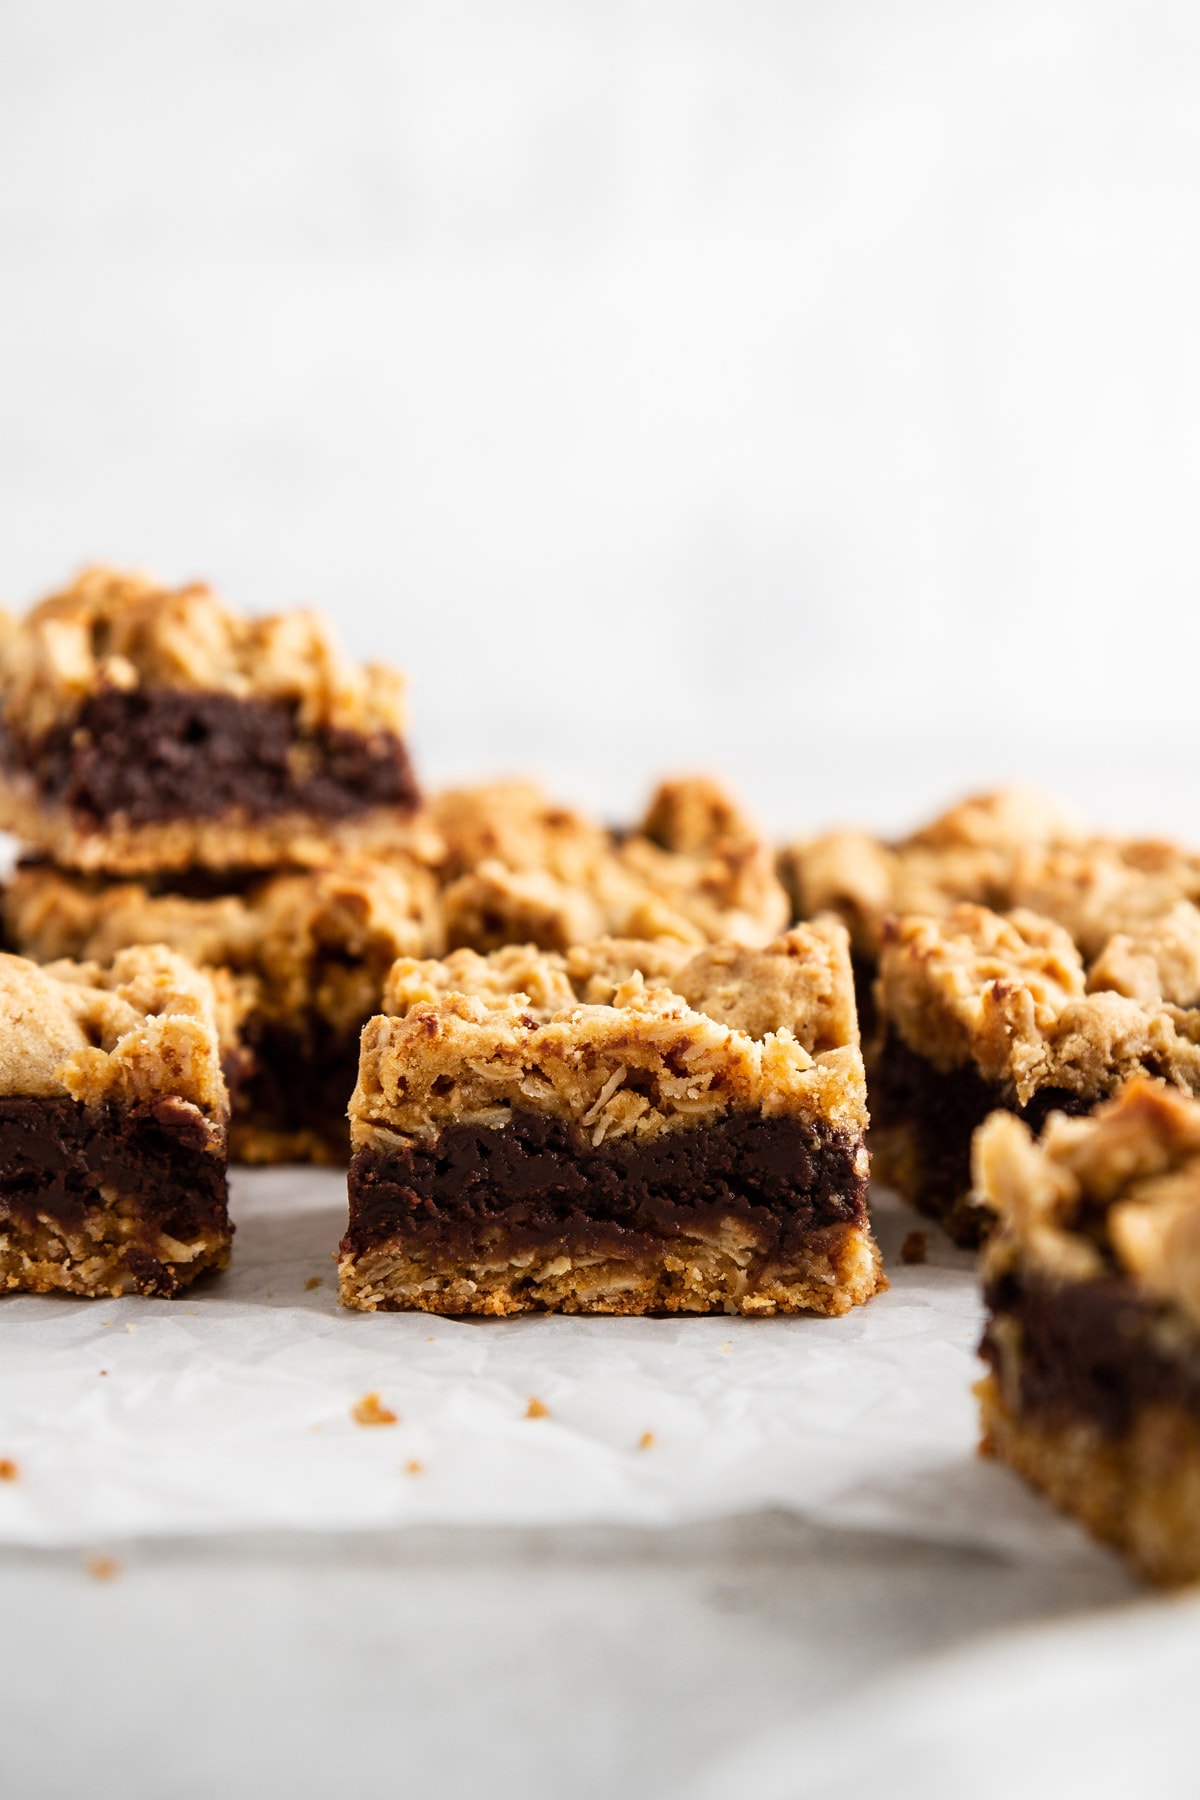
What are revel bars, you ask? Only one of the best dessert bars you’ll ever make! A layer of peanut butter-oatmeal cookie dough is topped with a thick, ganache-like layer of chocolate-peanut butter fudge and finished off with more crumbled cookie dough on top before all baking together into one ooey-gooey, seriously delicious treat! You don’t want to sleep on this one, friends.
They’re equally at home on a holiday cookie tray or cut into squares for an afternoon snack with a cup of coffee. If you love chocolate and oat bar combinations, my chocolate chip oat bars and these peanut butter no bake cookies should be your next bake!
Ingredients & Substitutions
- Unsalted Butter
- Creamy Peanut Butter: It works in two places here: a small amount goes into the cookie dough for flavor, and a larger amount goes into the chocolate layer to help it melt smoothly and set with a fudgy consistency. Use a standard creamy peanut butter (like Jif or Skippy) rather than natural peanut butter, which can separate and make the chocolate layer greasy. If you love the flavor of peanut butter in baked goods, you will love my Chewy Peanut Butter Cookies!
- Brown Sugar: It sweetens the cookie dough and adds a subtle molasses depth that balances the chocolate layer. Light or dark brown sugar both work here.
- Eggs: They bind the cookie dough and give it enough structure to hold up under the chocolate layer and the crumbled topping. Add them one at a time and scrape down the bowl after each addition so the batter stays smooth.
- Vanilla
- Old-Fashioned Rolled Oats: They give the cookie layer its characteristic chew and a slightly nutty, hearty texture throughout the bars. Don’t substitute quick oats here; they absorb moisture differently and the texture won’t be the same.
- All-Purpose Flour
- Baking Soda: It provides a small amount of lift in the cookie layer so it bakes up light rather than dense and heavy.
- Semisweet Chocolate Chips: They melt together with the peanut butter and sweetened condensed milk to form the fudgy chocolate filling in the center.
- Sweetened Condensed Milk: This is what makes the chocolate layer so thick, glossy, and fudgy rather than just melted chocolate. It’s also what keeps that layer from hardening completely when the bars cool, which is why the texture stays soft and rich all the way through. Don’t substitute evaporated milk; it doesn’t have the sugar content needed to give the filling that signature fudge-like consistency. If you have extra, you should make these key lime pie bars next!
Variations for Revel Bars
- Dark Chocolate Layer: Swap the semisweet chocolate chips for dark chocolate chips or bittersweet to get a deeper, less sweet filling that holds its own against the peanut butter. The condensed milk still keeps the layer fudgy, so the texture stays the same.
- Almond Butter Version: Replace the peanut butter in both the cookie layer and the chocolate layer with creamy almond butter. The filling will be slightly less rich but still fudgy, with a milder, more delicate flavor throughout.
- S’mores Revel Bars: Press a layer of mini marshmallows over the chocolate filling before adding the crumbled cookie topping on top. The marshmallows melt into the chocolate layer as it bakes and give you that toasted, gooey quality — similar to what I do in my S’mores Blondies.
Professional Tips for Perfect Revel Bars
- Press the base layer firmly and evenly. The bottom cookie layer needs to be packed down into an even, compact surface before you pour the chocolate over it. If it’s uneven or too loose in spots, the chocolate will pool in the low areas, and you’ll get thick, gooey patches next to dry, crumbly ones.
- Keep the heat low when making the chocolate layer. The peanut butter, chocolate chips, and condensed milk can scorch quickly if the heat is too high. Stir constantly over low heat and pull the pan off the burner as soon as everything is melted and combined, which is fine — the residual warmth will smooth out any last lumps.
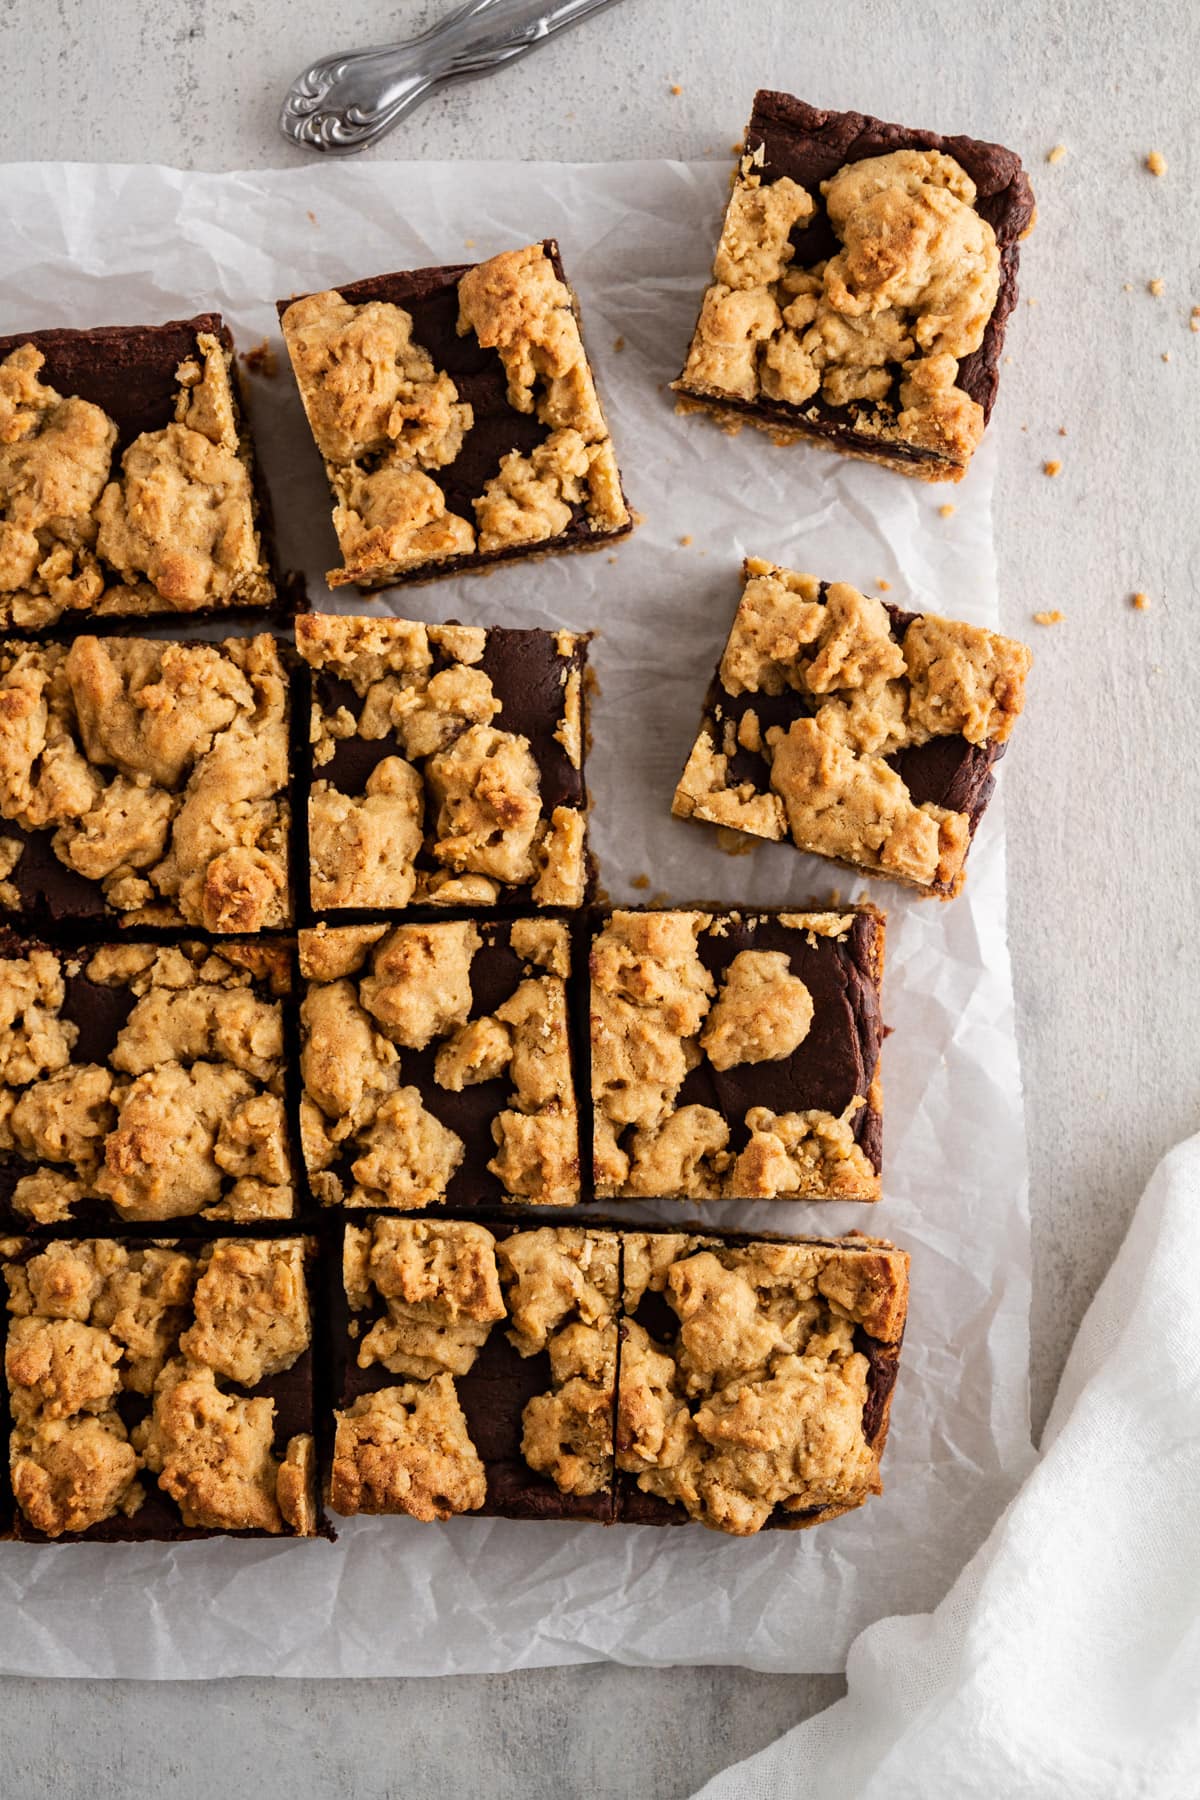
- Leave gaps in the crumbled topping. Drop the remaining dough in small clumps so some chocolate still peeks through. A solid cookie crust on top traps steam and can make the chocolate layer bubble up unevenly. The gaps let everything set into those distinct, layered bars with visible ribbons of chocolate on top.
- Cool completely before slicing. The chocolate layer needs time to firm up fully, and cutting too early will give you bars that fall apart and smear. If you’re impatient like I do sometimes, pop the pan into the refrigerator for 20 to 30 minutes after it reaches room temperature to speed things along.
How to Make This Revel Bar Recipe
Use these step-by-step instructions to make chewy, fudgy revel bars with a peanut butter oat cookie base and a silky chocolate filling. Further details and measurements can be found in the recipe card below.
Step 1: Prep your pan. Heat the oven to 350°F, then line a 13×9-inch baking pan with foil and spray the bottom and sides generously with cooking spray. The foil is important here because it lets you lift the whole slab of bars out of the pan cleanly before slicing, so don’t skip it.
Make Cookie Base
Step 2: Cream the butter and peanut butter. Add the softened butter and the smaller portion of peanut butter to a bowl of a stand mixer fitted with a paddle attachment and beat on medium-high speed for about 1 minute until the mixture looks smooth, pale, and completely combined.
Scrape down the sides of the bowl with a spatula after this step before adding the sugar. You want to ensure the peanut butter and the butter are fully combined.
Step 3: Add the brown sugar, then the eggs and vanilla. Beat on medium-high speed for another minute, until the mixture lightens slightly in color and feels smooth. Beat in the eggs one at a time, scraping down the bowl after each addition so nothing gets left behind at the bottom. Add the vanilla and beat just until combined. The batter at this point should look glossy and cohesive.
Step 4: Mix the dry ingredients into the dough. In a separate bowl, stir together the oats, flour, and baking soda until evenly distributed. Add the oat mixture to the butter mixture and stir on low speed just until a well-mixed cookie dough forms. Don’t overmix once the flour is in, or the cookie layer can turn tough.
Step 5: Press two-thirds of the dough into the pan. Using your hands or a spatula, press roughly two-thirds of the cookie dough evenly into the bottom of the prepared pan. Press it firmly so it forms a compact, even layer with no thin spots or gaps.
Make the chocolate filling
Step 6: In a medium saucepan over low heat, combine the larger portion of peanut butter with the chocolate chips and sweetened condensed milk. Stir constantly for 2 to 3 minutes until everything melts together into a smooth, thick, glossy filling. Keep the heat low the entire time, the condensed milk can catch and scorch quickly if the temperature climbs. Pull the pan off the heat as soon as the mixture is fully melted and combined.
The filling will thicken noticeably as it cools, so pour it over the cookie base while it’s still warm and fluid.
Assemble
Step 7: Pour and spread the chocolate layer. Pour the warm chocolate filling evenly over the pressed cookie dough in the pan and spread it to the edges with a spatula. It should settle into a smooth, glossy layer that covers the base completely. Work quickly here before the filling starts to firm up and resist spreading.
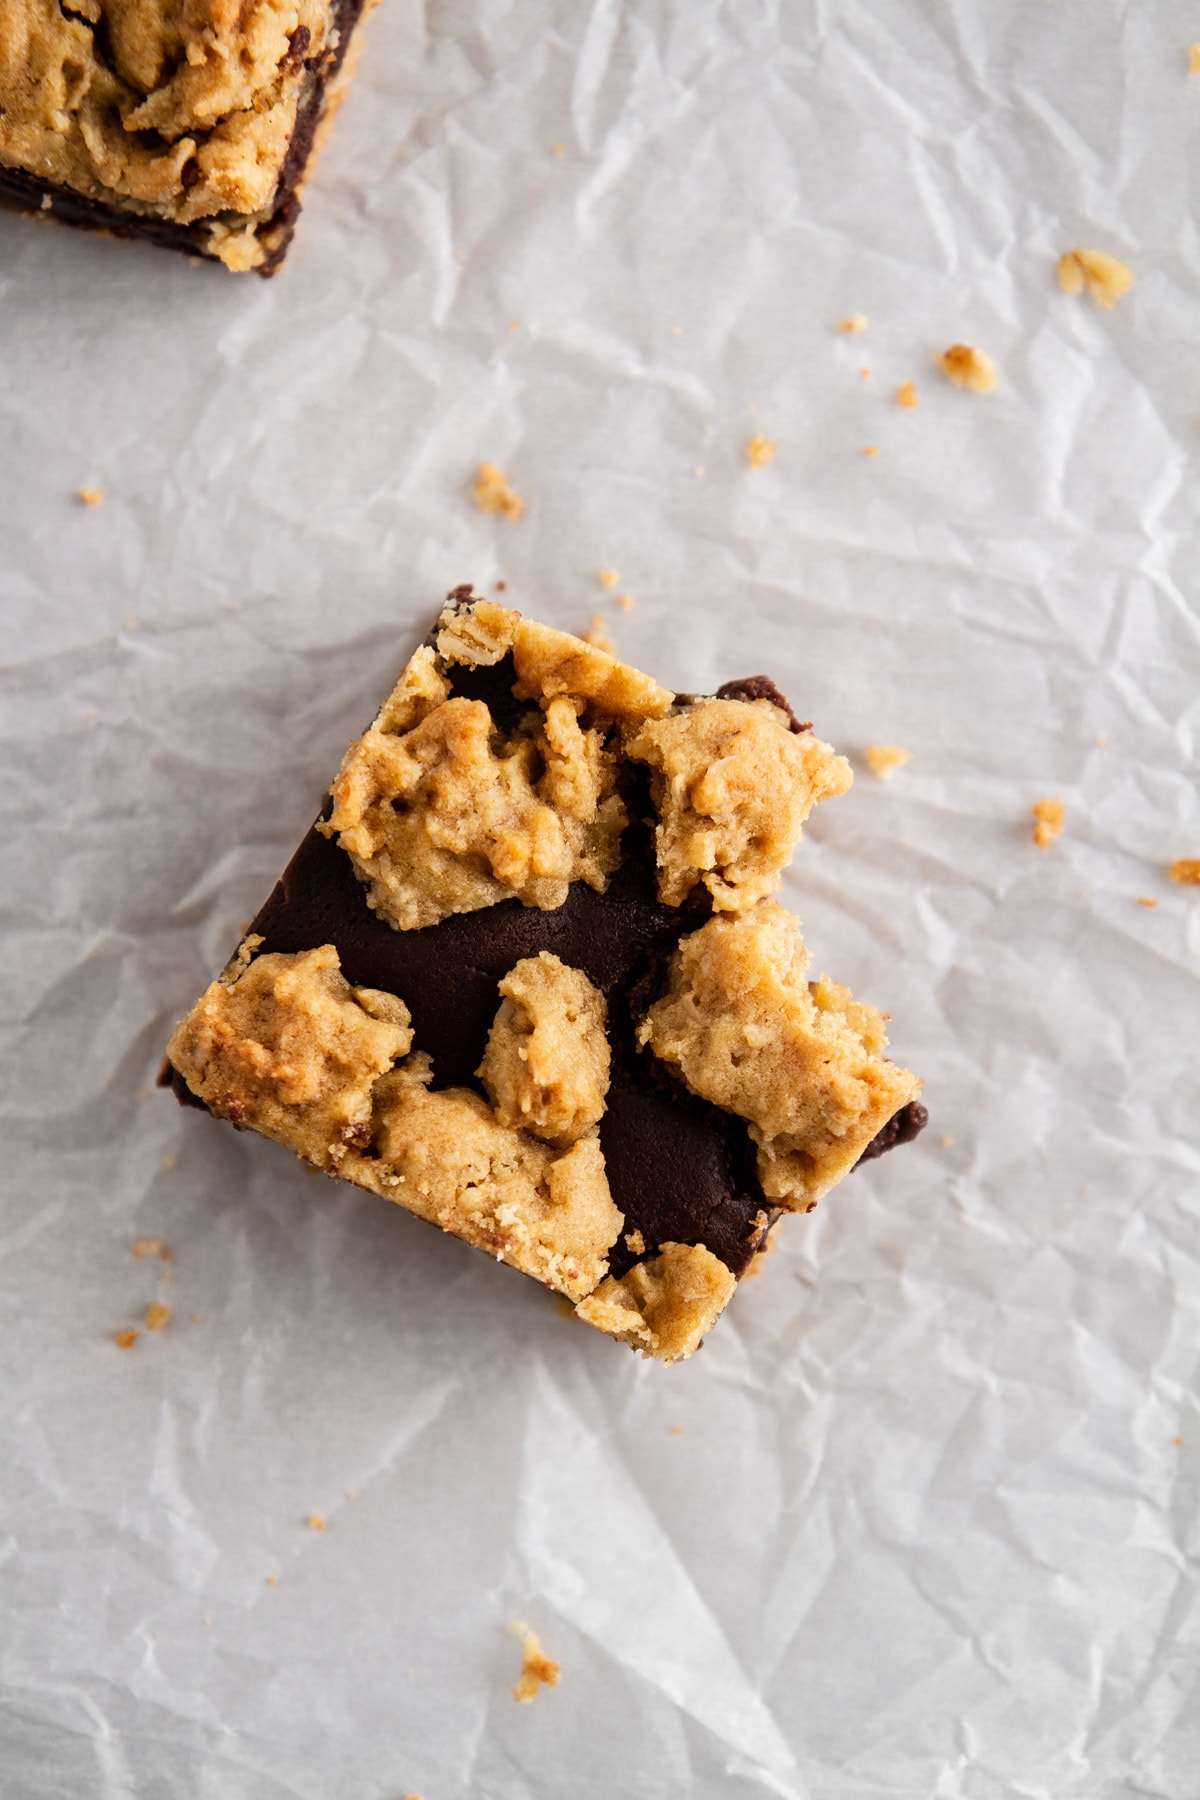
Step 8: Crumble the remaining dough over the top. Take the reserved cookie dough and drop it in small, irregular clumps across the top of the chocolate layer.
The goal is to scatter it loosely so some chocolate still shows through between the pieces. A solid, unbroken layer of dough on top traps steam and can cause the chocolate to bubble unevenly.
Bake
Step 9: Bake until golden. Slide the pan into the preheated oven and bake for 20 to 25 minutes, until the crumbled cookie dough on top turns light golden-brown. A toothpick inserted into the center should come out clean, if it looks wet or fudgy, give the bars another 2 to 3 minutes. The edges will set first, so use the center as your guide rather than the color at the sides.
Step 10: Cool completely before slicing. Let the bars cool completely in the pan before touching them. The chocolate layer needs that time to set back up, and cutting into them while warm means the filling will ooze out and the cookie layers won’t hold their shape cleanly. Once fully cooled, use the foil overhang to lift the entire slab out of the pan and onto a cutting board, then slice into bars.
Recipe FAQs
Store the bars in an airtight container at room temperature or in the refrigerator for up to 4 days. I personally prefer them cold from the fridge because the chocolate layer firms up and every bite feels a little more fudgy. If you want to freeze them, wrap individual bars tightly in plastic wrap and store in a freezer-safe bag for up to 2 months.
Revel bars have a layered structure: a pressed oat cookie base, a fudgy chocolate-peanut butter center, and crumbled cookie dough on top. A Brookies combines brownie and cookie dough baked together, but without the oat base or the condensed milk chocolate layer that gives Revel bars their distinctive richness. Both are worth making, but the textures and flavor profiles are pretty different.
Quick oats will work in a pinch, but old-fashioned rolled oats give the cookie layers better texture and a little more chew. Quick oats absorb moisture faster and can make the base feel softer and more uniform, which takes away some of that satisfying contrast with the fudgy chocolate layer.
Recommended Peanut Butter Recipes

Cookie Recipes

Christmas Recipes

No-Bake Treats

Summer
Revel Bar Recipe

Ingredients
Cookie Layer:
- ¾ cup unsalted butter, softened
- ¼ cup creamy peanut butter
- 2 cups brown sugar
- 2 large eggs
- 1 teaspoon vanilla
- 3 cups old-fashioned rolled oats
- 2 ½ cups all-purpose flour
- 1 teaspoon baking soda
Chocolate Layer:
- ½ cup creamy peanut butter
- 12 ounces semisweet chocolate chips
- 14 ounces sweetened condensed milk, about 2 cups
Instructions
- Heat oven to 350°F. Line a 13×9-inch baking pan with foil and spray the bottom and sides with cooking spray.
Make Cookie Base
- In a large bowl, beat butter and 1/4 cup peanut butter on medium-high speed for 1 minute until smooth. Add brown sugar and beat 1 minute more until light and well-combined. Beat in eggs one at a time, scraping down the sides of the bowl after each addition. Beat in vanilla.
- In a separate bowl, stir together oats, flour, and baking soda. Add to the butter mixture and stir on low speed just until a cookie dough forms. Press two-thirds of the dough evenly into the bottom of the prepared pan.
Make Chocolate Layer
- In a medium saucepan over low heat, stir together 1/2 cup peanut butter, chocolate chips, and sweetened condensed milk until melted and smooth, about 2 to 3 minutes. Remove from heat.
Assemble and Bake
- Pour and spread the chocolate layer evenly over the cookie dough. Crumble the remaining cookie dough in small clumps over the top so some chocolate still peeks through.
- Bake 20 to 25 minutes until the top layer is light golden-brown and a toothpick inserted in the center comes out clean. Cool completely in the pan, then use the foil to lift the bars out before slicing.
Notes
Technique: Press the first two-thirds of the dough firmly and evenly into the pan so the base holds its structure under the chocolate layer. Crumble the remaining dough loosely on top so you get distinct pockets of cookie and exposed chocolate after baking.
Storage: Store in an airtight container at room temperature or in the refrigerator for up to 4 days. For longer storage, wrap individual bars tightly in plastic wrap and freeze in a freezer-safe bag for up to 2 months.
Nutrition
Nutrition information is automatically calculated, so should only be used as an approximation.
 Like this recipe? Rate & comment below!
Before You Go
I hope this revel bar recipe earns a permanent spot in your baking rotation. Browse our Dessert Recipes or try these strawberry brownies next!




These didn’t last long in my house! I was CRAVING peanut butter and chocolate, but I didn’t want a brownie, which is crazy! But these were so easy to make and truly delicious! I will be adding Reese’s pieces to the next batch.
Hi,
I have learned baking recently and tired this recipe turned out to be really very tasty.
Loved this recipe thanks for sharing.