
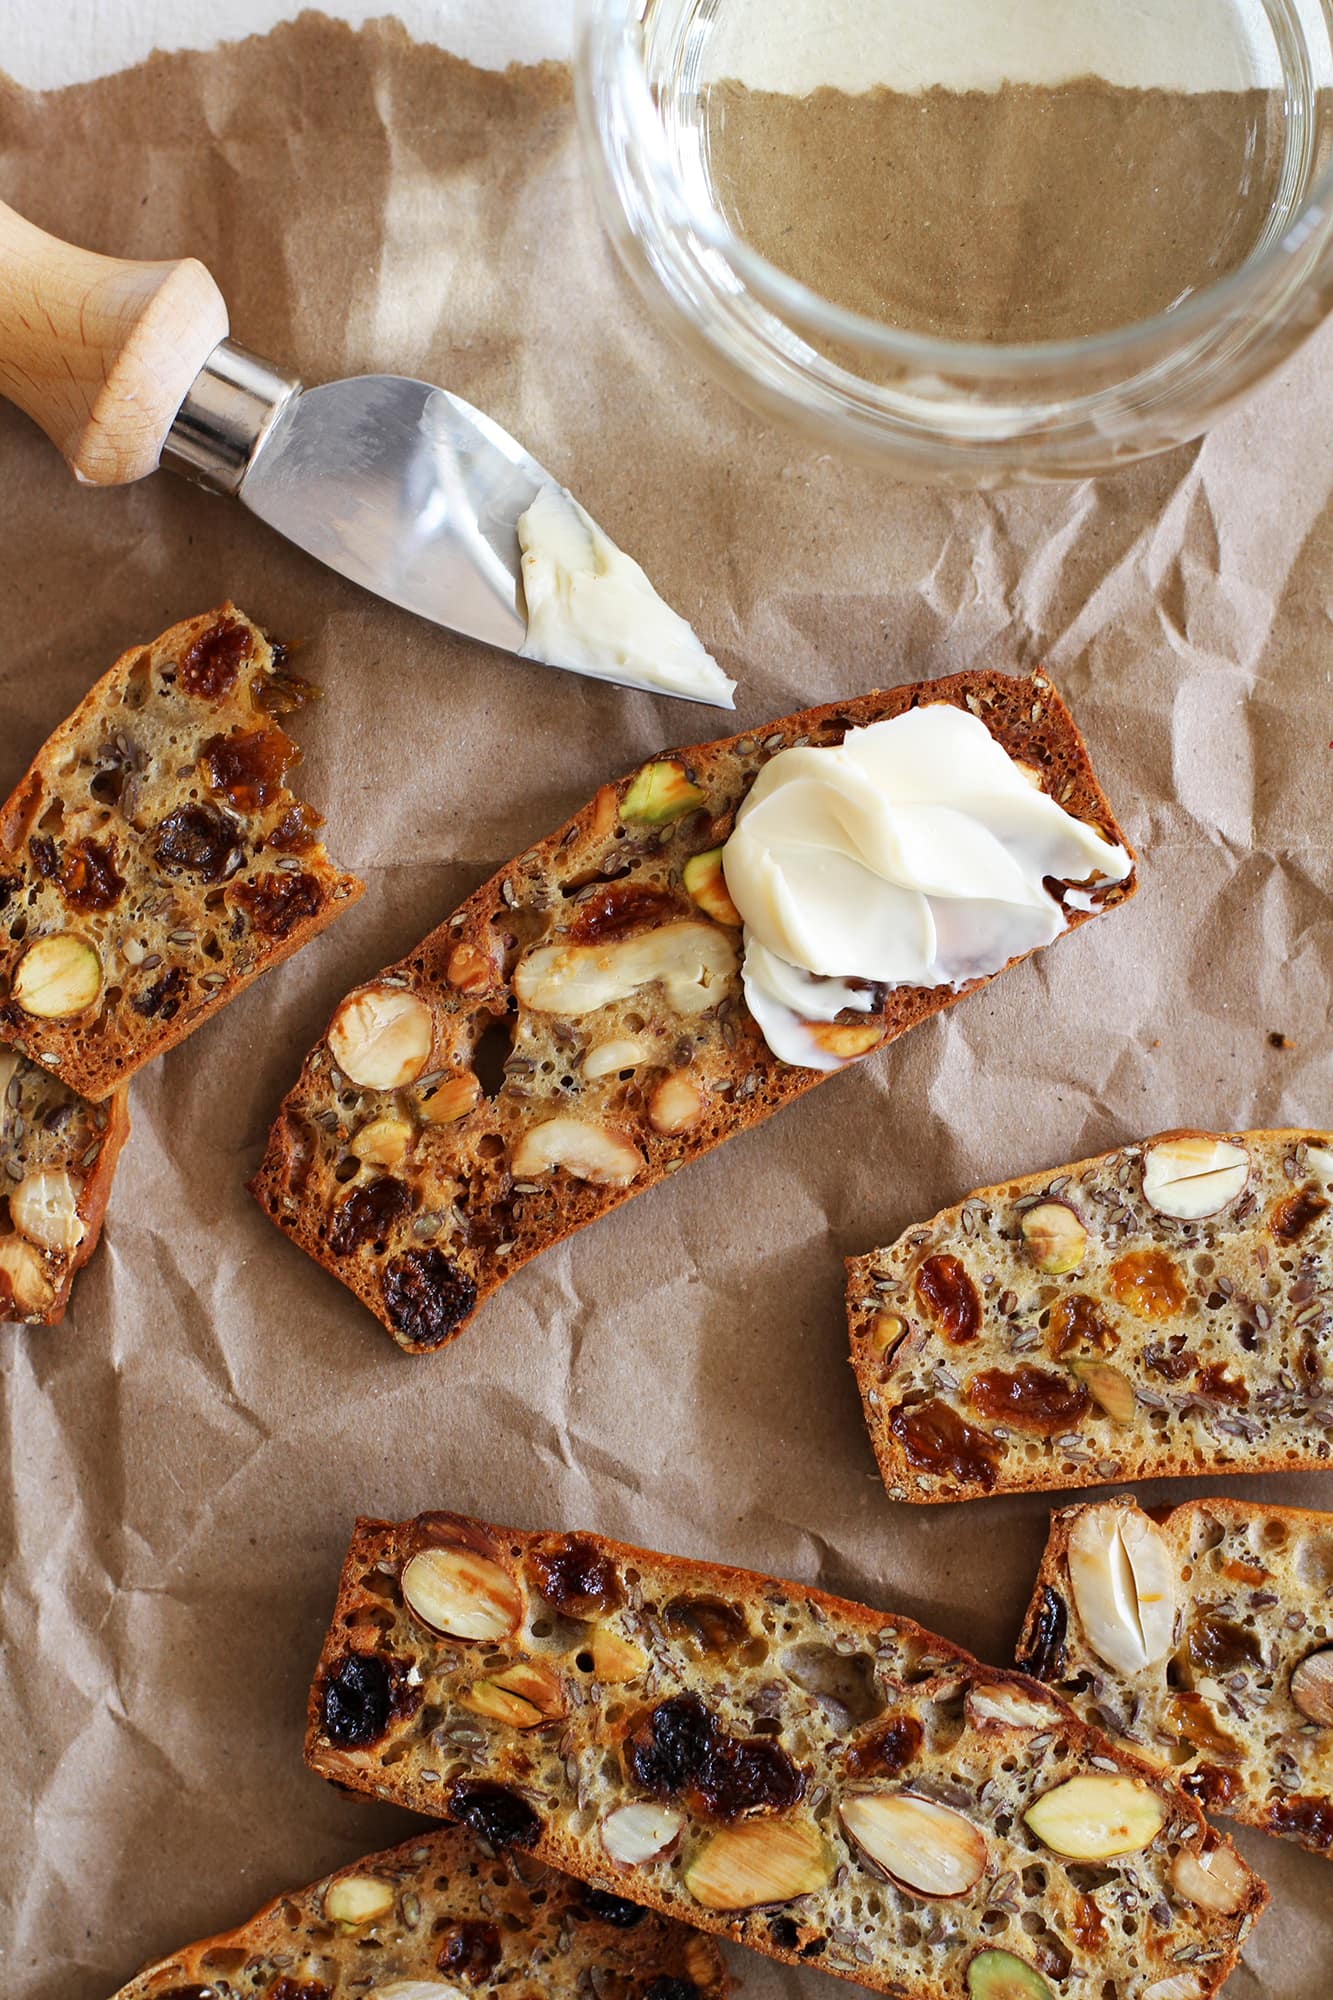
Fruit and nut crackers that are crispy, thin, and loaded with nuts, golden raisins, and flax seeds, all made from a single loaf you slice and bake twice. No specialty ingredients, no complicated technique.
A Quick Look At The Recipe
This is a brief summary of the recipe. Jump to the recipe to get the full details.
Prep Time
20 minutes
Cook Time
50 minutes
Total Time
1 hour 10 minutes
Servings
48 crackers
Difficulty
Intermediate
Calories *
46 kcal per serving
Technique
Baked, sliced loaf method
Flavor Profile
Nutty, lightly sweet, subtly salty
* Based on nutrition panel
I made these for a cheese board for game night and every single cracker was gone before the night was over. The freeze-before-slicing tip is the key, my slices came out perfectly thin without crumbling.
⭐⭐⭐⭐⭐
Josh
Why You Will Love This Recipe
- Two-bake method, big payoff. Baking the loaf first and then slicing and baking again is what gives these crackers their signature crunch. There is no other way to get that thin, crispy texture from a simple quick-bread batter.
- Eight ingredients, nothing unusual. Everything in this recipe- flour, milk, nuts, raisins, flax seeds, brown sugar, salt, and baking soda- is already in most kitchens. No specialty flour, no starter, no fancy equipment required.
- Makes 48 crackers from one loaf. The yield is generous enough to fill a cheese board and still have extras for snacking through the week. They store at room temperature in an airtight container for up to a week, which is fine!
- Savory and sweet in one cracker. The brown sugar and golden raisins give a gentle sweetness that balances the coarse sea salt and mixed nuts in every bite. That contrast is what makes them work so well with both soft cheeses and sharp ones. If you love homemade crackers, my Sourdough Discard Crackers are another great option to keep in rotation.
I have made these fruit and nut crackers for more cheese boards than I can count, and they never last as long as I expect them to. There is something about a cracker you sliced yourself, still warm from the second bake, that people always notice.
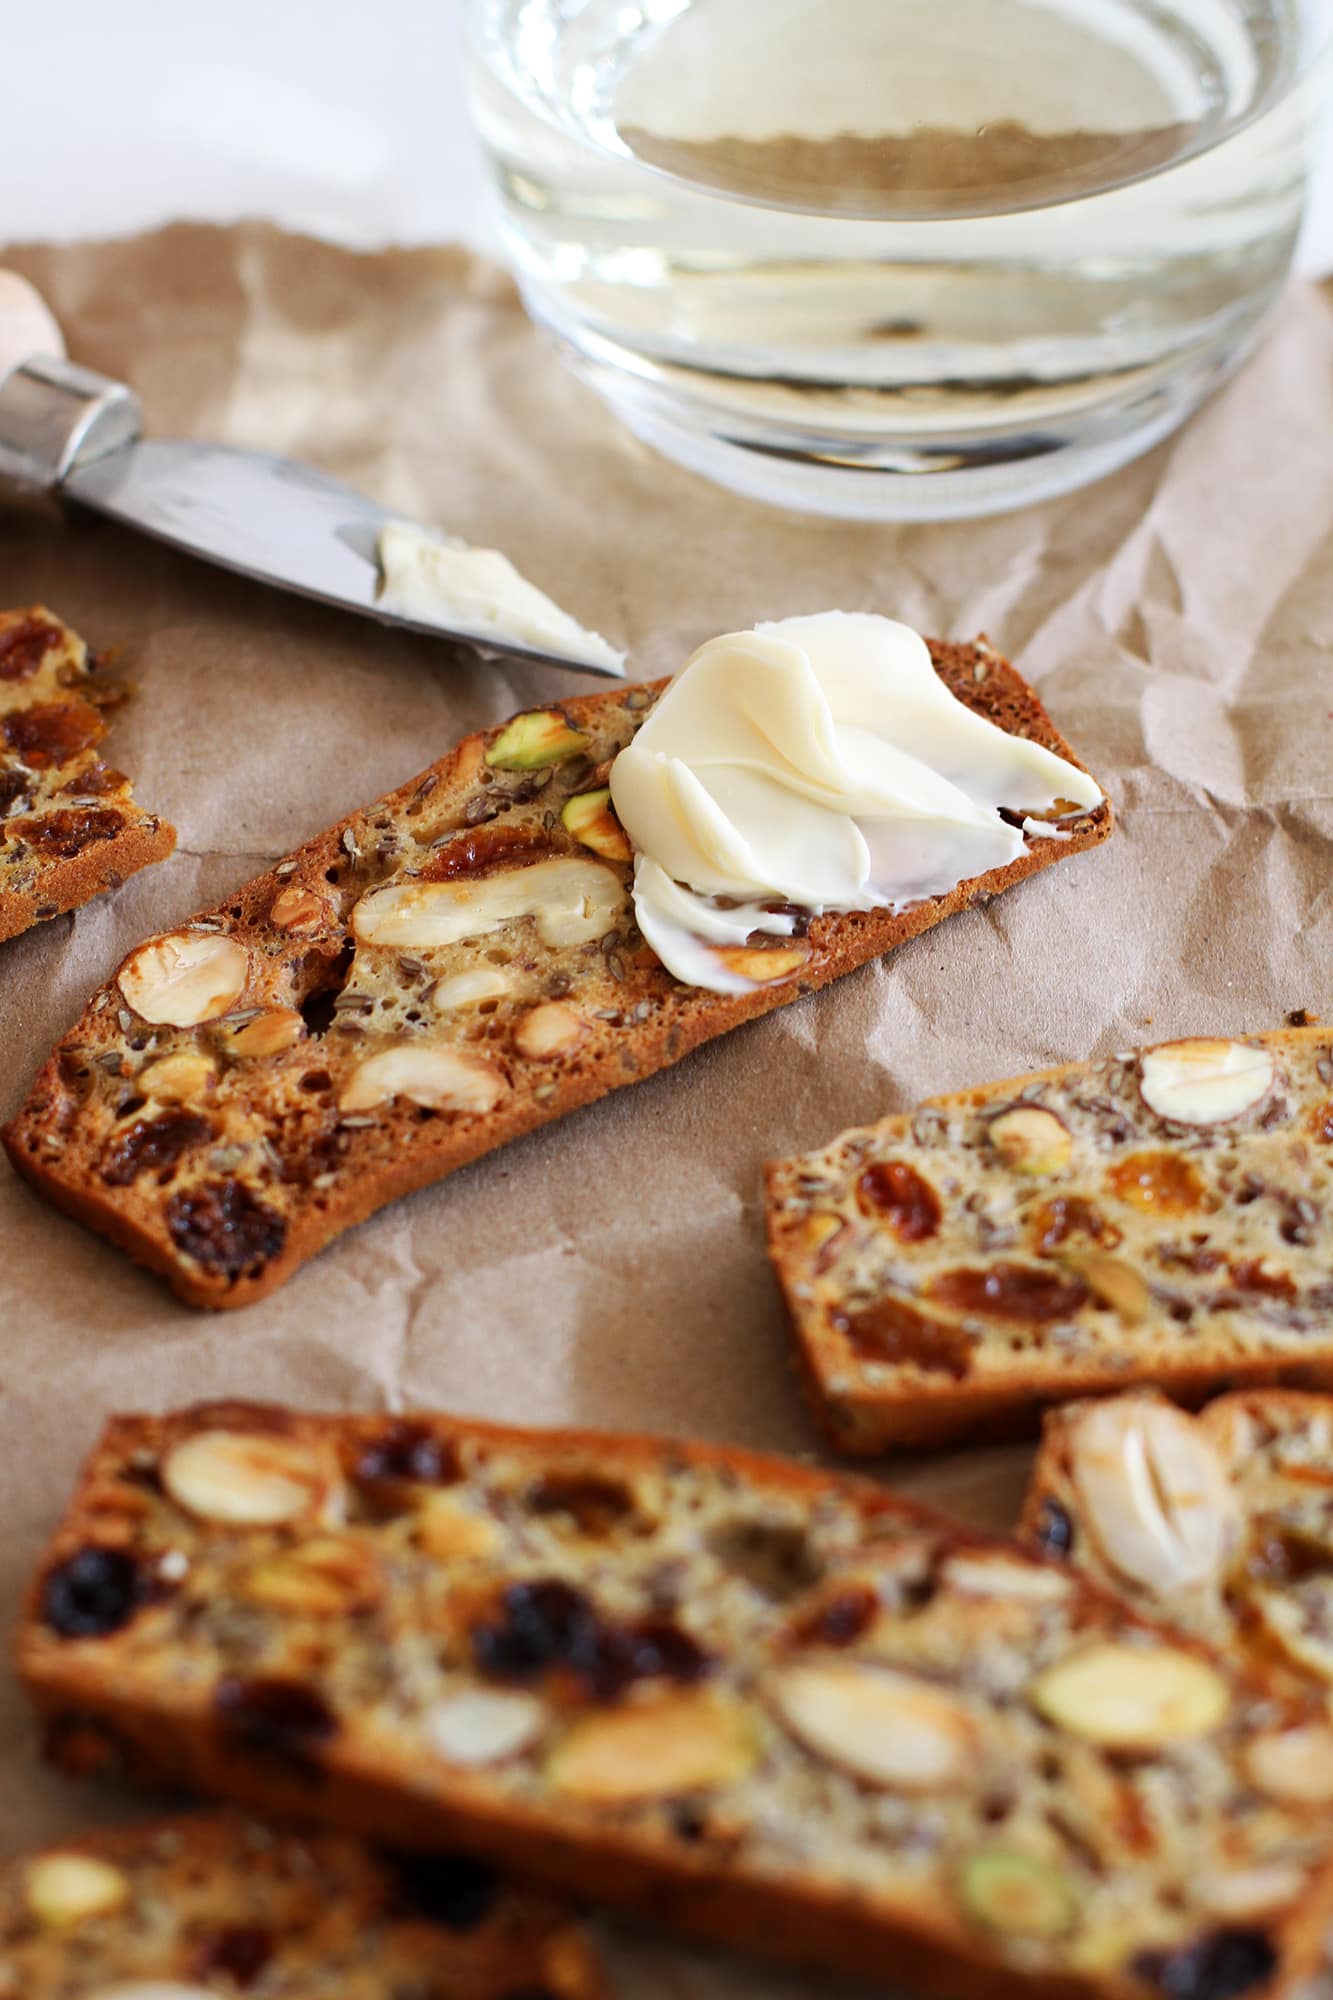
They are a natural fit alongside soft brie, sharp cheddar, or a simple spread of cream cheese, and they hold up just as well on their own as an afternoon snack. If you enjoy making your own crackers from scratch, my whole wheat crackers, sourdough crispbread or these homemade goldfish crackers are worth adding to your repertoire.
Ingredients & Substitutions
- All-Purpose Flour
- Unsalted Mixed Nuts: The nuts add crunch, richness, and that rustic, hearty texture that makes these fruit and nut crackers so satisfying. Use whatever mix you love, as long as the pieces aren’t too large, or they’ll make slicing difficult.
- Golden Raisins: These bring a gentle, honeyed sweetness that balances the salt and keeps each cracker from tasting flat. If you can’t find golden raisins, regular raisins work, though the flavor will be slightly deeper and less bright.
- Whole Flax Seeds: Flax seeds add a nutty depth and a subtle crunch that shows up in every bite. Do not swap ground flax here — whole seeds hold their texture through both bakes and give the sliced loaf a beautiful speckled look.
- Brown Sugar: Packed brown sugar provides just enough sweetness to round out the savory notes without making these taste like dessert. The molasses in brown sugar also helps the loaf brown evenly during the first bake.
- Coarse Sea Salt
- Baking Soda: Baking soda gives the loaf just enough lift to hold together as it bakes, making it dense enough to freeze and slice cleanly without falling apart. If you want to make crackers using yeast try these swedish knackebrod they use intant yeast and rye flour!
- Whole Milk: Milk brings everything together into a thick, scoopable batter and helps the loaf bake through without drying out. Any dairy milk works here; whole milk gives the richest result.
Variations for Homemade Fruit Nut Crisps
- Dark Chocolate and Cherry: Swap the golden raisins for dried tart cherries and fold in a handful of dark chocolate chips before pouring the batter into the pan. The slight bitterness of the chocolate plays well against the salt and makes these feel a little more indulgent on a dessert board.
- Rosemary and Olive Oil: Stir a tablespoon of finely chopped fresh rosemary into the batter and use salted mixed nuts for extra savory depth. The herb comes through clearly in the finished crackers and makes them a natural match for sharp cheeses and cured meats.
- Cranberry Walnut: Replace the golden raisins with dried cranberries and use walnuts as your primary nut. The cranberries add a tart brightness that the raisins don’t have, and the result leans more savory than sweet.
Professional Tips for Perfect Homemade Fruit Nut Crisps
- Freeze the loaf before slicing. This is the step most bakers want to skip, and it’s the one that matters most. The loaf needs at least 1 hour in the freezer so it firms up enough to slice cleanly at 1/8-inch thickness. A warm or room-temperature loaf will compress and tear under the knife rather than cutting through.
- Use a sharp serrated knife and slice slowly. A dull knife or too much downward pressure will crack the loaf instead of slicing it. Use a gentle sawing motion and let the blade do the work, especially through the nuts.
- Don’t skip the flip during the second bake. The crackers need to be turned halfway through the 15 to 20 minute bake at 400 degrees F so both sides dry out and crisp evenly. If you pull them without flipping, the bottom side will be darker and harder than the top, and the texture won’t be consistent.
- Cool completely before storing. Any warmth trapped in an airtight container will soften the crackers and undo the second bake. Give them at least 20 minutes on the cooling rack before sealing them up, and they’ll stay crisp at room temperature for up to a week.
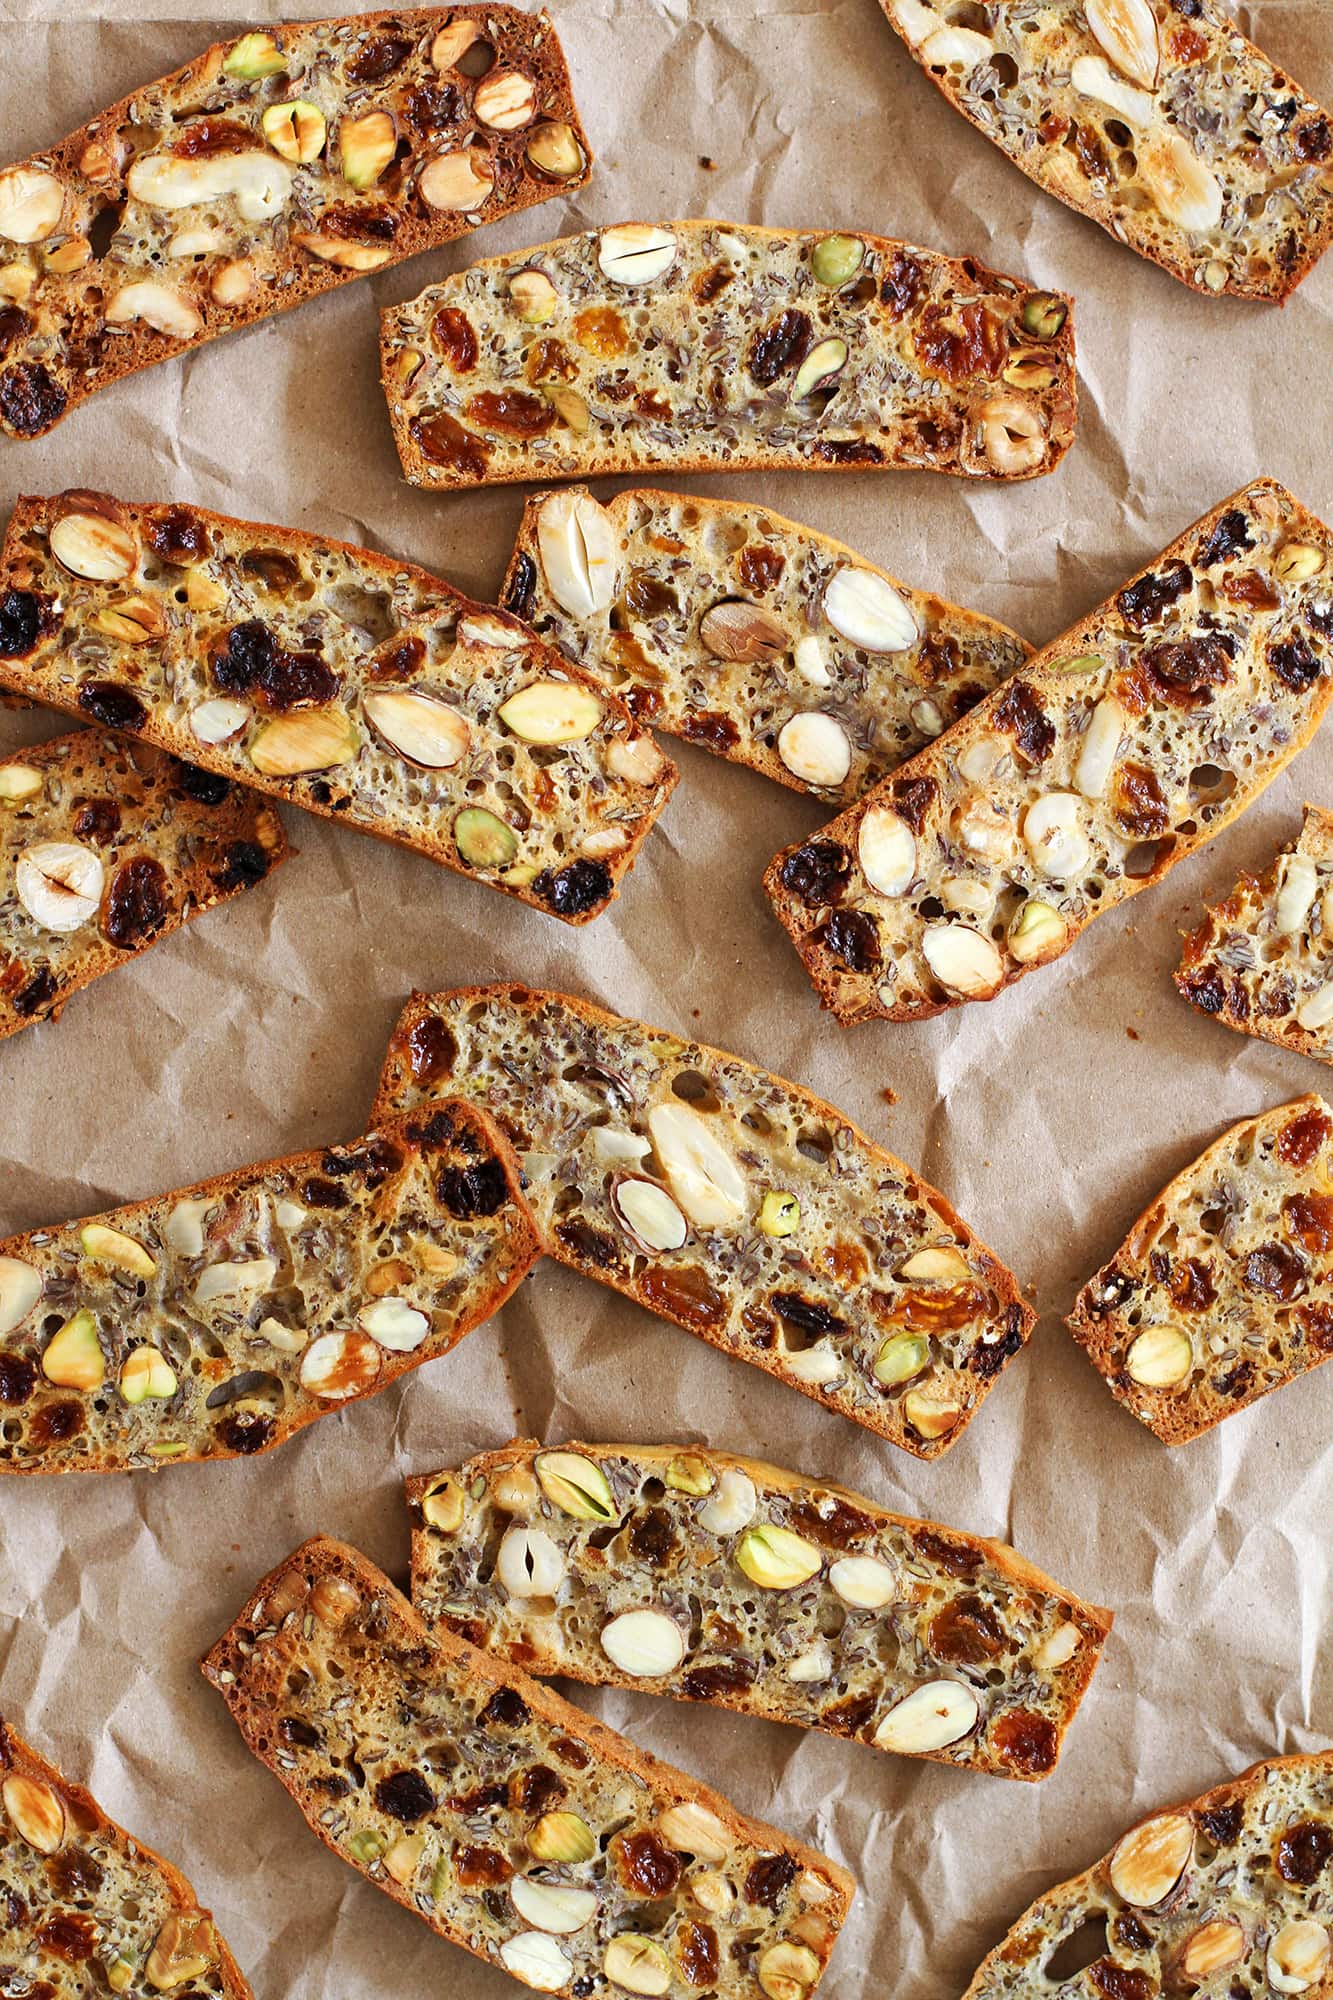
How to Make Homemade Fruit Nut Crisps
Use these step-by-step instructions to make thin, crispy fruit and nut crackers with a beautifully crunchy second bake. Further details and measurements can be found in the recipe card below.
Make Batter
Step 1: Prepare the pan and preheat the oven. Heat your oven to 350°F and generously butter or spray the bottom and sides of a 9-by-5-inch loaf pan. Getting into the corners matters here — the loaf needs to release cleanly after baking so you can transfer it to the freezer without it sticking or breaking apart.
Step 2: Mix the dry ingredients. In a large bowl, stir together the flour, nuts, golden raisins, flax seeds, brown sugar, salt, and baking soda. You’re just distributing everything evenly before the milk goes in, so take an extra moment to make sure the nuts and raisins aren’t clumping together in one spot.
If your raisins feel stiff or dried out, soak them in warm water for 5 minutes and pat them dry before adding them to the bowl. Soft raisins fold in much more evenly.
Step 3: Stir in the milk. Pour the milk into the bowl and stir until a thick, cohesive batter forms. It should look shaggy and dense, not pourable like a pancake batter — if it seems too loose, your milk may have been slightly over-measured, but don’t worry, it’ll still bake through fine. Stir just until no dry flour remains at the bottom of the bowl; overmixing won’t ruin these, but there’s no reason to work the batter harder than it needs.
Step 4: Pour the batter into the pan. Transfer the batter into the prepared loaf pan and spread it evenly from edge to edge. The batter is thick, so use a spatula or the back of a spoon to smooth the top. It doesn’t need to be perfectly level, but an even surface helps the loaf bake uniformly so every slice comes out the same thickness later.
First Bake
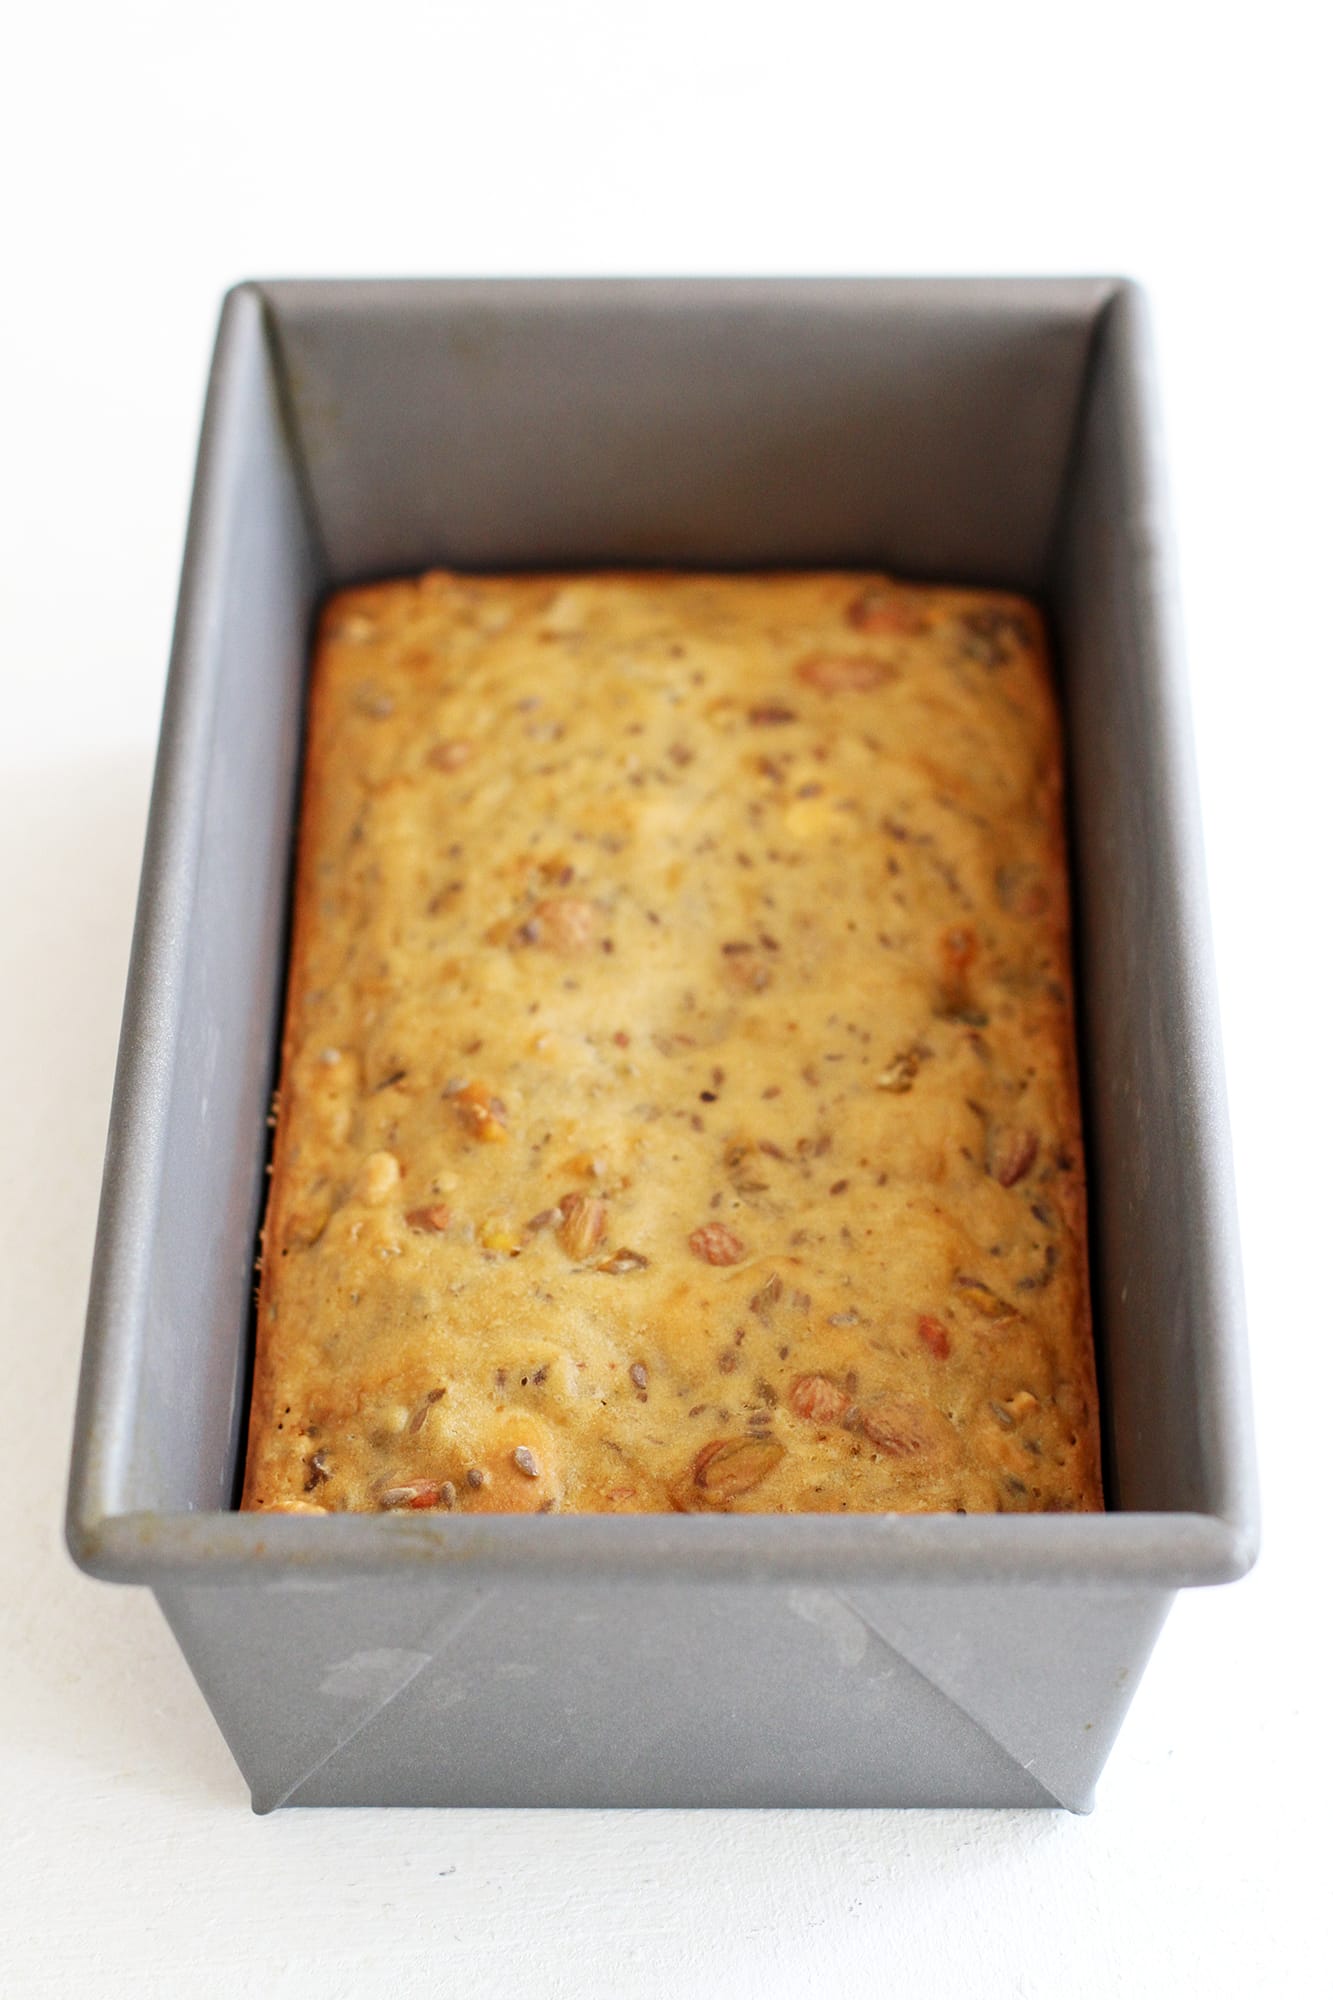
Step 5: Bake the loaf. Slide the pan into the oven and bake for 50 minutes, until the top is deep golden brown and a toothpick inserted into the center comes out clean. The loaf will feel firm and set, not soft or springy, when it’s done. Let it cool completely in the pan on a wire rack before moving on. This part is non-negotiable, because a warm loaf will crumble when you try to slice it thin later, just like when making almond joy biscotti.
Cool time matters more here than in almost any other baking project. A fully cooled loaf freezes and slices cleanly; a loaf that’s even slightly warm will drag and tear under the knife.
Step 6: Freeze the loaf. Once the loaf is completely cool, transfer it to the freezer and freeze for at least 1 hour and no more than 3 hours. You’re not freezing it solid; you’re just firming it up so a serrated knife can cut through cleanly at 1/8-inch thickness. Pull it out too early, and the slices will be ragged; leave it in too long, and it becomes difficult to cut without cracking.
Slice
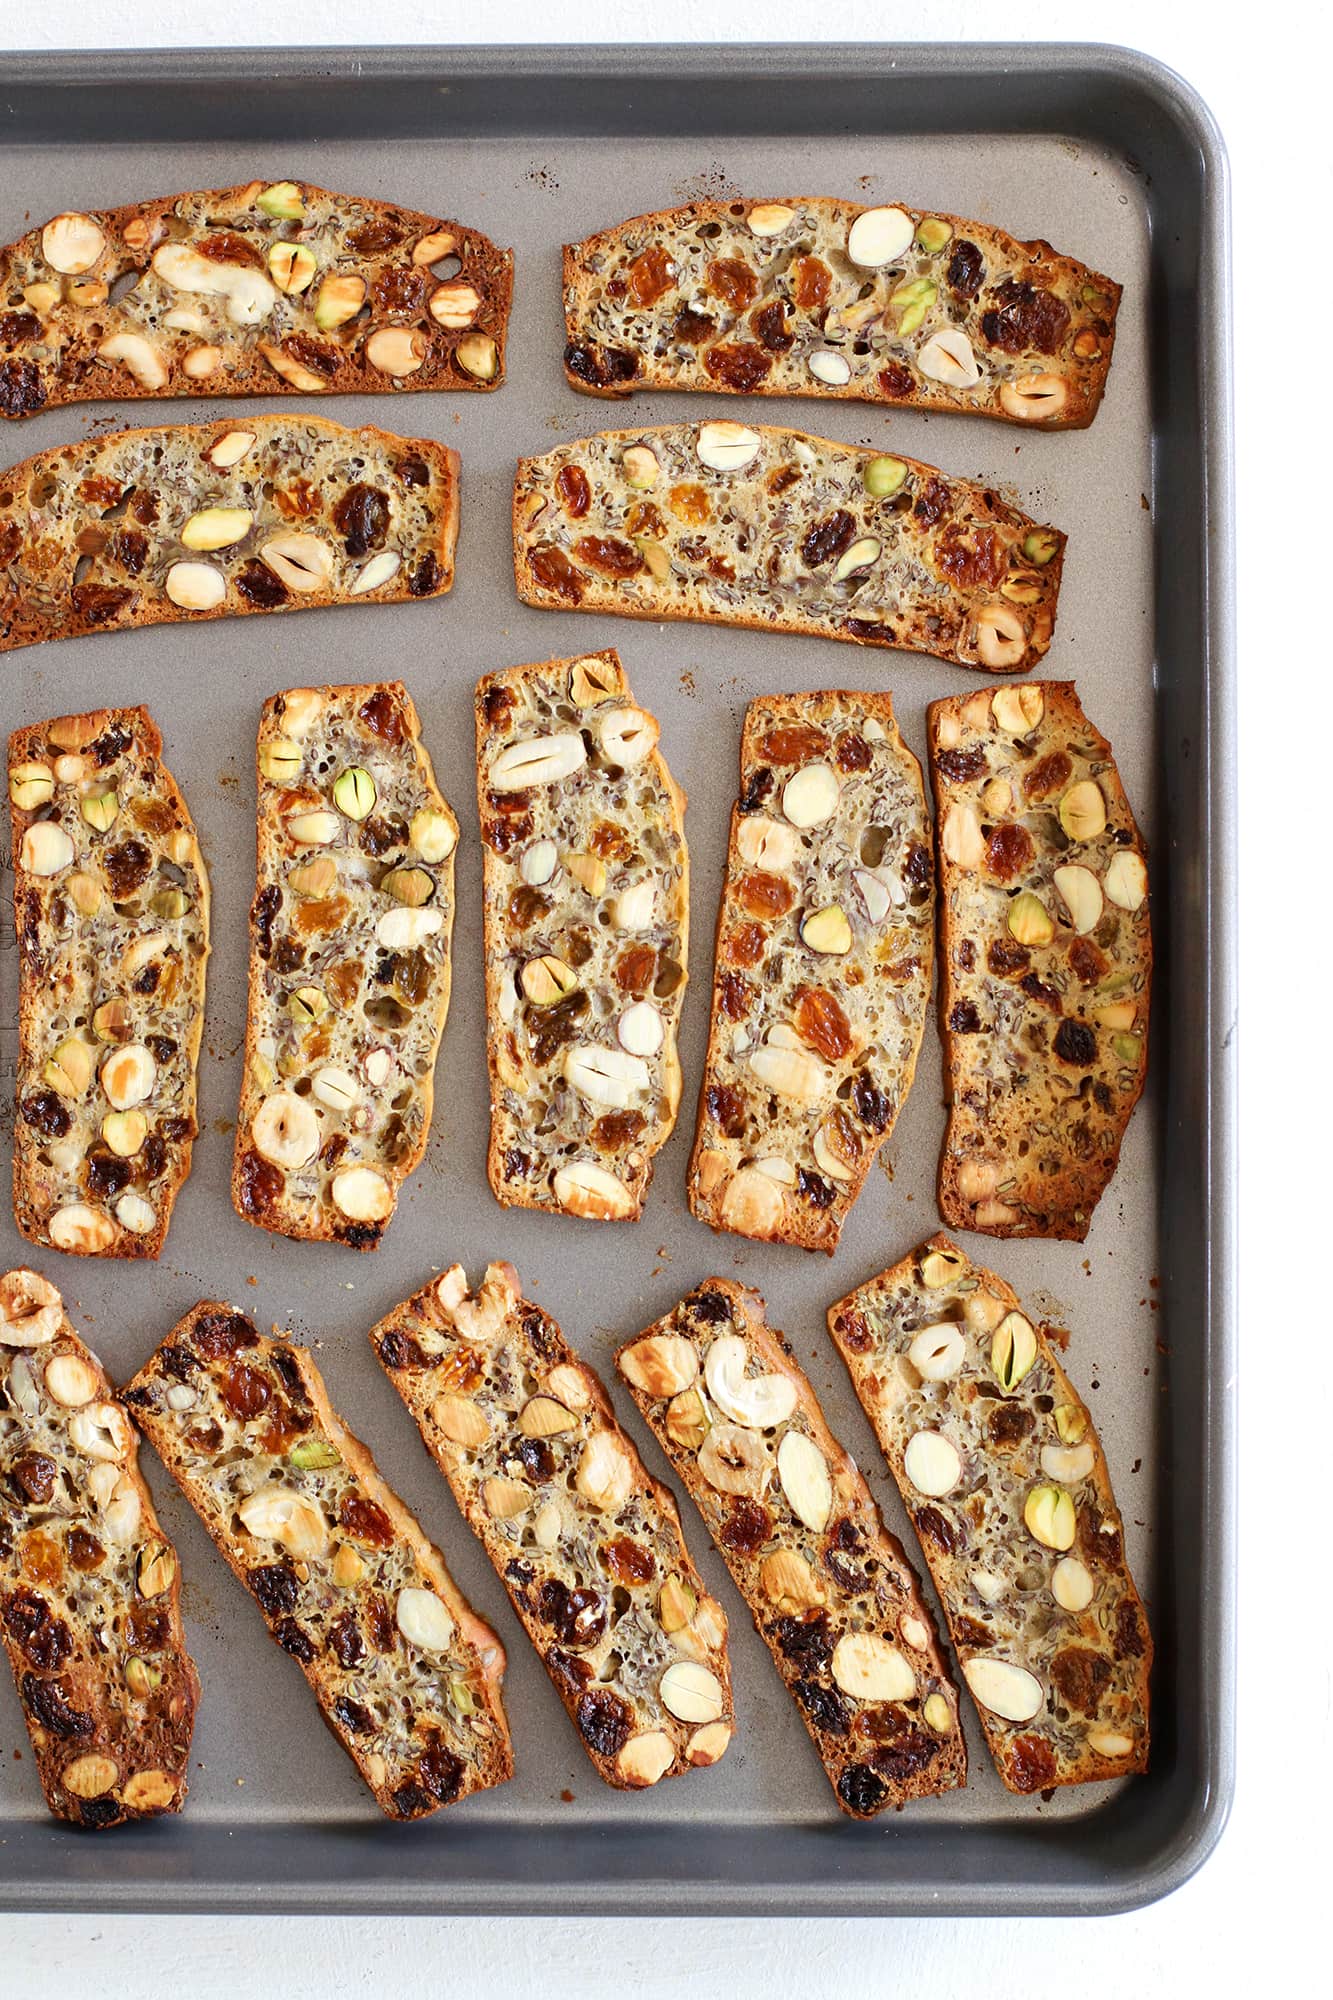
Step 7: Slice the loaf. Remove the loaf from the pan and use a sharp serrated knife to cut it into 1/8-inch thick slices, working in slow, steady strokes rather than pressing down. Arrange the slices in a single layer on rimmed baking sheets; they won’t spread, so you can fit them close together. The loaf should feel firm but not rock-hard — if it resists the knife or cracks instead of slicing, let it thaw on the counter for 5 to 10 minutes and try again. You can also use a mandoline to get even slices.
Second Bake
Step 8: Increase the oven temperature to 400°F and bake the slices for 15 to 20 minutes, flipping them once halfway through, until they’re deep golden brown and feel dry to the touch. They’ll still have a little give when they come out of the oven, but they crisp up fully as they cool — so don’t be tempted to bake them longer just because they feel soft on the rack. Transfer to a wire rack and let them cool completely before storing.
Recipe FAQs
Store them at room temperature in an airtight container for up to one week. They hold up really well and actually get a little crispier as they sit, which I love. If you want to keep them longer, freeze them in a zip-top bag and pull out what you need.
Yes, and this recipe is actually great for it. The loaf can be baked, cooled completely, and frozen up to three hours before you slice and bake the crackers. When you’re ready, just pull it from the freezer, slice it thin, and run it through the second bake.
The most likely reason is that the slices weren’t thin enough. The loaf needs to be fully frozen and cut into 1/8-inch slices so the second bake can dry them out completely. If they’re still soft after 20 minutes, give them a few more minutes in the oven and let them cool fully on the rack before judging, since they crisp up as they cool.
The golden raisins add moisture and a gentle sweetness that balances the salt and nuts, so if you swap them, use another dried fruit of similar size and moisture level, like dried cranberries or chopped dried apricots. The nuts can be swapped freely — whatever mix you have on hand works well here. Just keep the total quantities the same so the batter holds together properly.
Recommended Cracker Recipes
Appetizers & Snacks
Appetizers & Snacks
Christmas Recipes

Appetizers & Snacks
Homemade Fruit and Nut Crisps

Ingredients
- 1 cup all-purpose flour
- 1 cup unsalted mixed nuts
- ¾ cup golden raisins
- ¼ cup whole flax seeds
- ¼ cup packed brown sugar
- ½ teaspoon coarse sea salt
- ¼ teaspoon baking soda
- 1 cup milk
Instructions
- Heat oven to 350°F. Generously butter or spray the bottom and sides of a 9-by-5-inch loaf pan.
- In a large bowl, stir together the flour, nuts, raisins, flax seeds, brown sugar, salt, and baking soda. Stir in the milk until combined, then pour the batter evenly into the prepared pan.
- Bake for 50 minutes until golden brown. Cool completely in the pan on a cooling rack, then transfer to the freezer and freeze for at least 1 hour but no more than 3 hours.
- Heat oven to 400°F. Remove the loaf from the pan and use a sharp serrated knife to cut it into 1/8-inch thick slices. Arrange slices in a single layer on rimmed baking sheets.
- Bake 15 to 20 minutes until golden brown, flipping halfway through. Transfer to a cooling rack and cool completely before serving.
Notes
Technique: The loaf must be fully frozen before slicing. A partially chilled loaf will crumble and won’t give you clean, thin slices. Use a sharp serrated knife and work quickly.
Measuring: Pack the brown sugar firmly into the measuring cup. Loose brown sugar will under-sweeten the loaf and affect how the batter holds together.
Storage: Store at room temperature in an airtight container for up to one week. They actually get a little crispier as they sit. For longer storage, freeze in a zip-top bag and pull out what you need.
Nutrition
Nutrition information is automatically calculated, so should only be used as an approximation.
 Like this recipe? Rate & comment below!
Before You Go
These fruit and nut crackers are one of those recipes worth coming back to again and again, whether you’re building a cheese board or just want something homemade to snack on. Browse our Appetizer & Snack Recipes or make this date nut bread next!


Making a double batch of this right now. Can’t wait to try it!
Do you chop the nuts before baking?
Thank you!
Dominika
Hi Dominika, I am the new owner and I have not had the opportunity to make this recipe myself yet. It doesn’t look like Stephanie chopped the nuts before baking. It looks like they were sliced when she sliced the bread before toasting. Happy baking!
Question, could you use a non dairy .ilk for these so they could be vegan? Also, can you use a 1to1 gluten free flour mix?
awesome. i love that you shared how it can be easily modified to fit one’s tastes or what we have in the pantry.
i’ll be making these to give as part of a cookie tray for the holiday season.
I made these and they’re fabulous! Just wondering if I can use cashew or almond milk instead of regular?
Just a quick question before I make the recipe—from my experience, I would use baking powder with milk, not baking soda, because milk isn’t acidic for it to react with baking soda. Can you explain why?
Larissa, Great question! In this recipe, we use baking soda with milk to get a mild reaction, because we need a little bit of leavening for lightness, but not enough to make these soft, since these are crackers. I hope that helps!
These crisps are amazing and imho better than the boxed ones. I was recipe testing as I am doing a charcuterie board for 200 later this summer. I always include the boxed crisps on my board but wanted to research making my own. I was so concerned that I wouldn’t be able to cut these like you did but I followed your exact instructions and my yield was 47! I love that I can change up the add-ins (I used whole almonds, dried cherries and candied pulverized orange peel). I tried to tag you in my IG post but it didn’t appear to work.
Outstanding recipe. You cracked the code on this one! Thank you.