maple cream cookies
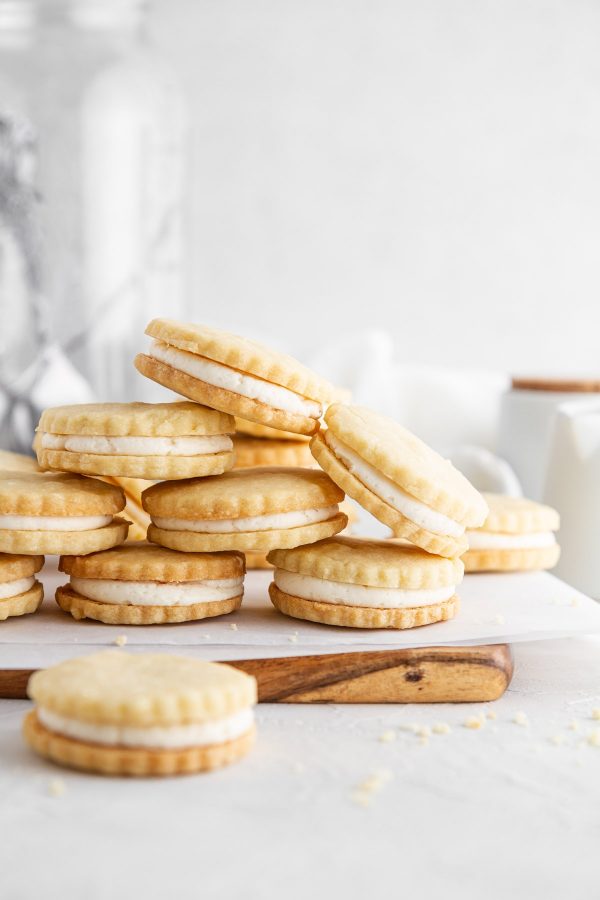
Let’s put on our cozy flannel, our wool socks and our fuzzy slippers; light a pumpkin candle; whip up a chai latte; and make these Maple Cream Cookies today! Buttery, maple-kissed shortbread cookies are sandwiched with a deliciously smooth maple buttercream for a simple-yet-scrumptious treat that embodies all the goodness of this season.
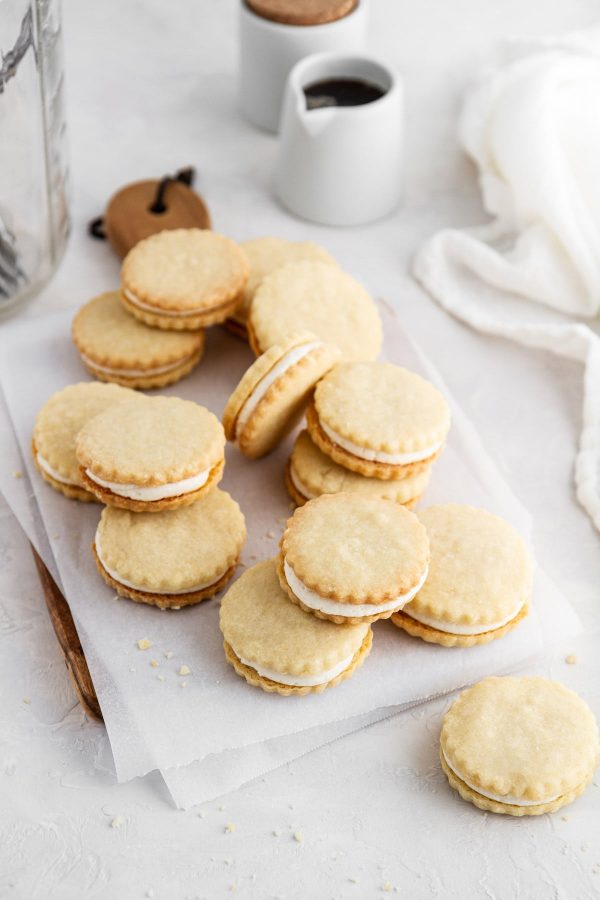
I’ll never forget the first time I heard about maple cream cookies (aka maple leaf creme cookies) — it was Fall 2019, a simpler time, when I was working at my desk across from my co-worker/friend Kate, talking about cookies (as one does). She mentioned the Canadian classic and it straight-up blew. my. mind. How have I never had these before, let alone heard of them? It was then that I vowed to make them myself at home so that I could indulge in the fabled buttery, maple-y deliciousness. And while it’s taken me exactly ONE YEAR to get to this point, we are finally here, my friends. We are here.
What Are Maple Leaf Creme Cookies?
Maybe you, too, have been in the dark all these years about the maple cream cookie — and if that’s the case, not to worry! Today is the day that will all change, and you’ll never have to revert back to BMCC time (Before Maple Cream Cookies) again.
By its standard definition, maple cream cookies (or maple cremes, or maple leaf cremes, etc.) are a Canadian-born sandwich cookie shaped like a maple leaf and filled with a cream that is often made with maple syrup. If you buy them from the store, they’re often shaped like actual maple leaves; but for the purposes of convenience here, I used a linzer cookie cutter and kept them round.
No matter the shape, they taste like fall in cookie form and are basically impossible to stop eating, so, you’ve been warned.
Best Ingredients for Maple Cream Cookies
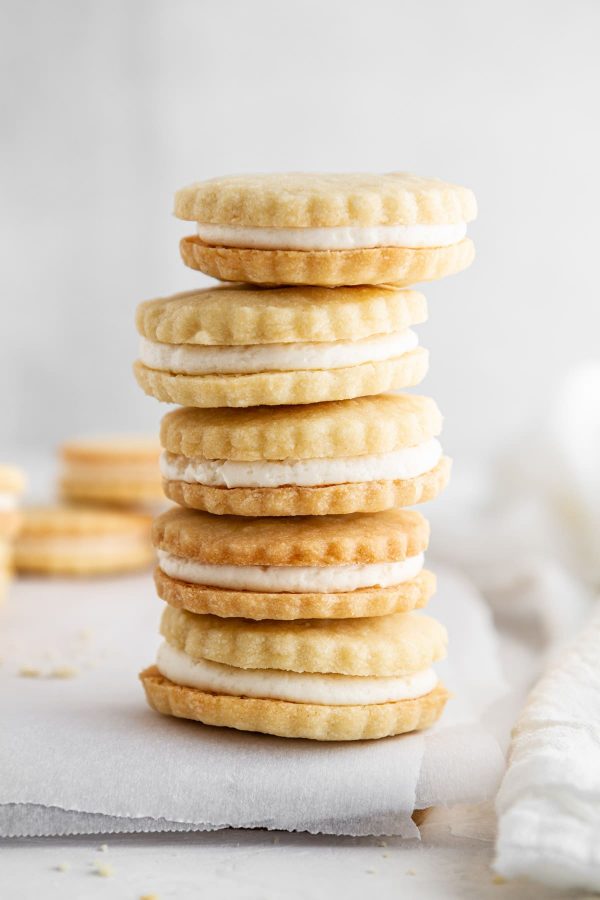
Since you only need SIX ingredients (!), every ingredient’s flavor shines through in these buttery, sweet, maple-y cookies; so, we want to be sure to use the best possible ingredients we can find. Here’s what you need to make these autumnal treats:
- All-purpose flour
- Powdered sugar
- Butter
- Salt
- Maple extract (or vanilla, if you don’t have maple extract on hand)
- Maple syrup (please do me a courtesy and use the real stuff for this recipe! Sorry, but Hungry Jack is not invited to this party.)
Blessedly, you most likely have everything you need to make these cookies come to life, so you can make them, like, right after you read this post.
How to Make Maple Cream Cookies
There are three basic steps to make these cookies: Bake the cookies, then make the frosting, then sandwich them together. The more detailed steps are pretty much just as simple! So, here’s how it’s done:
Time needed: 1 hour
- Step One: Make the cookie dough.
In the bowl of a food processor, mix together the ingredients for the cookies. Once you add the butter, the mixture should look like wet sand when it’s done being mixed.
- Step Two: Shape the dough and cut into cookies.
Transfer the dough to a surface and gently pat or knead the dough into a square. Move the dough to well-floured surface. Roll out dough, then cut into circles, squares, leaf shapes, etc.
- Step Three: Freeze the cookies.
Transfer the cookies to a parchment paper-lined baking sheet. Freeze the cookies for about 15 minutes or until they’re firm and no longer pliable.
- Step Four: Bake the cookies.
Transfer enough cookies to a second parchment paper-lined baking sheet so they have about a 1/2-inch between each other. Bake approximately 15 minutes or until the cookies are baked through and lightly golden on the edges. Transfer the cookies to a cooling rack to cool completely; repeat with remaining cookies.
- Step Five: Make the maple buttercream frosting.
In a large bowl, beat some butter until smooth. Gradually beat in powdered sugar and maple syrup, then beat the mixture on high until everything is light and fluffy.
- Step Six: Assemble the cookies.
Turn over half of the cookies so the bottom side is facing up. Pipe, spread or spoon some frosting on the cookies, then top with the remaining cookies to form a sandwich. EAT.
Tips for the Best Maple Cream Cookies
Let’s cap off this ode to the most falliest of all the fall baking treats with a few tips, shall we?
- When working with a shortbread dough, don’t be alarmed if you dump it out of the food processor and it’s just a hot mess. That’s normal! Give it a few kneads with your hands and it will come together. If it doesn’t, place the dough back into the food processor and process a few more times to incorporate the ingredients.
- Flour is your friend! Be sure to have a fairly liberally floured surface to roll out the cookie dough, and make sure the rolling pin is also covered in flour so the dough doesn’t stick to it. You can re-roll the dough scraps up to 2 more times, but try to cut out as many cookies from the first roll as you can.
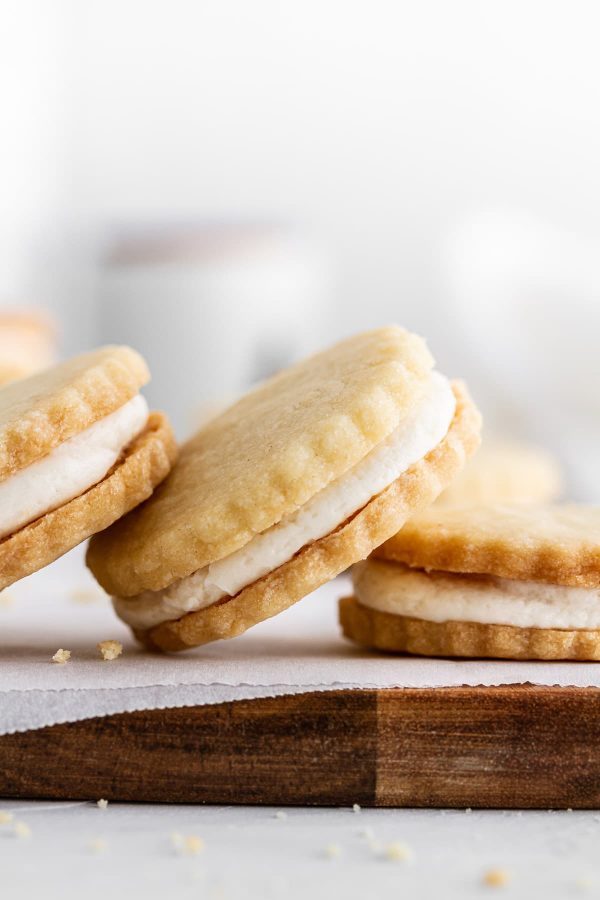
- When I make buttercream frosting, I like to whip it on high speed for a good minute or two after all the ingredients are added so the mixture can get really smooth, fluffy and light. You’ll know the buttercream is ready for piping when you can spoon or spread it and it doesn’t move or melt.
- We stored some of these at room temperature and some in the fridge because we’re freaks who like cold cookies, and the cookies stored well both ways. So choose what works best for you! Either way, they’ll stay fresh for about 3-4 days.
If you’re not fully into the fall spirit like I am, I bet these cookies will change things around for you. I’m 100% going to make these as often as possible until the last leaf (sniffle) falls.
Print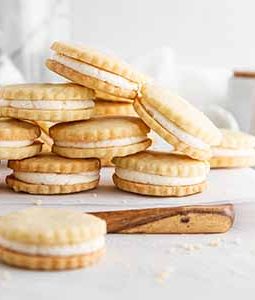
Maple Cream Cookies
- Prep Time: 20 minutes
- Cook Time: 15 minutes
- Total Time: 1 hour
- Yield: About 18 to 20 sandwich cookies 1x
- Category: Dessert
- Method: Bake
- Cuisine: Canadian
Description
These shortbread maple cream cookies are sandwiched with sweet, maple-flavored frosting for the ultimate fall treat. Make this traditional Canadian cookie in your own kitchen and enjoy them all season long.
Ingredients
- 2 cups all-purpose flour
- 3 cups powdered sugar, divided
- 1/2 teaspoon salt
- 1 1/2 teaspoons maple extract or vanilla
- 1 1/2 cups (3 sticks) unsalted butter, softened and cut into cubes
- 1/4 cup maple syrup
Instructions
- First, make the cookies: Heat oven to 325°F. Line 2 baking sheets with parchment paper.
- Add flour, 1 cup powdered sugar and salt to a food processor. Pulse a few times to combine, then add maple extract and 1 cup cubed butter. Pulse mixture until butter is incorporated and mixture looks like wet sand and begins to climb up sides of bowl.
- Transfer dough to a counter and gently press into a mound. The mixture will be loose and crumbly, but knead it a few times until it comes together into a cohesive shape. Gently form dough into a square. Sprinkle flour onto counter next to the dough; place dough on top of floured surface.
- Using a well-floured rolling pin, roll dough out to 1/4-inch thickness. Using a floured 2-inch round cookie cutter, cut dough into shapes (you can also use a different cookie cutter shape or cut the dough into squares, if desired). Re-roll dough out 1-2 times to cut out more shapes, if needed. You should end up with approximately 36-40 cookies.
- Transfer cookies to one lined baking sheet. Place baking sheet in freezer and freeze cookies for about 15 minutes or until cookies are firm.
- Transfer some of the cookies to second lined baking sheet — as many as can fit spaced 1/2-inch apart (keep remaining cookies in freezer). Bake cookies 15 to 18 minutes until baked through and edges are lightly golden.
- Cool cookies 1-2 minutes on cookie sheet, then transfer to a cooling rack to cool completely. Repeat step 6 as needed until all cookies are baked.
- While cookies cool, make the maple buttercream frosting: In a large bowl using an electric hand mixer or in the bowl of a stand mixer fitted with the paddle attachment, beat remaining 1/2 cup butter on medium speed until smooth. Gradually beat in remaining 2 cups powdered sugar until smooth. Beat in maple syrup. Increase speed to medium-high and beat frosting 1-2 minutes or until fluffy and light.
- On a work surface, lay half of cooled cookies bottom side-up. Use a piping bag, storage bag with one tip snipped off or a spatula to pipe or spread approximately 1 generous tablespoon frosting on cookies. Top with remaining cookies to form a sandwich.
- Store cookies in an airtight container at room temperature or refrigerated up to 4 days.
Notes
- To make these extra-traditional, use a maple leaf-shaped cookie cutter for the cookie dough.
- Make these ahead! You can freeze the baked cookies for up 2 months; make and refrigerate the frosting in a covered container up to 1 day in advance.

These remind me of my grandma…..she always had them at her house. I haven’t had them for years (decades, actually!) so I will have to make these.
LC — I love that so much. xx
Hi! I have a grain allergy. Is there a grain free flour blend you may recommend to try to recreate this grain free? Thank you!
Coco, You could try Bob’s Red Mill’s 1:1 All-Purpose Gluten Free Flour, if you’re able to have that! That’s my favorite alternative flour.
What tip did you use to pipe the filling? And can you link us to the cookie cutter you used – it so pretty! Can you email me when you answer or with the answer. New to your site.
Pamela Anne, I used this cookie cutter and a Wilton 2A piping tip. Will also email you this info!
Pingback: Esto y aquello - Cook Isands Arts
Thanks for posting this! Here in Canada the pre-packaged ones are often made by Dare Foods, and they have a few different types – Maple, Lemon, Coconut off the top of my head.
Many years ago I used to enjoy ones they offered simply called “Butter,” and the filling tasted like just that – butter. I haven’t been able to find them for years now, and Dare’s website no longer lists them…..so I’m thinking of getting adventurous and trying to make my own. However, I’m pretty useless in the kitchen and have baked cookies a grand total of 2 or 3 times in my life, lol.
If I wanted to make a butter-flavoured version of this, would I just omit the maple syrup (and use vanilla extract) but otherwise follow the recipe? Or would there be something else I would need to add to enhance the butter flavour?
Thanks!
Mark
Hi Mark, Yes, I have heard about the Dare Foods brand, but I had no idea they made other flavors! My best guess to make the butter flavor would be to swap the maple extract for vanilla extract. I know there is also something called “butter extract,” which might work, but I’ve never used it. I hope that helps!
Wonderful, thank you! I’ll give that a try!
We Canadins take our Maple syrup seriously. I rarely use artificial anything. I could only find imitation Maple extract – almost a deal breaker but I wanted to try these. Made 4 batches for a gift basket project at our church. Used a Maple leaf cutter.
Better than Mr Dare – I dare say!
Dough is easy to work with. They do not spread if pre frozen as instructed. That bonified Maple syrup used in the filling comes through in the taste.
I have been a baker for more years than I care to admit. A first for using my food processor to mix cookie dough. Way easier than the Kitchenaid which sprews flour everywhere!