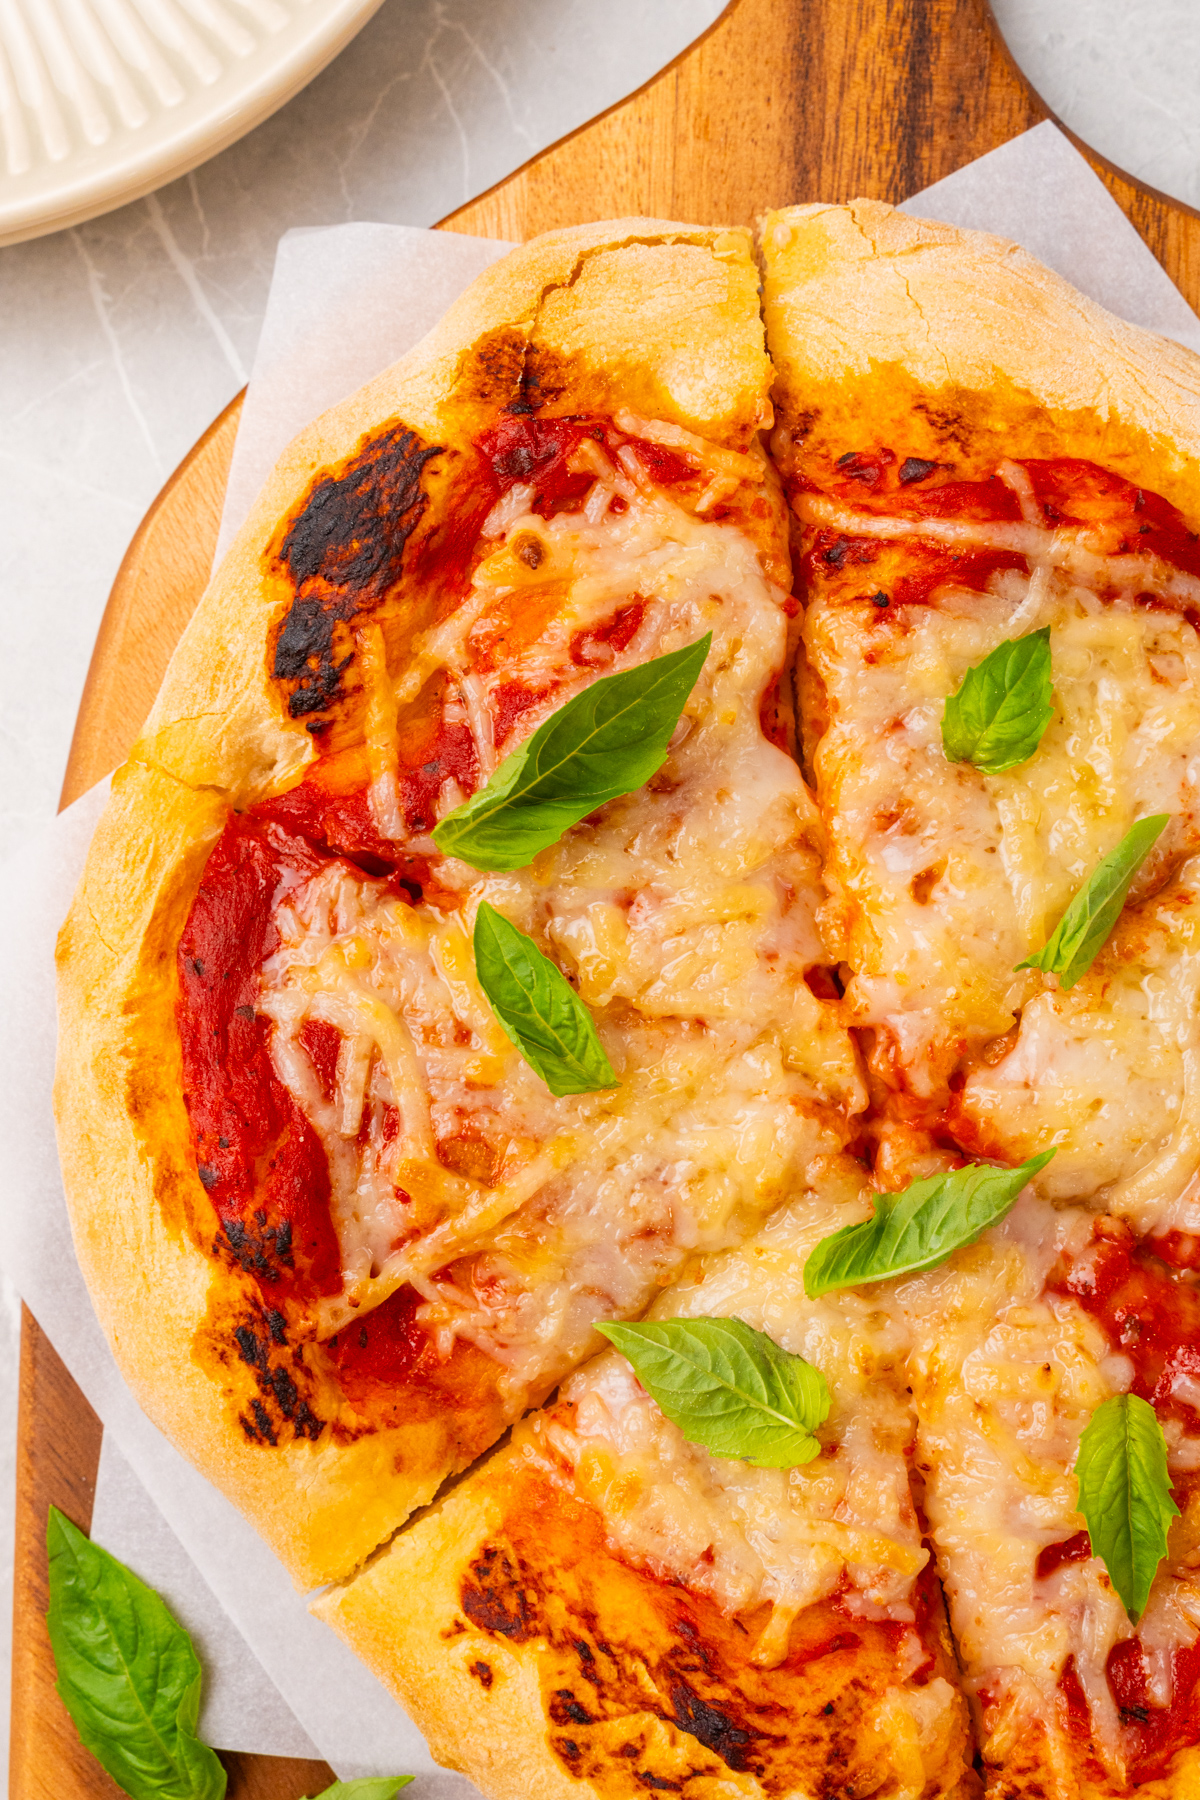
Nothing tastes quite as good as the food you can make from scratch, such as this quick and easy pizza dough recipe! Who needs takeout when you can prepare the dough at home and add your favorite sauce and toppings?

A Quick Look At The Recipe
This is a brief summary of the recipe. Jump to the recipe to get the full details.
Prep Time
20 minutes
Cook Time
15 minutes
Proof Time
2 hours
Total Time
2 hours 35 minutes
Servings
24 Slices
Difficulty
Intermediate
Calories *
69 kcal per serving
Technique
Yeasted dough, oven baked.
Flavor Profile
Mild, savory, slightly yeasty, lightly salted.
* Based on nutrition panel
“I’ve made a lot of pizza dough recipes over the years and this one has become my go-to. The dough was smooth and easy to shape, and the crust came out perfectly golden with just the right amount of chew. My family couldn’t believe it was homemade!”
⭐⭐⭐⭐⭐
Martha
Why You Will Love This Recipe
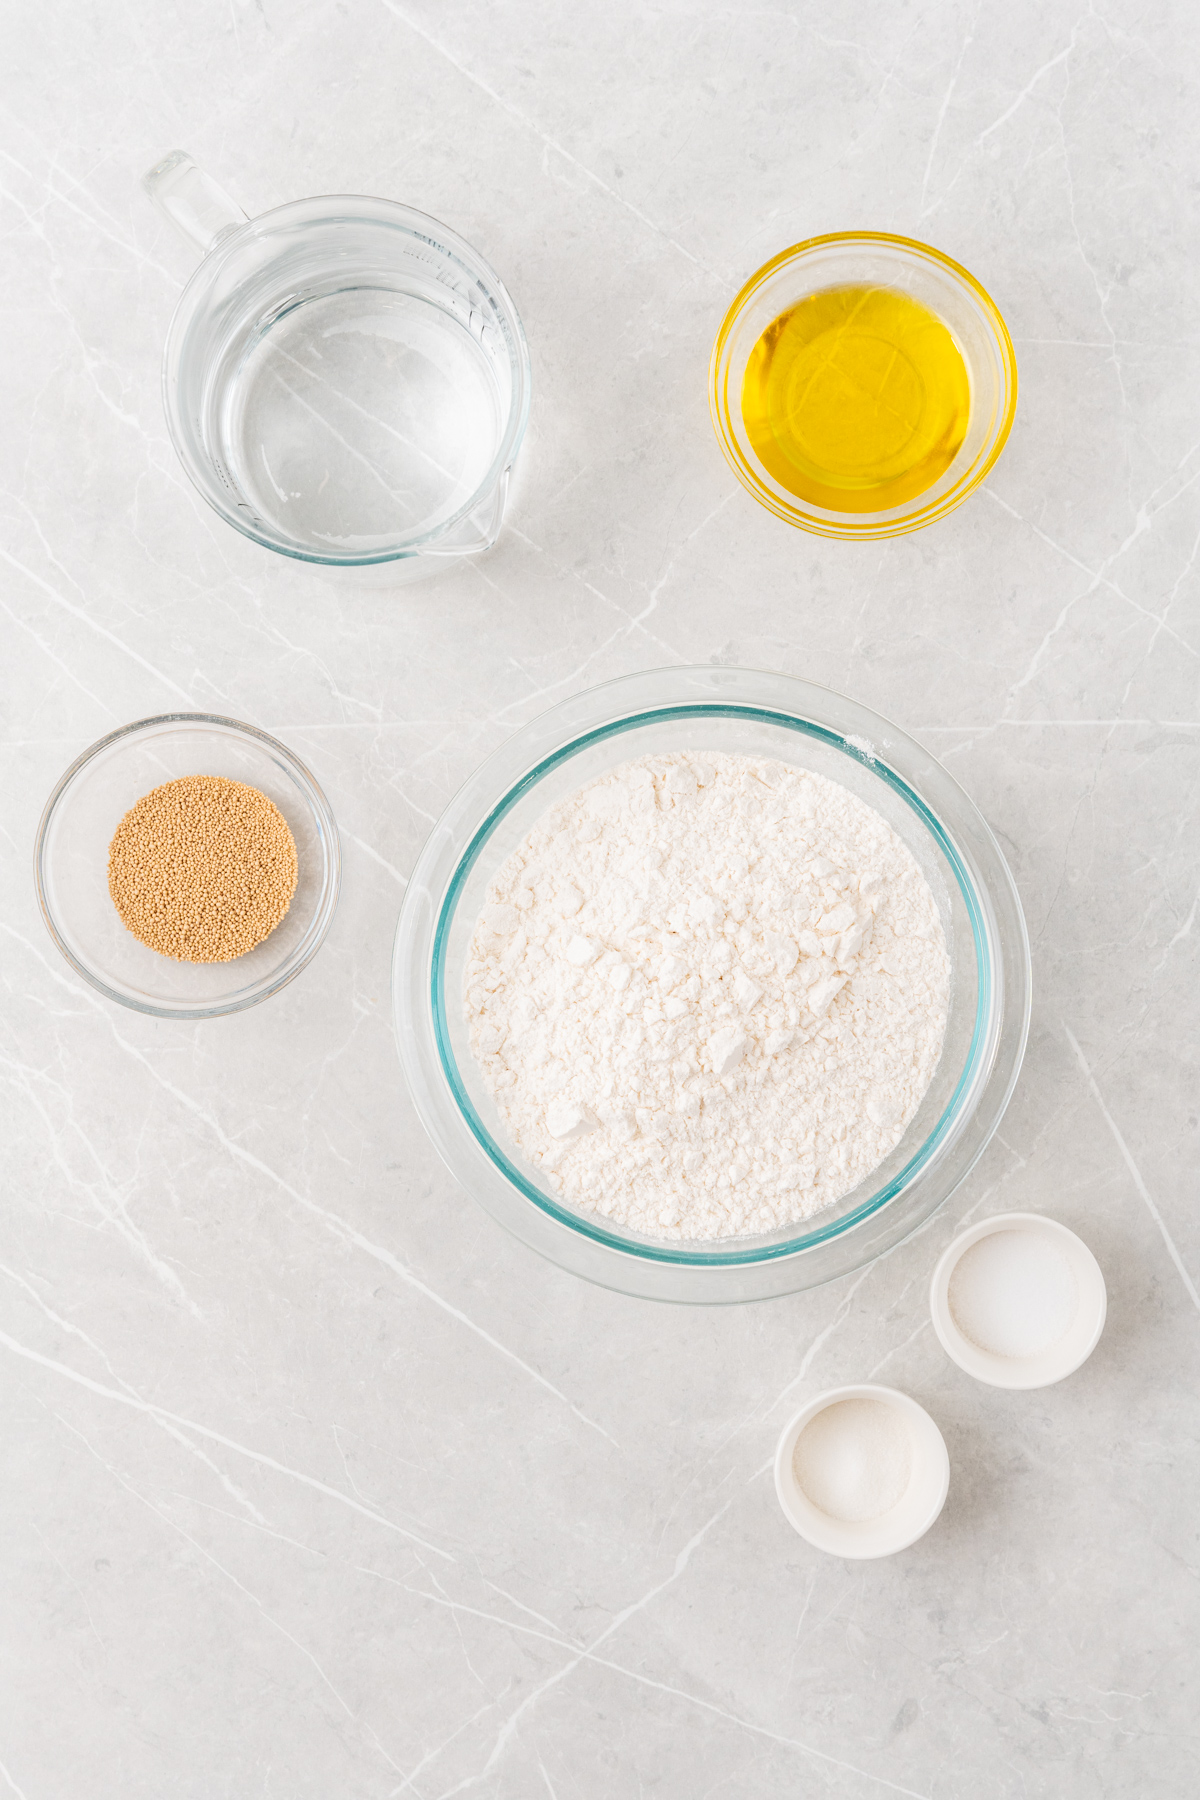
- Only six ingredients. You don’t need anything special to make a great crust. All-purpose flour, yeast, salt, sugar, olive oil, and warm water are likely already in your kitchen right now.
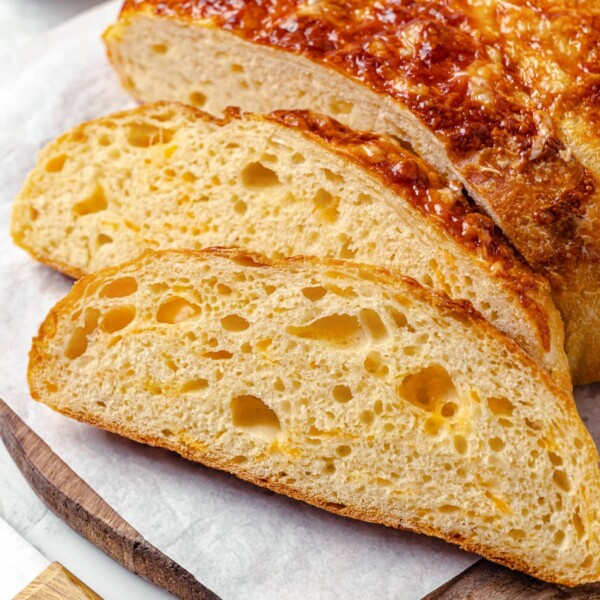
- Soft, chewy texture every time. The dough kneads up smooth and elastic in 5 to 7 minutes, which builds just enough gluten structure to give you that satisfying chew without a tough crust.
- Makes two full pizzas. One batch yields enough dough for two medium pizzas, so it’s easy to feed a crowd or freeze one portion for later in the week.
Pizza night at our house is one of those rituals that never gets old, and having a reliable dough recipe makes the whole thing feel easy instead of stressful. I love that this one is simple enough for a weeknight but still produces a crust worth looking forward to.
If you’re going the classic route with sauce and cheese, that’s always the move, but this dough is also surprisingly versatile. Try this dough with the best pizza sauce recipe then you can make pepperoni pizza or this pancetta pizza!
Ingredients & Substitutions
- Active Dry Yeast: This is what leavens the dough and gives the crust its airy, chewy texture. If you keep a sourdough starter, my sourdough discard pizza dough uses discard in place of commercial yeast for a slightly more complex flavor.
- Granulated Sugar: A small amount feeds the yeast during activation, helping it bloom quickly and reliably. You’ll know it’s working when the mixture turns foamy and fragrant.
- Warm Water: This activates the yeast and brings the dough together. The water should feel warm to the touch but not hot. Anything above about 120°F will kill the yeast, so if you don’t have a thermometer, aim for the temperature you’d use for a warm bath.
- All-Purpose Flour: This gives the dough its structure and creates that characteristic pizza crust chew. If you prefer a slightly heartier crust, you can make this whole wheat pizza dough(coming soon!)!
- Kosher Salt: Salt controls fermentation and develops flavor throughout the dough. It’s stirred into the flour before the wet ingredients are added, which keeps it from coming into direct contact with the yeast.
- Olive Oil: Oil coats the gluten strands, keeping the finished crust tender rather than tough. It also goes into the bowl during the rise to prevent the dough from sticking.
Variations for Pizza Dough Recipe
- Herb and Garlic Crust: Knead a tablespoon of dried Italian herbs and a teaspoon of garlic powder directly into the dough before the rise. The herbs infuse the whole crust rather than just sitting on top, which gives every bite a savory depth. You can do so much with this dough besides making a pizza! Try calzones, strombolis, and even garlic knots.
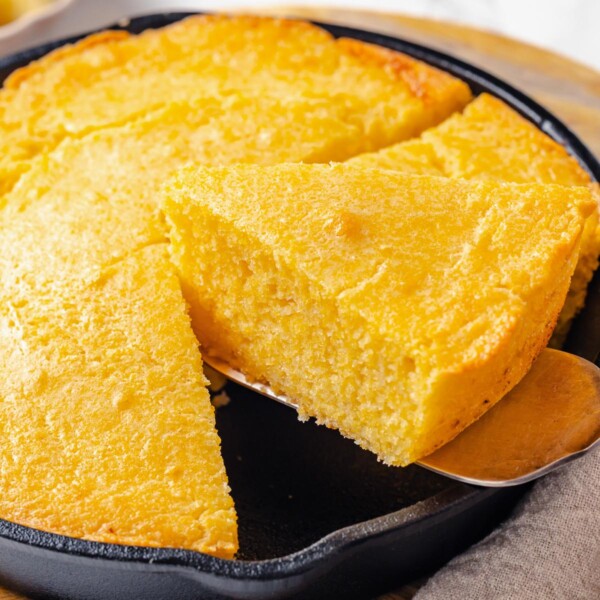
- Dessert Pizza: Once the dough is shaped, skip the tomato sauce and top it with sweetened cream cheese, chocolate, or fresh fruit instead. My cookies creme dessert pizza uses this same base dough and is a great starting point if you want to go the sweet route.
- Grilled Pizza: Stretch the dough thin, brush it with olive oil, and lay it directly on a preheated grill over medium-high heat. You get a charred, blistered crust with a slight smoky flavor that a home oven can’t replicate.
- Mini Personal Pizzas: Divide the dough into four portions instead of two and shape them small. Kids love assembling their own, and the smaller size bakes through a couple minutes faster than a full-sized pie.
Professional Tips for Perfect Pizza Dough Recipe
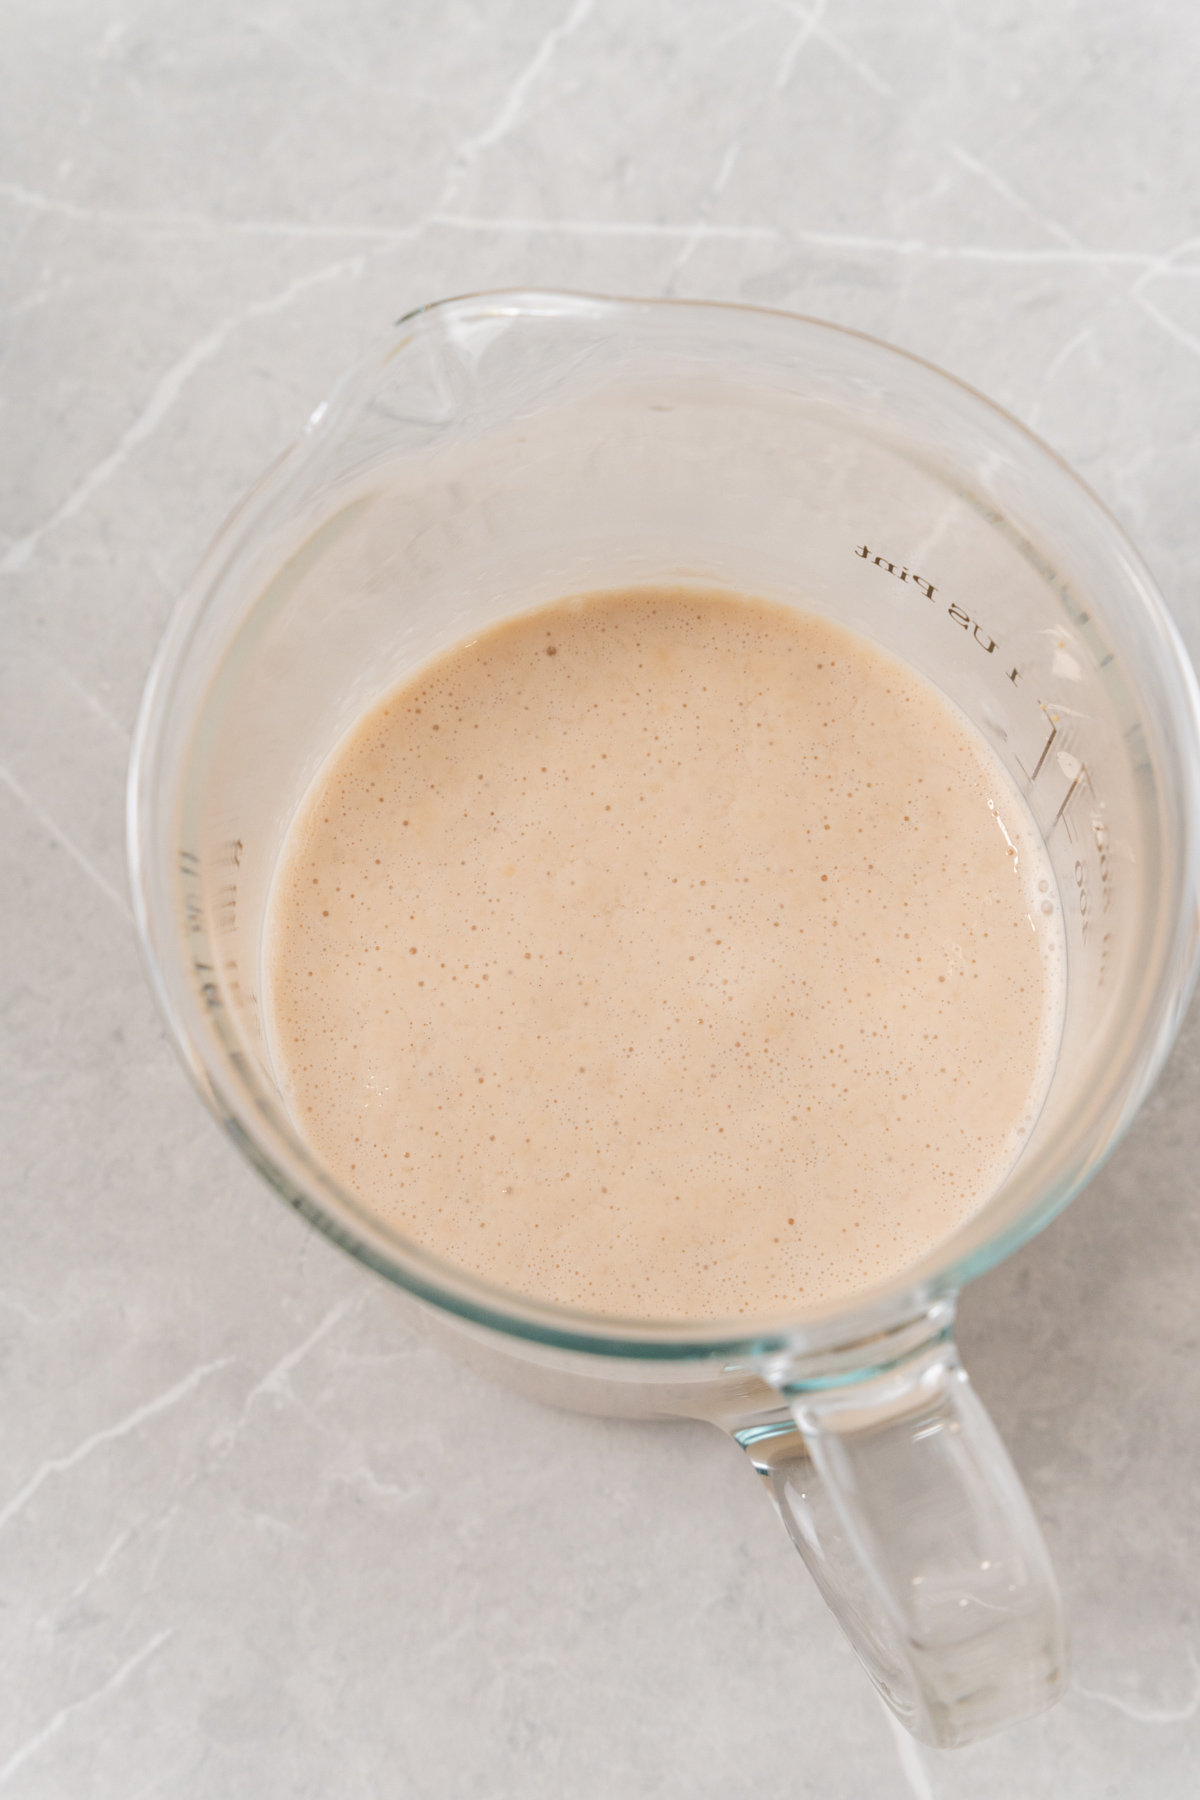
- Let the yeast bloom fully before moving on. Five minutes is the minimum, but if your kitchen is cool, give it a full 7-8 minutes. The mixture should look noticeably foamy and smell yeasty before it goes into the flour. If it’s flat and quiet, start over with fresh yeast rather than hoping it catches up in the dough. It needs to be activated in warm water first, so don’t skip the 5-minute bloom step.
- Don’t cut the knead short. Seven minutes of kneading feels like a long time, but it’s what builds the gluten structure that lets the crust stretch without tearing and chew without being tough. The dough is ready when it’s smooth, springs back when you poke it, and no longer sticks to your hands.
- Proof in the oven with just the light on. This is my go-to trick! The light generates just enough warmth to create a consistent, draft-free environment, which is especially helpful in colder kitchens where counter proofing can stall and drag out to well over two hours.
- Preheat your baking surface. Putting the pizza onto a cold baking sheet gives you a pale, soft bottom crust. A preheated stone or sheet hits the dough with immediate high heat, which is what creates a crisp undercarriage in those 12 to 15 minutes of bake time.
How to Make Pizza Dough Recipe
Use these step-by-step instructions to make a soft, chewy pizza dough! Further details and measurements can be found in the recipe card below.
Activate the yeast
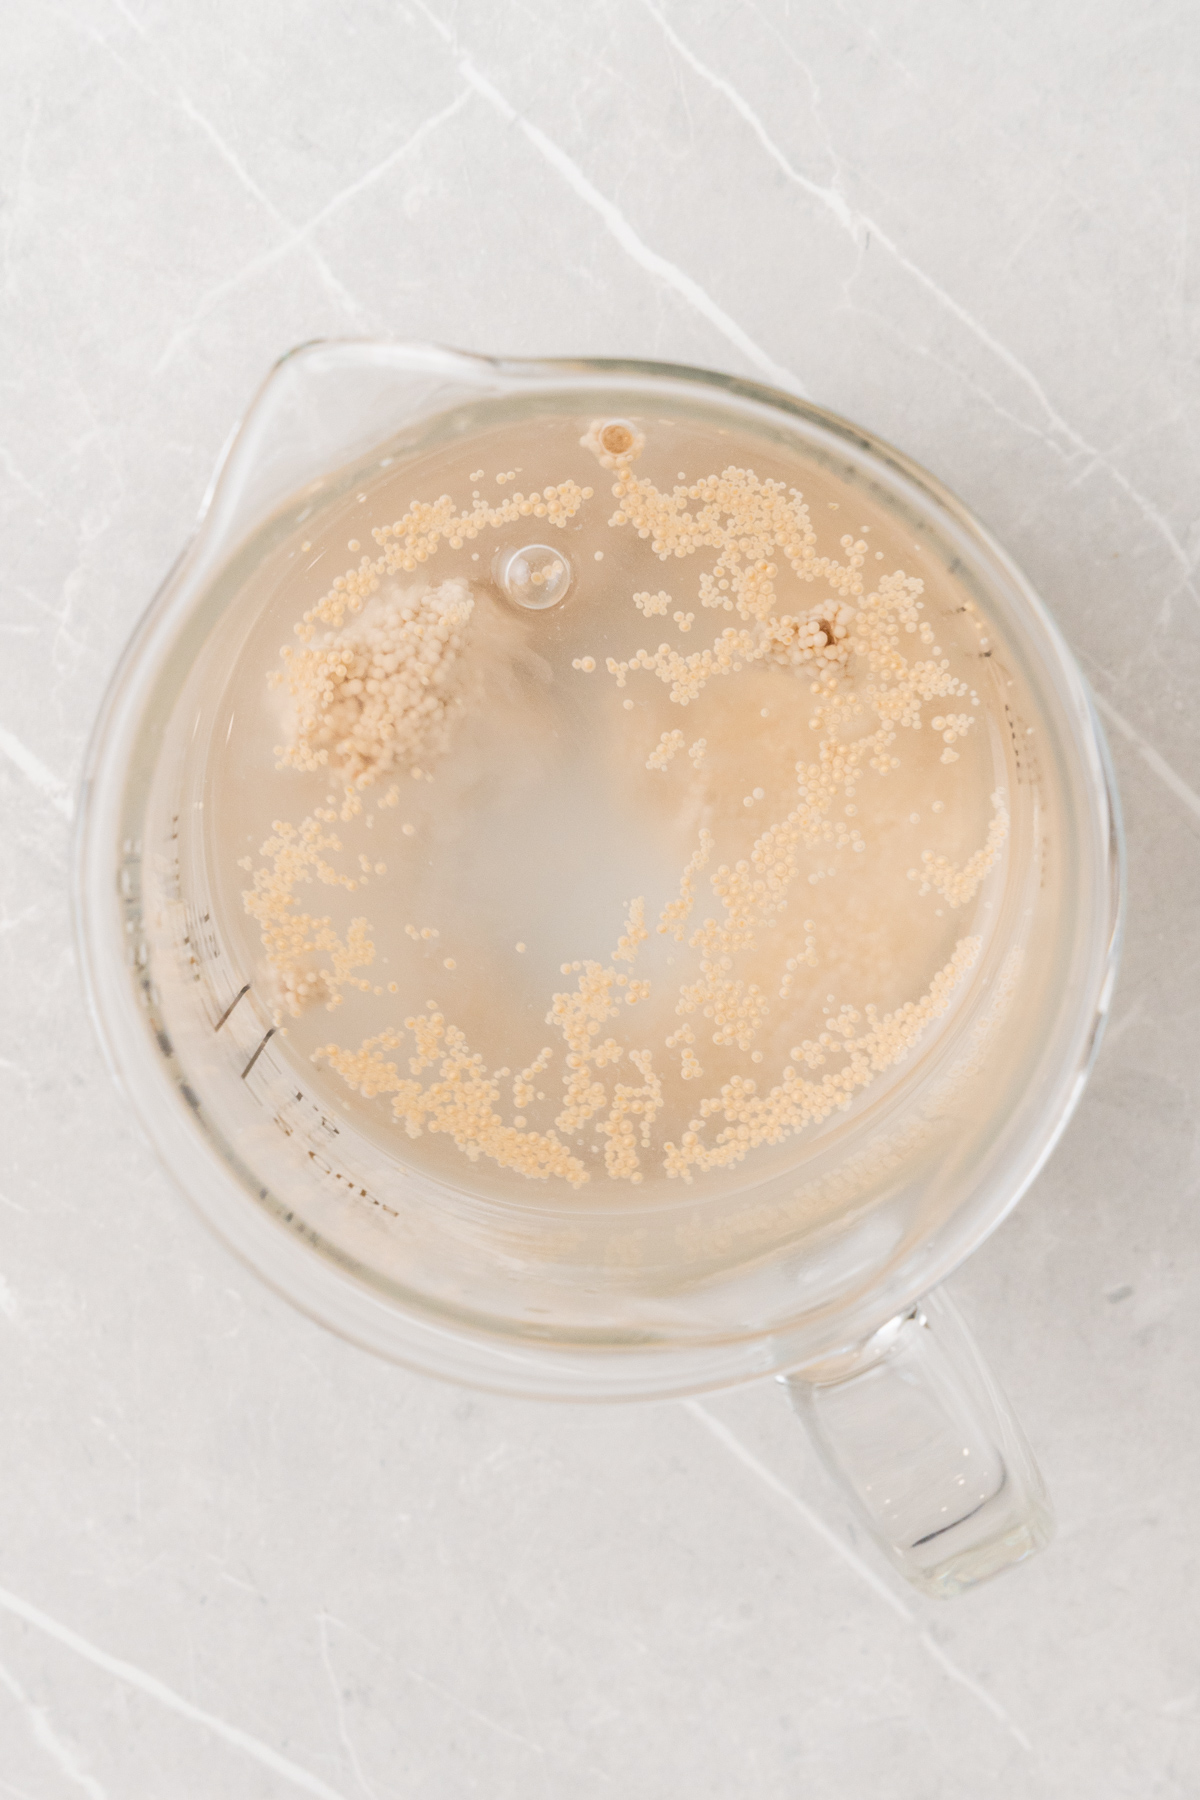
Step 1: Combine the yeast, sugar, and warm water in a small bowl and stir gently to dissolve. Set it aside for 5 to 7 minutes. When it’s ready, the surface should look foamy and the mixture will smell noticeably yeasty. (photos 1 & 2)
Make dough
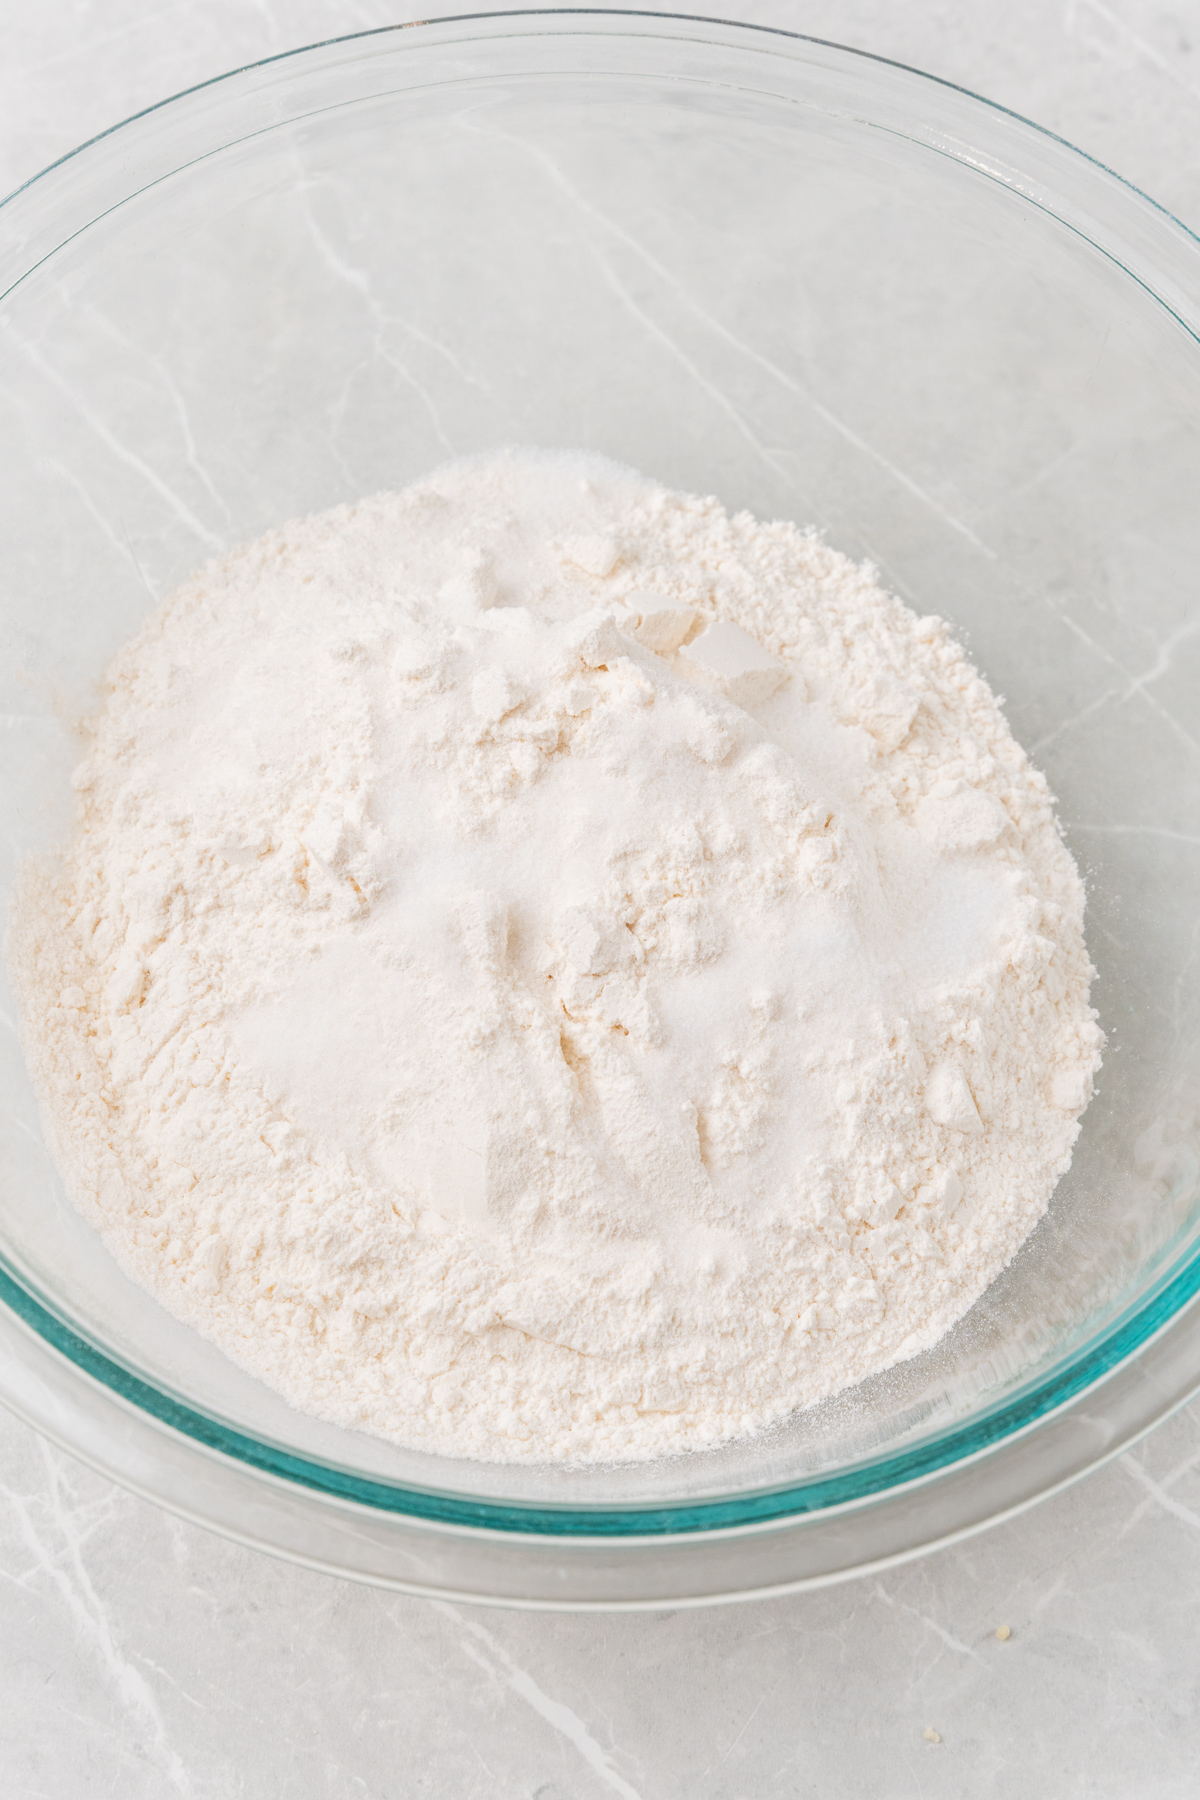
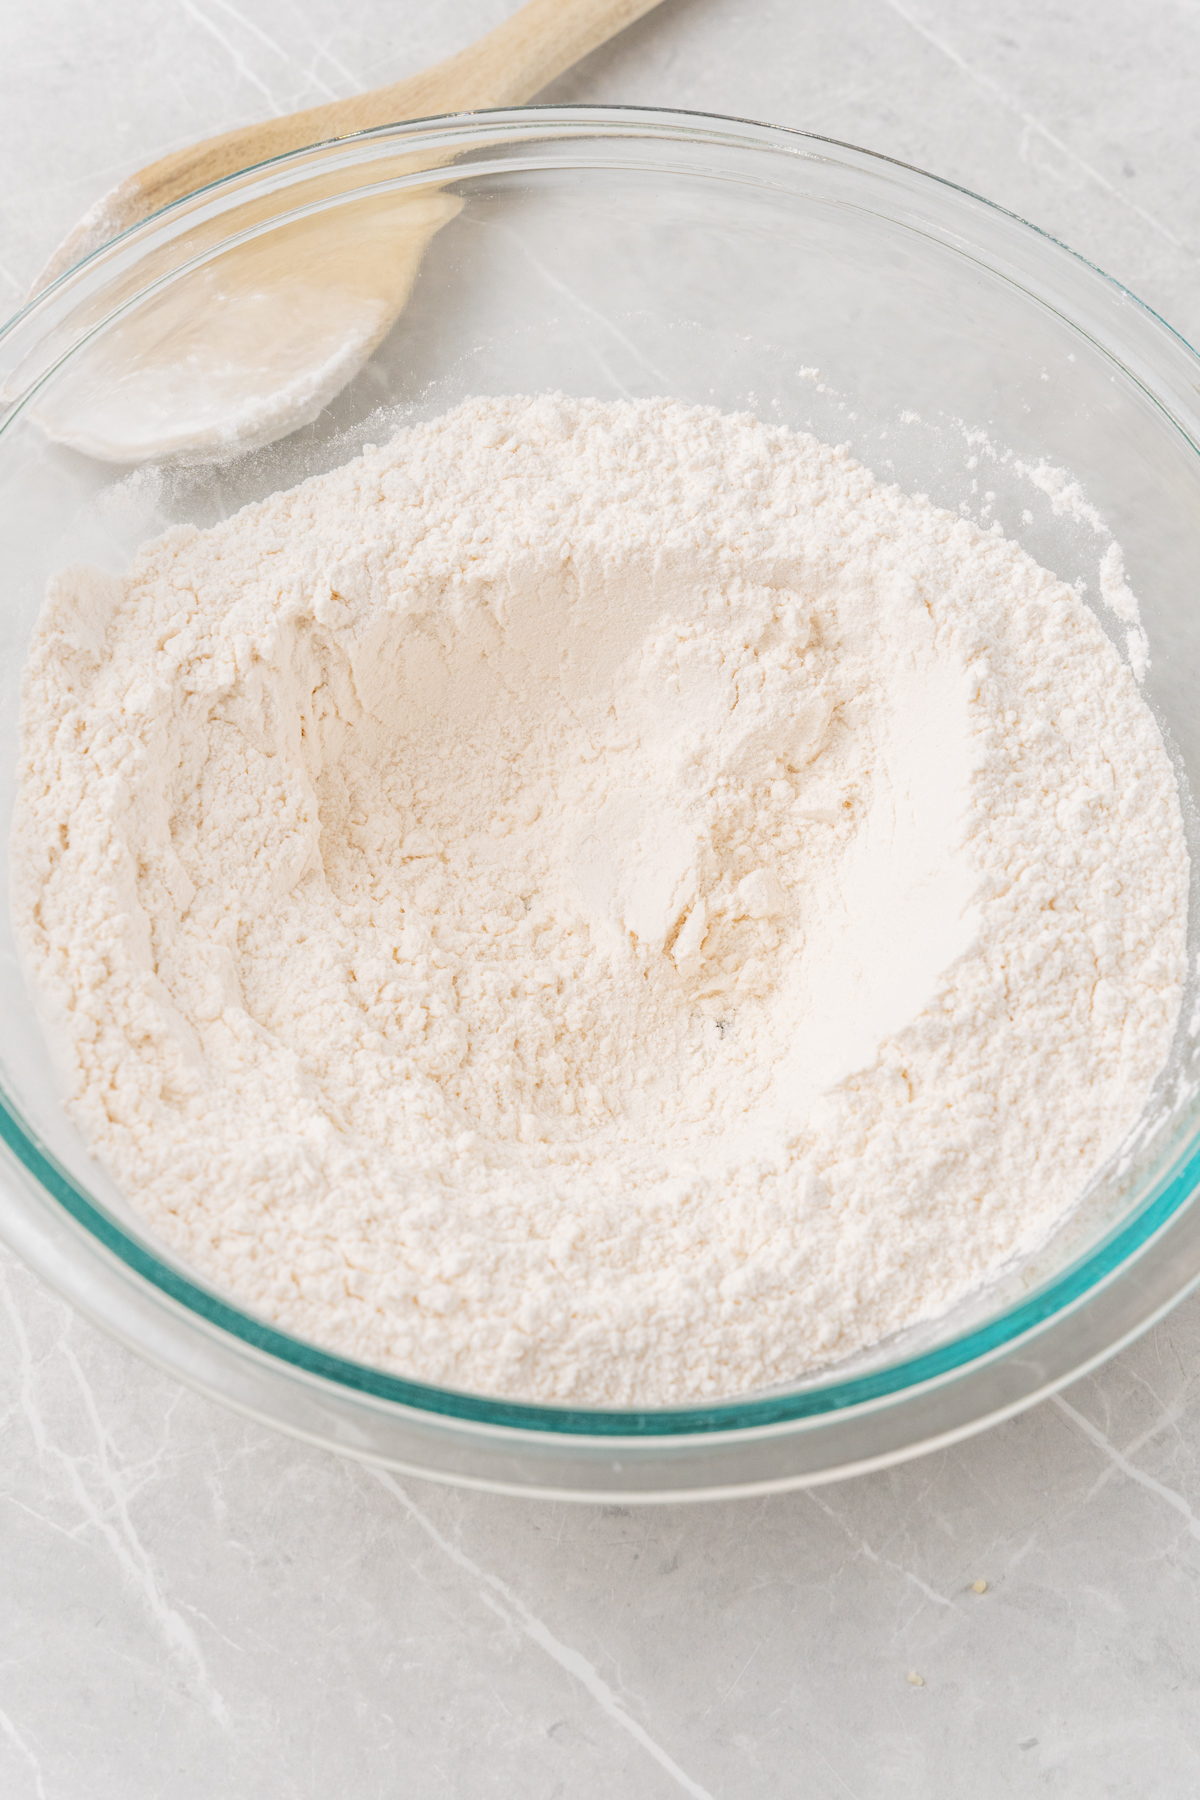
Step 2: Combine the dry ingredientsAdd the flour and salt to a large mixing bowl and stir them together briefly. Make a well in the center of the flour, which gives the wet ingredients a place to land and helps everything come together more evenly. (photos 3 & 4)
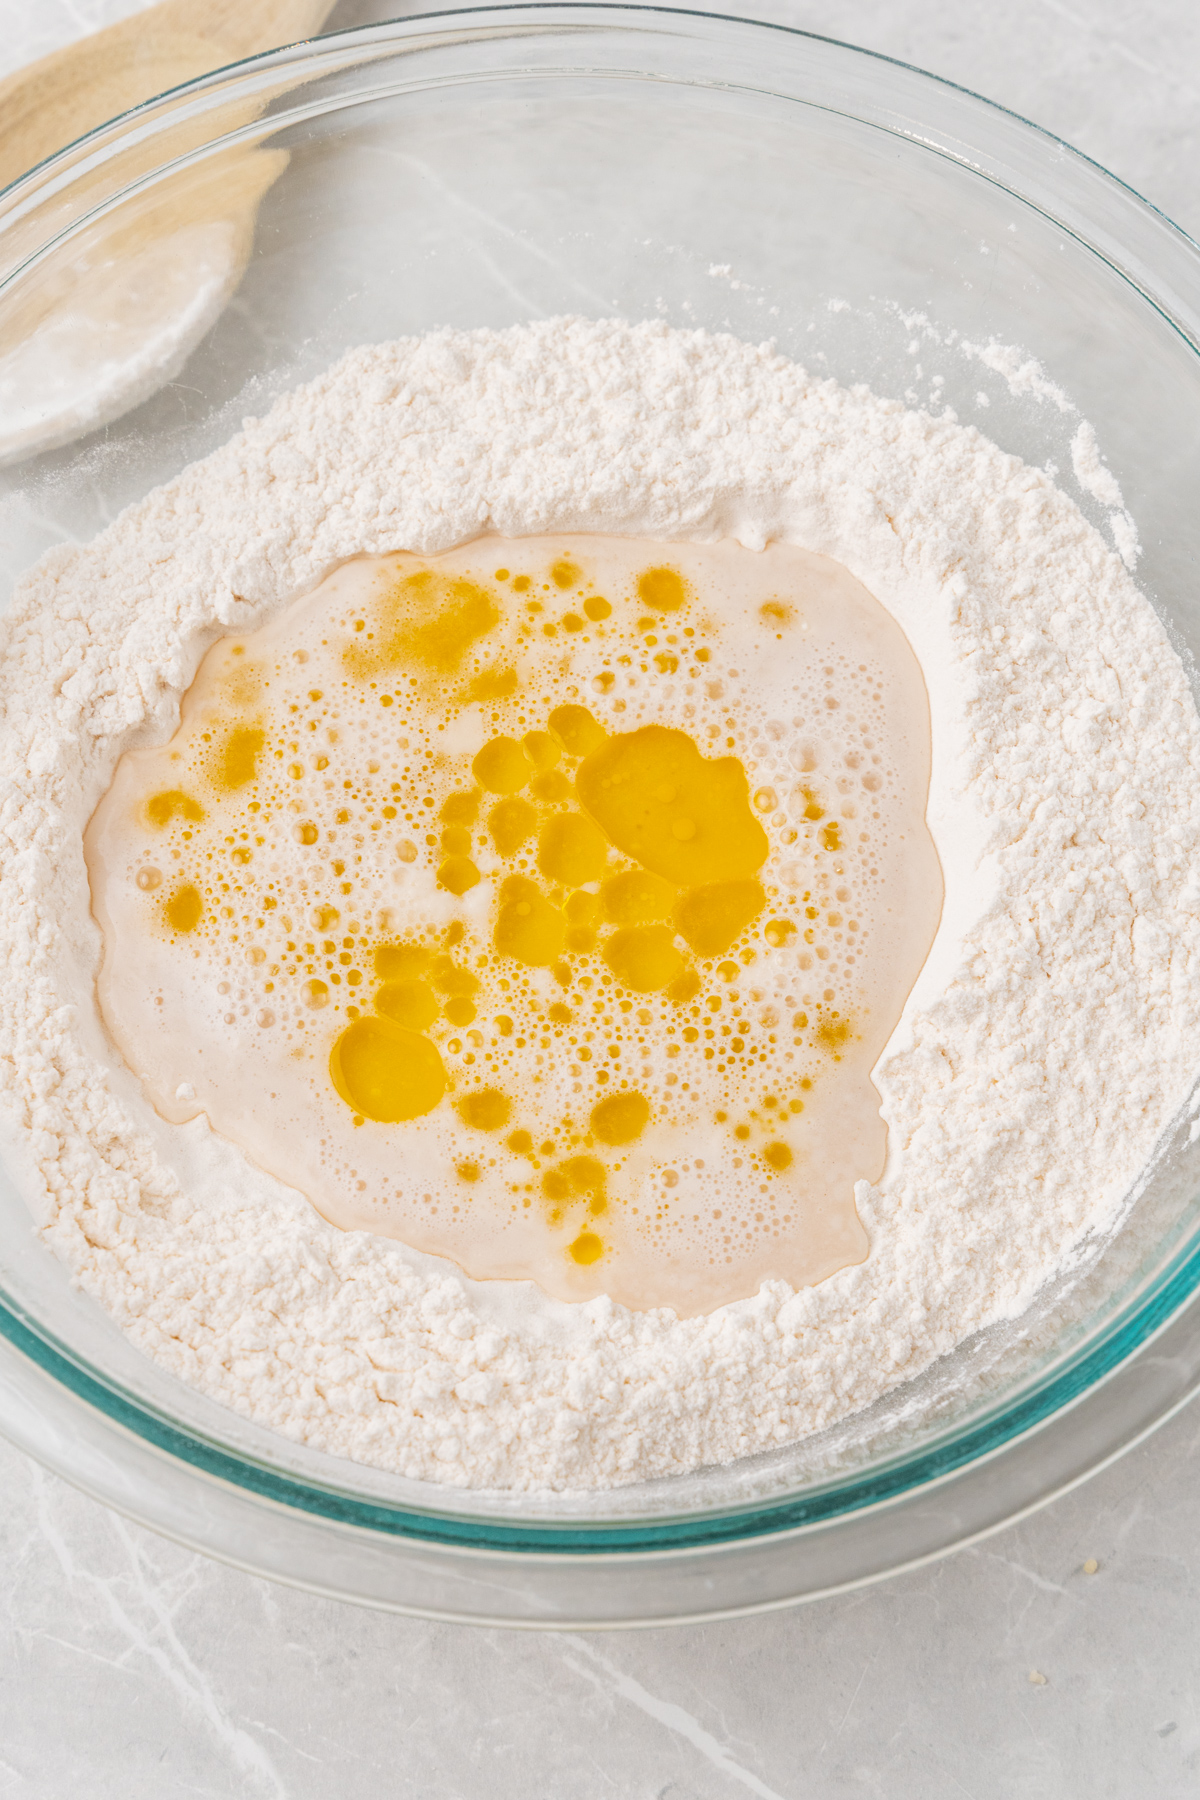
Step 3: Add the wet ingredients and mixPour the yeast mixture and olive oil into the well and stir with a spoon until a shaggy, rough dough forms. It won’t look smooth yet, and that’s completely normal. You’re just looking for most of the flour to be incorporated before you move to the counter. (photos 5 & 6)

Knead the dough
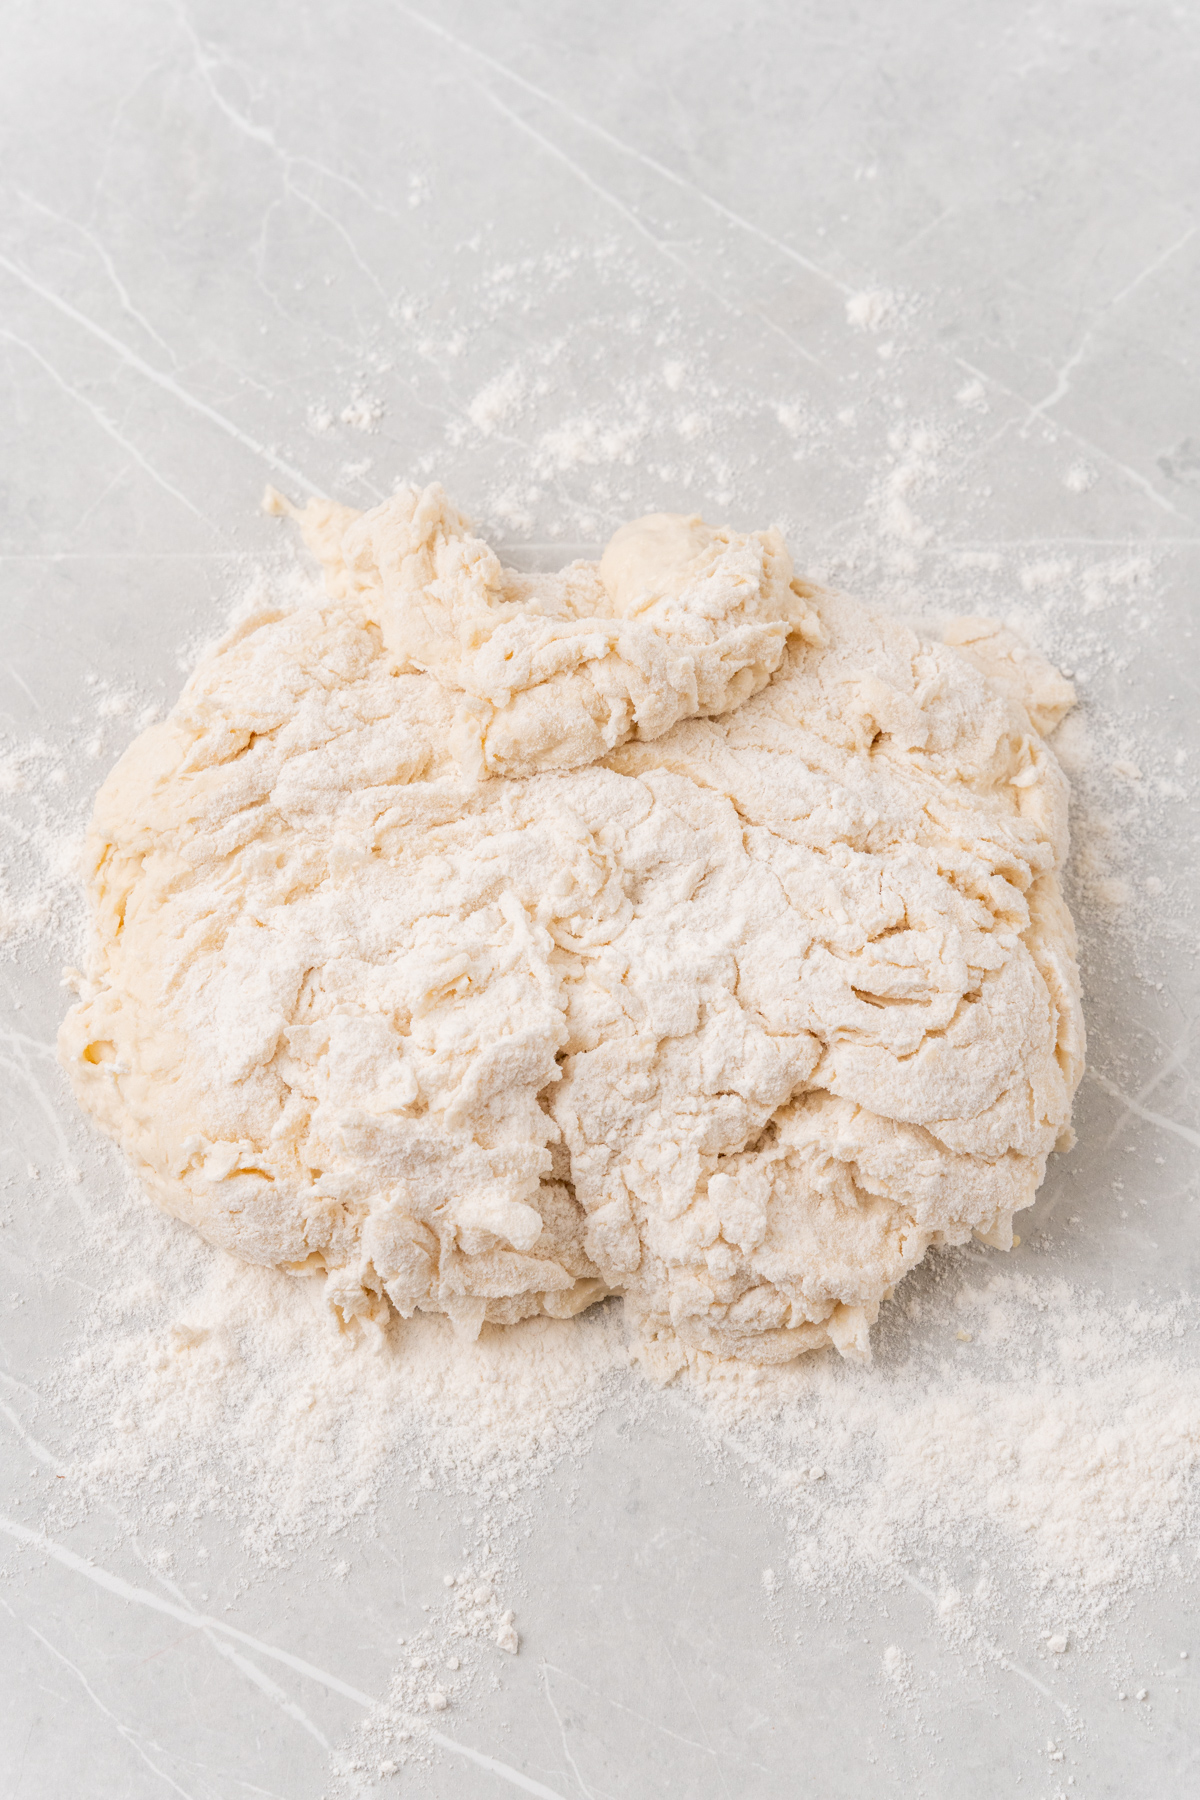
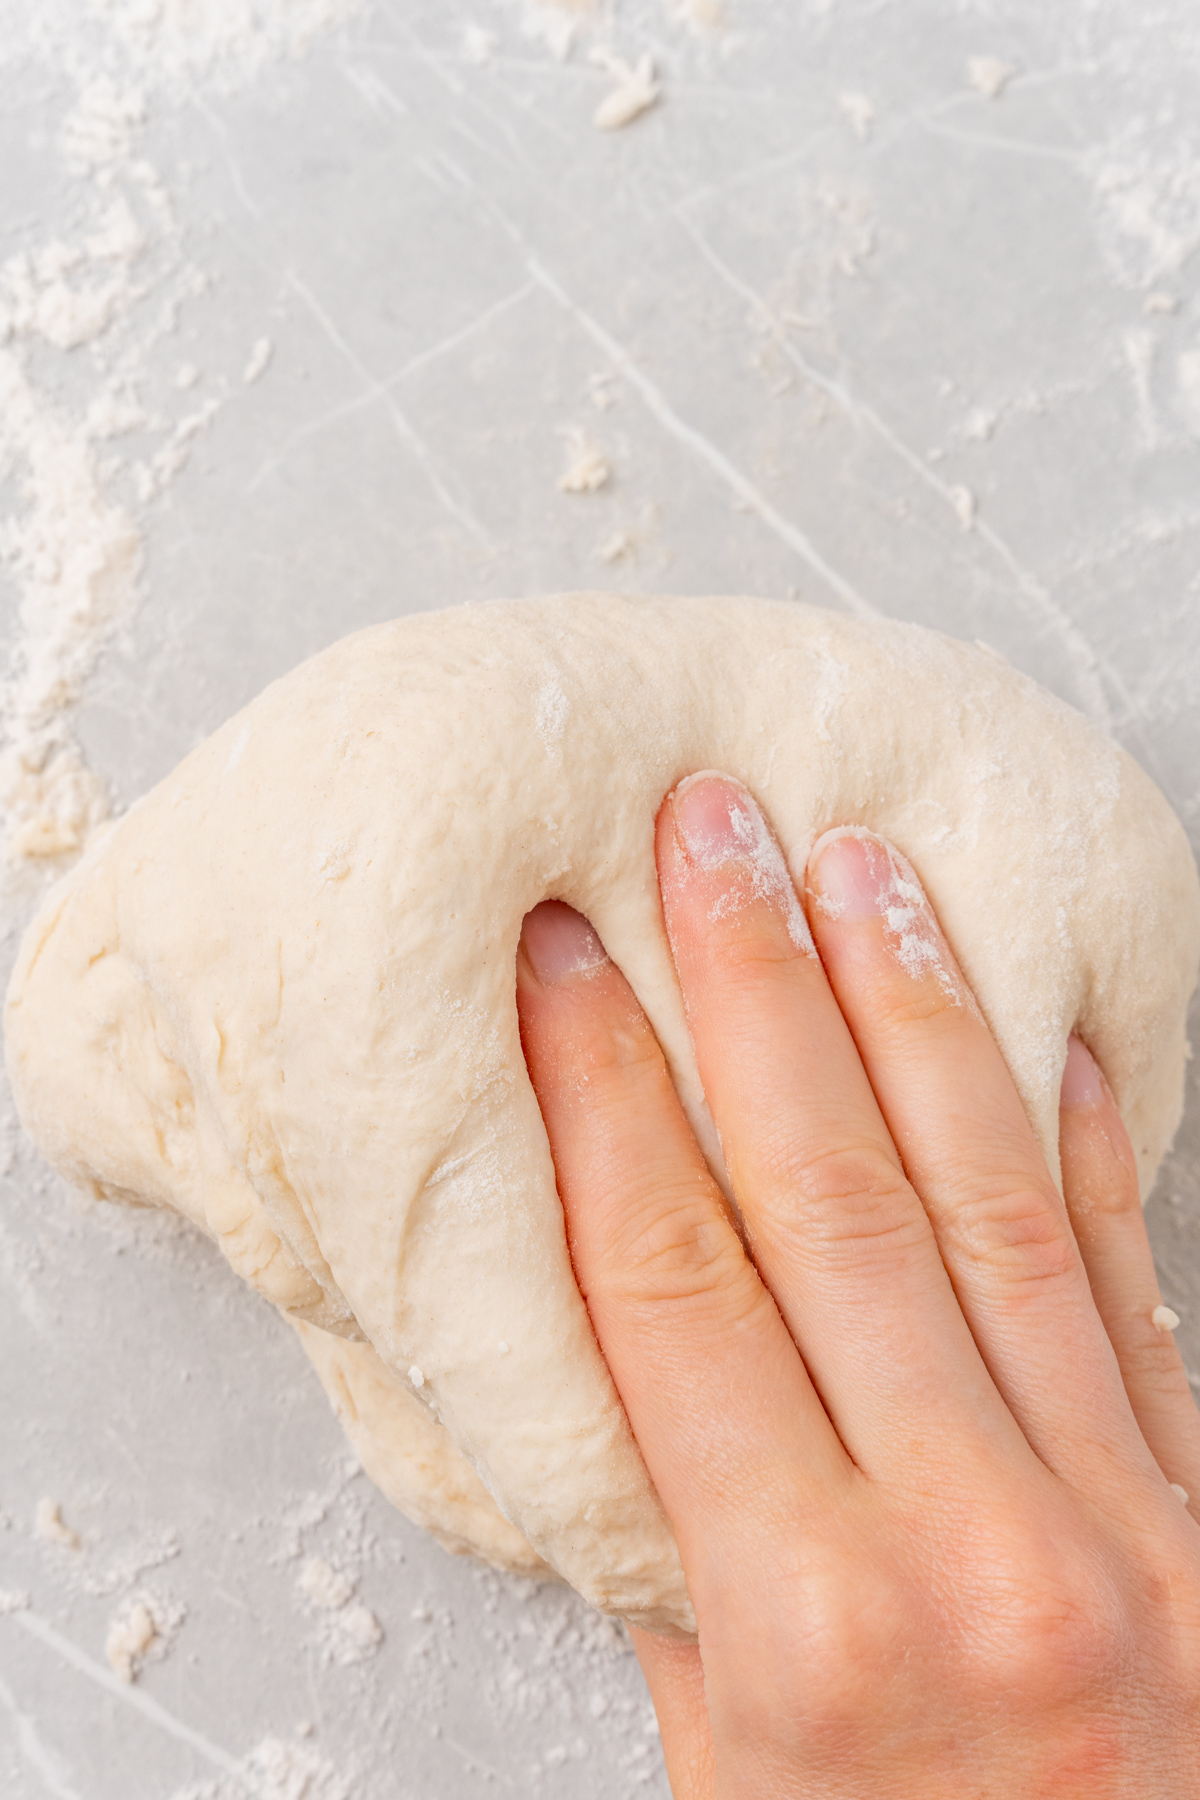
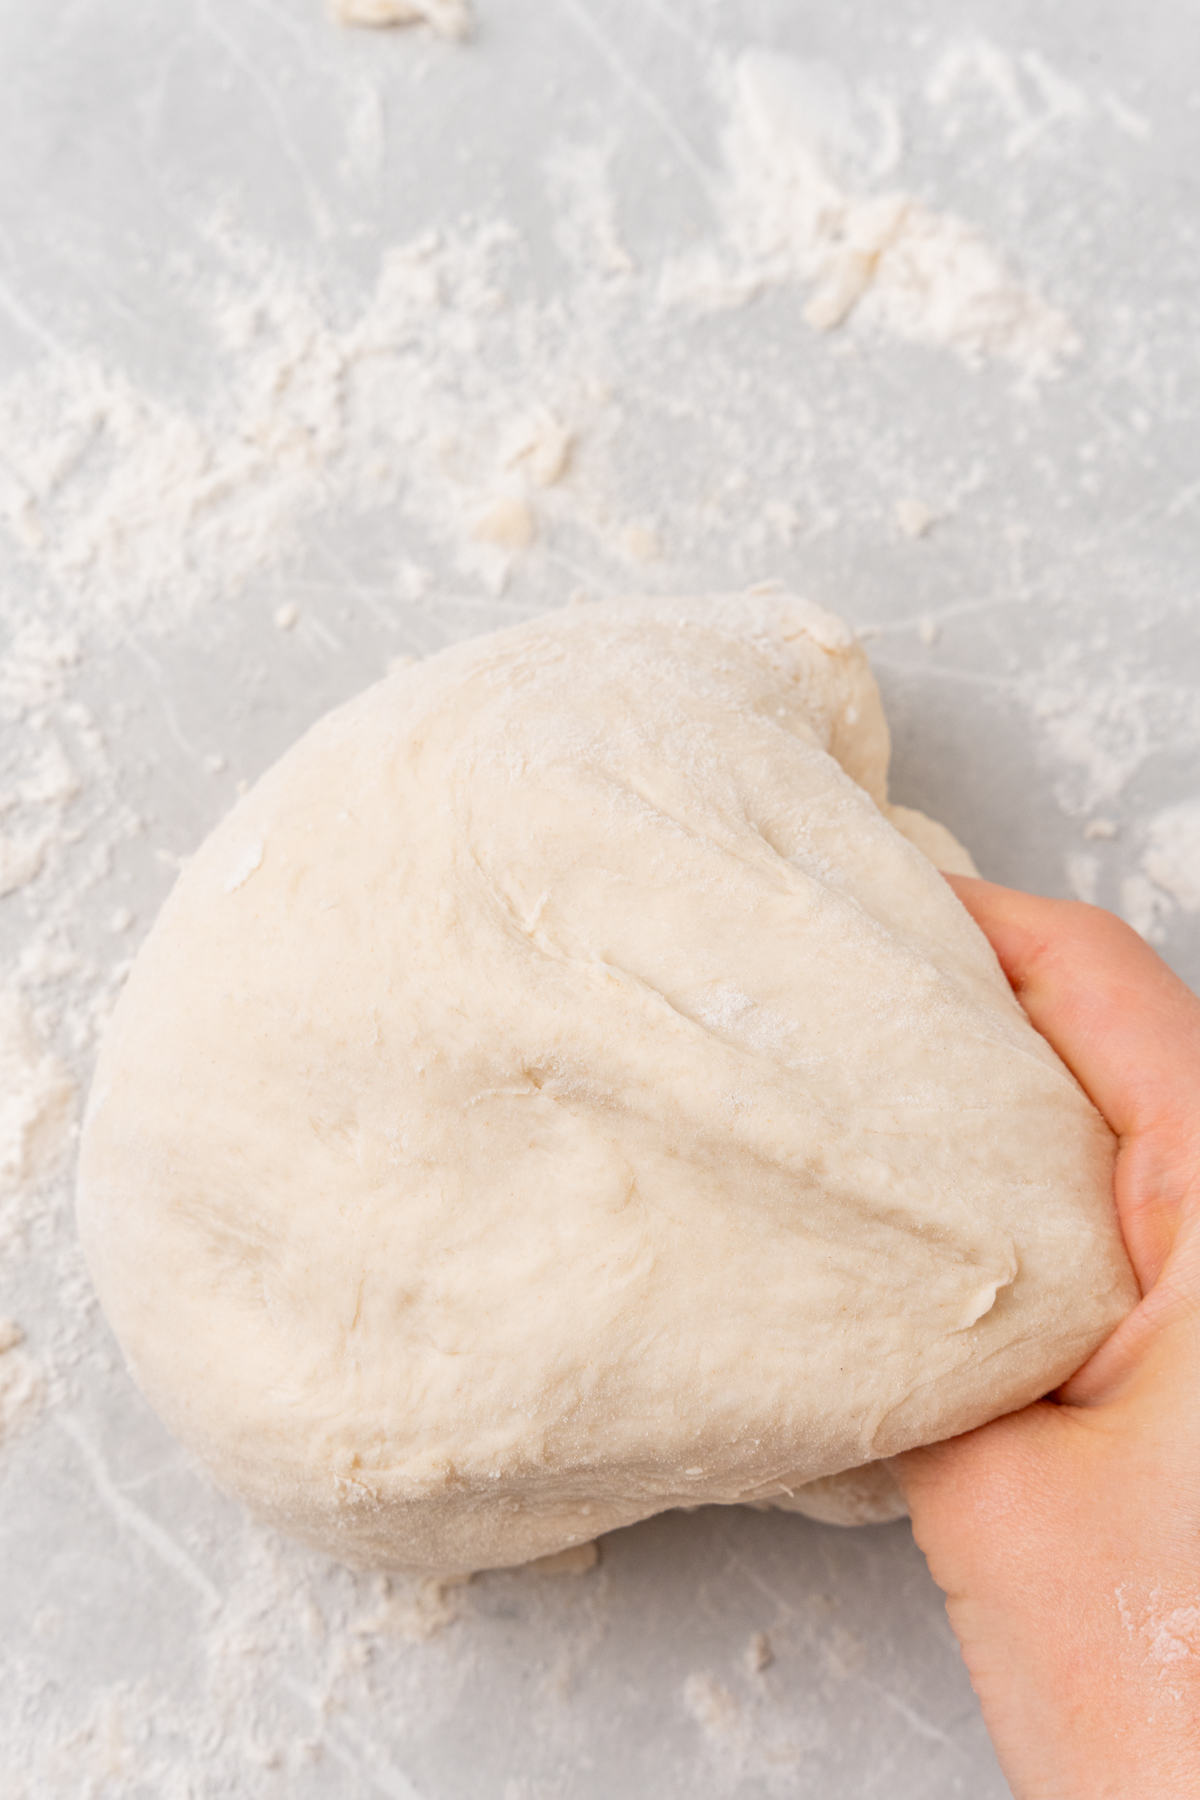
Step 4: Turn the dough out onto a lightly floured surface and knead for 5 to 7 minutes. In the first minute or two the dough will feel a little sticky and unruly, but keep going. As you knead, the texture gradually smooths out and becomes soft and elastic. The dough is ready when it springs back lightly when you press a finger into it and no longer sticks to your hands. If it’s still very tacky, add flour a tablespoon at a time, not all at once. (photos 7-9)
Proof and Divide
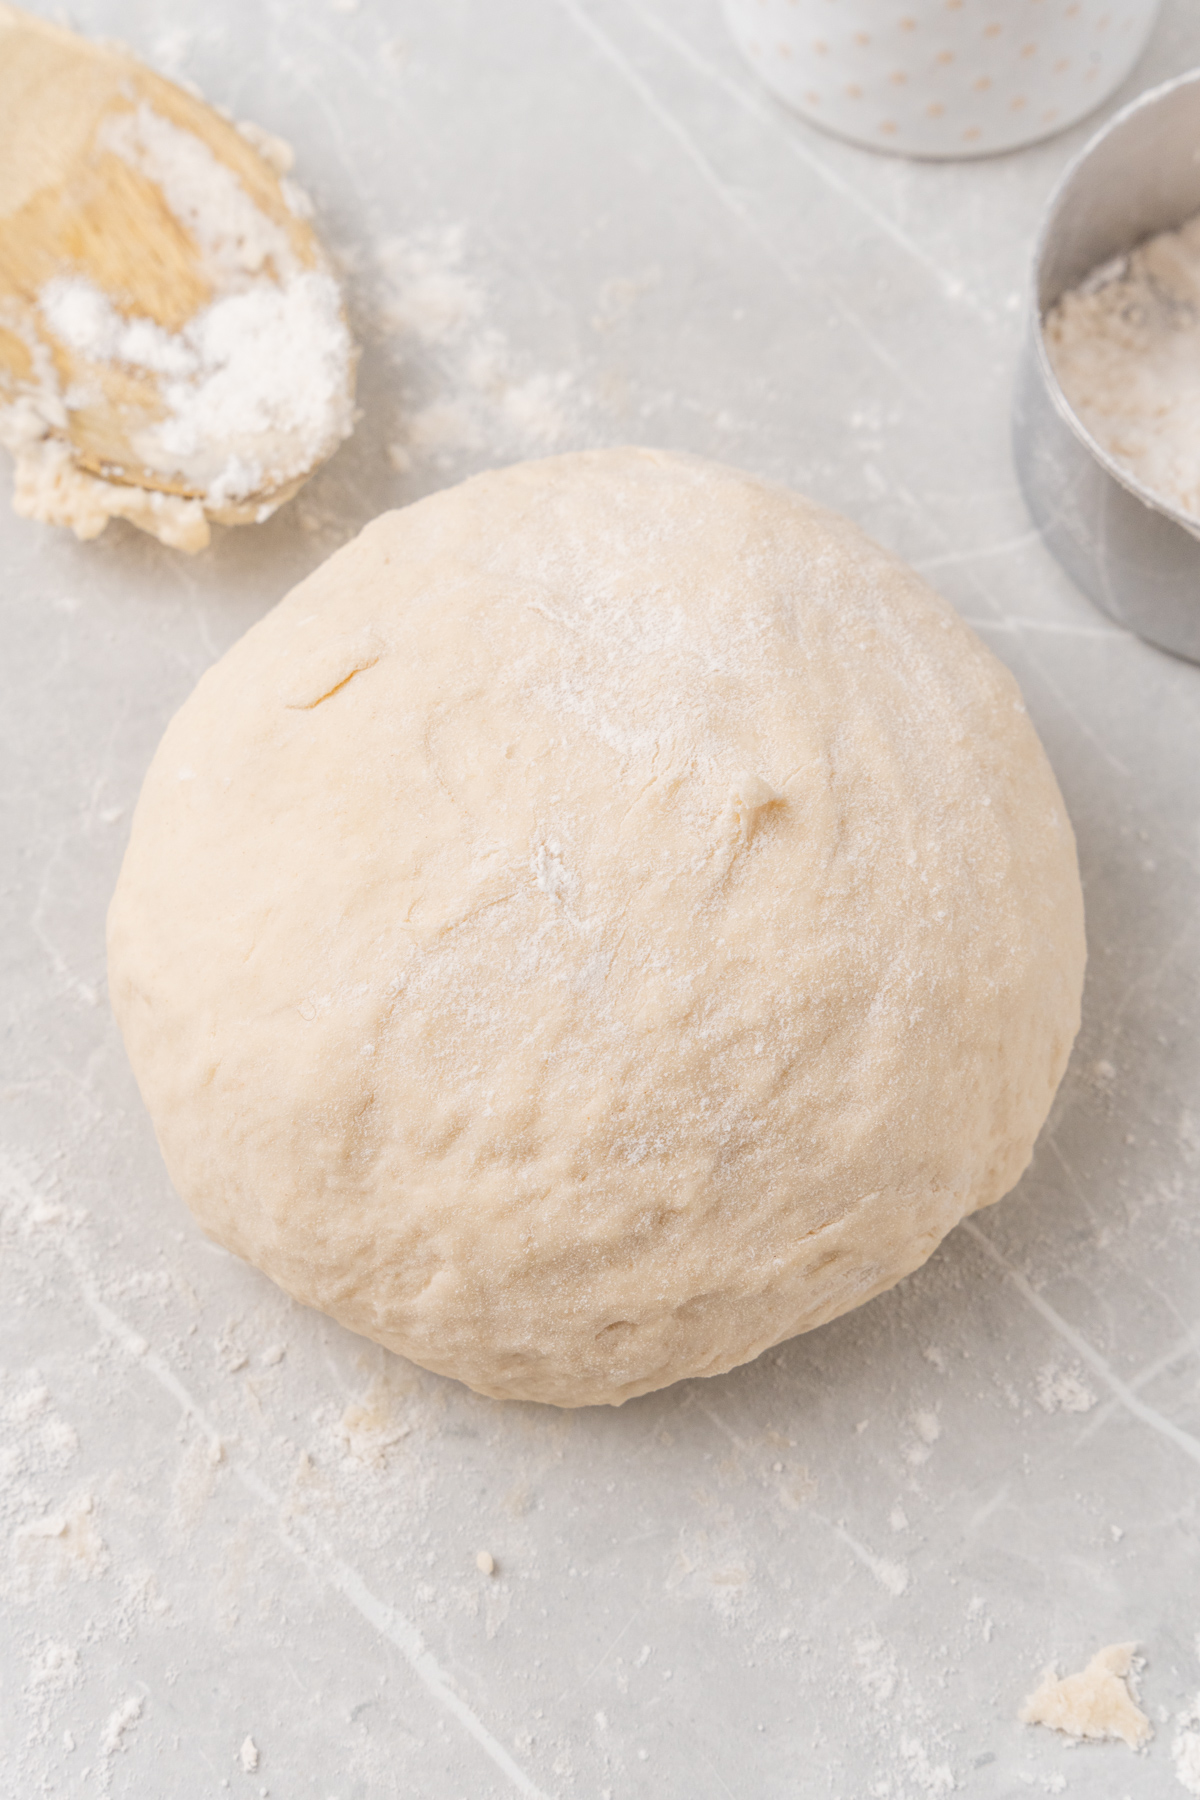
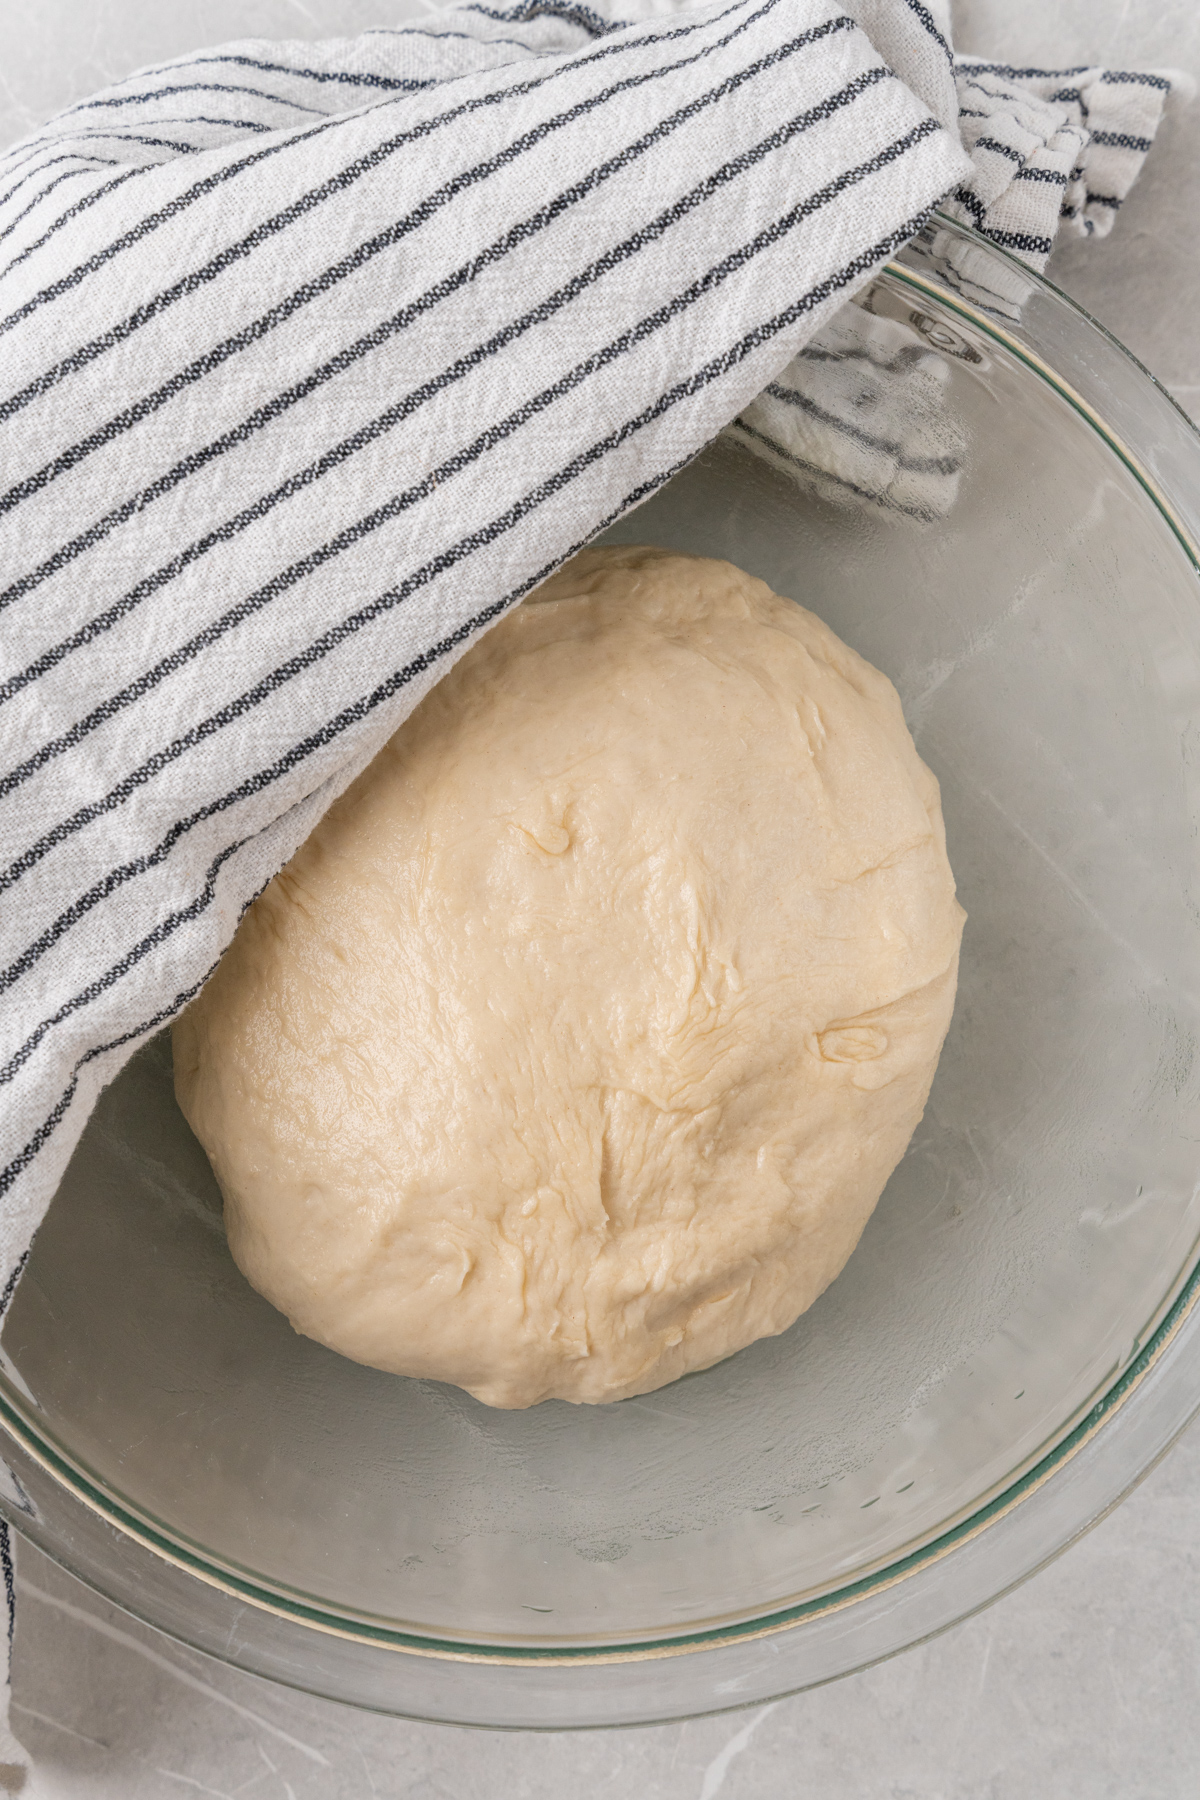
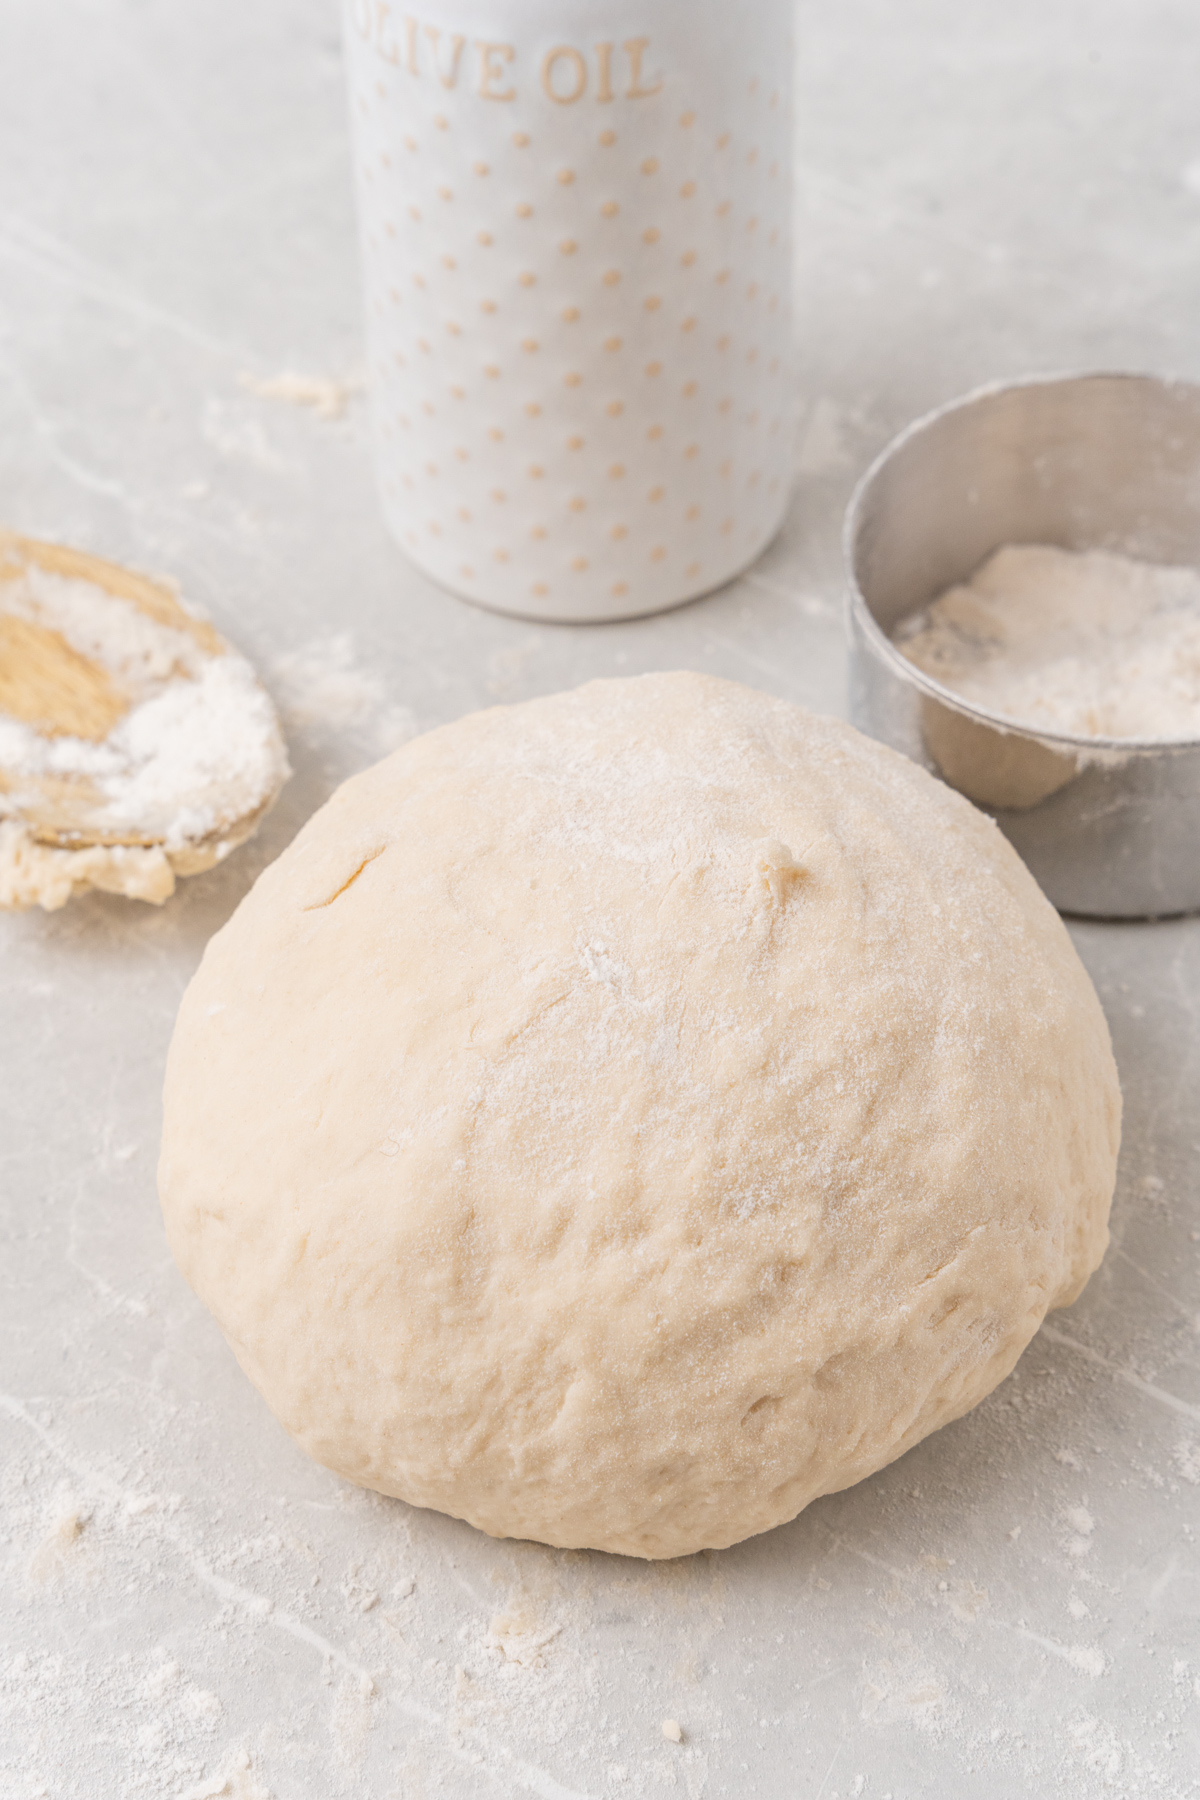
Step 5: Oil the bowl and add the dough. Shape the kneaded dough into a smooth ball and place it in a lightly oiled bowl. Turn the dough once so the entire surface is coated with oil, which keeps it from drying out or sticking during the rise. Cover the bowl with a clean kitchen towel or plastic wrap.
Step 6: Let the dough rise. Place the bowl in a warm, draft-free spot and let the dough rise for 1 to 2 hours, until it has doubled in size. If your kitchen runs cool, the oven-with-the-light-on trick works beautifully here or if your oven has a proof setting! The light generates just enough warmth to keep the rise steady without any heat from the oven itself. (photos 10-11)

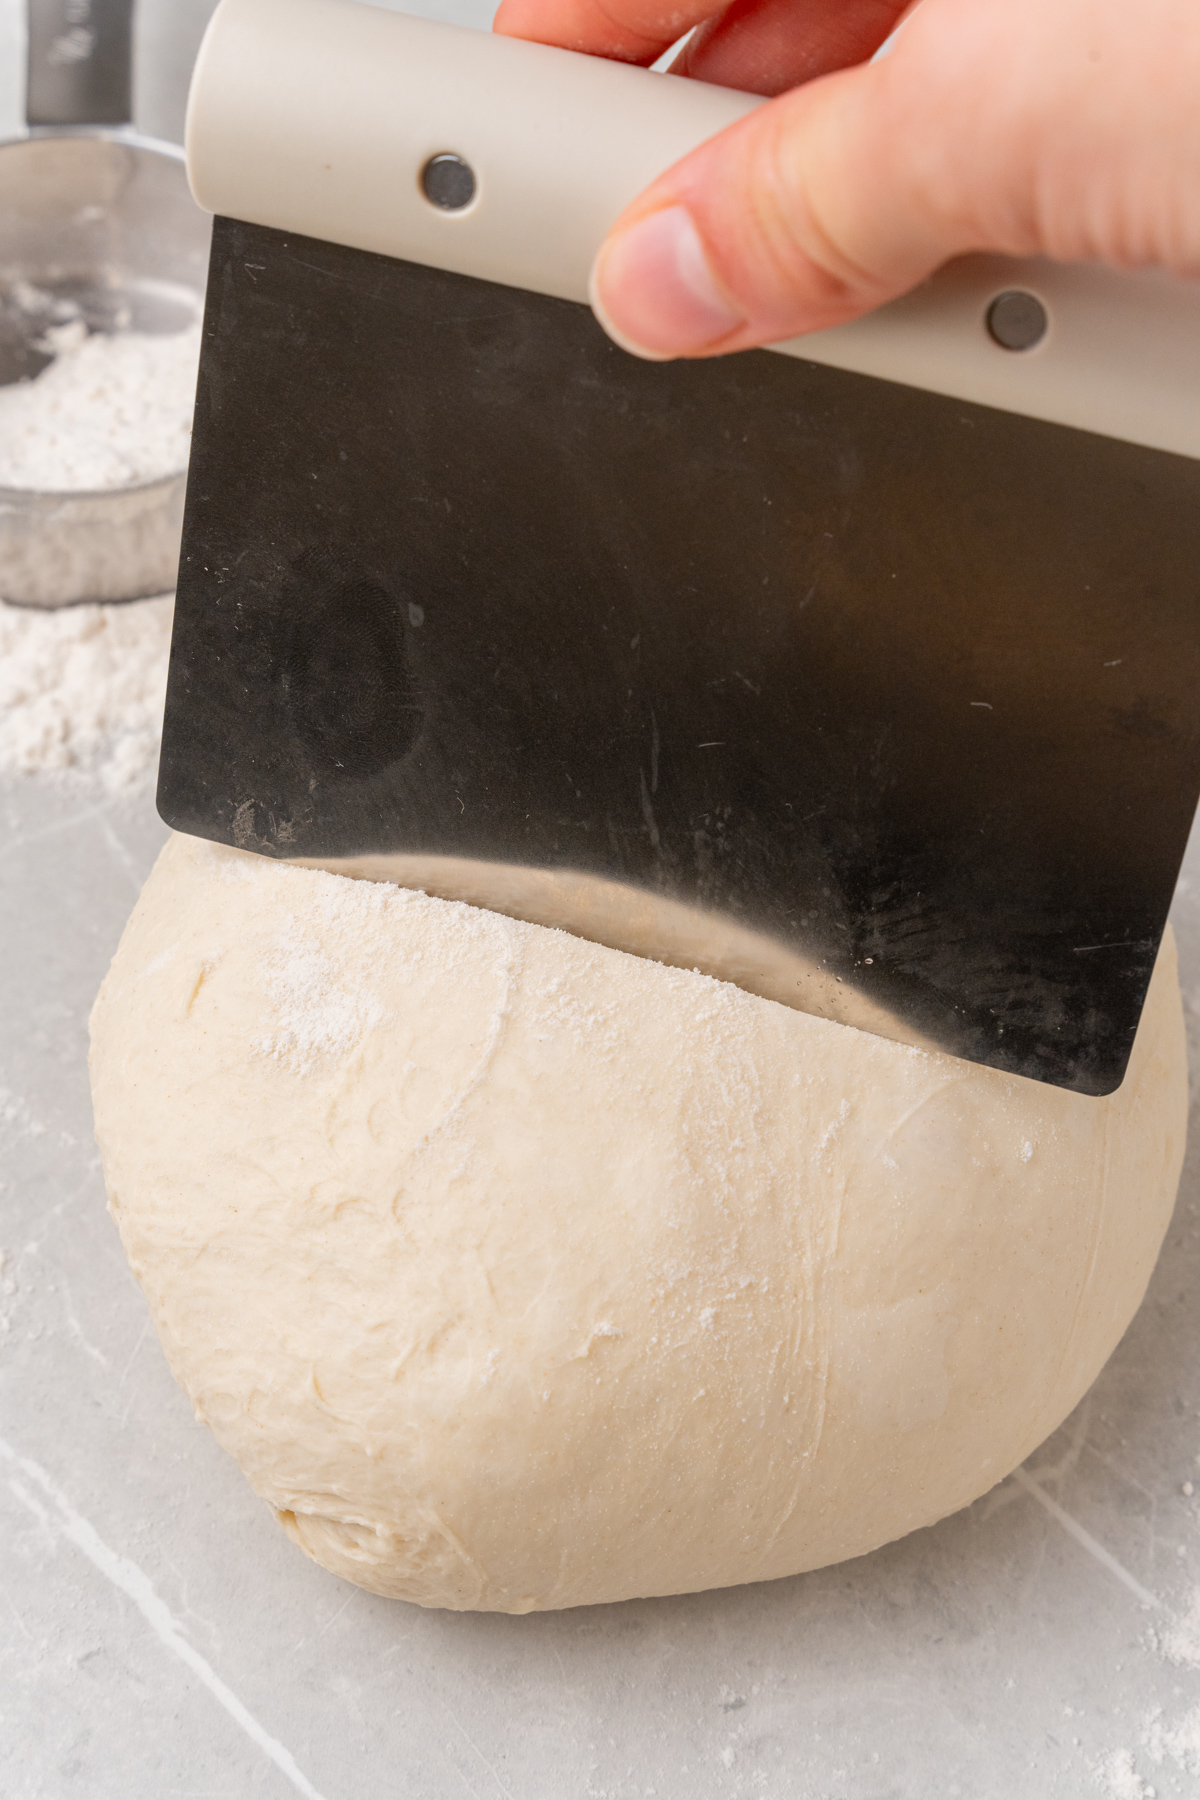
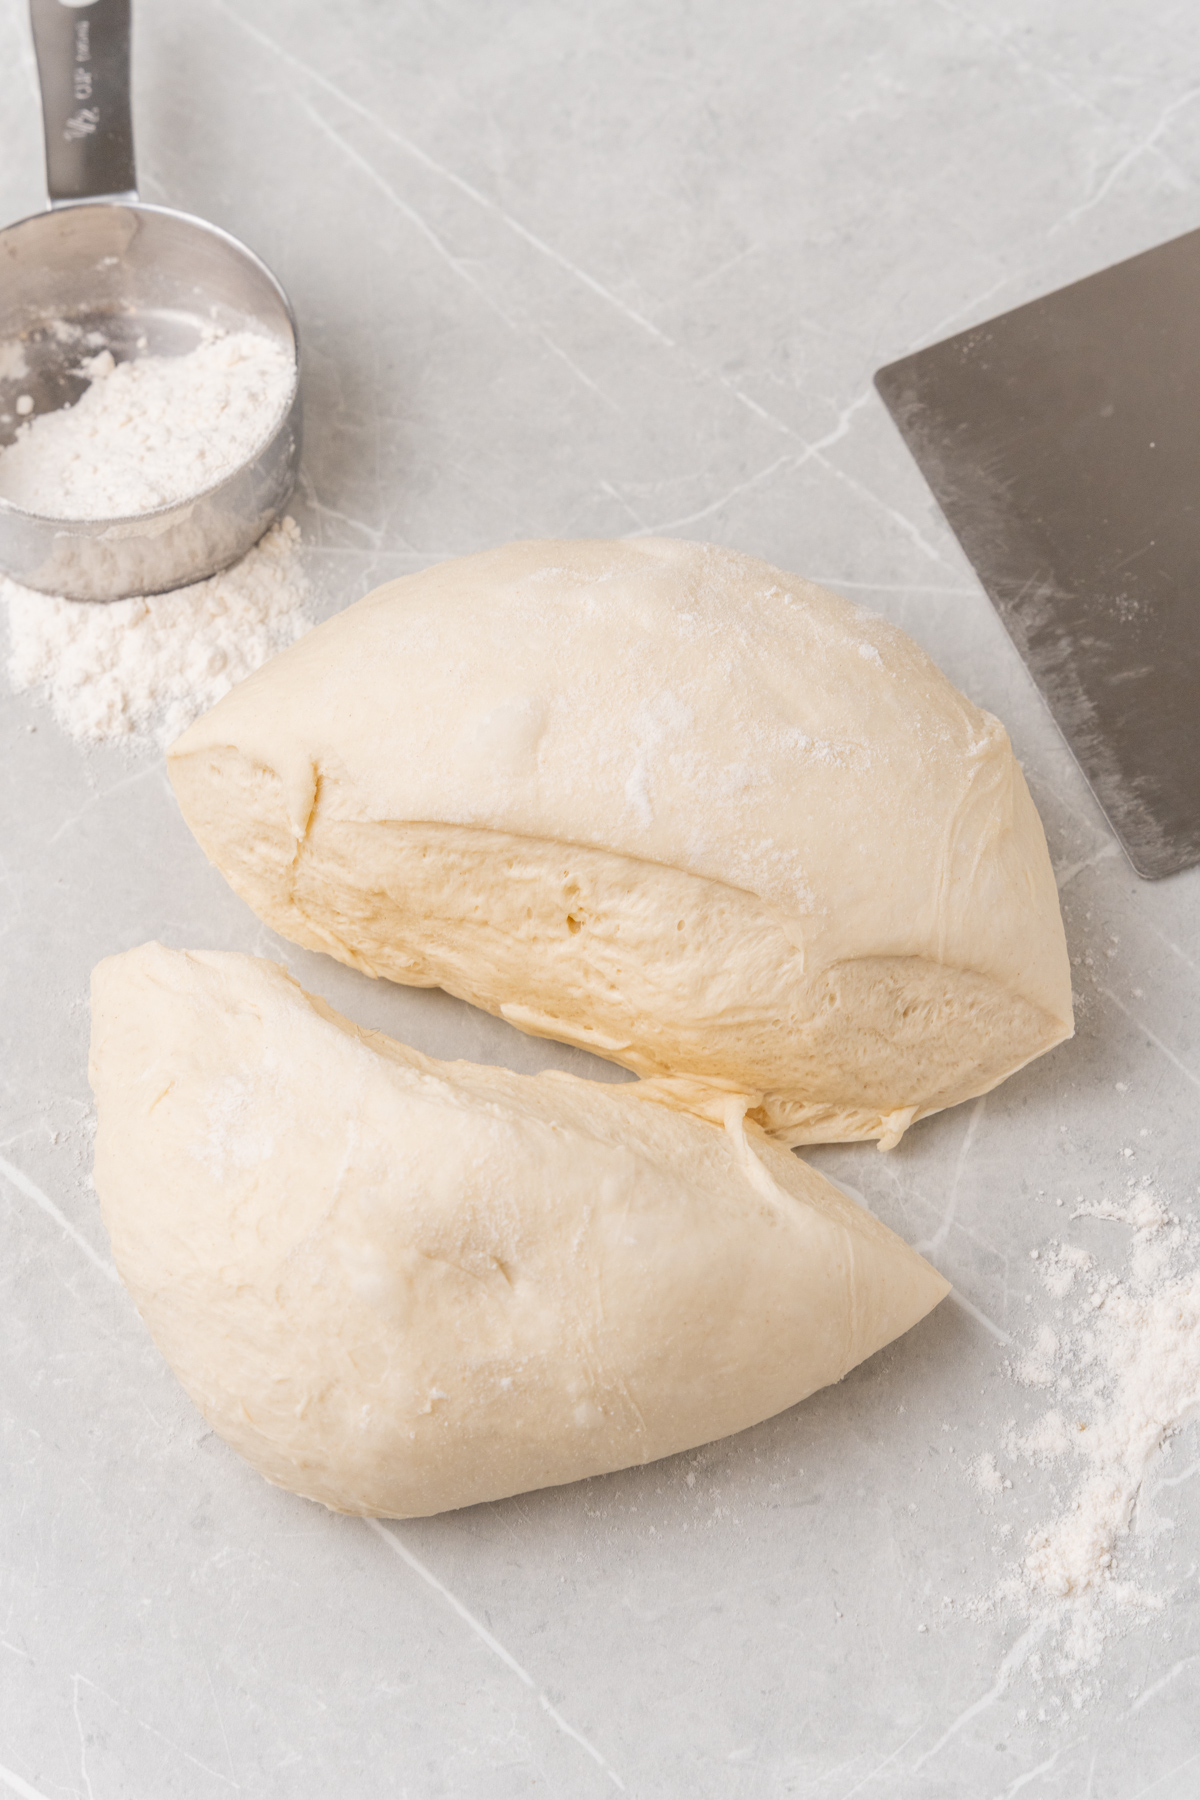
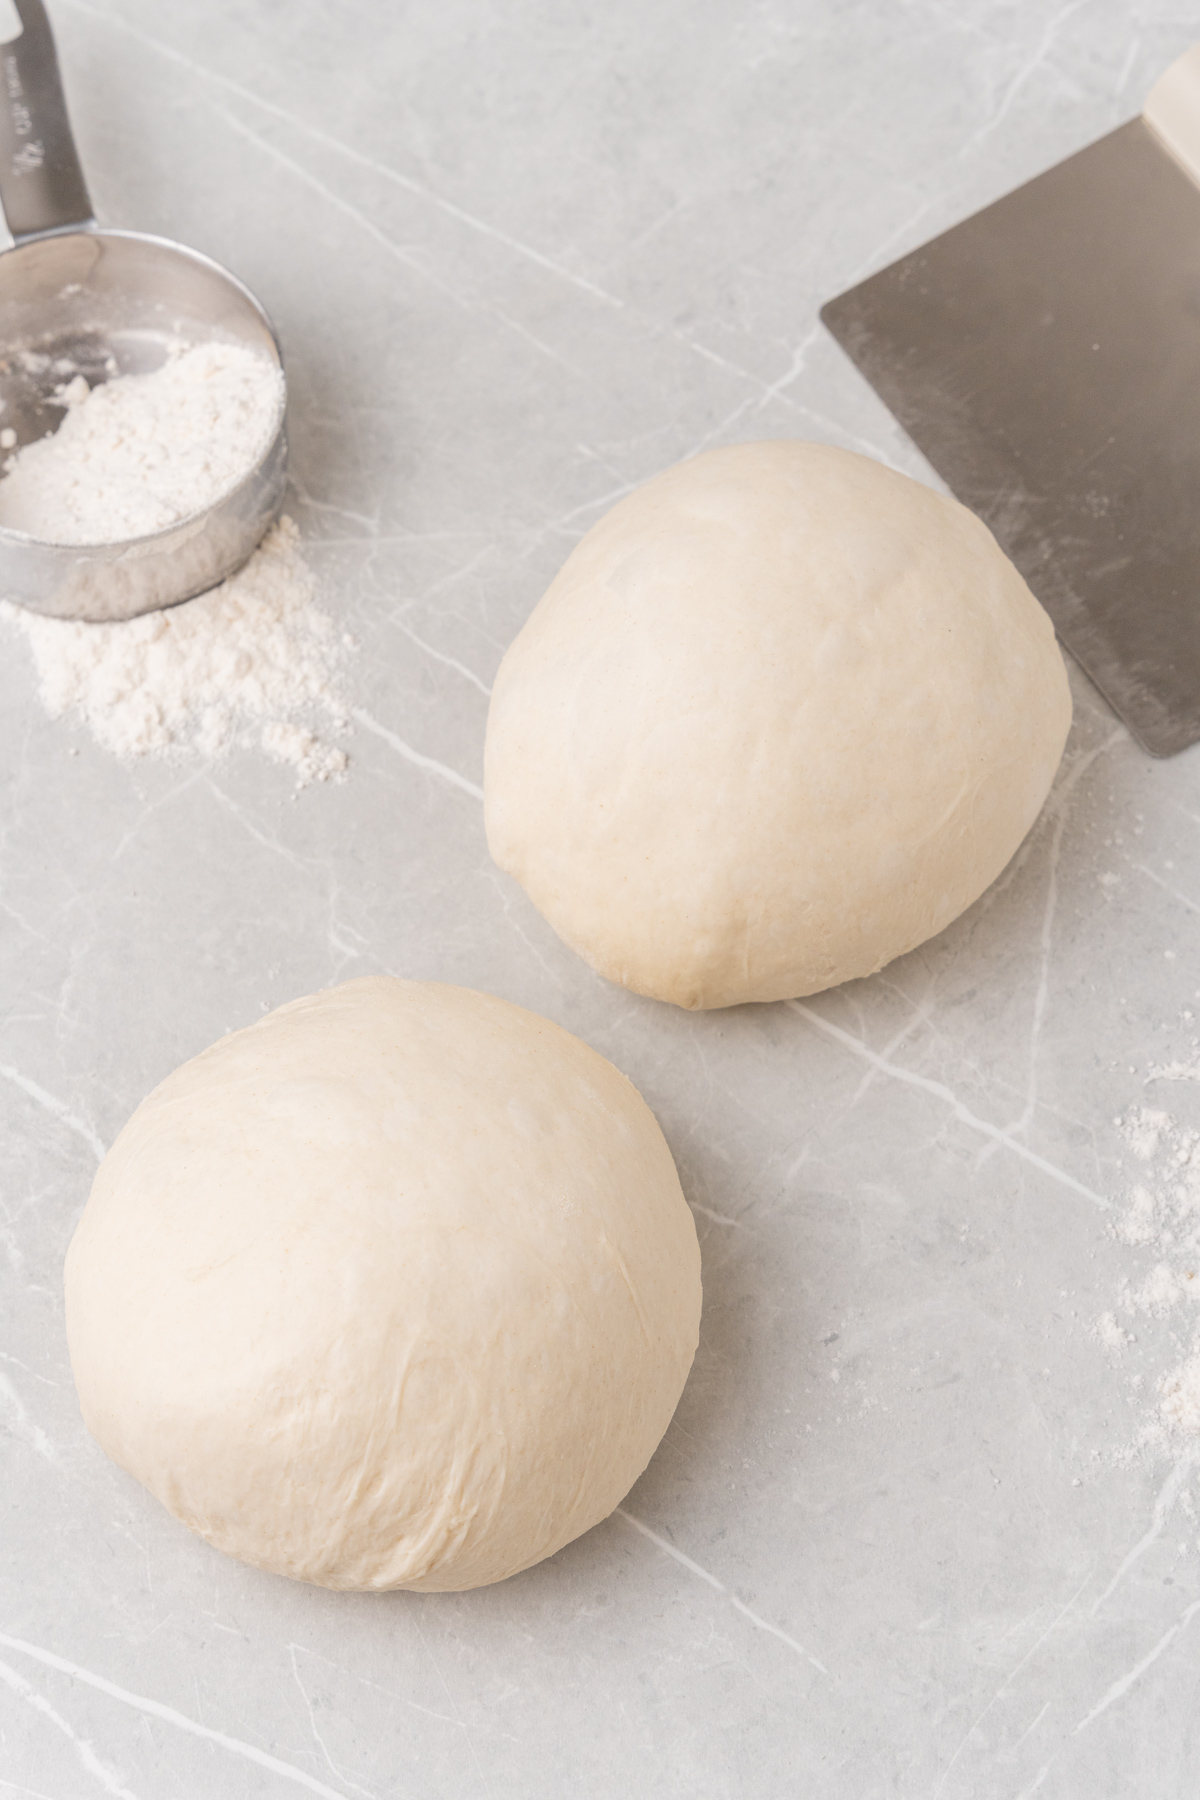
Step 7: Punch down and divide the dough. Once the dough has doubled, press your fist firmly into the center to release the trapped air. Turn it out onto a lightly floured surface and divide it into two equal portions for medium-sized pizzas. The dough will feel soft, slightly warm, and noticeably relaxed compared to before the rise. (photos 12-14)
Shape the dough
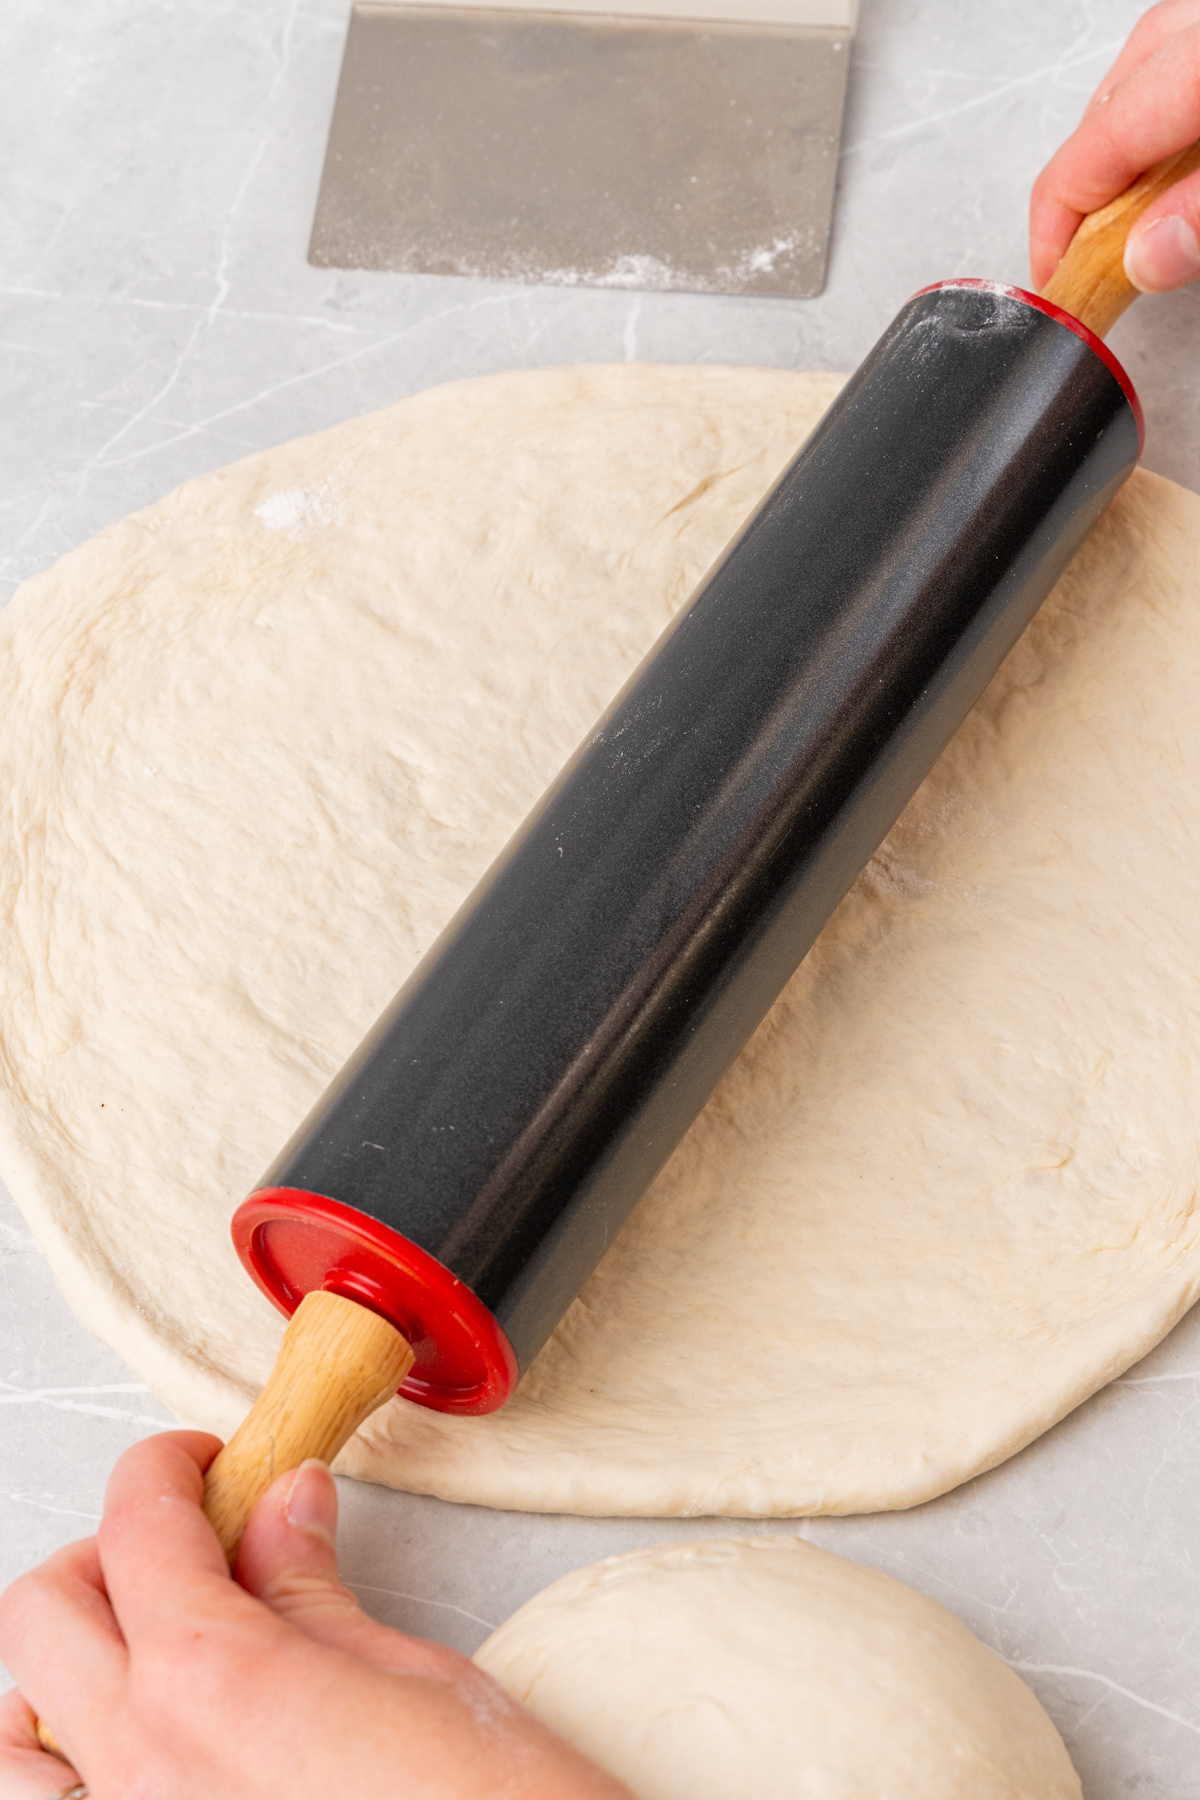
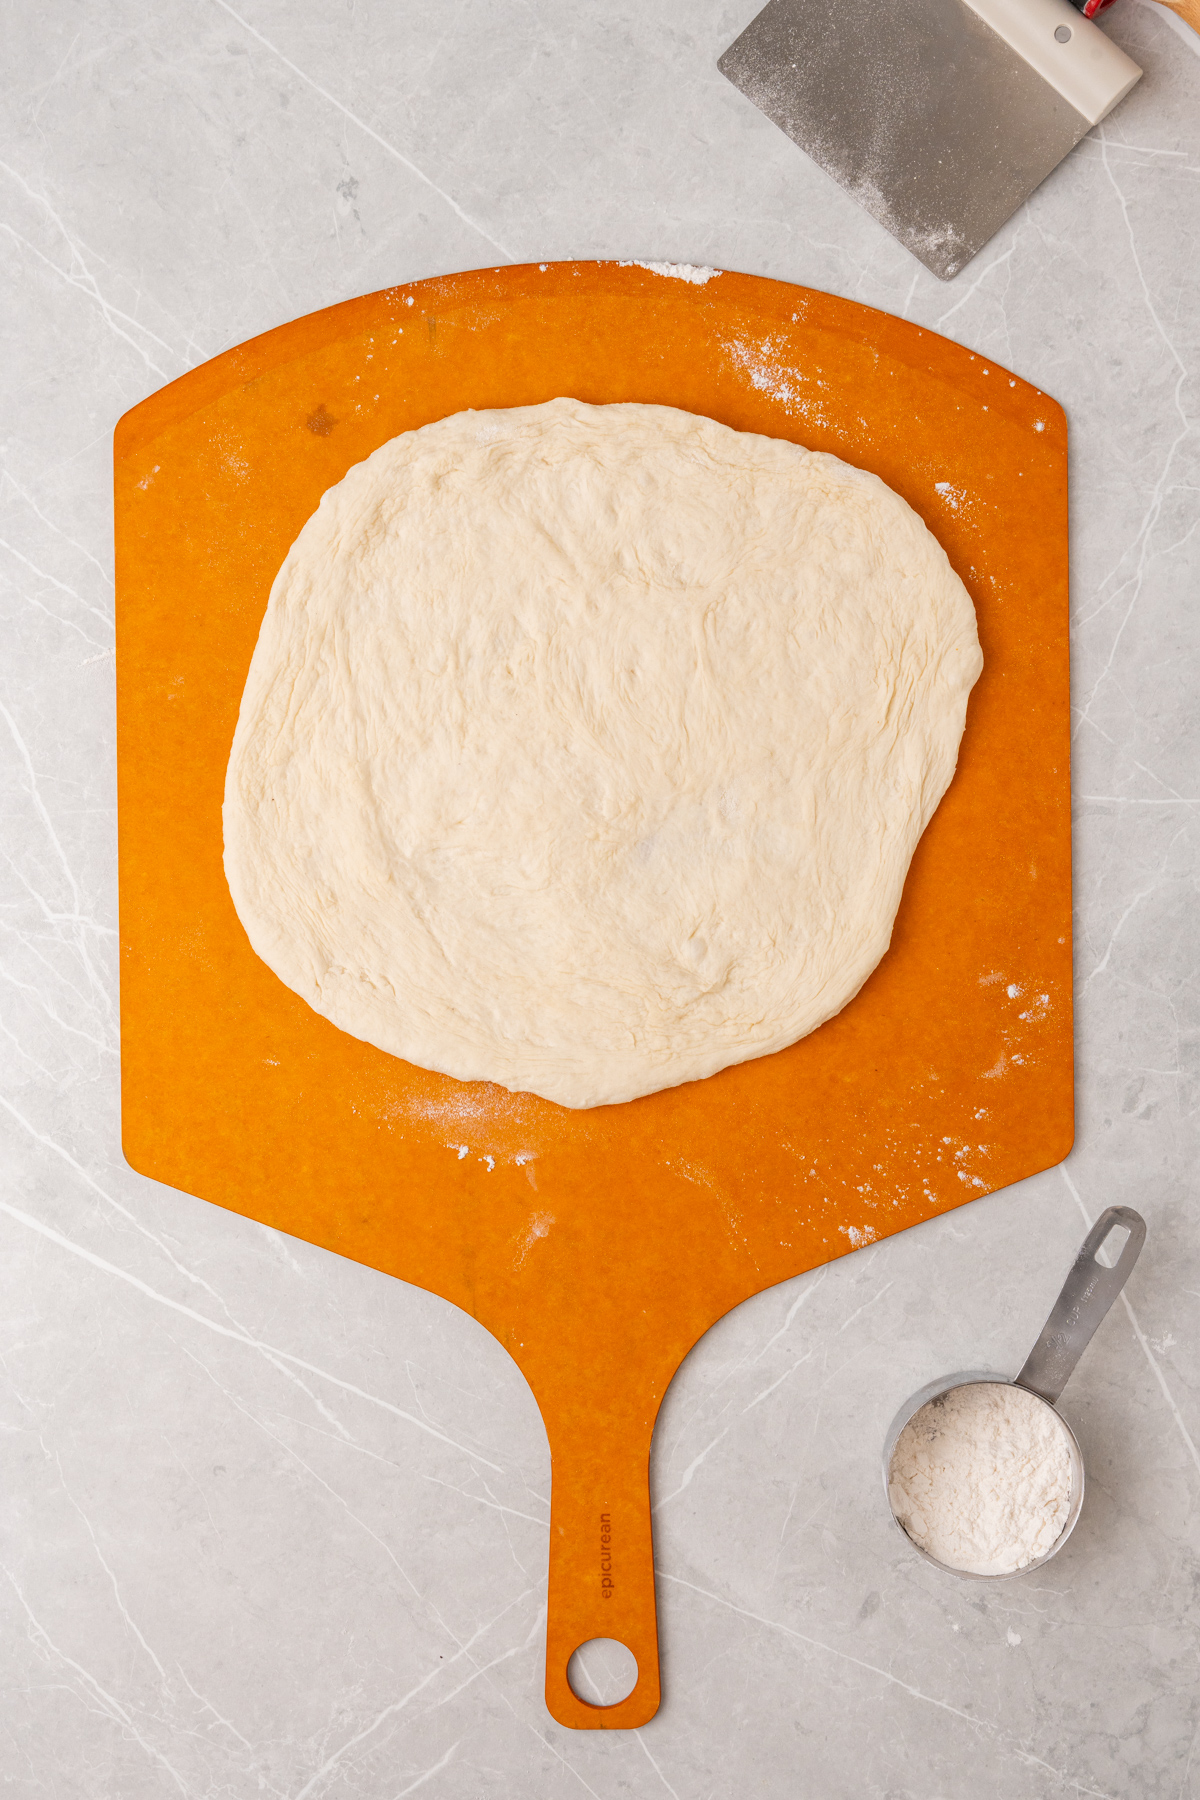
Step 8: Take one portion and use your hands or a rolling pin to flatten and stretch it into your desired pizza shape. Work from the center outward, letting the dough relax and spread naturally. If it springs back and resists stretching, set it down for a minute and let the gluten rest before continuing. (photos 15 & 16)
Step 9: Transfer to the pan and top the pizza. Place the shaped dough onto a pizza stone or a baking sheet lined with parchment paper. Add your tomato sauce, cheese, and any toppings you like. Keep the toppings in an even layer so everything cooks at the same rate. (photo 17)
Preheat the oven and bake
Step 10: Preheat your oven to its highest temperature setting, usually around 475°F, with the pizza stone or baking sheet inside so it gets screaming hot before the pizza goes in. Carefully transfer the topped pizza onto the preheated surface and bake for 12 to 15 minutes, until the crust is deep golden brown and the cheese is melted, bubbling, and starting to spot in places. The edges of the crust should look crisp and set, not pale or doughy.
Step 11: Rest and slice Remove the pizza from the oven and let it cool for a few minutes before slicing. This gives the cheese a moment to set so your toppings stay in place when you cut. (photo 18)

Recipe FAQs
Once the dough has risen, you can refrigerate it in a lightly oiled, covered bowl for up to 3 days. For longer storage, divide it into portions, wrap each one tightly in plastic wrap, place in a zip-top bag, and freeze for up to 3 months. Thaw overnight in the fridge, then bring it to room temperature for about 30 minutes before shaping.
Yes, and honestly, this is one of my favorite ways to use this recipe. After the dough comes together and is shaped into a ball, you can refrigerate it before the rise and let it do a slow, cold proof overnight instead. Pull it out the next day, let it sit at room temperature for 30 to 45 minutes, then shape and top as usual.
The most common reason is yeast that didn’t activate correctly. If your water was too hot (above 115°F), it likely killed the yeast before it had a chance to foam, and dough made with dead yeast won’t rise no matter how long you wait. Always check that the yeast mixture is visibly foamy after 5 minutes before adding it to the flour — if it’s flat and smells off, start fresh.
This recipe uses a 5 to 7-minute knead to build gluten structure quickly, which gives you a smooth, stretchy dough that’s ready in a couple of hours. A No-Knead Pizza Dough recipe skips that step entirely and relies on a longer rest to develop structure instead, which takes more time but requires almost no hands-on effort. Both produce a great crust — it really comes down to how much time you have.
Bread flour works well here and will give you a slightly chewier, crispier crust because of its higher protein content. The dough may feel a little stiffer during kneading, which is normal — just keep going until it’s smooth and elastic. All-purpose flour produces a softer, more tender crust, so either choice is good depending on the texture you prefer.
Recommended Yeasted Breads
Yeast Breads

Yeast Breads

Yeast Breads

Rolls & Biscuits
Pizza Dough Recipe
Ingredients
- 1 packet active dry yeast, 2 ¼ teaspoons
- 1 teaspoon granulated sugar
- 1 ¼ cups warm water, around 110°F or 43°C
- 3 cups all-purpose flour
- 2 teaspoons kosher salt
- 2 tablespoons olive oil
Instructions
- Combine the yeast, sugar, and warm water in a small bowl. Stir gently and let sit for about 5 minutes until the mixture is visibly foamy.
- In a large mixing bowl, whisk together the flour and salt. Make a well in the center and pour in the yeast mixture and olive oil.
- Stir with a spoon until a shaggy dough forms, then transfer to a lightly floured surface and knead for 5 to 7 minutes until smooth and elastic. Add flour a little at a time if the dough is too sticky.
- Shape the dough into a ball and place it in a lightly oiled bowl, turning to coat. Cover with a clean kitchen towel or plastic wrap and let rise in a warm, draft-free spot for 1 to 2 hours, until doubled in size.
- Punch down the risen dough and turn it out onto a floured surface. Divide into 2 equal portions for medium-sized pizzas.
- Using a rolling pin or your hands, flatten and stretch each portion into your desired pizza shape. Transfer to a parchment-lined pizza stone or baking sheet.
- Add your toppings, then bake at 475°F (245°C) on a preheated stone or baking sheet for 12 to 15 minutes, until the crust is golden and the cheese is melted and bubbly. Let cool a few minutes before slicing.
Notes
Technique: Check that your yeast mixture is visibly foamy after 5 minutes before adding it to the flour. If it’s flat or smells off, the yeast is likely dead and the dough won’t rise — start fresh with new yeast.
Measuring: Spoon the flour into your measuring cup and level it off rather than scooping directly from the bag. Scooping packs in extra flour and can make the dough stiff and dry.
Storage: Refrigerate risen dough in a lightly oiled, covered bowl for up to 3 days. To freeze, divide into portions, wrap each tightly in plastic wrap, place in a zip-top bag, and freeze for up to 3 months. Thaw overnight in the fridge, then bring to room temperature for about 30 minutes before shaping.
Nutrition
Nutrition information is automatically calculated, so should only be used as an approximation.
 Like this recipe? Rate & comment below!
Before You Go
I hope this pizza dough recipe becomes a regular part of your dinner rotation the way it has mine. Browse our Lunch & Dinner Recipes or make this bacon turkey bravo next!

I’ve made a lot of pizza dough recipes over the years and this one has become my go-to. The dough was smooth and easy to shape, and the crust came out perfectly golden with just the right amount of chew. My family couldn’t believe it was homemade!
This made our day! When homemade pizza impresses the whole family, that’s the ultimate win. So glad the dough was easy to work with and gave you that perfect golden, chewy crust. ~GVD team
I’ve wanted to make homemade pizza for a while, and I never realized how easy it could be! This dough is incredibly flavorful and easy to make. Pizza night might become a new staple in my family.