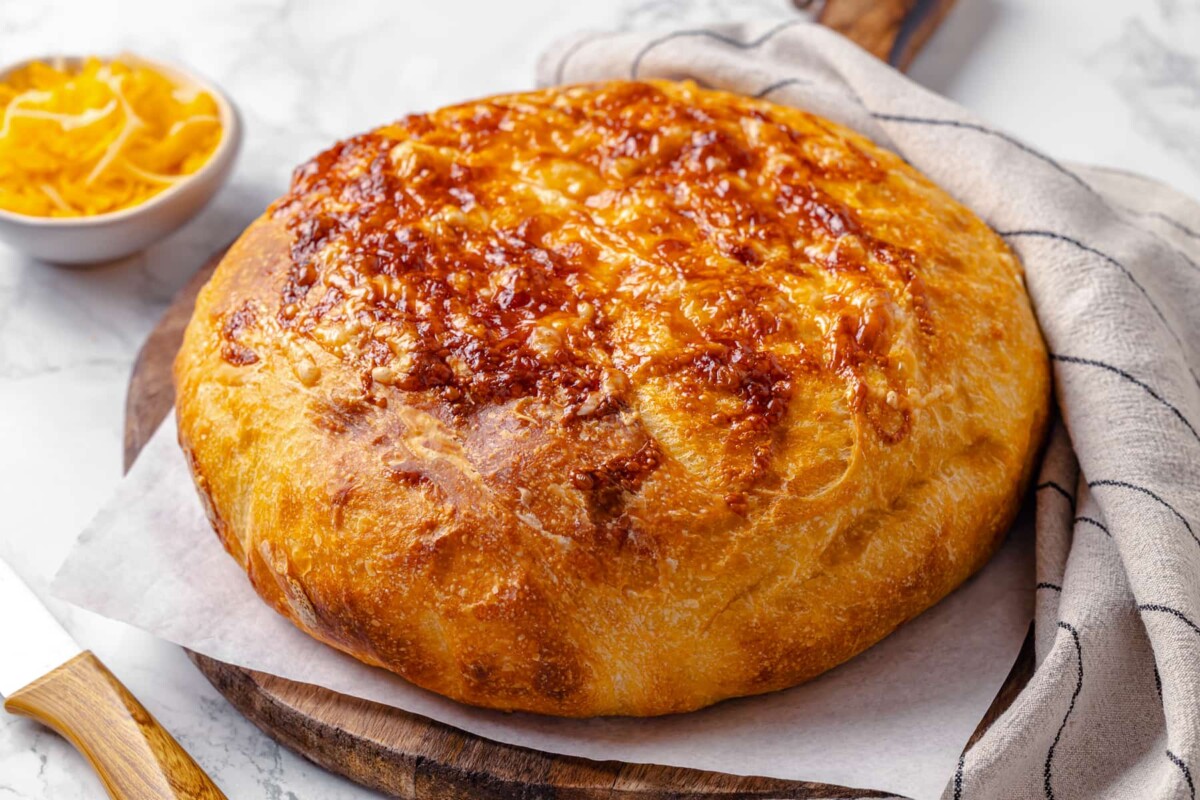
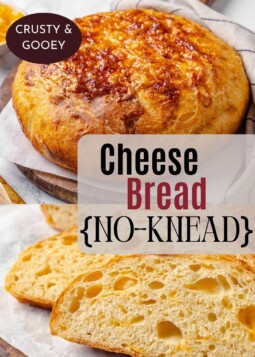
Cheese Bread comes together with just 5 ingredients and no kneading or folding required. It bakes up in 3 hours with a cheesy crust and a soft, gooey crumb!


A Quick Look At The Recipe
This is a brief summary of the recipe. Jump to the recipe to get the full details.
Prep Time
10 minutes
Cook Time
45 minutes
Rising/Proofing
2 hours
Total Time
2 hours 55 minutes
Servings
10 slices
Difficulty
Easy
Calories *
258 kcal per serving
Technique
Make dough, proof dough, shape, rest, score, top with cheese and bake.
Flavor Profile
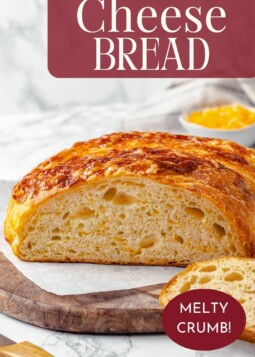
Soft no-knead cheese bread with a crisp cheesy crust.
* Based on nutrition panel
This no-knead cheese bread is wonderful! I used a mix of sharp yellow and white cheddar, and the gooey, cheesy crumb with that crispy crust on top was honestly better than anything from a bakery. My family devoured the whole loaf within an hour, and I’m already planning to make a second one to try as the base for an egg casserole! ⭐⭐⭐⭐⭐
Mara
This cheese bread recipe is incredibly delicious! It is super easy to mix and to shape; there is cheese in every bite; and the loaf has a tender and chewy texture. It is honestly just an awesome bread all around!
I based this recipe on our no knead Dutch oven bread recipe but swapped out instant yeast for the active dry yeast to have a faster rise time!
This bread was fantastic straight out of the oven or served at room temperature for several days, but there are also so many possibilities for leftovers, that you might want to make 2 loaves! You can cube it then butter and toast them for croutons (served in tomato soup, of course); slice it thin for sandwiches or toast; but I strongly suggest using it to make the best egg casserole of your life!
Why This is the Best
- An easy, no-knead yeasted bread packed with cheese. There is no kneading and you also don’t even have to fold the dough!
- The cheese is stirred into the dough from the beginning. This is the easiest way to incorporate the cheese, and it allows for better structure, rise and cheese distribution.
- Cheesy homemade bread in 3 hours! The instant yeast and warm water speed up the fermentation and gluten development process, even without kneading. You can have a loaf of this bread ready before lunch or dinner!
- Easy side dish for dinner or lunch! Serve thick slices with garlic butter or plain!
Table of Contents
Ingredients & Substitutions

- All-purpose flour: All-purpose flour has just the right amount of gluten for a chewy crust and to support all that cheese! You can substitute bread flour but be sure you substitute for the gram measurement, not the volume. It works out to a scant 3 cups.
- Instant Yeast: This recipe does not call for a full package of instant yeast! We are riding the line of wanting a speedy bread but also not wanting to knead it. If you would prefer to use dry active, use a full packet (2 ¼ teaspoons) of active dry yeast and bloom.
- Warm Water: The combination of instant yeast and warm water will speed up the fermentation process and the warm water will also create gluten faster without kneading.
- Shredded Sharp Cheddar Cheese: I used half sharp yellow cheddar and half sharp white cheddar. The yellow is visible in the bread but the white kind of blends in. I like to shred my own cheese so that I can get bigger pieces.
See the recipe card for full information on ingredients and quantities.
Variations
- Change up the cheese: There is no need to stop with sharp cheddar. Try your favorite cheese or a combination. I suggest gruyere like in my beer cheese bread, asiago like these asiago rolls, parmesan cheese, low-moisture mozzarella cheese, Swiss cheese, or a combination of your favorites!
- Add another flavoring: I don’t want to overwhelm you, but you could also add chopped herbs like fresh rosemary, thyme, or sage to add savory depth of flavor and warmth. You could also add garlic, garlic powder or a combination like my rosemary garlic bread recipe! Or go in a spicy direction like I do in this jalapeno cheddar cornbread!
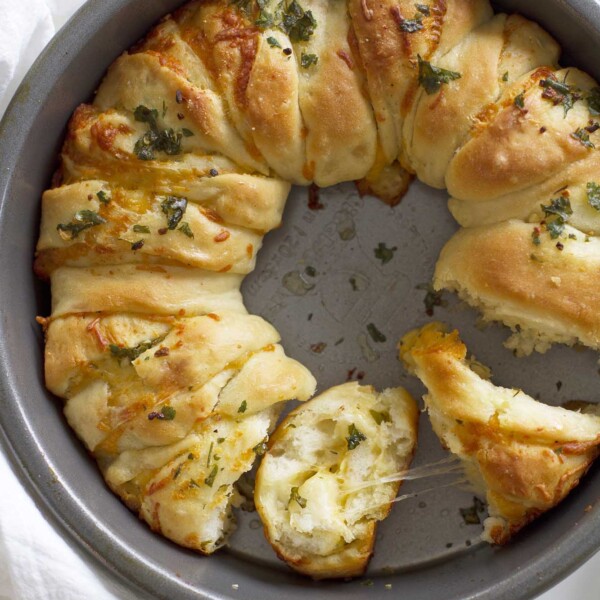
- You can stuff the cheese into the center rather than throughout. Take a page from stuffed cheese bread or this cheesy garlic pull apart bread, and fold in the cheese during the shaping process. You will mound the cheese into the center then fold each of the 4 corners around it. Flip it over and shape into a round. Place this on your parchment and gather any remaining cheese and put it on the top!
Professional Tips for Making Cheesy Bread
- Choose your cheese wisely. It is a given that you will choose a cheese that you enjoy, but also consider that more mild cheeses will disappear into the bread. Choosing sharp or extra sharp cheddar, gruyere, asiago or another stronger flavored cheese will ensure that you actually taste the cheese.
- If you want to see the cheese in the baked loaf, you’ll need to use sharp yellow cheddar. White cheeses simply blend in.
- It is optional, but I always do one set of stretch & folds. I initially added this set of folds to degas the dough and redistribute the yeast to more food, because my oven was baking at a different temperature. This bought me more time out of necessity, but it made the shaping process so much easier and the final loaf had more rise.
- You can score or not score this bread. If you don’t feel comfortable, just skip the scoring and place the loaf (on the parchment) directly inside your preheated Dutch oven. Cutting the top of the loaf gave the cheese topping a home, but the loaf still rose mostly out rather than up. This is due to the amount of cheese we are asking a minimal amount of gluten to support!
How to Make The Best Cheese Bread
Use these instructions to make super cheesy, yeasted cheese bread! Further details and measurements can be found in the recipe card below.
Mixing & Proofing Dough:

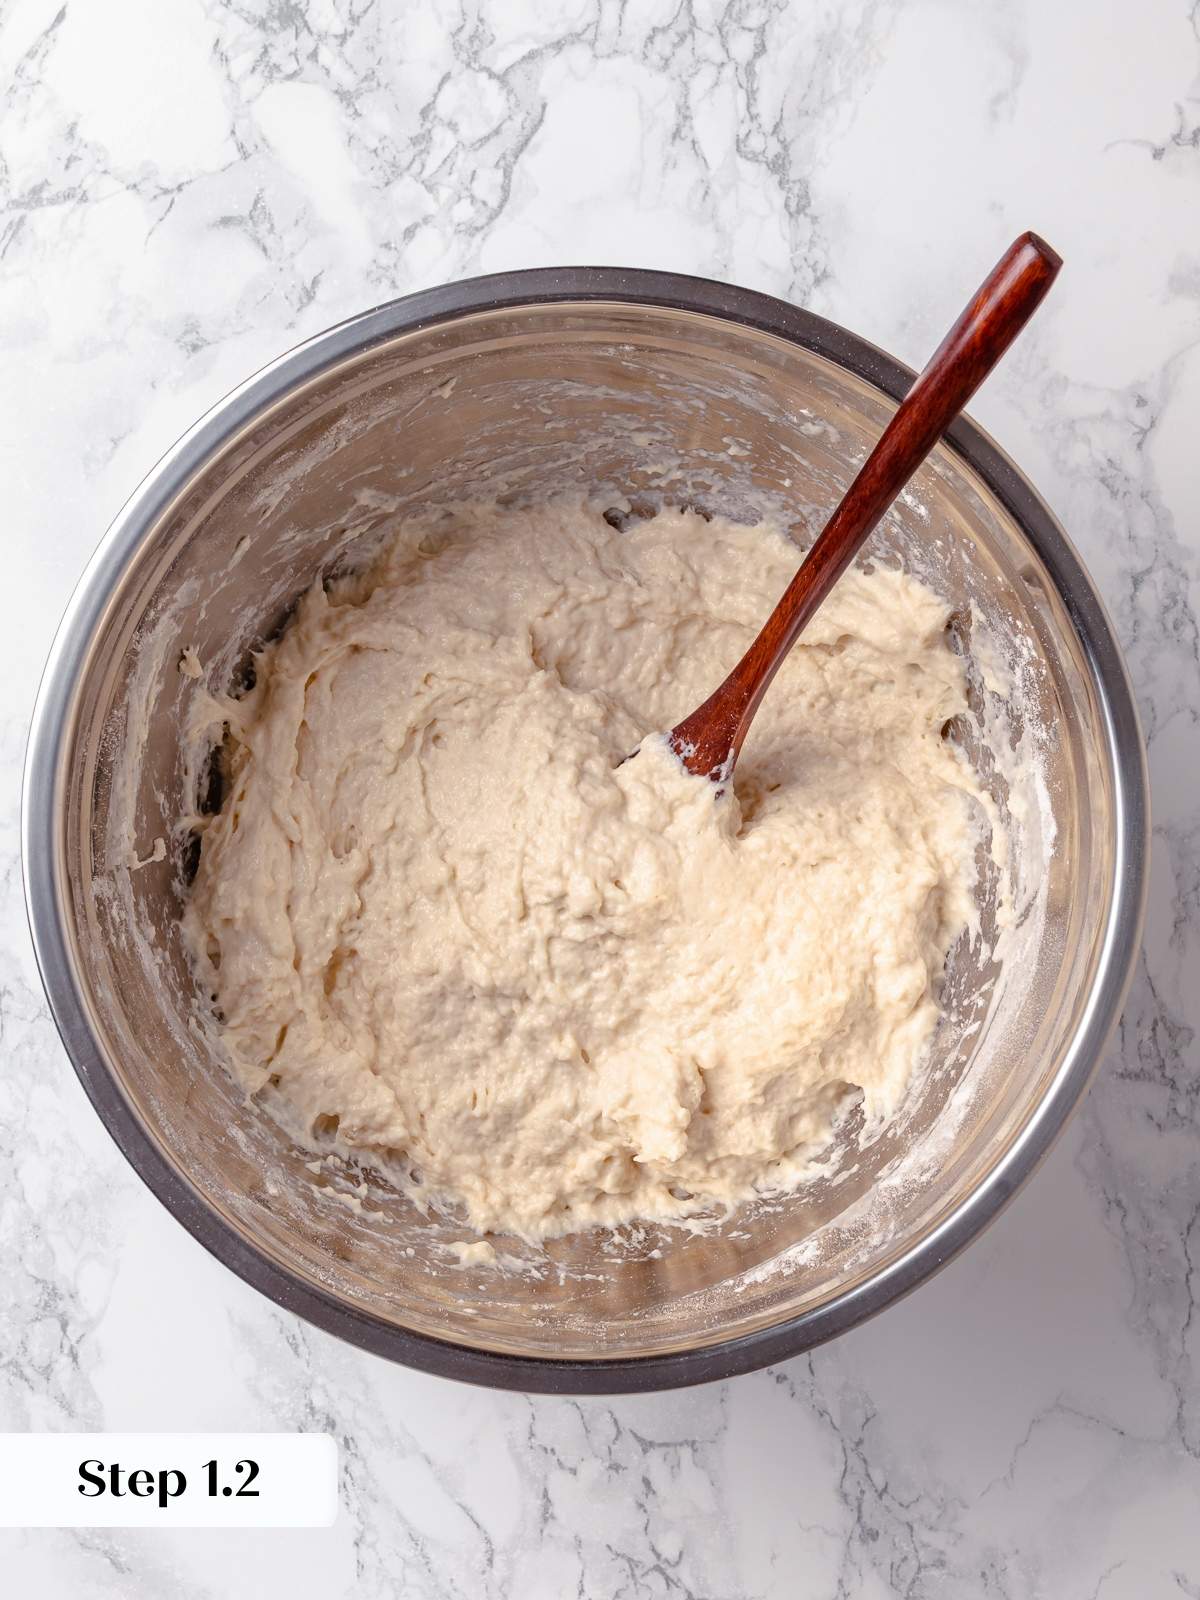

Step 1: Mix the ingredients. In a large bowl add flour, salt, instant yeast and warm water (photo 1). Stir with a wooden spoon or a stiff silicone spatula until a soft, shaggy dough forms (photo 2).
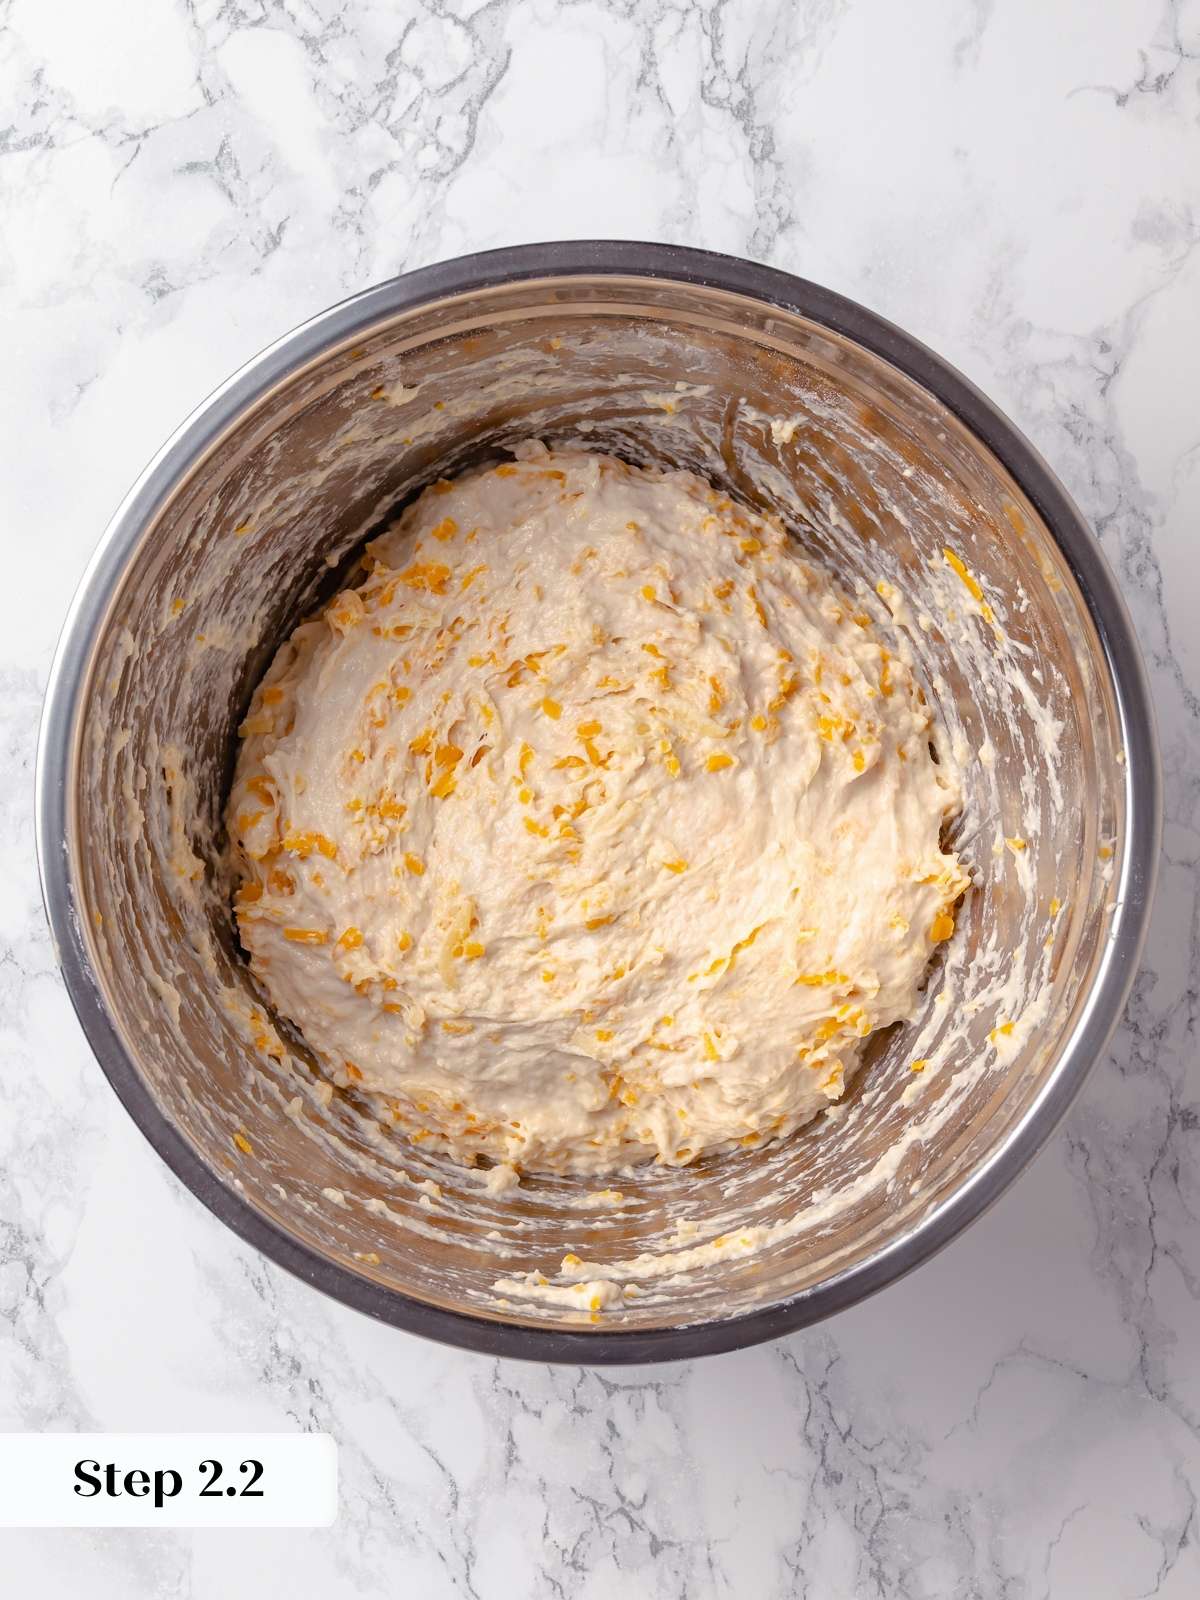
Step 2: Stir in 2 cups of the shredded cheese and mix until a dough ball forms (photos 3 & 4). This little bit of extra mixing is worth it to completely hydrate the flour and distribute the cheese throughout.
Reserve the remaining ½ cup shredded cheese for the top. If you forget, no one will notice or care! Hopefully you have more for the top because a crusty cheese topping is really just amazing.
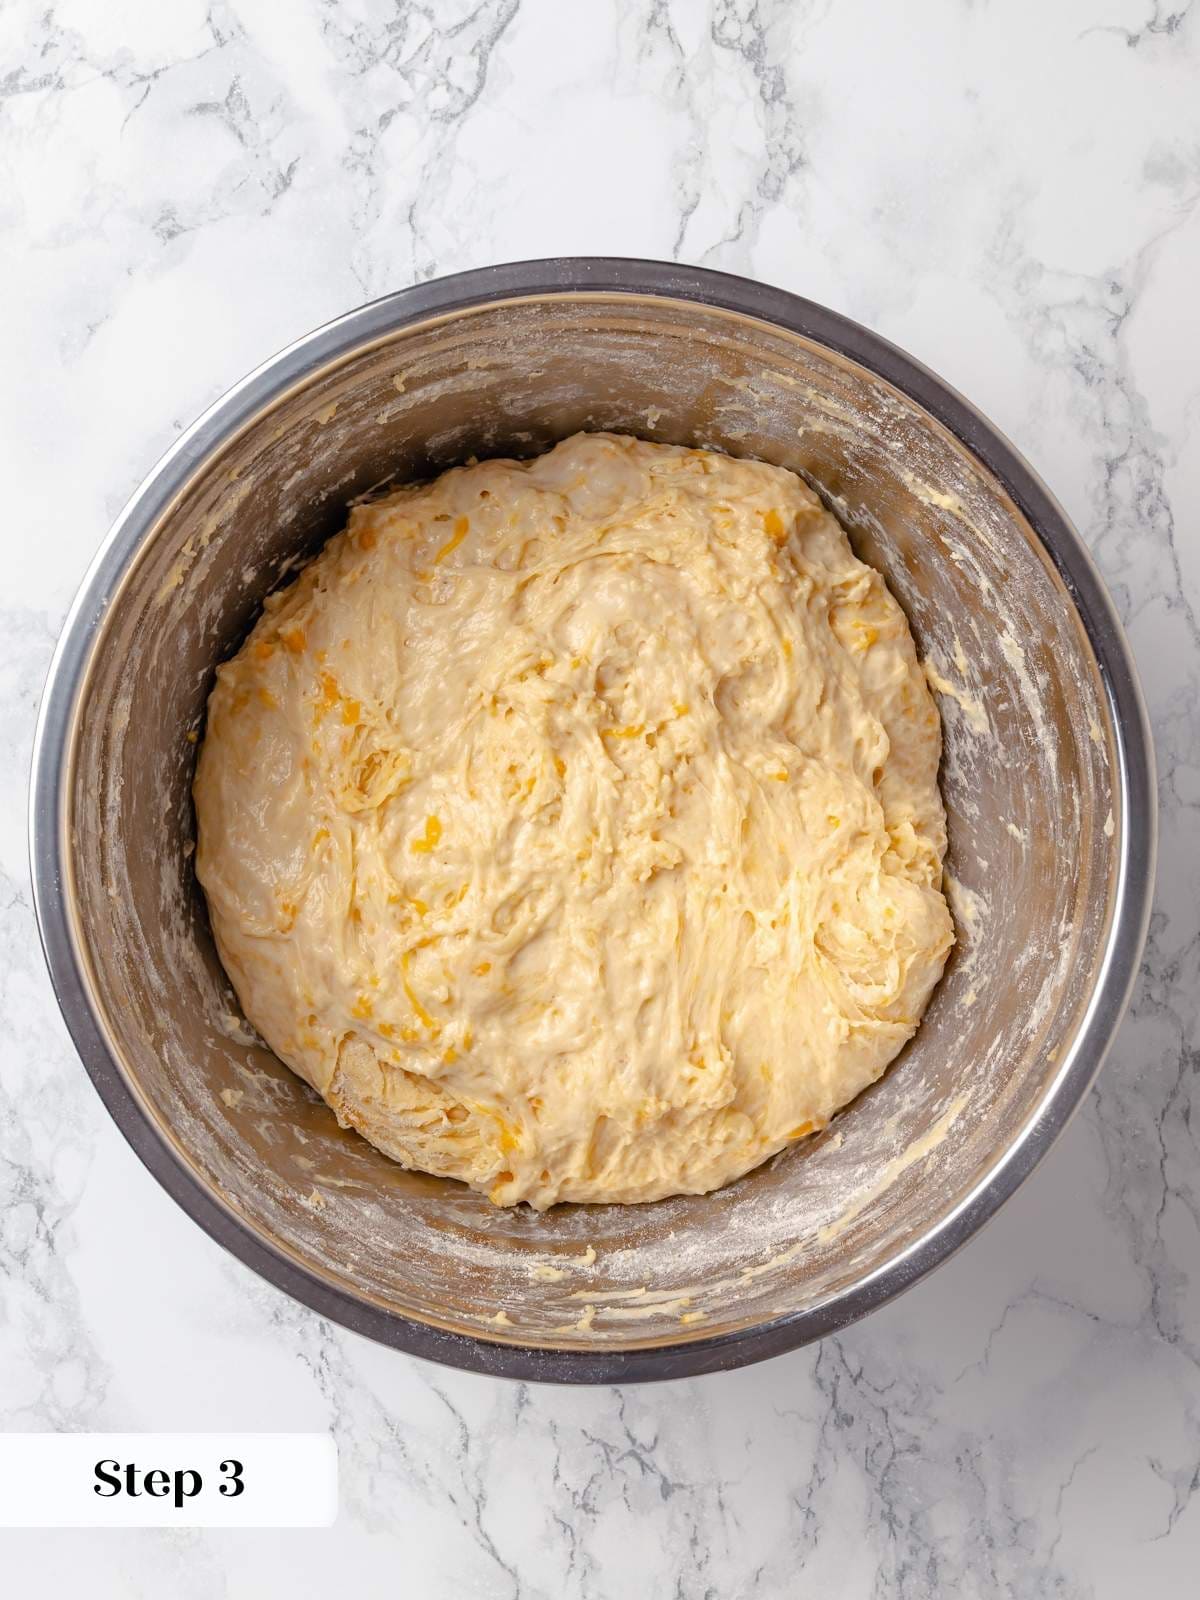
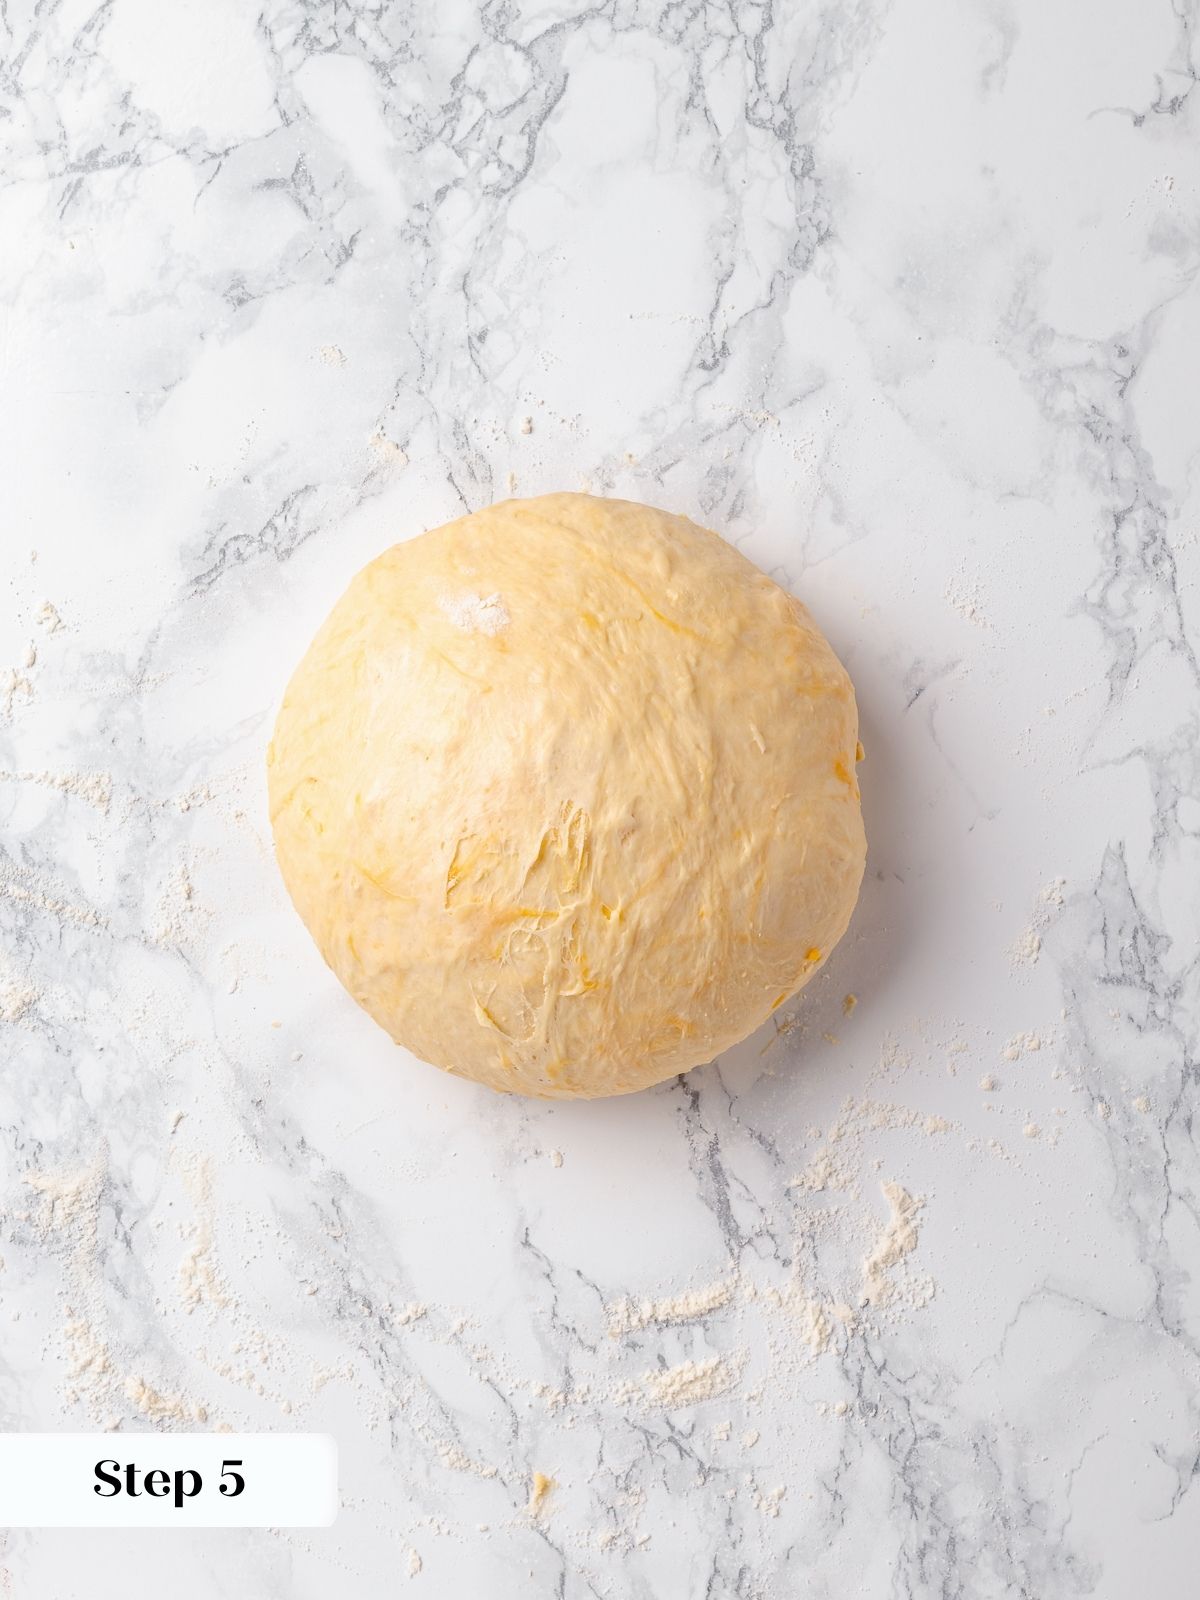

Step 3: Proof the dough. Cover bowl and let rise in a warm spot for 2-3 hours or until it doubles (photo 5).
Mine doubled in 2 hours so I did a set of stretch and folds (it had pretty good gluten development!) with floured hands. I had something else in the oven at a different temperature, so I needed the bread to wait for me! I proofed the dough, covered, for an additional hour and then proceeded to the next step (shaping). Even if you don’t need the dough to wait for you, you can add a set of stretch and folds after an hour and keep the set timeline.
Step 4: Preheat the oven. During the last 15 minutes (or so) of the bulk proofing, preheat the oven to 450°F with a lidded Dutch oven or cast iron pot inside the oven. Preheat the lid too! Cut a piece of parchment paper slightly larger than the pot bottom.
Shape and Rest
Step 5: Shape the dough. Flour a smooth surface or counter. Turn out the dough onto the surface and quickly fold all 4 corners into the center using floured hands. Flip it over, remove excess flour and try to tighten into a ball shape with floured hands (photo 6). Mine had that extra fold so this was super easy. Transfer to the piece of cut parchment paper.
I like to put the parchment paper with the shaped dough inside the bowl that I used for proofing so it doesn’t spread excessively. This is especially helpful if you didn’t do a fold.
Step 6: Proof again (photo 7). Cover the bowl with a lid, clean kitchen towel or piece of plastic wrap and let the dough rise an additional 15-30 minutes.
Bake the Loaf
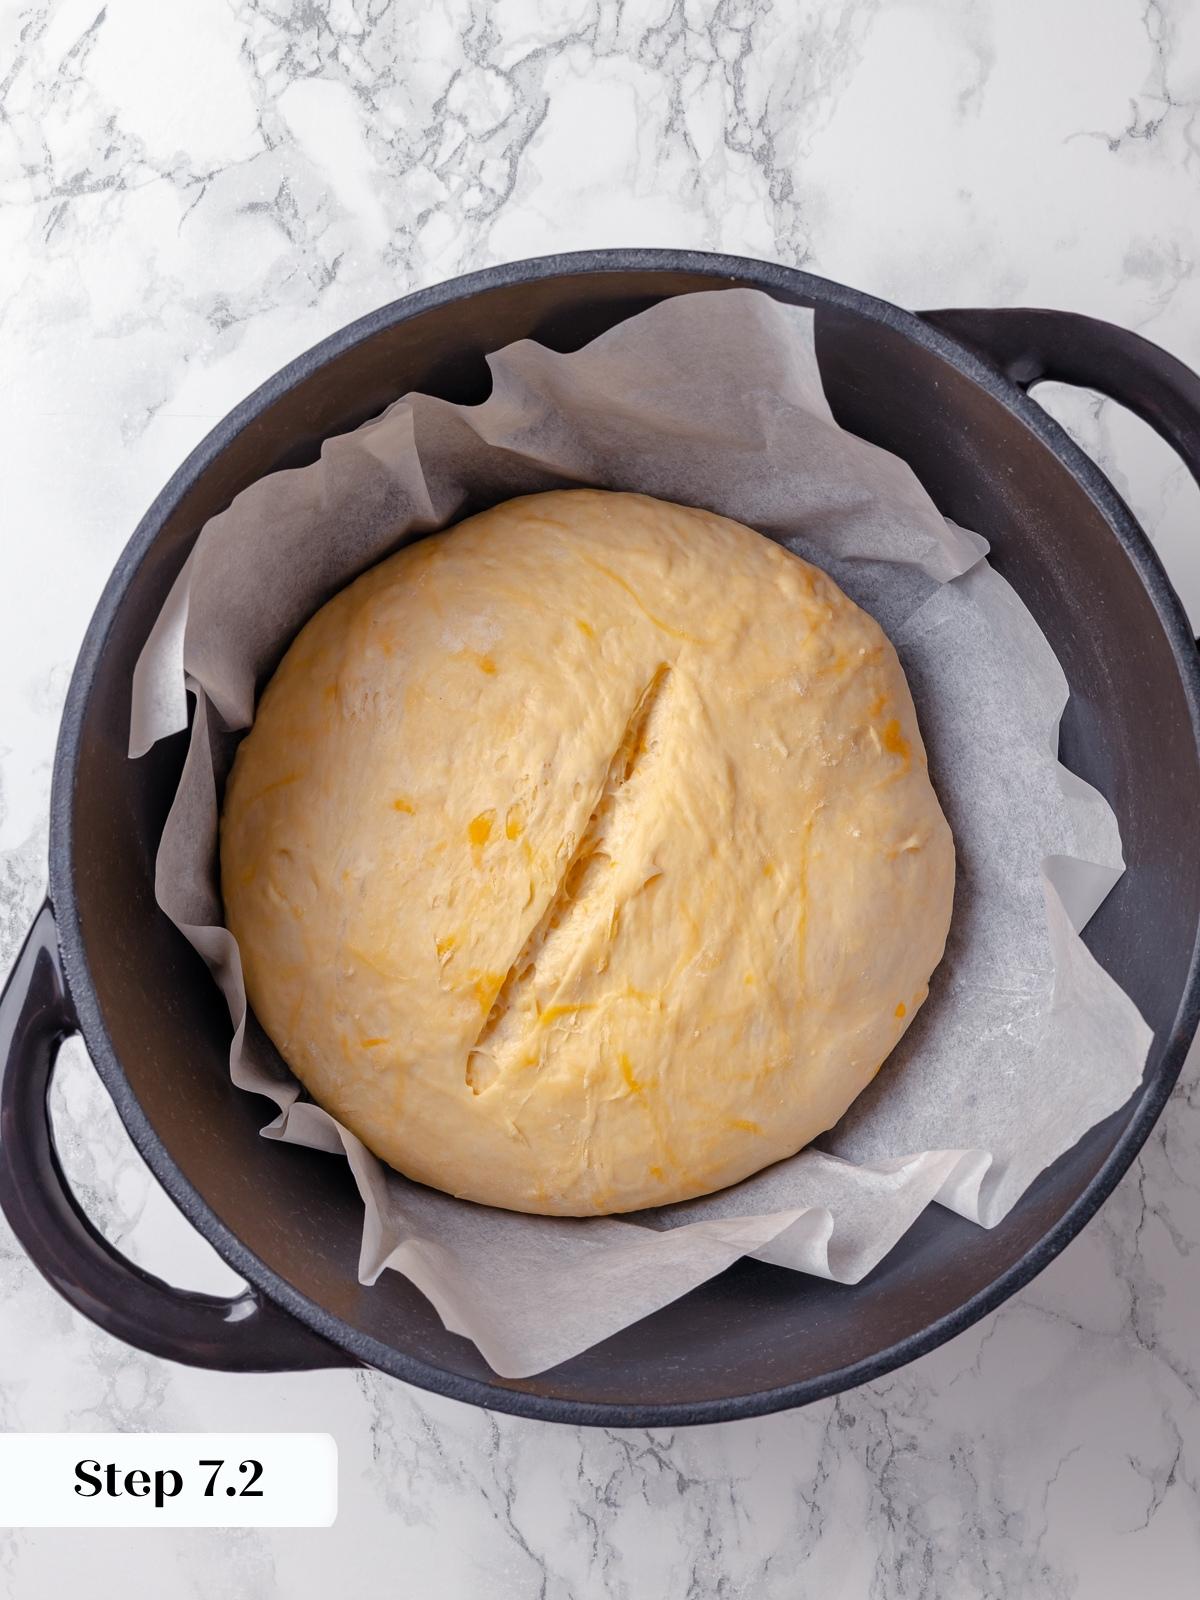
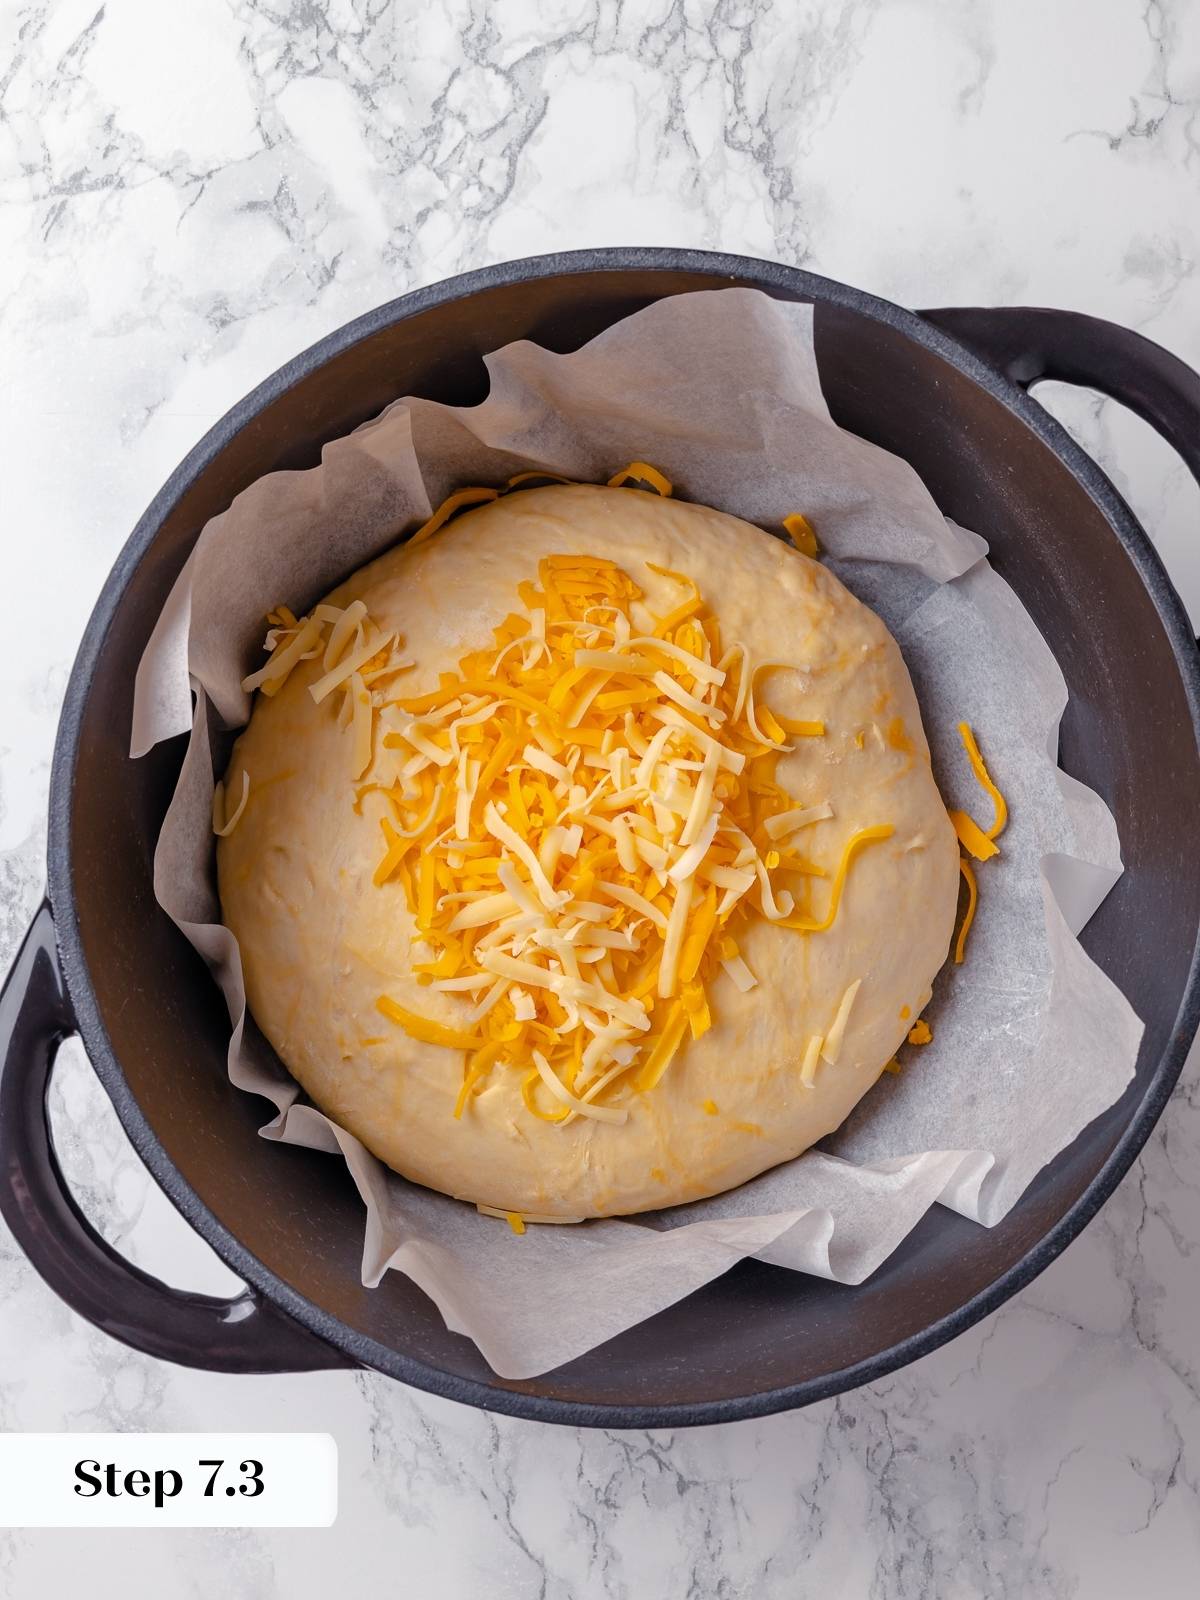

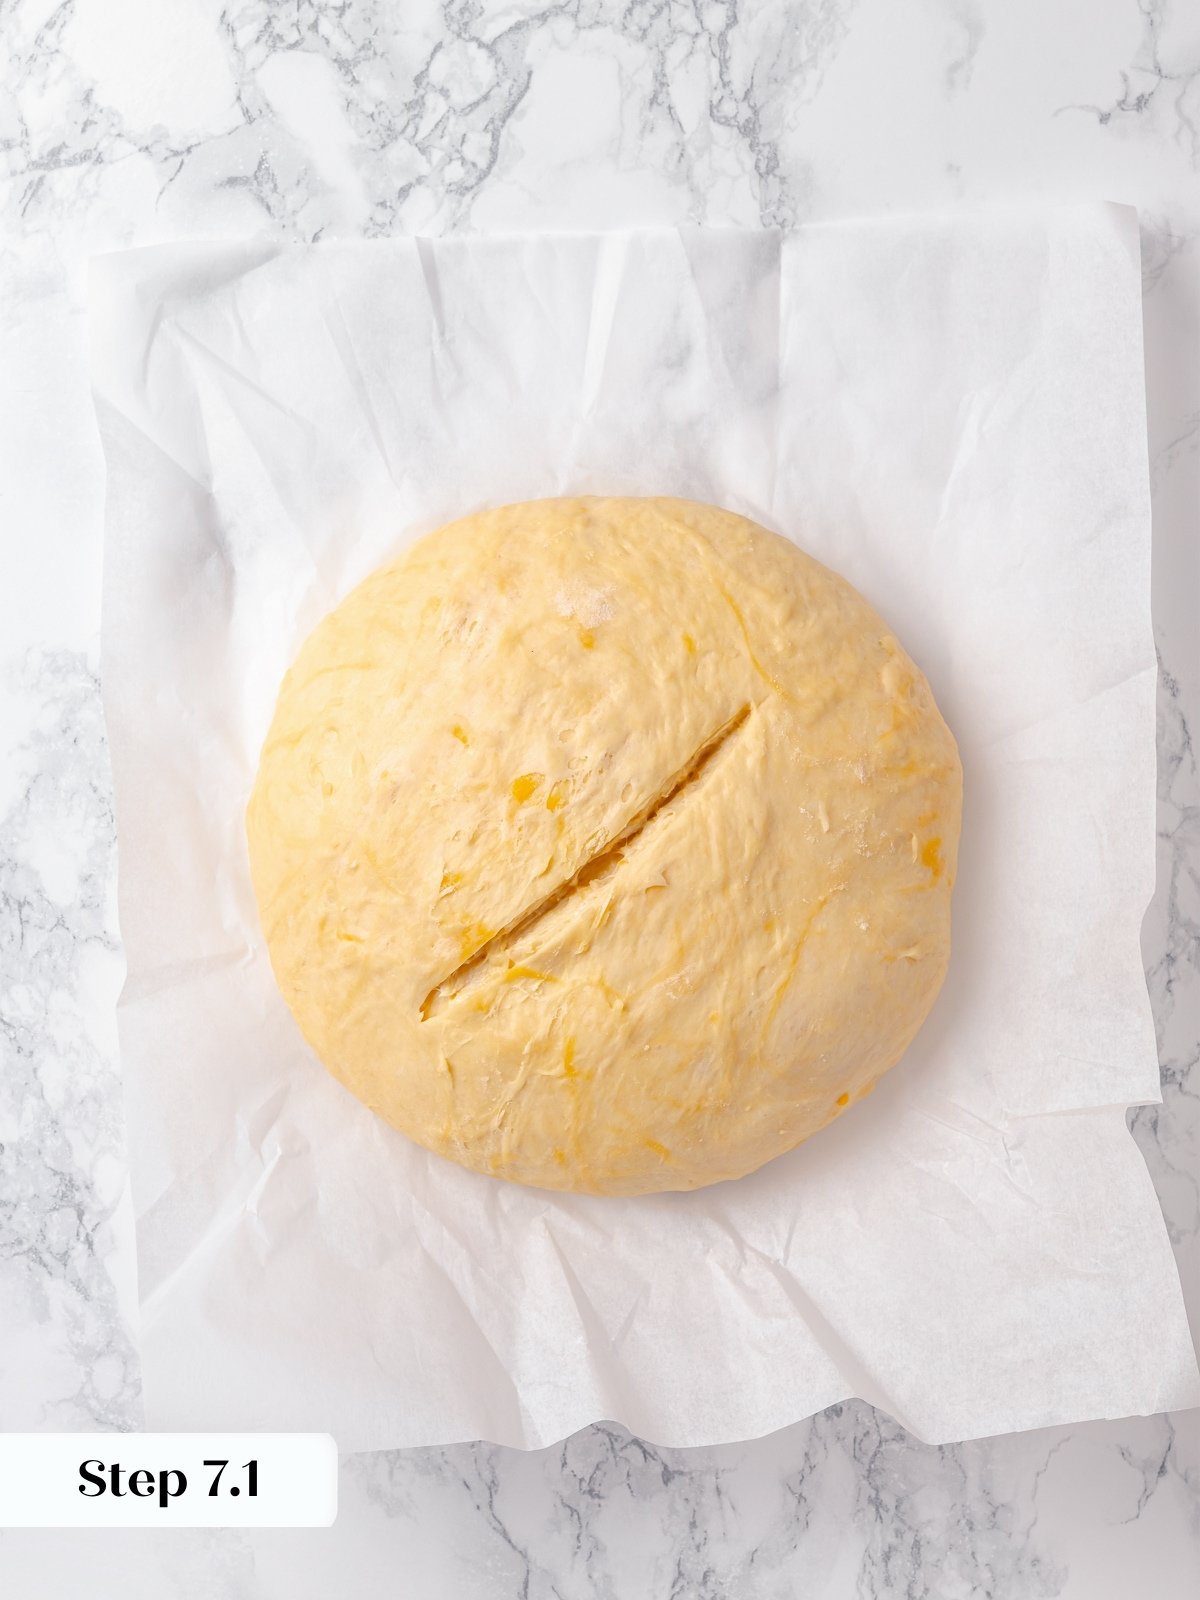
Step 7: Score and top with cheese. Remove the plastic wrap from the top of the bowl. If you are going to score it, place the parchment on the countertop, slice a long line through the center of the loaf with a bread lame, razor blade or very sharp knife (photo 8). Carefully remove the hot pot from the oven. Remove the lid and set it aside. Working quickly and carefully, use the parchment paper to transfer the cheese bread dough to the pot (photo 9). Sprinkle reserved cheese on top of bread and place the lid back on the pot (photo 10).
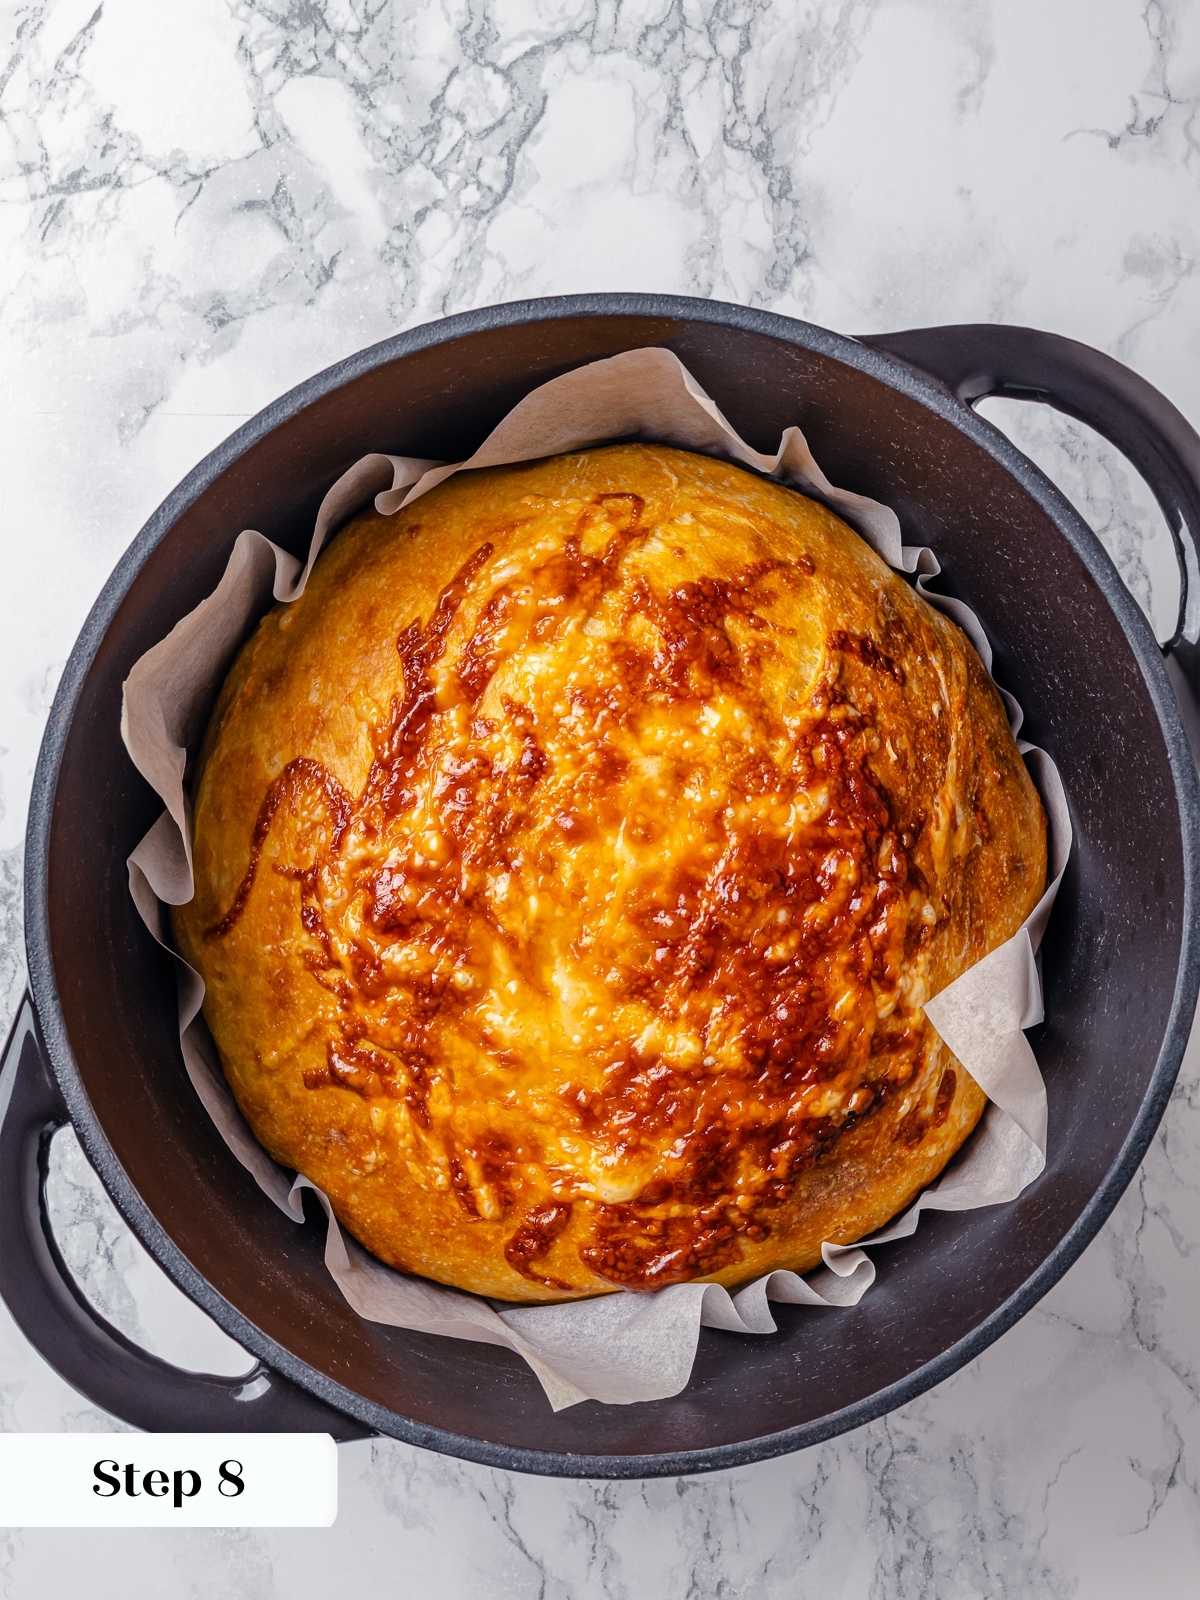
Step 8: Bake the bread. Return the pot to the oven and baked covered for 30 minutes. After 30 minutes, remove the lid and continue baking 15 minutes until the bread is golden brown and the cheese is bubbly and browning on the edges (photo 11).
Step 9: Let cool before slicing (photo 12). Or don’t!
Recipe FAQs
Store leftover cheese bread at room temperature in an airtight container or zip-top plastic baggie for up to 3 days. I found it began to dry out after this time. For longer storage, wrap well and freeze for up to 2 months.
Cool the loaf completely, wrap well in plastic wrap and then store in an airtight container or baggie in the freezer for up to 2 months. I like to slice the loaf before freezing for easy portioning!
The best oven-spring and crusty crust will occur if baked in a Dutch oven or Challenger bread pan, but you can also preheat a baking sheet on the center rack and a large roasting pan on the bottom of the oven.
When ready to bake, place the parchment paper with the scored loaf directly on the hot baking sheet and pour at least 2 quarts of hot water into the baking pan on the bottom. Close the door as quickly as possible. Release the steam after 30 minutes by opening the door.
There is no wrong way to serve cheesy bread. Serve it as an appetizer with dips or salted butter; serve it with soup or red chili; or as a side to a hearty salad or an easy taco bake. Make it into cheesy garlic bread by spreading melted butter and minced garlic on slices and toasting.

Recommended Cheesy Bread Recipes
Yeast Breads

Yeast Breads

Yeast Breads

Yeast Breads
If you enjoyed this recipe, please leave a star rating and let me know how it goes in the comments below! I love hearing from you and your comments make my day!
Cheese Bread (No Knead)
Ingredients
- 3 cups all-purpose flour, plus more for shaping
- 2 teaspoons sea salt, or kosher salt
- 1 ½ teaspoons instant yeast
- 1 ½ cups warm water, about 110 to 115°F
- 2 ½ cups shredded sharp cheddar cheese, or a mix, slightly packed, bonus points for shredding it yourself!
Instructions
Mixing & Proofing Dough:
- In a large bowl add flour, salt, instant yeast and warm water. Stir with a wooden spoon or a stiff silicone spatula until a soft, shaggy dough forms.
- Stir in 2 cups of the shredded cheese and mix until a dough ball forms. This little bit of extra mixing is worth it to completely hydrate the flour and distribute the cheese throughout.
- Cover bowl and let rise in a warm spot for 2-3 hours or until it doubles.
- During the last 15 minutes (or so) of the bulk proofing, preheat the oven to 450°F with a lidded Dutch oven or cast iron pot inside the oven. Preheat the lid too! Cut a piece of parchment paper slightly larger than the pot bottom.
Shape and Rest
- Flour a smooth surface or counter. Turn out the dough onto the surface and quickly fold all 4 corners into the center using floured hands. Flip it over, remove excess flour and try to tighten into a ball shape with floured hands. Mine had that extra fold so this was super easy. Transfer to the piece of cut parchment paper.
- Cover the bowl with a lid, clean kitchen towel or piece of plastic wrap and let the dough rise an additional 15-30 minutes.
Bake the Loaf
- Remove the plastic wrap from the top of the bowl. If you are going to score it, place the parchment on the countertop, slice a long line through the center of the loaf with a bread lame, razor blade or very sharp knife. Carefully remove the hot pot from the oven. Remove the lid and set it aside. Working quickly and carefully, use the parchment paper to transfer the cheese bread dough to the pot. Sprinkle reserved cheese on top of bread and place the lid back on the pot.
- Return the pot to the oven and baked covered for 30 minutes. After 30 minutes, remove the lid and continue baking 15 minutes until the bread is golden brown and the cheese is bubbly and browning on the edges.
- Let cool before slicing. Or don’t!
Notes
Nutrition
Nutrition information is automatically calculated, so should only be used as an approximation.
 Like this recipe? Rate & comment below!
Before You Go
I hope you enjoyed this easy yeasted bread recipe. Check out more no-knead bread recipes like my ciabatta bread recipe, or keep it fun with some easy homemade bread bowls next!


My second time to make, it’s absolutely wonderful and easy. I’ve NEVER baked so this is really great for me. I’ve given half a loaf to my neighbors so that I can finish it without any waste and everyone loves it. Well done!
That is so wonderful to hear Sam! I love sharing with neighbors helps me from eating a whole loaf myself! Thank you for taking the time to come back and share! ~GVD team
Makes a beautiful crusty loaf! Thank you for the recipe!!
Hi Deanna! This makes our day, thank you! So glad you loved the crust! It sounds like you nailed it. Happy baking! ~gvd team