
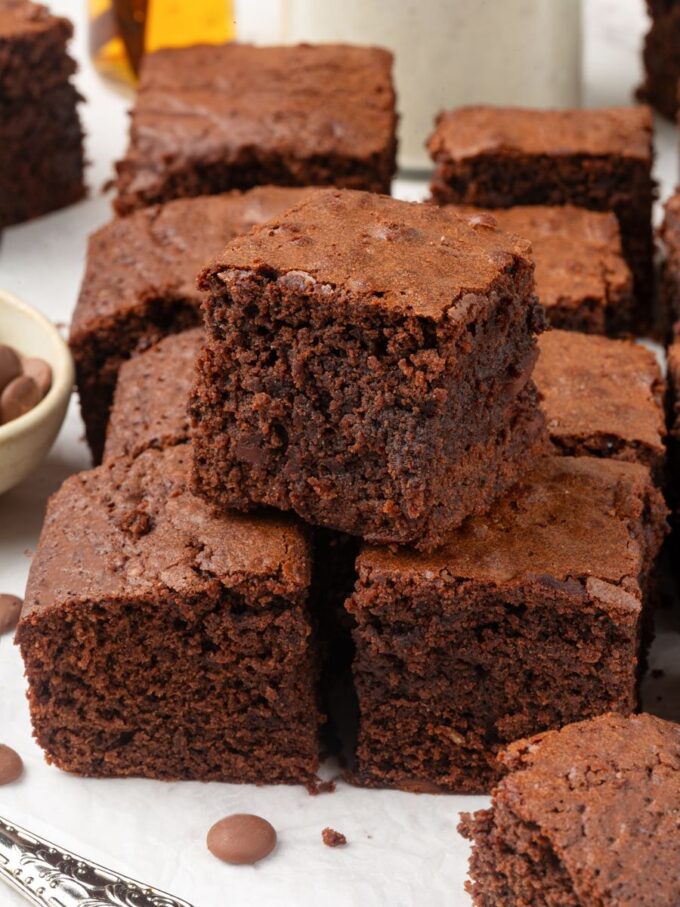
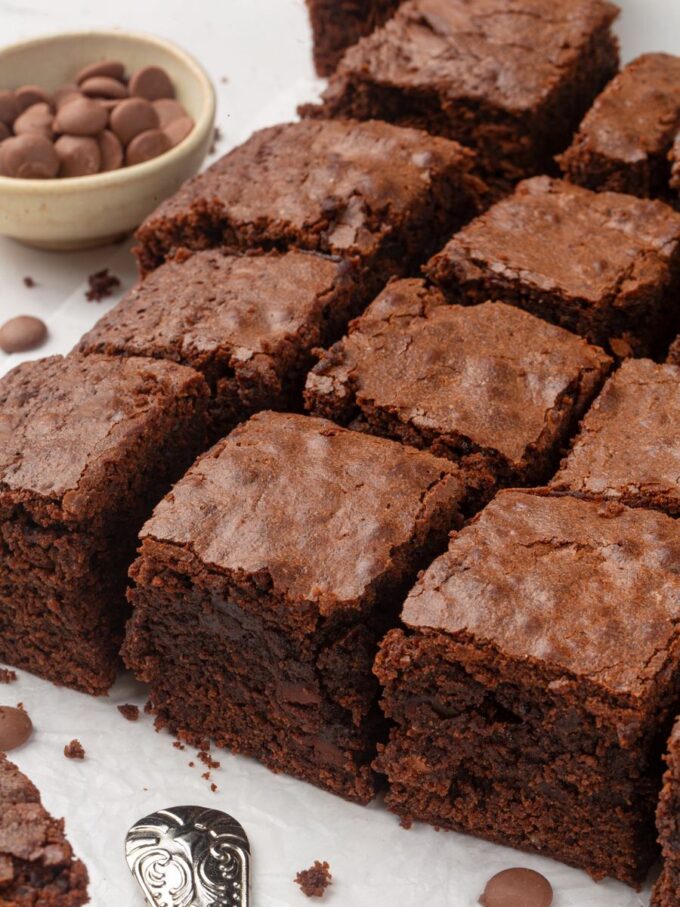
Sourdough discard brownies are one of the best reasons to keep a jar of discard in your fridge. The tang cuts through the richness of dark chocolate in a way that makes each bite taste more complex.
A Quick Look At The Recipe
This is a brief summary of the recipe. Jump to the recipe to get the full details.
Prep Time
20 minutes
Cook Time
35 minutes
30 minutes
Total Time
1 hour 25 minutes
Servings
16 brownies
Difficulty
Intermediate
Calories *
470 kcal per serving
Technique
Mixing and folding
Flavor Profile
Rich chocolate, subtle tang, bittersweet, gooey
* Based on nutrition panel
When I saw these I knew I had to make them! Lucky I had some very old discard in my fridge! These are so wonderful my new favorite brownie. I added some walnuts and they were so good everyone asked me to make more next week. ⭐⭐⭐⭐⭐
Taylor
Why You Will Love This Recipe
- Uses up your sourdough discard. Instead of throwing it out, one cup of discard goes straight into the batter. If you are already keeping a starter, there are dozens of ways to put it to work, and my Ultimate guide to sourdough discard recipes is a good place to browse when you have extra.
- Deeply fudgy texture, not cakey. The discard adds moisture and a subtle chew that keeps these dense and gooey through the center. Older discard, straight from the fridge, produces the fudgiest result.
- The tang actually does something. A full cup of discard balances the richness of the dark chocolate rather than competing with it. The flavor is bittersweet and complex, without a sour note. If you like that baking with discard, my sourdough chocolate chip cookies should be your next stop.
Table of Contents
Give your sourdough starter a second life with these deeply fudgy brownies! The discard adds a subtle tang that balances the rich chocolate and creates an irresistibly chewy, gooey center. Adapted from my classic fudgy brownie recipe, this is the ultimate way to use up that extra starter you’ve been saving in the fridge.
They are the kind of thing you can bring to a potluck or keep wrapped on the counter all week. If you love a rich, fudgy square, my homemade brownies are a great choice if you don’t have any discard on hand or you could try these gluten free brownies!
Ingredients & Substitutions
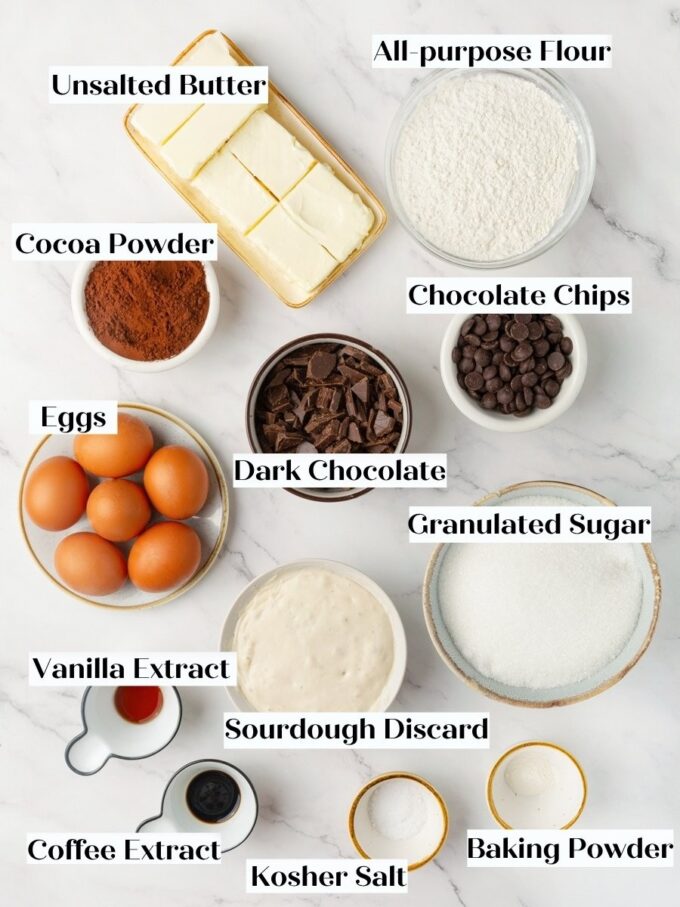
- Cocoa Powder: The backbone of the chocolate flavor here, and quality matters. Higher-quality cocoa produces a deeper, more vibrant chocolate flavor, while lower-quality cocoa makes the brownies taste flat and muted.
- Baking Powder: Gives the tops of the brownies a very slight lift, so the centers stay dense and gooey without feeling raw. The amount here is intentionally small.
- Unsalted Butter: Melted with the chopped chocolate to create a smooth, glossy base that gives these brownies their rich, fudgy body.
- Chopped Dark Chocolate: Melted into the butter to form the chocolate base; the cocoa percentage you choose shapes the finished brownie’s overall flavor. I always use 70% for a bold, bittersweet result. A lower percentage will make the brownies taste sweeter and less intense, while unsweetened chocolate will push the flavor even deeper and more robust.
- Eggs: Cold eggs whipped with sugar create the pale, frothy base that gives these brownies their crackly crust and structured interior without sacrificing the gooey center. Use them straight from the refrigerator, not at room temperature.
- Coffee Extract: Deepens the chocolate flavor considerably without making the brownies taste like coffee. This is one of my favorite additions to any chocolate bake.
- Sourdough Discard: Adds a subtle tang and contributes to the chewy, fudgy texture that makes these brownies stand apart. You can reduce the discard to half a cup for a more chocolate-forward flavor, but you will lose some of the complexity the full amount brings. If you love what discard does in a baked good, it works beautifully in sourdough banana bread as well.
Variations for Sourdough Discard Brownies
- Add a ganache or frosting. You can top these brownies with a chocolate ganache or chocolate frosting! They would also be delightful with the strawberry buttercream from my strawberry cake!
- Oreo Brownie Variation. Press a layer of Oreo cookies into the batter just before baking for a cookies-and-cream riff on these brownies. My Oreo Brownies use a similar technique if you want a dedicated recipe for that version.
- Unsweetened Chocolate for a Bolder Base. Swap the chopped dark chocolate for unsweetened chocolate when melting with the butter. The finished brownies will taste deeper and more intense, and the discard’s tang will come through more clearly.
- Add some fruit! Take inspiration from my cherry brownies or these strawberry brownies! Add some fresh or frozen fruit!
Professional Tips for Perfect Sourdough Discard Brownies
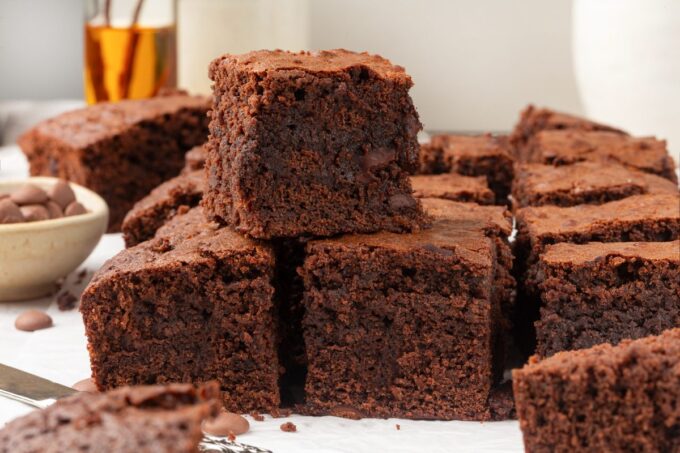
- Recently Fed Discard vs Older Discard. When I tested this with recently fed discard, the brownies tasted almost like milk chocolate—softer and sweeter. Older discard gives a fudgier texture and more intense chocolate flavor.
- Cool the chocolate mixture before combining it with the eggs. If the melted butter and chocolate are still very hot when they hit the whipped eggs, you will scramble them, and the batter will be lost. Give the mixture a few minutes on the counter, or set the bowl over an ice bath and stir until it feels warm rather than hot to the touch.
- Do not overmix once the flour goes in. Add the dry ingredients in several additions, and fold gently with a silicone spatula until there are no more streaks. Overmixing develops gluten and turns a fudgy brownie into a tough, cakey one.
How to Make Sourdough Discard Brownies
Use these instructions to make rich, fudgy brownies with a crackly top and deep chocolate flavor. Further details and measurements can be found in the recipe card below.
Step 1: Prep Your Pan and Oven. Preheat your oven to 350°F. Line a 9×13-inch pan with two sheets of parchment paper laid in opposite directions to create a sling.
The parchment should hang over the edges on all four sides so you can lift the whole slab out cleanly after baking.
Make the Batter
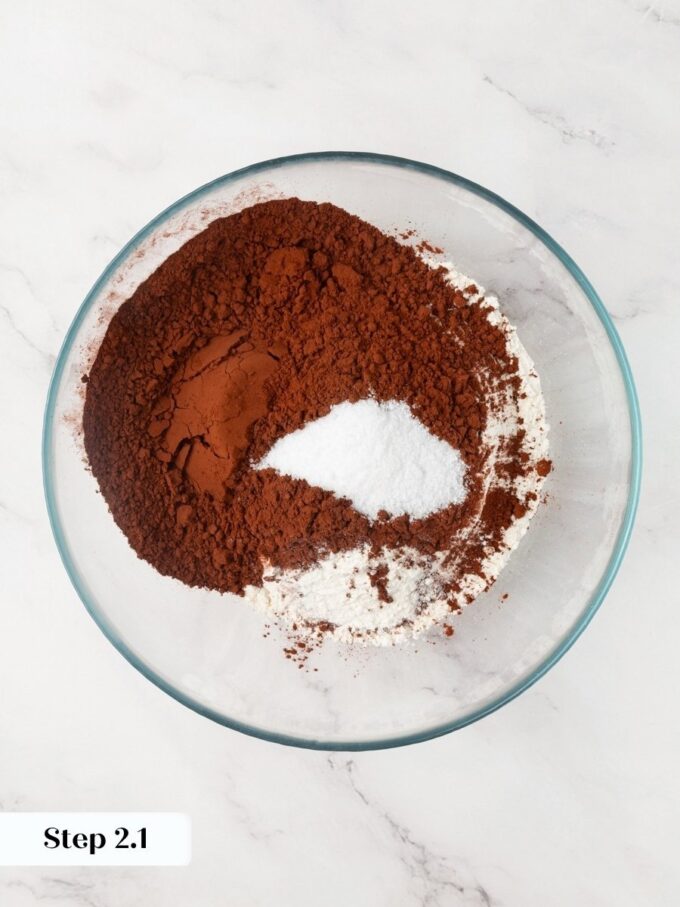
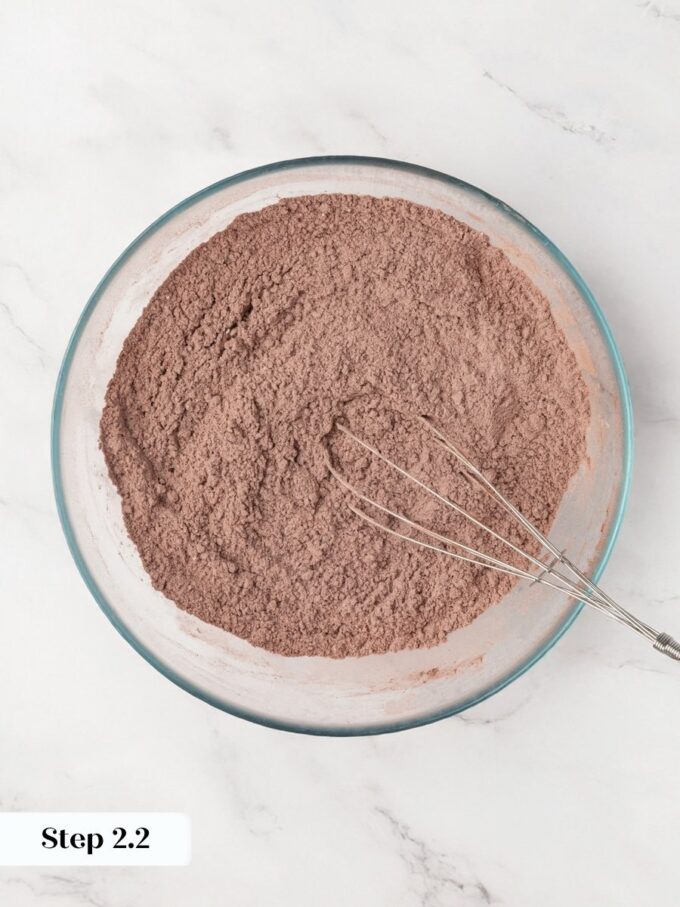
Step 2: Mix the Dry Ingredients. Whisk the flour, cocoa powder, baking powder, and salt together in a large bowl until the mixture is one uniform, deep brown color with no visible streaks of lighter flour. (photos 1 & 2)
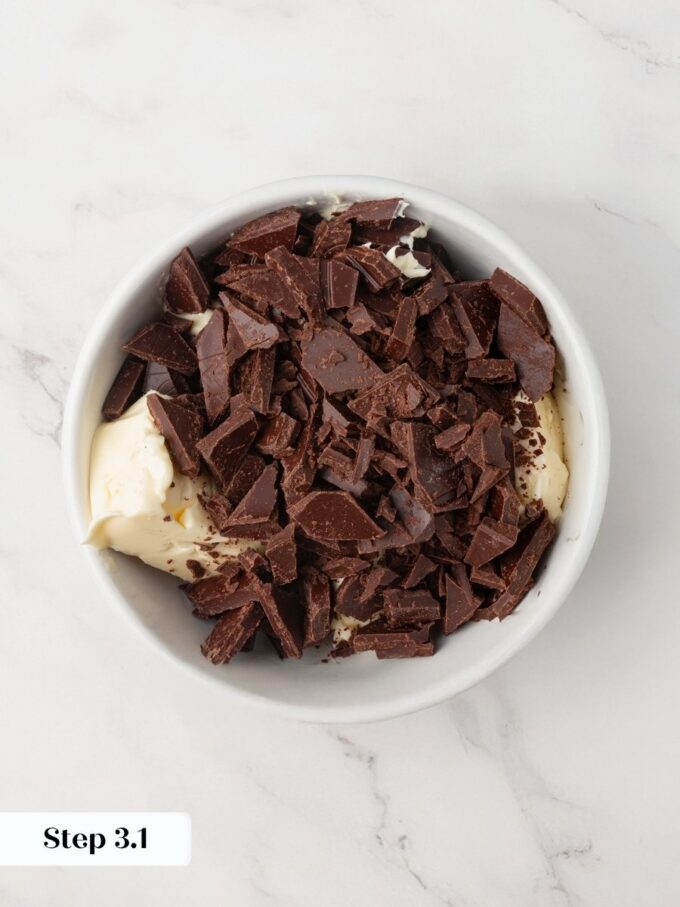
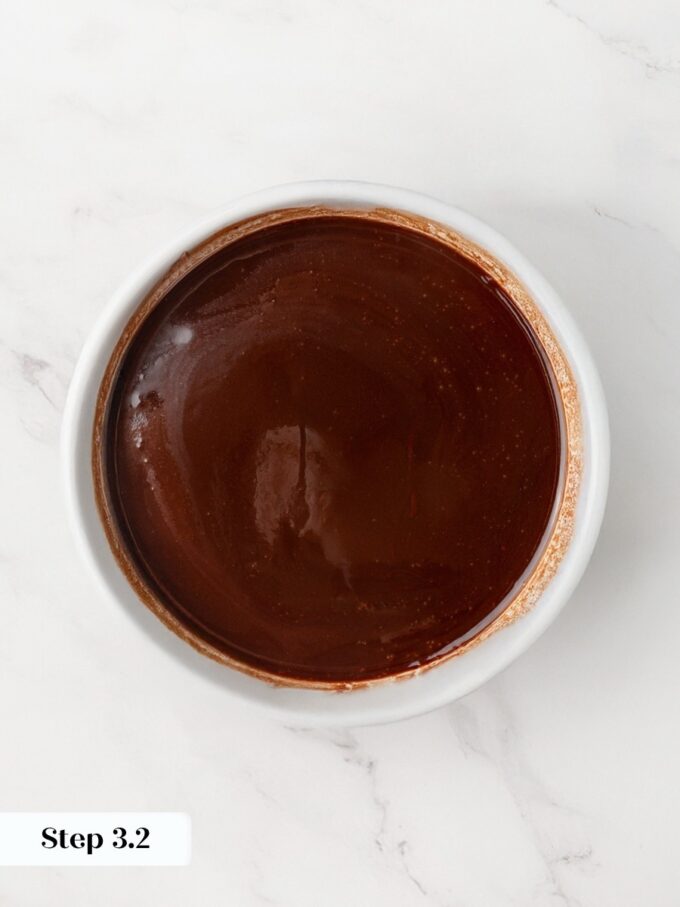
Step 3: Melt the Butter and Chocolate. Combine the butter and chopped dark chocolate in a heatproof bowl. Melt them together either in the microwave in 30-second bursts, stirring between each, or set the bowl over a pot of barely simmering water. Stir frequently until the mixture is completely smooth and glossy with no visible chunks. (photos 3 & 4)
Take your time here. Rushing this step over high heat can cause the chocolate to seize into a grainy, broken mess, which is fine to prevent by keeping the heat gentle and stirring steadily.
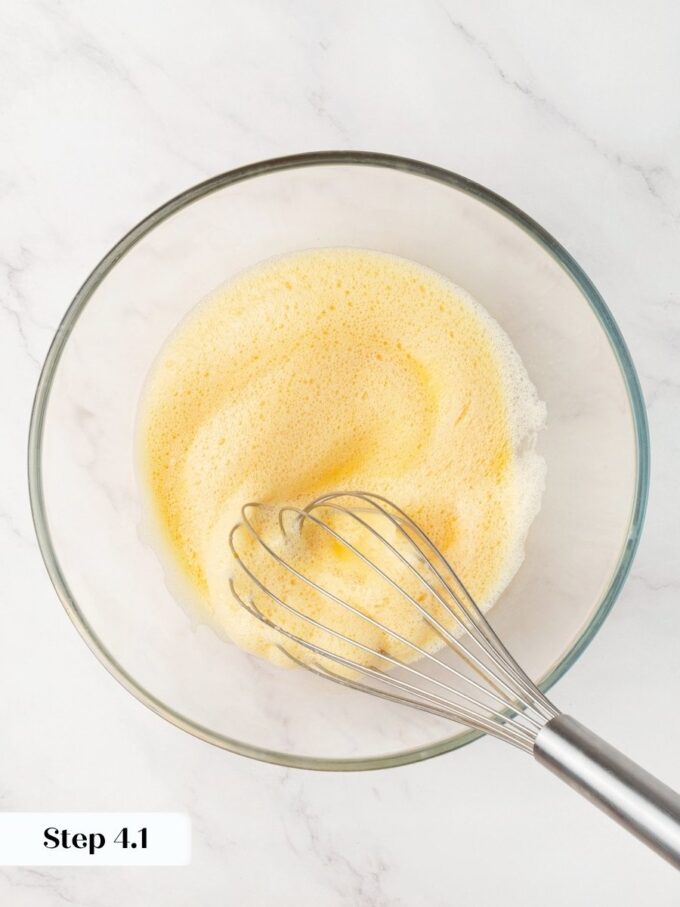
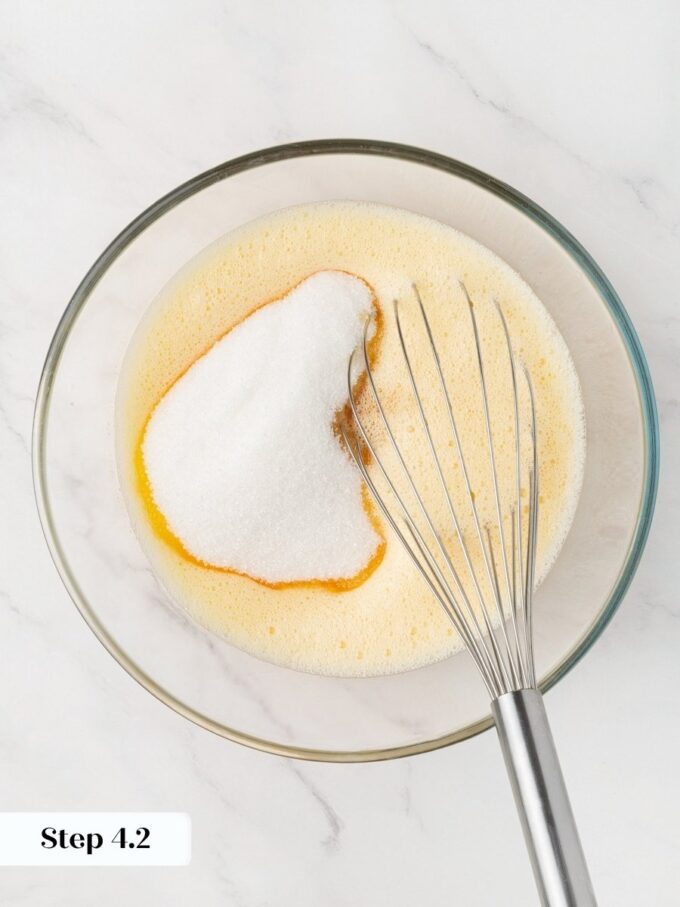
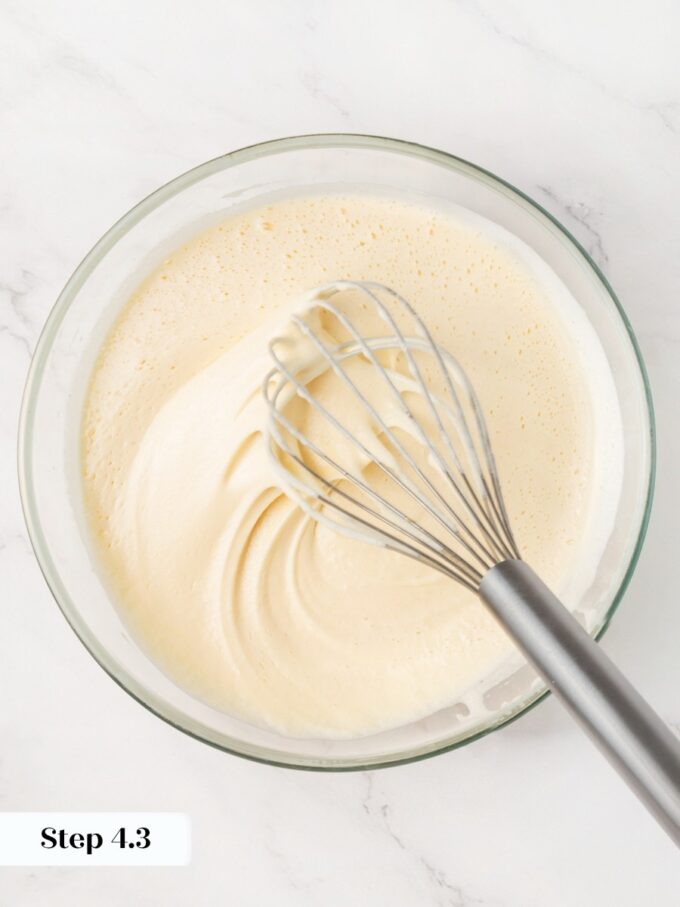
Step 4: Whip the Eggs and Sugar. Add the cold eggs to a large bowl and whisk briefly to break them up, then add the sugar, vanilla extract, and coffee extract. Whisk vigorously for 3 to 5 minutes until the mixture is pale yellow, nearly doubled or tripled in volume, and looks like a thick, airy foam. This can be done in a bowl or in a stand mixer with a whisk attachment (photos 5-7)
This step is what gives the brownies their shiny, crackly top, so do not rush past it. The mixture should fall from the whisk in thick ribbons and hold its shape for a moment before dissolving back in.
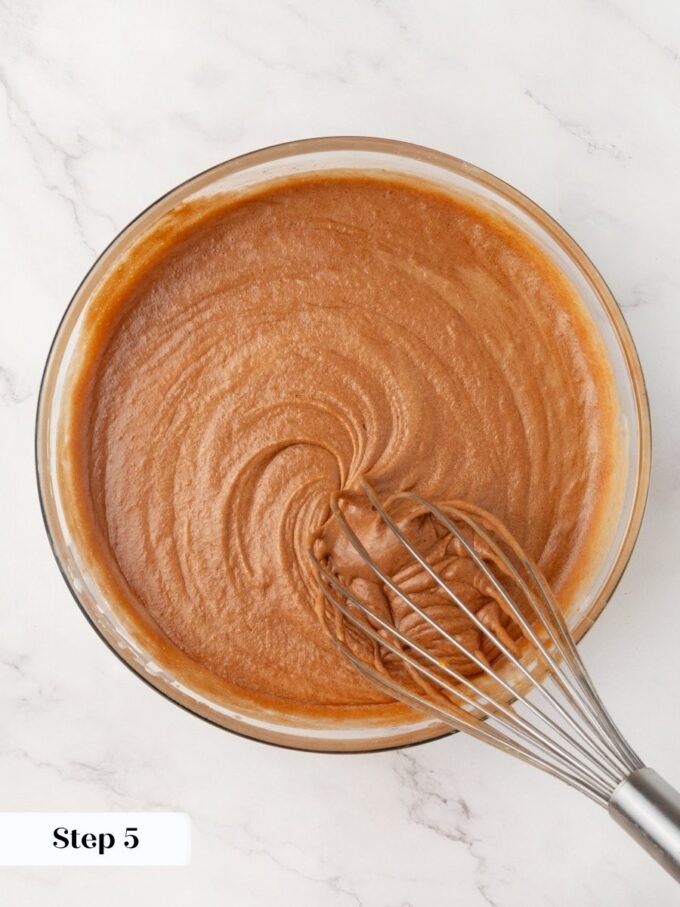
Step 5: Combine the Wet Ingredients. Check that your melted chocolate and butter mixture has cooled until it is warm but not hot to the touch. If it is still steaming, rest the bowl over an ice bath, stirring frequently, until it cools down. Pour the cooled chocolate mixture into the whipped eggs and sugar and whisk until fully combined and smooth. (photo 8)
Adding hot chocolate to the egg mixture would scramble the eggs, and that is definitely not what we want here.
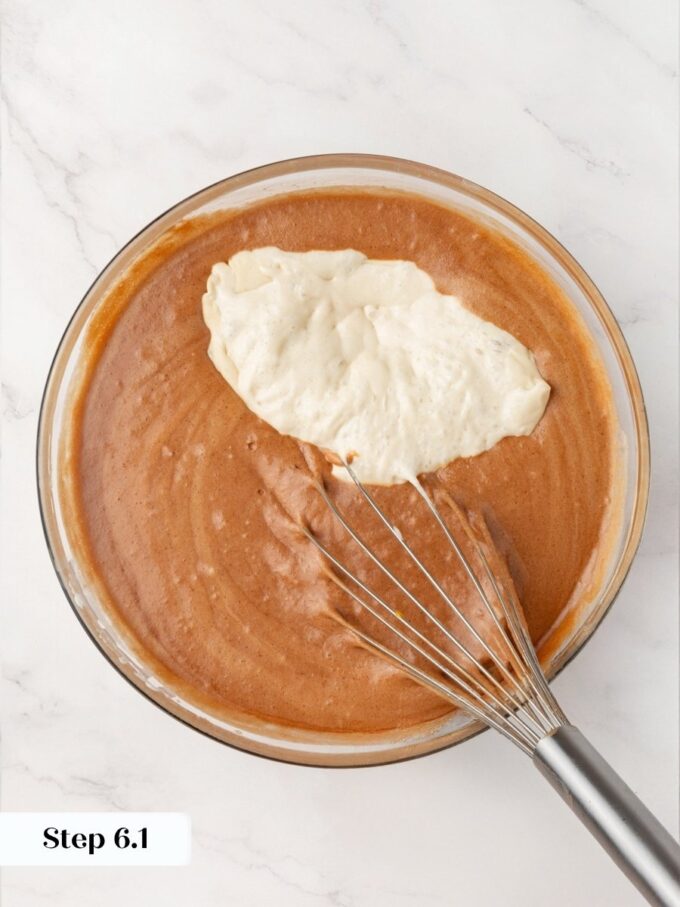
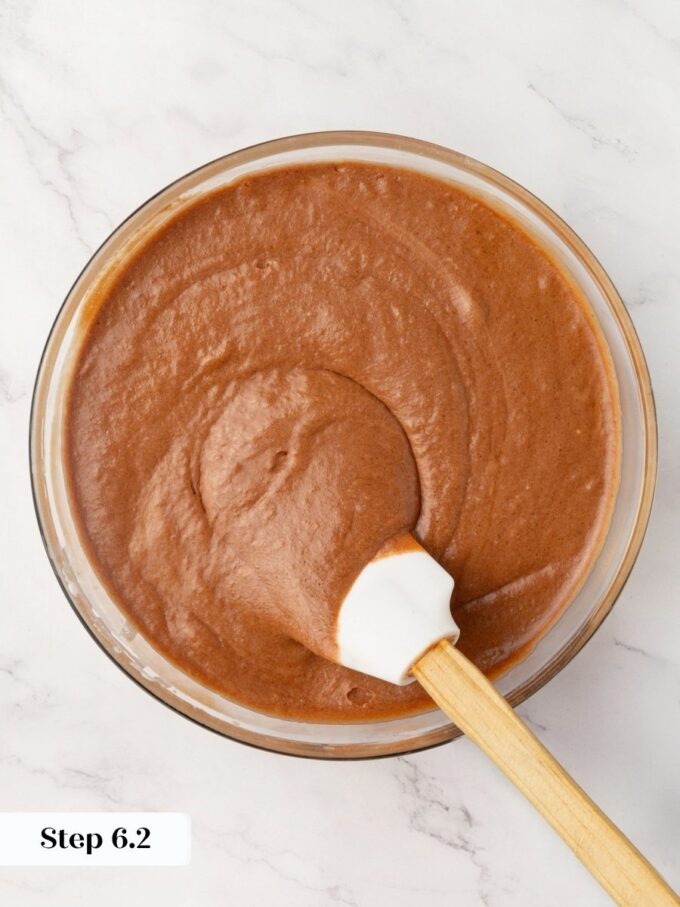
Step 6: Whisk In the Discard. Add the sourdough discard and whisk until it is fully blended into the batter, about 30 seconds. The batter will look glossy and cohesive at this point. If your discard is very cold and straight from the refrigerator, it may make the batter look slightly streaky for a moment. Keep whisking and it will come together smoothly. (photo 9 & 10)
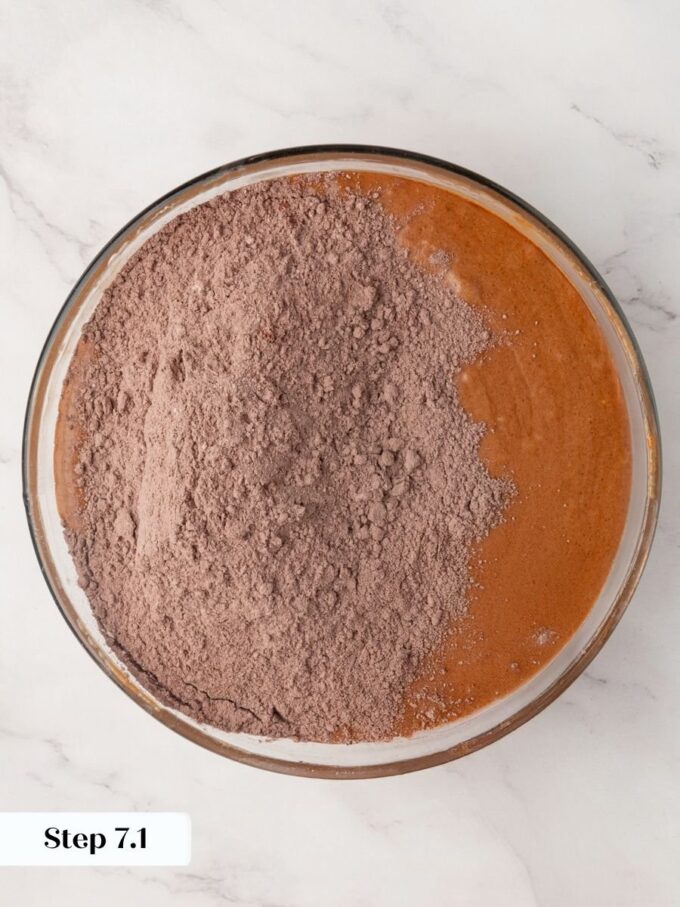
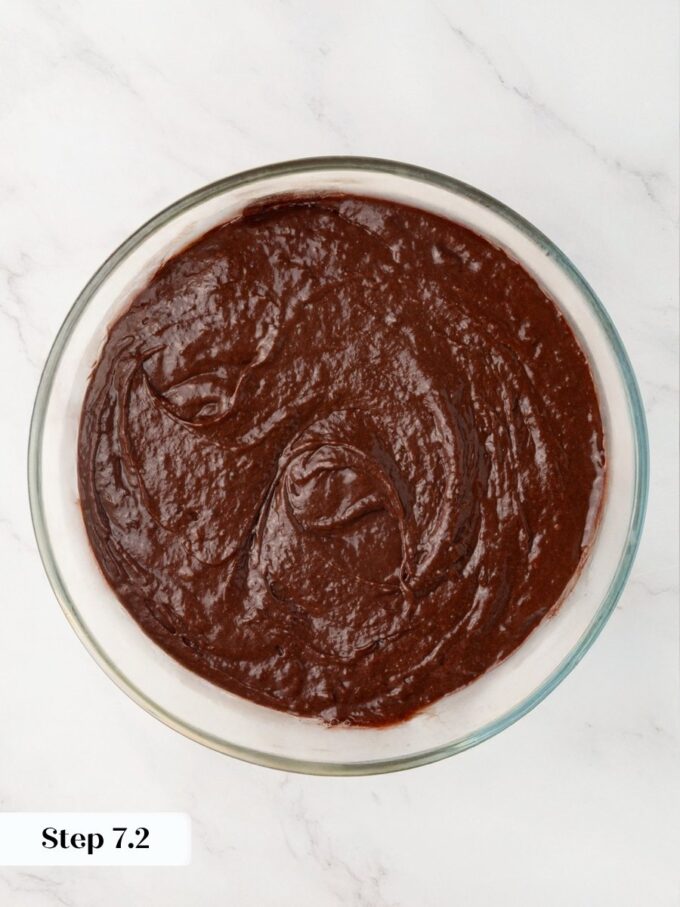
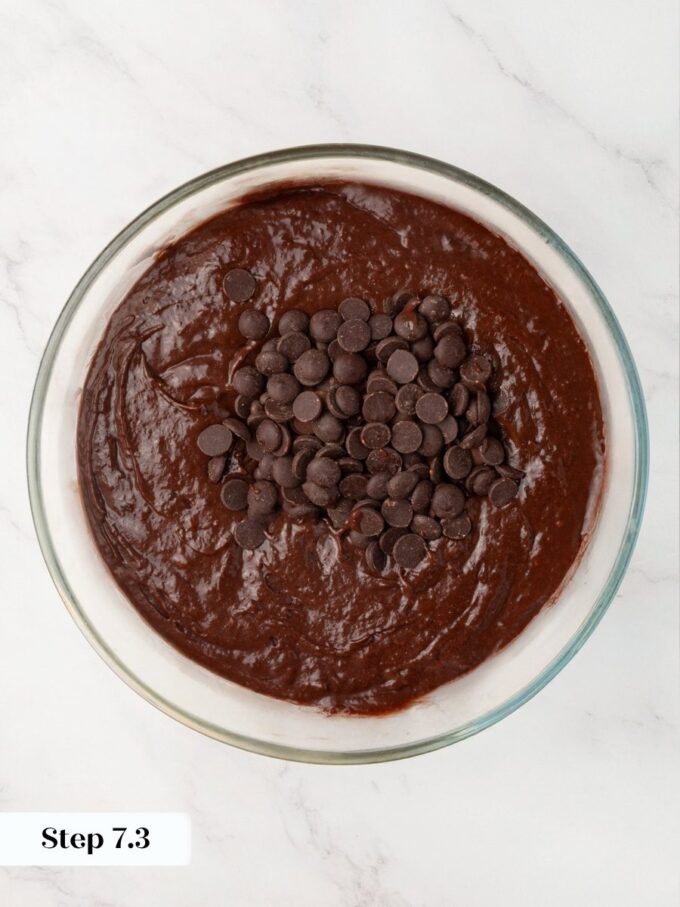
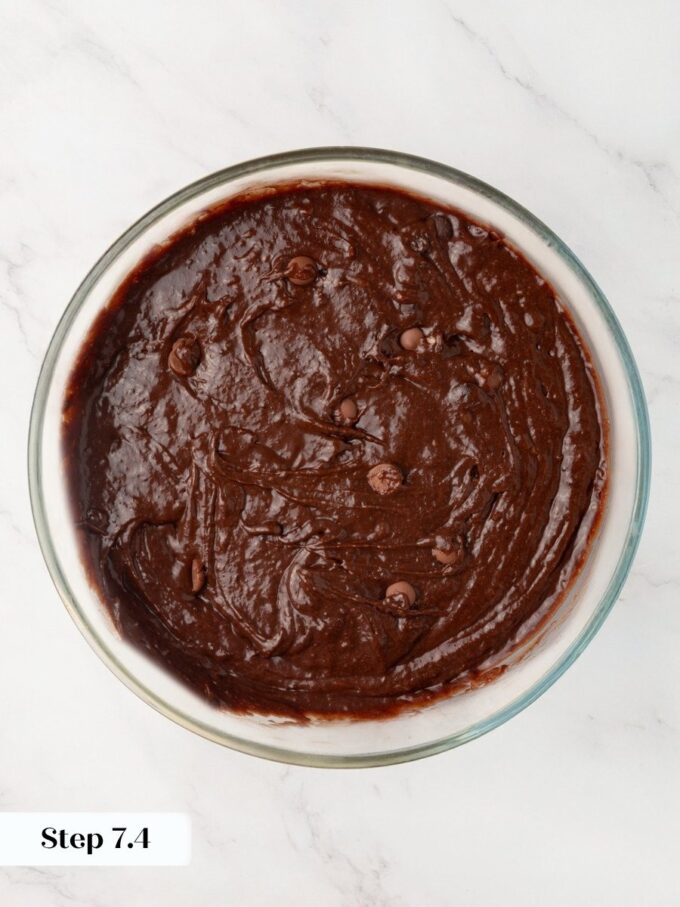
Step 7: Fold in the Dry Ingredients and Chocolate Chips. Add the dry ingredients to the wet batter in two or three additions, whisking gently after each addition just until the streaks of flour disappear. Finish the batter by switching to a silicone spatula and folding in slow, deliberate strokes until you see no more streaks of cocoa or flour. Fold in the dark chocolate chips last, using just a few strokes to distribute them evenly through the batter. (photos 11-14)
Overmixing at this stage develops gluten and pushes out the air you worked hard to build in the egg-whipping step, so stop the moment the batter looks uniform.
Pour and Bake
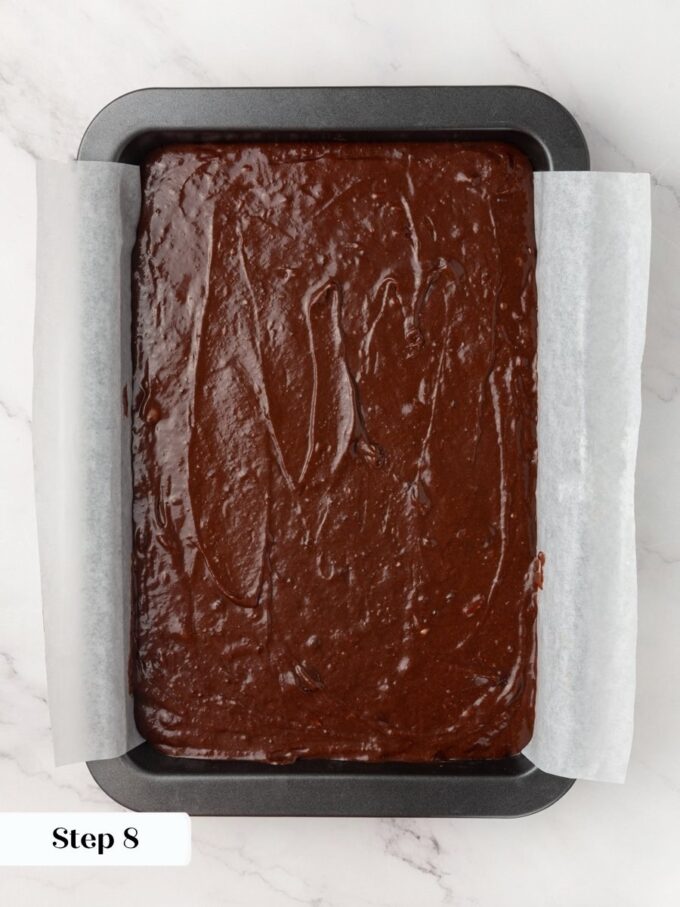
Step 8: Pour the finished batter into your prepared pan and spread it into an even layer with the spatula. Bake at 350°F for 38 to 40 minutes. The center should be puffed, and a cake tester inserted into the middle should come out with just a few moist crumbs clinging to it. I always use a metal cake pan, but a glass or ceramic one would work fine too! (photo 15)
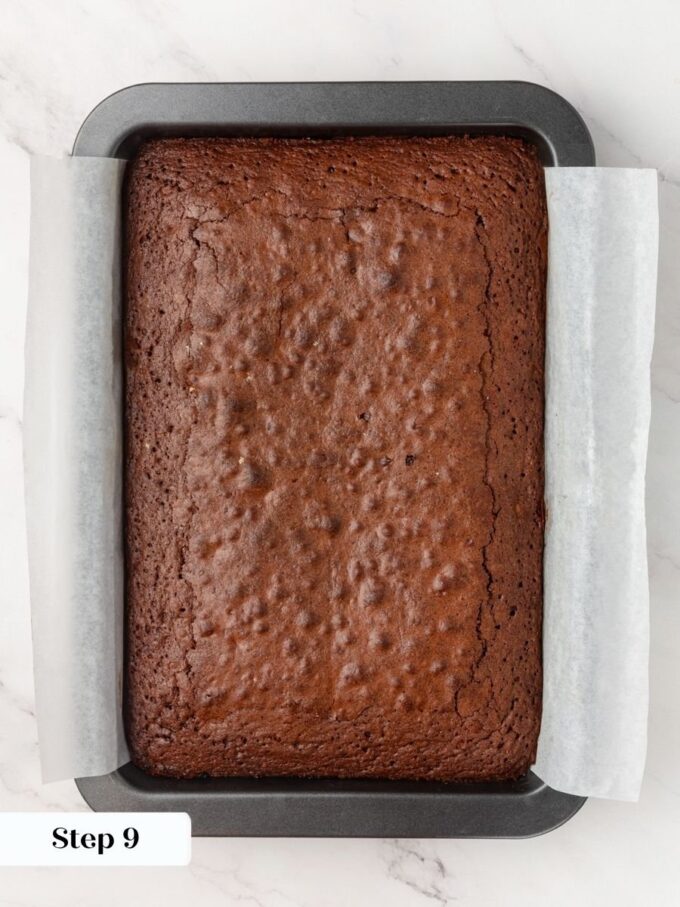
Step 9: Cool and Slice. Let the brownies cool completely in the pan before touching them. Patience is genuinely important here. Cutting too early means the interior is still molten and the slices will collapse and smear rather than hold a clean edge. Once fully cooled, lift the entire slab out of the pan using the parchment sling and transfer it to a cutting board. (photos 16 & 17)
Slice into squares with a chef’s knife, wiping the blade clean between cuts for the neatest edges.
Recipe FAQs
Wrap the cooled brownies tightly or store them in an airtight container at room temperature for up to one week. They will keep in the refrigerator for up to two weeks, though cold brownies firm up considerably, so let them come back to room temperature before eating. For longer storage, freeze them for up to two months, wrapped individually so you can pull out a square at a time without thawing the whole batch.
The two most common culprits are overbaking and overmixing. Pull the pan the moment the center is puffed and a cake tester shows just a few moist crumbs, not a clean tester, and fold the dry ingredients in gently just until no streaks remain. The age of your discard also plays a role here: recently fed discard produces a softer, sweeter, more cakey result, while older refrigerator discard gives you the dense, fudgy texture you are after.
You can reduce the discard down to half a cup if you want a more chocolate-forward brownie with very little tang, though you will lose some of the chewy complexity the full amount contributes. I would not go above one cup, as more discard starts to thin the batter and can make the brownies bake up less fudgy. The full cup is the sweet spot for balancing tang, chocolate intensity, and that thick, glossy batter that sets into a dense, gooey square.
Recommended Sourdough Discard Recipes

Appetizers & Snacks
Breakfast & Brunch
Bagels
Quick Breads
Sourdough Discard Brownies
Ingredients
- 1½ cups all-purpose flour
- ⅔ cup cocoa powder
- ¾ teaspoon baking powder
- 2 teaspoons kosher salt
- 1½ cups unsalted butter
- 1 cup dark chocolate, chopped
- 2 ⅔ cups granulated sugar
- 6 large eggs, cold
- 2 teaspoons vanilla extract
- 1 teaspoon coffee extract
- 1 cup sourdough discard, old
- ½ cup dark chocolate chips
Instructions
- Preheat the oven to 350°F. Line a 9×13-inch pan with criss-crossed parchment paper to create a sling for easy removal.
- Whisk together the flour, cocoa powder, salt, and baking powder in a large bowl. Set aside.
- Melt the butter and chopped chocolate together in the microwave or over a double boiler, stirring frequently until smooth and glossy.
- In a separate large bowl, whisk the cold eggs with the sugar and vanilla extract until pale, foamy, and tripled in volume.
- Pour the melted chocolate mixture into the egg mixture and whisk until fully incorporated. If the chocolate mixture is hot, cool it in the fridge or over an ice bath before adding to protect the eggs.
- Whisk in the sourdough discard until fully blended.
- Add the dry ingredients in several additions, whisking gently each time. Finish by folding with a silicone spatula until no streaks remain. Fold in the chocolate chips.
- Pour batter into the prepared pan and bake for 38–40 minutes, until the center is puffed and a cake tester comes out with just a few moist crumbs.
- Cool completely in the pan before lifting out with the parchment sling and slicing into squares.
Notes
Technique. Whisk the eggs and sugar until the mixture is pale yellow and has tripled in volume before adding the chocolate. This step is what creates the shiny, crackly top.
Pan choice. A metal cake pan is strongly recommended. Glass or ceramic pans retain more heat and can overbake the edges before the center sets.
Storage. Store well wrapped at room temperature for up to 1 week, refrigerated for up to 2 weeks, or freeze for up to 2 months. For longer storage, the freezer preserves texture better than the refrigerator.
Nutrition
Nutrition information is automatically calculated, so should only be used as an approximation.
 Like this recipe? Rate & comment below!
Before You Go
If these sourdough discard brownies have you hooked on baking with discard, there is a whole lot more waiting for you. Browse our Dessert Recipes or for more sourdough discard recipe make these sourdough blueberry muffins.


