
These baked donuts are soft, lightly spiced, and topped with a smooth vanilla glaze that sets in minutes. No fryer, no fuss, and the whole batch is done in about 30 minutes.

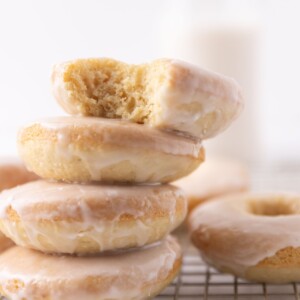
A Quick Look At The Recipe
This is a brief summary of the recipe. Jump to the recipe to get the full details.
Prep Time
10 minutes
Cook Time
12 minutes
Total Time
22 minutes
Servings
12 Donuts
Difficulty
Easy
Calories *
213 kcal per serving
Technique
Baked, one-bowl
Flavor Profile
Lightly sweet, warm with cinnamon, vanilla-glazed
* Based on nutrition panel
“I made these on a Sunday morning and my kids were so excited to dip them in the glaze and add sprinkles. The batter came together so quickly and the donuts were perfectly soft inside. We’ll definitely be making these on repeat!”
⭐⭐⭐⭐⭐
Melissa
Why You Will Love This Recipe
- Ready in 30 minutes. From mixing bowl to glazed donut, the whole batch is done in just under 30 minutes. There’s no yeast, no proofing, and no waiting.
- One bowl for the batter. You whisk the dry ingredients together, whisk the wet ingredients in a separate bowl, then combine them. That’s it — cleanup is minimal and the process is straightforward.
- Completely customizable. The vanilla glaze takes food coloring and any topping you want to pile on, from sprinkles to crushed cookies. It makes these a great option for birthday mornings or weekend baking with kids.
- Endlessly riffable flavor. Once you have the base down, it’s simple to change directions. My maple donuts with crumb topping uses the same baked-donut approach with a maple glaze if you want a cozy variation to try next.
Donuts have always felt like a weekend treat to me, something a little special that makes a regular Saturday morning feel fun These come together so quickly that I’ve started keeping the ingredients stocked just so we can make them whenever the kids and I are craving it!
They’re great on their own, but they also work beautifully as part of a bigger breakfast spread alongside something like my Chocolate Old Fashioned Donuts or this peach donut recipe if you want to offer both a baked and a classic fried option at the same time. Or make this Donut Cake for a full format cake!
Ingredients & Substitutions
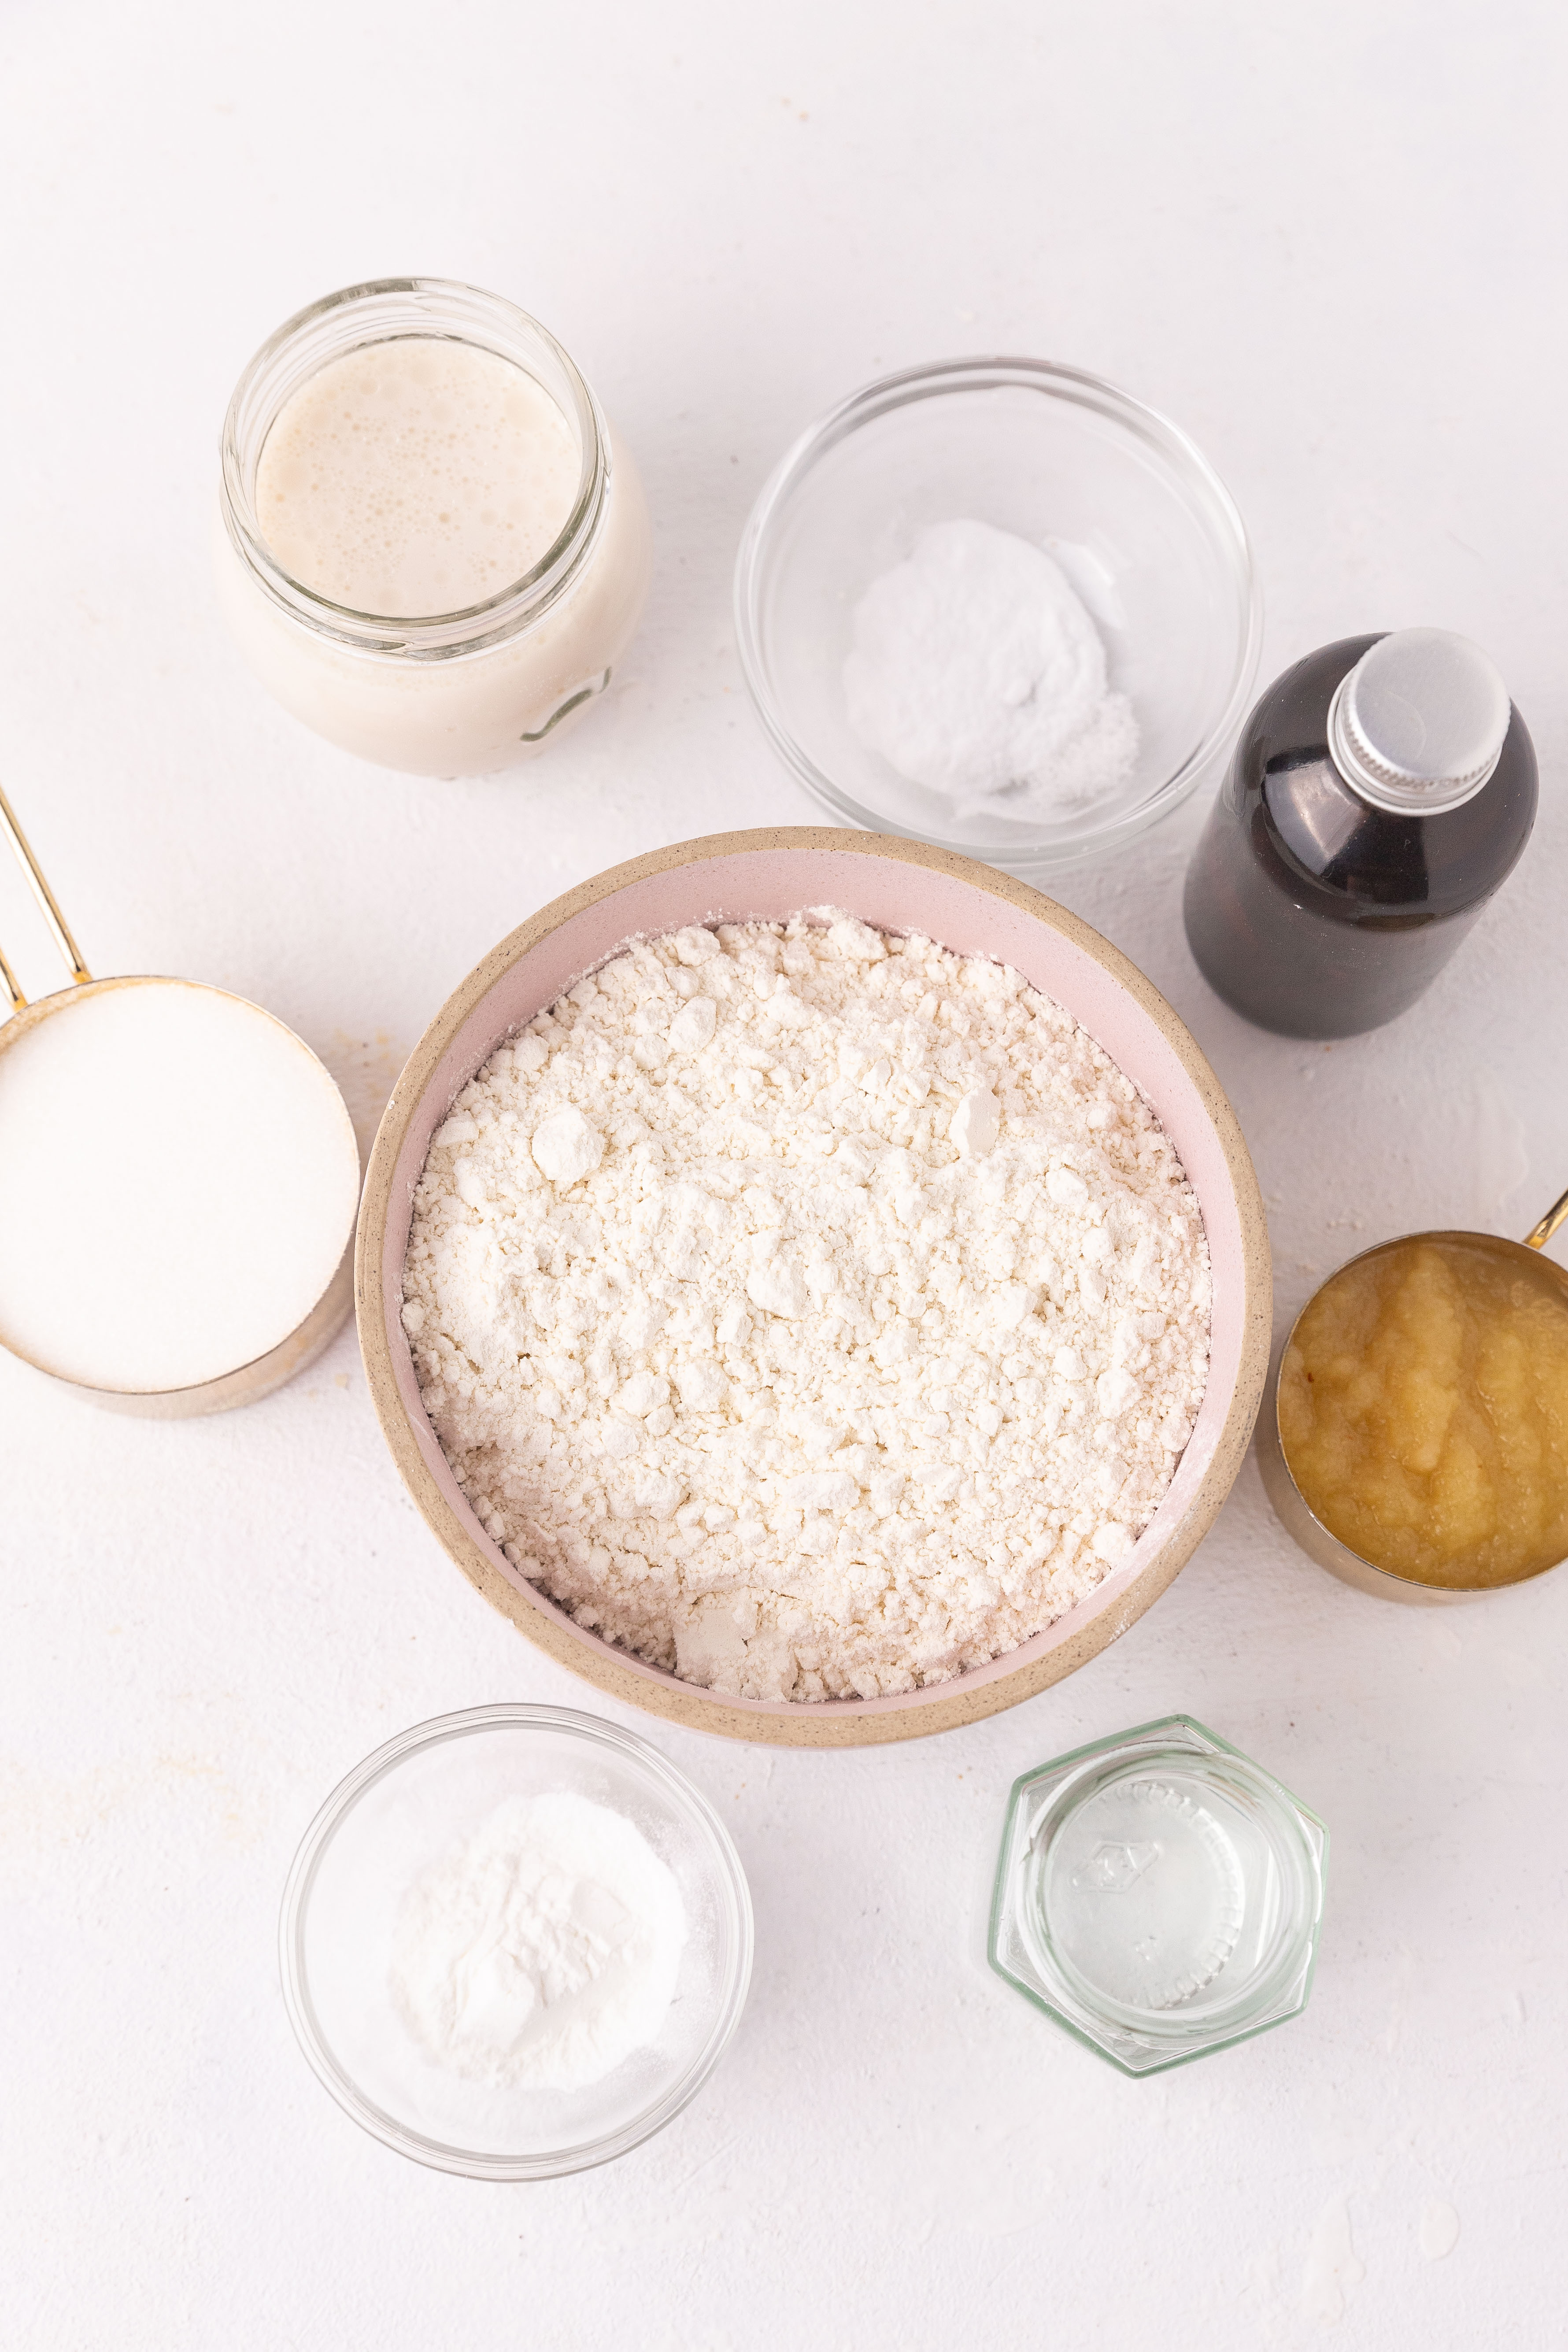
- All-Purpose Flour
- Granulated Sugar: Sweetens the donuts and helps them brown lightly in the oven. You can use the same amount of light brown sugar if you’d like a slightly warmer, more caramel-like flavor.
- Baking Powder: This is the leavening agent that makes the donuts puff up in the pan. Make sure yours isn’t expired, a flat baking powder is the most common reason baked donuts come out dense rather than springy.
- Kosher Salt
- Cinnamon: Adds a warm, subtle spice to the donut batter. It’s a small amount, but it rounds out the vanilla flavor in a way that makes these taste a little more interesting than a plain glazed donut.
- Milk: Adds moisture and helps bring the batter together to the right consistency. Any milk you have on hand works here, including oat milk or another non-dairy alternative.
- Large Eggs
- Unsalted Butter: Melted butter adds richness and keeps the donuts moist after baking. Using unsalted lets you control the salt level in the batter, which is worth doing since the glaze adds its own sweetness.
- Vanilla Extract
- Powdered Sugar: The base of the glaze, it dissolves quickly into milk and vanilla to make a smooth, glossy coating. Sift it before whisking if you want a completely lump-free glaze, which I always do!
- Food Coloring: Completely optional, but this is the easiest way to make a batch of these look festive and fun. Gel food coloring gives you more vivid color without thinning out the glaze the way liquid coloring can.
- Sprinkles or Other Toppings: Add these right after dipping while the glaze is still wet so they stick. If you’re a fan of that classic birthday-cake look, you might also love this homemade funfetti cake recipe for more ways to put sprinkles to good use.
Variations for Baked Donuts
- Chocolate Glaze: Whisk a tablespoon or two of unsweetened cocoa powder into the powdered sugar before adding the milk for a simple chocolate coating. You can also pair this with my chocolate baked donut recipe!
- Lemon Glaze: Swap the milk in the glaze for fresh lemon juice and skip the vanilla extract. You get a bright, tangy coating that cuts through the sweetness of the donut in a really nice way.
- Change the spice: You can swap the cinnamon for a spice mix like this apple pie spice or pumpkin spice recipe! You can also add it to the glaze or make the glaze with apple cider!
- Cinnamon Sugar: Skip the glaze entirely and brush the warm donuts with melted butter, then roll them in a mix of cinnamon and granulated sugar just like this apple cider donut cake. They’re best eaten right away while the coating is still a little crisp on the outside.
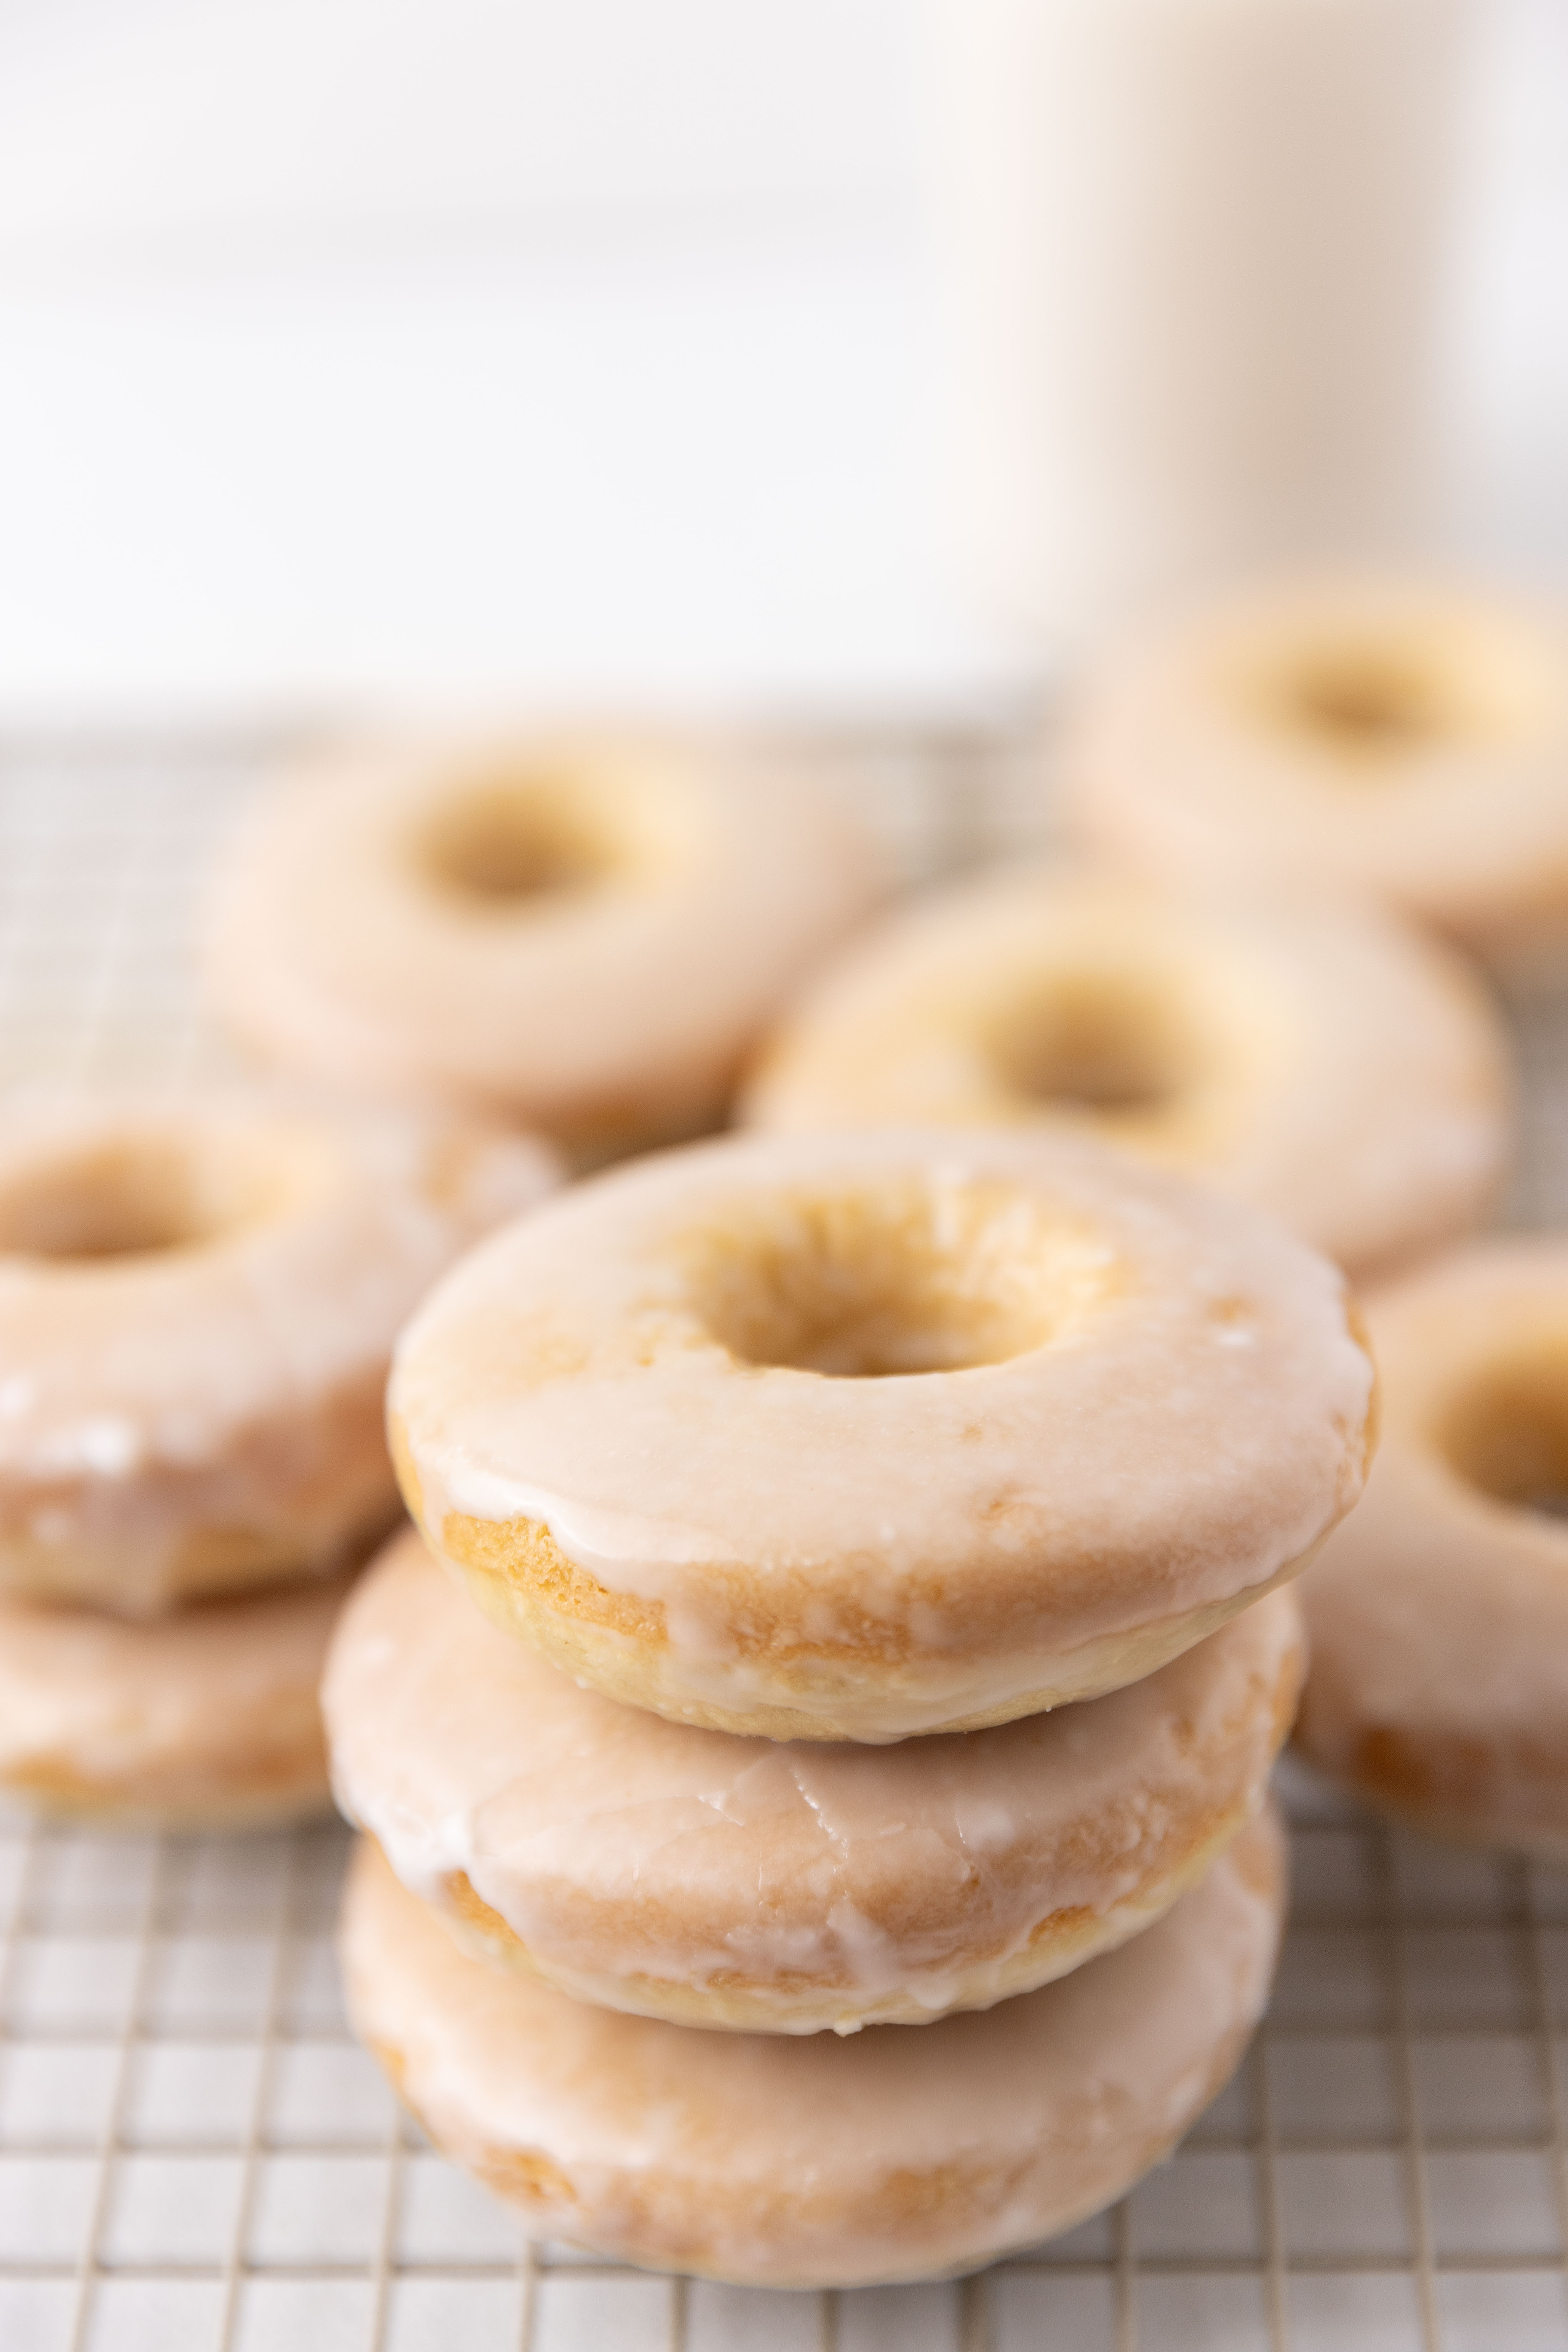
Professional Tips for Perfect Baked Donuts
- Don’t overmix the batter. Once the wet ingredients hit the dry, stir just until no dry streaks remain and stop there. Overmixing develops gluten and makes the donuts tough instead of tender and springy.
- Pipe the batter, don’t spoon it. Spooning batter into a donut pan almost always leaves you with uneven, lumpy rings. A piping bag or a zip-top bag with the corner snipped off gives you a clean, even fill and a much more uniform bake.
- Fill each cavity about two-thirds full. It sounds like it won’t be enough batter, but baked donuts puff up more than you’d expect in the oven. Overfilling causes them to dome over the top of the pan and lose that classic donut shape.
- Cool completely before glazing. A warm donut will melt the glaze right off and leave you with a thin, drippy coating that pools on the rack. Give them the full time on the wire rack and the glaze will set smooth and opaque, which is what you want.
How to Make Baked Donuts
Use these step-by-step instructions to make soft, lightly spiced baked donuts with a smooth vanilla glaze. Further details and measurements can be found in the recipe card below.
Step 1: Preheat and prep the pan. Start by preheating your oven to 350°F (175°C) and giving your donut pan a light coat of non-stick cooking spray. Make sure you get into the center tube of each cavity so the finished donuts release cleanly without sticking or tearing.
Make The Batter
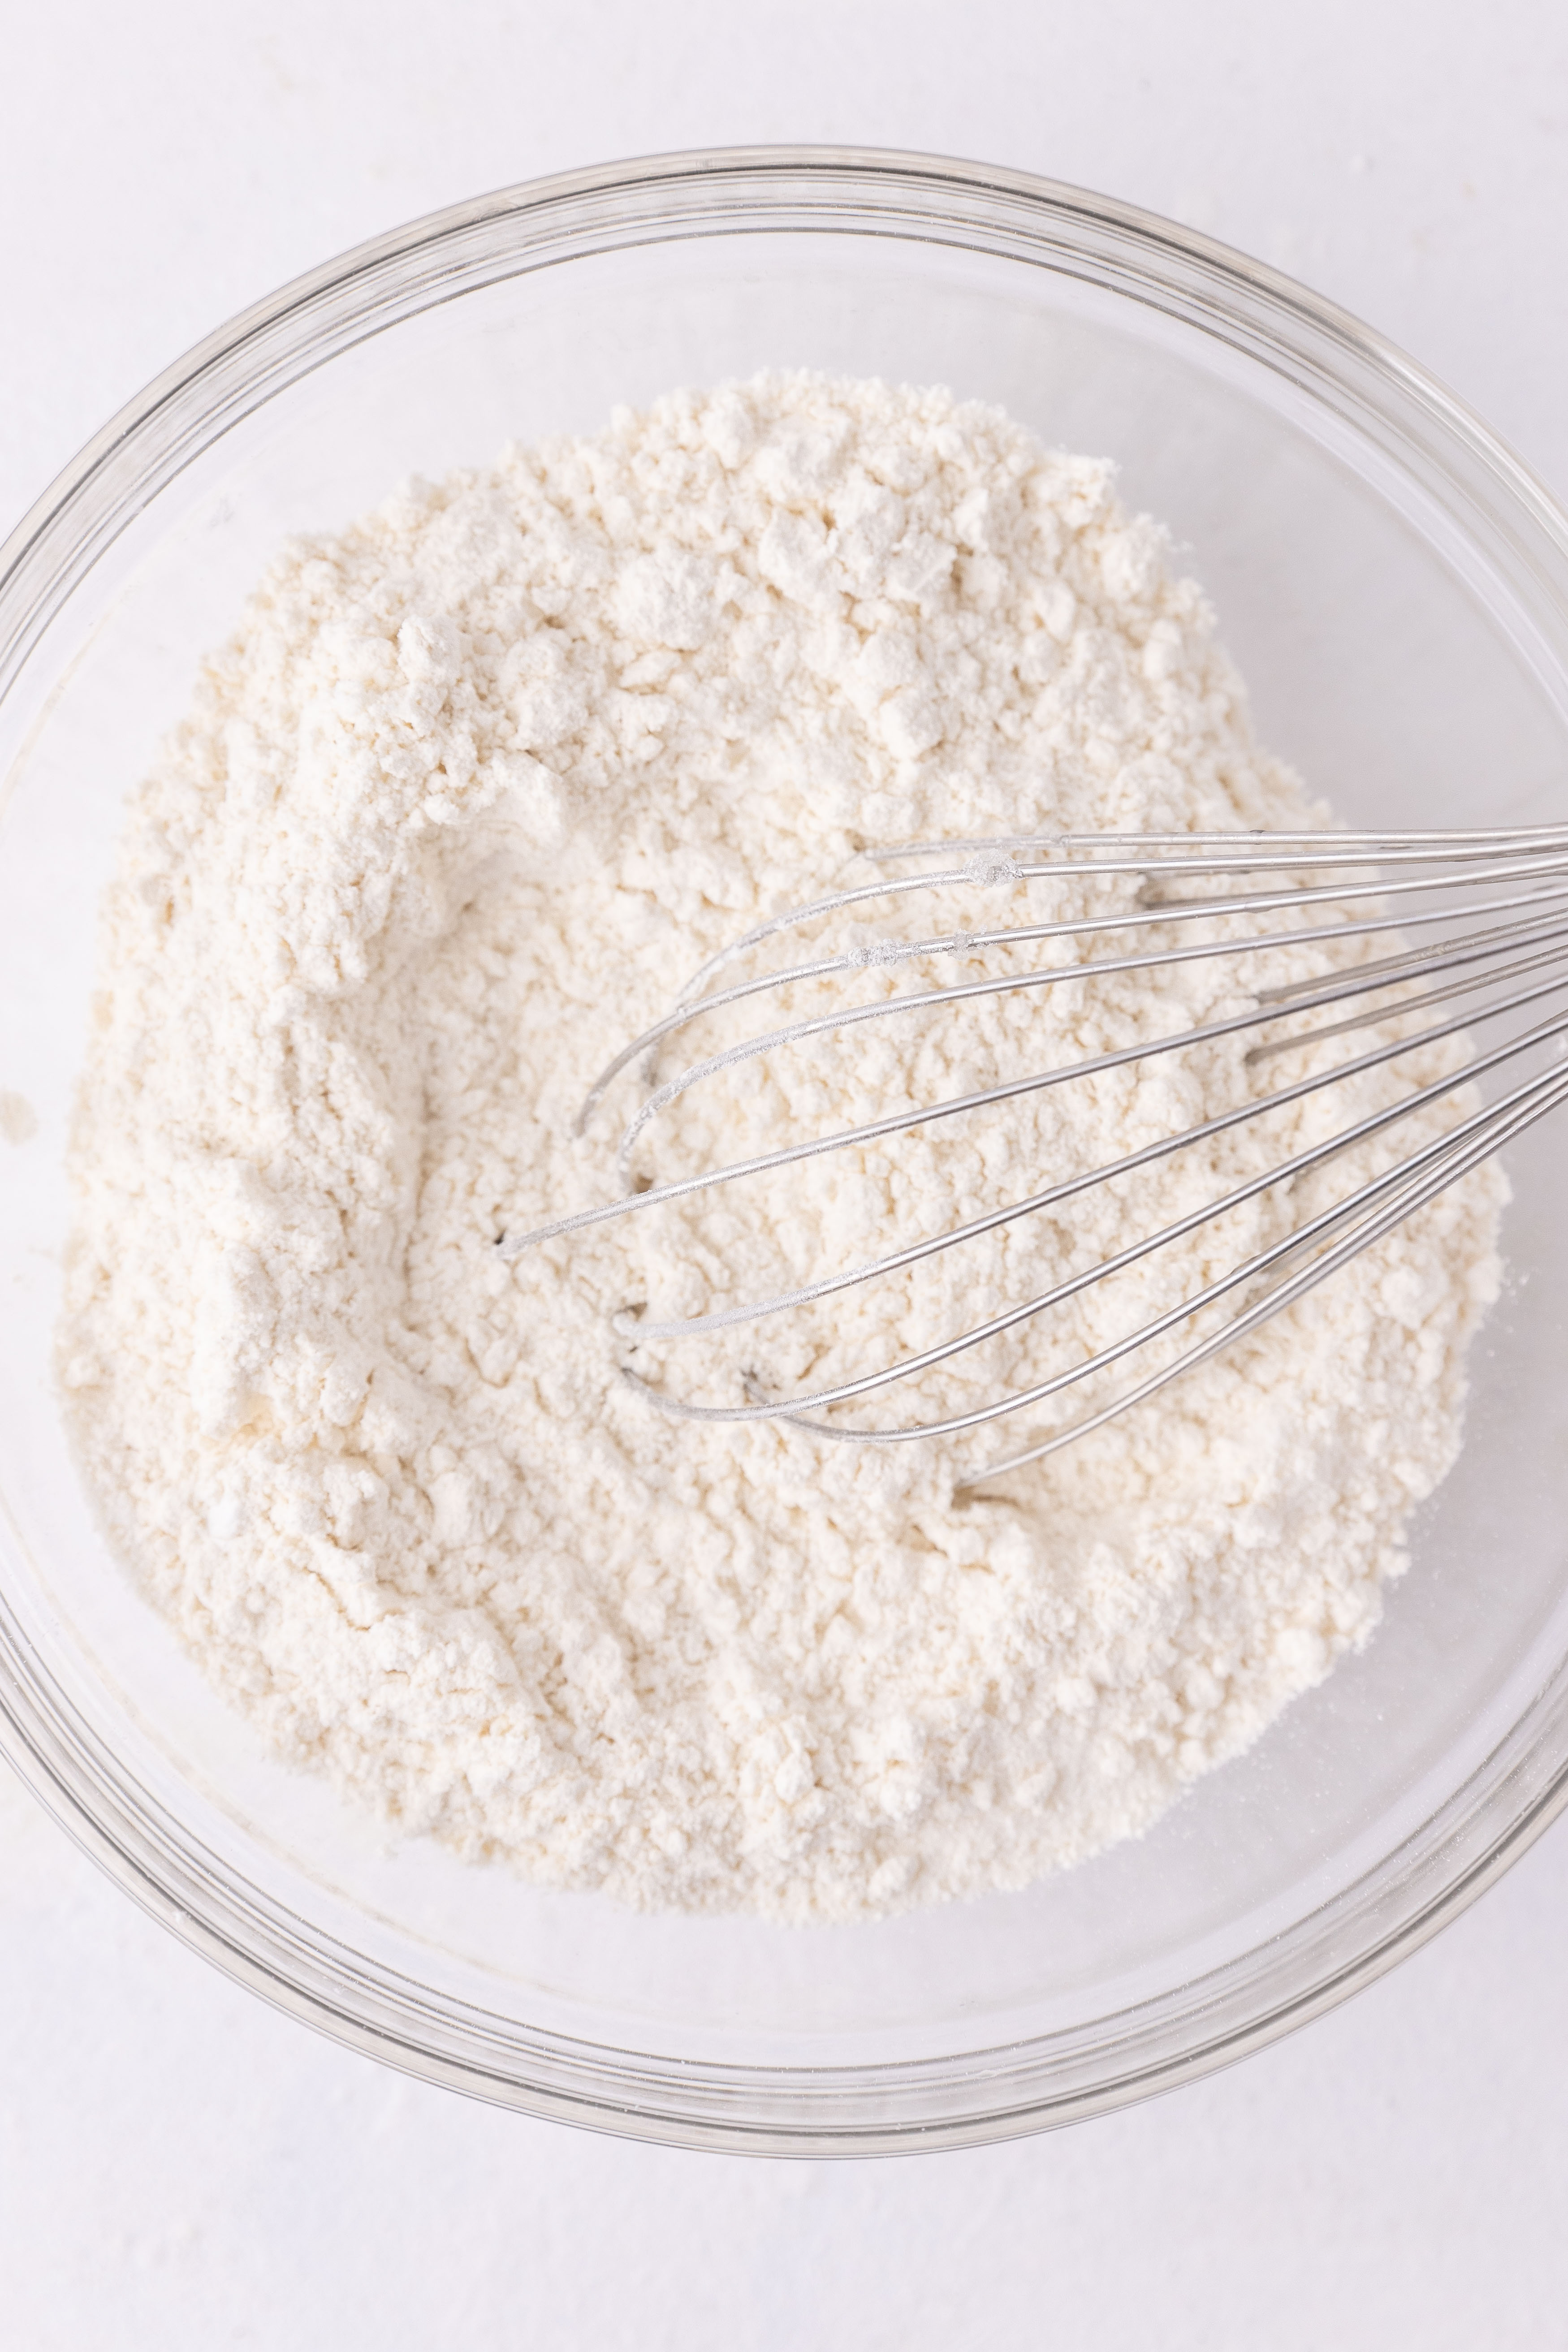
Step 2: Whisk the dry ingredients. Add the flour, baking powder, cinnamon, and salt to a large mixing bowl and whisk them together until evenly combined. The mixture should look uniform and pale with no visible clumps, which is what you want before the wet ingredients go in. (photo 1 below)
Step 3: Whisk the wet ingredients. In a separate bowl, whisk together the eggs and sugar first until the mixture looks slightly pale and smooth, then add the milk, melted butter, and vanilla extract and whisk again until everything is well combined.
The butter should be fully melted and not steaming hot when it goes in. Just let it cool for a minute or two after melting so it doesn’t scramble the eggs.
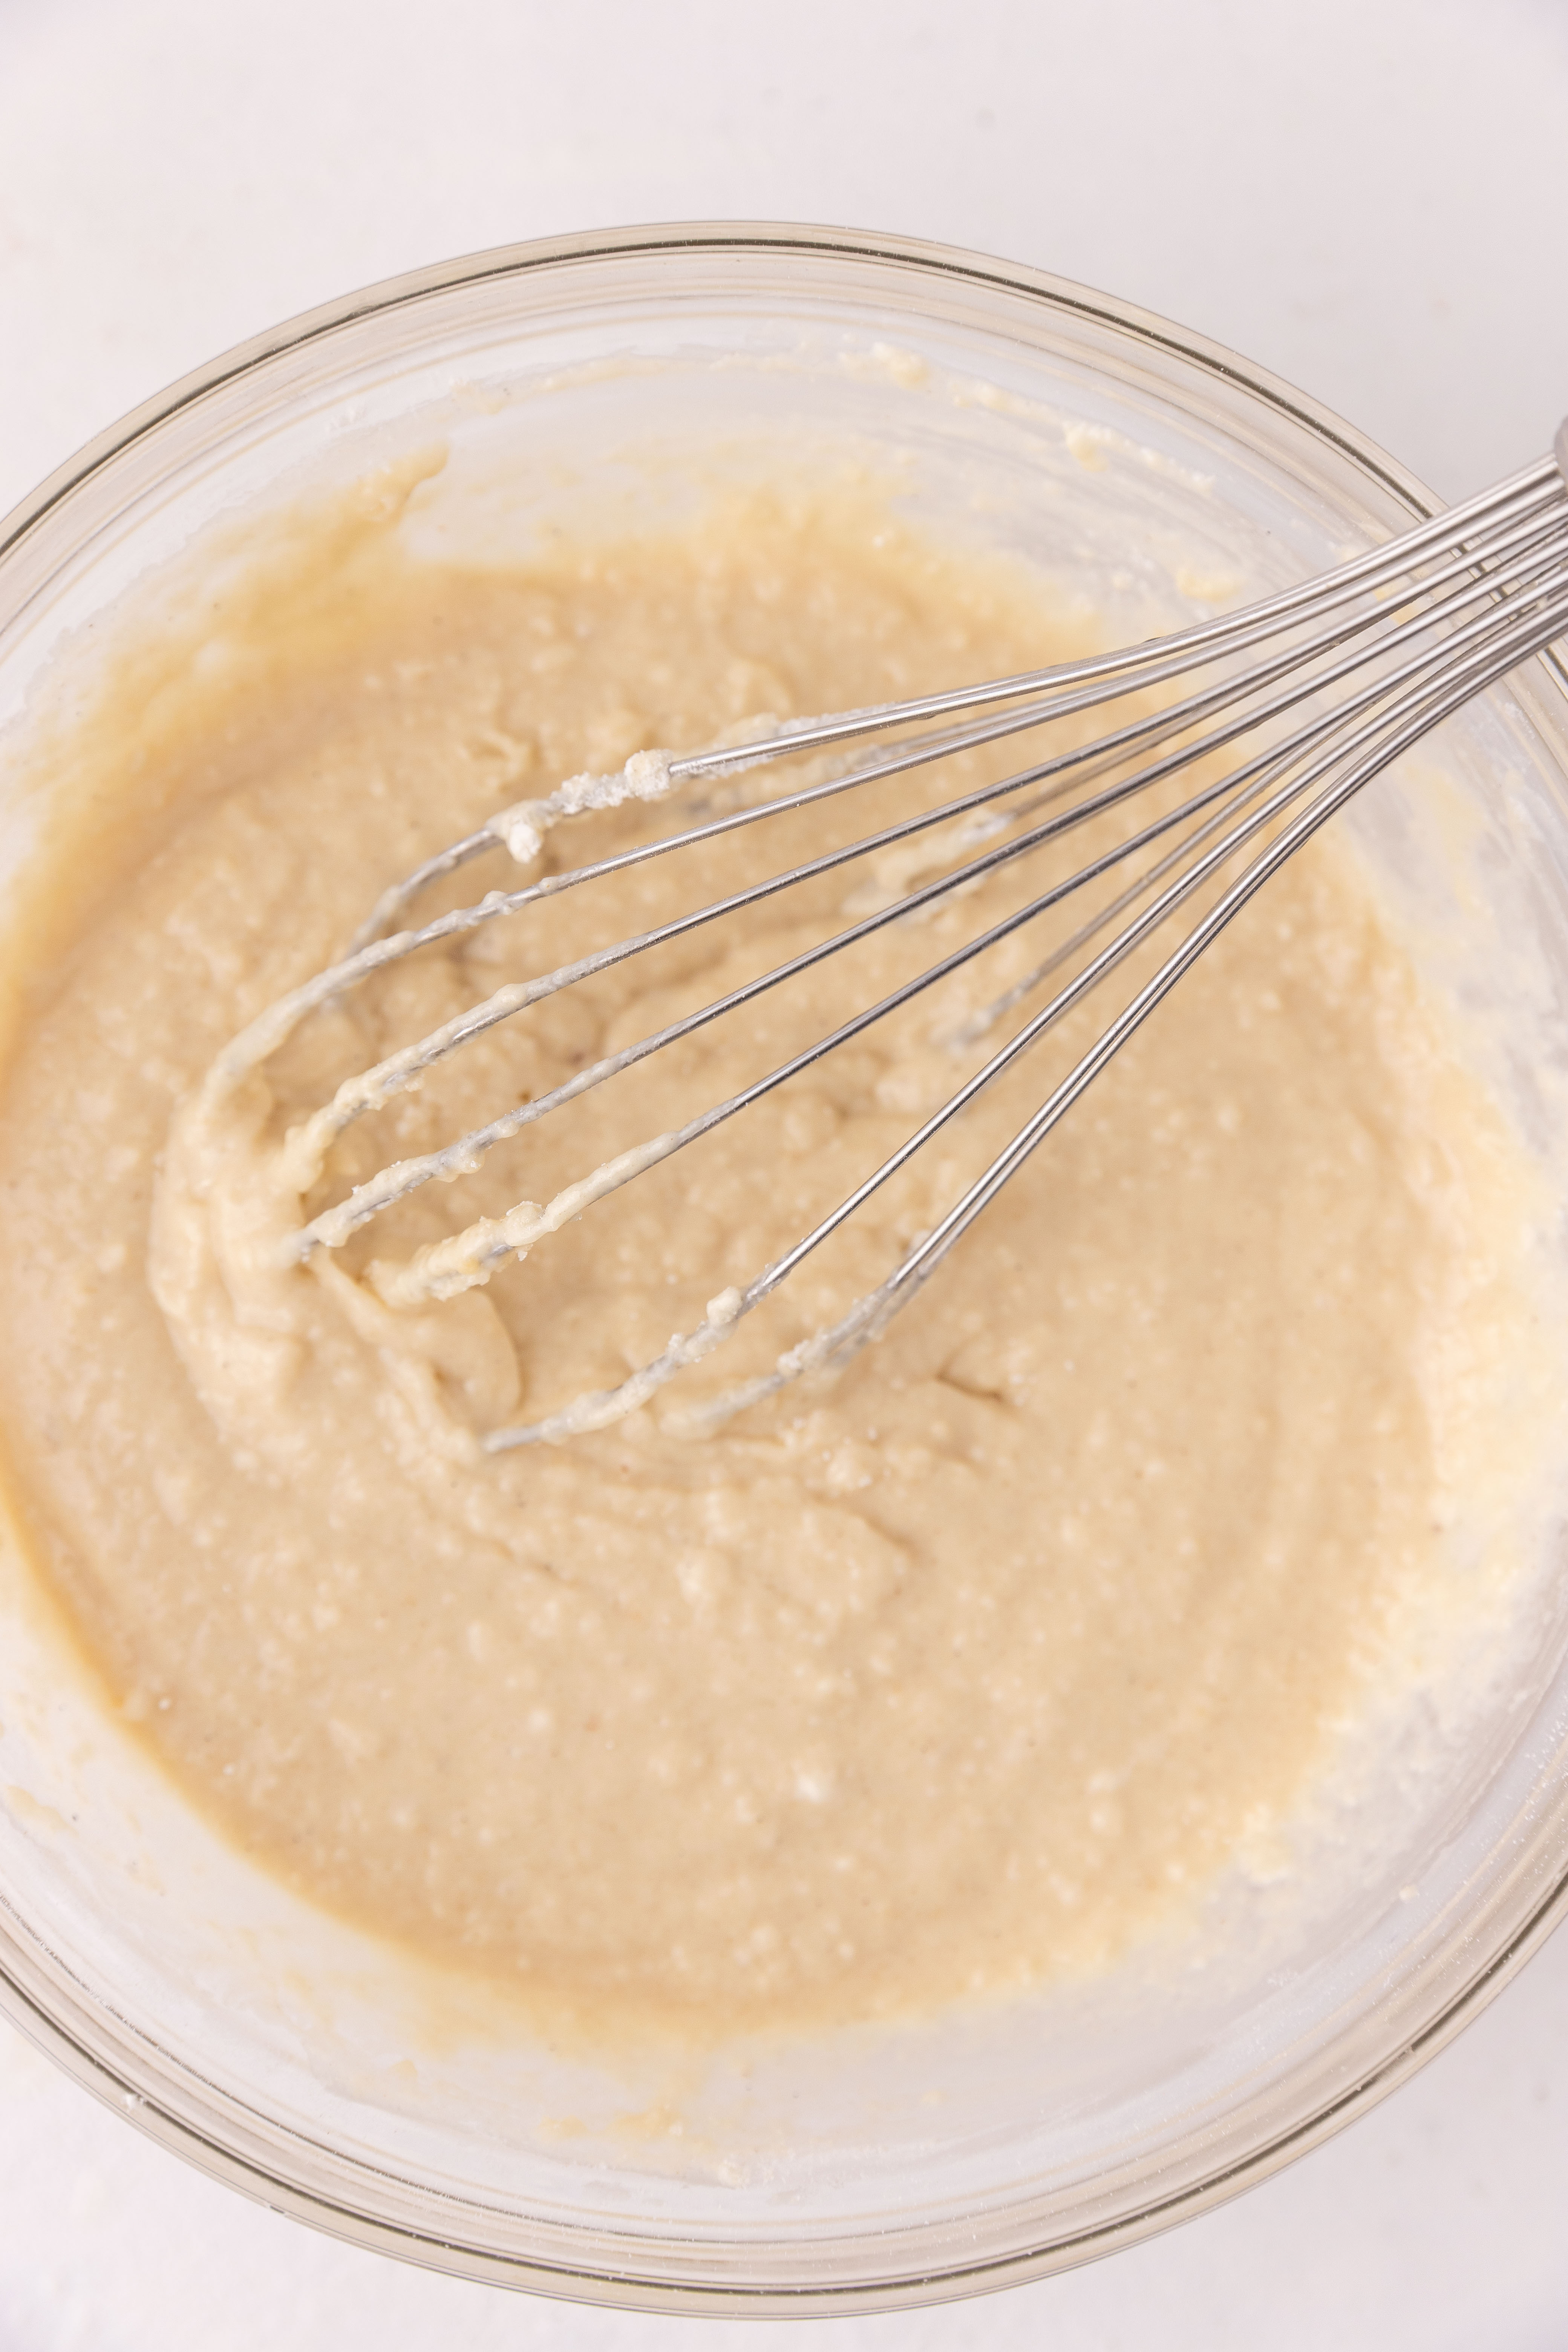
Step 4: Combine. Pour the wet ingredients into the dry ingredients and stir until just combined. The batter will come together quickly and should look smooth and thick, similar to a muffin batter. Stop stirring the moment you no longer see dry streaks, even if it looks slightly uneven in a spot or two, which is completely fine! (photo 2 below)
Bake
Step 5: Fill the piping bag. Spoon the batter into a piping bag or a zip-top resealable bag with one corner snipped off. The batter is thick enough to hold in the bag without running, so you have full control when you pipe.
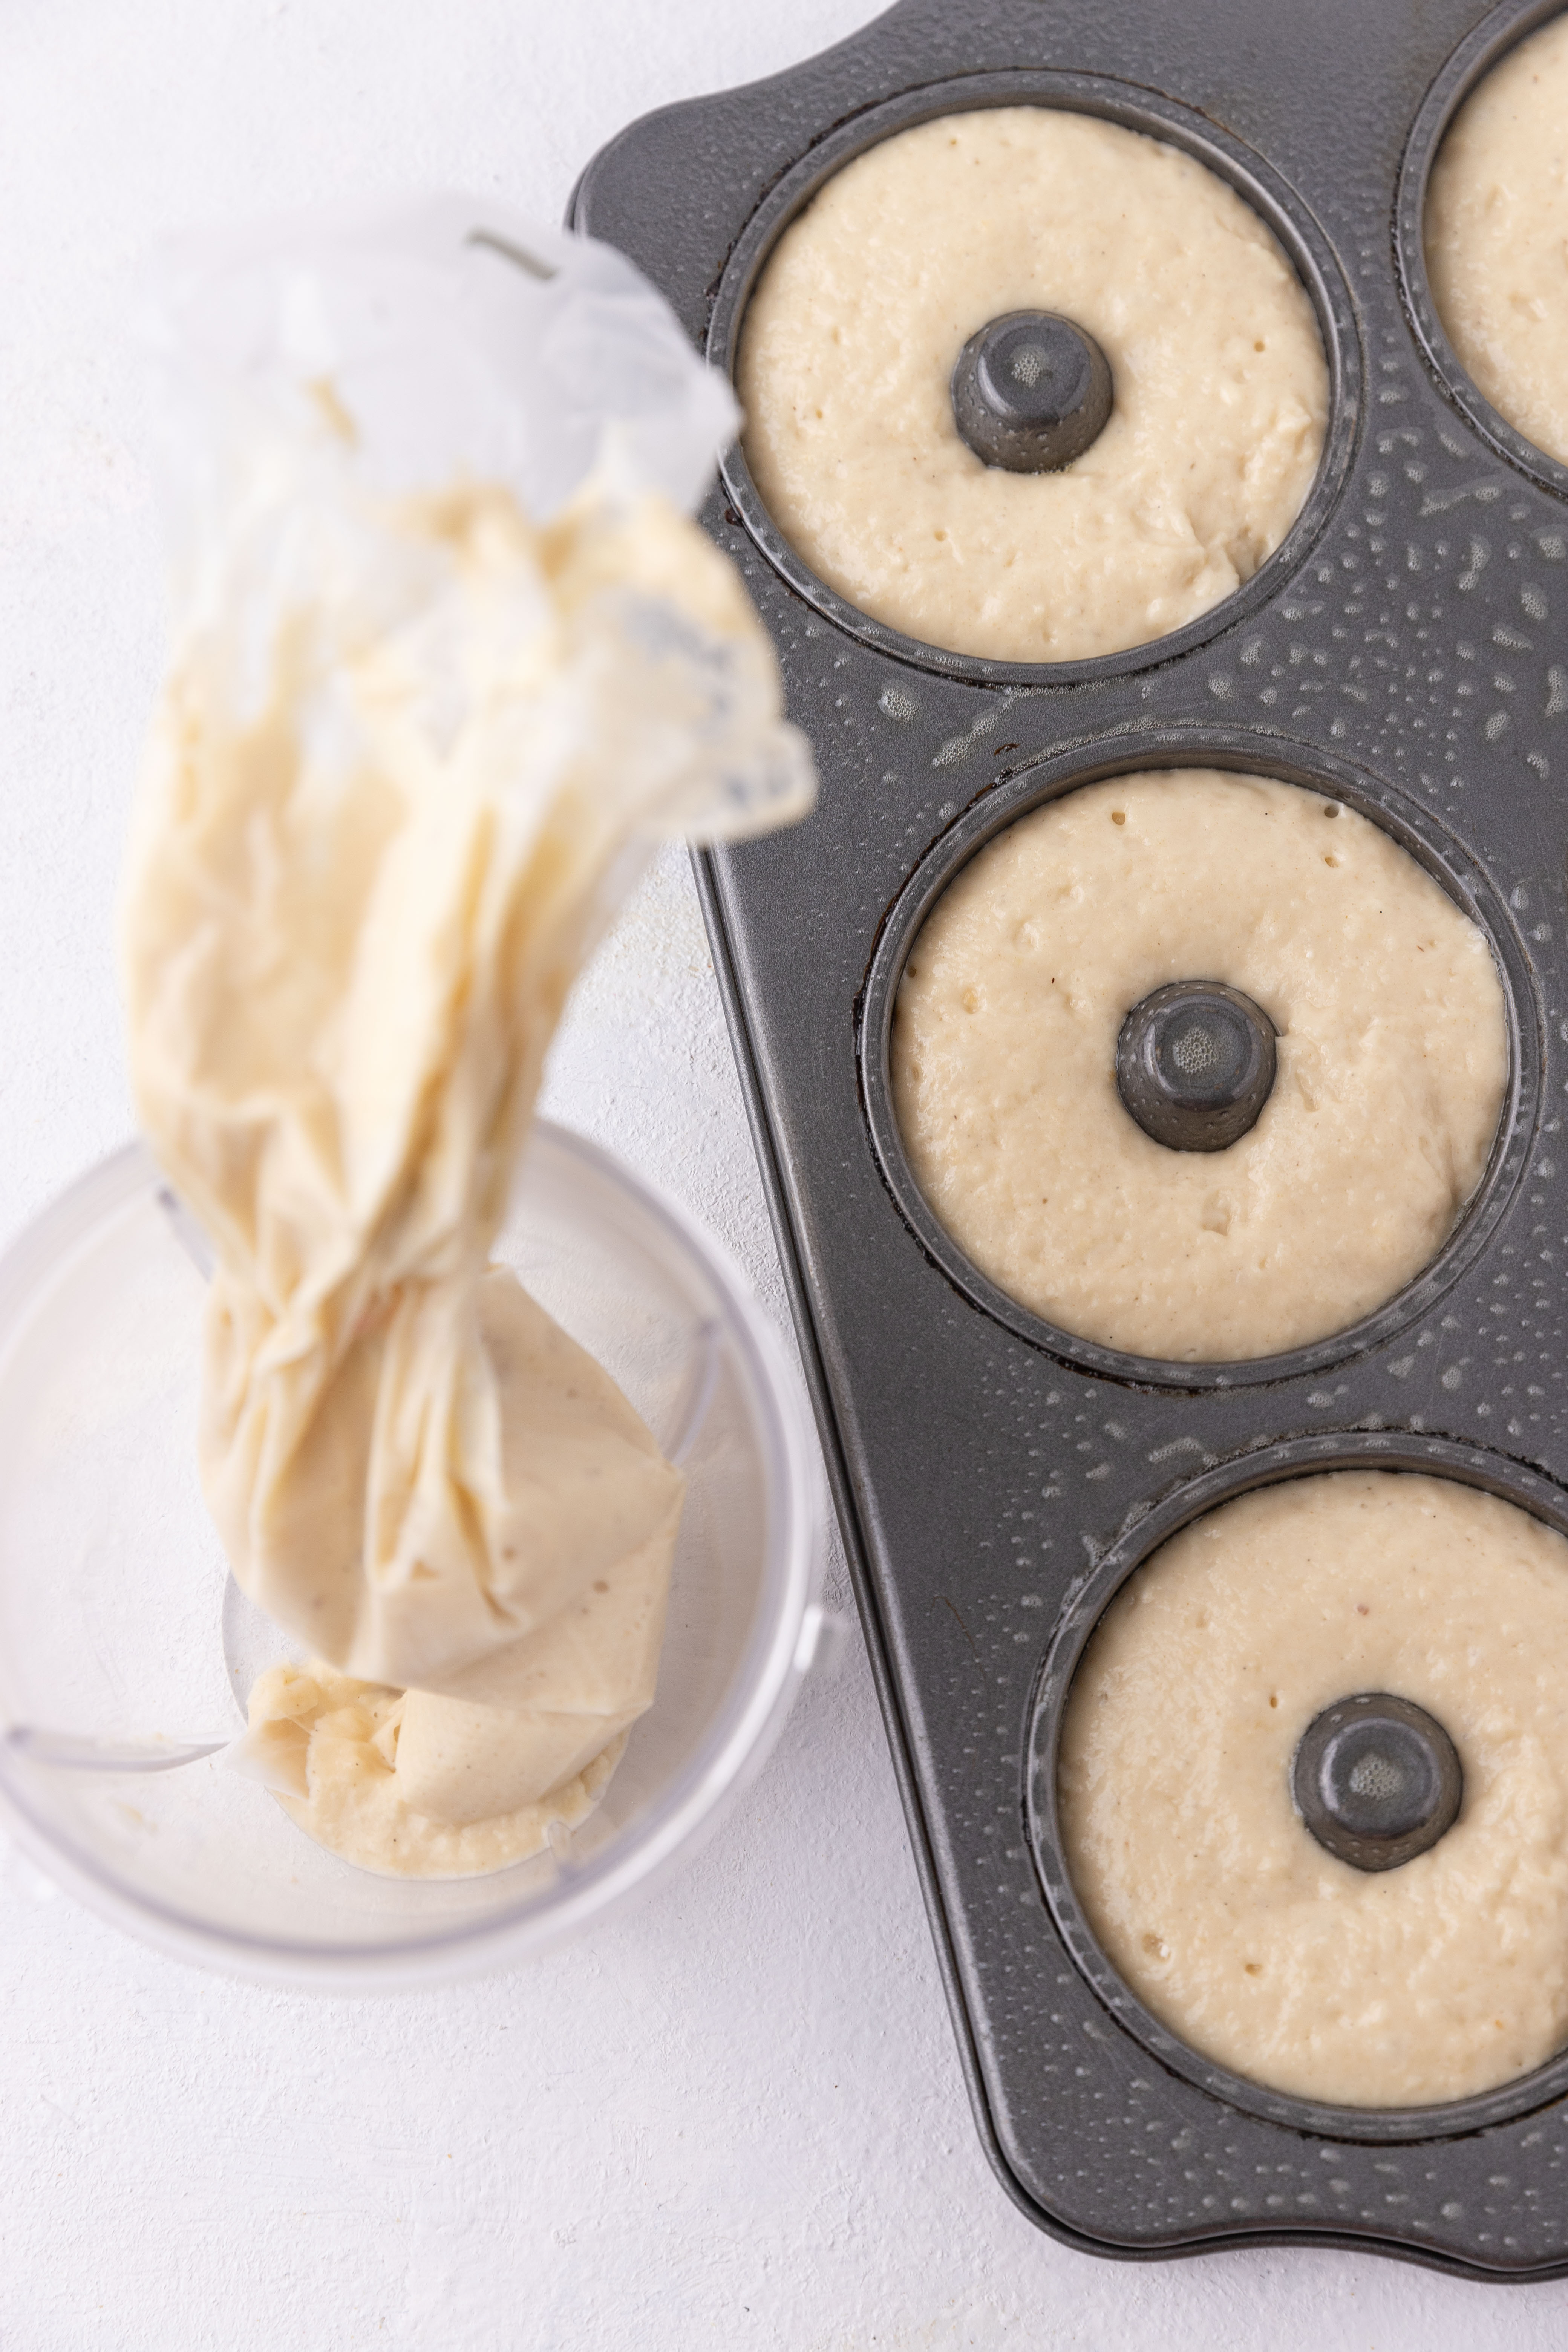
This step makes a real difference in getting even, clean rings rather than the lumpy, uneven shapes you’d get from spooning the batter in directly.
Step 6: Pipe the batter. Pipe the batter into the prepared donut pan, filling each cavity about two-thirds full. The batter will puff and rise as it bakes, so resist the urge to overfill. (photo 4 above)
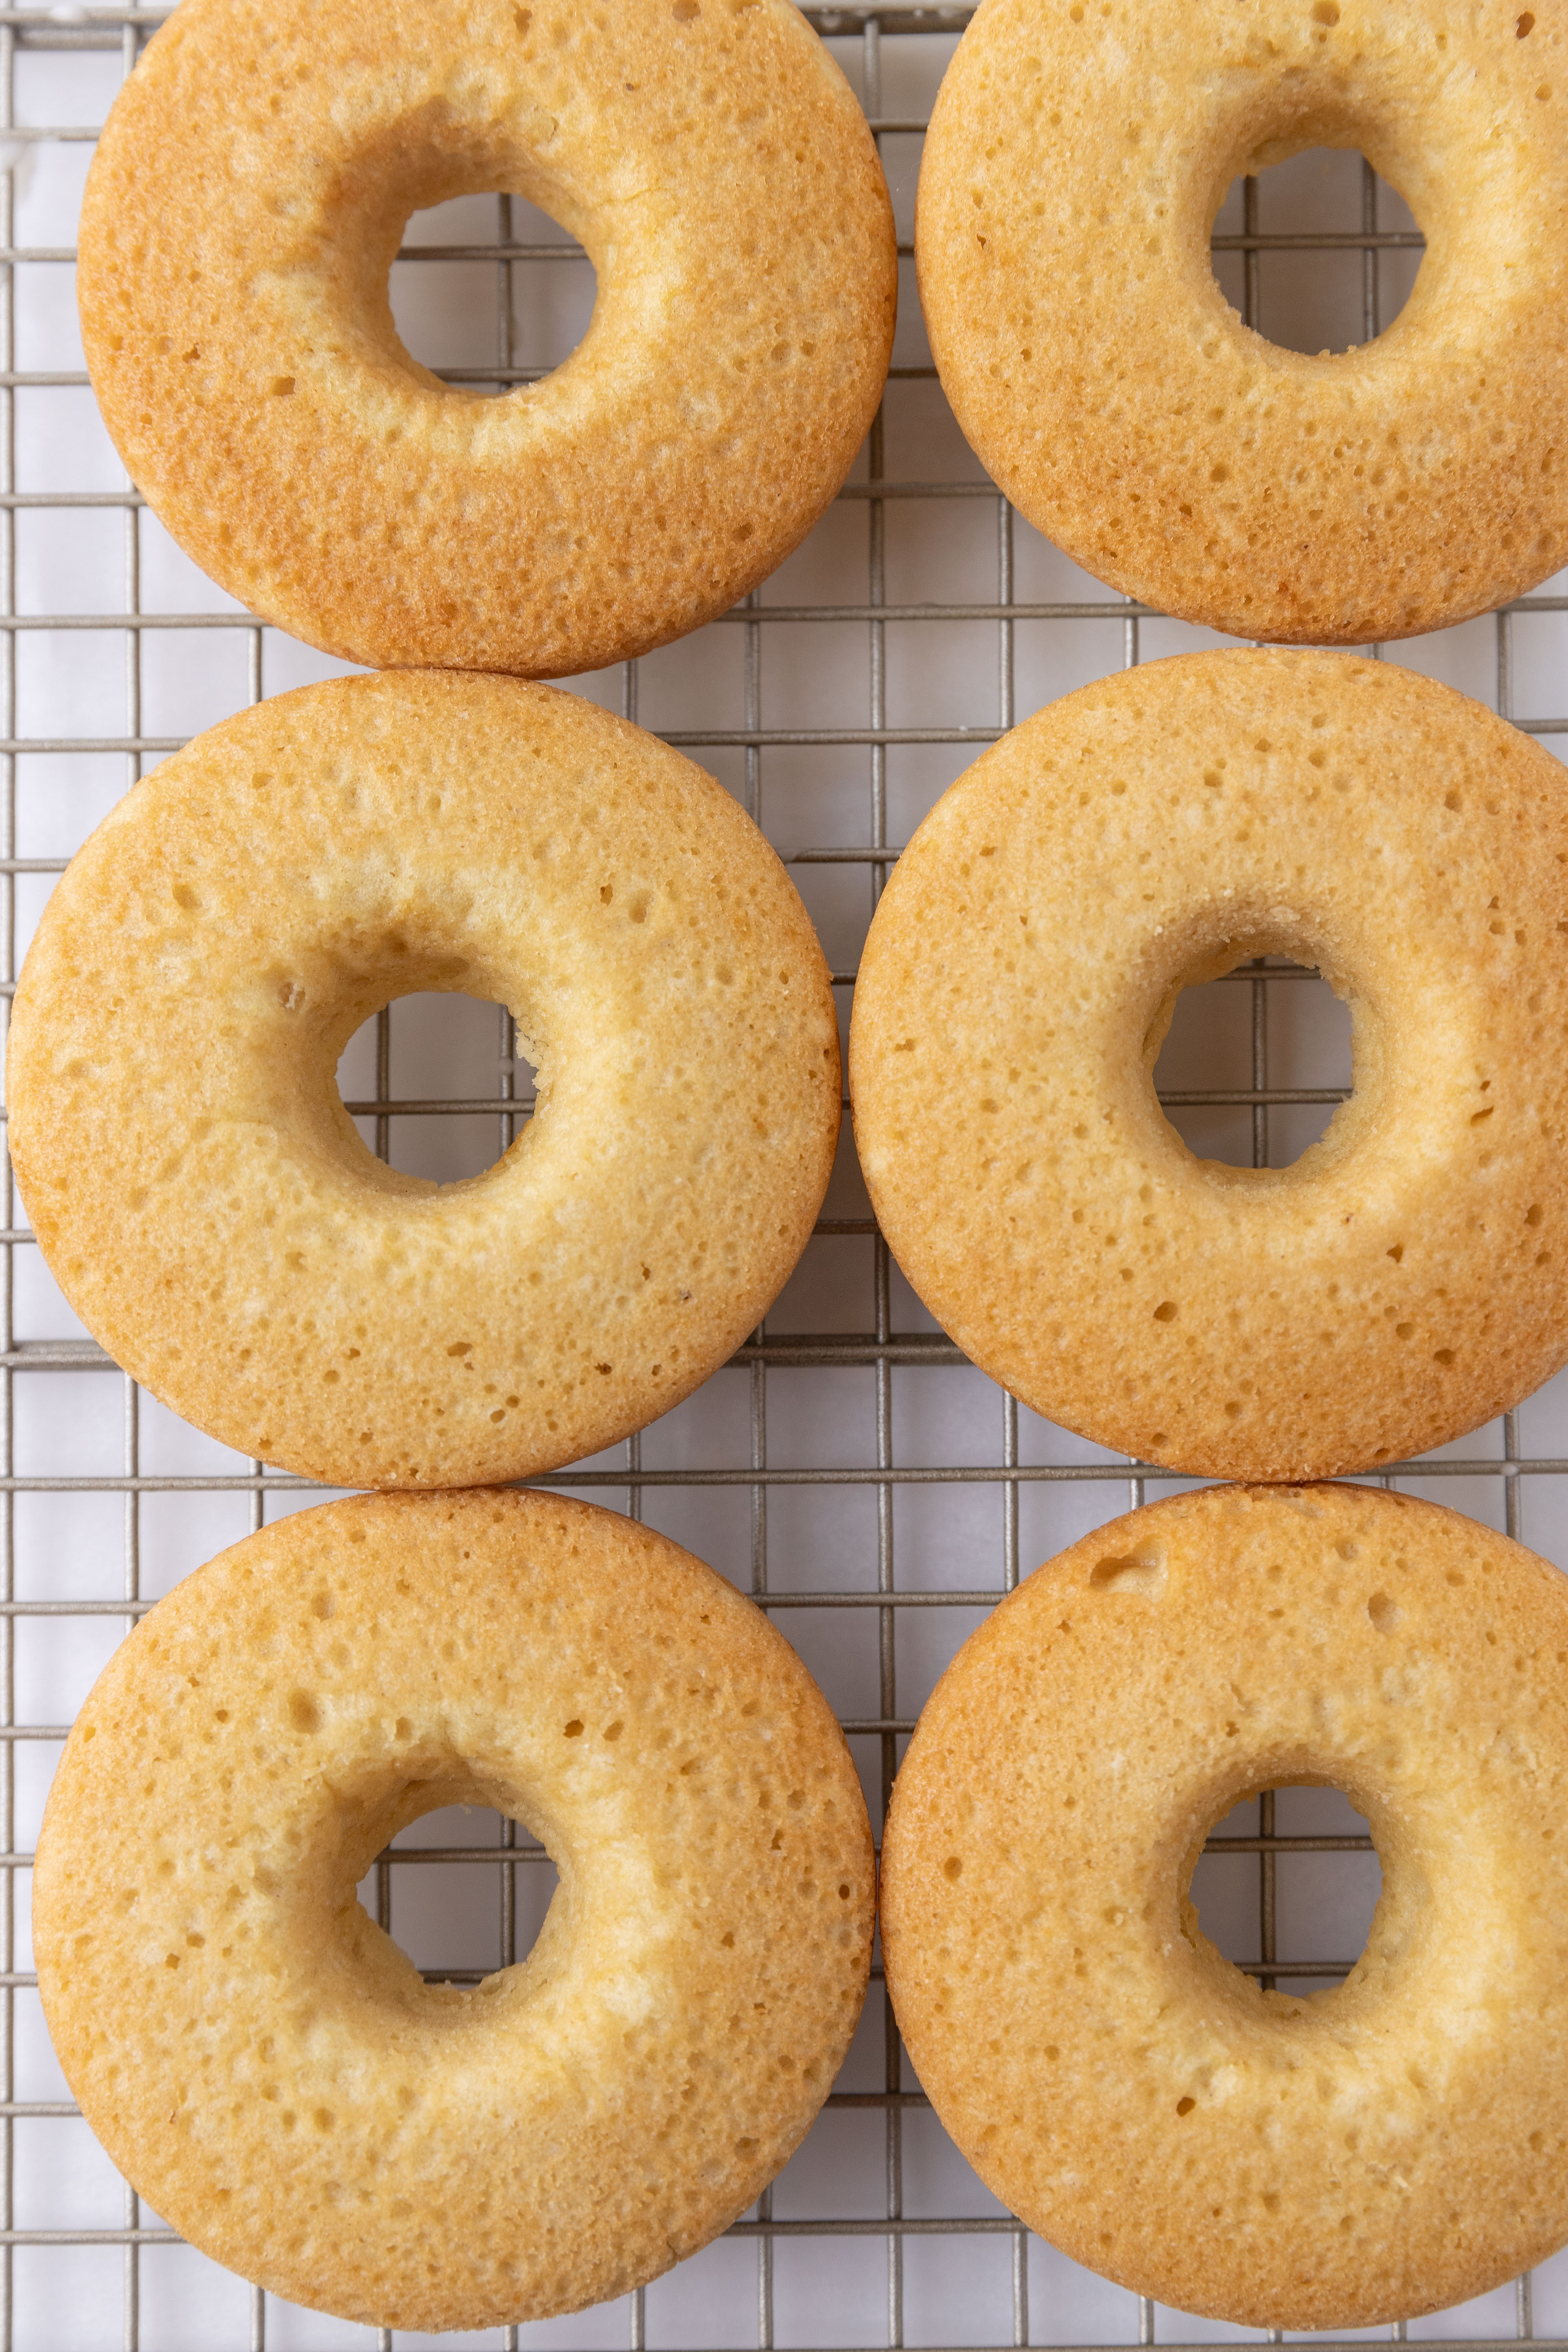
Step 7: Bake the donuts. Bake the donuts at 350°F for 11 to 14 minutes, until they’re lightly golden on top and a toothpick inserted into the center comes out clean. You’ll also notice the tops have sprung back up and lost any raw, glossy sheen, which is the clearest sign they’re done. Start checking at 11 minutes since ovens vary and overbaked donuts lose their soft, tender texture quickly. (photo 4)
Step 8: Cool the donuts. Remove the pan from the oven and let the donuts rest in the pan for a few minutes before transferring them to a wire rack to cool completely. They’ll firm up slightly as they cool, which is exactly what you want before glazing — dipping a warm donut into glaze just means the glaze slides right off. (photo 5)
Make the glaze
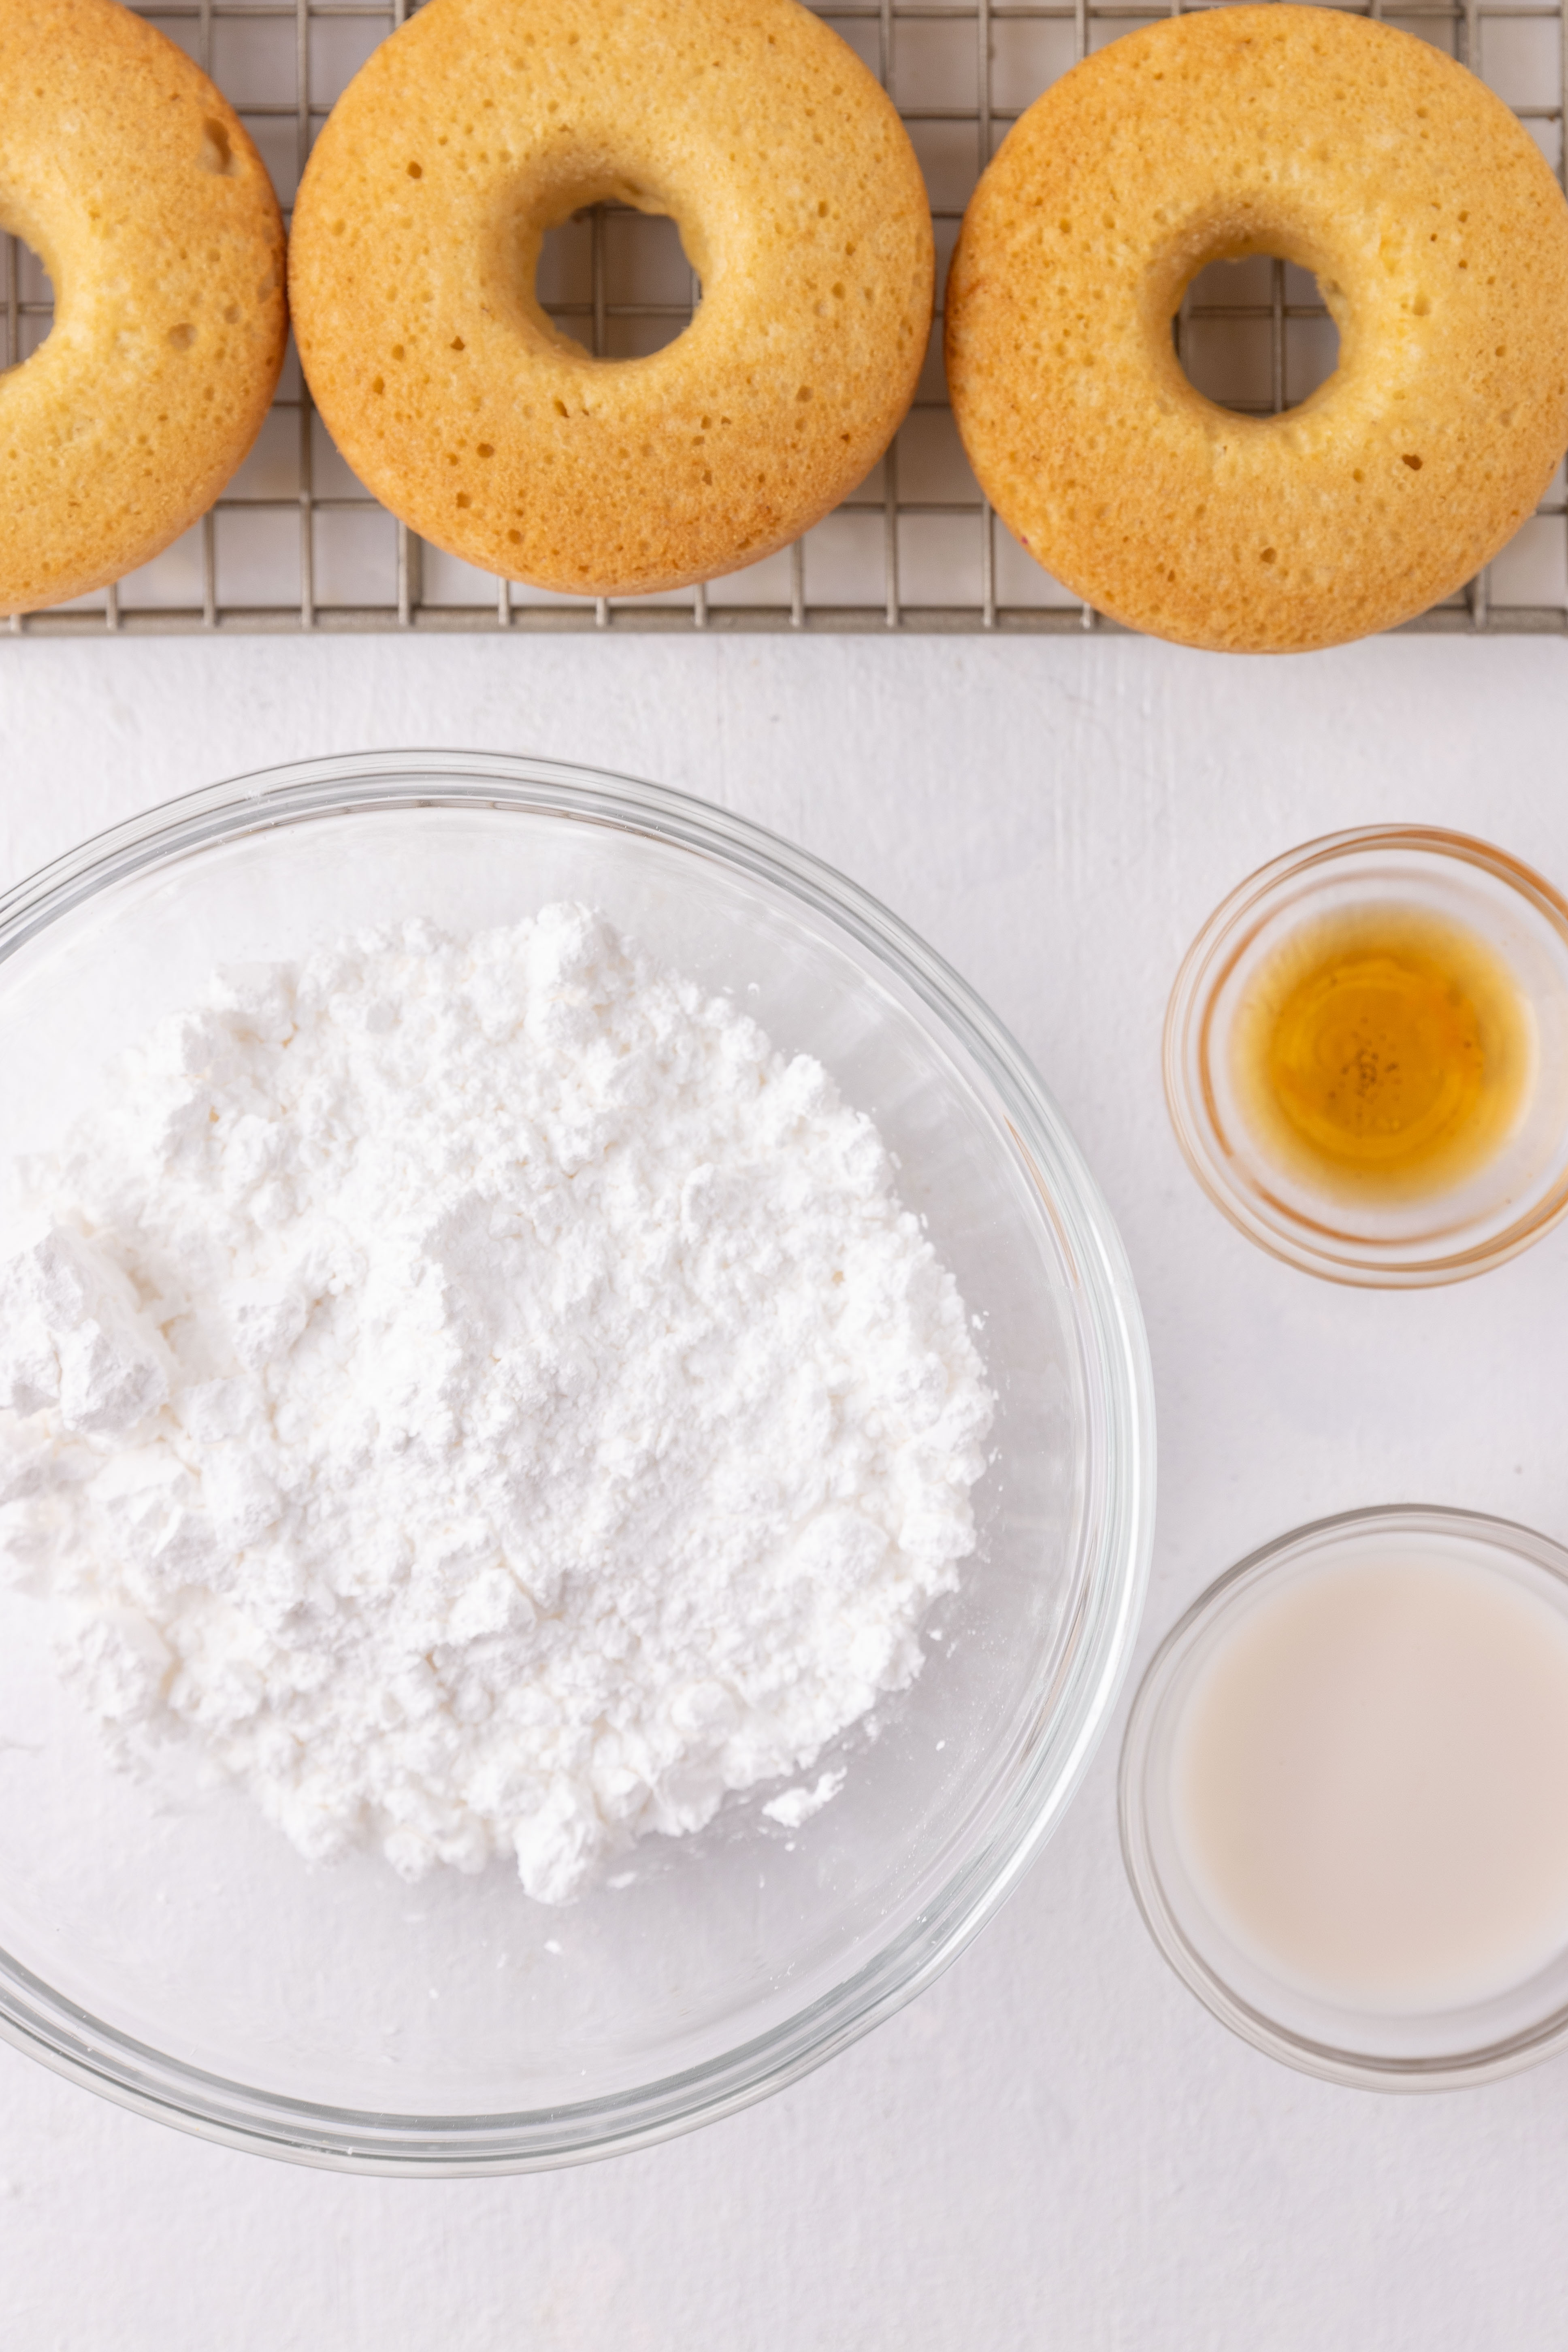
Step 9: Whisk together the powdered sugar, milk, and vanilla extract in a small bowl until the mixture is completely smooth and glossy. If the glaze looks too thick to dip into easily, add a little more milk one tablespoon at a time until it reaches a consistency that coats the donut with a thin, even layer. You can also stir in a drop or two of food coloring here if you’d like colored glaze.
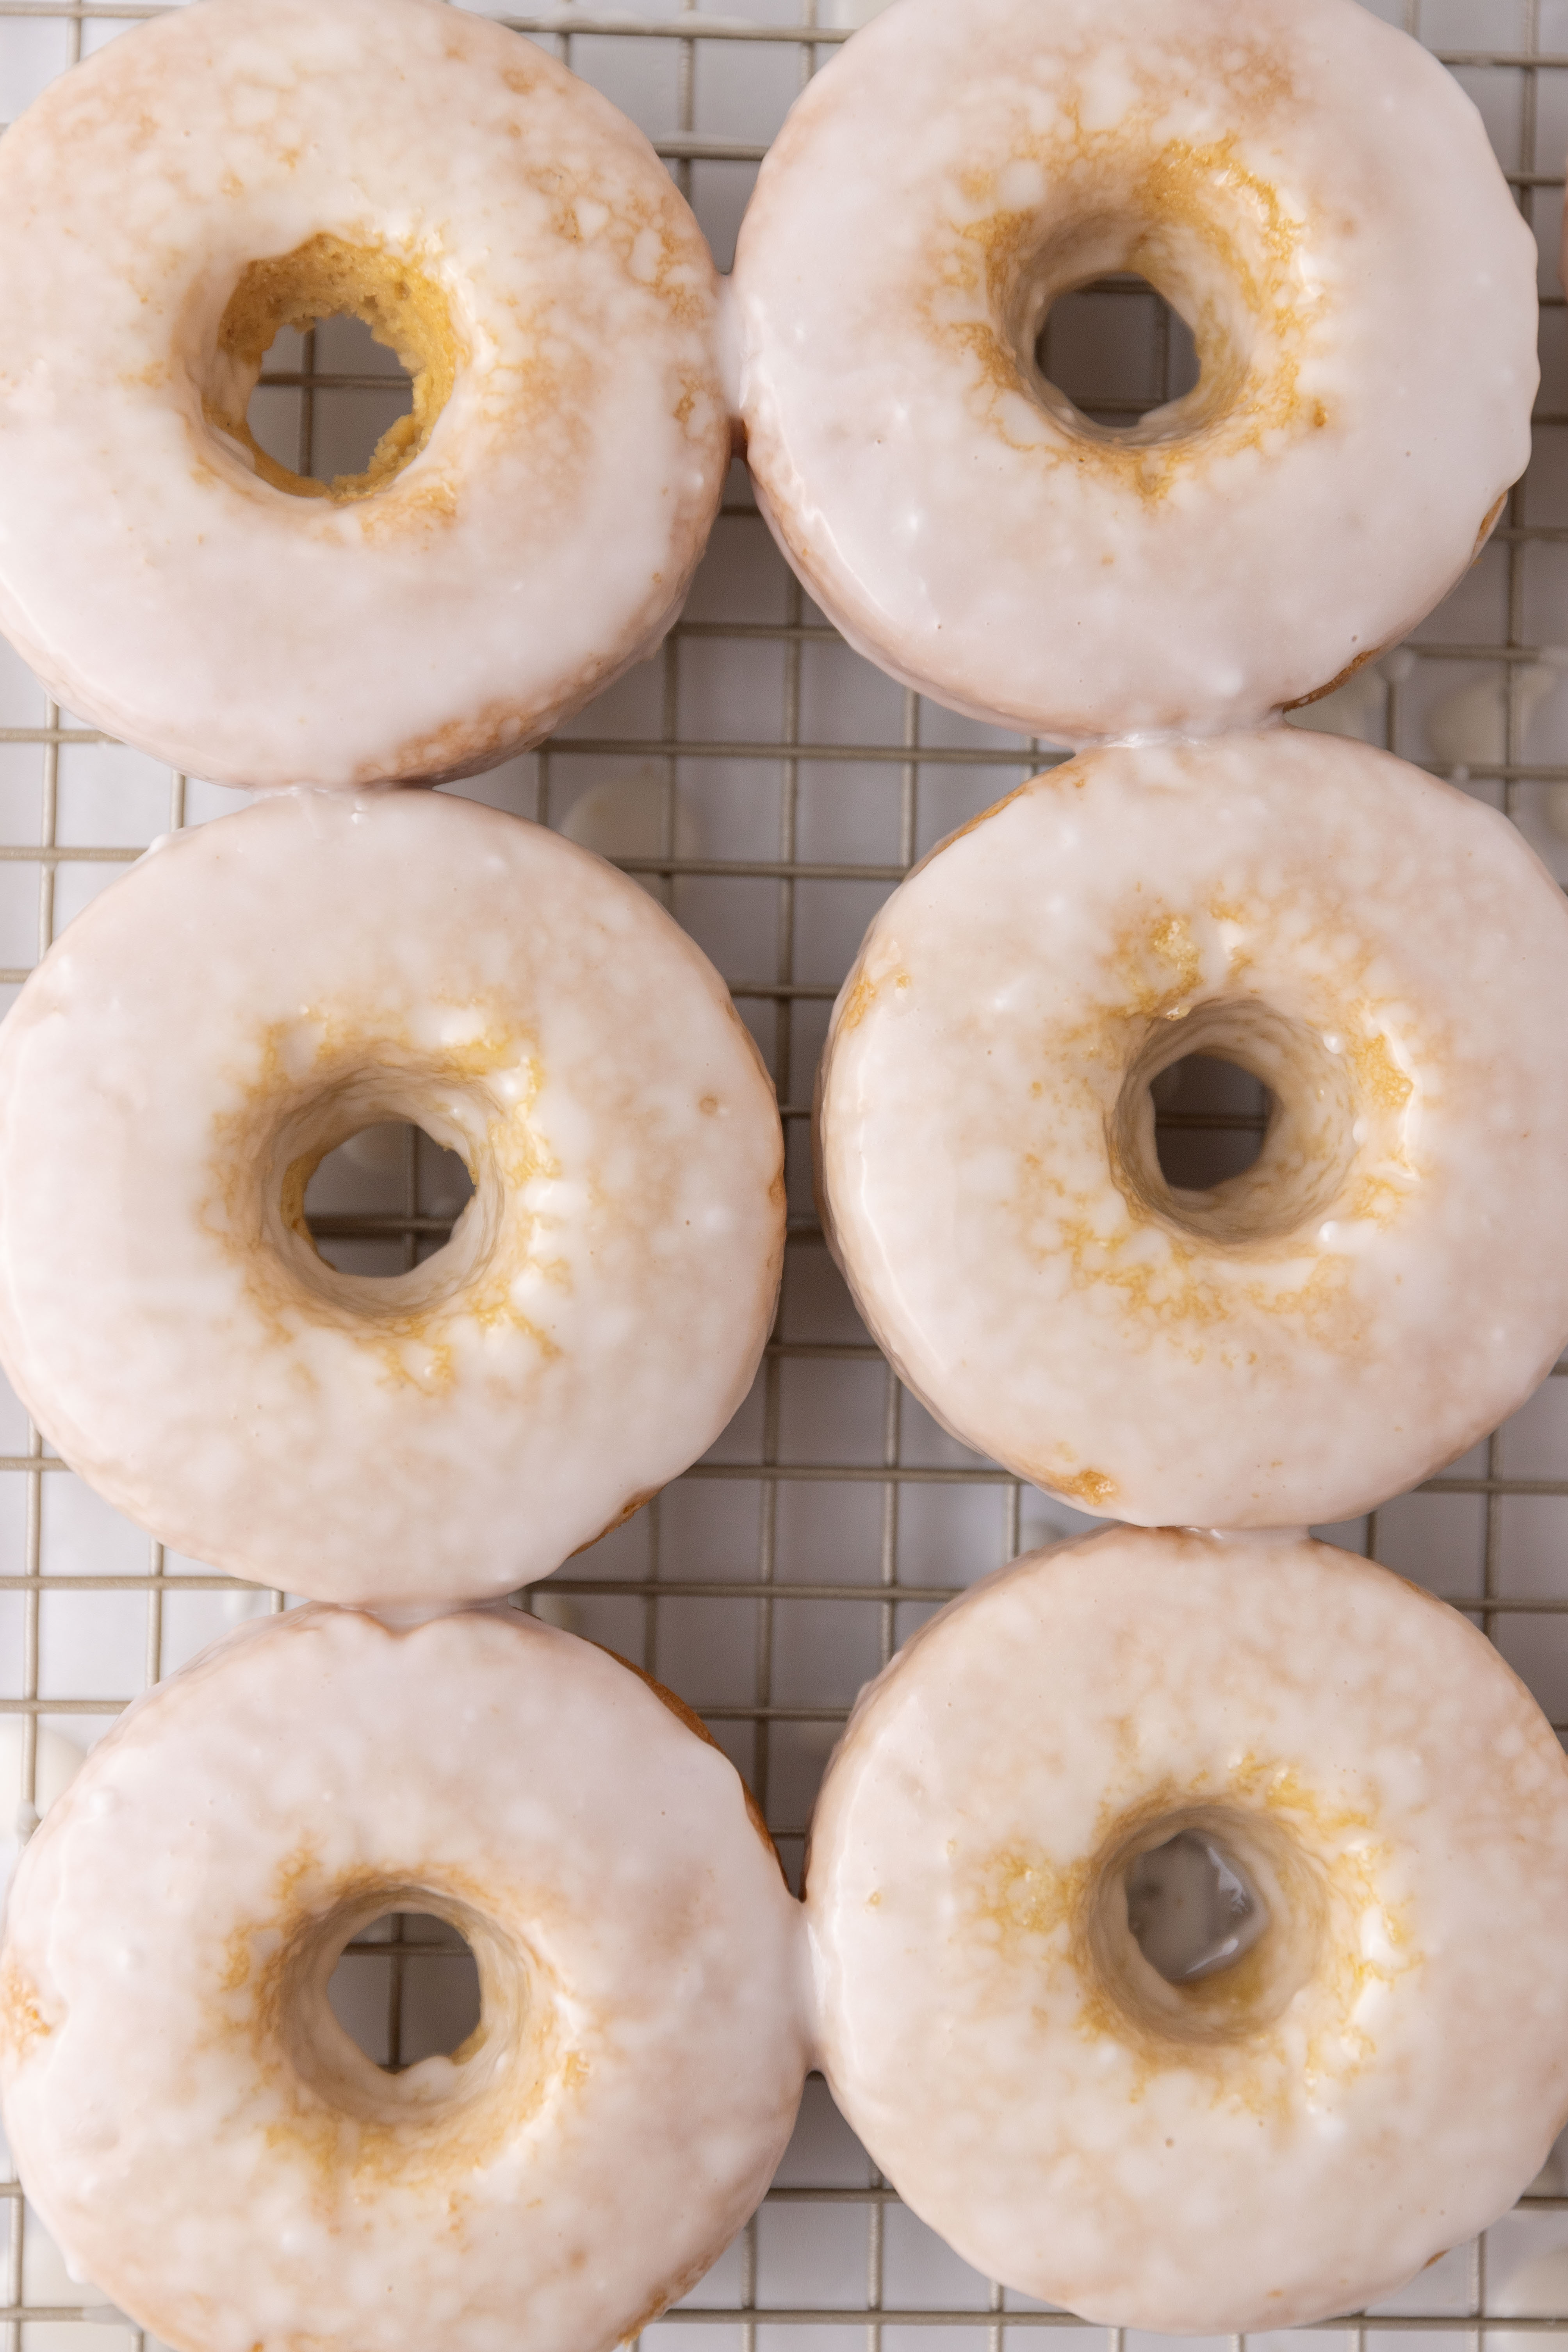
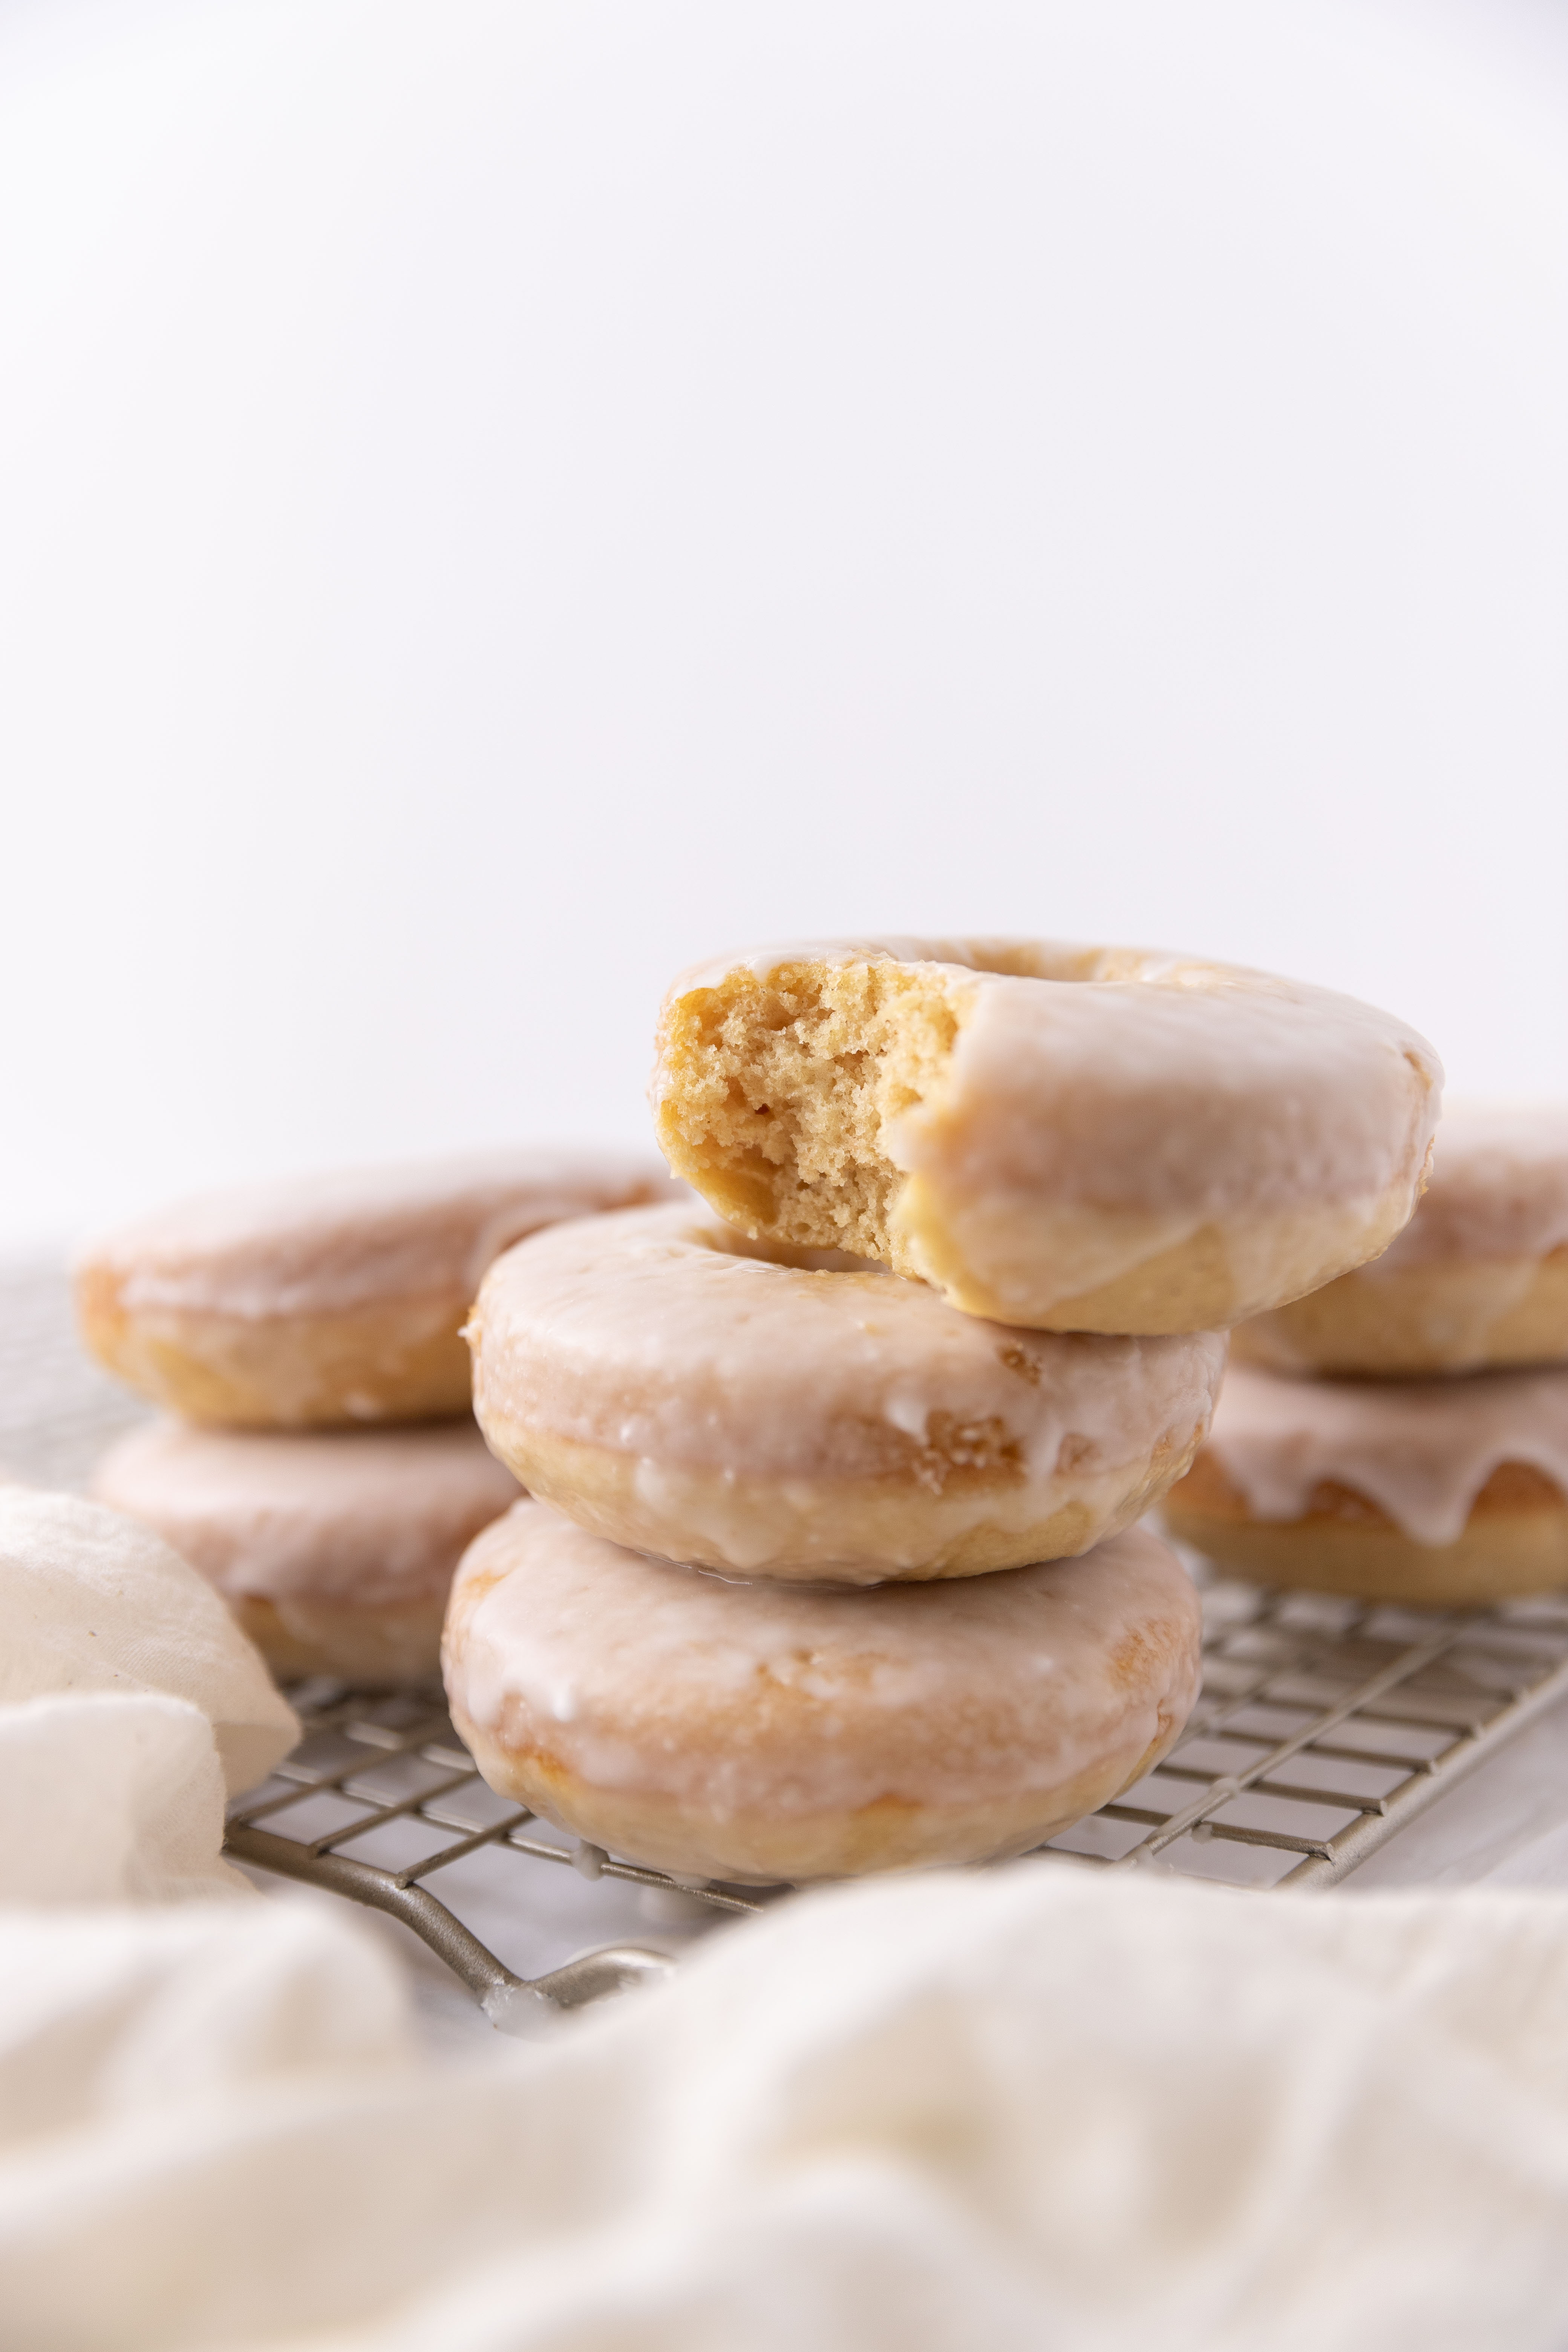
Step 10: Glaze and decorate. Dip each cooled donut into the glaze, letting any excess drip off before setting it back on the wire rack. Add sprinkles or any other toppings immediately while the glaze is still wet so they adhere before it sets. Let the glaze firm up for a few minutes before serving.(photo 6)
Recipe FAQs
Baked donuts keep well at room temperature in an airtight container for up to 2 days. For longer storage, freeze them unglazed in a zip-top bag for up to 2 months, then thaw at room temperature and add the glaze fresh. I’d skip freezing already-glazed donuts since the glaze gets sticky and soft once it thaws.
The best approach is to bake the full batch ahead and store them unglazed. Mix the glaze fresh when you’re ready to serve, which only takes a couple of minutes, and dip them right before eating. Trying to store the mixed batter isn’t ideal since the baking powder starts working as soon as it hits the wet ingredients, and you won’t get the same rise.
The most likely cause is overmixing the batter. Once the wet and dry ingredients come together, stir only until just combined — a few small lumps are completely fine! Overworking the batter develops the gluten and makes the donuts tight and heavy instead of soft and tender.
You can, though the shape won’t be the same. The easiest workaround is to use a standard muffin tin — you’ll get donut muffins instead, which taste identical. Fill each about two-thirds full just like you would the donut pan and check for doneness at the same 11 to 14 minute mark.
Recommended Brunch Recipe
Quick Breads
Breakfast & Brunch
Breakfast & Brunch
Breakfast & Brunch
Baked Donuts
Ingredients
For the donuts:
- 2 cups all-purpose flour
- ¾ cup granulated sugar
- 2 teaspoons baking powder
- ½ teaspoon kosher salt
- ¾ teaspoon cinnamon
- ¾ cup milk
- 2 large eggs
- 3 tablespoons unsalted butter, melted
- 1 teaspoon vanilla extract
For the glaze:
- 1 cup powdered sugar
- 2-3 tablespoons milk
- ½ teaspoon vanilla extract
- Food coloring, optional
- Sprinkles or other toppings, optional
Instructions
- Preheat your oven to 350°F (175°C). Lightly grease a donut pan with non-stick cooking spray.
- Whisk together the flour, baking powder, cinnamon, and salt in a large mixing bowl.
- In a separate bowl, whisk the eggs and sugar together, then whisk in the milk, melted butter, and vanilla extract until well combined.
- Pour the wet ingredients into the dry ingredients and stir until just combined. Do not overmix.
- Spoon the batter into a piping bag or a resealable plastic bag with the corner snipped off. Pipe the batter into the prepared donut pan, filling each cavity about two-thirds full.
- Bake for 11 to 14 minutes, until the donuts are lightly golden and a toothpick inserted into the center comes out clean.
- Let the donuts cool in the pan for a few minutes, then transfer to a wire rack to cool completely.
- Whisk together the powdered sugar, milk, and vanilla extract until smooth. Add more milk a little at a time if the glaze is too thick. Add food coloring if desired.
- Dip each cooled donut into the glaze, letting the excess drip off. Add sprinkles or toppings immediately, then let the glaze set for a few minutes before serving.
Notes
Technique: Stir the batter only until the wet and dry ingredients just come together. A few small lumps are completely fine — overmixing develops the gluten and makes the donuts tight and heavy instead of soft and tender.
Measuring: Spoon flour into your measuring cup and level it off rather than scooping directly from the bag. Scooping packs in extra flour and can make the batter too stiff.
Storage: Donuts keep at room temperature in an airtight container for up to 2 days. To freeze, store them unglazed in a zip-top bag for up to 2 months, thaw at room temperature, and add the glaze fresh before serving.
Nutrition
Nutrition information is automatically calculated, so should only be used as an approximation.
 Like this recipe? Rate & comment below!
Before You Go
I hope these baked donuts become a regular part of your weekend baking rotation. Browse our Dessert Recipes or try these brioche donuts next!


Why is my batter so dry? I can barely stir it, even though I followed the recipe exactly!
Hi Steve! It sounds like something may have been slightly off with the measuring, because this batter should be thick but definitely able to be stirred and piped into the donut pan. A quick check: did you use the full ¾ cup of milk and 3 tablespoons of melted butter? Also, be sure you’re using large eggs, as smaller ones can affect the consistency. Let me know and we’ll troubleshoot together! ~gvd team
Followed recipe exactly (including not overmixing). I’m a pretty seasoned baker so this wasn’t my first rodeo in the kitchen. They weren’t terrible when still warm, however once cooled, the donuts were very dense and quite dry. Will be looking for another recipe to try instead unless anyone has any good ideas for a riff on this one to fix the texture issue.
Hi TK, I’m happy to hear that you are a seasoned baker, but things still happen to us seasoned bakers, even professional ones. I’ve tested this recipe myself for flavor after complaints about it being bland (I agreed & changed it). My best guess is that yours were over baked. These bake pretty fast especially in a dark metal pan. Once they were glazed, they preserved their moisture for a day and then taper off from there. There isn’t much fat or sugar to keep it – even fried donuts are best the day they are fried. You might also consider checking your leavening and your expectations. Baked donuts are not the same as fried donuts and they don’t have as much sugar and butter as cake to make them moist. ~Lindsey
I tried them today, followed the recipe exactly as written, but they tasted raw even though they were fully baked. Honestly I’m disappointed in this recipe 🙁
I’m sorry you had that experience, Maya. I’m not sure what “raw” but fully baked tastes like, so I really can’t help you there. ~Lindsey
great recipe. quick and delicious and my family loved it and it has ingredients form around the huse. Highly recomend this.
Hi Mikayla! Thank you so much for coming back to rate and comment! We love that you got to enjoy these with your family. Happy baking! ~gvd team
Tried this recipe for the 1st time and what a HIT!!! Perfect texture and the taste is just amazing!!!
Thank you for sharing 🙂
Thank you, Sunera! I am so glad you enjoyed it! My family did as well! Thank you so much for taking the time come back to comment and rate the recipe! It means so much to us! ~Lindsey
GOOD SATURDAY MORNING
I DON’T HAVE A DONUT TRAY, AND I DON’T WANT TO BUY ONE, BUT I DO HAVE A 12 CUP BAGEL TRAY, I’M GOING TO USE INSTEAD. THANKS FOR YOUR RECIPE, THE DONUTS SOUND WONDERFUL.
Hi Harold! That sounds like a great idea! While I haven’t tested this recipe in a bagel tray, it should work similarly—just keep an eye on the bake time since it might be a little different. You’ll know they’re done when they’re lightly golden and a toothpick inserted into the center comes out clean. Let me know how they turn out and happy baking! ~gvd team
These were delicious and easy to make. What type of container is best for storage? I used a Tupperware container. The vanilla glaze soaked into the doughnut making them dense. I also made peanut butter frosting/glaze. Most of that has run off. Will be making again. Was thinking about leaving them plain and frosting before eating but that defeats the purpose of grabbing and eating a doughnut!
Thanks for your recipe and advise.
Mary
Hi Mary! I’m so glad you enjoyed the donuts and that you experimented with different glazes! For storage, an airtight container is best (Tupperware is perfect). Let the donuts cool completely before glazing (this prevents the warm donut from absorbing the glaze too quickly). And, for a firmer glaze, add a bit more powdered sugar to thicken it up. Hope that helps and happy baking! ~gvd team
Can I use something else versus eggs?
Hi Bee, you are certainly able to omit them or try flax eggs, but I do not know if either will work in this recipe or not. Happy experimenting! ~Lindsey
So, my first attempt at baking these were a success according to my family. However, I am a little more critical of my beginner skills.
I found them to be a little too dense and I’m wondering if I over mixed the batter. Also, would you recommend reducing the oven temp if using dark colored pans?
Cheers
Todd
Hey Todd! I am the new owner but I have made this recipe several time because of the very strong opinions in the comments! lol. I agree with you but the second time I took extraordinary care not to over-mix the batter and even leave a few lumps. Therefore, I can confidently say that I think it is the limitations of all-purpose flour. I personally found the bake times too long and my second round, I only had to be 9 minutes. I also have dark colored pans. Since you asked and are clearly lovely, I’m going to give you a little secret. I’ve been testing my own recipe for baked chocolate donuts and I used a combination of all-purpose and cake flour to combat the textural issue we both had. I haven’t had the chance to try that in these donuts but if you wanted to give it a go, you could use 3/4 cup (93g) all-purpose flour and 1 1/4 cups (150g) cake flour. I didn’t sift it – just whisk it together like the original recipe.
Cheers right back atcha, Todd! ~Chef Lindsey
My kids & I have made these 4 days in a row now. So so easy and really good. We even made mini muffins with some leftover batter. Love that it’s ingredients I always have on hand.
Hi Lindsay! Thank you for taking the time to come back to comment and rate! I actually just bought donut pans in order to try this recipe for myself. Even though I have 10 years of experience as a pastry chef in restaurant kitchens, I have never baked donuts before! ~Chef Lindsey