
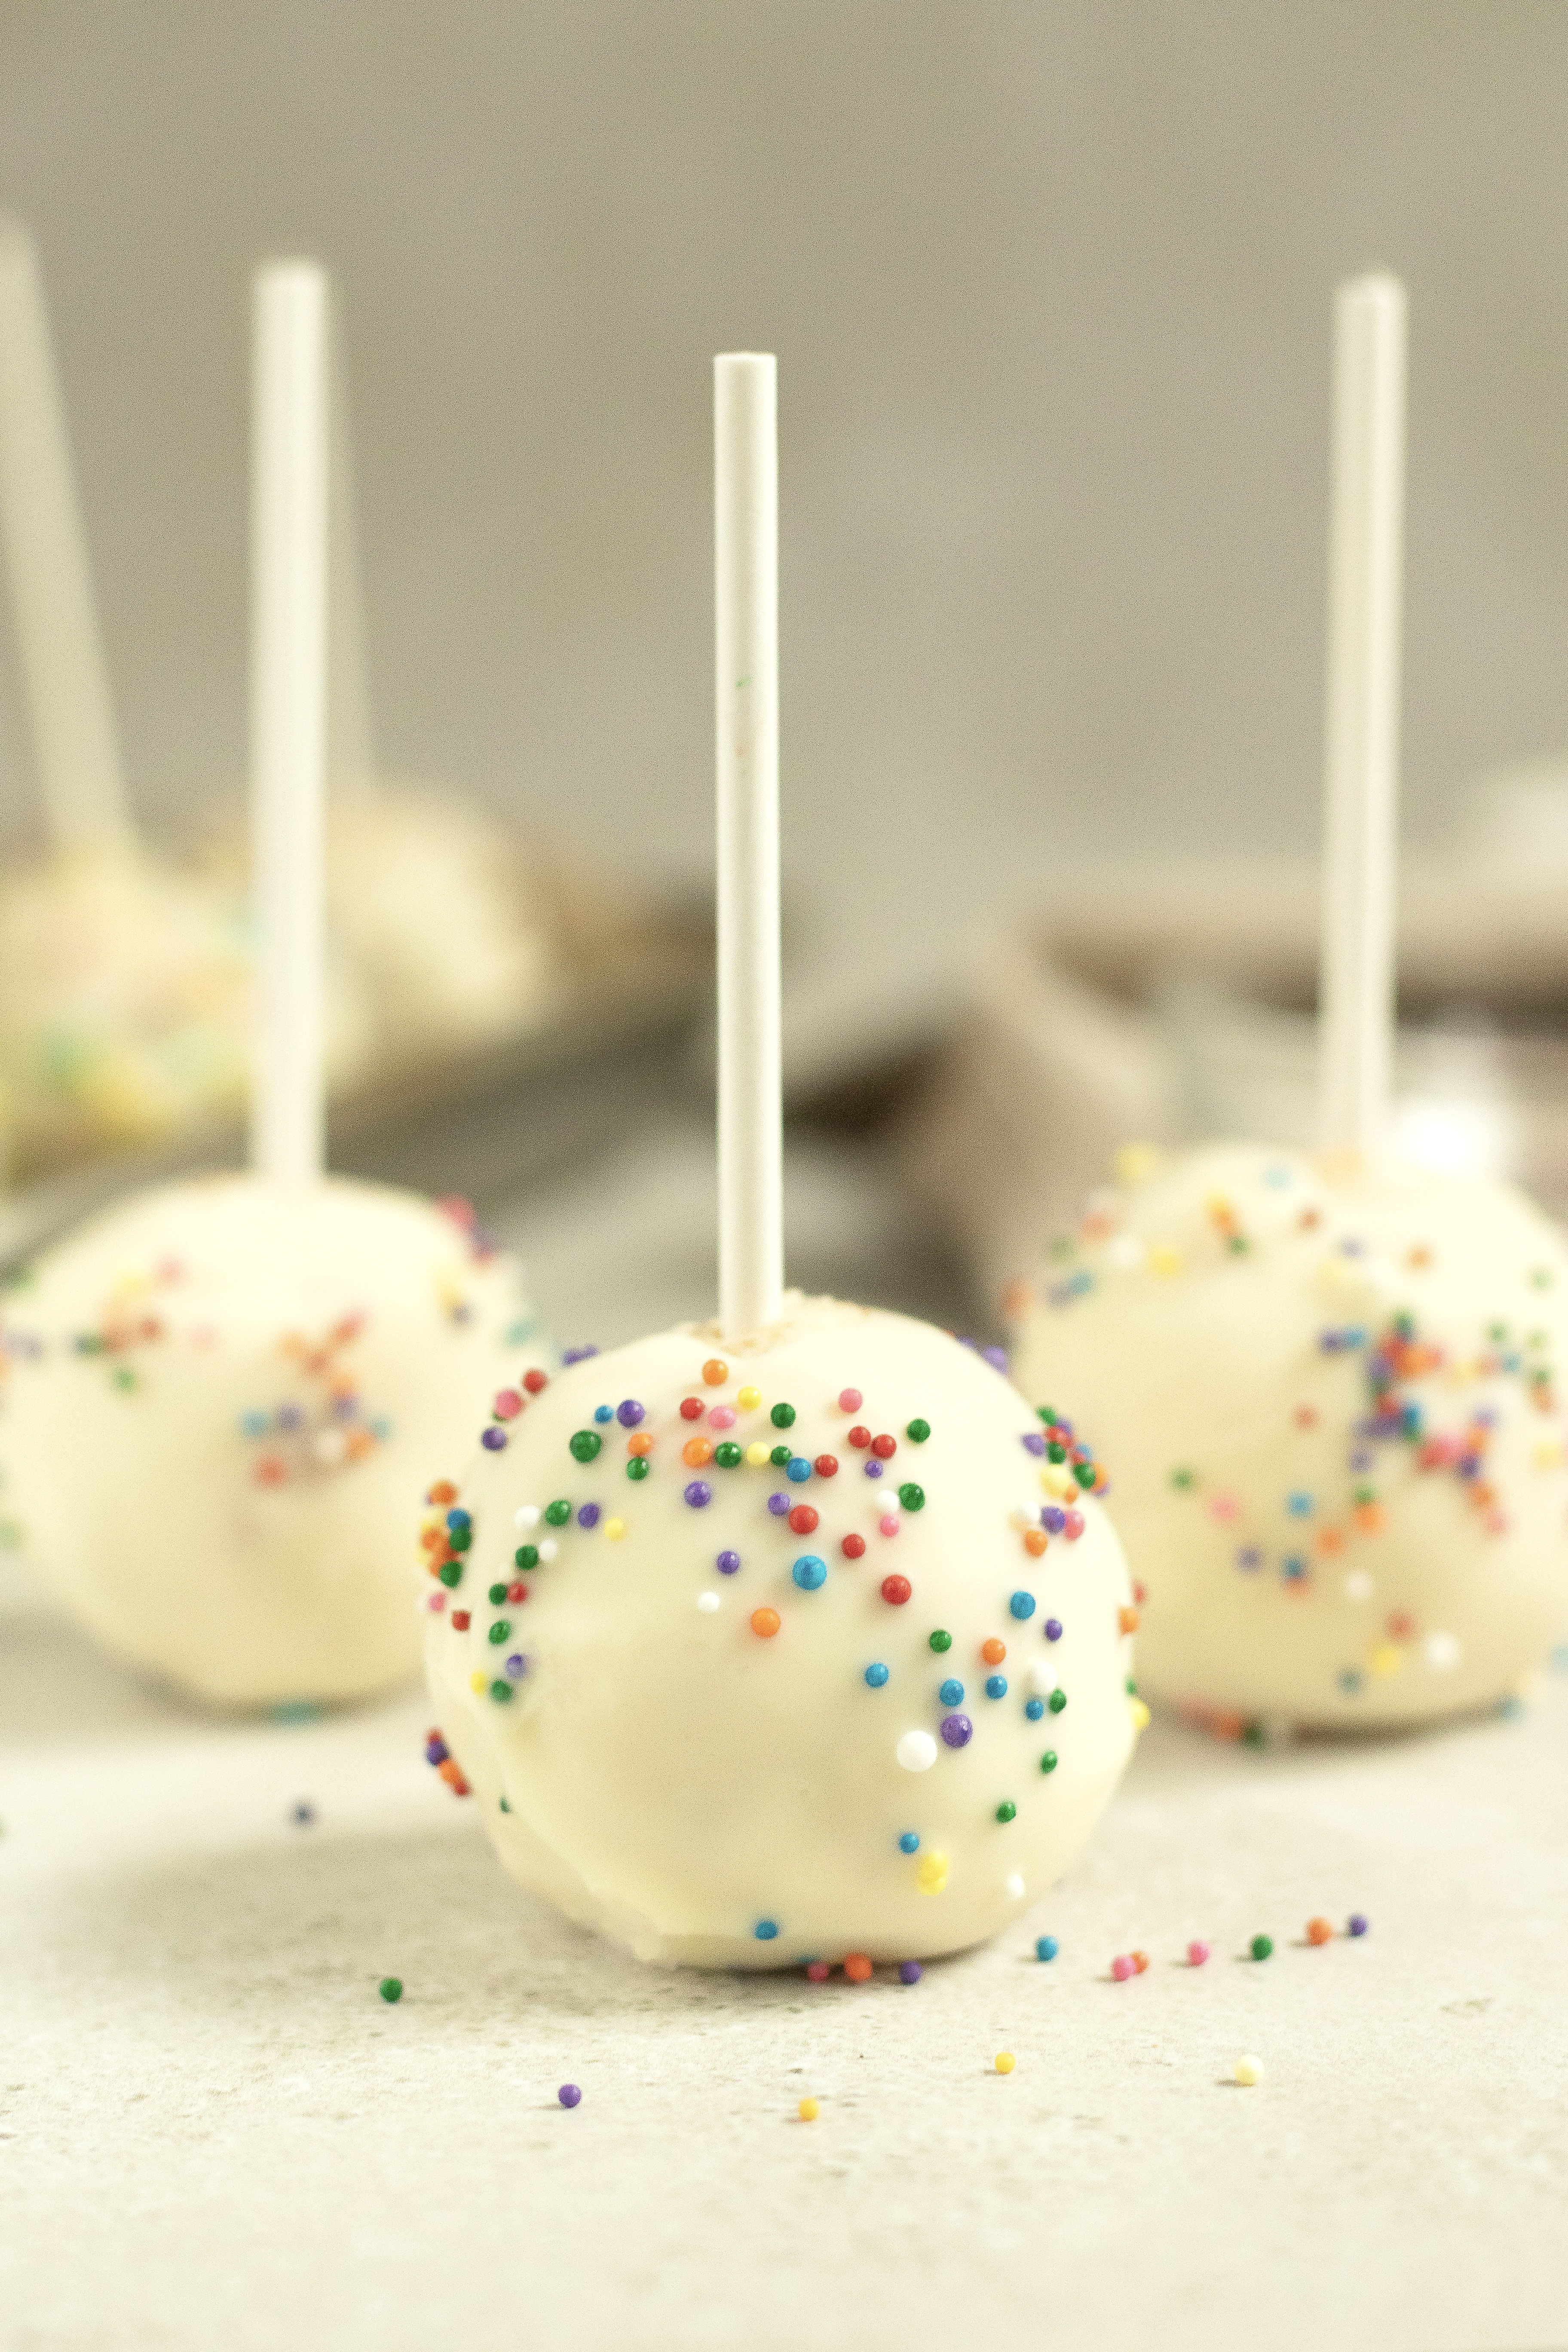
These cake pops come together with just three ingredients and about 40 minutes of hands-on time. They’re endlessly customizable with sprinkles, colored sugar, or any decoration you love!


A Quick Look At The Recipe
This is a brief summary of the recipe. Jump to the recipe to get the full details.
Prep Time
10 minutes
Dipping Time
30 minutes
Total Time
40 minutes
Servings
36 Cake Pops
Difficulty
Easy
Calories *
131 kcal per serving
Technique
No-bake assembly, chilled and dipped
Flavor Profile
Sweet, vanilla, creamy, lightly rich
* Based on nutrition panel
“I made these for my daughter’s birthday party and every single one disappeared within the first hour. The tip about tapping off the excess chocolate before decorating made such a difference — mine actually looked polished this time!”
⭐⭐⭐⭐⭐
Brianna
Why You Will Love This Recipe
- Three ingredients! These cake pops come together with vanilla cake, frosting, and white chocolate. There is nothing complicated hiding in the ingredient list.
- Ready in 40 minutes. Most of that time is hands-off chilling in the refrigerator. The actual assembly takes about ten minutes from start to finish.
- No special baking skills required!
- Great for a crowd. One batch makes 36 pops, which is plenty for a party, a bake sale, or a classroom celebration. Each one gets its own stick, making serving and eating completely mess-free.
- Endlessly customizable. Sprinkles, colored sugar, or themed decorations all press right into the wet chocolate coating before it sets. If you want a chocolate version, my Chocolate Cake Pops follow the same easy method with a richer flavor.
Cake pops are one of those things I made on a whim once and then found myself making again and again for every celebration that came up. They’re cheerful, portable, and the kind of treat that makes people genuinely happy to see on a dessert table.
They work for birthday parties, baby showers, school events, or just a Tuesday when you want to do something fun with your hands. If you love simple showstopper desserts, my Funfetti Cake has the same celebratory spirit and uses a lot of the same easy techniques.
Ingredients & Substitutions
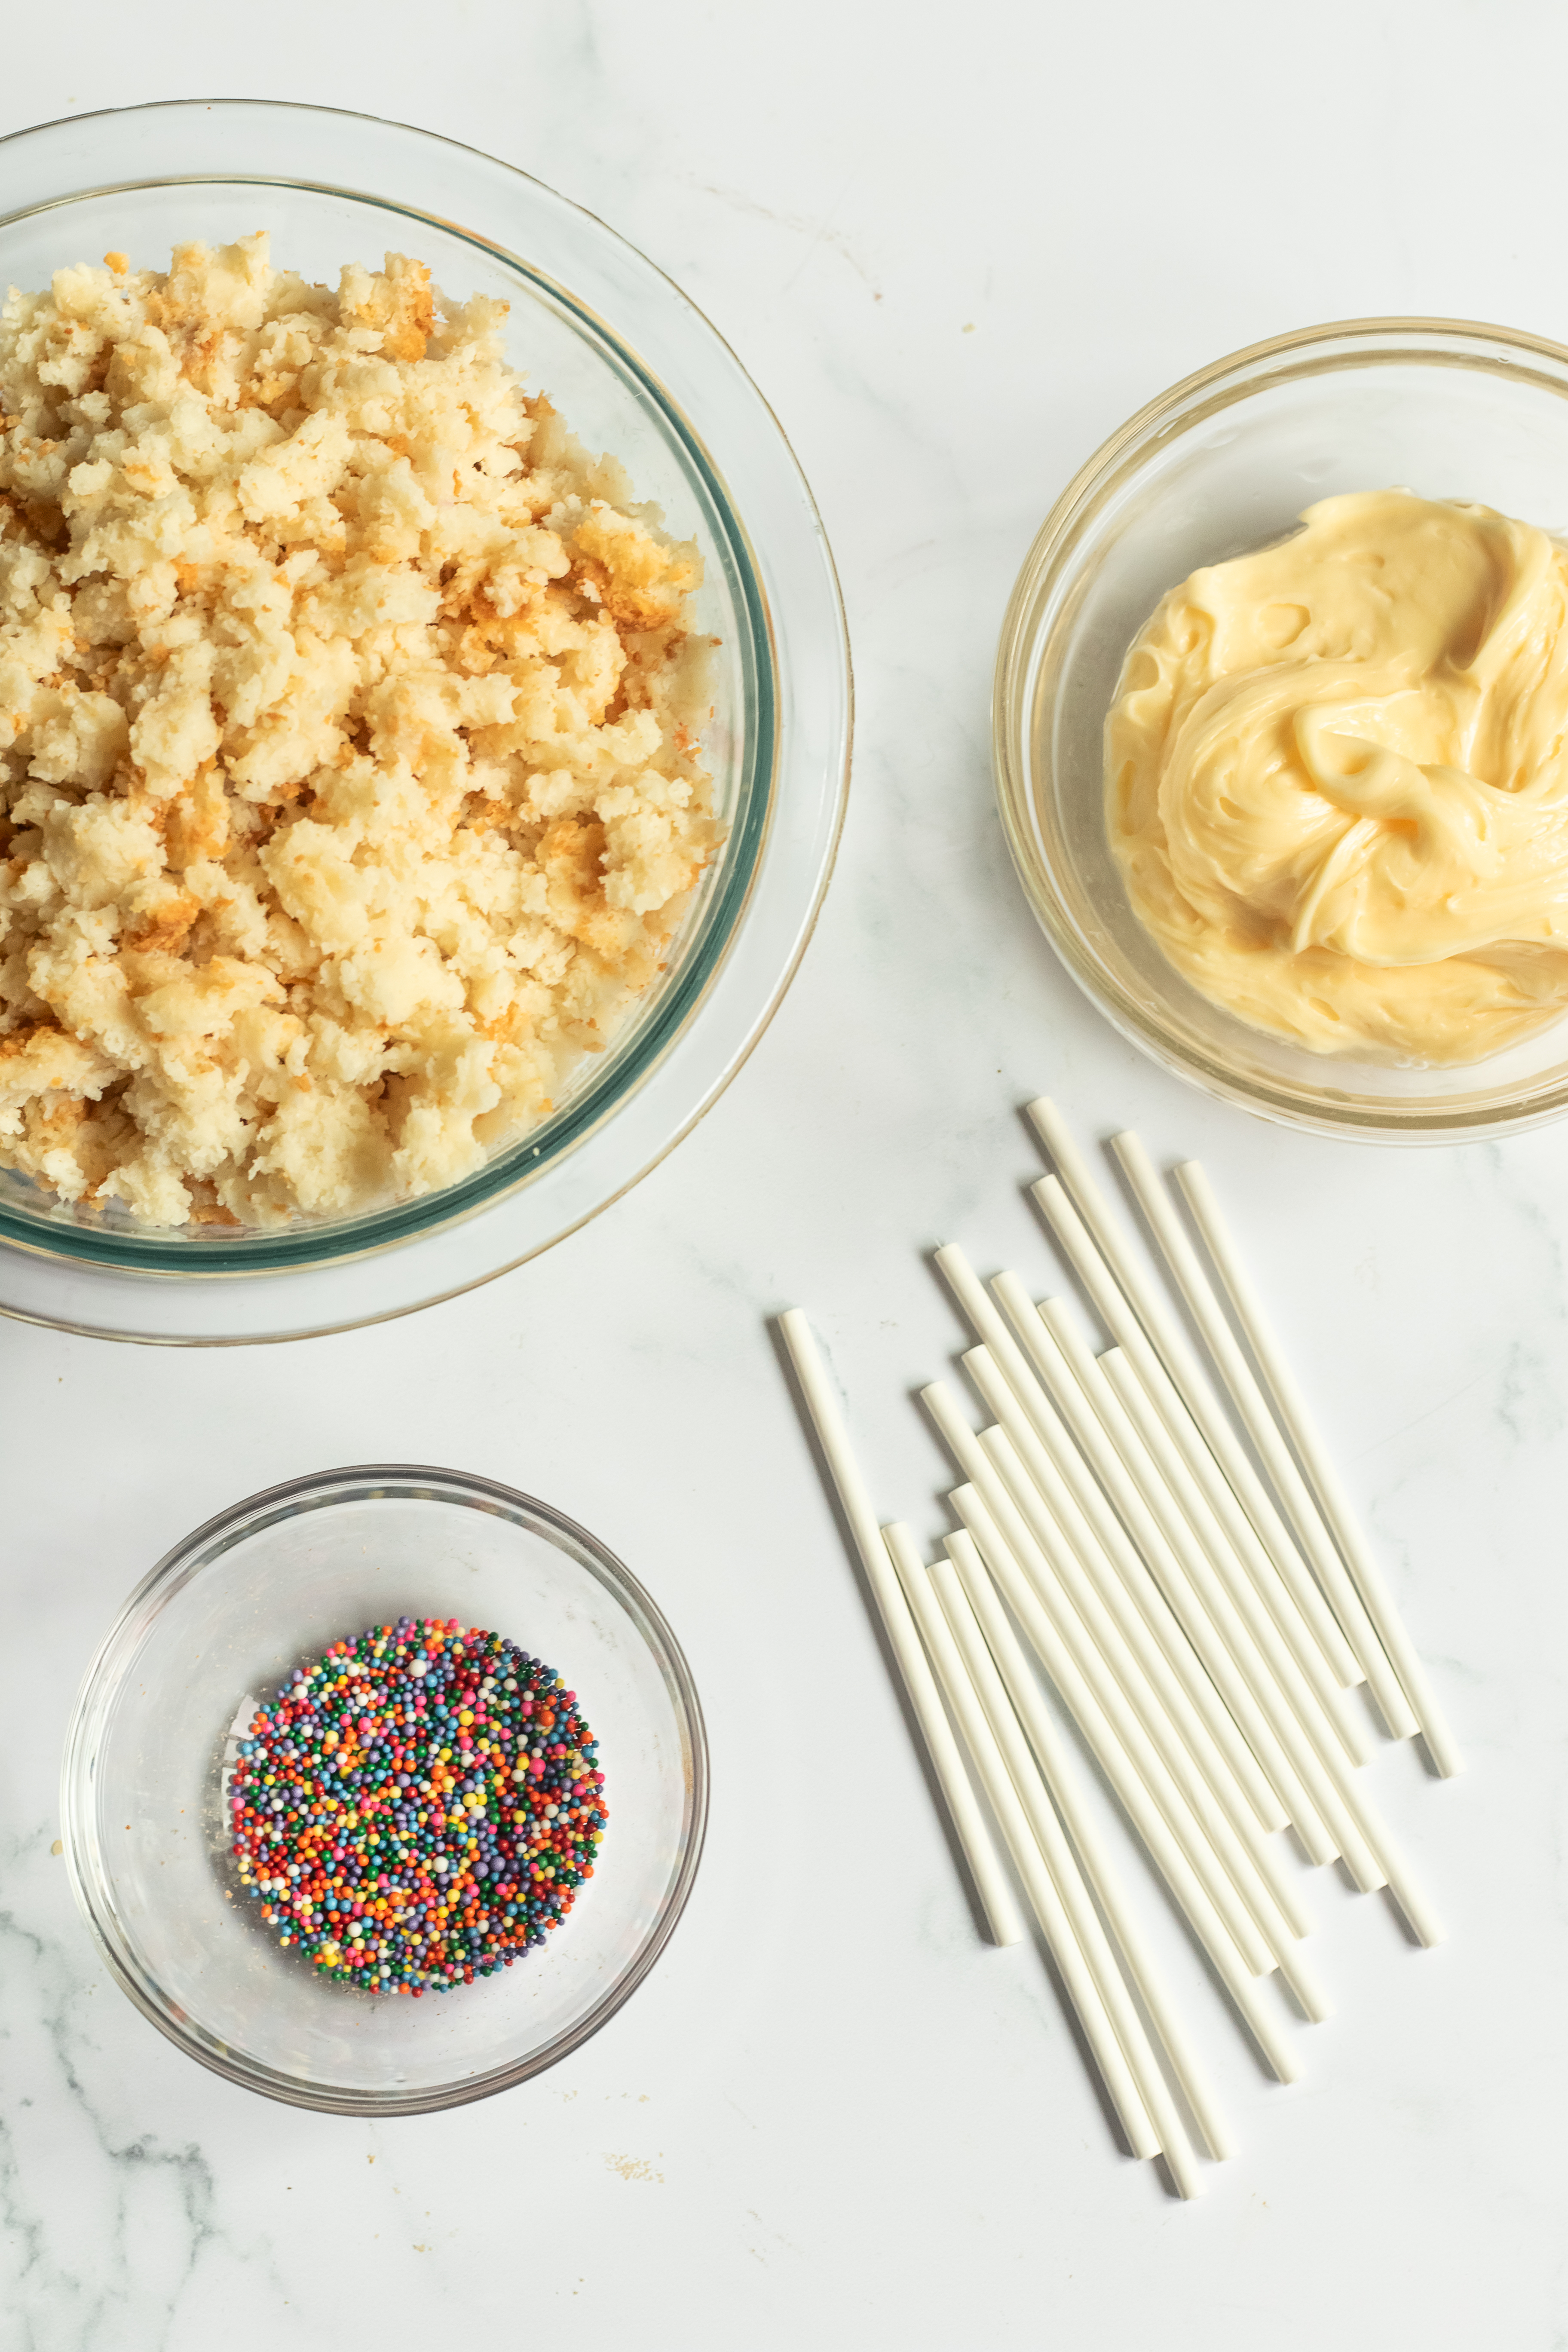
- Vanilla Cake: This is the base of the pops, crumbled down and mixed with frosting to form the dough-like filling. A homemade moist vanilla cake recipe gives you the best flavor and texture here, though a box mix works in a pinch.
- Vanilla Frosting: The frosting binds the crumbled cake together and keeps the mixture moist enough to roll into smooth balls. Add it gradually and stop as soon as the mixture holds its shape when pressed — too much frosting makes the pops heavy and soft, and they won’t hold up to dipping. This vanilla buttercream frosting is a great choice!
- White Chocolate Chips: These melt down into the coating that gives each pop its smooth, set shell. Stir them slowly and evenly while melting so the chocolate stays glossy and fluid rather than seizing.
- Sprinkles: These are the finishing decoration, pressed onto the coating while it’s still wet, so they stick. Colored sugar or any other decoration you like works just as well.
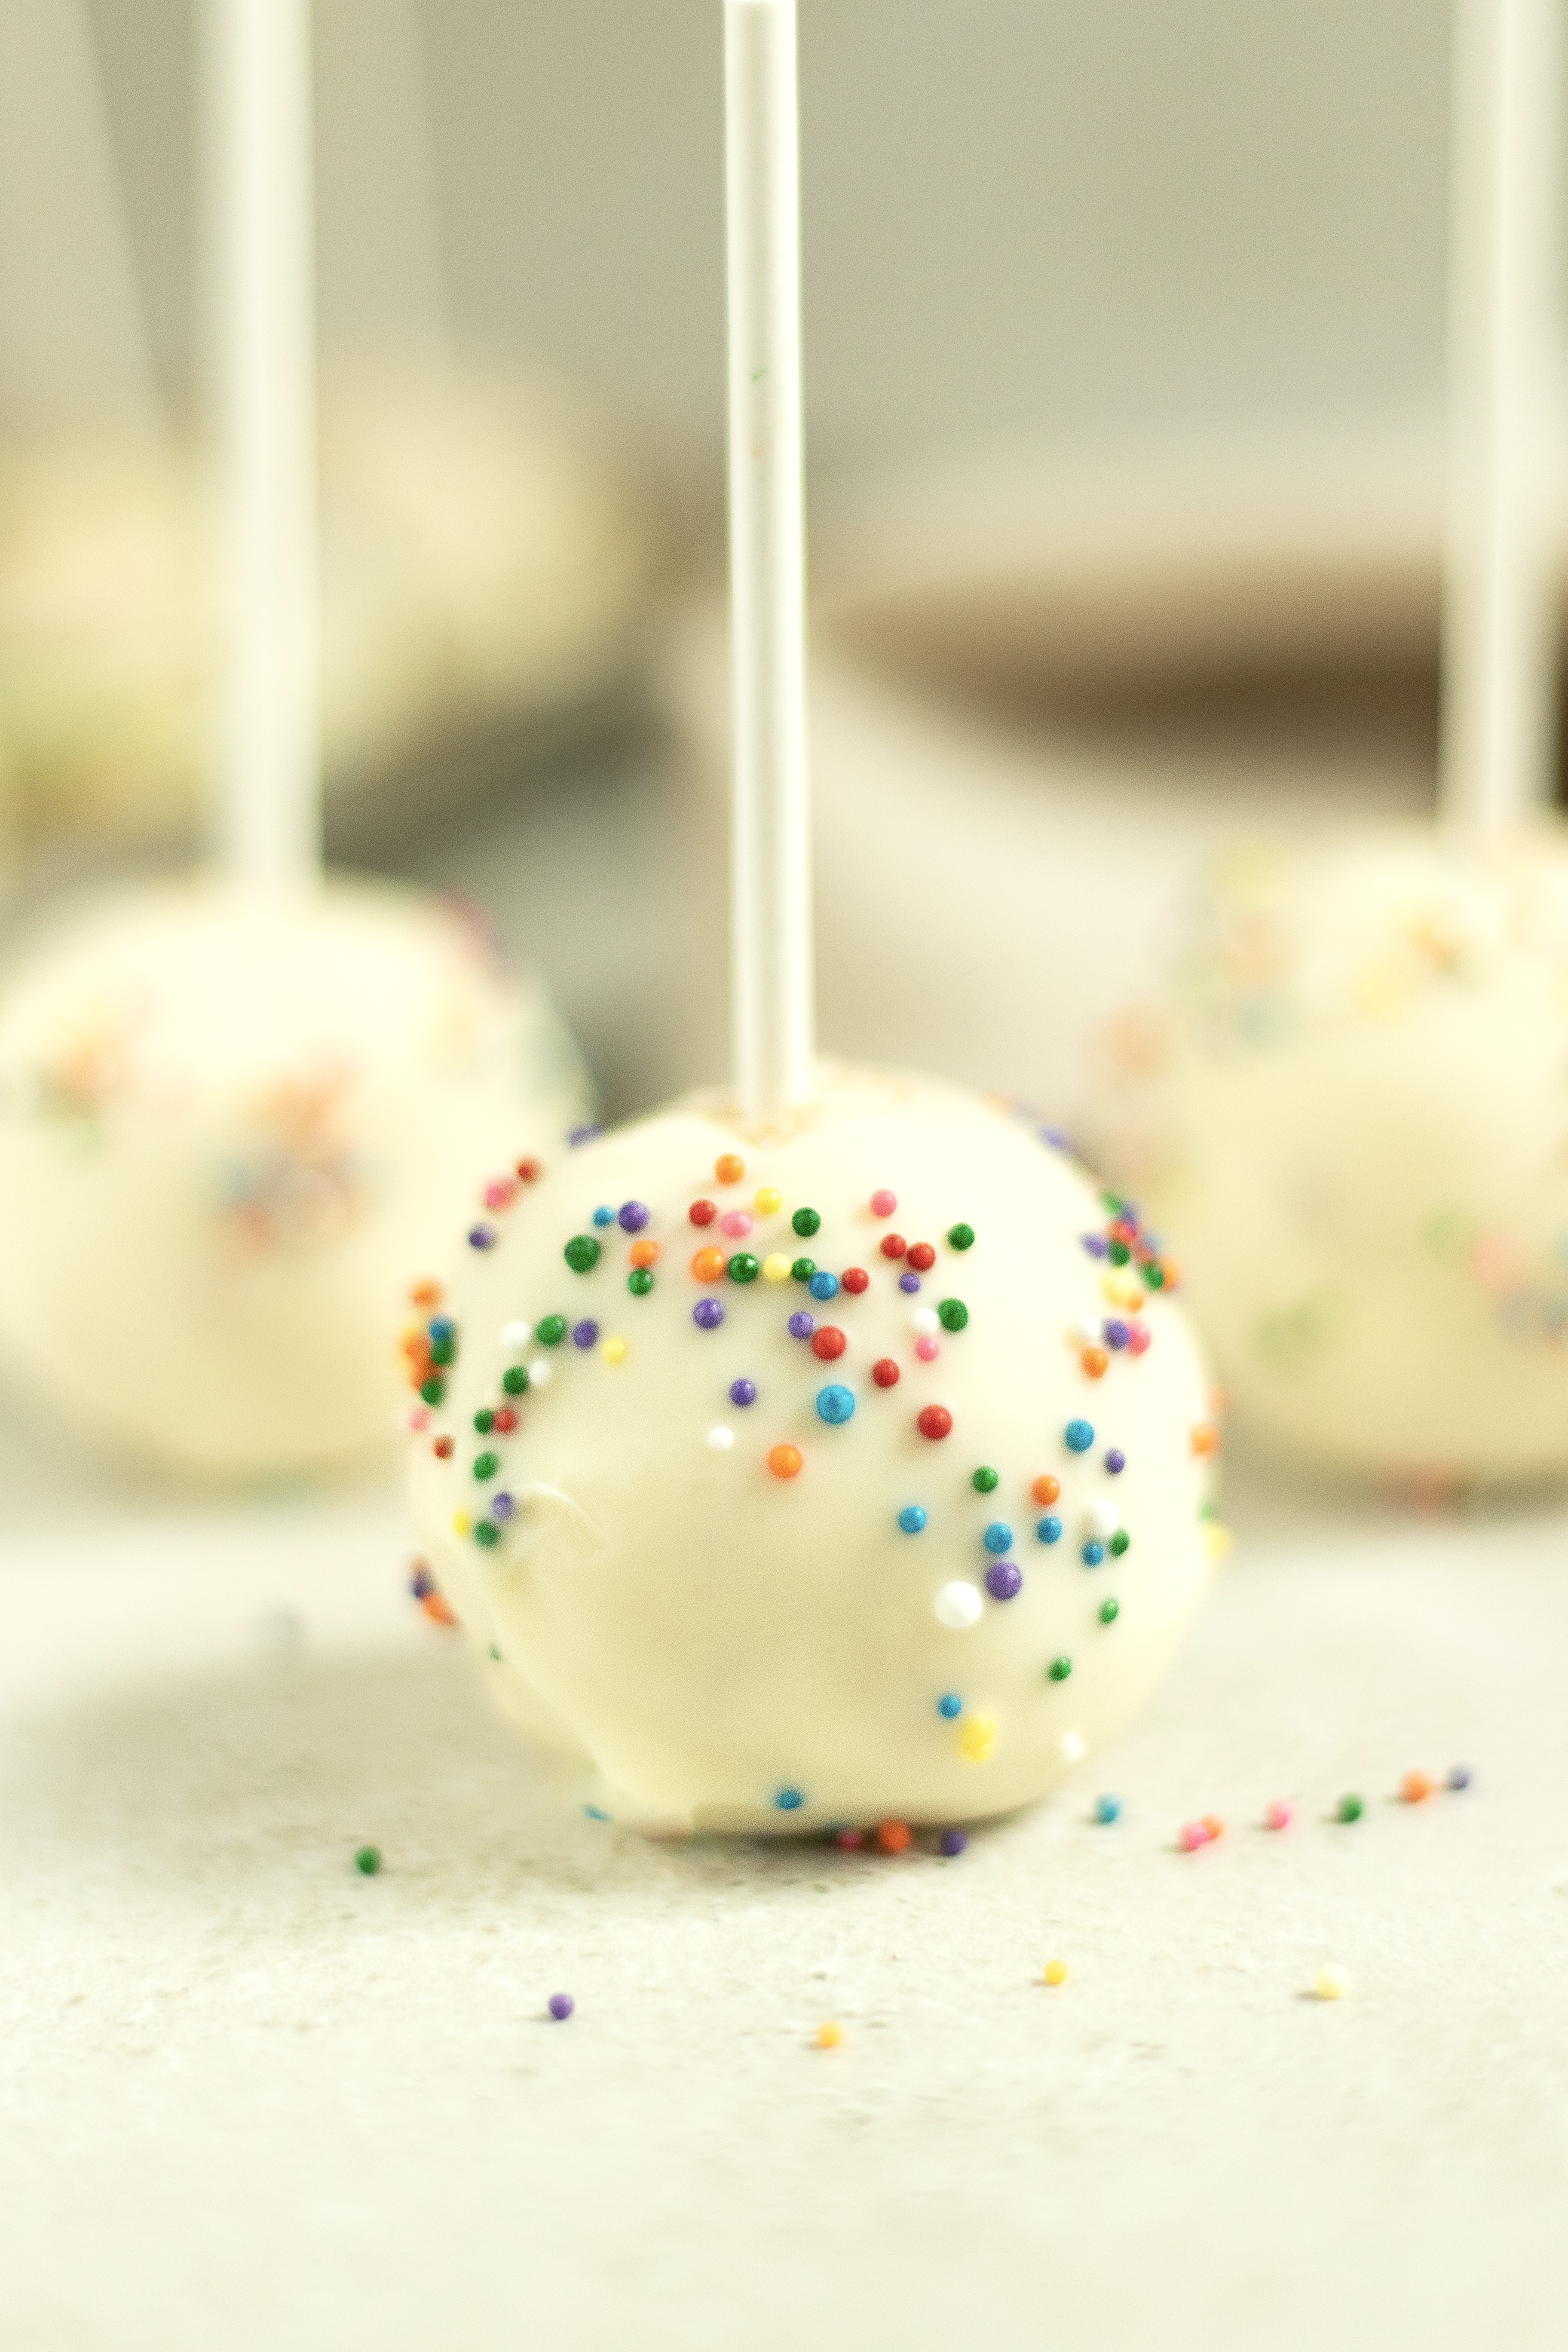
Variations for Cake Pops
- Chocolate Cake Base: Swap the vanilla cake for a Moist Chocolate Cake recipe and pair it with chocolate frosting for a richer, deeper filling. The white chocolate coating contrasts beautifully with the dark interior.
- Red Velvet: Use red velvet cake crumbled with cream cheese frosting in place of vanilla frosting. The tang from the cream cheese keeps the mixture moist and adds a subtle sharpness that balances the sweet white chocolate shell.
- Coconut: Stir shredded coconut into the cake and frosting mixture before rolling, then press toasted coconut onto the wet coating instead of sprinkles. It adds texture and a nutty sweetness to every bite.
- Mini Birthday Pops: Roll the mixture into smaller, one-bite balls and coat in pastel-colored candy melts with rainbow sprinkles! They’re easier to display on a stand and disappear fast.
- Holidays! You can use sprinkles to match your holiday! Red and green for Christmas, blue and white for Hanukkah, fall colors for Thanksgiving, and pastels for Easter — the options are endless!
Professional Tips for Perfect Cake Pops
- Chill the cake balls before dipping. The hour in the refrigerator isn’t optional — it’s what keeps the balls firm enough to hold the stick and survive being submerged in warm chocolate. If they’re too soft when you dip, the stick loosens, and the pop can slide off mid-coat.
- Tap off the excess chocolate properly. After dipping, gently tap the stick against the rim of the bowl and rotate slowly rather than shaking. Shaking causes drips and uneven buildup at the base; a slow tap-and-turn gives you a smooth, even shell.
- Decorate immediately after dipping. White chocolate sets faster than you’d expect, especially in a cool kitchen. Add your sprinkles within a few seconds of dipping, before the coating skins over, or they won’t adhere.
- Use a foam block to set the pops upright. Laying pops flat on parchment works in a pinch, but the coating flattens on one side, and the stick can shift. A foam block or cake pop stand keeps every pop round and symmetrical while the chocolate hardens completely.
How to Make Cake Pops
Use these step-by-step instructions to make cheerful, smooth-coated vanilla cake pops perfect for any celebration. Further details and measurements can be found in the recipe card below.
Make Cake Pop Filling
Step 1: Crumble the cake. Break the cooled vanilla cake into a large mixing bowl with your hands or a fork, working it through until no large chunks remain. The texture should look like coarse, even crumbs — somewhere between sand and loose stuffing. If you press a handful together and it still crumbles apart, you’re in good shape. You can also do this in a stand mixer with a paddle attachment.
The cake must be fully cooled before you start. A warm cake will make the frosting melt into the mixture, and the balls won’t hold their shape.
Step 2: Mix in the frosting. Add the vanilla frosting to the crumbled cake and mix until everything is evenly combined and the mixture feels moist and pliable. It should hold together when you press a small amount between your fingers without feeling wet or sticky. Add the frosting gradually and stop as soon as it comes together — if the mixture feels dense or heavy, you’ve likely added a little too much, which is fine! Just work with it and keep the balls on the smaller side.
Step 3: Roll into balls. Scoop small portions of the mixture and roll them between your palms into smooth, even balls about 1 to 2 inches in diameter. Place each one on a parchment-lined baking sheet as you go. The mixture should feel firm and smooth, not tacky. If it starts sticking to your hands, a quick rinse with cold water and a dry-off helps.
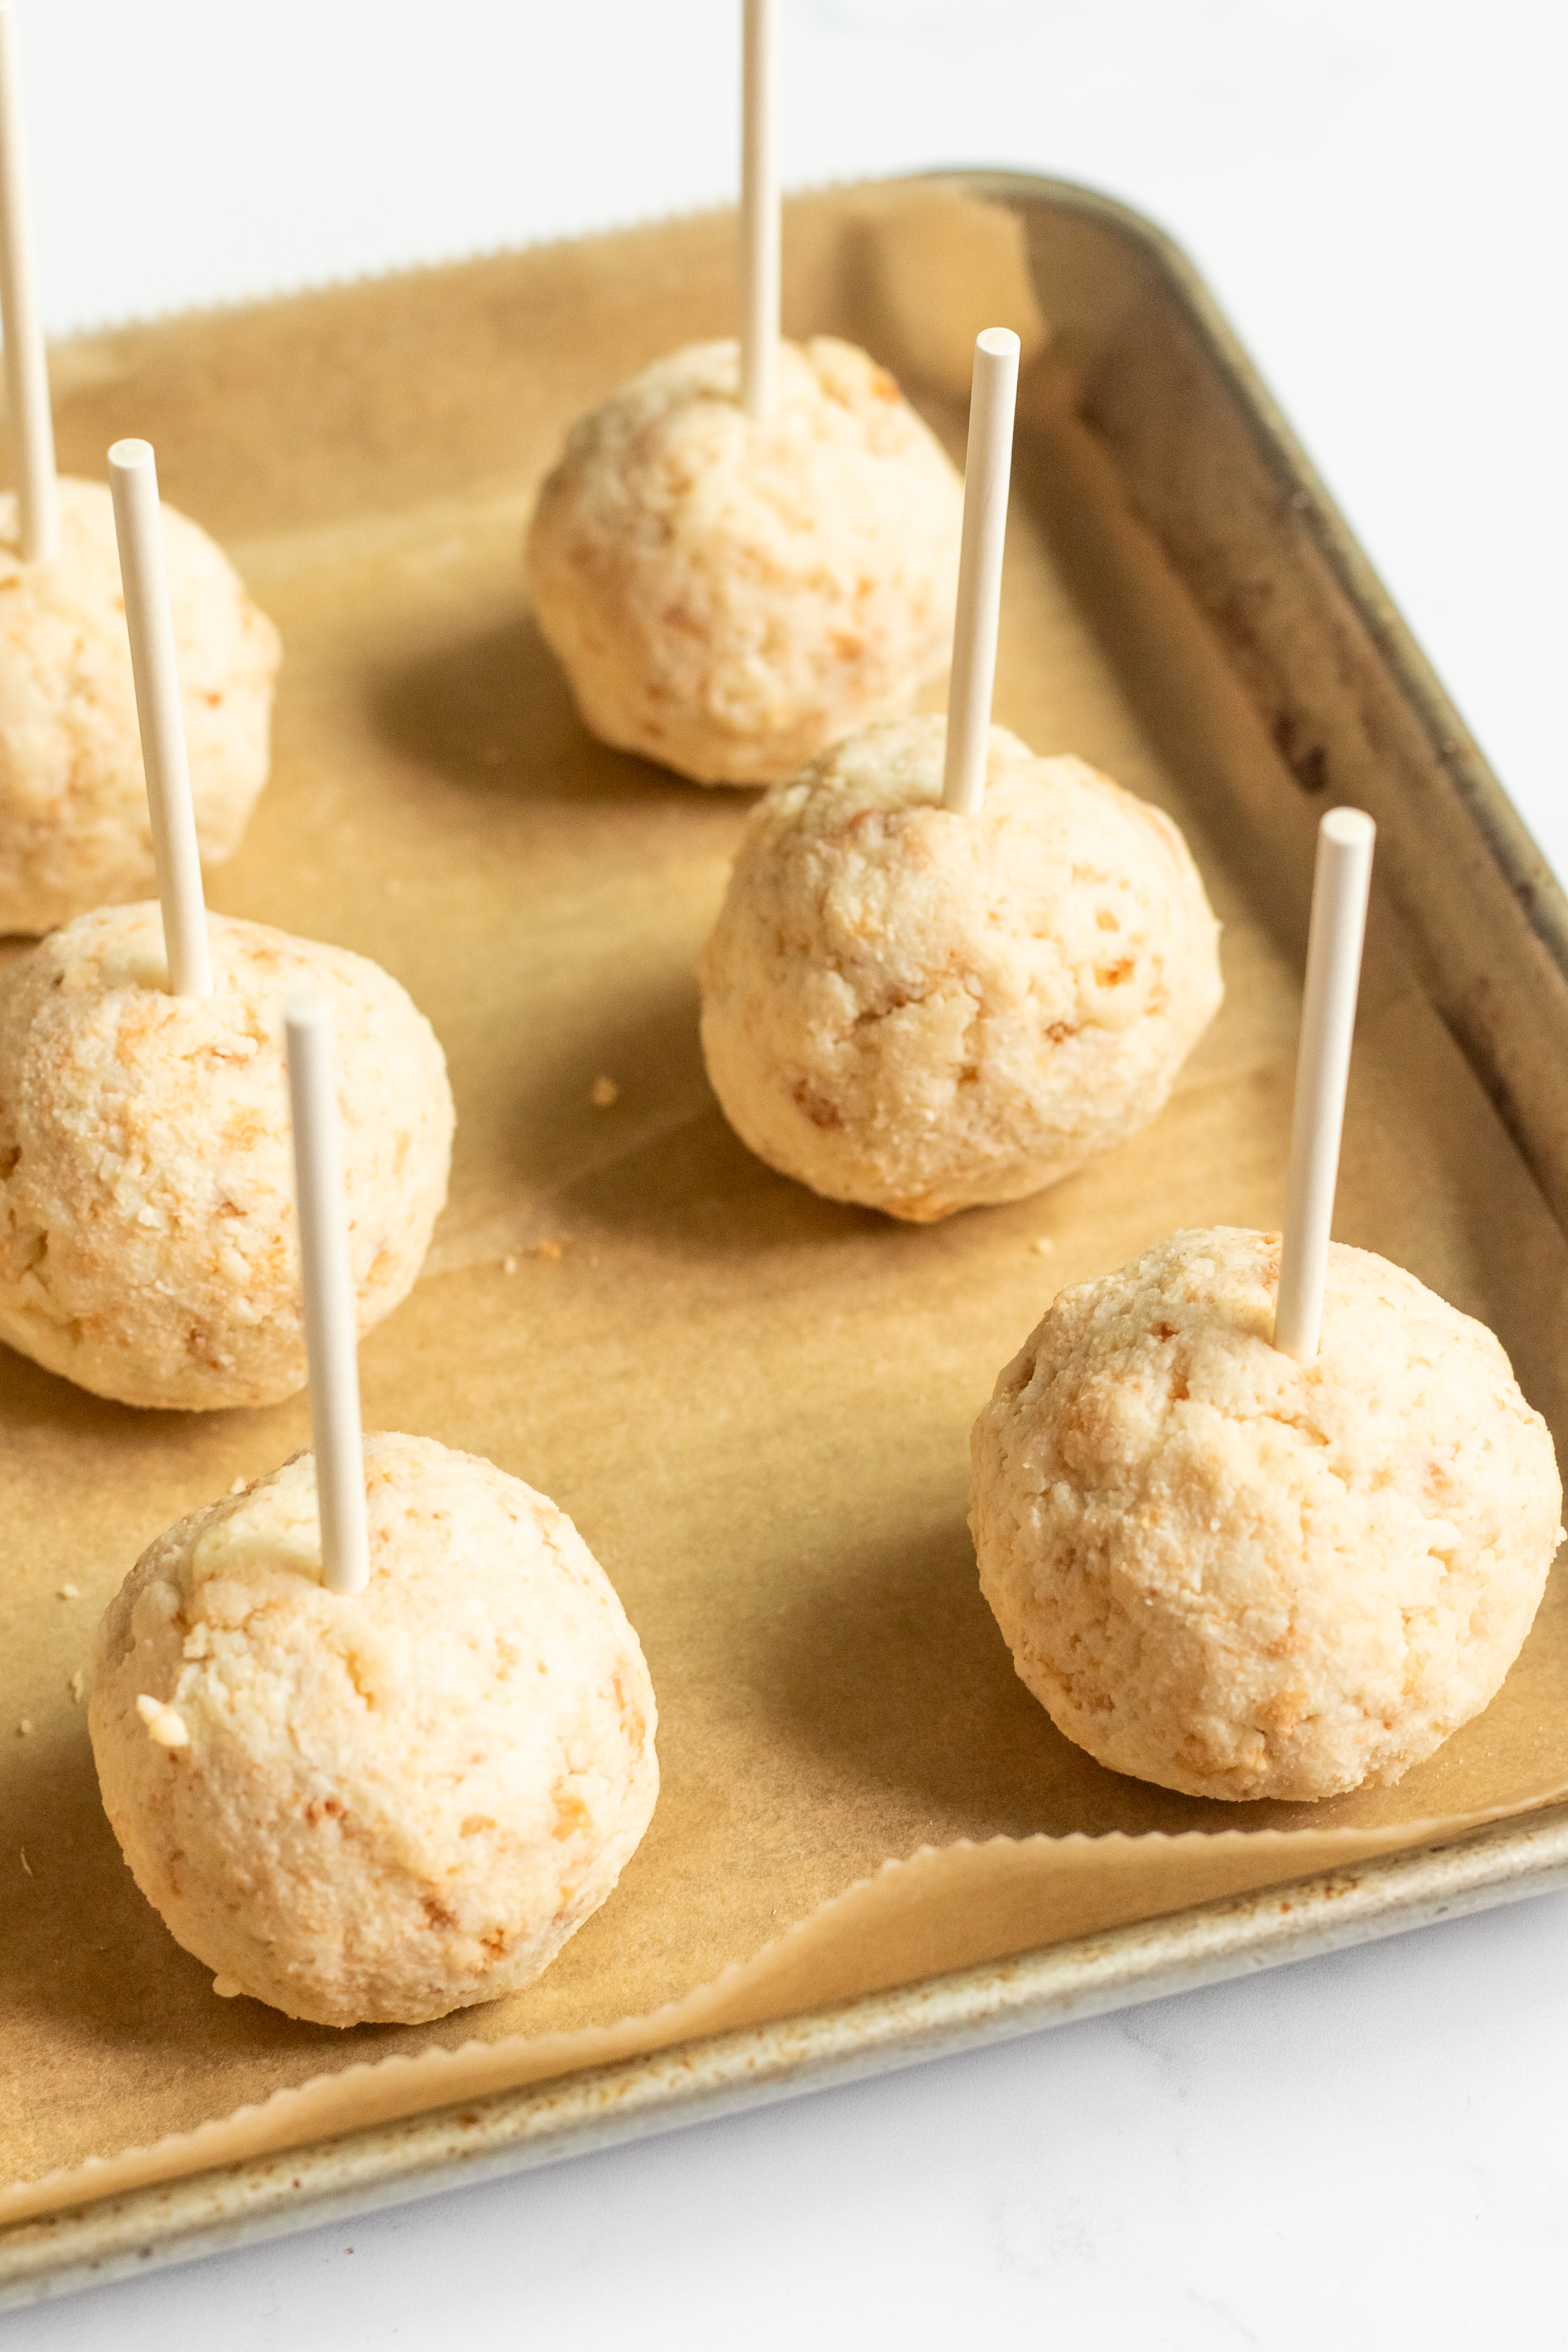
Step 4: Insert the sticks and chill. Press a lollipop stick into the center of each ball, pushing it in about halfway through. The ball shouldn’t crack or split — if it does, the mixture may need another minute of rolling to compact. Once all the sticks are in, slide the baking sheet into the refrigerator and chill for about 1 hour, until the cake pops feel firm and cold all the way through.
Don’t skip or shorten the chill time. Firm, cold cake pops hold the stick securely and resist breaking apart when you dip them into warm chocolate.
Step 5: Melt the chocolate. Melt the white candy melts or white chocolate chips in a microwave-safe bowl in short bursts, stirring between each interval until the mixture is completely smooth and pourable. It should look glossy and flow easily off the spoon — if it feels thick or lumpy, give it another 15-second burst and stir again. Work quickly once it’s melted, since it will start to thicken as it cools.
If the melted chocolate tightens up while you’re working, microwave it for 10 to 15 seconds and stir — it will loosen right back up.
Dip and Decorate
Step 6: Remove the cake pops from the refrigerator and dip each one straight down into the melted chocolate, then gently swirl and lift it out in one smooth motion, tapping the stick lightly against the side of the bowl to shake off any excess. The coating should look thin and even, not thick and clumped. While the chocolate is still wet, add your sprinkles or colored sugar — it sets faster than you’d expect, so decorate each pop immediately after dipping before moving to the next.
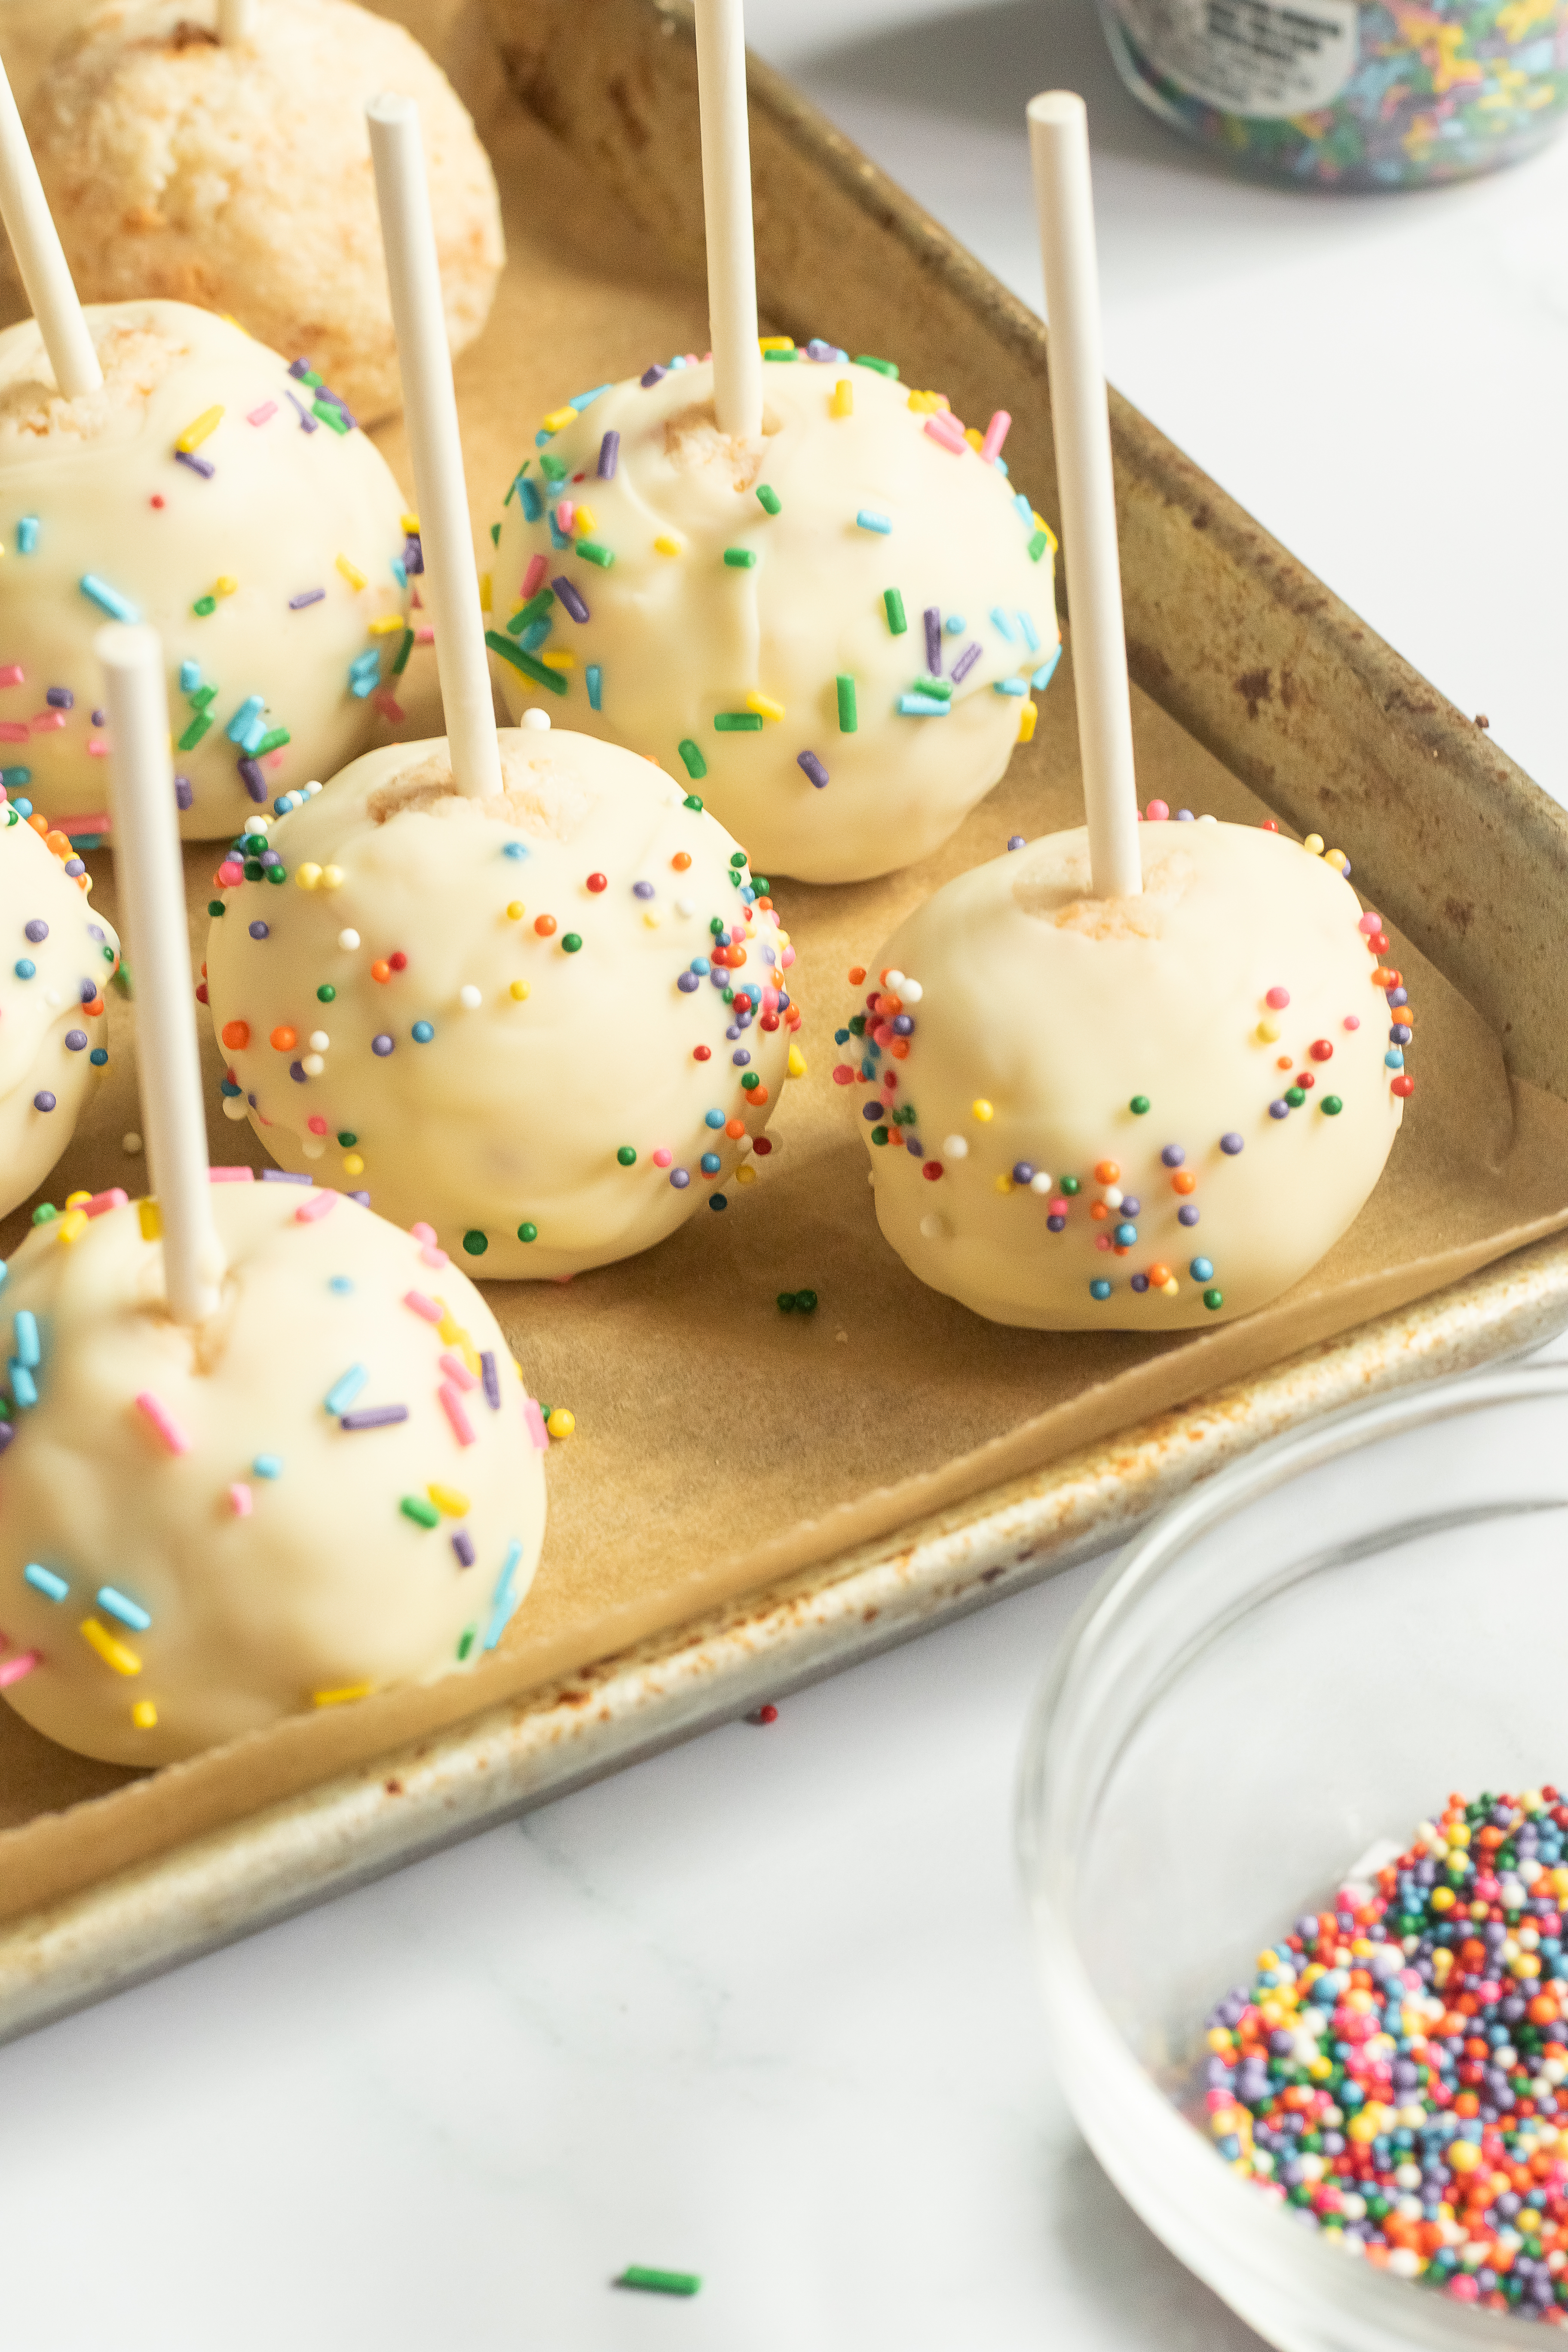
Step 7: Set the coating. Stick each finished cake pop upright into a foam block or cake pop stand so the coating can harden without anything touching it. If you don’t have a stand, lay them back on the parchment-lined baking sheet — the coating will still set; you’ll just have a small flat spot on one side, which is completely fine! Let them sit until the white chocolate is fully hardened and no longer tacky to the touch.
Recipe FAQs
Cake pops can be stored in an airtight container at room temperature for up to 3 days, which is what I usually do if I’m serving them within the week. For longer storage, place them in an airtight container and refrigerate for up to a week. You can also freeze them for up to 6 weeks — just thaw at room temperature before serving.
This is the most common issue with cake pops, and it almost always comes down to skipping the chilling step or adding too much frosting. If the cake balls aren’t cold and firm before dipping, the weight of the melted chocolate pulls them right off the stick. Make sure the cake pops have chilled in the refrigerator for the full hour before you start dipping — that hour makes all the difference.
Absolutely. Almost any baked cake works here, as long as it’s completely cooled before crumbling. A classic yellow cake recipe works beautifully, and so does a spiced or citrus cake if you want something a little different. Just keep the amount of frosting the same and adjust the coating color or decoration to match your flavor.
Cake To Use For Cake Pops!

Cakes & Cupcakes

Cakes & Cupcakes

Cakes & Cupcakes

Cakes & Cupcakes
Cake Pops
Ingredients
- 1 vanilla cake, 9×13-inch size, baked and cooled
- 1 cup vanilla frosting
- 12 ounces white chocolate chips
- Sprinkles, optional, colored sugar, or other desired decorations
Instructions
- Crumble the cooled vanilla cake into a large mixing bowl using your hands or a fork until no large chunks remain.
- Add the vanilla frosting and mix until well combined. The mixture should be moist and hold its shape when rolled into balls.
- Roll small portions of the mixture into smooth balls about 1 to 2 inches in diameter. Place on a parchment-lined baking sheet.
- Insert a lollipop stick into each ball, pushing it about halfway through. Refrigerate for 1 hour until firm.
- Melt the white chocolate chips in a microwave-safe bowl according to package instructions, stirring until smooth.
- Dip each chilled cake pop into the melted chocolate, swirling gently and tapping off any excess. Add sprinkles or decorations while the coating is still wet.
- Stick the cake pops upright in a foam block or cake pop stand to set. If you don’t have one, lay them back on the parchment-lined baking sheet.
- Once the coating has hardened completely, the cake pops are ready to serve.
Notes
Technique: Do not skip the 1-hour chill. Cold, firm cake balls keep the pops from sliding off the stick while dipping.
Measuring: Use a full 1 cup of frosting, but add it gradually, stopping when the mixture just holds its shape. Too much frosting makes the balls soft and difficult to coat cleanly.
Storage: Store cake pops in an airtight container at room temperature for up to 3 days, in the refrigerator for up to a week, or in the freezer for up to 6 weeks. Thaw frozen cake pops at room temperature before serving.
Nutrition
Nutrition information is automatically calculated, so should only be used as an approximation.
 Like this recipe? Rate & comment below!
Before You Go
I hope these cake pops bring as much joy to your table as they do to mine. Browse our Dessert Recipes or make this coconut cake next!


I made these for my daughter’s birthday party and every single one disappeared within the first hour. The tip about tapping off the excess chocolate before decorating made such a difference — mine actually looked polished this time!
Brianna, so happy to hear it! I’m sure all the kids just loved them and thank you for taking the time to share! ~GVD team
I used the cake from your moist vanilla cake recipe, and these turned out wonderful! Easier to make than one would think. My niece is always looking for ways to help me bake, and these were perfect for her; plus, she loves cake pops!
These were fantastic and easier to make than I thought they’d be. So much better than buying them premade and perfect for any party!
I’d never tried my hand at making my own cake pops before until this recipe. It’s really so easy and these were the perfect treat for a bunch of kids at a summer get together.
My niece requested these cake pops on her birthday and I gladly made them! And she also helped me do them! We had fun and her visitors loved them!
You’ve saved me so much money with this recipe! My daughter always wants a cake pop when we go to Starbucks for my coffee fix, but they’re expensive and sometimes a little stale. So glad to be able to make them fresh at home.
My kids and I really enjoyed making these cake pops. I love how it turned out so delicious! A perfect activity at home with the kids! Such a great recipe to try!
I made a batch for my daughter’s birthday party and everyone loved them. They were a hit! The recipe is super simple, and they’re perfect for when you need a little something sweet to finish off the party