classic brioche loaf bread

Honestly, what could be better than baking this classic brioche loaf bread in your kitchen? Not much. Not much at all.
Here’s why: This loaf is bonkers delicious. And while yes, it takes a little bit of time and effort to make, the results are SO. VERY. WORTH IT. If you’ve never made homemade bread before, this is a great recipe to get you started. It’s made with simple ingredients, easy (and forgiving!) to assemble, and the flavor is unlike anything you’d ever buy at the grocery store. This is what brioche bread is supposed to taste like, and we are so very happy about it.
This past week, we’ve parked ourselves on my husband’s uncle’s farmland in southeast Iowa — a whopping 40 acres of wide open spaces, trees, creatures, sunny skies and starry nights. We’ve enjoyed the fruits and vegetables from their garden and generally really enjoyed this time to have some space and peace and quiet. It makes me all the more anxious to buy a plot of land of our own someday so I can live out my dream of having a hobby farm with a pig and a goat and chickens and a gigantic garden (none of this may happen, but a girl can dream).
Having access to fresh produce straight from the ground has further reinforced in me the notion that homegrown and homemade foods are just better. A melon straight from the earth is that much sweeter, a green bean plucked from the vine is that much crunchier and bread kneaded by hand and baked in a home oven is often that much softer, fluffier and more flavorful — at least that’s the case for this classic brioche loaf bread.
What I love about brioche is that it’s an enriched dough, which means the dough is made with milk and eggs. That’s what gives this loaf its tender crumb and soft-fluffiness. But what the homemade version has that most grocery store varieties don’t is that gentle chew. If you’ve tasted fresh-baked bread, you know what I’m talking about. This alone is why I could never quit carbs.
You have to let the dough rise and rest overnight, though, in order to achieve all of these factors. That’s what makes brioche, well, brioche. There’s just nothing else like it. But it is so worth the wait.
Do yourself a favor and carve out some time soon to make a loaf or three of this bread. It’ll be therapeutic and relaxing and fun all at the same time, and the best part is you get a fresh loaf of bread to eat at the end of it all. And PS — there may or may not be another recipe coming soon that involves this brioche bread + blueberries + French toast + casserole. Just saying. It’s worth getting some practice in baking this bread now, so you can be ready for the next recipe.
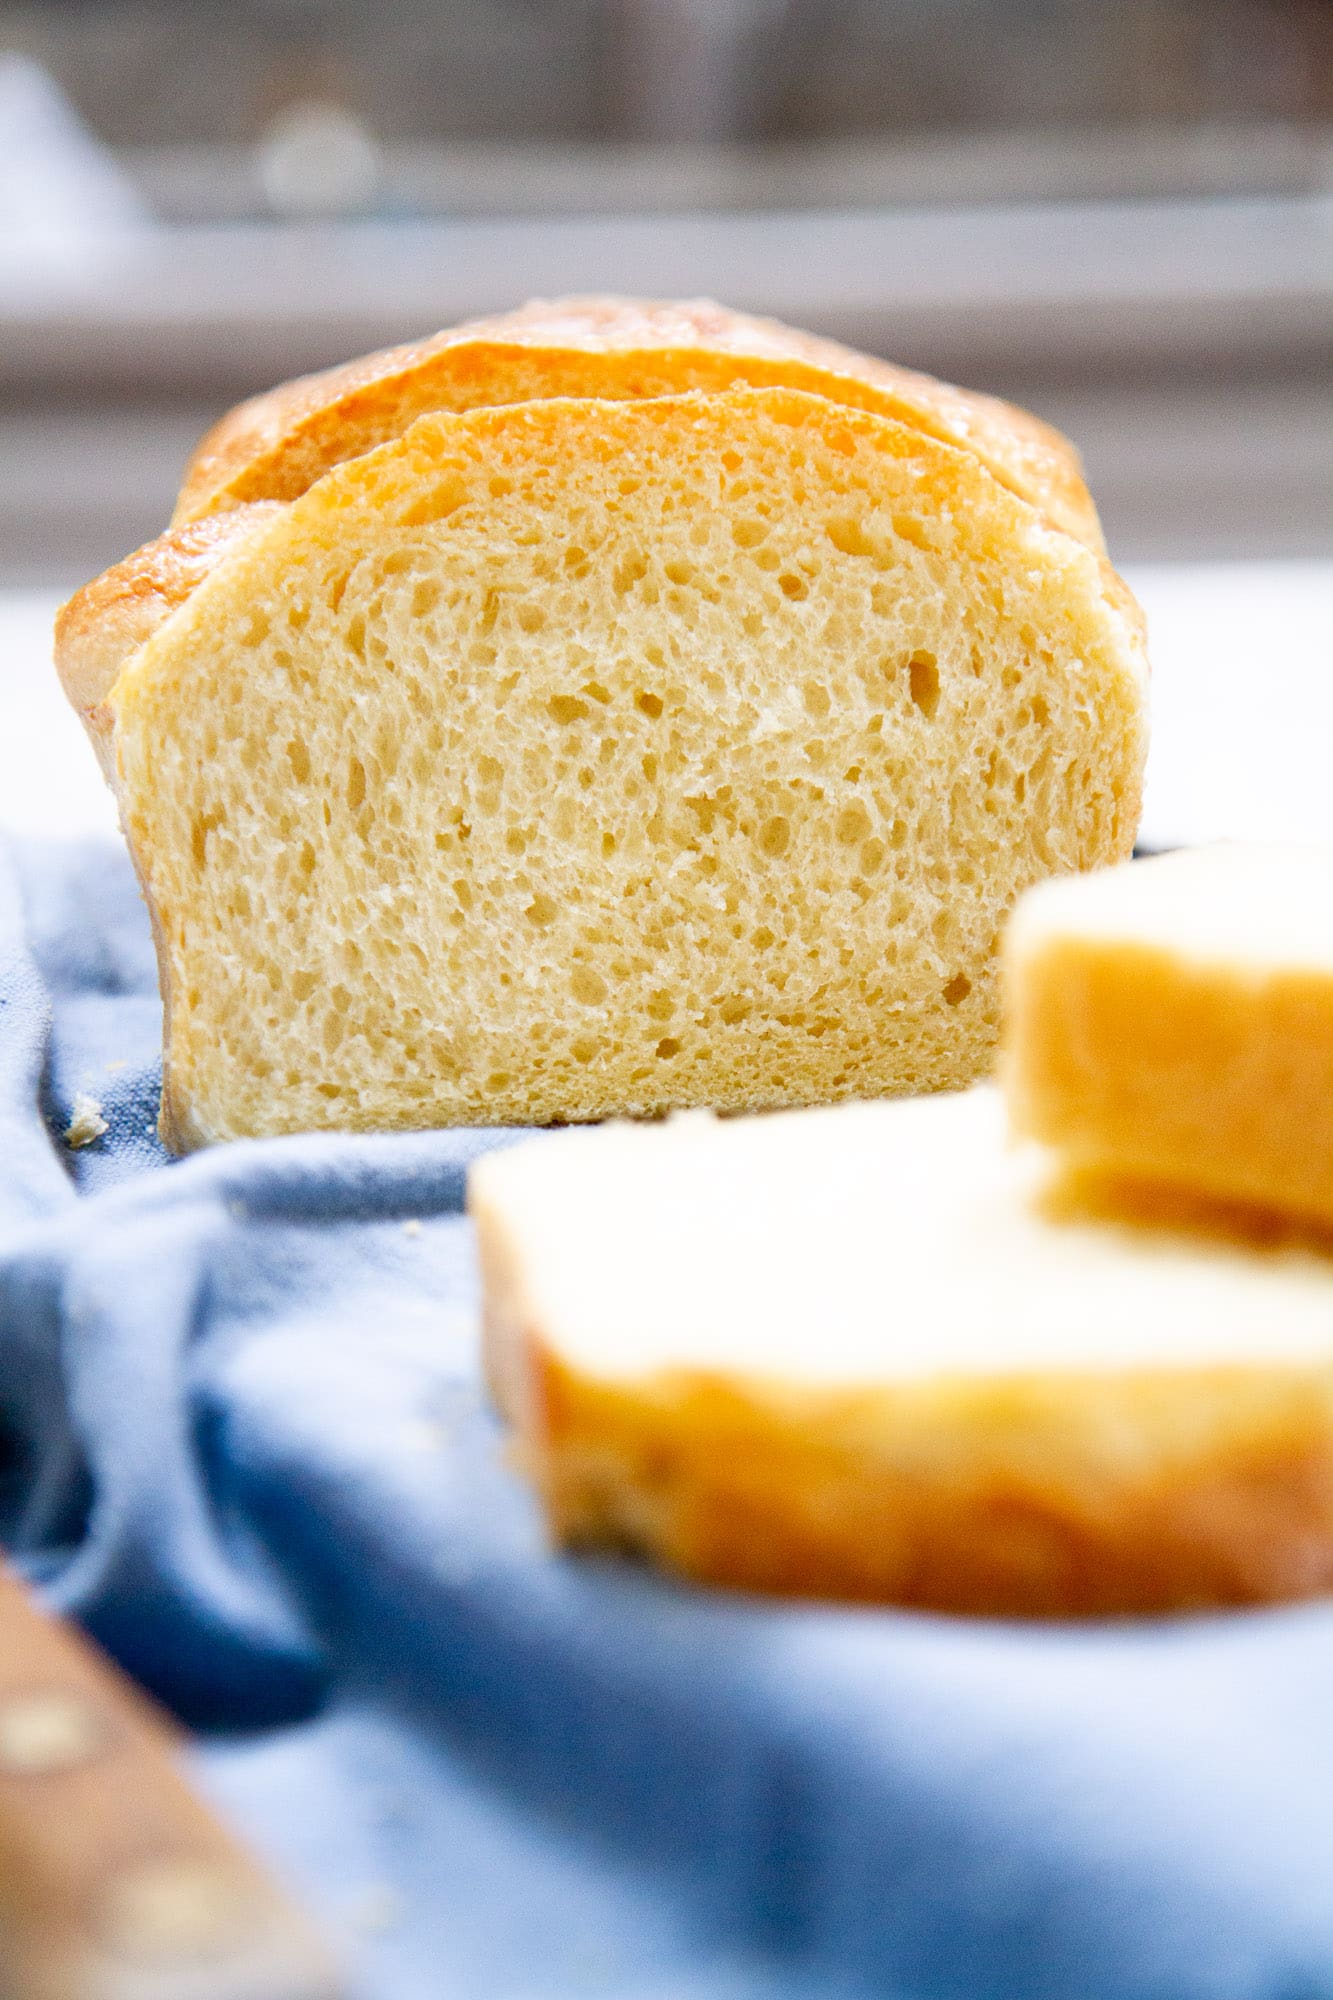
Wide open spaces + fresh bread = all I really need in life.
Print
Classic Brioche Loaf Bread
- Prep Time: 10 hours 30 mins
- Cook Time: 35 mins
- Total Time: 11 hours 5 mins
- Yield: 1 9x5-inch loaf 1x
- Category: Bread
- Method: Bake
- Cuisine: French
Ingredients
For the dough:
- 2 1/4 teaspoons (1 packet) active dry yeast
- 2 tablespoons granulated sugar
- 1/4 cup warm 2% milk (about 110–115 degrees F)
- 3 eggs, room temperature
- 1/2 teaspoon salt
- 2 cups plus 2 tablespoons all-purpose flour
- 1/2 cup unsalted butter, softened, cubed
For the egg wash:
- 1 egg
- Generous pinch of salt
- 1 teaspoon water
Instructions
- In the bowl of a stand mixer, combine yeast, sugar and milk until yeast is dissolved. Let stand 7-10 minutes until mixture is foamy.
- Whisk in eggs. Attach paddle attachment to stand mixer. Add salt and 2 cups flour to stand mixer bowl; stir on low speed about 2 minutes until sticky dough forms. Increase speed to medium and add butter, one cube at a time. Add remaining 2 tablespoons flour. Mix on medium speed 2 minutes more until dough is smooth and elastic.
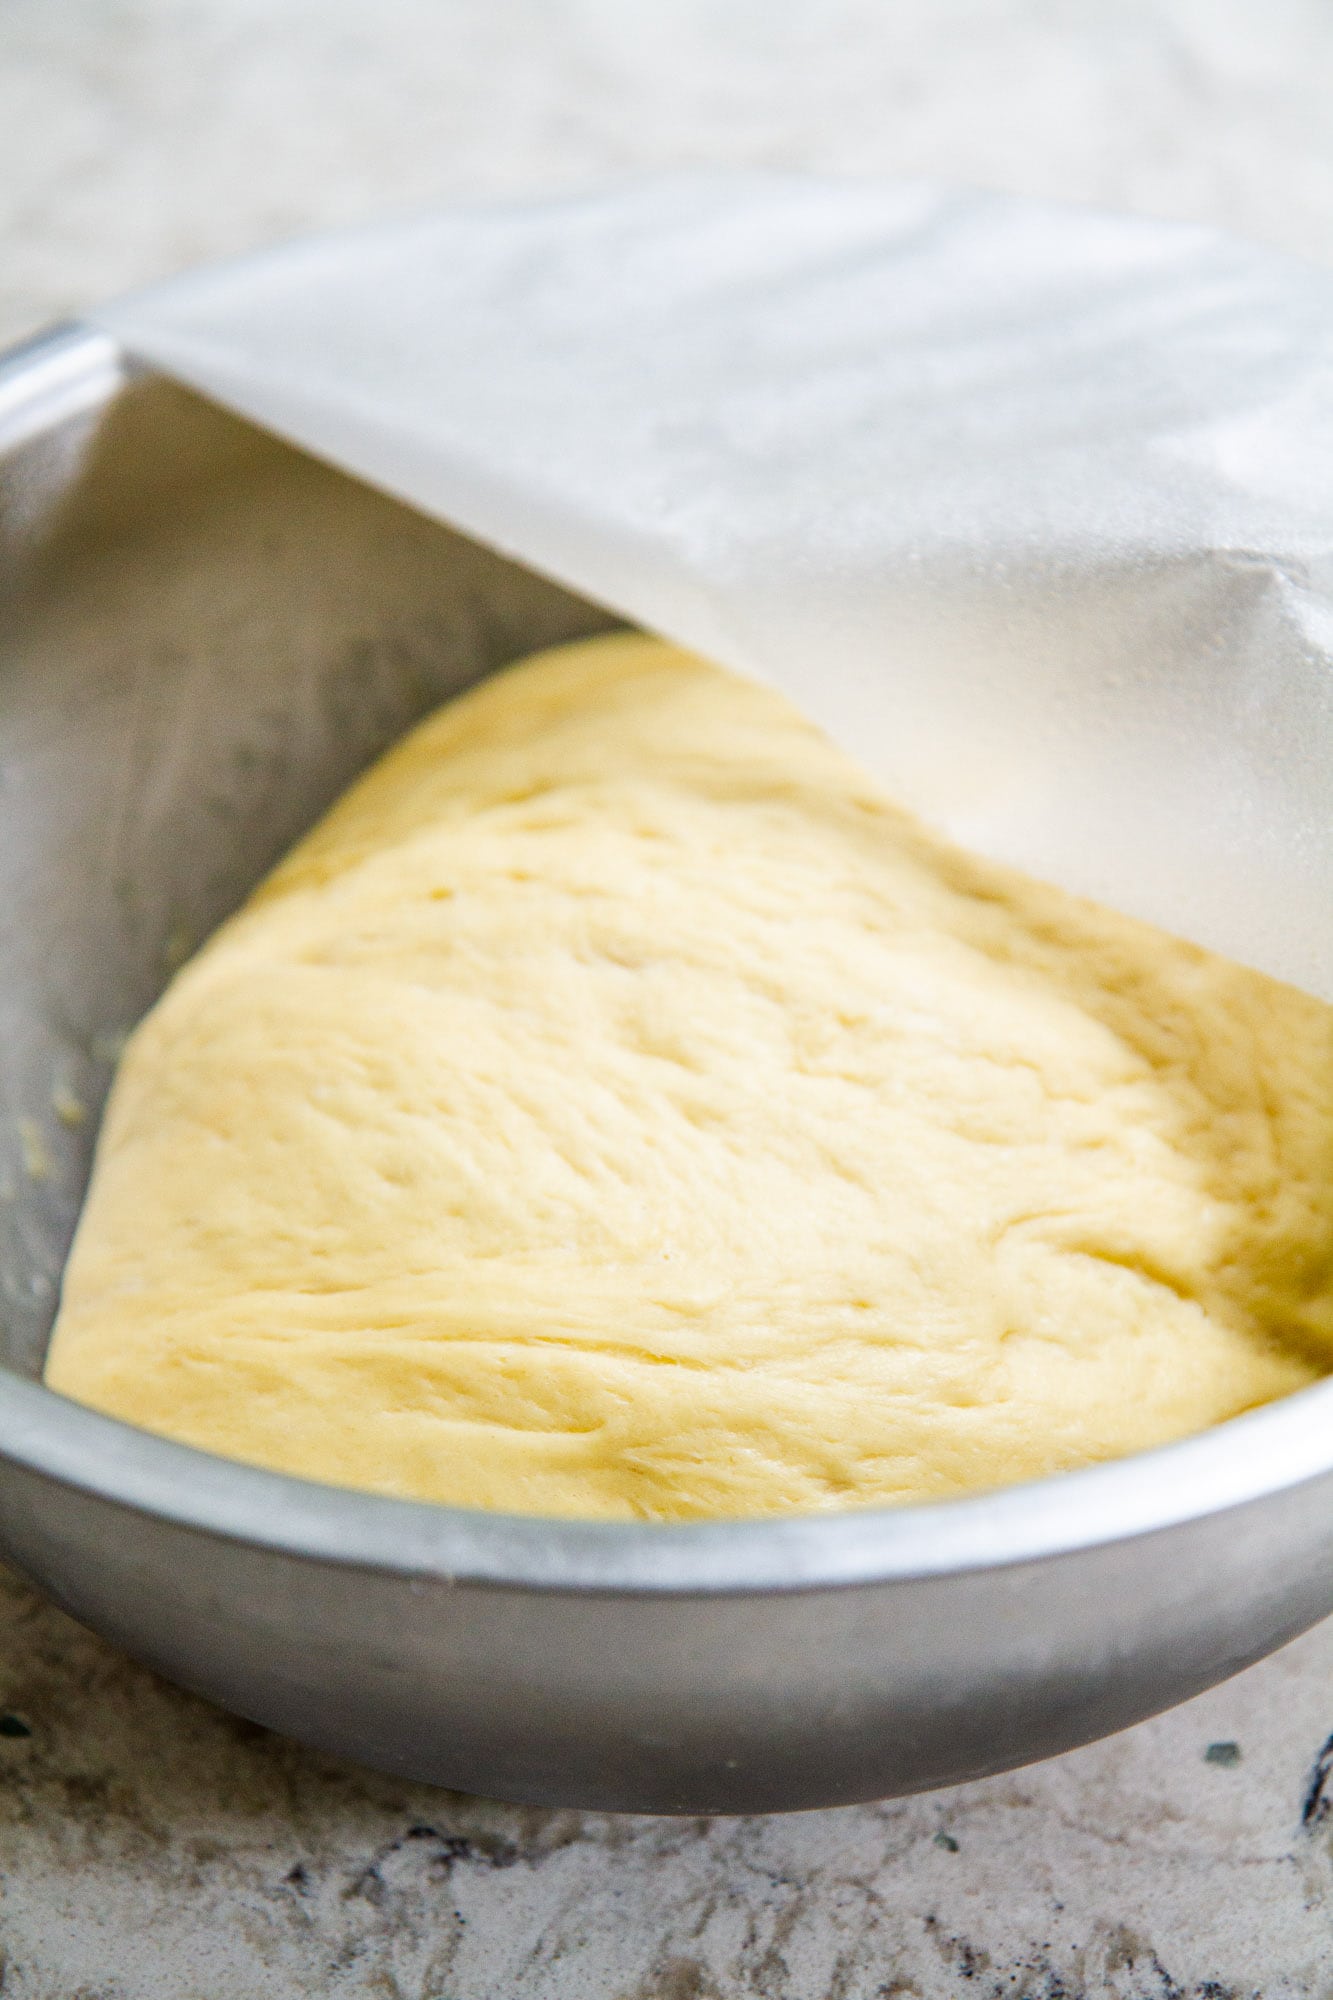
- Stop mixing. Cover stand mixer bowl with plastic wrap or tea towel. Let dough sit 15 minutes. Mix on medium speed 5 minutes more. Dough will be stickier than usual, but don’t worry. Use spatula to transfer dough to lightly greased large bowl. Cover with plastic wrap and let rise in warm, draft-free place for 1 hour.
- Punch down risen dough. Fold into thirds (like a business letter), then return to greased bowl. Cover with plastic wrap and refrigerate overnight or up to 12 hours.
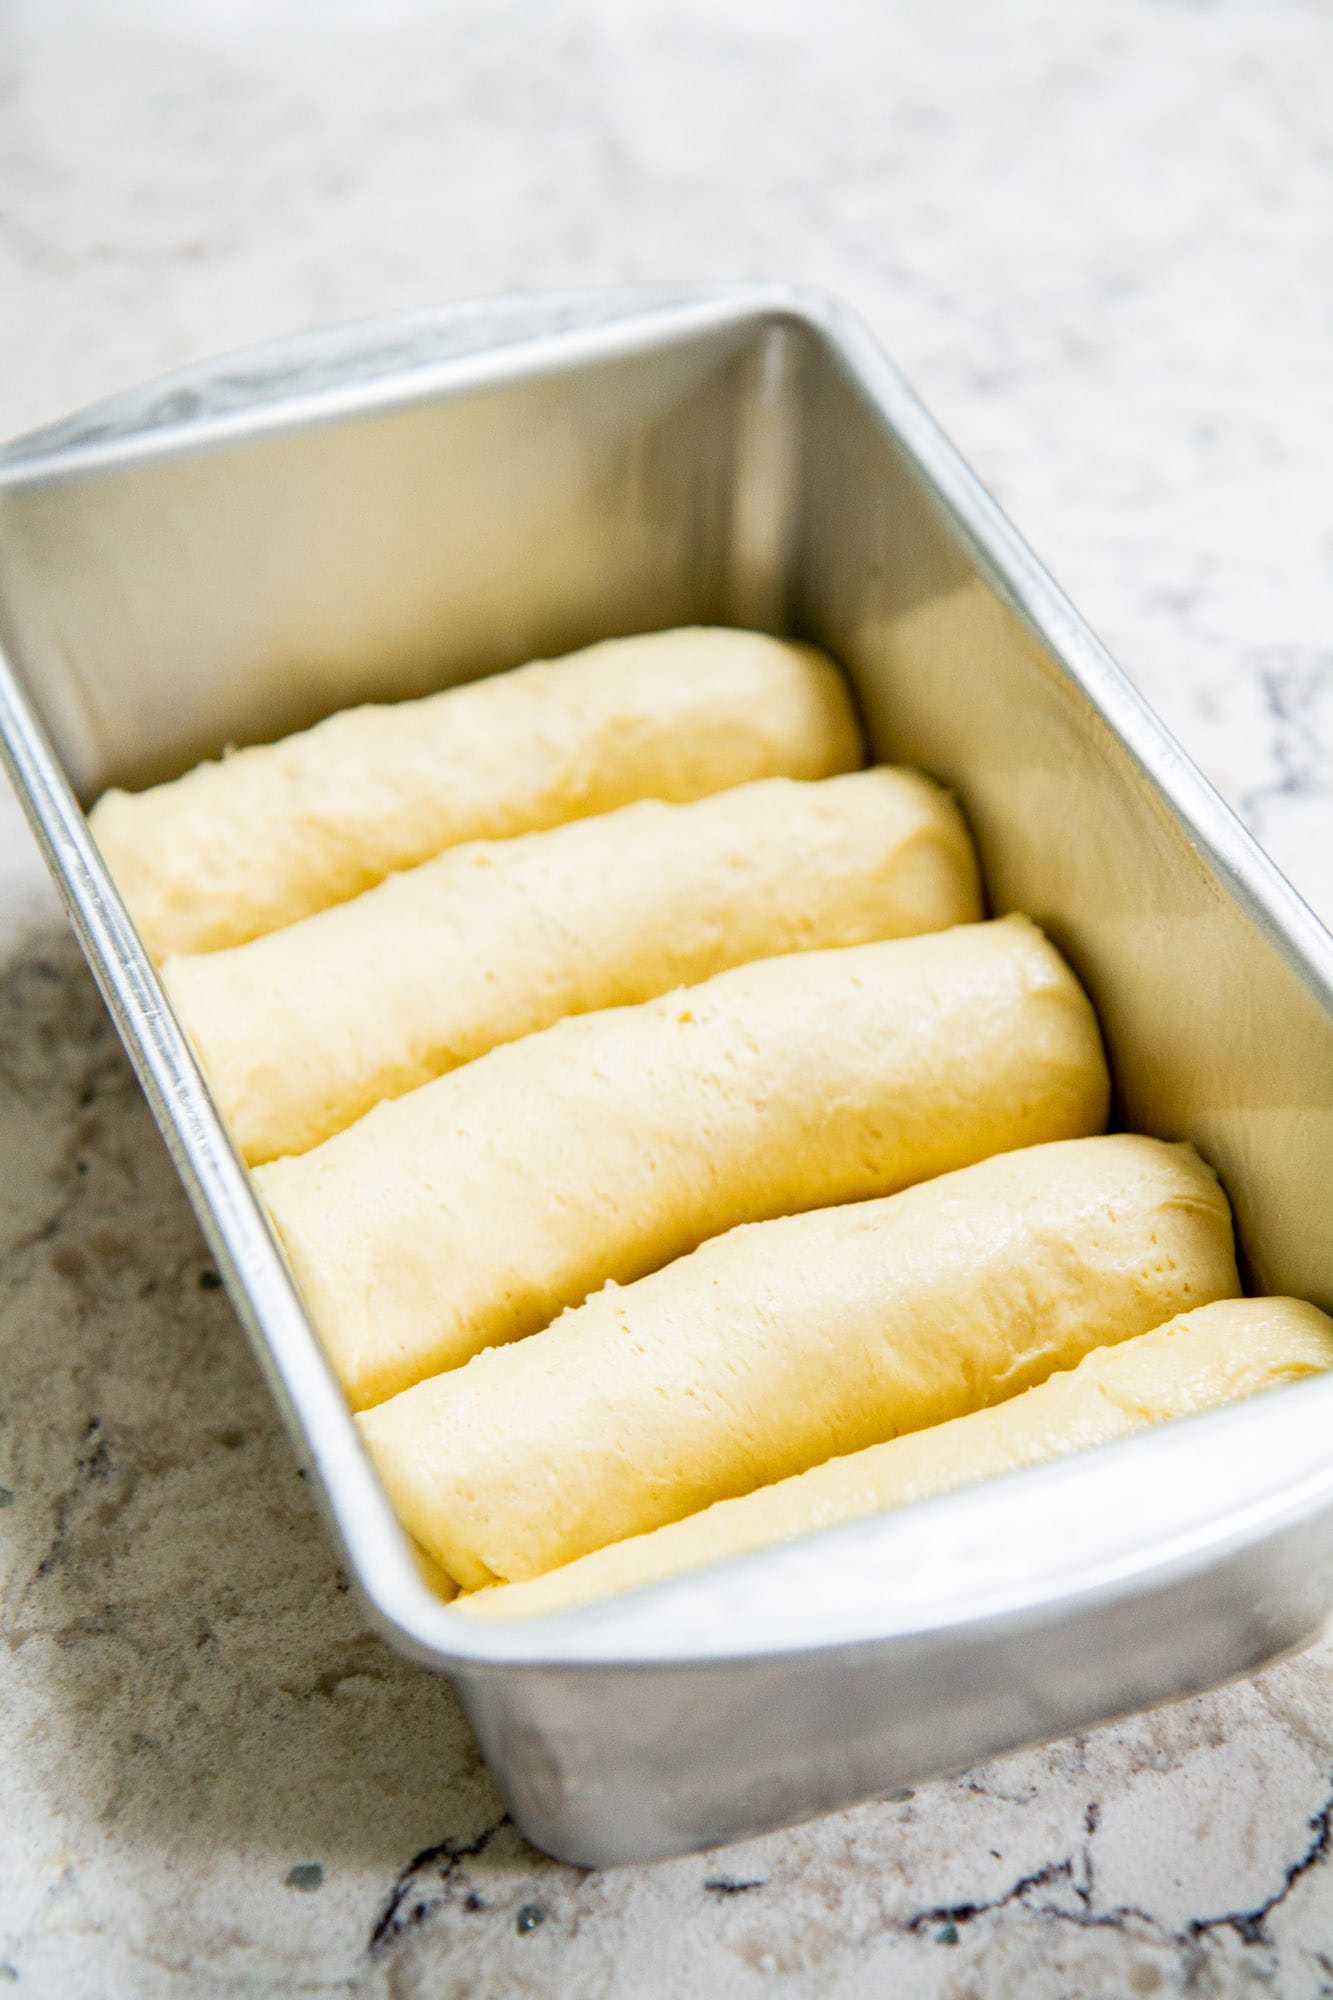
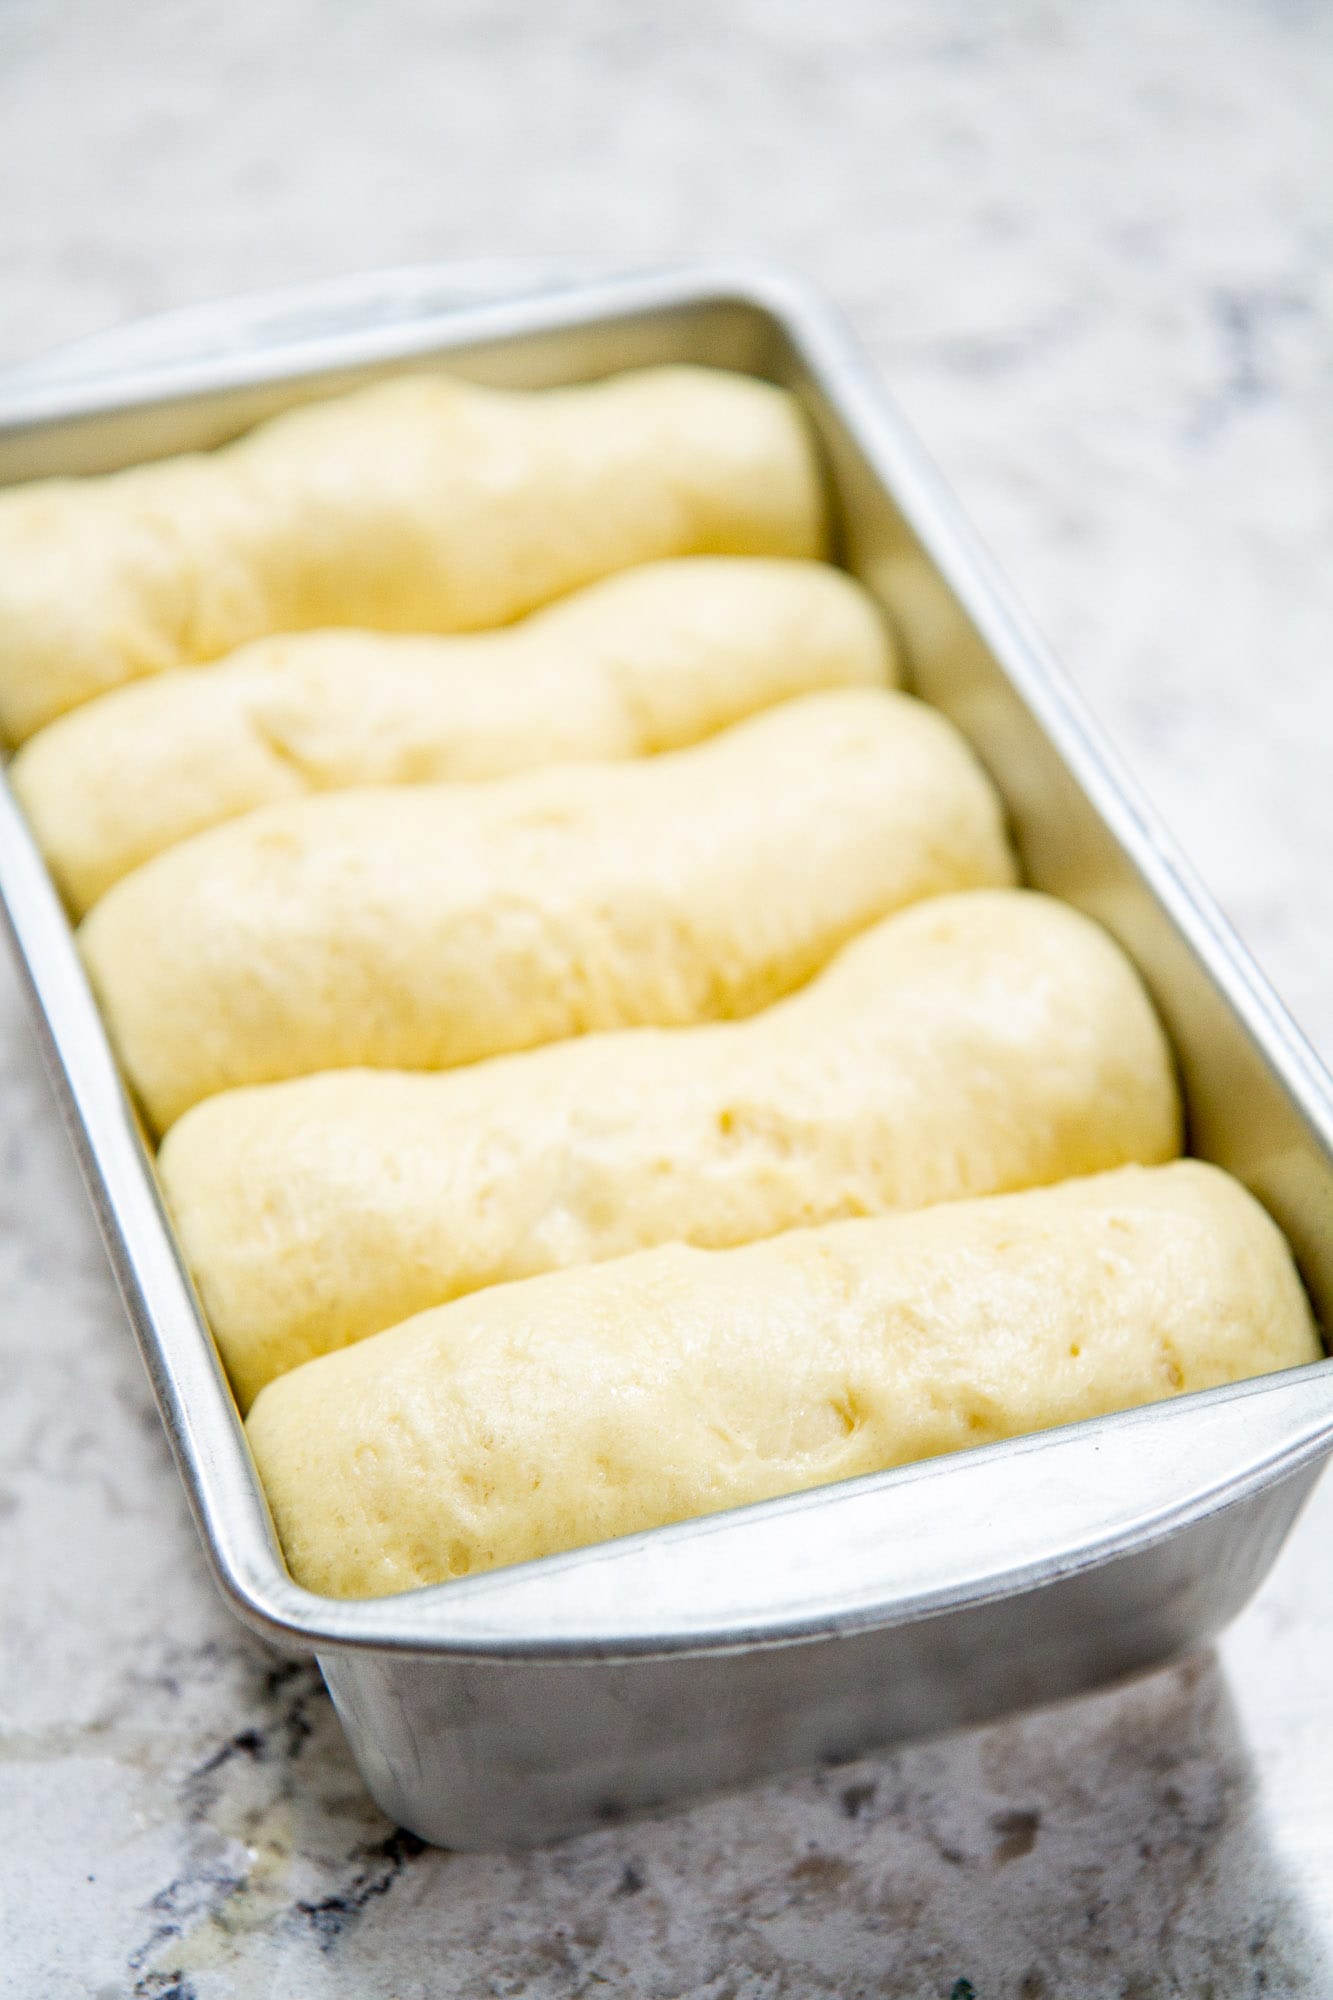
- Grease bottom and sides of 9×5-inch loaf pan. Punch down chilled dough and divide into 5 equal portions. Gently press each piece of dough into 5-inch square. Roll up each square into log, and place seam-side down in loaf pan. Cover with plastic wrap or tea towel and let dough rise 1 1/2 to 2 hours until dough just reaches top of pan. Meanwhile, heat oven to 350 degrees F.
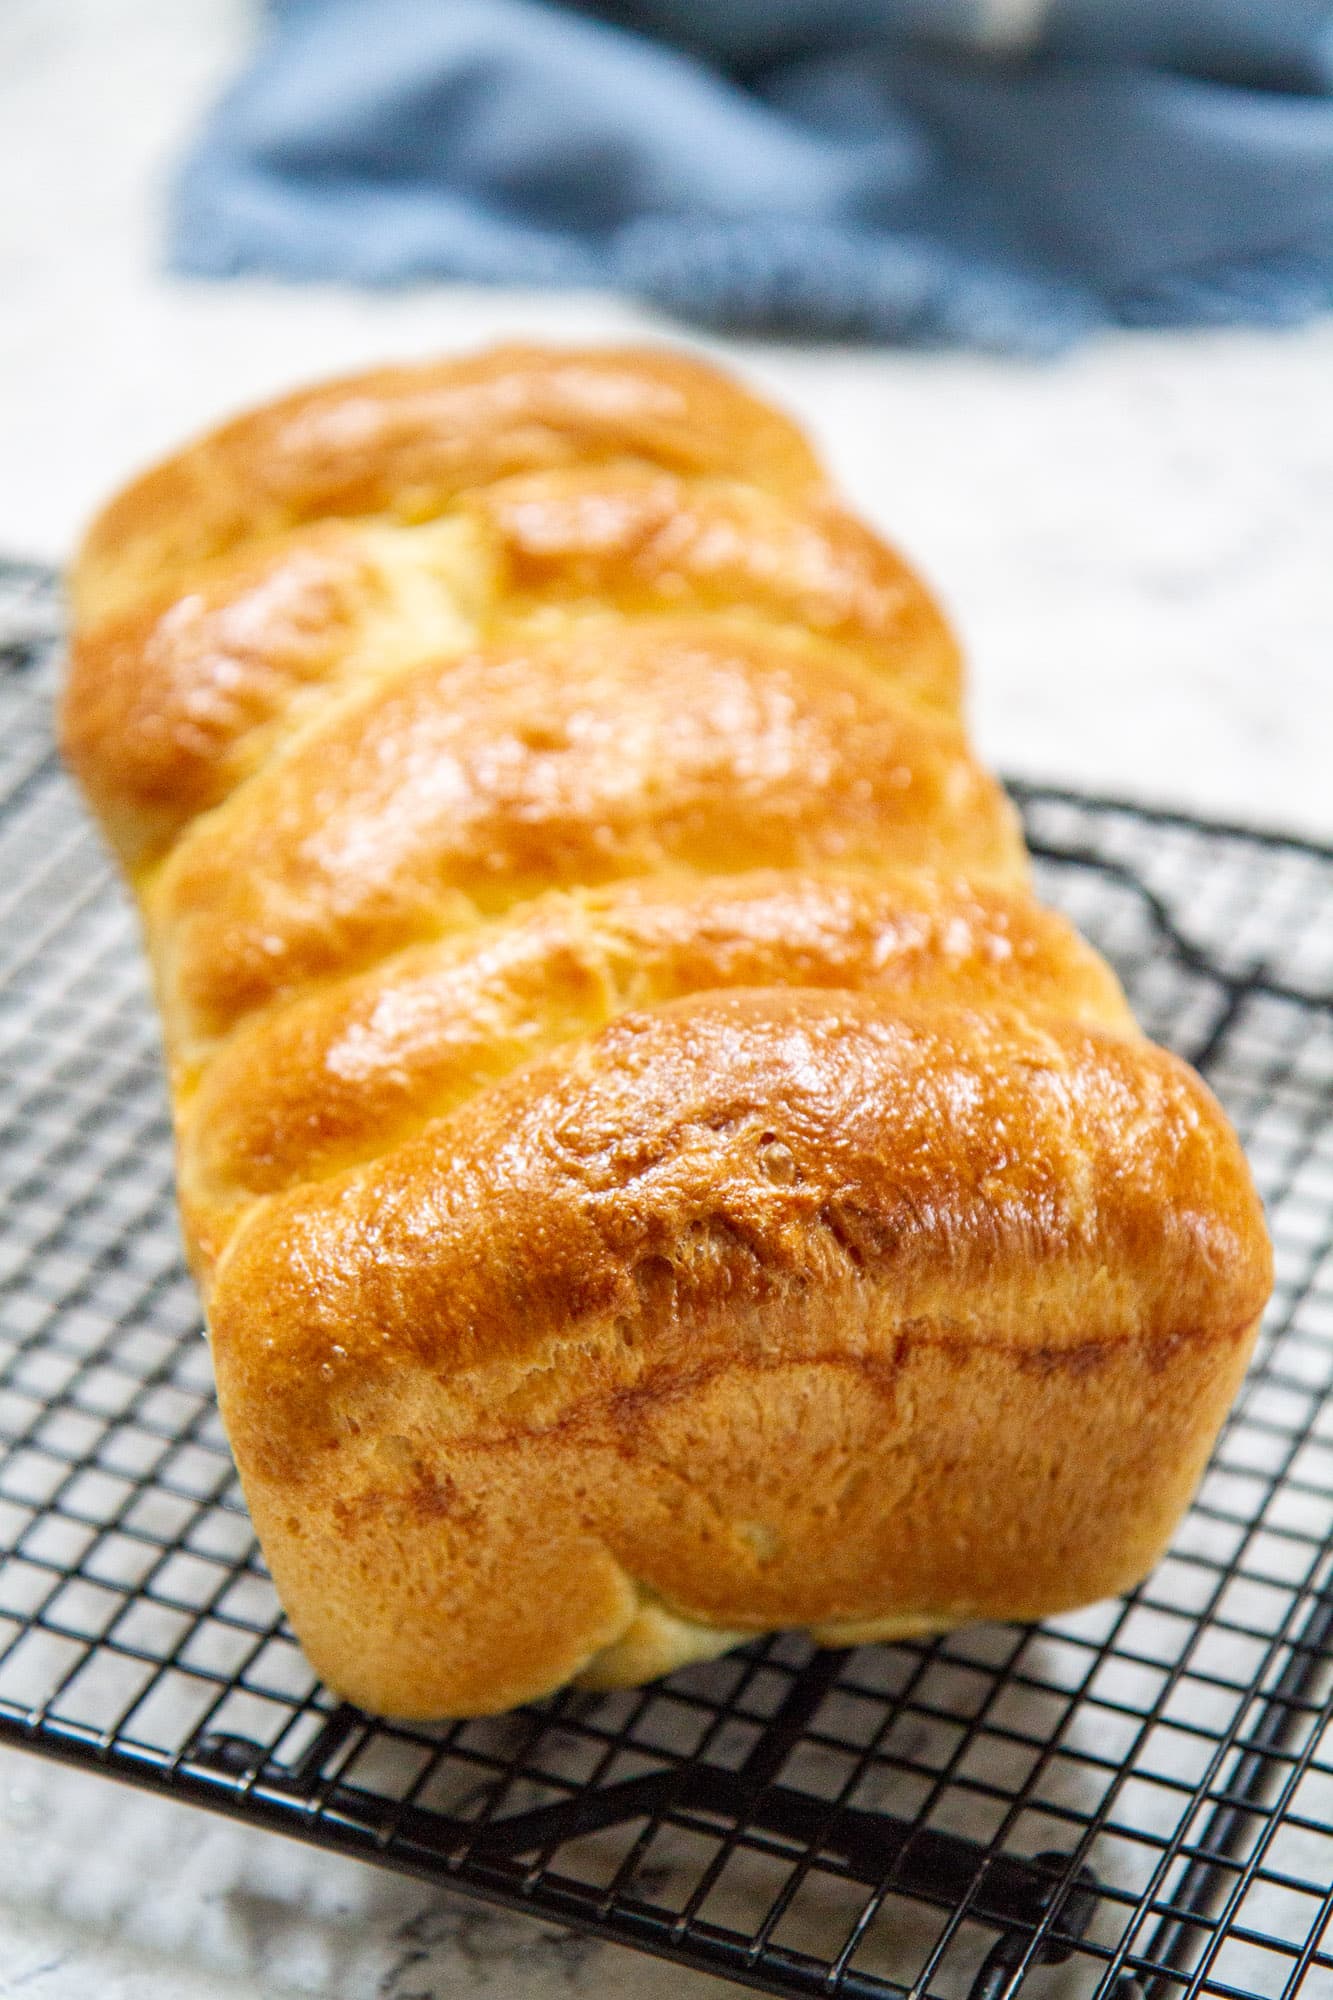
- Prepare egg wash: In small bowl, whisk egg wash ingredients until smooth. Gently brush risen dough with egg wash. Bake bread 35-40 minutes, rotating halfway through baking, until crust is deep golden brown. Cool bread in pan on cooling rack 10 minutes, then remove from pan and cool completely on cooling rack.

LOVE your praise of S.E. Iowa (Iowa is often ‘talked down’ to)
and of course great bread recipes.
I am an Iowa native with relatives from Cedar Rapids/Iowa City all the way down thru Bloomfield and the Missouri border.
This classic Brioche is on the list to be made this week…unless I run out of flour.
That would mean a trip to Kalona (horse & buggy’s) to the Amish run StringTown Grocery for another trunk load of my FAV bulk flour & whatever else I can’t resist.
Thank you, Patricia! I don’t know why anyone would talk down about this place — it’s so peaceful and beautiful here! We used to live in Iowa City for a couple of years, too, and have very fond memories of our time there. In any case, I hope you enjoy this recipe! We were just in the Amana Colonies, too! Another favorite place. 🙂
It sure looks like tasty bread. Sounds lie you all are having fun traveling around in your RV.
Thanks, Charlotte! We are having a great time. 🙂
I’ve got the fixings for a Monte Cristo Sandwich now, once I’ve made this loaf. Yay! We are going to have a happy Dinner.
Gregory, that sounds so wonderful! Yum!
Hi. I’m a big fan of your site, and regularly use many of your bread and dessert recipes. This Classic Brioche Loaf is a terrific addition. I made it today, and it turned out spectacularly.
However, I had to deviate from the instructions because I encountered a “runaway rise.” I followed the directions exactly up to the refrigeration part. I put it in the frige as instructed, thinking it would slow the rise, but it continued to rise to more than double in a couple of hours. So, I took it out, formed the logs and put it back in the frige. In two hours, it had risen again and an inch over the top of the bread pan. Basically, instead of 12 hours of frige time, it got about four. Nevertheless, it baked up perfectly, looks exactly like your pictures, and tastes wonderful.
It’s a keeper! Thanks.
.
Hi David, did you use active dry yeast or instant yeast? Using instant yeast, or maybe having a warmer refrigerator temperature, could have affected the rise. If not, maybe your bread was just really eager to be done! 🙂 Either way, I’m glad it turned out for you!
Yes, I used active dry yeast. And, it was certainly eager to be done. Next time (soon), I will try using room temp (instead of warm) milk. That should slow the rise from the start. But, it was so good the first time, I may not adjust it at all. I’m a retired person who makes a lot of white, wheat and rye breads, burger buns, dinner rolls, and sweet breads. I haven’t bought bread in a very, very long time. This brioche loaf is my new favorite!
Thank you for a beautiful loaf bread recipe. Made this tonight for my family and the kitchen smells divine. It tastes even better.
Yesss, fresh and homemade is the best! That’s so cool that you guys are just parked on that amazing farm, so cool! And this bread is perfection
Pingback: classic brioche loaf bread - Casaclimare
Thanks for mentioning that the dough would be stickier than usual because IT WAS. And to not worry because I didn’t. Although the bread was quite popular at dinner, the next day it was kind of dry. Great time to make French Toast.
I would really like to try this recipe. however I am a no kitchen tool cook. so I am asking you what is the yield of this recipe, and how would I go about making it by hand. (no mixer, no bread machine etc.) also what do you think of making it as a braid in a 9 x 5 loaf pan with a cinnamon swirl in each braid? (that is the easy part to do) how much dough should I allow for one braided loaf that rises to a huge braided crown when baked?
Hi Skywoulf, you can easily make this bread without a mixer! Just follow the directions as written but stir with a wooden spoon instead of a stand mixer. You may find it takes longer for the dough to come together, but it will come together. 🙂 I’ve never baked it with a cinnamon swirl but I can’t see why it wouldn’t work with this same amount of dough listed (so no need to multiply or subtract the amounts). Happy baking!
Highly recommend your blog to everyone. Especially this beautiful loaf bread recipe really made our day. Made this for my kid’s tonight, they loved it. The taste is lovely and delicious.
Hi Stephanie…Can I make this bread as one whole loaf and not a 5 piece one? I never made bread from scratch before. Larry
Larry, I have not baked this bread in one loaf, so I can’t speak to its performance. The 5-piece approach does make it more uniform once baked, but I think it could work shaped into one sandwich loaf.