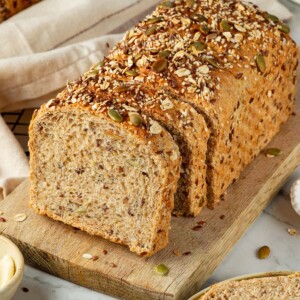
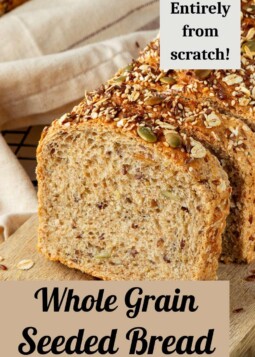
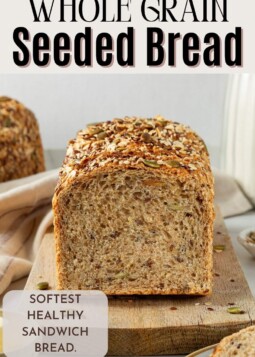
A soft, easy whole grain seeded bread recipe using whole wheat flour and a mix of seeds, oats and whole grains! You will love this soft, healthy sandwich bread!

True Story: I made Steph’s multigrain bread recipe one time and fell in love!
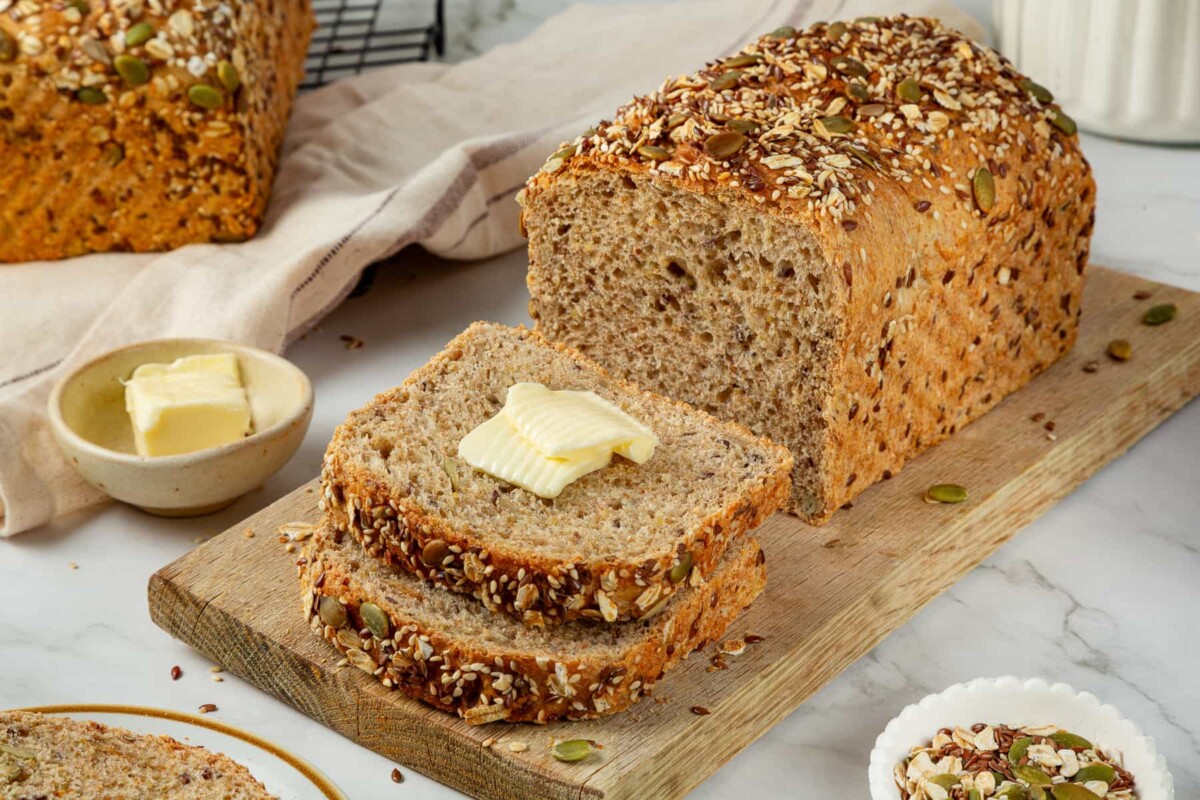
It has a soft, tender texture and was as delicious plain as it was on sandwiches, toast or covered with butter. This whole grain seeded bread is my love poem to that soft multigrain bread but with tons of whole grains, seeds and oats mixed in!
To be totally honest, making that multigrain bread set me off on a bit of a sandwich bread recipe creation obsession!
It prompted me to develop a white sandwich bread recipe, a whole wheat oatmeal bread recipe, a French bread recipe (for dinner and sandwiches), and then a sourdough sandwich bread recipe. I am trying to temper my obsession as my freezers (yes, plural) fill up!
Why You Will Love this
- Hearty & filling. The addition of seeds and whole grains like quinoa makes this seeded bread more robust and filling than even whole wheat bread or multigrain sandwich bread.
- Warm, homemade whole grain bread in under 3 hours. Plus the recipe makes 2 loaves, so there are plenty of leftovers to be frozen for quick, on-the-go breakfasts or hearty sandwiches.
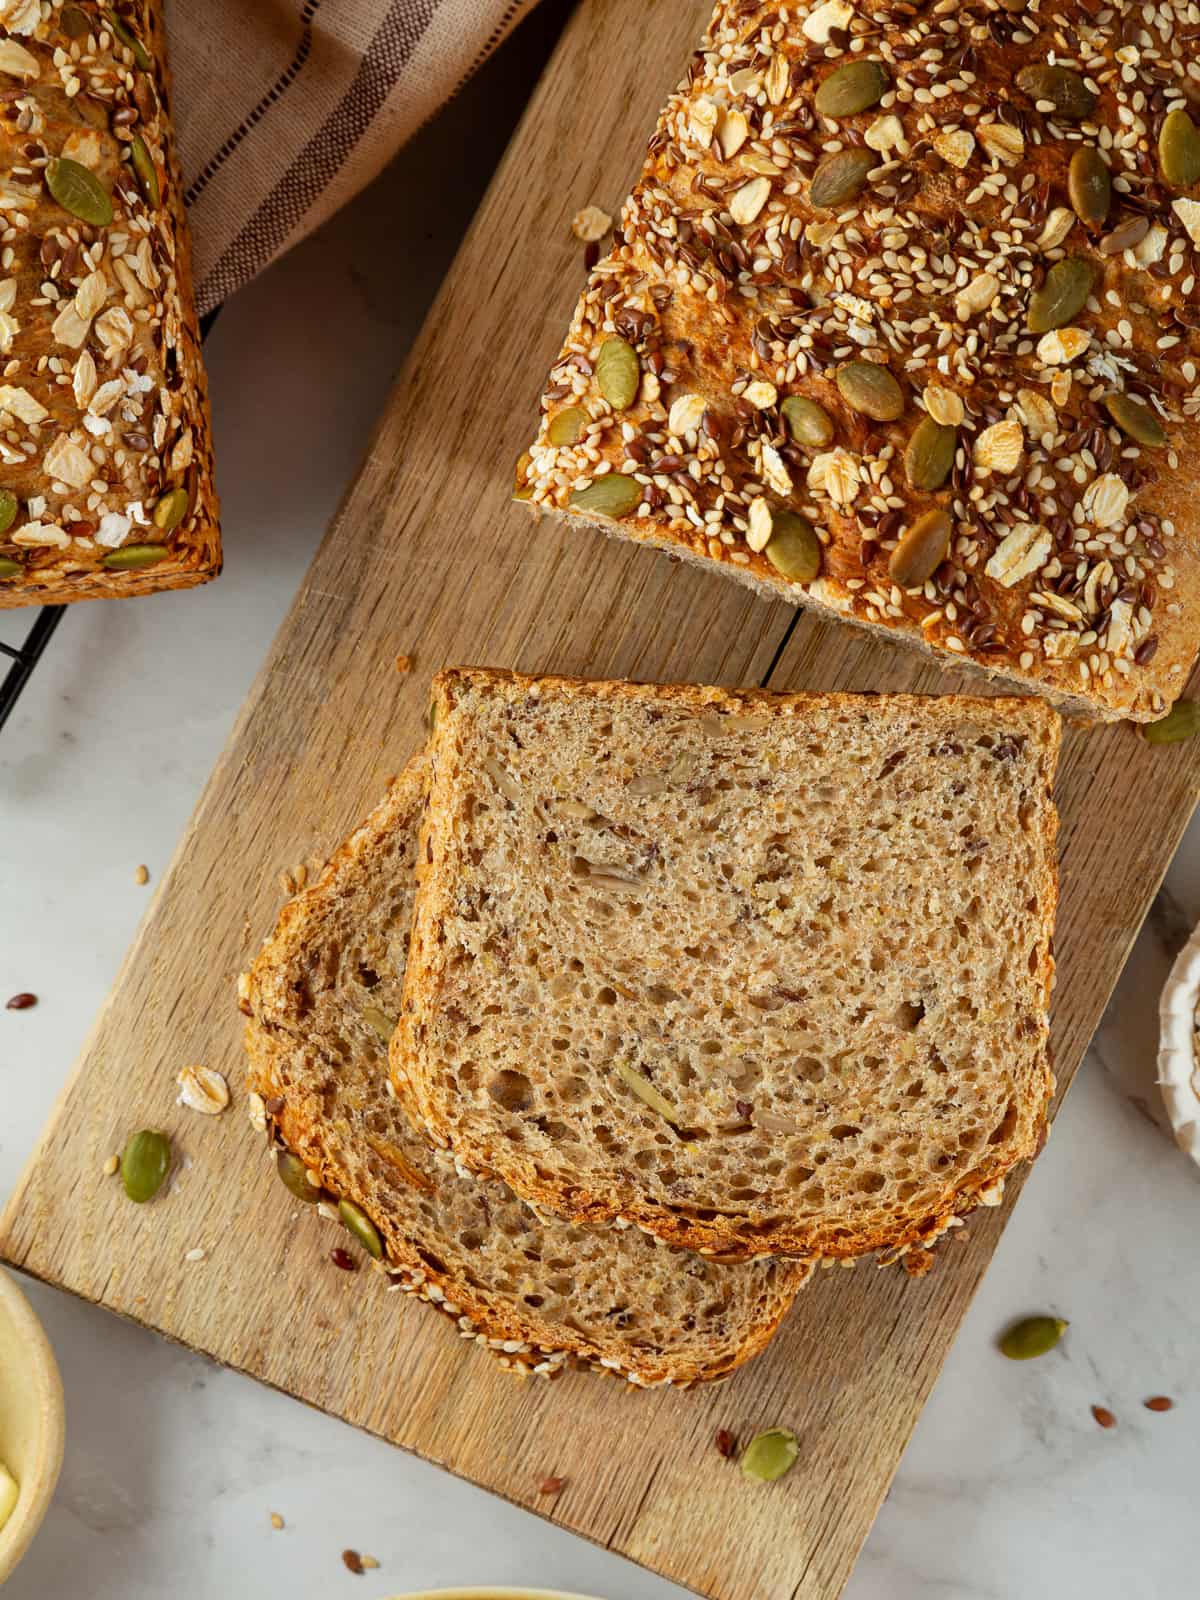
- Soft, tender and just a little sweet. Just a hint of honey and a bit of butter go a long way towards rounding out the flavor and turning this hearty bread into a soft and tender loaf! Once sliced, it folds over on itself in such an inviting way that you often only see in store-bought bread with preservatives and additives.
- Use any combination of seeds and whole grains. I used equal parts pumpkin seeds, flaxseeds, sunflower seeds, and quinoa, but you can change the proportions or use what you have on hand.
Table of Contents
Ingredients & Substitutions

- Seed Mix: I used equal parts pumpkin seeds, flaxseeds, sunflower seeds, and quinoa. I don’t love the flavor of sesame seeds, so I didn’t add them to the seed mix for the bread, but you absolutely can add 2-4 tablespoons without adjusting anything else in the recipe.
- All-Purpose Flour & Whole Wheat Flour: This bread uses a mixture of all-purpose flour and whole wheat flour for flavor, health and texture. I would not recommend changing the ratio too drastically because you will need to adjust the water. If you want to dive into 100% whole wheat try adding the seed mix to my whole wheat bread recipe or whole wheat sourdough bread recipe instead.
- Honey: I love the classic combination of honey, oats and whole wheat, but you could also use molasses, maple syrup, granulated sugar, or brown sugar. You could also omit all sweeteners.
- Unsalted Butter: The butter adds flavor as well as fat, which is part of what keeps this sandwich bread so delightfully soft!
- Instant Yeast: I use instant yeast for a quick rise and to streamline the mixing process. The gluten in this dough is developed in the mixer, unlike in my no knead dutch oven bread or no knead sourdough bread, so you do not need a slow, consistent rise like that of active dry yeast.
- If you only have active dry yeast, whisk together the yeast and remaining warm water (not the portion set aside for the seed soaking), and allow to bloom 5-10 minutes, or until foamy, before mixing the dough.
- Old-Fashioned Rolled Oats: Use old-fashioned rolled oats rather than quick oats for the most added flavor and texture just like in giant oatmeal raisin cookies.
- Egg White: I have found through experimentation that well beaten egg white is the best way to get the seeds and oats to stick to the crust of the bread and stay there through slicing and eating!
- Seed Mix for Coating: I added rolled oats and sesame seeds to the seed mix for the coating, mainly for aesthetics.
See the recipe card for full information on ingredients and quantities.
Variations
- Add additional flavorings or mix-ins. Add cinnamon or pumpkin spice mix to the dry ingredients or gently knead raisins, dried cranberries, or other dried fruit and nuts to the bread dough after development.
- Make into multigrain rolls: I do have an oatmeal dinner rolls recipe but you can certainly divide this dough and shape it into 16 seeded rolls instead of 2 loaves, or make a combination. This recipe will make wonderfully, hearty rolls.
- Use whatever seeds and whole grains you like and have on hand! I developed this recipe to my preferences, and I encourage you to do the same. In addition to the 4 that I have in my seed mix, you can use black sesame seeds, white sesame seeds, hemp seeds, poppy seeds, whole buckwheat, or millet. You can also add chia seeds, but I would not add them to the soaker, rather with the flours during mixing.
Professional Tips for Making Seeded Sandwich Bread
- Soaking softens the grains and makes them more pleasant to eat and easier to slice.
- Brushing the loaf in beaten egg white made the seeds actually stick to the outside of the loaf. When testing the multigrain bread, I used the cooking spray as called for to adhere the oats to the outside but they just fell right off before and after baking. The egg white worked like a charm: they actually stuck when slicing and serving.
- A set of stretch and folds after 45 minutes of bulk proofing helps to mix in the seeds easier and more evenly. There is no need to redistribute the yeast’s food or build gluten; It is just easier to mix them in once the dough has relaxed and aerated a bit.
How to Make Whole Grain Seeded Bread
Use these instructions to make soft, tender, hearty seeded sandwich bread! Further details and measurements can be found in the recipe card below.
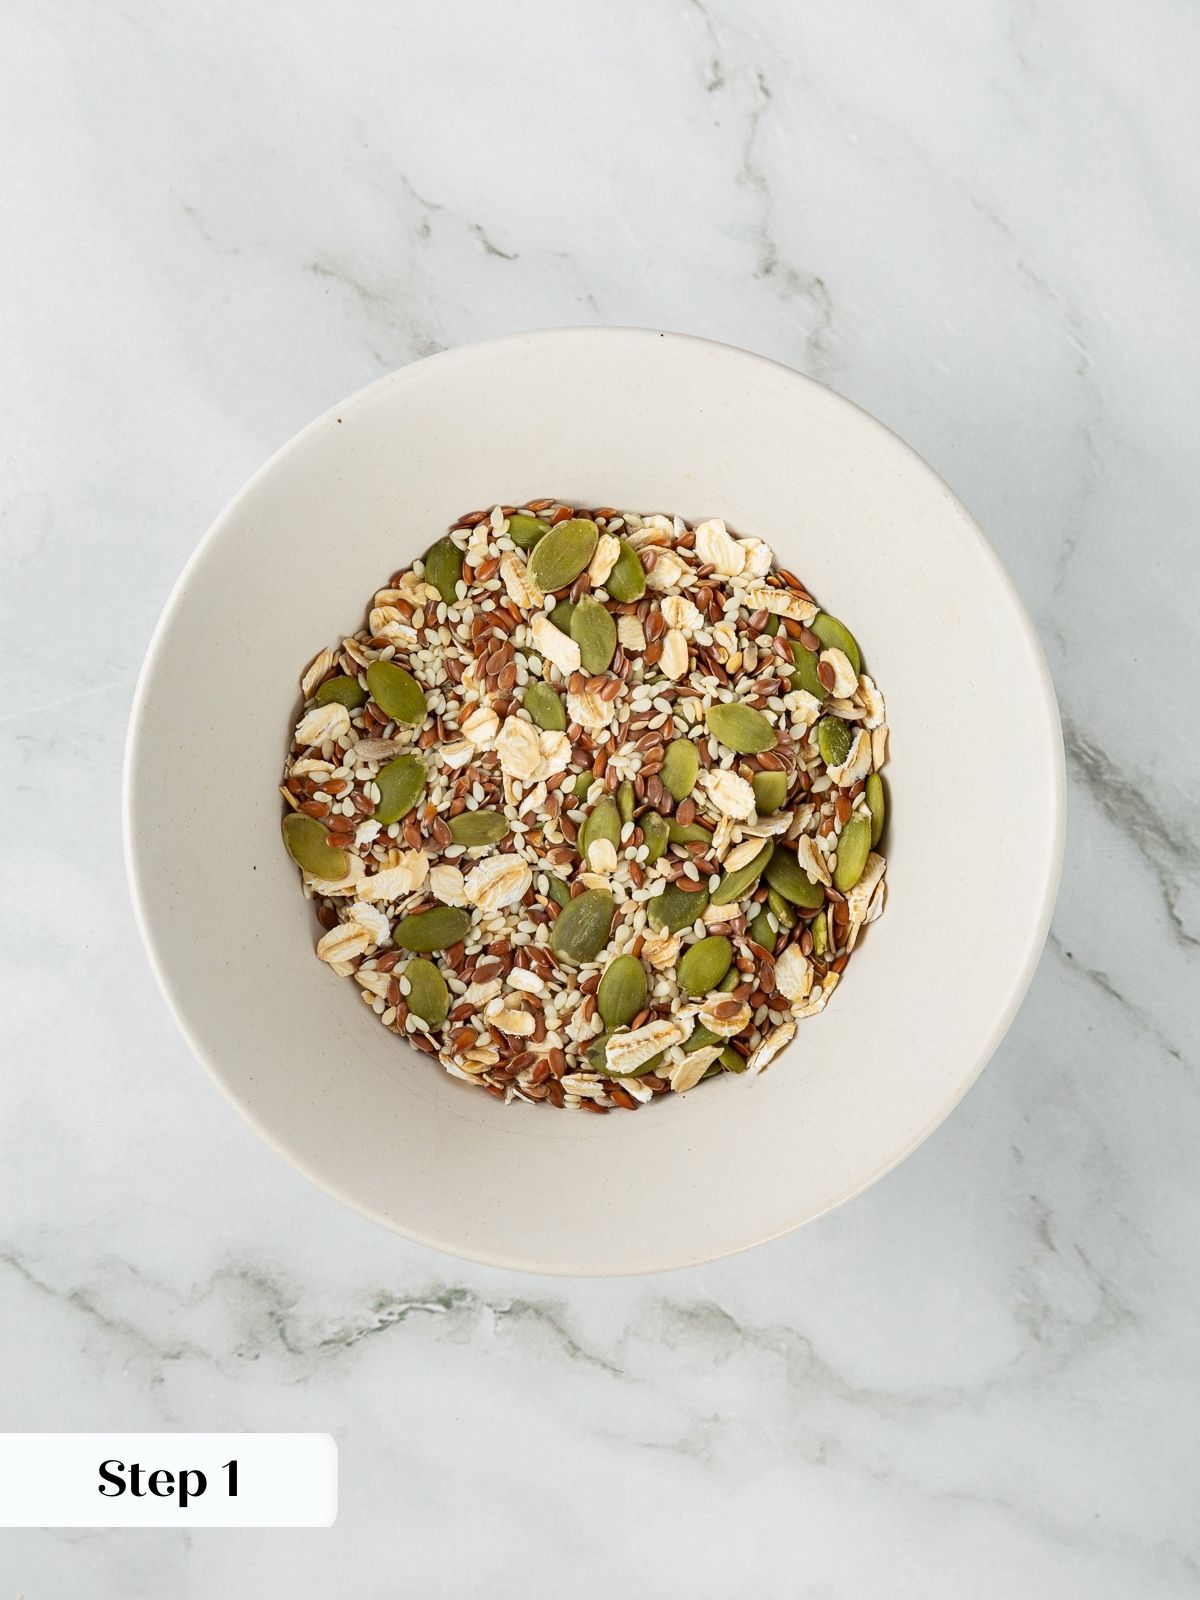

Step 1: In a small bowl or glass container, combine desired seeds for seed mix. Mix the topping seeds separately and do not soak those. Add ½ cup water to the seed mixture for the bread, stir, cover and allow to sit at room temperature at least 30 minutes to overnight. Mine soaked for about 2 hours. (photo 1)
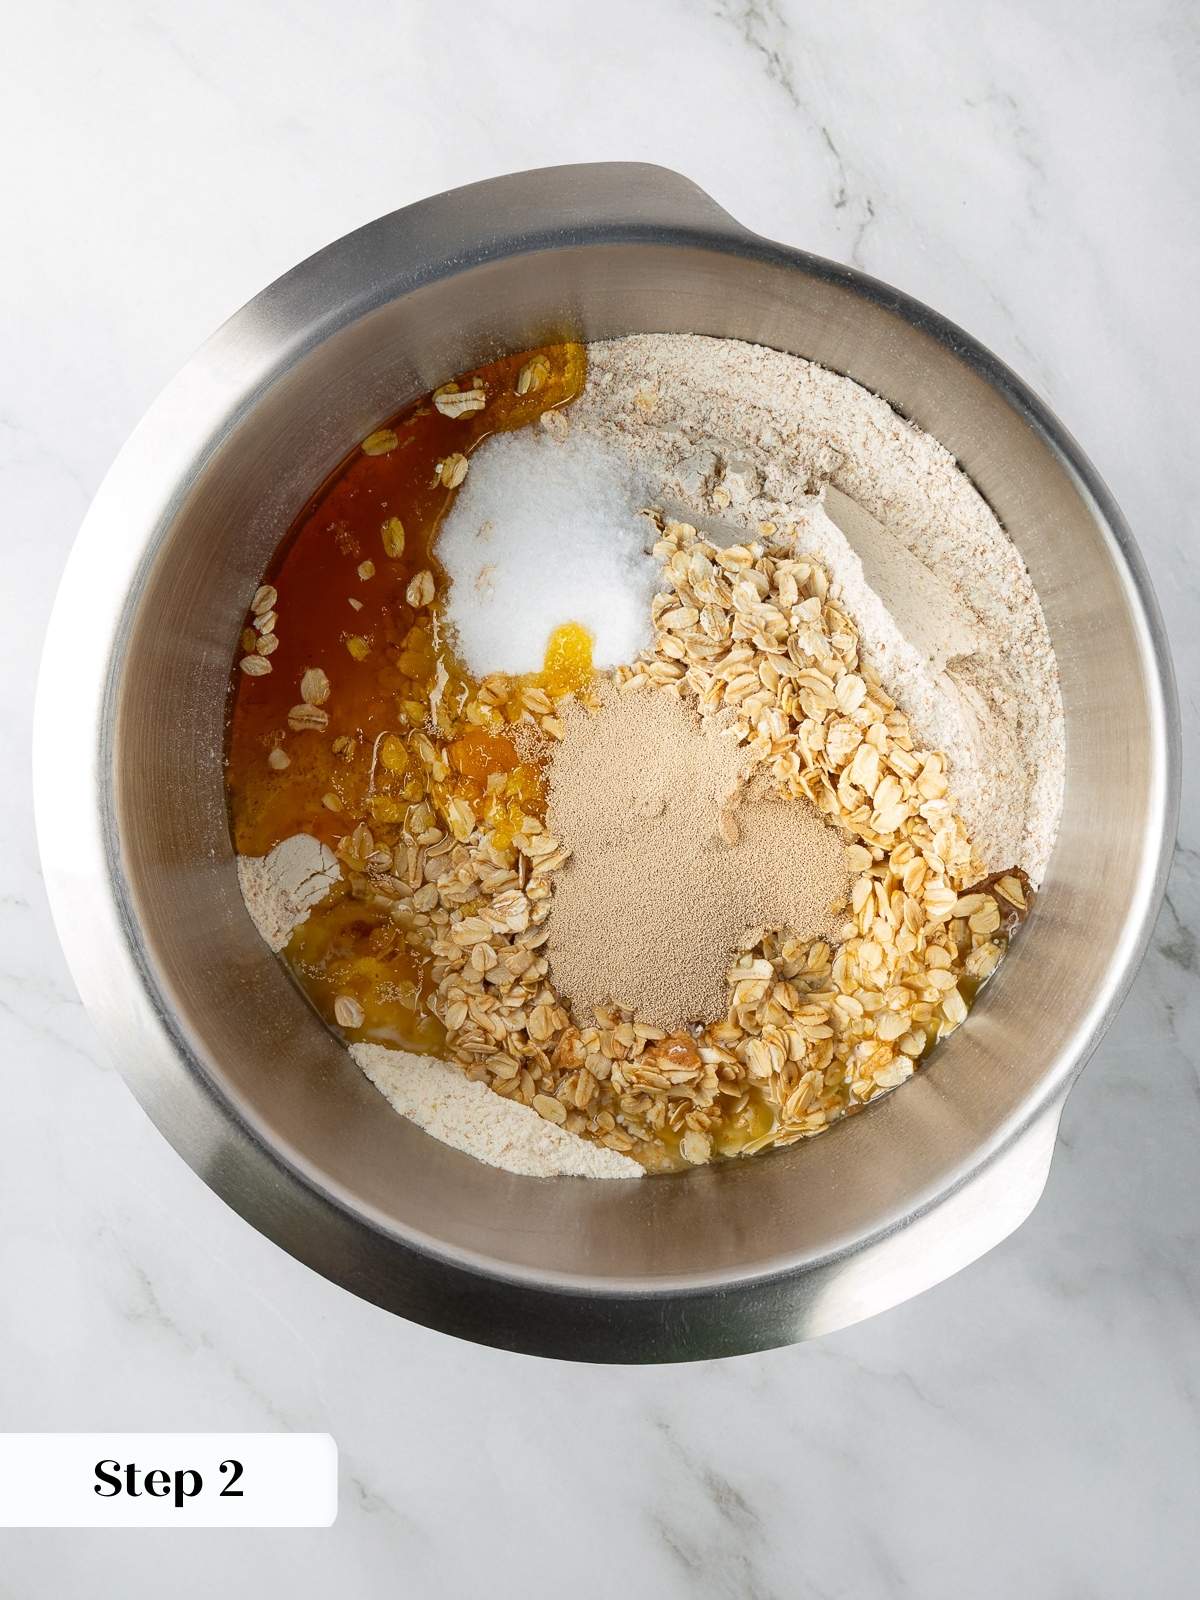
Step 2: Combine dough ingredients. In bowl of stand mixer fitted with the dough hook attachment, add flours, instant yeast, honey, melted butter, remaining 2 cups warm water (110-115F), oats and salt to combine.(photo 2)
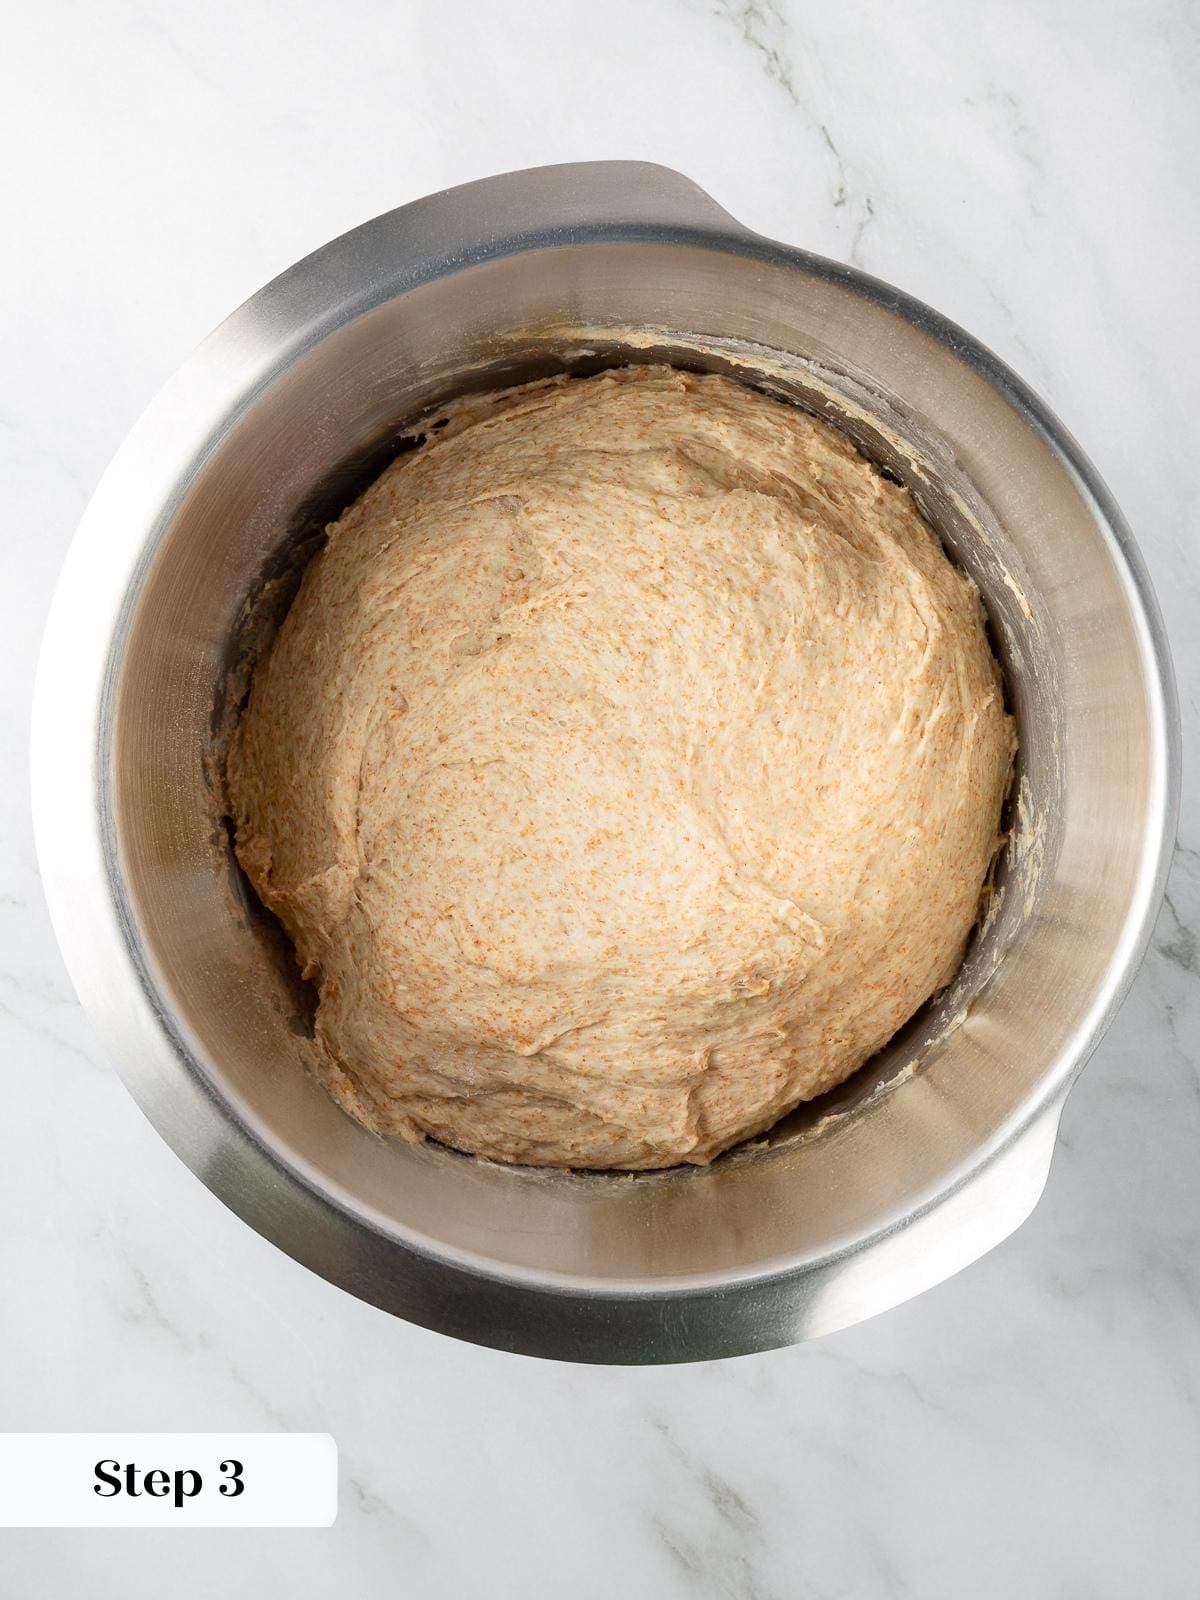
Step 3: Stir on low speed to combine. Mix on medium speed for 6-8 minutes until smooth dough forms. The oats and whole wheat flour do make it a bit more challenging to pull a windowpane, but you are looking for an elastic dough that will pull a window pane before tearing around the oats. (photo 3)
Step 4: Reduce speed to low and add all the contents of the soaker (seeds and water). Mix until the seeds have completely incorporated and dispersed throughout the dough. I usually stop the mixer every few minutes and cut up the dough with my bowl scraper. This exposes new surfaces and helps the seeds incorporate in spite of the additional water and the slime created by the flaxseeds.(photo 4)
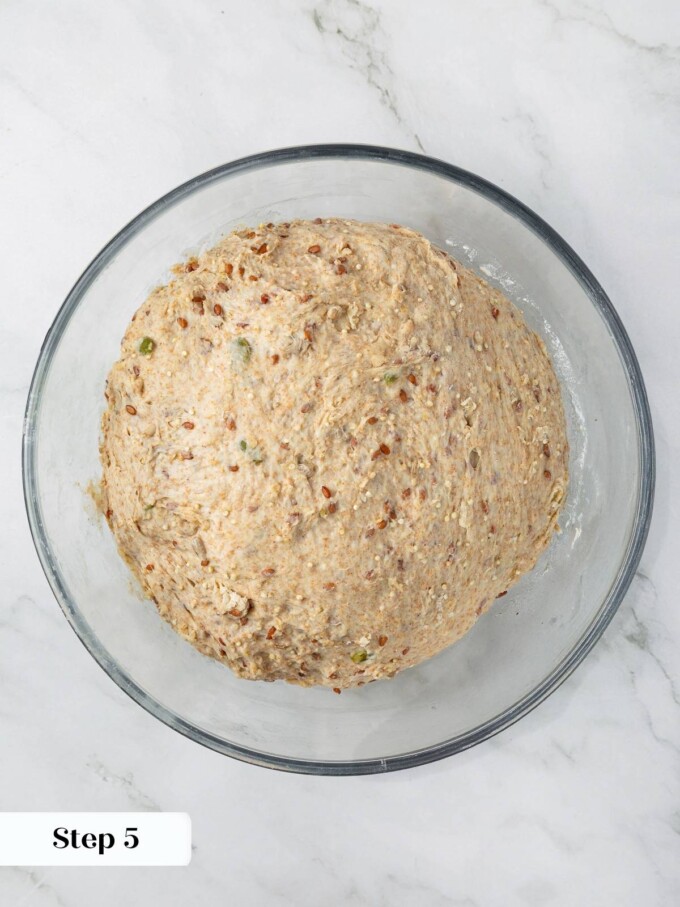

Step 5: Let dough rise. Cover bowl with plastic wrap and let dough rise 1 hour to 1 hour 15 minutes until doubled. (photo 5)
I added a set of stretch and folds after 45 minutes of the bulk proofing just to mix in the seeds a bit better. I didn’t unnecessarily degas the dough; there is no need for redistribution of food or strengthening gluten. It is just easier to mix the seeds in once the dough has relaxed and aerated a bit.
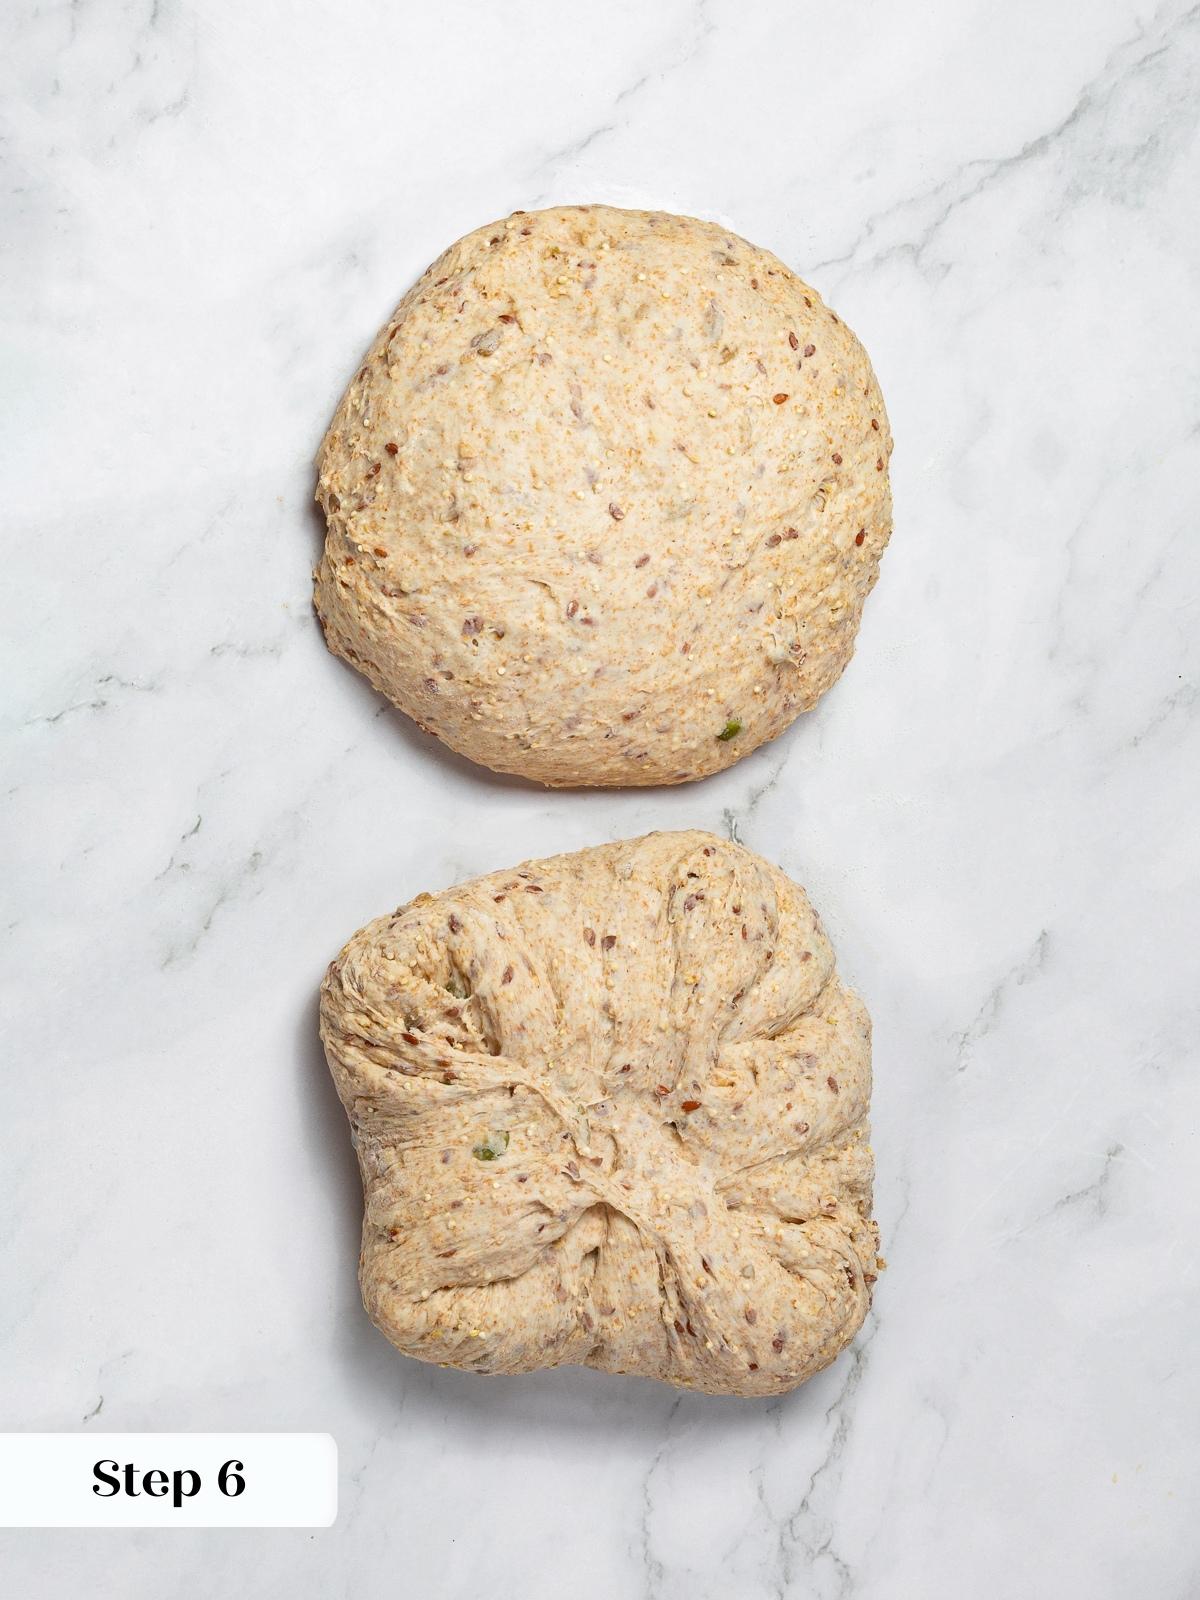
Step 6: Spray two 9-by-5-inch loaf pans with cooking spray. Divide the dough in half. Preshape each into a round boule by folding all 4 corners to the center (photo 6), flipping it over and tightening it into a ball. It is just a preshape so you don’t need to overthink it. A few pulls towards you using both hands to pull and rotate will do it. Set them aside and cover gently with plastic or overturned bowls. Allow to bench rest 10 minutes.
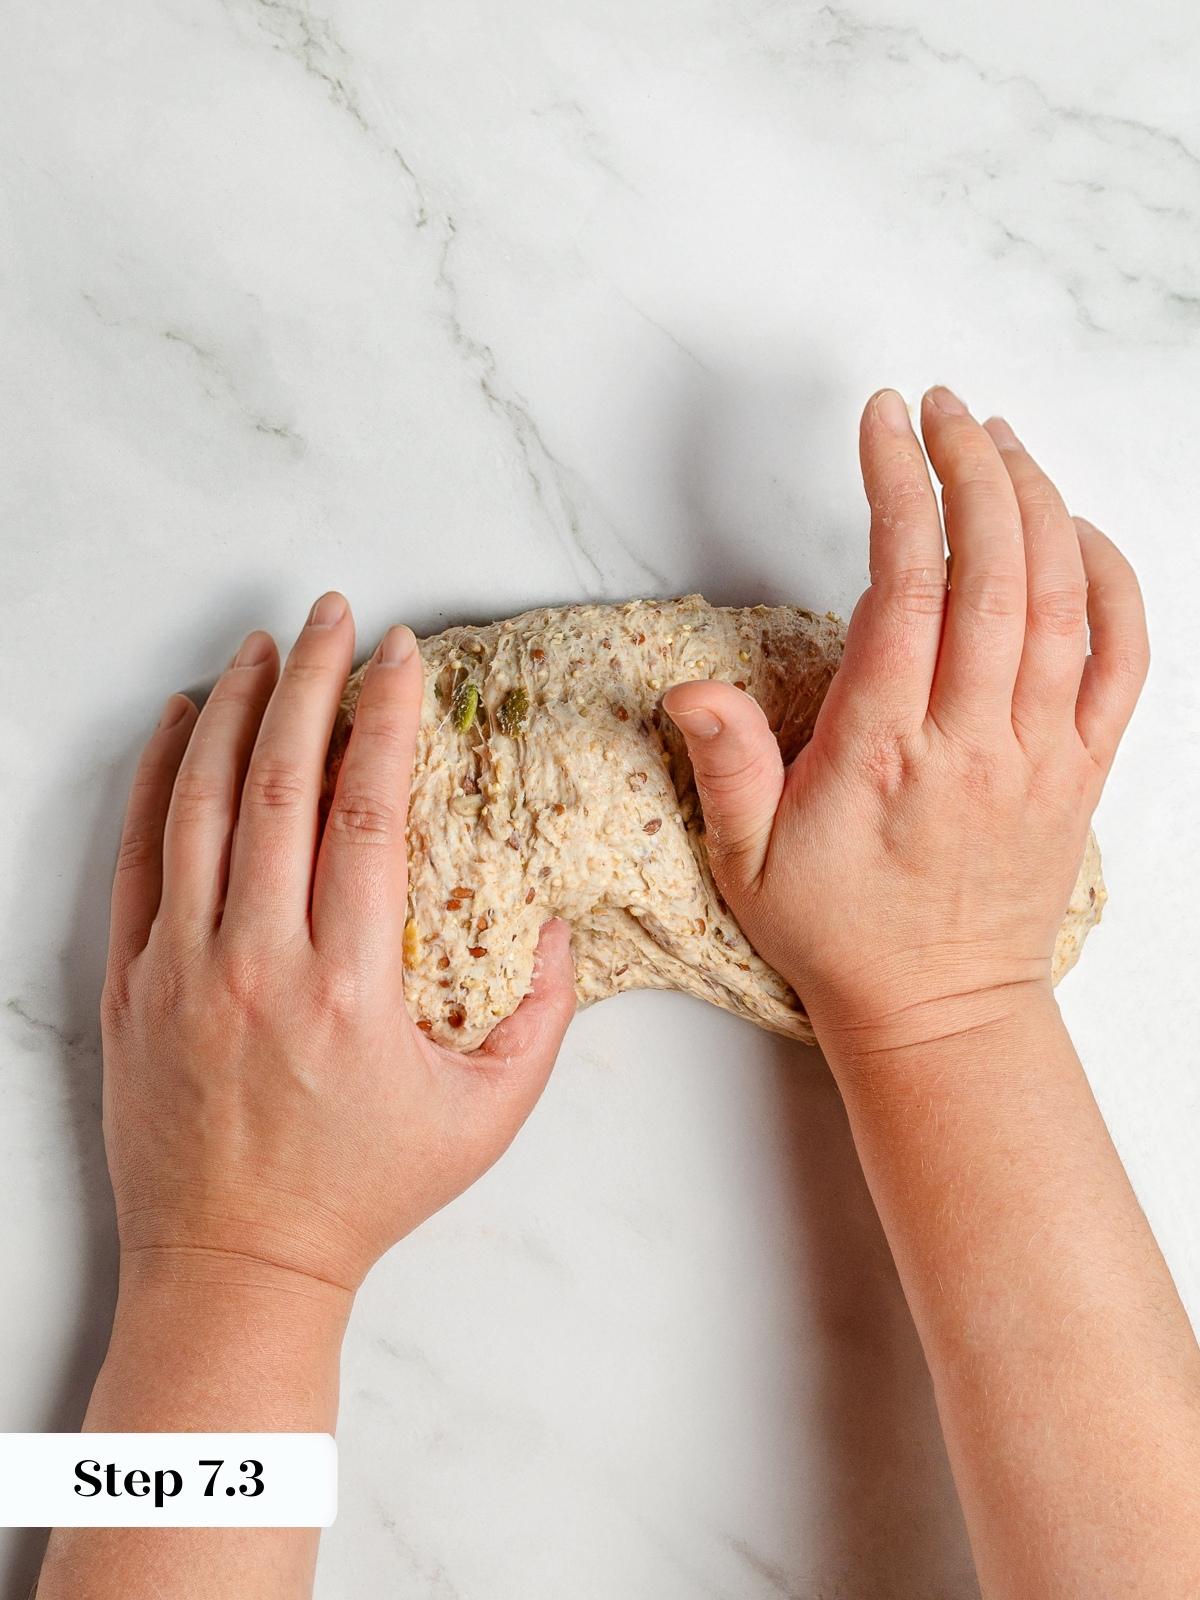
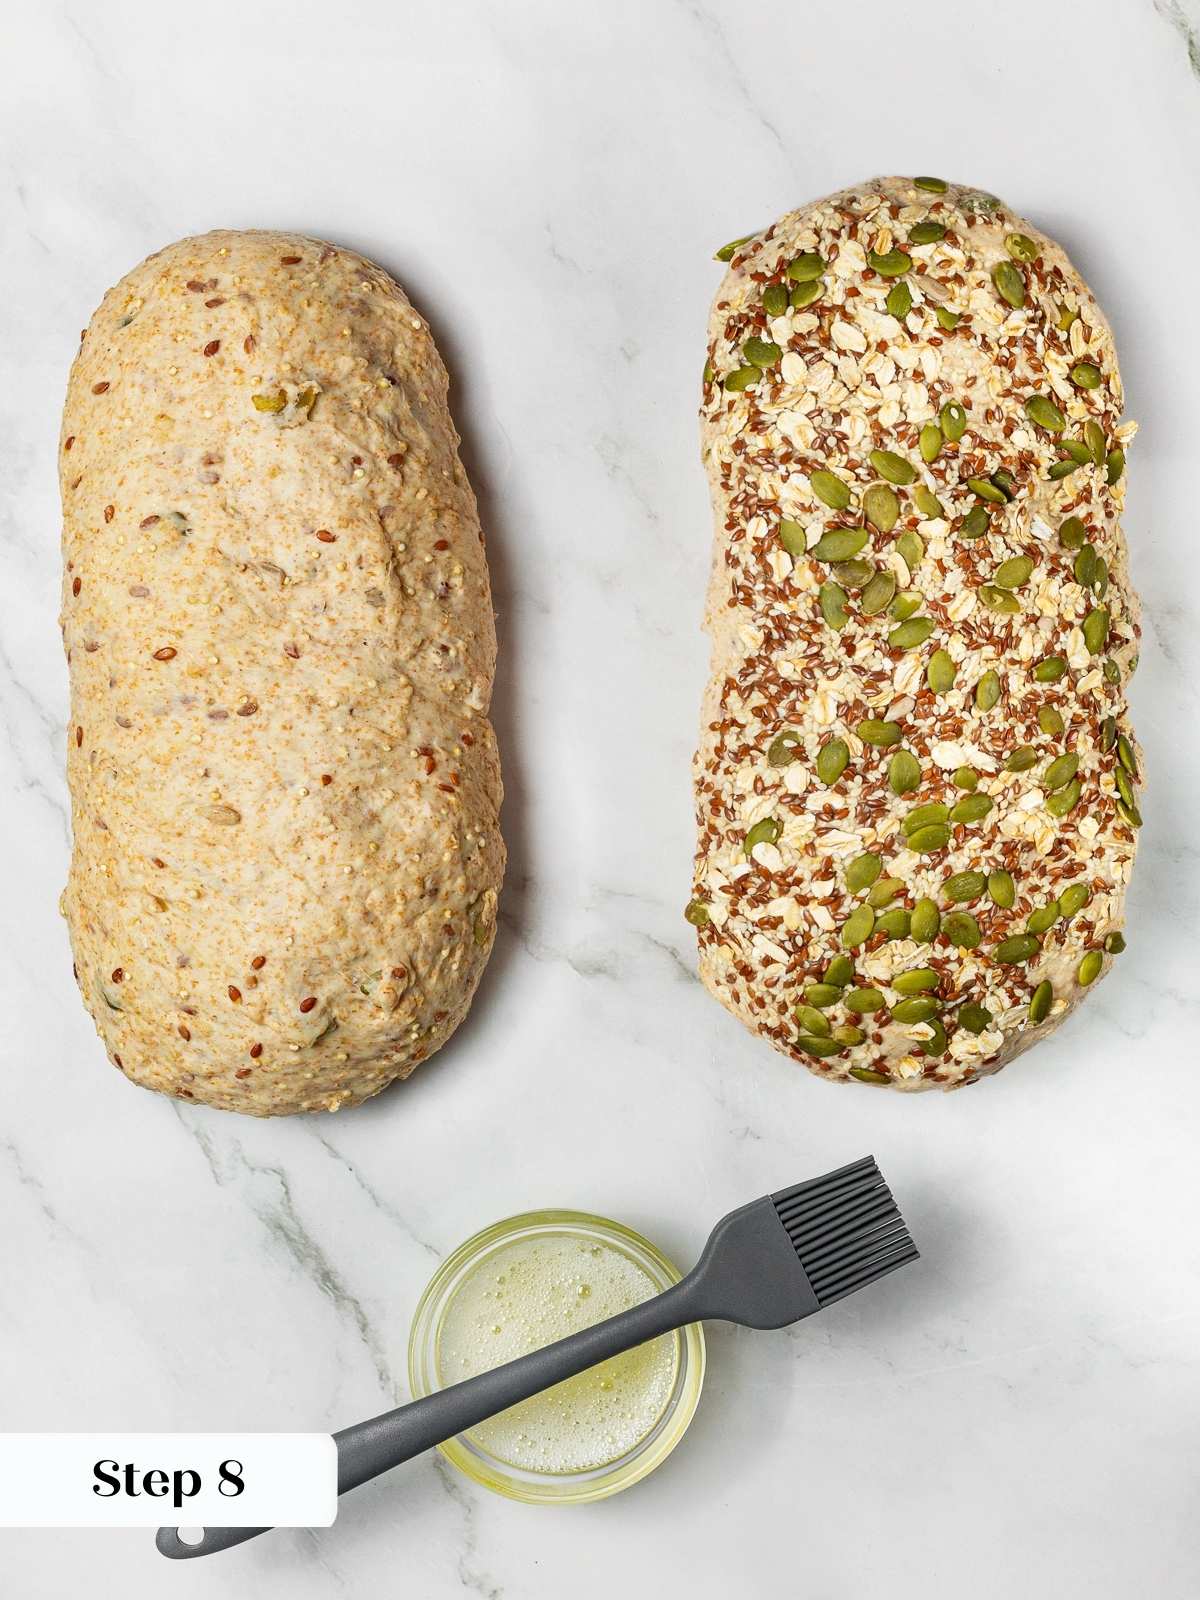

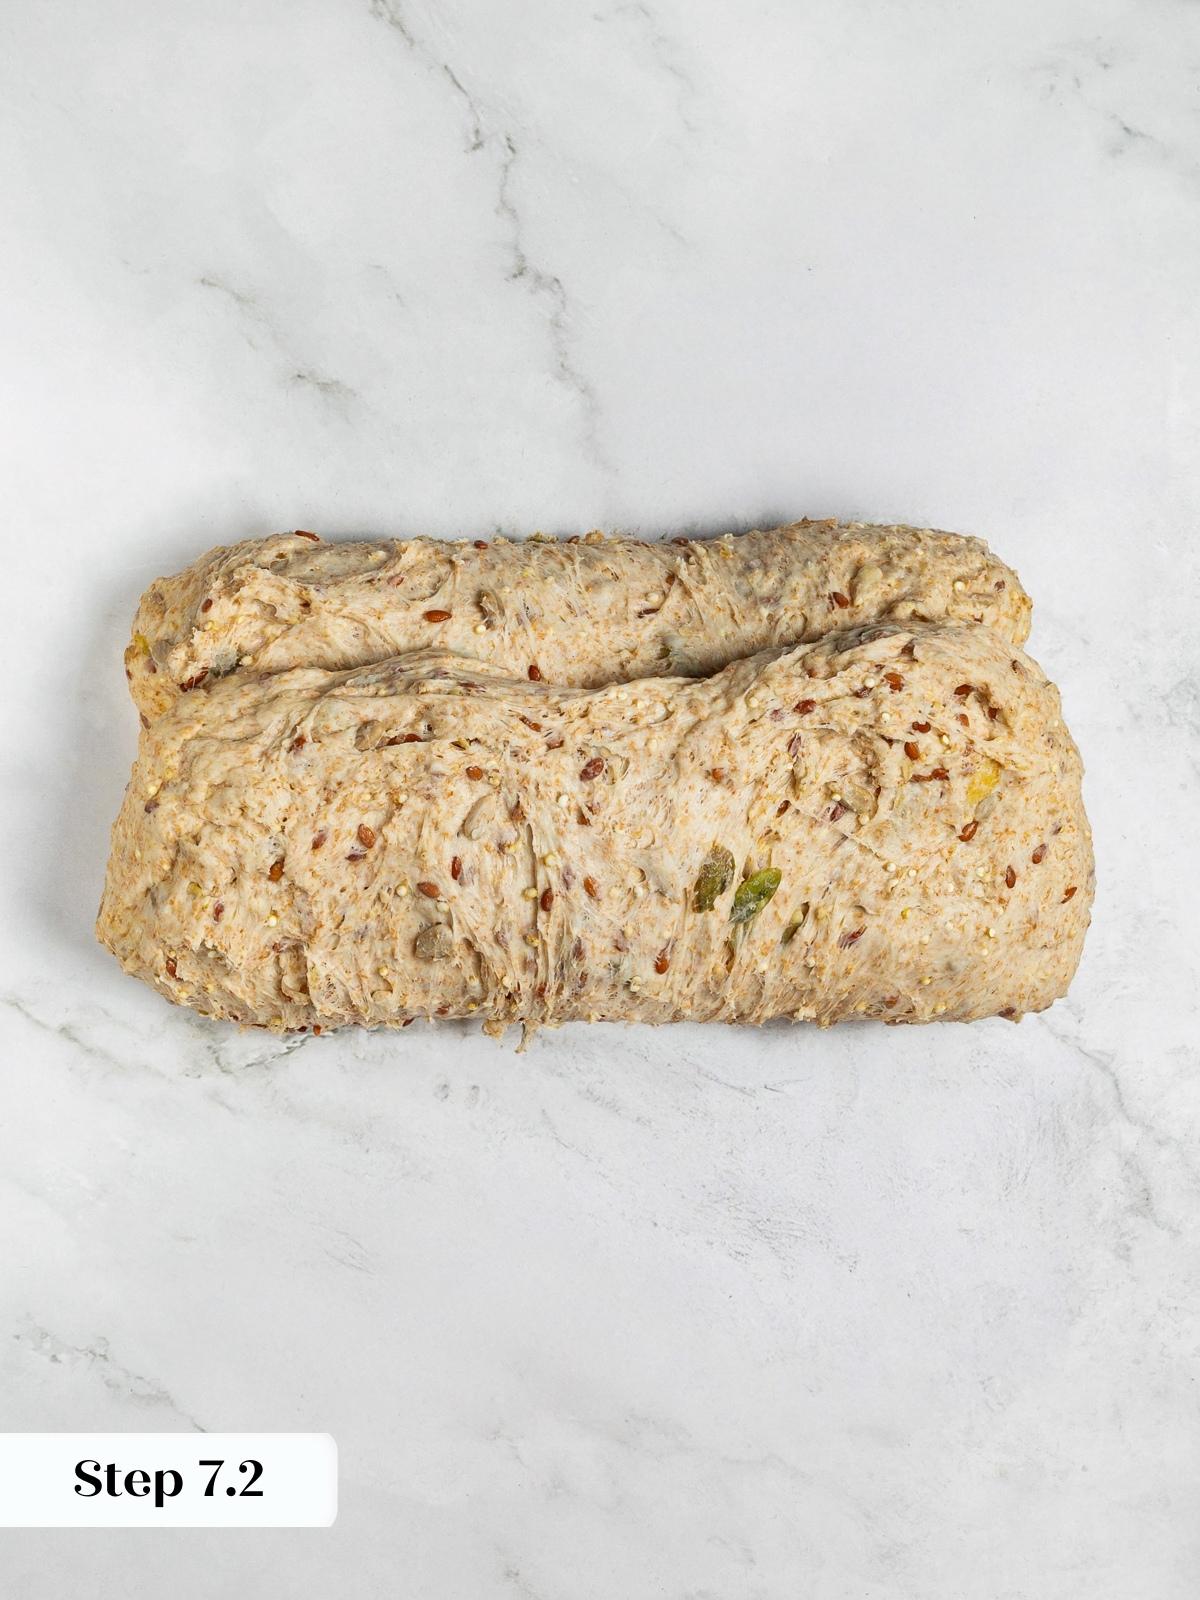
Step 7: Final shape into a loaf. Gently stretch the dough into a small rectangle and fold both of the short sides into the center (photo 7). Using your left hand, grab the dough and roll it around your thumb, sealing it about 2/3 from the bottom using the heel of your right hand. Work your way across the whole log from right to left, rolling and sealing as you go (photo 8). Repeat one more time across the whole surface, this time closing the dough roll into a log and sealing the bottom with the heel of your hand (photo 9). This will create a tight log that will not slouch on the work surface.
Step 8: Sprinkle topping seed mixture on clean surface or in parchment paper lined baking sheet. Brush loaves in beaten egg white and then roll in seed mixture to coat (photo 10) . Transfer each loaf to prepared loaf pans, seam side-down.
Water might work in a pinch and would be better than cooking spray.
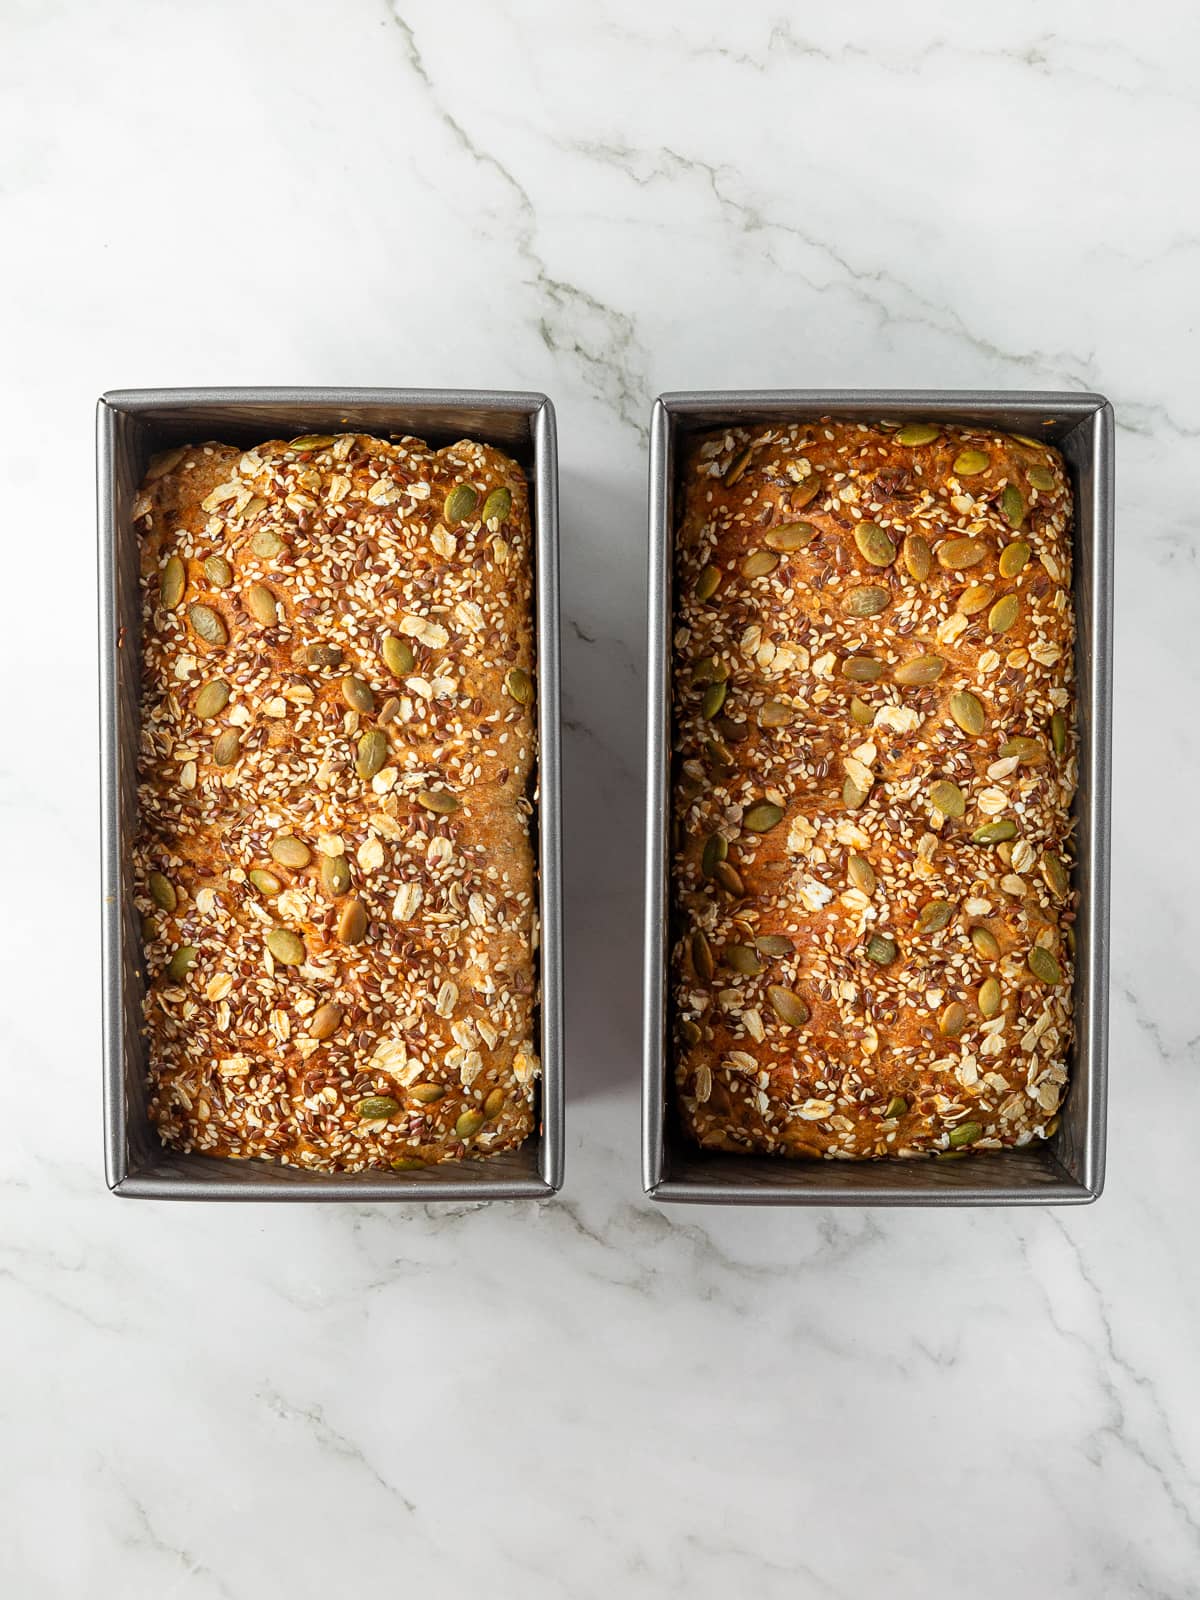
Step 9: Proof in pans. Cover pans loosely with lightly greased plastic wrap. Let rise 45 minutes to 1 hour until nearly doubled. (photo 11)
Step 10: Bake. Meanwhile, heat the oven to 375 degrees F. Bake loaves 35 to 40 minutes until deep golden brown and baked through (an instant read thermometer inserted in center of each loaf should read 185 degrees F).
Step 11: Cool in pans 5 minutes (photo 12). Transfer to cooling rack to cool completely before slicing.
Recipe FAQs
Store fully cooled loaves tightly covered with plastic wrap or in an airtight container or plastic baggie for up to 3 days at room temperature; if freezing, cover with plastic wrap and foil. Freeze up to 3 months.
Since this recipe makes 2 loaves, I usually use one fresh and then freeze the second loaf. Allow the loaf to cool completely at room temperature, wrap well in plastic wrap and freeze for up to 3 months. I like to slice my sandwich bread loaves before freezing for easy single serving use later!
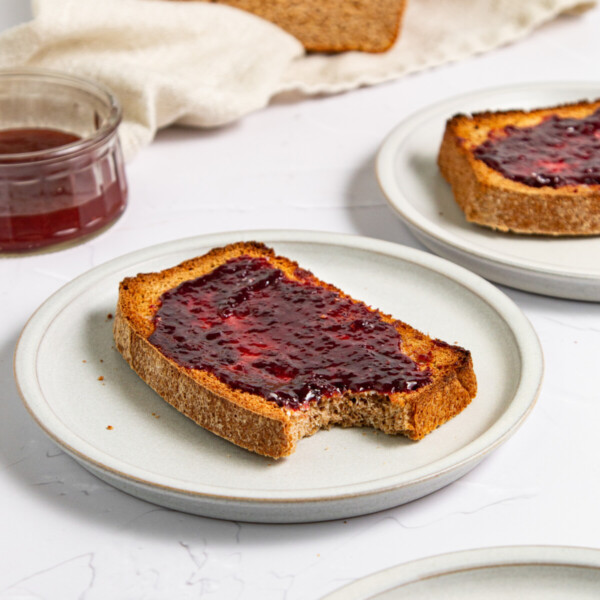
Other than the most delicious toast like this avocado coconut toast and sandwiches, like this thai veggie sandwich or a bacon turkey bravo, you could serve thick slices alongside sheet pan shakshuka for breakfast or to soak up the last bit of sauce from this red chili recipe with ground beef!
While I preferred to use the leftovers for sandwiches and toast (from the freezer), you could also make this breakfast casserole with bread for an easy make-ahead breakfast.
Recommended Wholesome Bread Recipes
Yeast Breads

Yeast Breads

Yeast Breads

Yeast Breads
If you enjoyed this recipe, please leave a star rating and let me know how it goes in the comments below! I love hearing from you and your comments make my day!
Whole Grain Seeded Bread
Ingredients
For the bread:
- 1 cup seed mix, I used ¼ cup of pumpkin seeds, flaxseeds, sunflower seeds, & quinoa
- 2 ½ cups water, divided
- 3 cups all-purpose flour
- 2 cups whole wheat flour
- ¼ cup honey
- ¼ cup unsalted butter, melted
- 2 ¼ teaspoons instant yeast, 1 packet
- 1 tablespoon kosher salt
- ½ cup old-fashioned rolled oats
Seed Coating:
Instructions
- In a small bowl or glass container, combine desired seeds for seed mix. Mix the topping seeds separately and do not soak those. Add ½ cup water to the seed mixture for the bread, stir, cover and allow to sit at room temperature at least 30 minutes to overnight. Mine soaked for about 2 hours.
- In bowl of stand mixer fitted with the dough hook attachment, add flours, instant yeast, honey, melted butter, remaining 2 cups warm water (110-115F), oats and salt to combine.
- Stir on low speed to combine. Mix on medium speed for 6-8 minutes until smooth dough forms. The oats and whole wheat flour do make it a bit more challenging to pull a windowpane, but you are looking for an elastic dough that will pull a window pane before tearing around the oats.
- Reduce speed to low and add all the contents of the soaker (seeds and water). Mix until the seeds have completely incorporated and dispersed throughout the dough. I usually stop the mixer every few minutes and cut up the dough with my bowl scraper. This exposes new surfaces and helps the seeds incorporate in spite of the additional water and the slime created by the flaxseeds.
- Cover bowl with plastic wrap and let dough rise 1 hour to 1 hour 15 minutes until doubled.
- Spray two 9-by-5-inch loaf pans with cooking spray. Divide the dough in half. Preshape each into a round boule by folding all 4 corners to the center, flipping it over and tightening it into a ball. It is just a preshape so you don’t need to overthink it. A few pulls towards you using both hands to pull and rotate will do it. Set them aside and cover gently with plastic or overturned bowls. Allow to bench rest 10 minutes.
- Final shape into a loaf. Gently stretch the dough into a small rectangle and fold both of the short sides into the center. Using your left hand, grab the dough and roll it around your thumb, sealing it about 2/3 from the bottom using the heel of your right hand. Work your way across the whole log from right to left, rolling and sealing as you go. Repeat one more time across the whole surface, this time closing the dough roll into a log and sealing the bottom with the heel of your hand. This will create a tight log that will not slouch on the work surface.
- Sprinkle topping seed mixture on clean surface or in parchment paper lined baking sheet. Brush loaves in beaten egg white and then roll in seed mixture to coat. Transfer each loaf to prepared loaf pans, seam side-down.
- Cover pans loosely with lightly greased plastic wrap. Let rise 45 minutes to 1 hour until nearly doubled.
- Meanwhile, heat the oven to 375 degrees F. Bake loaves 35 to 40 minutes until deep golden brown and baked through (an instant read thermometer inserted in center of each loaf should read 185 degrees F).
- Cool in pans 5 minutes. Transfer to cooling rack to cool completely before slicing.
Notes
Nutrition
Nutrition information is automatically calculated, so should only be used as an approximation.
 Like this recipe? Rate & comment below!
Before You Go
I hope you enjoyed this hearty homemade bread recipe. Check out our other delicious sandwich bread recipes or venture into all of our yeast bread recipes!


I am starting to make my own bread and want to make healthy bread. I would love to be able to print or send me the recipe for the seeded bread. It looks great as I’m sure it is .
Thank you
Renee
Hi Renee! Welcome to bread baking — you’ve picked a wonderful, healthy recipe to start with! You’ll find a print button right within the recipe card on the page, usually near the top of the ingredients section. Just click that and it’ll generate a printer-friendly version for you. We hope it becomes a staple in your kitchen — happy baking! ~GVD team
Do you have video on rolling the dough closed? I never seem to get a good seal
It’s a beautiful recipe. Thank you
So glad you love the recipe! We don’t have a specific video on sealing the seam just yet but we’ll add it to our content list. In the meantime, the key is to pinch the seam firmly with your fingers, then place the loaf seam-side DOWN in the pan so the weight of the dough holds it closed during the rise and bake. That alone makes a huge difference. Happy baking!~GVD team
This bread looks delicious, and I can’t wait to make it! Can I add soaked wheat berries to the dough? When should I add them, and would I need to alter the recipe? Thanks so much!
Great idea Erin, wheat berries would be a wonderful addition! Since this recipe already uses a soaker for the seeds and grains, add your soaked, drained wheat berries right into the soaker mixture. Start with about ¼-½ cup so they don’t weigh the dough down too much. No other changes needed! The recipe is very flexible with mix-ins so feel free to get creative. Can’t wait to hear how it turns out! ~GVD team
Can this be made with olive oil?
Yes, olive oil would work as a substitute! The olive oil can be swapped in at a 1:1 ratio. The bread will still be soft and tender, though it will have a slightly more savory, fruity flavor compared to the neutral richness butter provides. It’s a great dairy-free swap! ~GDV team
This bread is delicious. I was surprised how soft the finished bread is. An excellent bread for sandwiches.
Oh I am so happy to hear that Sandy! I adore this bread! And I worried no one else would find her 🙂 I was disappointed that my photographer didn’t do a similar photo to the one I sent her where the sliced bread is like folded over itself because it is so soft. I contemplated adding my sad image from my iphone just because! Thank you for taking the time to come back to comment and rate! ~Lindsey