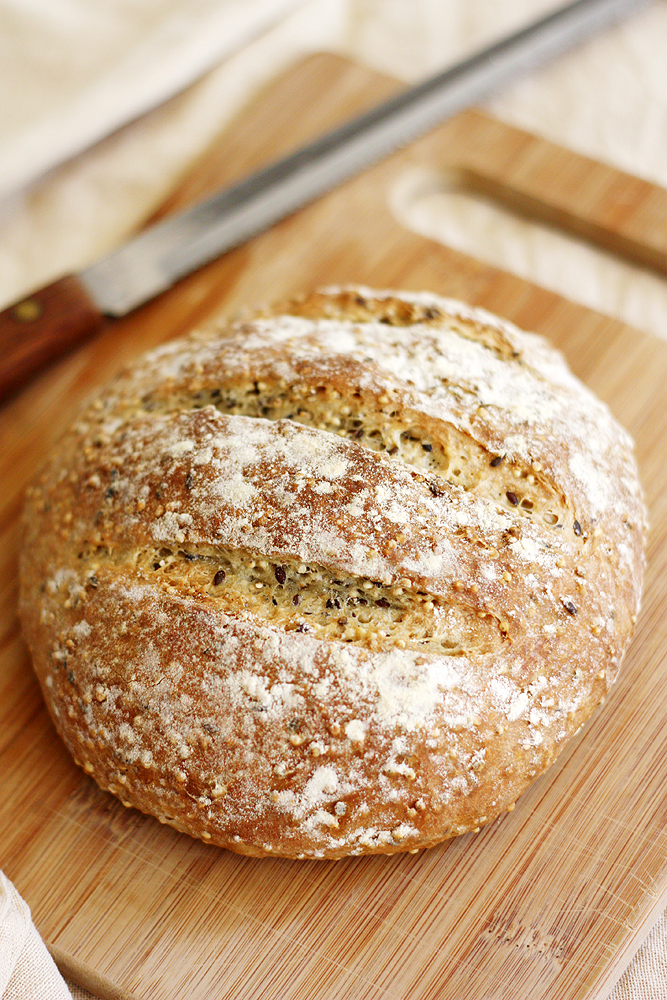
crusty no-knead bread with toasted grains
It’s been way too long — way, way, way, way too long (if anyone gets that 90s song reference, brownie points for you. And an actual brownie if I could send you one.) — since I’ve made and posted a real, legit bread recipe for you.
I’m sorry. I really am.
But I hope you can forgive me because I made things like caramel macchiato muffins and Mexican chicken bakes in the meantime.
And now, here we are, finally with a real, legit bread recipe. But this time, it’s extra exciting. Why? Because it’s the start of a 12-week video series I’m planning to do fer ya. Every Thursday, not only can you expect a real, legit bread recipe to be posted, but I’ll also include a super/awesome/crazy/cool video of a tip and or trick related to baking. I’ve already made a full list on my Tips and Tricks page, but I know some of us are visual learners (read: me) and I thought it might be helpful to have video clips to go with each tip.
Plus, videos are way more super/awesome/crazy/cool than me just rambling about how you can bake bread. Way, way, way, way more — OK, I’ll stop.
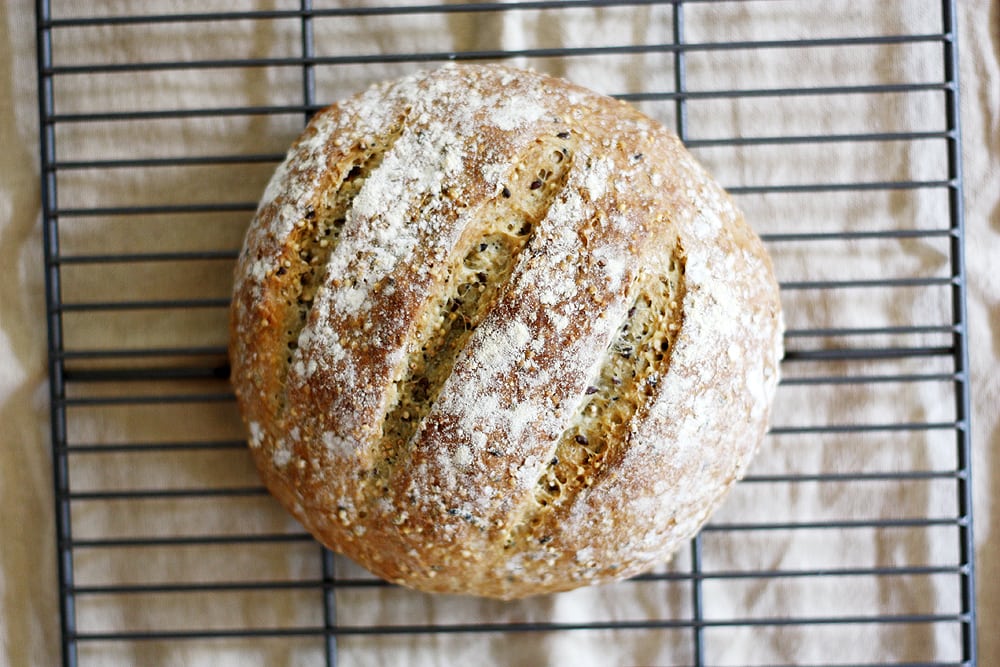
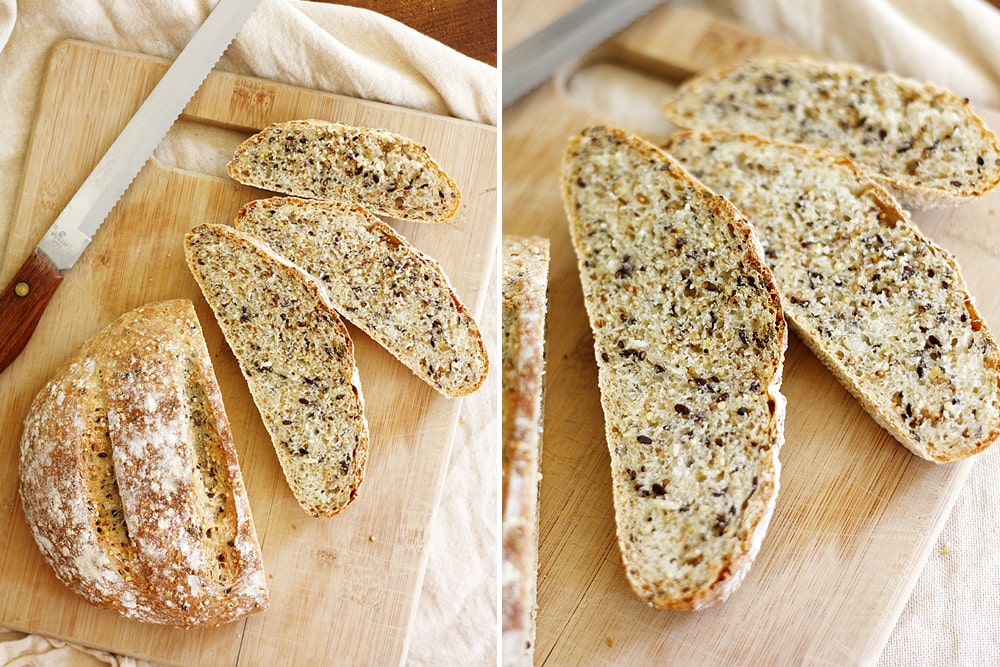
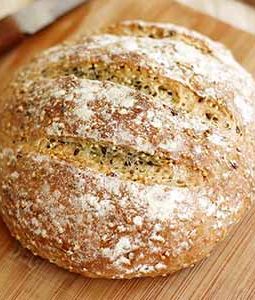
So anyway, let’s talk about the bread first, and then let’s roll the video. So this bread — it’s good. Like, really good. Not only is it no-knead (all my fellow lazy baker peeps say holla!), the exterior is crusty while the interior is soft (my FAVE). The toasted grains — or in my case, seeds and grains — give the bread an added earthiness in terms of flavor and also add a little oomph in the texture department. If you’re like me, you’re the girl who picks out the “textured” breads from the bread baskets at restaurants — the crunchy ones, the crusty ones, the ones with seeds inside or on top. Ain’t nobody got time for those plain, monotonous rolls.
Anyway, this is most definitely a “textured” bread.
And now for the video! I know bread baking can be a bit intimidating and the last thing you need is to go through the whole process of baking a beautiful bread only to find out it didn’t bake all the way through in the center. Bummer. Good thing there are a few tricks to figuring out when, exactly, a yeast bread is done:
Two things: One, when you test the bread I suggest you take it completely out of the oven and close the door again quickly before testing it so the oven retains its temperature. Don’t be like me.
And two, I apologize that you just had a peek into my very, very dirty oven. Don’t be like me.
There you have it, friends! A real, legit, simple, crusty, no-knead bread and a video to boot. Next week I may or may not have a recipe for which this bread is MAJOR for the dipping. Gotta love a good dipping bread.
And OK, OK, I’ll spare you the suspense. Here’s the song I was referring to, in case you couldn’t figure it out. Ah, memories.
Crusty No-Knead Bread with Toasted Grains
- Prep Time: 3 hours 30 mins
- Cook Time: 30 mins
- Total Time: 4 hours
- Yield: 2 loaves 1x
Ingredients
- 1 tablespoon butter
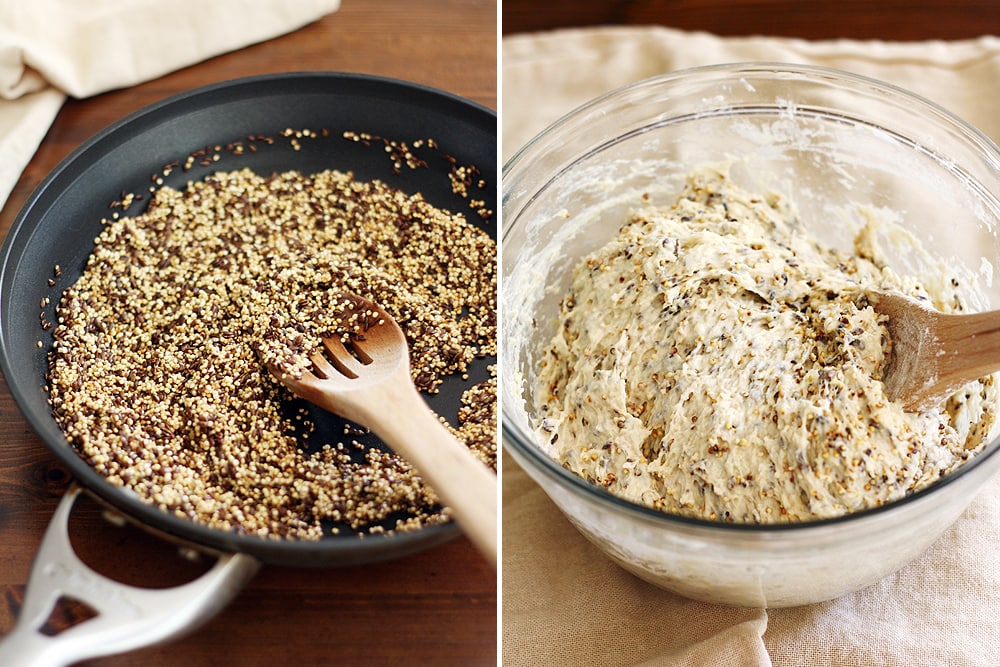
- 1 cup uncooked grains or seeds (I used a combination of quinoa, millet and flax seeds)
- 2 1/4 teaspoons (1 packet) active dry yeast
- 2 1/4 teaspoons salt
- 1 1/2 cups warm water (about 110 degrees F)
- 3 1/4 cups unbleached all-purpose flour, plus more for dusting and shaping
- Cornmeal
Instructions
- Melt butter in a medium skillet over medium-high heat. Add grains and/or seeds and cook 5 to 7 minutes, stirring often until toasted (if the grains/seeds start to pop, you can cover the skillet). Remove from heat; cool completely.
- In a large bowl, stir together yeast, salt and warm water. Stir in flour and toasted grains with a wooden spoon until a dough forms and no dry parts remain. Cover bowl with lightly greased plastic wrap. Let rise in a warm place until doubled, about 2 to 3 hours.
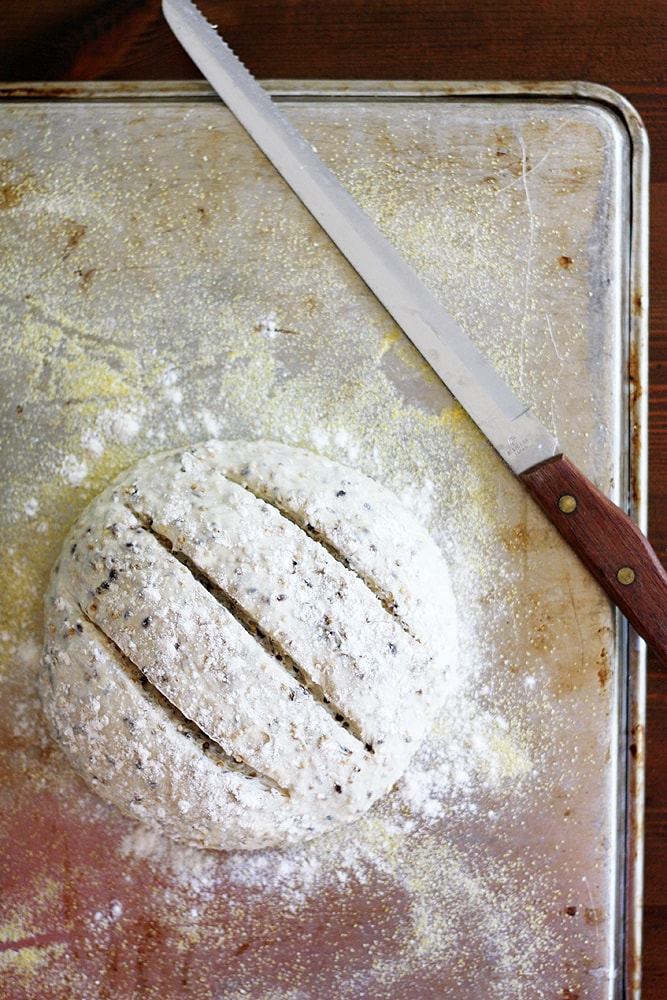
- Punch down risen dough. Divide dough in half; reserve one half in a covered bowl in the fridge.* Lightly dust a surface with flour and shape dough on surface into a round loaf. Lightly sprinkle cornmeal on a pizza peel or the back of a baking sheet; transfer loaf to peel. Cover with lightly greased plastic wrap or a tea towel and let rise 40 minutes to 1 hour until puffy.
- When dough is halfway through its second rise, heat oven to 450 degrees F. Place a broiler pan on the bottom rack of the oven and a baking stone on the middle rack. Let the stone heat for 20 minutes.
- Dust top of loaf with flour. Using a serrated knife, lightly score top of bread three times. Slide bread from peel onto stone. Pour 1 cup hot water into the broiler pan and quickly close oven door.
- Bake bread 30 minutes until golden brown and tested for doneness.
- *The second loaf can be stored in a covered container in the fridge for up to 2 weeks. If you want to bake both loaves the same day, leave the second loaf out for a full hour (instead of 40 minutes to 1 hour) before you plan to bake it, then proceed as directed.
Mom — There’s a loaf in the freezer with your name on it. 🙂
Megan — Yay! You’re going to love it. 🙂
Erika — There is nothing wrong with biscuits alldayeveryday. 🙂 Thanks, homie!
Laura — Thanks, friend! I’m excited for the series, too (though my waistline isn’t too excited about all the impending carbs ;))
Janet — How fun! You’ll have to let me know how this version compares to what you bought!
I love bread with crunchy bits — theyre the best part! This sounds amazing.
Nora — Thank you!
Jennie — Thank you! I’m excited to share the series with you!
Grace — Hahaha, it’s still in my head, so good luck 😉 Thanks so much for pinning the recipe!
Kelli — Right? Gotta love a good lazy bread. 🙂 Thanks, friend!
Kelly — I agree! Nothing beats a good texture. 🙂 Thanks, dear!
I’m obsessed with hearty, seeded bread, so this looks right up my alley! The no-knead bread method is a amazing; I use Zoe’s no-knead flatbread recipes at least once a week for pizza. I’m so happy I found your blog – love the recipes, photos, and the fact that you’re a fellow Minnesotan!
I am a great fan of no knead bread! And whole grains make such a savory and healthy loaf!
(We bakers know all about dirty ovens; who wants to stop baking and clean?)
Oh this looks great! For some reason I’ve never been able to get up the nerve to bake yeasted bread. But this looks so simple and I love the texture of multigrain breads. I’ll have to get over my fear and try it!
I can’t wait to see the videos!!! And this bread! I want a piece. Or 3. Ya know what… actually I’ll just take the whole loaf! Thanks 😉