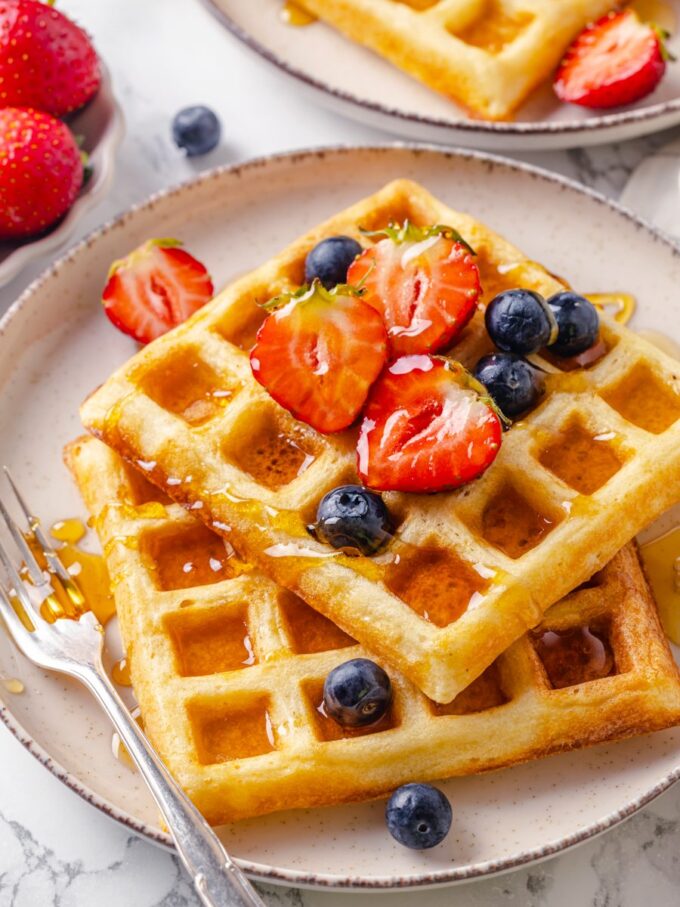
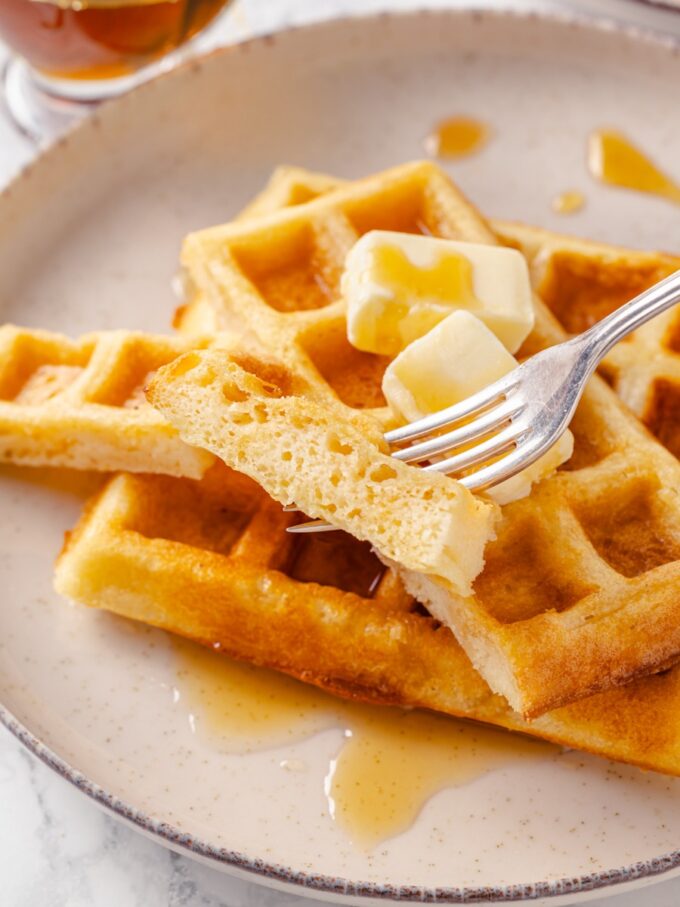
This Belgian Waffle Recipe is exactly what a weekend brunch deserves: crispy on the outside, impossibly light on the inside, and developed overnight so all the work is done before you wake up.

A Quick Look At The Recipe
This is a brief summary of the recipe. Jump to the recipe to get the full details.
Prep Time
15 minutes
Cook Time
25 minutes
Proof/Rest Time
12 hours
Total Time
12 hours 40 minutes
Servings
6 Waffles
Difficulty
Intermediate
Calories *
391 kcal per serving
Technique
Make batter, rest, and bake!
Flavor Profile
Buttery, lightly and sweet with a hint of vanilla.
* Based on nutrition panel
“I was nervous about making waffle batter with yeast and letting it rest overnight, but Oh my goodness these were the best waffles I’ve ever made! The waffles came out with the crispiest edges I have ever gotten from my iron. I will never go back to a quick mix.” ⭐⭐⭐⭐⭐
Renata
Why You Will Love This Recipe
- Overnight prep, minimal morning effort. Mix the batter the night before, and it is ready to cook straight from the refrigerator. There is no scrambling to measure ingredients while the waffle iron heats up.
- Genuinely crispy edges, not just golden. Yeast creates a lift and crunch that baking powder simply cannot replicate. The fermentation overnight also builds a subtle depth of flavor you will notice immediately.
- Light and airy, not heavy. These waffles have an open, almost custardy interior because the yeast produces gas bubbles throughout the batter as it rests. If you have made my sourdough waffles, you will recognize that same airy texture here.
- Works beautifully for savory or sweet toppings. The batter is lightly sweet and buttery, so it pairs just as well with fried chicken as it does with maple syrup. For another yeasted, butter-rich recipe that plays both ways, my easy brioche loaf recipe uses the same enriched dough principle.
These yeasted waffles were my go-to for brunch service when I was a pastry chef in Manhattan restaurants, and now they’re a staple in my home kitchen. Their crisp, crunchy edges and soft, airy interiors are unmatched, thanks to a slow overnight rise and real butter. Prep them the night before and wake up to mind-blowing waffles with minimal morning effort!
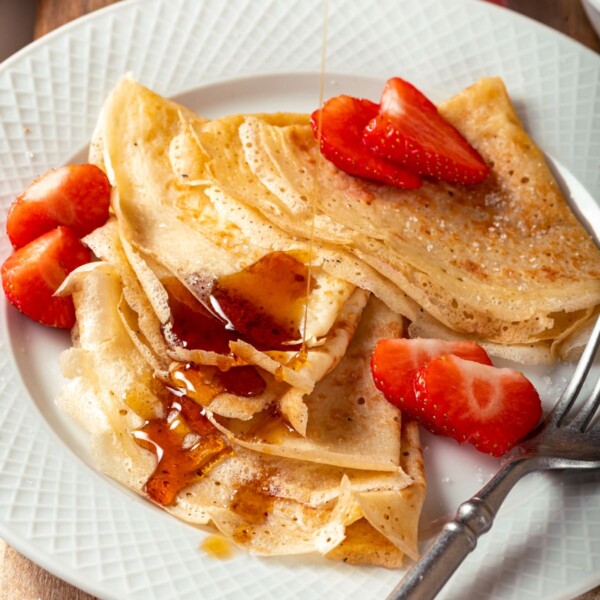
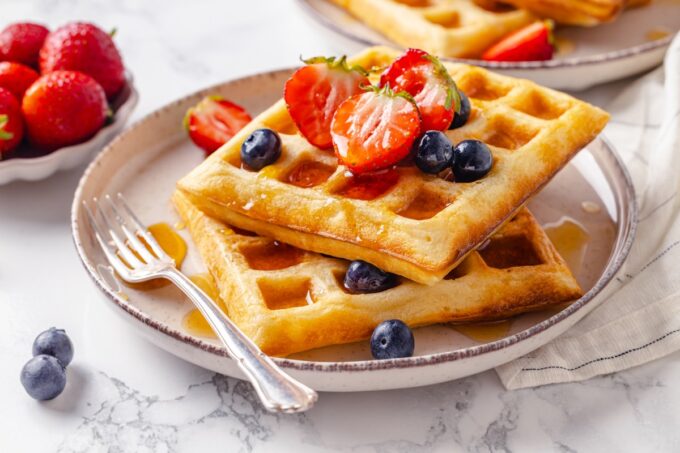
These are equally at home on a brunch spread or a weeknight dinner plate alongside something savory. If you love restaurant quality for your weekend breakfasts, my brioche French toast recipe and these sourdough crepes belong in your regular rotation too.
Ingredients & Substitutions

- Dry Active Yeast: This is the ingredient that sets these waffles apart, creating the lift, crunch, and open interior that baking powder cannot replicate. Do not substitute with instant yeast, as it will alter the proofing time and the final texture.
- Warm Water and Whole Milk: Together, these provide the liquid base that activates the yeast and gives the batter its body and creaminess. Substituting with lower-fat milk will result in less rich waffles.
- Unsalted Butter: Butter adds richness and flavor and contributes to the light, non-greasy texture of the finished waffle. Do not substitute with oil; the result will be greasy rather than buttery and tender.
- Vanilla Bean Paste: You can use vanilla extract if that’s what you have on hand.
- All-Purpose Flour: All-purpose flour provides the structure the batter needs to puff and hold its shape in the waffle iron. Using whole wheat or another flour will change the texture and may require adjustments to the liquid. For a gluten free waffle try these coconut flour waffles!
Variations for Belgian Waffle Recipe (Yeasted)
- Chicken and Waffles. Skip the maple syrup and serve these with crispy fried chicken, hot sauce, and honey butter. The waffles are sturdy enough to hold the weight, and their lightly sweet, buttery flavor balances the heat.
- Freezer Waffle Sticks. Cool the finished waffles completely, slice into strips, and freeze in a single layer. Reheat straight from the freezer in a toaster for quick breakfasts all week.
- Savory Herb Waffles. Whisk two tablespoons of finely chopped fresh chives or thyme into the batter before the overnight rest. These pair especially well with eggs and smoked salmon, and make a nice alternative to a buttermilk pancake recipe if you want something more substantial on a savory brunch plate. You could even top them with this everything bagel seasoning!
- Add some spice! Add some cinnamon, apple pie spice or this pumpkin spice recipe to the waffles for an added flavor.
Professional Tips for Perfect Belgian Waffle Recipe (Yeasted)
- Use a Belgian waffle maker, not a standard round iron. A good Belgian waffle maker gets hot enough to puff the batter immediately and has deep wells that allow steam to escape, which is what produces the crispy exterior and open interior this recipe is built for. My go-to is the Breville Square Waffle Maker, though the lower-cost option works if you don’t mind waffles that are less deep and airy. If you do not own one, this is the recipe worth borrowing one for.
- Heat the iron longer than the ready light suggests. I always let mine continue heating about 10 minutes past when the machine signals it is ready. An iron that is not fully up to temperature will steam the waffle instead of crisping it, and you will lose that shatteringly crisp exterior entirely.
- Do a test waffle before filling all the sections. You want enough batter that it puffs immediately and makes contact with both the top and bottom plates. Too little batter produces a thin, pale waffle; too much makes it dense and wastes batter, which is the last thing you want after an overnight proof.
- Trust the visual cue over the timer. Waffle iron cook times vary widely between machines, and the built-in indicators are not always reliable. Lift the lid carefully and look for an even golden brown across the surface before removing. If you love fermented batter recipes that reward patience, my sourdough pancakes should be your choice for your next brunch!
How to Make Belgian Waffle Recipe (Yeasted)
Use these instructions to make light, crispy-edged Belgian waffles with deep wells and an airy crumb. Further details and measurements can be found in the recipe card below.
Make the Batter
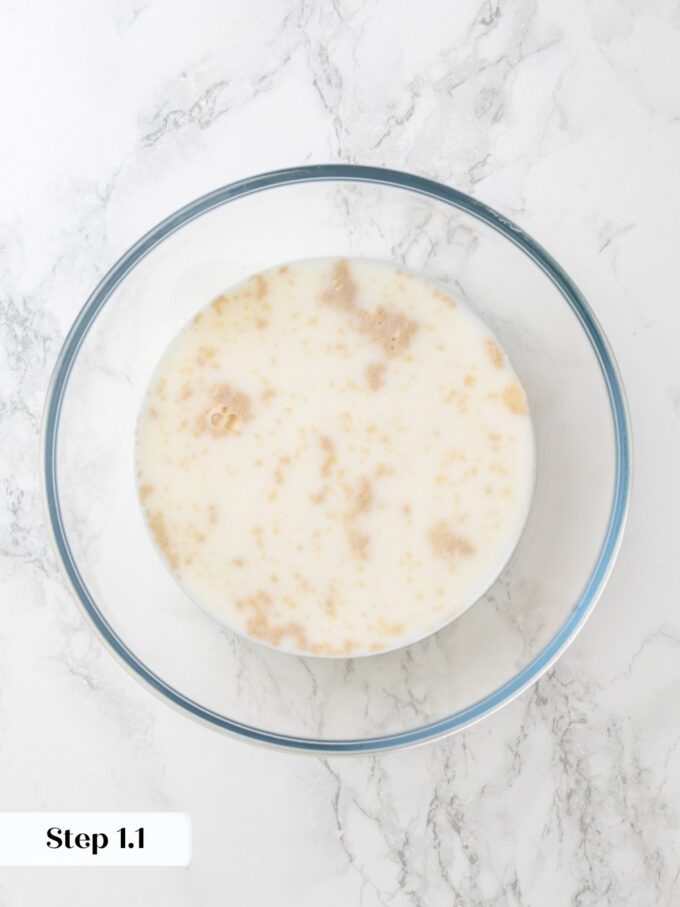
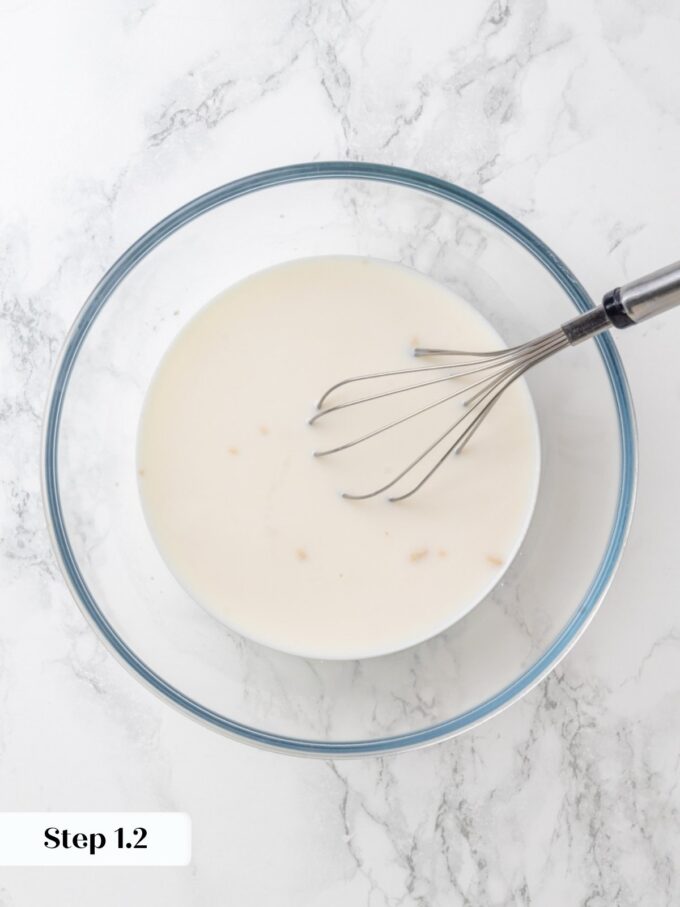
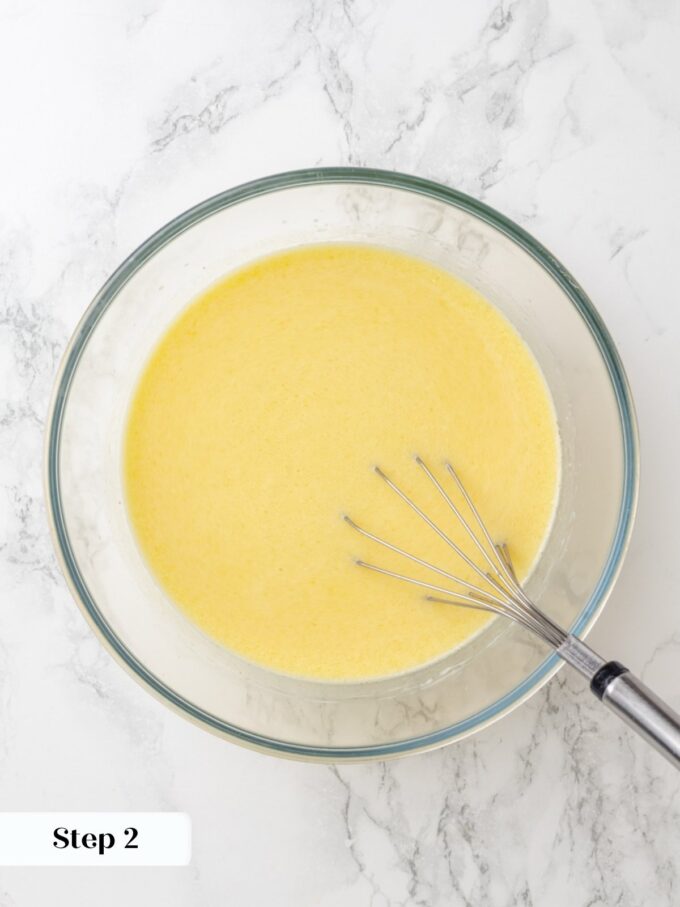
Step 1: Activate the yeast. Pour the warm water and warm milk into a large mixing bowl, then add the yeast. Let the mixture sit undisturbed for 5 minutes, then whisk to fully dissolve the yeast. The liquid should look slightly cloudy and smell faintly yeasty. If nothing has changed after 5 minutes, your water may have been too hot or too cold, or your yeast could be old, and it is worth starting again with fresh yeast. (photos 1 & 2)
The water and milk should feel warm to the touch but not hot. Liquid above 110°F will kill the yeast before it has a chance to do its job.
Step 2: Add the wet ingredients. Whisk in the melted butter, eggs, and vanilla bean paste until the mixture is smooth and fully incorporated. (photo 3) The batter will look glossy and uniform at this point.
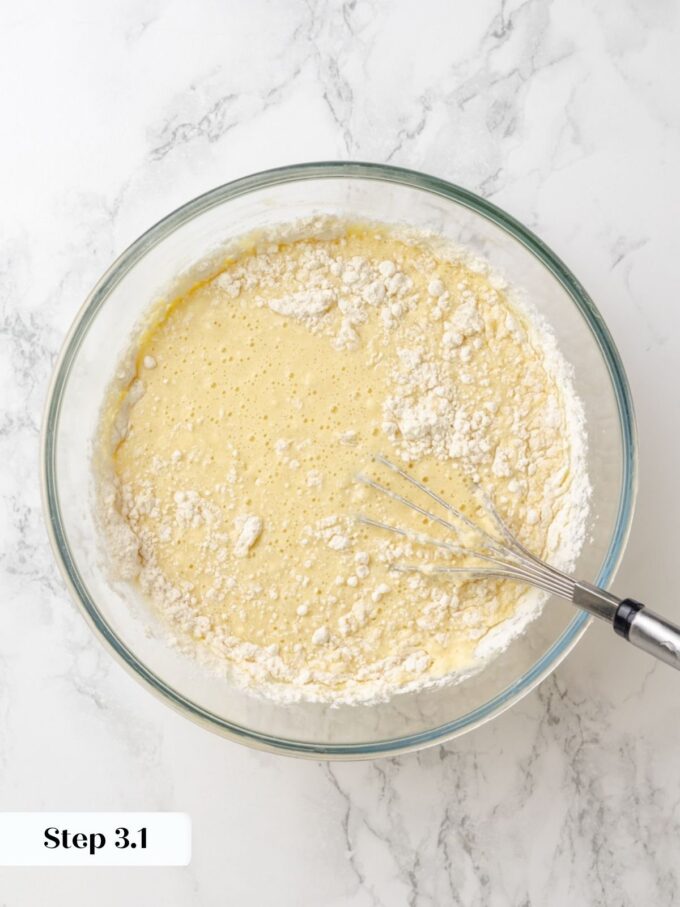
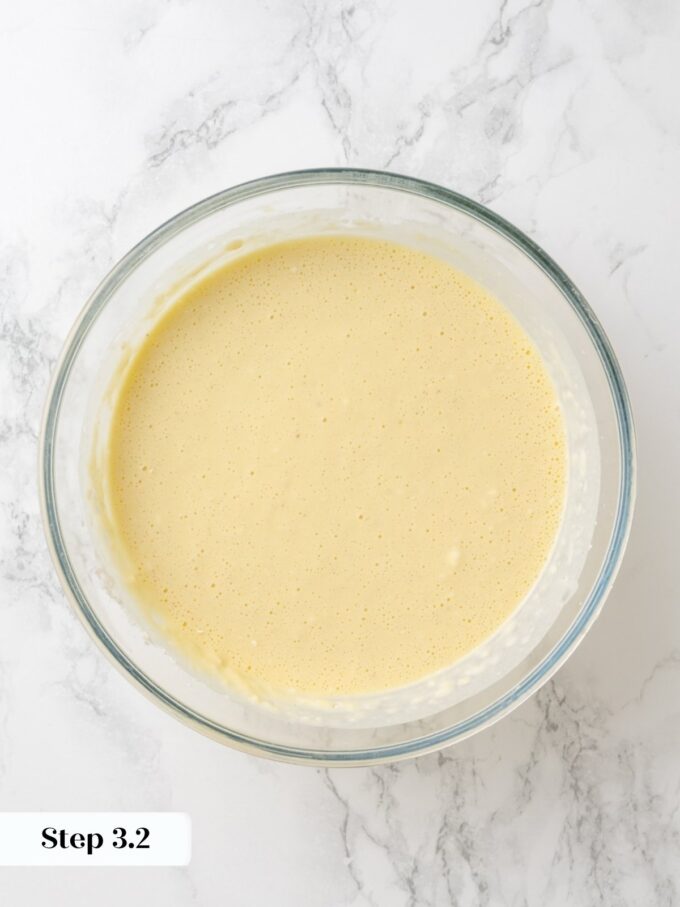
Step 3: Add the dry ingredients. Whisk in the flour, sugar, and salt until very few lumps remain. (photos 4 & 5) The batter will be thinner than a standard pancake batter, which is completely normal. A few small lumps are fine and will smooth out during proofing.
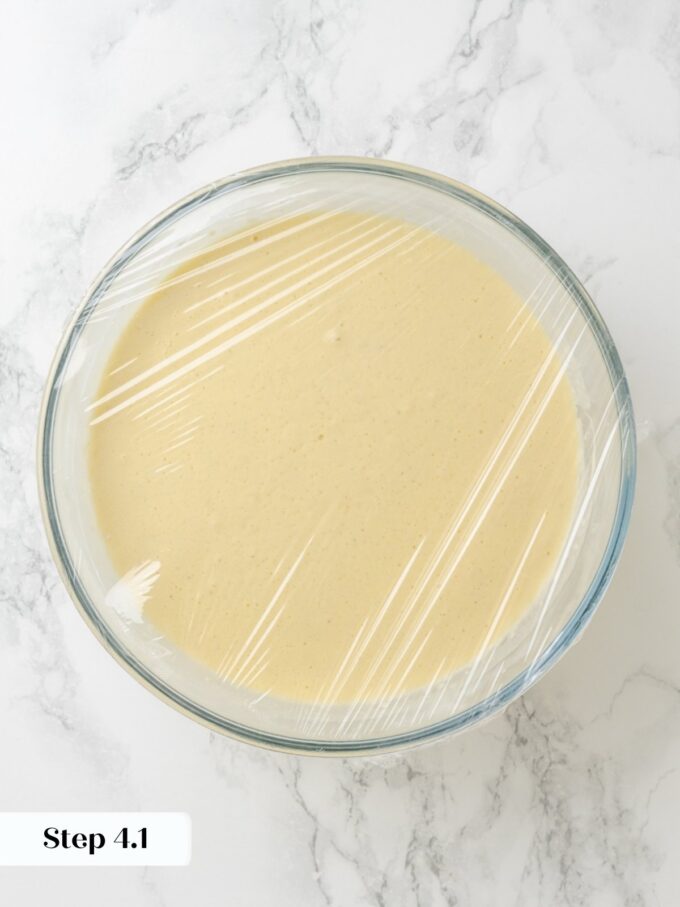
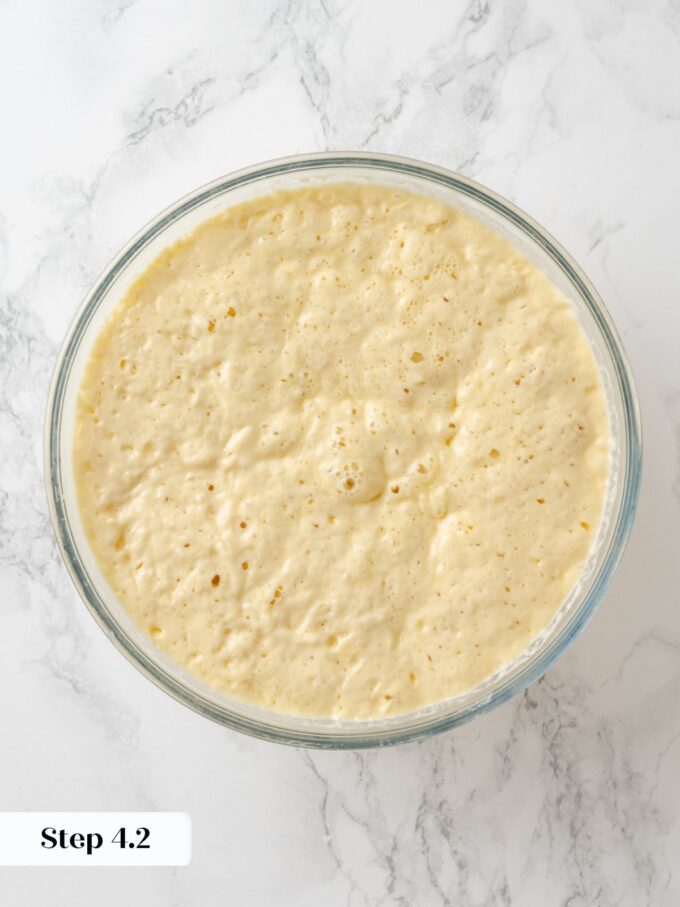
Proof
Step 4: Room-temperature proof. Cover the bowl tightly with plastic wrap and let the batter proof at room temperature for 40 minutes. (photos 6 & 7) By the end, the batter will look puffed, slightly domed, and noticeably bubbly across the surface. This is the yeast doing exactly what it should.
Room temperature matters here. A cold kitchen (below 68°F) will slow this proof considerably. Trust the visual cue, puffed and bubbly, over the clock.
Step 5: Cold overnight proof. Transfer the covered bowl to the refrigerator for at least 3 hours, or overnight. The cold proof develops the flavor and firms the batter slightly, making it easier to portion into the waffle iron. When you pull it from the fridge, it will have settled back down and look denser than it did after the room-temperature proof.
Preheat and Test
Step 6: Preheat the waffle iron. Preheat your Belgian waffle iron until it is very hot. This takes longer than the machine suggests. Let it continue heating for about 10 minutes past when the ready indicator lights up. Give the iron a light spray with nonstick cooking spray before the first batch
Step 7: Test waffle first. Pour in enough batter to fill one section as a test before committing to a full batch. You want enough batter that it puffs immediately and makes contact with both the top and bottom plates. Too little batter produces flat, pale waffles. Too much creates dense waffles and spills over the sides, and wastes batter, which is a shame after all that overnight work.
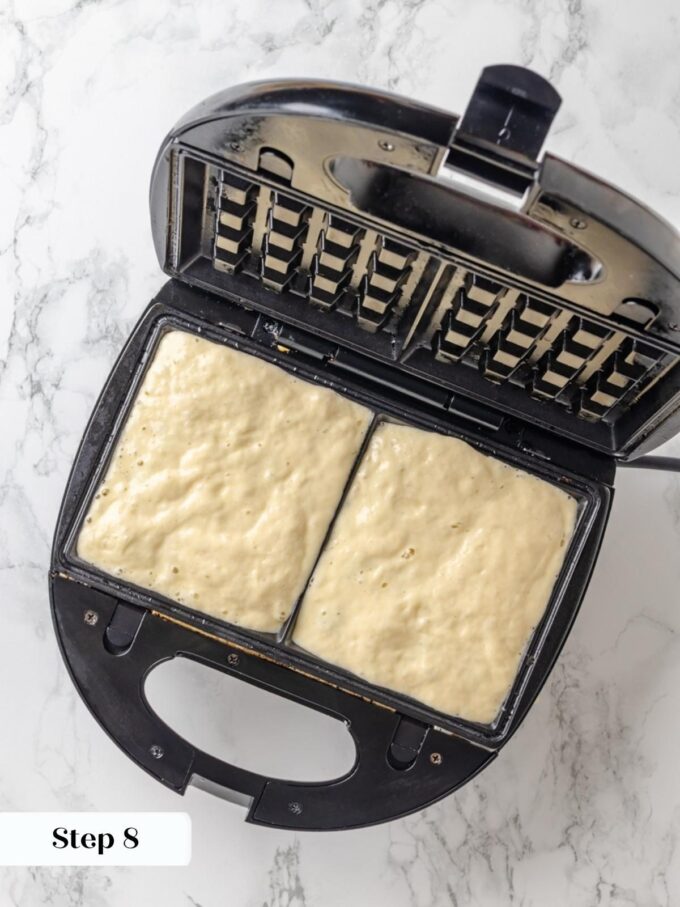
Cook the waffles.
Step 8: Add batter to each section of your iron, close the lid, and cook until done. (photo 8) Timing varies widely between machines, anywhere from 4 to 6 minutes. Carefully lift the lid and visually check for an even golden brown before removing. If the waffle pulls away from the iron cleanly, it is ready. If it sticks or tears, give it another 30 to 60 seconds.
Step 9: Cool or Serve. Transfer finished waffles to a wire rack if you are not serving them immediately. (photo 9) A rack keeps air circulating underneath so the bottoms stay crisp instead of steaming against a plate. These are best eaten hot and fresh, made to order, which is exactly how we did it in the restaurant.

Recipe FAQs
Cool the waffles completely on a wire rack before storing. They keep at room temperature for one day, or you can freeze them in a single layer and transfer to a zip-top bag for up to two months. Reheat straight from the freezer in a toaster or toaster oven until the edges crisp back up, which takes about 2 to 3 minutes on a medium setting.
Yes, and honestly, this is the intended method. Mix the batter the night before, give it a 40-minute room-temperature proof, then refrigerate it overnight. In the morning, the batter goes straight from the refrigerator to the iron, no adjustments needed.
The two most common culprits are an iron that was not hot enough and batter that did not proof overnight. Skipping the overnight rest means the yeast has not had time to produce enough gas for that open, airy interior. The iron also needs to be significantly hotter than the ready indicator suggests — giving it an extra 10 minutes of preheat time makes a real difference, like I do every single time.
Both rely on fermentation rather than baking powder, which is what gives each version its lift and crunch. My sourdough waffles use active or discard starter, so the flavor is tangier, and the crumb is slightly denser. Yeasted waffles have a cleaner, more buttery flavor with an airier interior, and the overnight yeast fermentation is more predictable for bakers who do not already maintain a starter. If you want a starter-free option with similar texture benefits, these are the ones to make.
A Belgian waffle maker is strongly preferred here. The deep wells allow steam to escape during cooking, which is what creates the crispy exterior and open interior this recipe is built for. A round iron will produce something flatter and less airy, and the edges will not get the same crunch. If you do not own a Belgian waffle maker, it is worth borrowing one before making this recipe, which is exactly what I would tell a friend before their first attempt.
Recomended Brunch Recipes
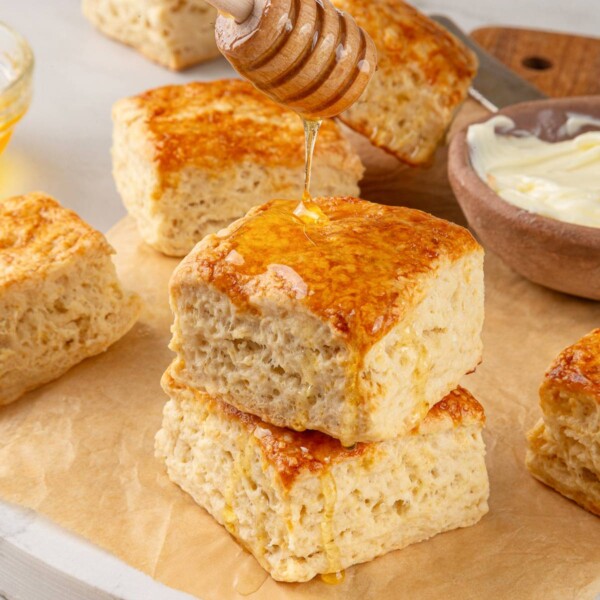
Quick Breads
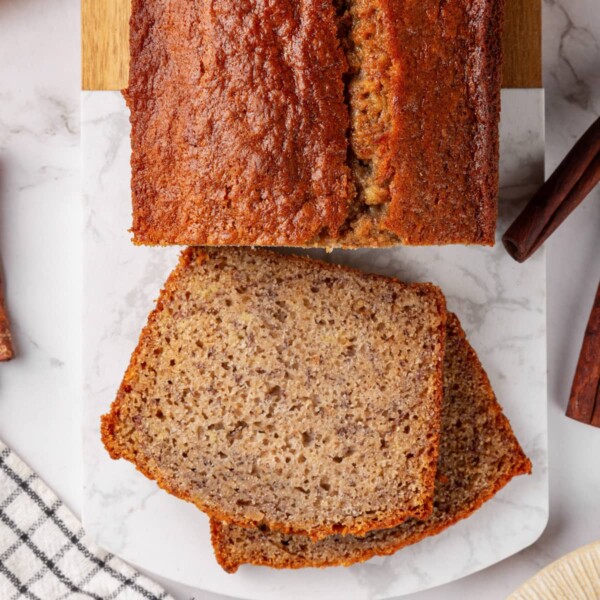
Breakfast & Brunch
Breakfast & Brunch

Sourdough
Yeasted Waffles
Ingredients
- 1½ teaspoons dry active yeast
- 1 cup warm water
- 1 cup whole milk, warm
- ¾ cup unsalted butter, melted
- 2 whole eggs
- 1 teaspoon vanilla bean paste
- 1¾ cups all purpose flour
- 1½ teaspoons granulated sugar
- ¾ teaspoon kosher salt
Instructions
- Place the yeast in a large bowl. Pour the warm water and warm milk over it and let sit 5 minutes, then whisk to dissolve.
- Whisk in the melted butter, eggs, and vanilla bean paste until smooth.
- Whisk in the flour, sugar, and salt until very few lumps remain.
- Cover with plastic wrap and proof at room temperature for 40 minutes.
- Refrigerate at least 3 hours or overnight.
- When ready to cook, preheat your Belgian waffle iron until very hot, about 10 minutes past the ready indicator. Spray lightly with nonstick cooking spray.
- Make a test waffle first to dial in the right amount of batter. You want enough to puff immediately and press against both plates of the iron.
- Add batter to each section and close the lid. Cook until evenly golden brown, about 5 minutes depending on your maker. Transfer to a wire rack if not serving immediately.
Notes
Technique: Do not substitute butter with oil. Oil produces greasy waffles; butter is what keeps them light and rich.
Batter volume: Use a large enough container for the overnight rest. The batter expands significantly as the yeast works, and it will overflow a too-small bowl.
Storage: Cool waffles completely, slice into sticks if desired, and freeze in a zip-top bag for up to 2 months. Reheat directly in the toaster until hot and crisp.
Nutrition
Nutrition information is automatically calculated, so should only be used as an approximation.
 Like this recipe? Rate & comment below!
Before You Go
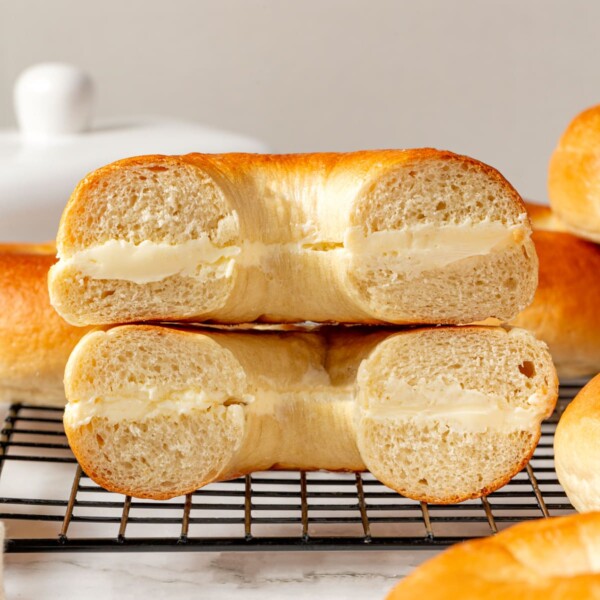
If yeasted waffles have earned a permanent spot in your weekend rotation, there is plenty more where that came from. Browse our breakfast & brunch recipes or make these homemade bagels next!