
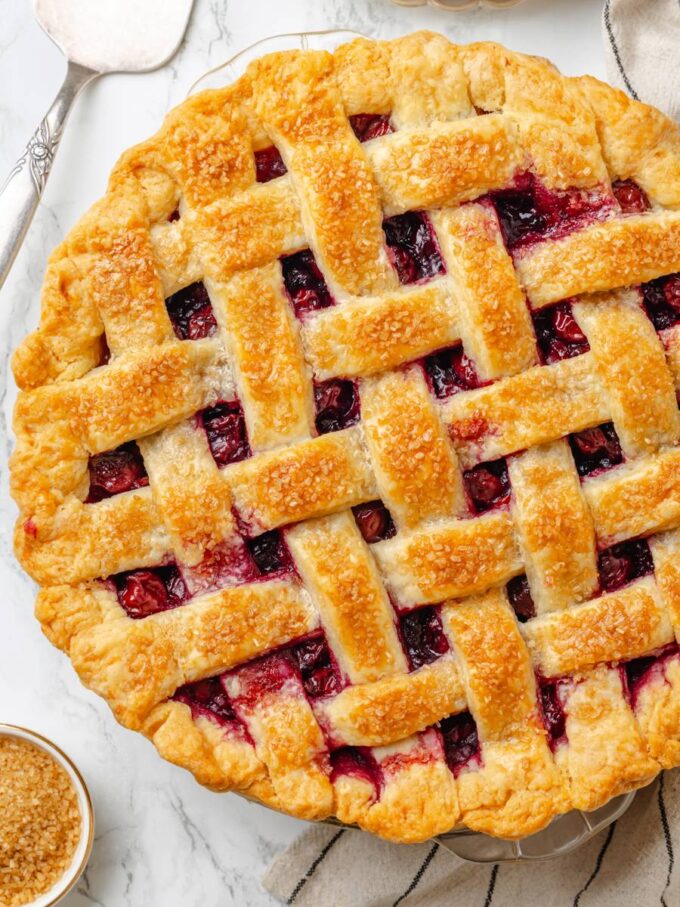
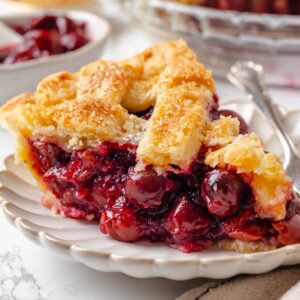
This sour cherry pie delivers the bright, tart flavor of classic cherry pie using canned cherries, so you can make it year-round, not just in peak summer.
A Quick Look At The Recipe
This is a brief summary of the recipe. Jump to the recipe to get the full details.
Prep Time
45 minutes
Cook Time
55 minutes
Proof/Rest Time
1 hour 20 minutes
Total Time
3 hours
Servings
10 slices
Difficulty
Intermediate
Calories *
322 kcal per serving
Technique
Double-crust pie assembly with cornstarch-thickened fruit filling
Flavor Profile
Bright, tart, sweet, glossy
* Based on nutrition panel
“I was nervous about the filling being too runny, but it set up beautifully after cooling completely. The cornstarch ratio is exactly right and the crust came out golden and flaky on the bottom, which never happens for me!”
⭐⭐⭐⭐⭐
Rachel
Why You Will Love This Recipe
- Year-round cherry pie. Fresh tart cherries have only a few weeks of season in summer, but canned tart cherries are on the shelf year-round.
- Make-ahead filling! You can cook the filling up to two weeks ahead and refrigerate it, or freeze it for up to three months. If it separates in storage, a quick stir brings it back together before you add it to the pie.
- The crust uses a proven method. Butter and vegetable shortening together give you flakiness and flavor in one dough, and the vodka trick keeps the crust tender without adding structure.
Every summer when fresh tart cherries are nowhere to be found, I come back to this pie and am genuinely reminded that canned cherries produce a filling just as good. The brightness, the deep red color, the glossy set — it is all there.
This pie works equally well for a summer cookout or a holiday table, and the make-ahead filling makes it easy to plan around. If you want to prep the filling separately first and get a feel for the flavor, the full cherry pie filling recipe walks you through the process in more detail. Then you can also use it to make this cherry cobbler recipe!
Ingredients & Substitutions
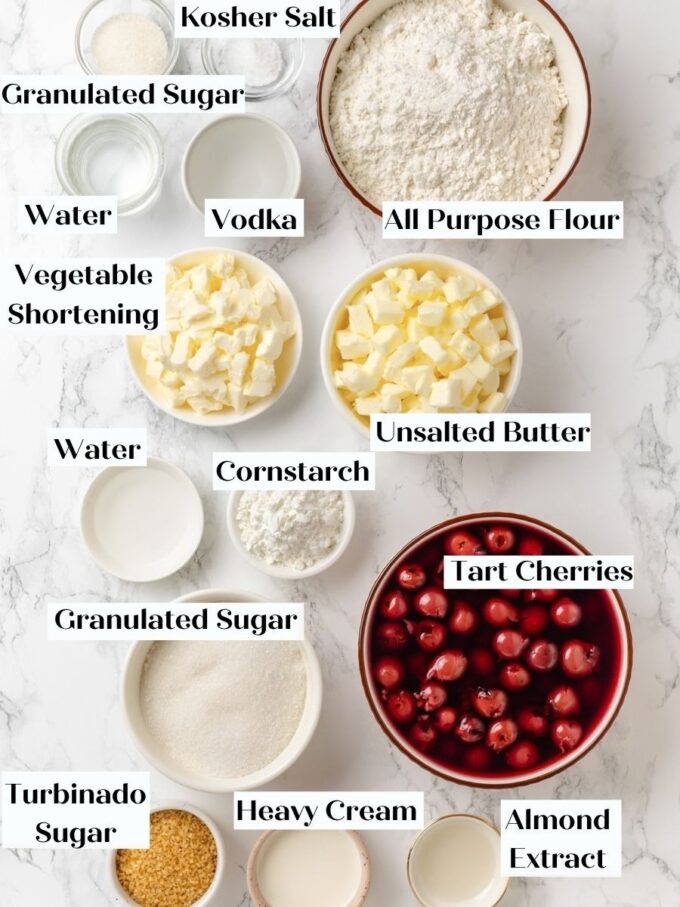
- Tart Cherries: These are the star of the filling, delivering the bright, sour flavor that defines this pie. I recommend canned tart cherries in water for consistent results. You can substitute fresh or frozen pitted tart cherries, but sweet cherries will give a darker, duller color and a flatter flavor even with less sugar. If you love working with cherries in other forms, my chocolate cherry galettes are a perfect next bake!
- Almond Extract: A small amount deepens the cherry flavor without tasting artificial. Don’t skip it, and don’t add more, since a little goes a long way.
- Cornstarch: Cornstarch thickens the filling into a glossy, sliceable consistency. Tapioca flour substitutes one-for-one, but add it at the very beginning with the cherries, not as a slurry.
- Unsalted Butter: Cold, cubed butter creates steam pockets in the crust during baking, which produces those distinct flaky layers. Keep it cold right up until it goes into the flour.
- Vegetable Shortening: Shortening works alongside the butter to maximize flakiness. Together, the two fats give you tenderness and flavor in one dough.
- Vodka: Vodka adds moisture without developing gluten the way water does, keeping the crust tender and easy to roll. Don’t substitute with more water, since a water-only dough will be noticeably tougher. The goal is frozen vodka, so return it to the freezer after measuring.
- Heavy Cream and Turbinado Sugar: Both are optional finishing touches. Brush the cream over the top crust before baking for a golden sheen, and sprinkle turbinado sugar for a little crunch and sparkle.
Variations for Sour Cherry Pie Recipe
- Change the pie crust. You can use my almond flour pie crust or this all butter pie crust!
- Change the flavors: Add a little orange zest, lemon juice, or vanilla extract to the filling.
- Fresh or Frozen Tart Cherries: Swap the canned cherries for an equal weight of fresh or frozen pitted tart cherries for a slightly more vibrant red filling, just like when making these cherry pie bars! Skip the initial boiling step, but still taste and adjust sugar before thickening since fresh and frozen cherries vary in acidity.
- Add alcohol: What tastes amazing with cherries? Bourbon. And also dark rum, Cointreau, or brandy.
Professional Tips for Perfect Sour Cherry Pie Recipe
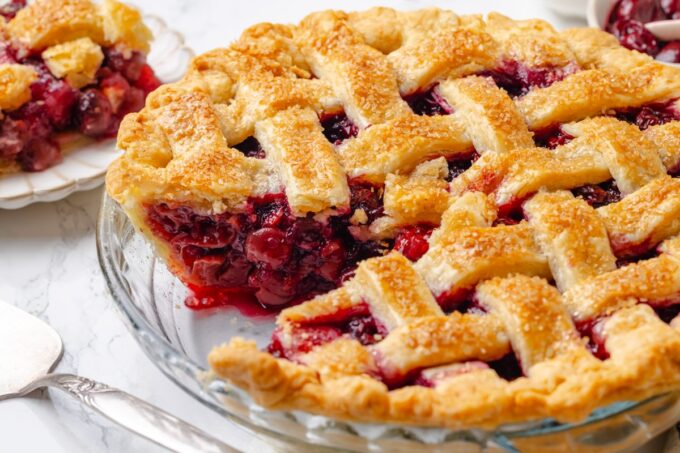
- Boil the canned cherry mixture long enough. Canned cherries carry extra water from the packing liquid, and if you pull the pot off the heat too soon, that water stays in the filling and prevents it from setting properly. The window is five to ten minutes at a full boil. Watch the pot and keep the heat moderate so the bottom does not scorch.
- Taste before you thicken. Once you add the cornstarch slurry and the filling boils, the flavor is locked in. Taste the cherry mixture before you start cooking and adjust to your liking, just like when making apple pie filling!
- Chill the assembled pie before it goes in the oven. At least one hour in the refrigerator after assembly is not optional. A cold pie goes into the oven with its structure intact, which keeps the crust from slumping and gives you clean, defined crimps after baking.
- Bake to bubbling, not just golden. A crust that looks done isn’t a reliable sign the filling has set. The filling needs to bubble actively in the center of the pie, not just at the edges, before you pull it. Pull it too early, and the filling will be loose when you slice it, no matter how long you cool it, just like with this homemade apple pie!
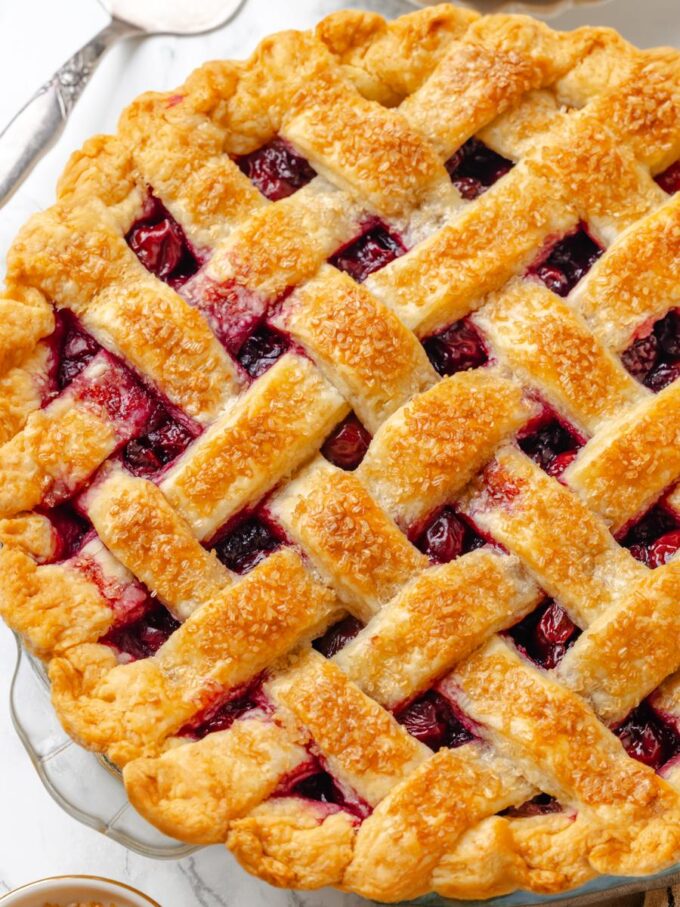
How to Make Sour Cherry Pie Recipe
Use these instructions to make a bright, glossy sour cherry filling tucked inside a tender, flaky crust. Find further details and measurements in the recipe card below.
Make the Filling
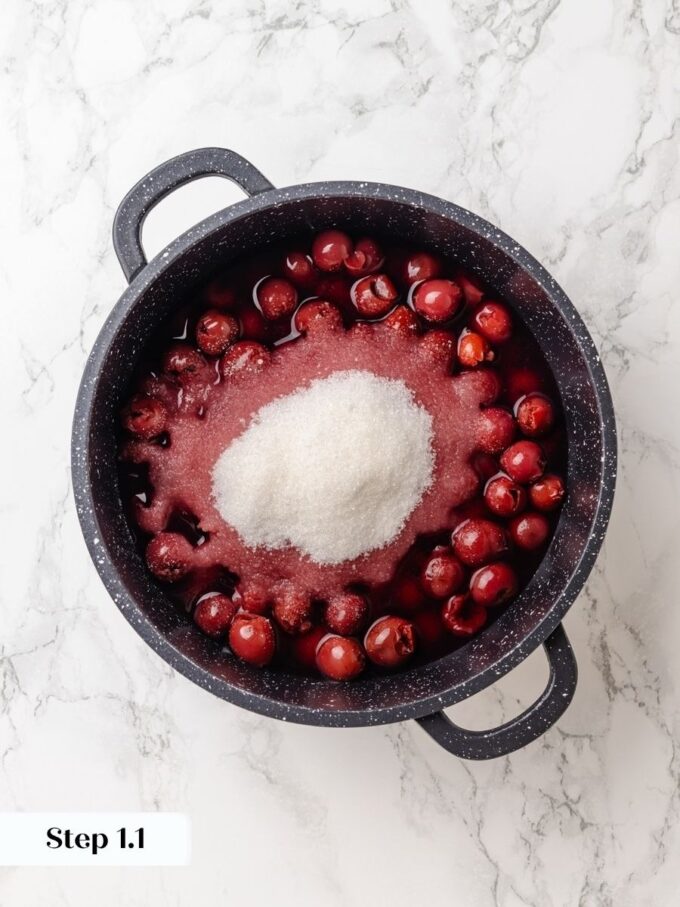
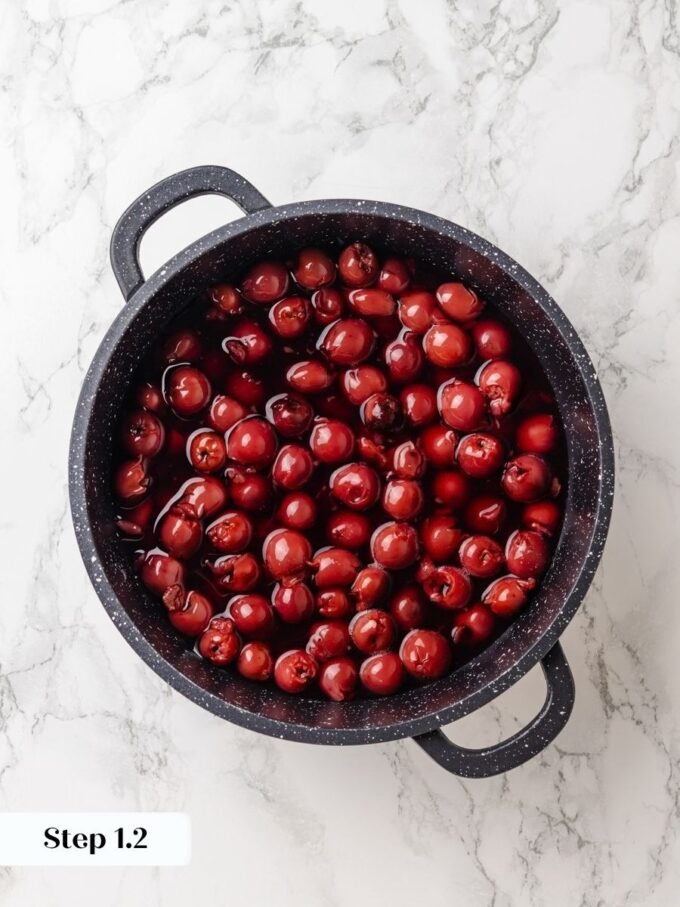
Step 1: Combine the canned cherries, all their juices, the almond extract, and the sugar in a medium saucepan. Set the pan over low heat and cook slowly, stirring occasionally, until the cherries release all their juices and the mixture looks loose and deeply red (photos 1 & 2).
If you use tapioca flour, add it at the very beginning with the cherries and sugar. If you use cornstarch, hold it back and whisk it into water as a slurry at the end, then boil to activate.
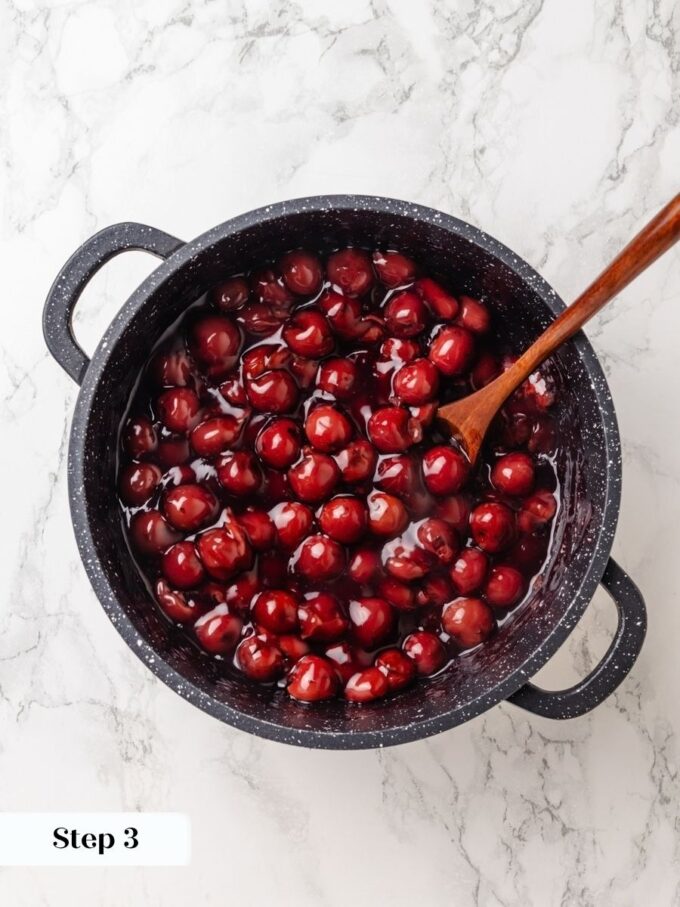
Step 2: Boil the Filling. Once the cherries are fully warmed and juicy, raise the heat and bring the mixture to a boil. Boil steadily for 5 to 10 minutes, stirring occasionally, to evaporate the excess water that comes from canning (photo 3). The mixture will reduce slightly, and the color will deepen. Watch it carefully so it does not scorch on the bottom. Before adding any thickener, taste the filling and adjust the sugar.
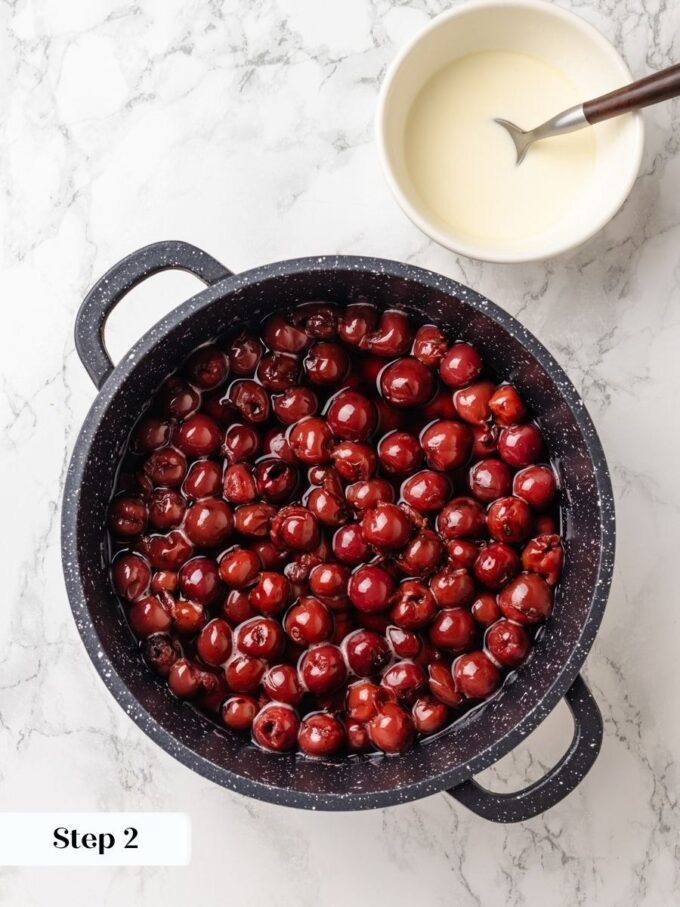
Step 3: Thicken the Filling. If you are using cornstarch, whisk it together with the tablespoon of water in a small bowl until completely smooth, with no lumps. Reduce the heat to low, pour the slurry into the hot cherries while stirring constantly, then raise the heat and boil for a full minute (photo 4).
This minute matters: cornstarch needs to reach a full boil to activate properly, and a filling that has not boiled long enough will be runny once sliced.
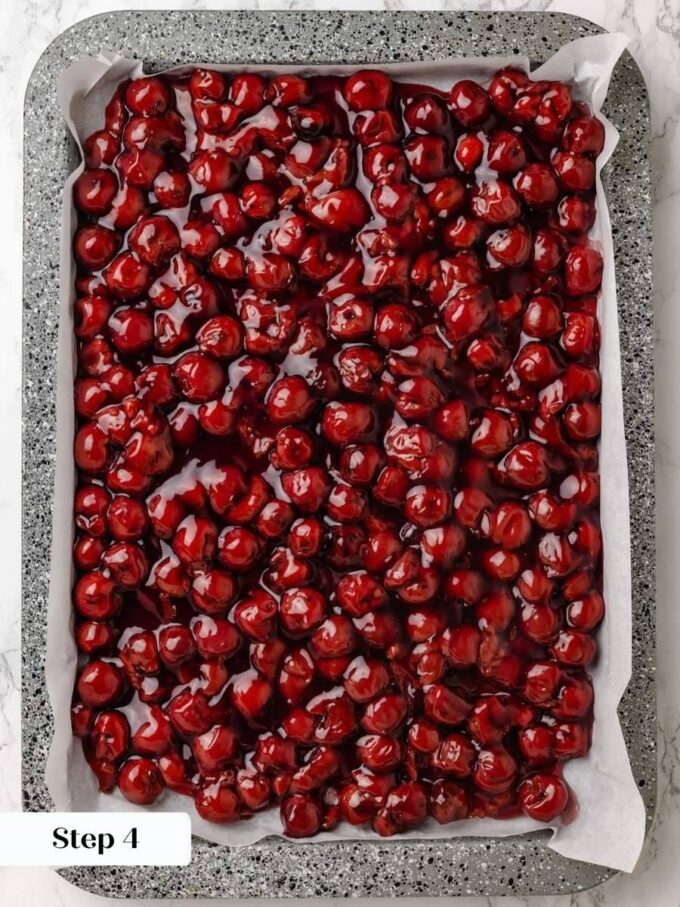
Step 4: Cool the Filling. Pour the finished filling onto a parchment-lined rimmed sheet pan and spread it into an even layer. Let it cool completely at room temperature before using (photo 5). The filling will thicken further as it cools, which is exactly what you want.
If you are making it ahead, transfer it to an airtight container and refrigerate for up to 2 weeks or freeze for up to 3 months. If it separates during storage, simply stir it back together — there is no need to reheat before assembling the pie.
Make the Crust
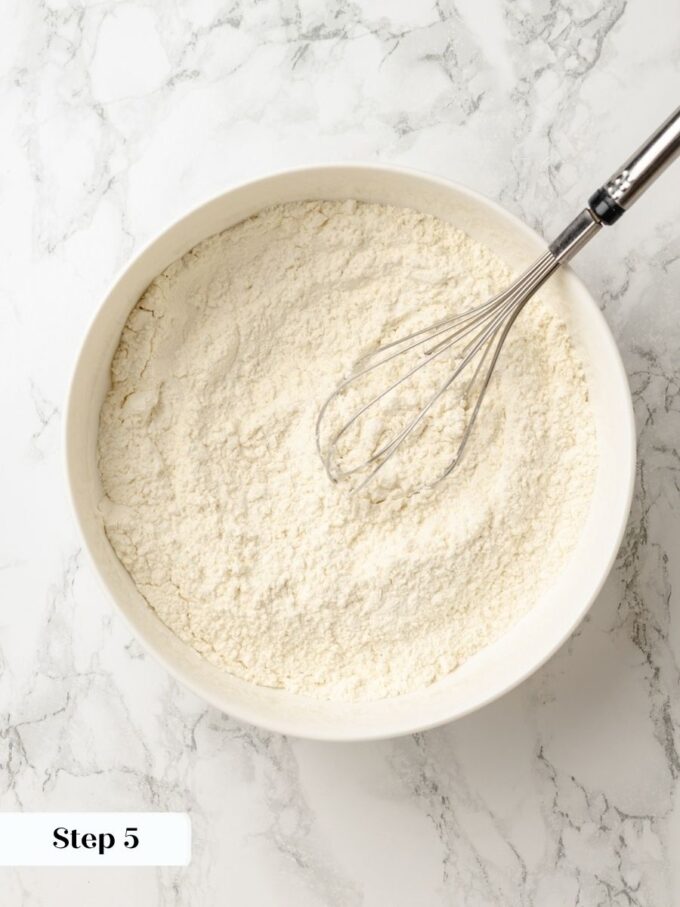
Step 5: Start by chilling everything. Weigh the flour directly into your mixing bowl. If you are not using a scale, sift two cups and then re-measure 2½ cups. Add the salt and sugar, stir, then cover the bowl and refrigerate (photo 6). Cut the butter into small cubes and measure the shortening into bits, then return both to the refrigerator. Measure the vodka and return it to the freezer.
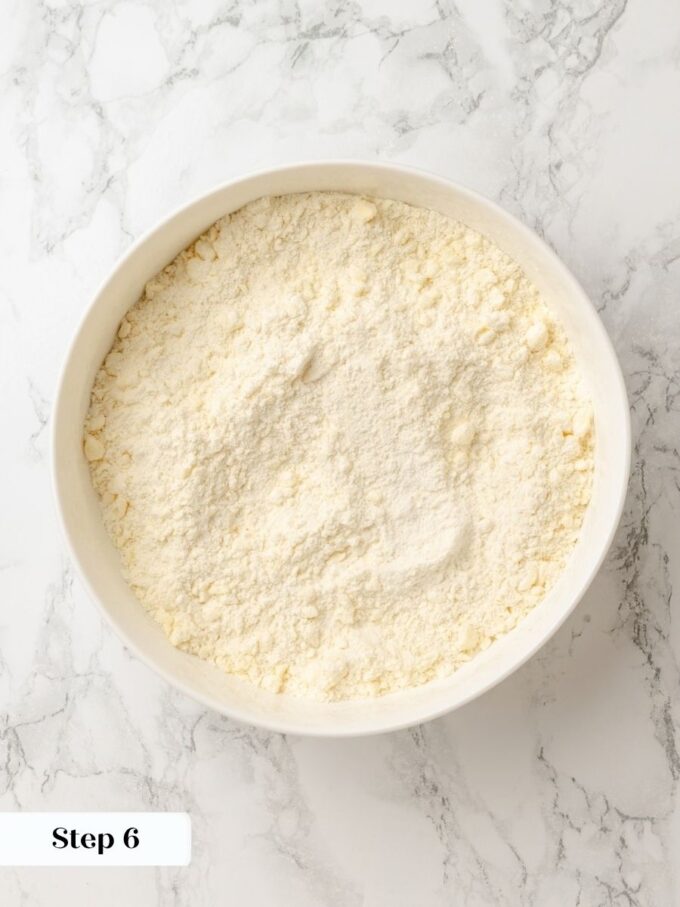
Step 6: Cut in the Fat. Remove the flour mixture from the refrigerator. Drop in the cold butter slices one at a time, tossing them to coat with flour as you go, then do the same with the shortening bits (photo 7). Use a pastry blender to cut the fat into the flour, pressing down and rocking through the mixture, until it looks like a coarse streusel topping with some pea-sized pieces still intact and no dry flour sitting loose at the bottom.
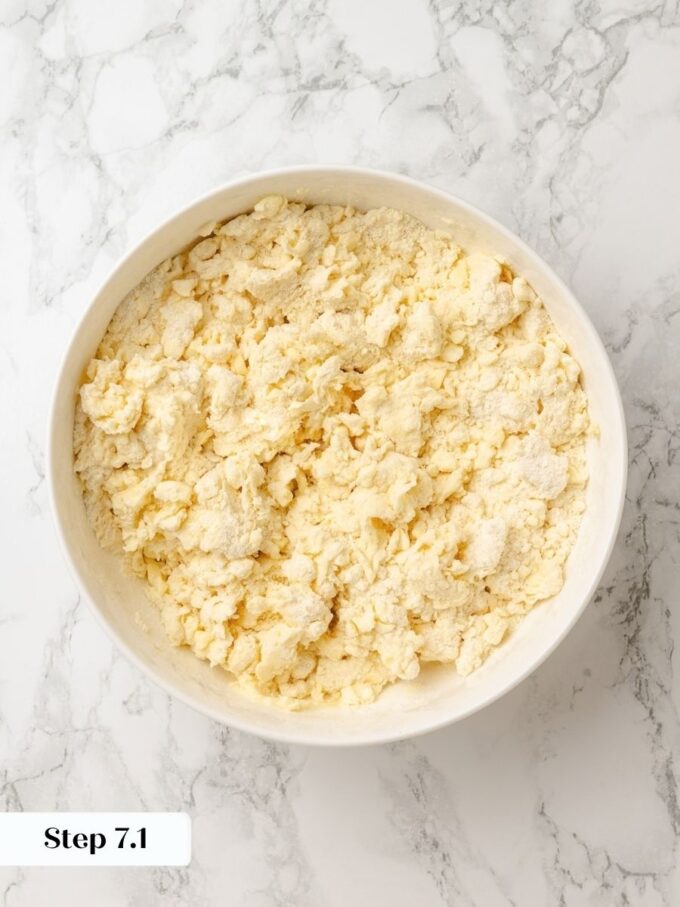
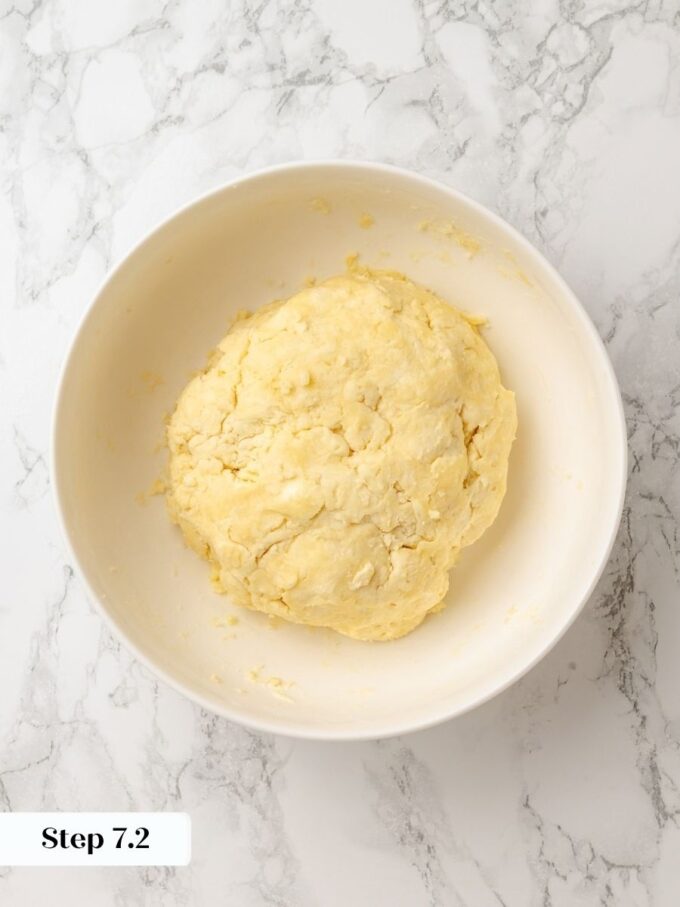
Step 7: Add the Liquid. Drizzle the frozen vodka evenly over the dough, then drizzle the cold water over it in the same way. Use a sturdy spatula to mash and fold the dough, scooping from the bottom and pressing firmly against the sides of the bowl, until the liquid is worked in and the dough comes together. It should feel cohesive and a little tacky, not crumbly. If it still has dry patches, add ice water a teaspoon at a time. (photo 8 & 9)
Chill the Dough
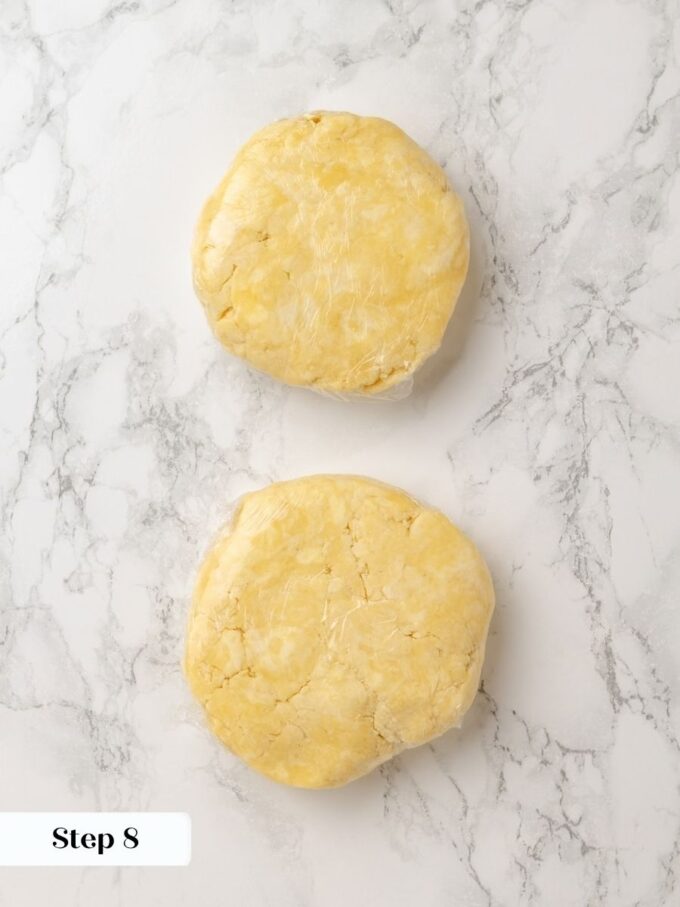
Step 8: Scoop the dough into a ball and divide it in two, making one piece slightly larger for the bottom crust. Flatten each portion into a disk about an inch thick, wrap tightly in plastic wrap, and refrigerate for at least 1 hour and up to 2 days (photo 10).
Roll the Dough
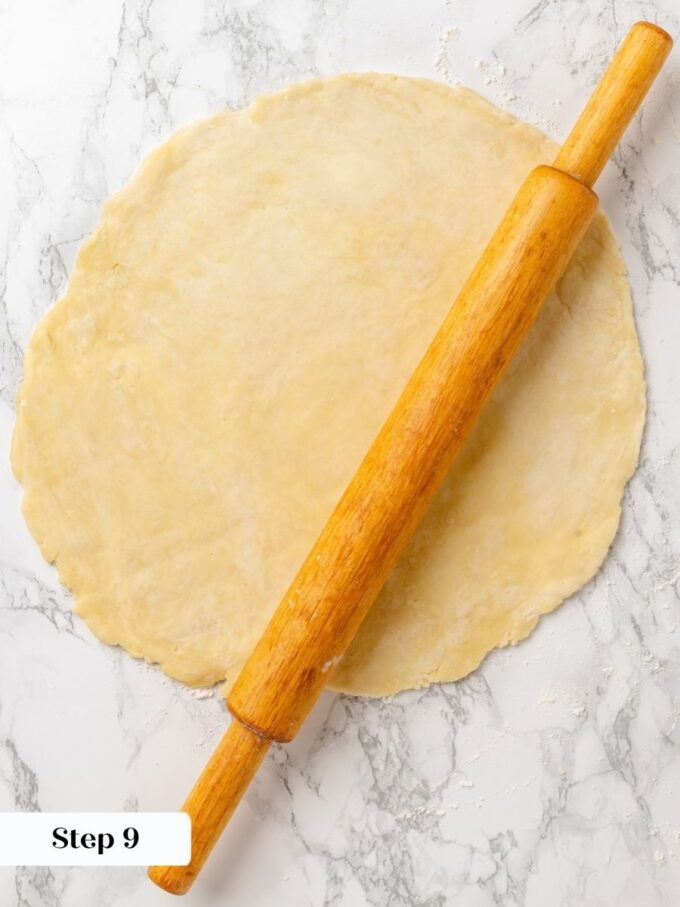
Step 9: Remove one dough disk from the refrigerator and let it sit for 5 minutes if it feels very firm — you want it pliable but still cold. Place it on a generously floured surface. Roll from the center up and back, then center down and back, then center to each side. Between each pass, cup the dough lightly in your palms and spin it a quarter turn counter-clockwise, pulling it through fresh bench flour as needed to prevent sticking. Continue rolling and turning until the round is large enough to cover the pan and drape over the sides with some overhang (photo 11).
If it tears, simply press the edges back together — cold dough patches easily.
Assemble the Pie
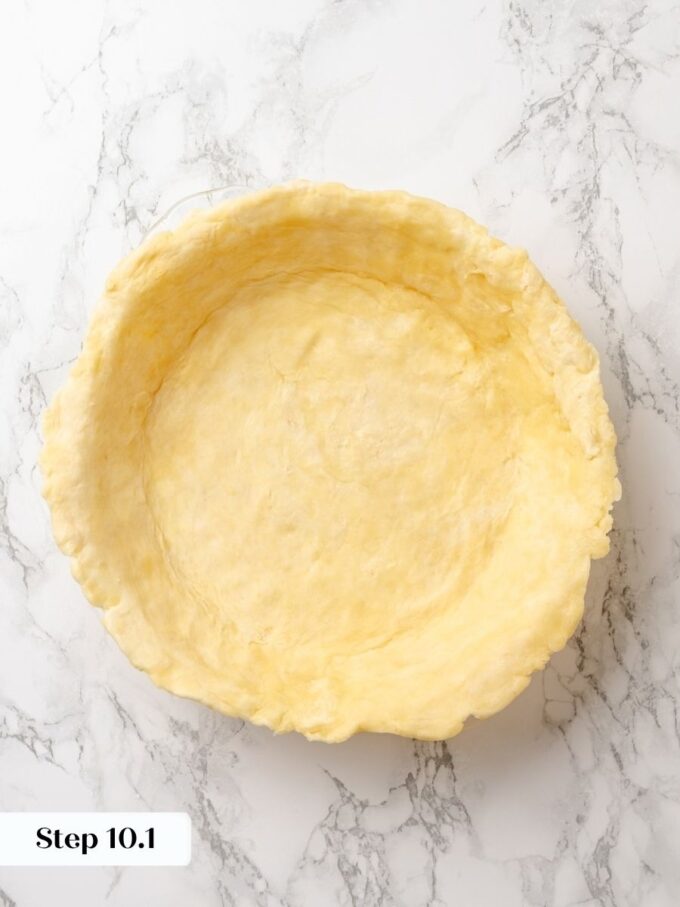
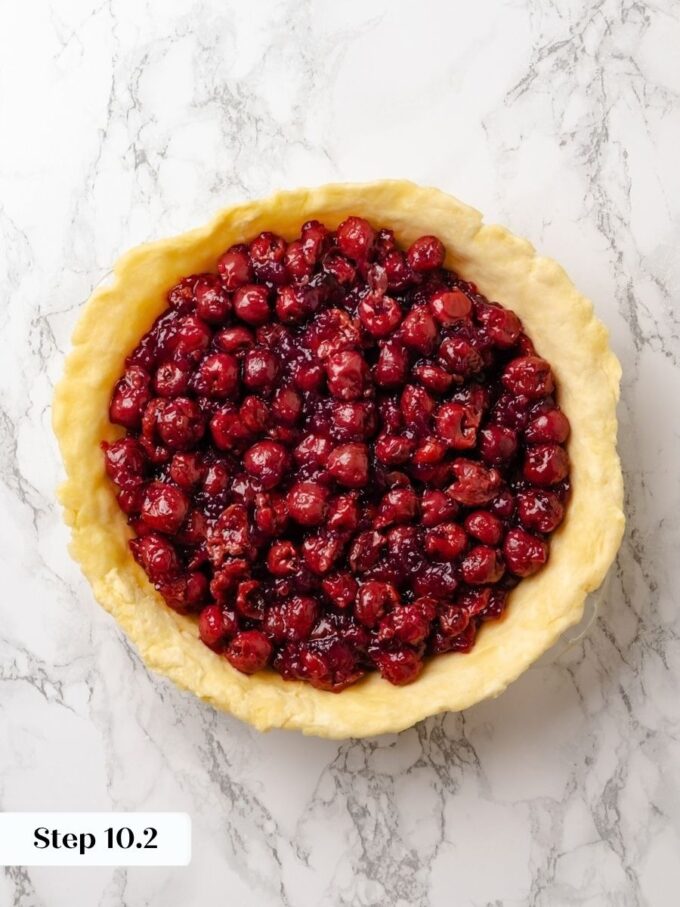
Step 10: Line the Pie Dish. Fold the rolled dough loosely in half, lift it into a 9-inch pie dish, and unfold it gently so it settles into the bottom and sides without stretching (photo 10). Stretching now causes the crust to shrink during baking, so let gravity do the work. Spoon all of the cooled cherry filling into the shell and spread it into an even layer (photos 12 & 13).
If the filling has separated during storage, stir it back together before adding it — no reheating needed.
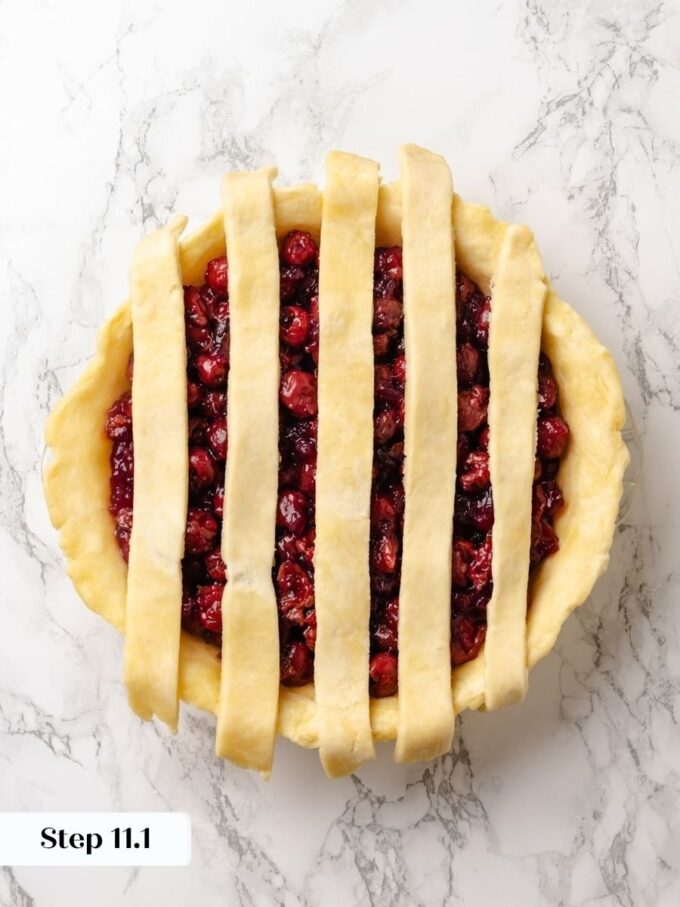
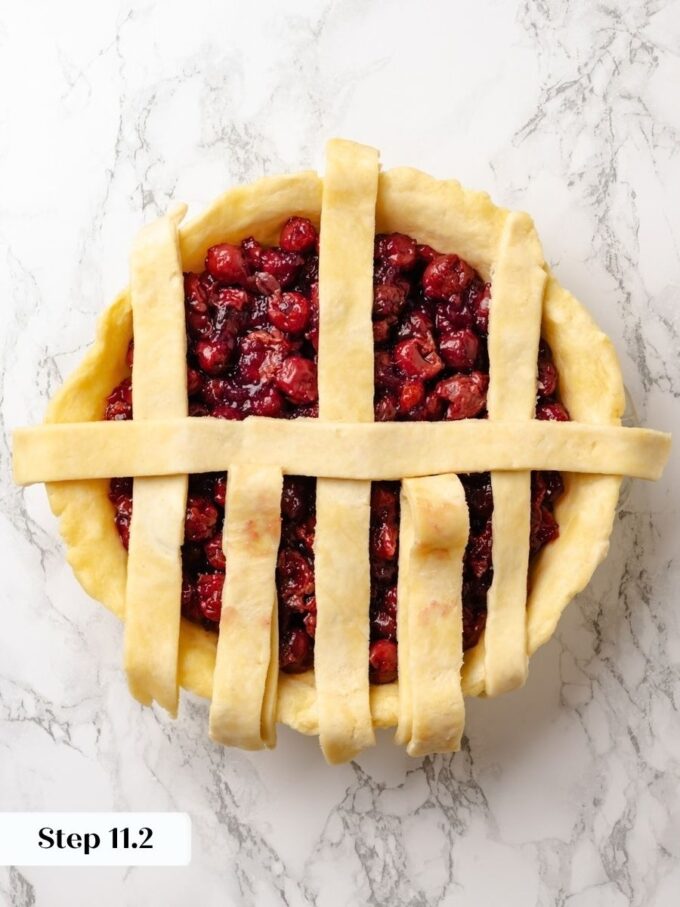
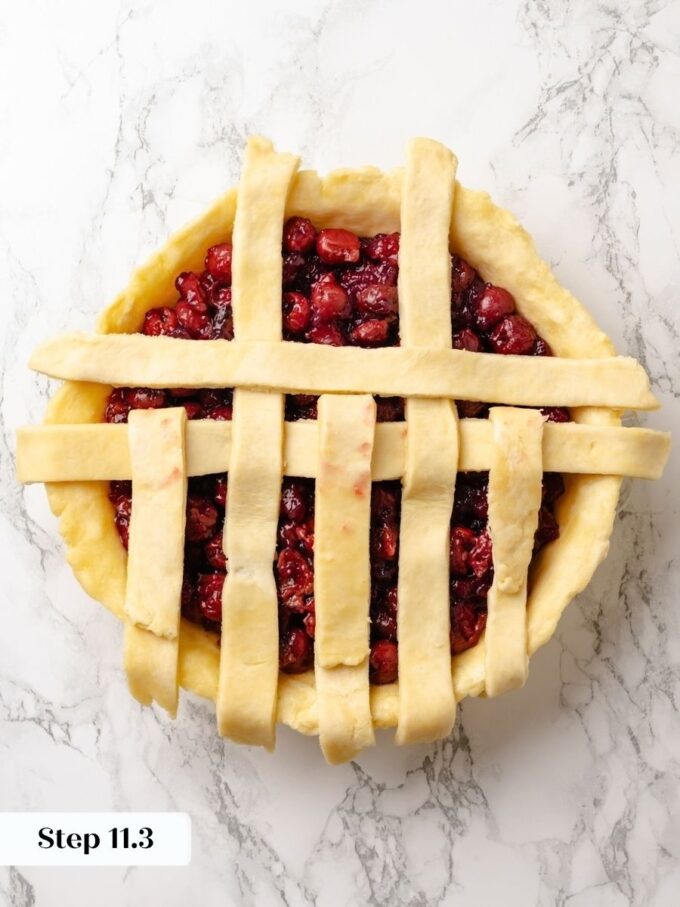
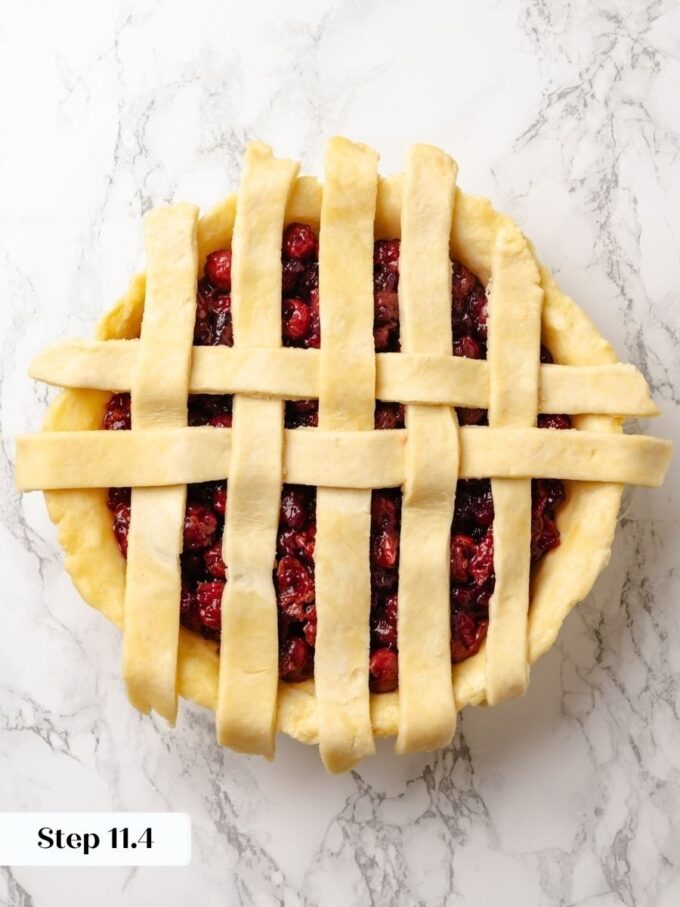
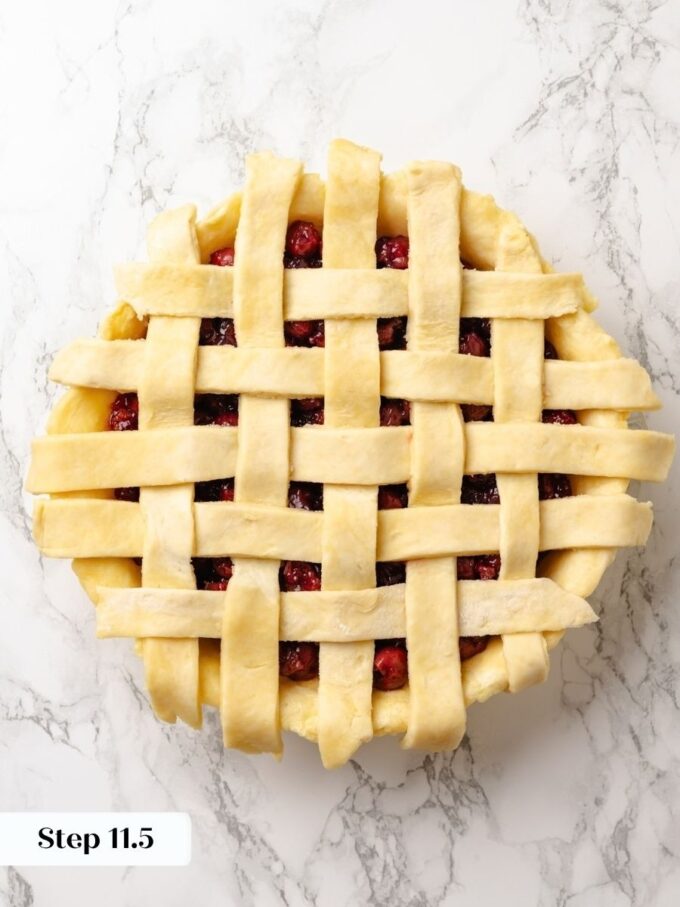
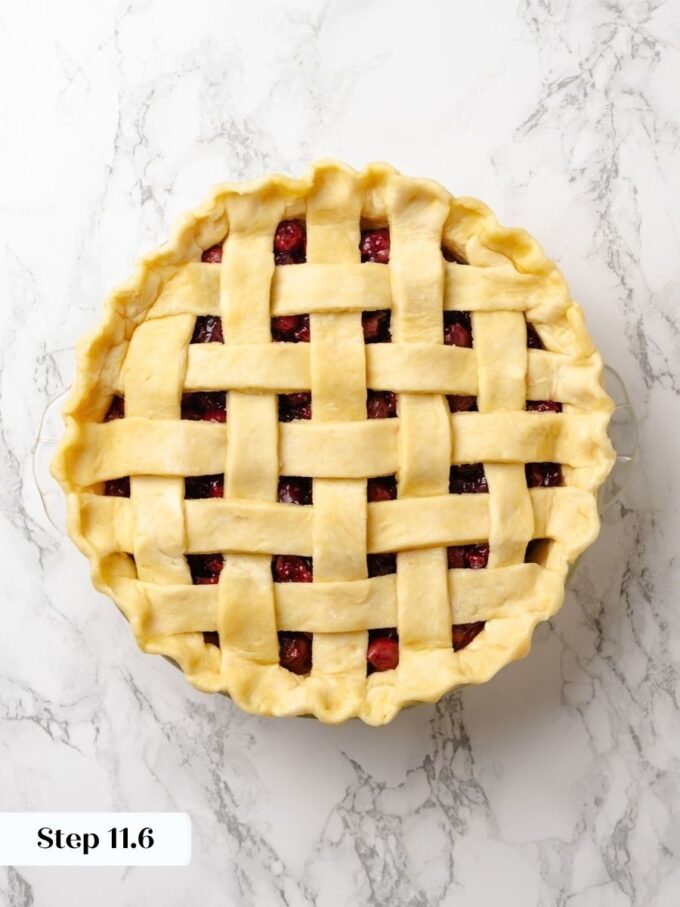
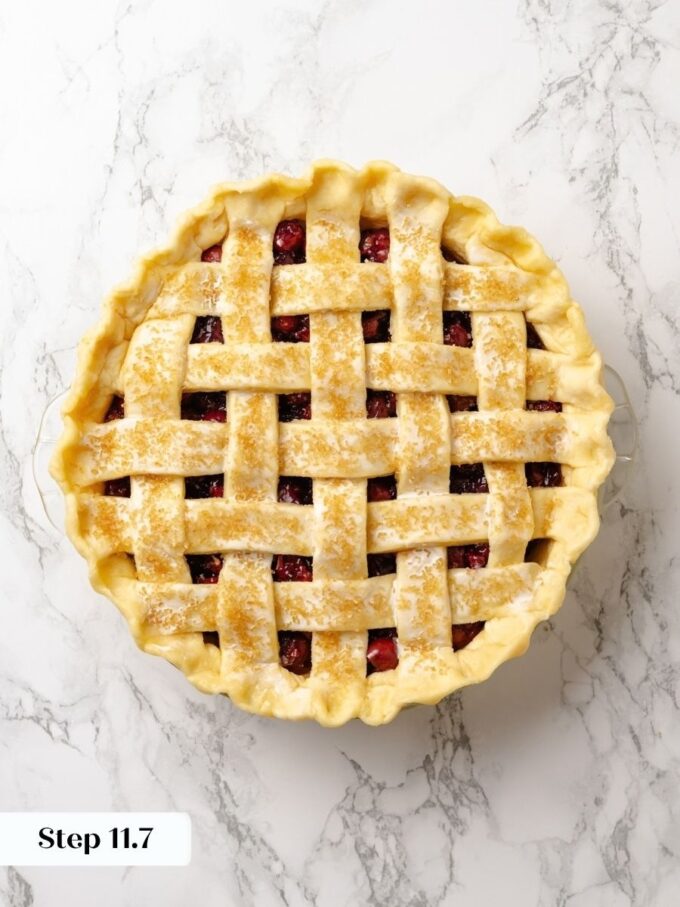
Step 11: Top the Pie. If you want a sugared top crust, brush the second dough round with heavy cream and sprinkle it with turbinado sugar while it is still flat on the work surface. Then fold, lift, and unfold it over the filling the same way you did the bottom. Roll the overhanging edges of both crusts under together and crimp decoratively. Cut several steam vents across the top with a sharp knife or kitchen scissors.
Always chill the assembled pie for at least an hour before baking to help it hold its shape. If you would like to lattice, head over to my tutorial on how to lattice a pie crust! (photo 14-20)
Bake the Pie
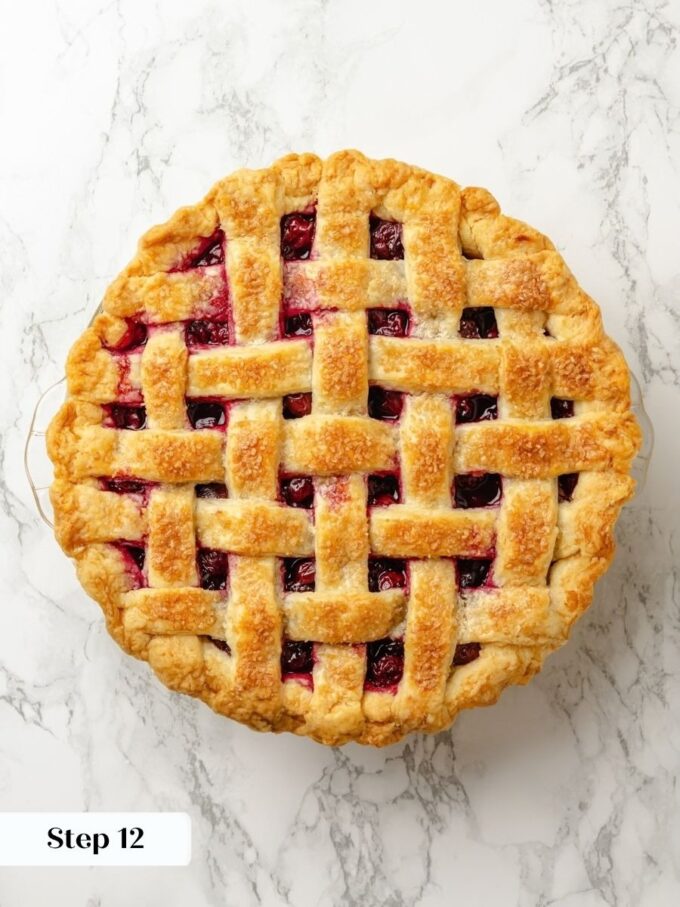
Step 12: Preheat the oven to 350°F while the pie chills. Once the pie is fully chilled and the oven is ready, slide the pie onto the center rack and bake for 45 to 50 minutes. The pie is done when the filling is bubbling actively in the center — not just at the edges — and the crust is a deep, dark golden brown all the way across. If the edges begin browning too fast, tent them loosely with foil. (photo 21)
Step 13: Cool the Pie. Transfer the pie to a wire rack and cool completely before slicing, at least 3 to 4 hours . The filling continues to set as it cools, and cutting too early will give you a runny slice no matter how well the starch was activated. The finished pie keeps for up to a week, or you can wrap it tightly and freeze it.
Recipe FAQs
Sour cherry pie keeps at room temperature for up to 3 days or in the fridge for a week. For longer storage, wrap the whole pie or individual slices tightly in plastic wrap, then foil, and freeze for up to 3 months. To serve from frozen, thaw overnight at room temperature; the filling will return to its glossy, set texture without reheating.
It almost always comes down to one of two things: you didn’t boil the filling long enough before adding the starch, or you sliced the pie before it cooled completely. With canned cherries, you need a steady 5 to 10 minute boil to drive off excess water from the packing liquid before you add the cornstarch slurry. Then bring the slurry to a full rolling boil for one minute to activate. Even a perfectly thickened filling will look loose if you cut into it while it is still warm — give it at least 3 to 4 hours on the rack.
Yes, tapioca flour substitutes one-for-one by weight, but you add it at a different time. Cornstarch goes in at the very end as a slurry, after the cherries have boiled. Tapioca flour goes in at the very beginning, stirred in with the cherries and sugar before the pot ever hits the heat. Using the wrong method for whichever starch you choose is what causes problems, so pick one and follow its timing exactly.
Recommended Pie Recipes!
Pies & Tarts

Pies & Tarts

Pies & Tarts

Pies & Tarts
Sour Cherry Pie Recipe
Ingredients
Cherry Pie FIlling
- 2 cans tart cherries, pitted, canned in water, with their juices
- ¾ cup granulated sugar, or more to taste
- ¼ teaspoon almond extract
- 3 tablespoons cornstarch, or tapioca flour
- 1 tablespoon water, for the cornstarch slurry
Pie Crust
- 2½ cups all-purpose flour
- 1 teaspoon kosher salt
- 1 tablespoon granulated sugar
- ¾ cup unsalted butter, cold and cubed
- ¼ cup vegetable shortening, + 2 tablespoons cut into small bits
- ¼ cup vodka, frozen
- ¼ cup water, cold
Finishing
- Heavy cream, for brushing
- Turbinado sugar, for sprinkling
Instructions
Make the filling:
- Combine the cherries and their juices, almond extract, and sugar in a medium saucepan. If using tapioca flour instead of cornstarch, add it now. Cook over low heat until the cherries release all their juices, then bring to a boil and cook for 5–10 minutes to drive off excess water. Watch carefully so it does not scorch.
- Taste and adjust the sugar now, before adding any starch.
- Whisk the cornstarch with 1 tablespoon of water to make a slurry. Reduce the heat to low, pour in the slurry while stirring constantly, then raise the heat and boil for one minute to fully activate the starch.
- Pour the filling onto a parchment-lined rimmed sheet pan and cool completely. Use immediately, refrigerate for up to 2 weeks, or freeze for up to 3 months.
Make the crust:
- whisk the flour, salt, and sugar together, then refrigerate the bowl. Cut the butter and shortening into small pieces and refrigerate until needed. Measure the vodka and return it to the freezer.
- Remove the dry ingredients from the refrigerator. Drop in the butter slices, coating them with flour as you go, then add the shortening in small bits. Cut both into the flour with a pastry blender until the mixture looks like streusel with no dry flour remaining and some pea-sized pieces throughout.
- Drizzle the frozen vodka over the surface, then drizzle the cold water evenly over the top. Mash the dough with a sturdy spatula, scooping from the bottom and pressing against the sides, until it comes together.
- Pat the dough into a ball and divide it in two, making one piece slightly larger for the bottom crust. Flatten each into a disk, wrap tightly in plastic, and refrigerate for at least 30 minutes.
- Roll each disk on a generously floured surface: roll from the center up and back, then center down and back, then center to each side. Cup the dough in your palms and spin a quarter turn counter-clockwise between passes, pulling it through more bench flour as needed, until each round is large enough to cover the pan and drape over the sides.
Assemble the pie and bake:
- Line a 9-inch pie dish with the larger dough round. Add all of the cooled cherry filling. If the filling has separated during storage, stir it back together — no need to reheat.
- If you want a sugared top, brush the second round of dough with heavy cream and sprinkle with turbinado sugar before placing it on the pie. Top with the second round, roll the edges under, and crimp decoratively. Cut steam vents.
- Chill the assembled pie for at least 1 hour before baking.
- Preheat the oven to 350°F. Bake for 45–50 minutes, until the filling is bubbling in the center and the crust is deeply golden brown. Cool completely before slicing.
Notes
Thickener: If using tapioca flour, add it at the very beginning with the cherries and sugar. If using cornstarch, whisk it into water and add it as a slurry at the end, then boil one full minute to activate. Do not swap the methods or the filling will not set properly.
Storage: The finished pie keeps at room temperature for up to 1 week. Wrap tightly and freeze for up to 3 months. The filling alone can be refrigerated for up to 2 weeks or frozen for up to 3 months.
Nutrition
Nutrition information is automatically calculated, so should only be used as an approximation.
 Like this recipe? Rate & comment below!
Before You Go
If this sour cherry pie has you in a baking mood, there is plenty more where that came from. Browse our Dessert Recipes or make this blackberry pie next!


I was nervous about the filling being too runny, but it set up beautifully after cooling completely. The cornstarch ratio is exactly right and the crust came out golden and flaky on the bottom, which never happens for me!
Rachel, this is exactly what we love to hear! Thank you for taking the time to share! ~GVD team
My family loves a cherry pie, and this one is perfect. The almond is a great addition. I used frozen cherries, let them defrost before cooking the pie, and drained a bit of the liquid. I am also a big fan of your pie crust recipe, which turns out perfect every time.
I tried this recipe, the taste was delicious. However, the filling was real watery, not thick in any way, not sure if I did something wrong.
Hi LouAnn! I’m glad it was delicious, but let’s get you a thick cherry pie filling! There’s a possibility that your cherries were realllllyyy juicy, in which case you might need to add a bit more cornstarch. Also, if you let the cherry mixture sit for 10 minutes so that the cherries have time to release their juices (then you drain some of the excess) that helps too. You want to be sure your filling is mixed evenly and also that your oven is at the right temperature. Your filling needs time to bubble or it won’t thicken properly! Last but definitely not least, this pie needs 2 hours to cool for the filling to set and get you that nice sliceable pie. Hope that helps and happy baking! ~gvd team
Attempted a second cherry pie, using all your suggestions and the pie was absolutely PERFECT, and delicious. Thank you for providing an easy recipe and baking suggestions!
Hi LouAnn! I’m so happy! Cherry pie is our favorites on this team, so it really brings us joy to hear the tips worked like a charm. Thanks for taking the time to let us know, and happy baking! ~gvd team
Ooohhhh this was so good!!! Served it warm with vanilla ice cream and it was the perfect end to a summer barbecue – thank you!!!
I am so happy to hear that, Ali! Thank you!
I had been craving cherry pie, and this hit the spot. That filling is wonderful. I really loved the flavor the almond extract added. So good!
I have been looking for a good fruit pie recipe, and this was it! The cherries had such a vibrant and delicious flavour, and It was also perfect with some extra cherries, and powdered sugar ontop.
I was kind of nervous to make a cherry pie with fresh cherries (since I normally lazy and use filling lol) but this was so good! And not too hard to do.
This cherry pie recipe turned out perfectly! Used fresh cherries (as mentioned) and it was amazing! The kids can’t get enough of it! We will surely have this on repeat!
I love the cherry pie! I love how sweet and juicy the cherry filling is. I love to eat it warm, with a scoop of vanilla ice cream on top.