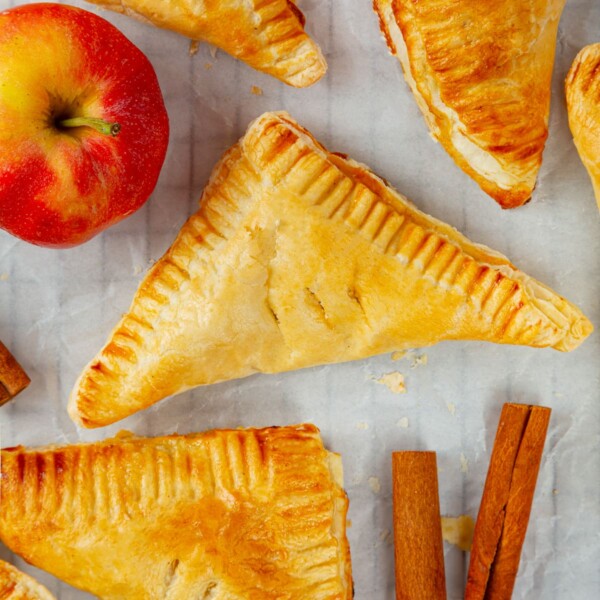
This homemade apple pie uses a pre-cooked filling and a rolled-under, all-butter crust for clean, beautiful slices and a filling that is never watery. It is the most reliable version of a classic.
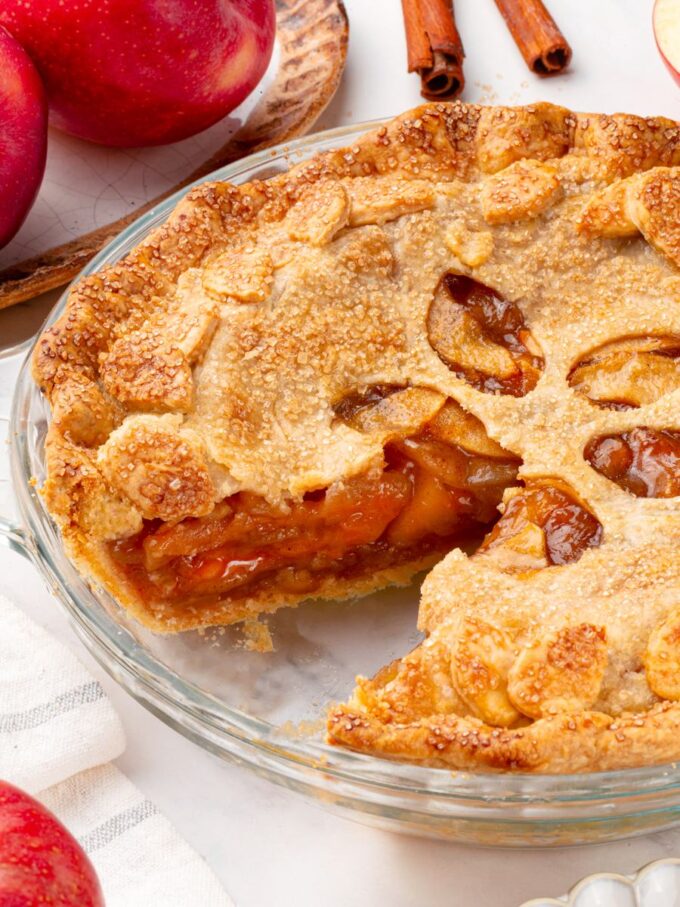
A Quick Look At The Recipe
This is a brief summary of the recipe. Jump to the recipe to get the full details.
Prep Time
45 minutes
Cook Time
1 hour
Proof/Rest Time
2 hours 15 minutes
Total Time
4 hours
Servings
8 Slices
Difficulty
Intermediate
Calories *
383 kcal per serving
Technique
Pre-cooked filling, rolled-under double crust
Flavor Profile
Sweet, buttery, spiced, tart
* Based on nutrition panel
“I have made so many apple pies where the filling turned into soup the moment I cut into it. The pre-cooked filling in this recipe fixed that completely, and the crust held its shape through every single slice.” ⭐⭐⭐⭐⭐
Miriam
Why You Will Love This Recipe
- The filling holds its shape. Most homemade apple pie filling turns watery or mushy because you add raw apples. Pre-cooking the filling means the apples are perfectly tender and the juices are already thickened before the pie ever sees the oven.
- The crust is reliably flaky. An all-butter brisée delivers real flavor and a shatteringly flaky texture. The key is keeping the butter cold throughout, which is easier when you know exactly what to watch for at each step.
- The sweet-tart balance is built in. Using a mix of apple varieties, plus both granulated and brown sugar, gives the filling depth without tipping into too sweet. Lemon juice and zest keep everything bright.
- Apple season! This pie pairs naturally with other apple bakes, and if you enjoy working with apple-forward recipes, the apple coffee cake uses a straightforward batter and comes together in under an hour.
I make this pie most often in the fall, usually on a Sunday when there is no reason to rush, and the kitchen can smell like cinnamon for a few hours. It’s the pie I reach for when I want something that genuinely delivers on every element: crust, filling, and slice.
This pie works equally well as a holiday centerpiece or a regular weekend project, and the filling alone is worth making in a big batch. If you are in an apple-baking stretch, my apple bread or these apple pie bars use many of the same flavors in a much simpler format.
Ingredients & Substitutions
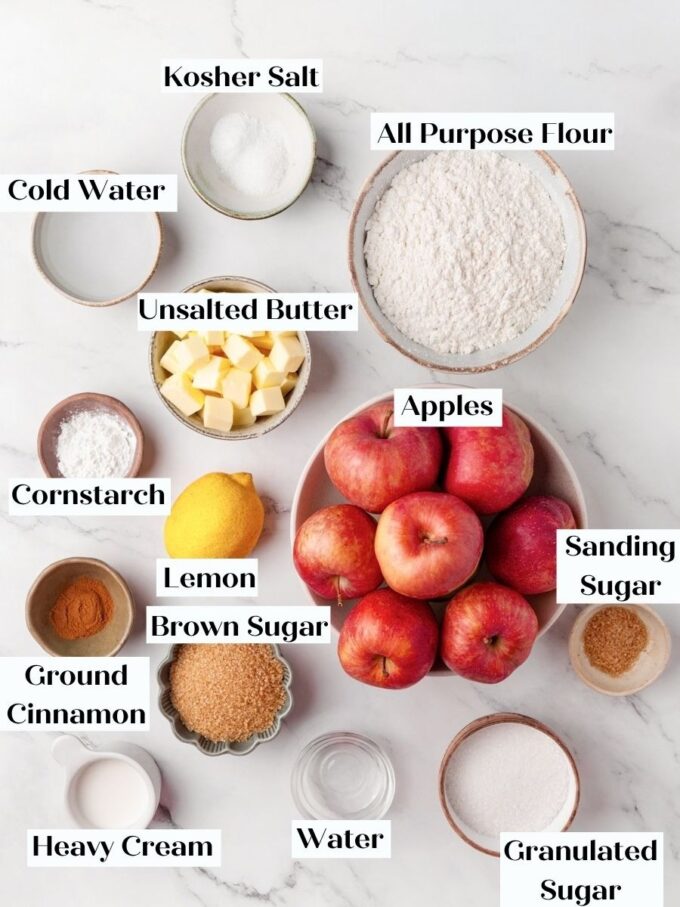
- Unsalted Butter (crust): Cold butter is what creates flaky layers in the crust. As it melts in the oven, it releases steam that separates the dough into distinct, tender sheets.
- Apples: A mix of sweet and tart varieties gives the filling balanced flavor and a texture that holds up to cooking. Good choices include Honeycrisp, Braeburn, Macoun, Cortland, and Pink Lady. Avoid Gala, Fuji, Golden Delicious, and Red Delicious entirely, as they tend to turn mushy before cooking and again in the oven.
- Granulated Sugar and Light Brown Sugar: These two sugars work together to create a deeper-flavored filling. Granulated sugar provides straightforward sweetness, while brown sugar adds a soft molasses note that rounds out the spice. If you love that same molasses warmth in a cookie, these molasses cookies pair nicely on a holiday table.
- Lemon: Both the juice and zest go into the filling. The juice prevents the apples from browning as you prep them and keeps the finished filling bright, while the zest adds a floral lift you would miss if you left it out.
- Heavy Cream: Brushed lightly over the top crust just before baking to promote browning. Apply a thin, even coat and work quickly to keep the crust cold.
- Turbinado or Sanding Sugar: Sprinkled over the cream wash for a crunchy, sparkling top crust. Either works well here.
Variations for Homemade Apple Pie
- Lattice Top Crust. Skip the solid top crust and weave strips of dough into a lattice instead. Increase the brisée recipe by 1.5× so you have enough dough to cut even strips without running short. Make sure to check out my post where I teach how to lattice pie dough!
- Add more spice! Add my apple pie spice mix to the filling along with the cinnamon. Start with a small amount, taste, then add more.
- Spiced Brown Butter Filling. Brown the 40g of butter before stirring it in at the end of cooking. It adds a nutty, caramel undertone that works especially well with tart apple varieties like Braeburn or Macoun.
- Caramel Sauce! Just like this caramel apple pie, you can add some easy salted caramel sauce to the pie filling before baking!
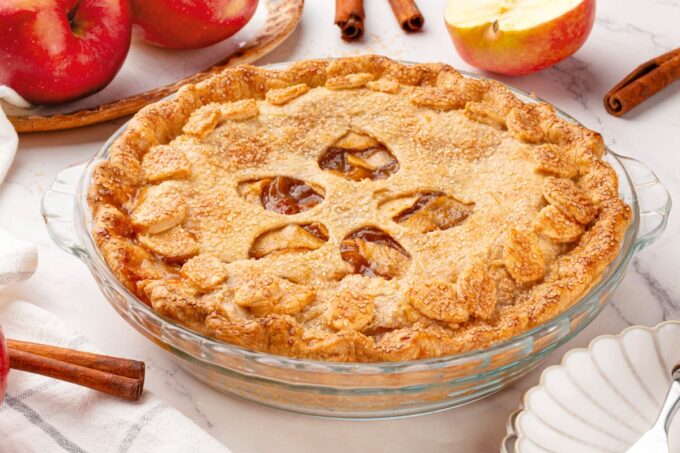
Professional Tips for The Perfect Homemade Apple Pie Recipe
- Use a 9- to 10-inch pie dish, and always bake on a sheet pan. This recipe works in any standard dish in that size range, so don’t worry if yours isn’t exactly 9 inches. The sheet pan underneath is not optional: the filling bubbles and drips, and cleaning it off the bottom of your oven is far less enjoyable than cleaning a sheet pan.
- Chill the rolled crust rounds before assembling. After you roll both crusts, place them on a parchment-lined baking sheet and refrigerate for at least 30 minutes before adding the filling. Cold dough holds its shape during assembly and crimping, and a crust that goes into the oven cold produces noticeably more defined flake than one that has warmed up on the counter.
- Roll the edge inward and under before you crimp. This is the step most recipes skip and the one that matters most. Gather the top and bottom crusts together and roll the rim inward and under so both crusts finish as one tucked edge sitting on the lip of the dish. A rim that is only pinched will separate and slide down the side of the dish as the butter in the brisée puffs; a rolled-under rim is anchored by its own weight.
- The filling must be completely cold before assembly. Warm filling melts the butter in the brisée before the pie ever reaches the oven, and you lose the flakiness before it has a chance to develop. Spread the filling on a parchment-lined sheet pan to speed chilling, and don’t rush it, even if that means making the filling a day ahead and assembling the next morning.
How to Make This Homemade Apple Pie Recipe
Use these instructions to make a classic homemade apple pie with a shatteringly flaky all-butter crust and a glossy, perfectly set filling. Find further details and measurements in the recipe card below.
Make the Pie Crust
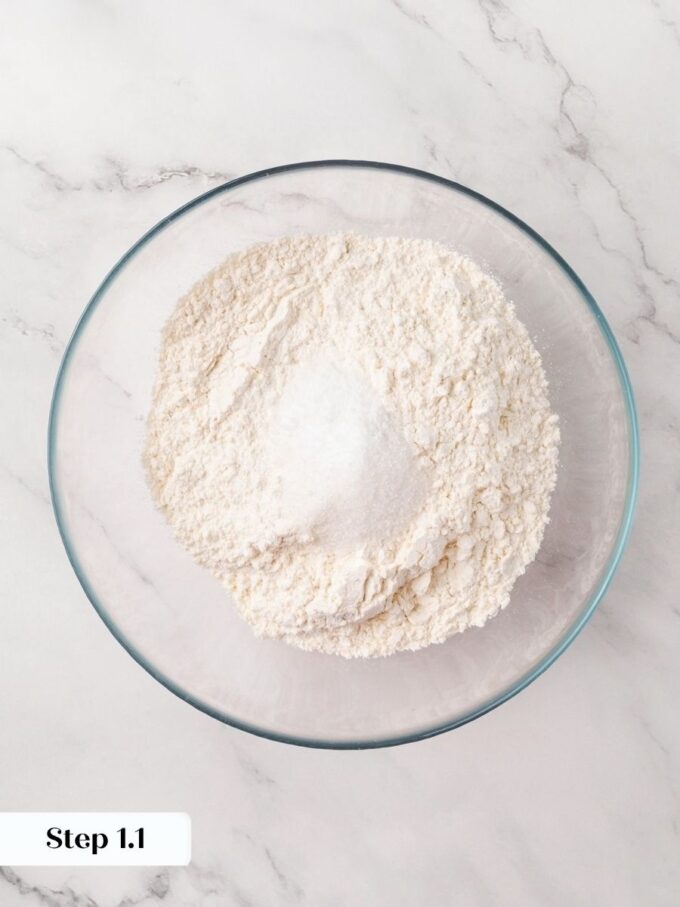
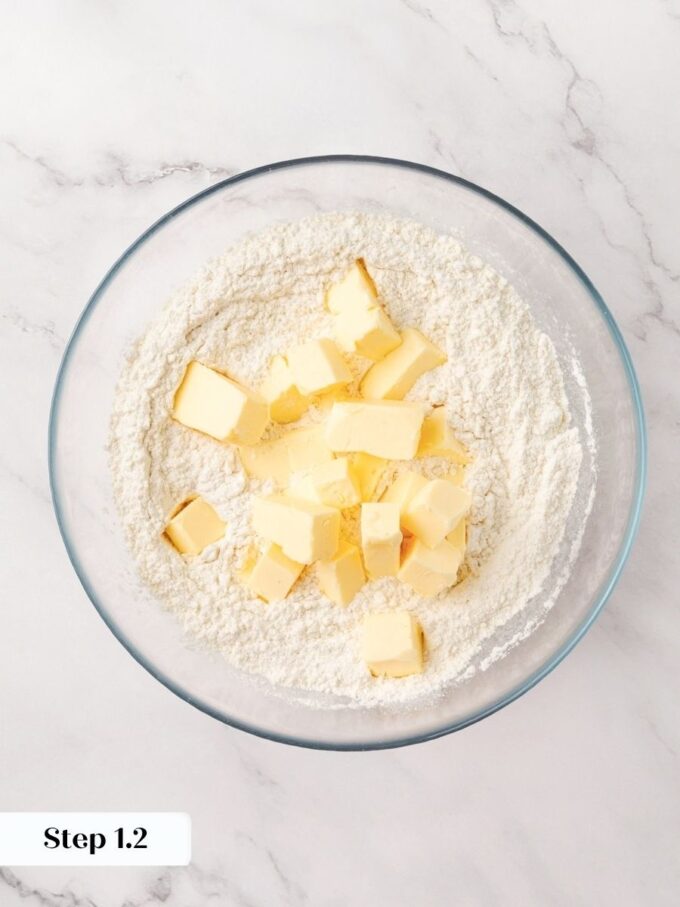
Step 1: Whisk together the flour, salt, and sugar in a large bowl. Add the cold butter cubes and begin cutting them into the flour. Using a bench scraper, pastry blender, or two knives, chop the butter into the flour with a firm up-and-down motion, corralling the flour back toward the center as you go. You are looking for pea-sized pieces of butter coated in flour, with some slightly larger, shaggy bits mixed in — that unevenness is what creates flaky layers. If you are using a stand mixer or food processor, leave the pieces slightly larger than you think you need and stop early, watching closely so you do not overwork it. (photos 1-3)
The butter must stay cold throughout mixing and rolling. If the dough starts to feel greasy or soft at any point, slide it onto a baking sheet and refrigerate for 10 to 15 minutes before continuing.
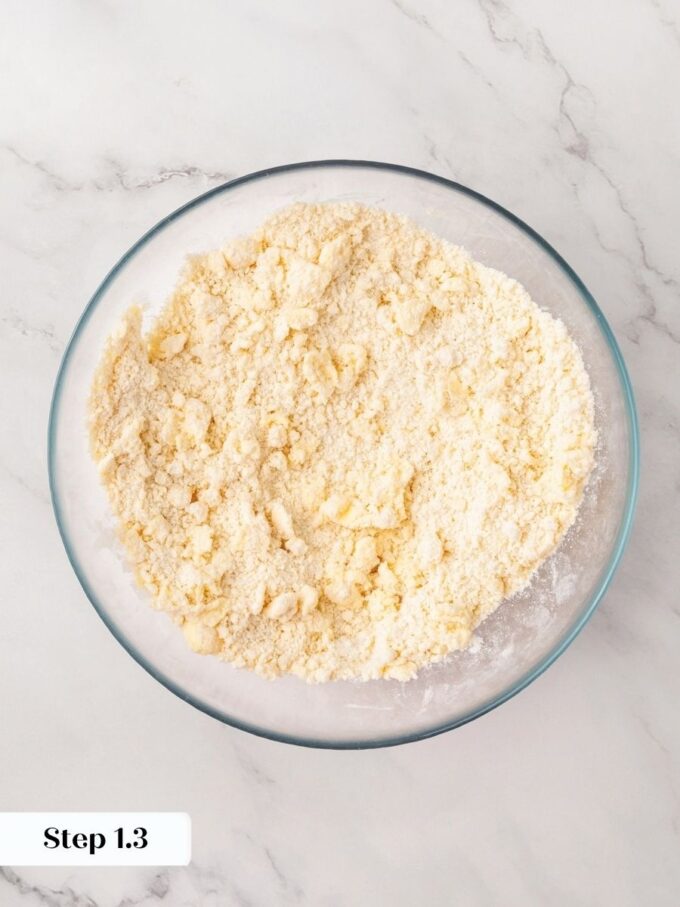
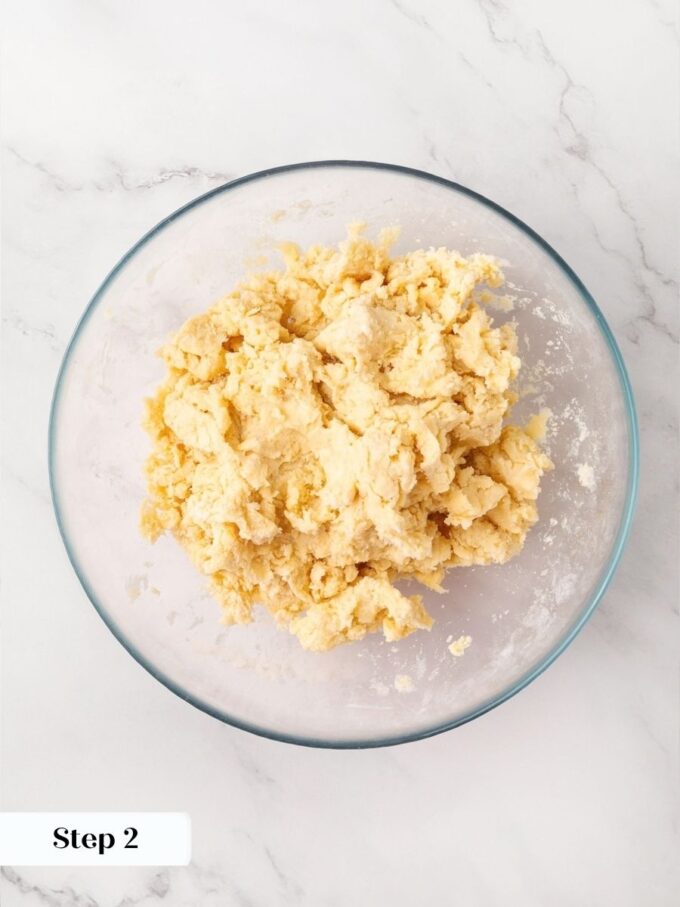
Step 2: Add the water one tablespoon at a time, tossing gently with a fork or your fingertips instead of stirring. The dough will look shaggy and loose, with visible strands of pastry and some dry flour at the bottom of the bowl — this is exactly right. Don’t keep adding water, hoping it will come together in the bowl; it will finish coming together on the counter. A few extra teaspoons are all it takes to tip from crumbly to overworked, so go slowly here. (photo 4)
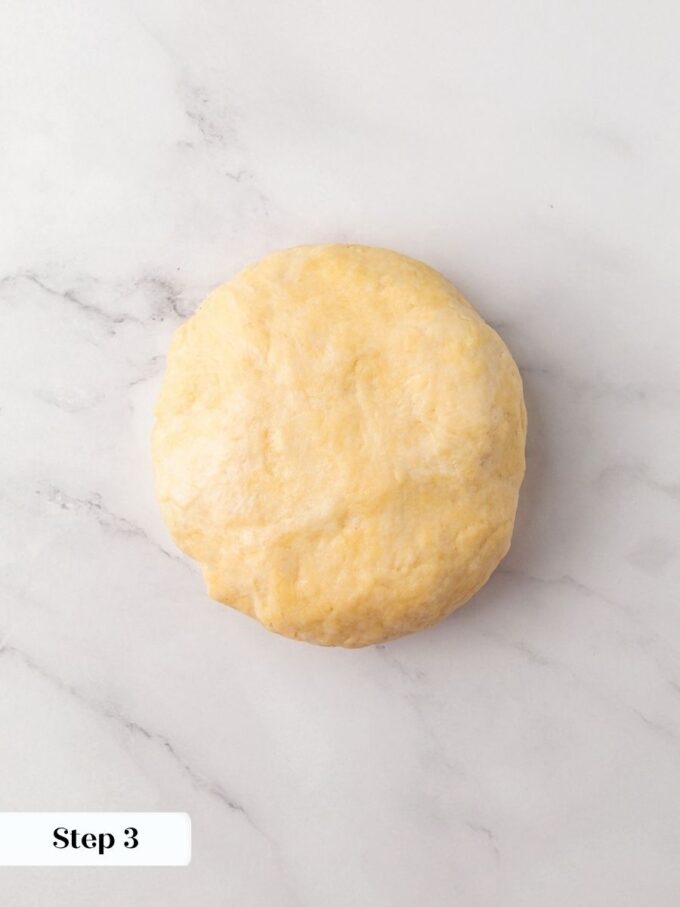
Step 3: Turn the shaggy dough out onto an unfloured surface. Press it away from you with the heel of your hand in short, firm strokes just until it comes together into a cohesive mass. If a few pieces still crumble, pat on a little more ice water and press again. Stop the moment the dough holds together — overworking develops gluten and toughens the crust. (photo 5)
Divide and Chill the Dough
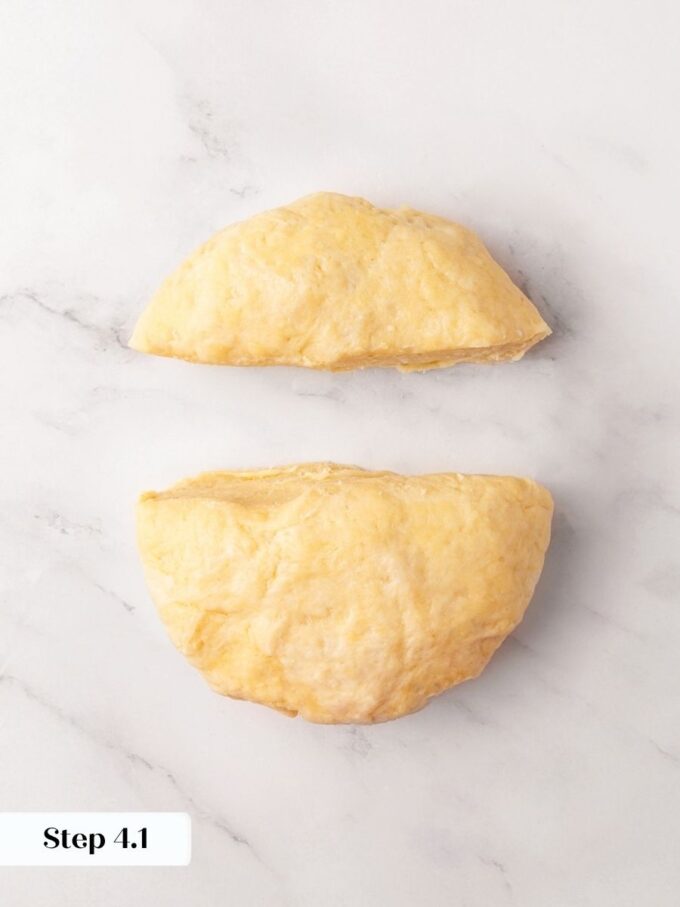
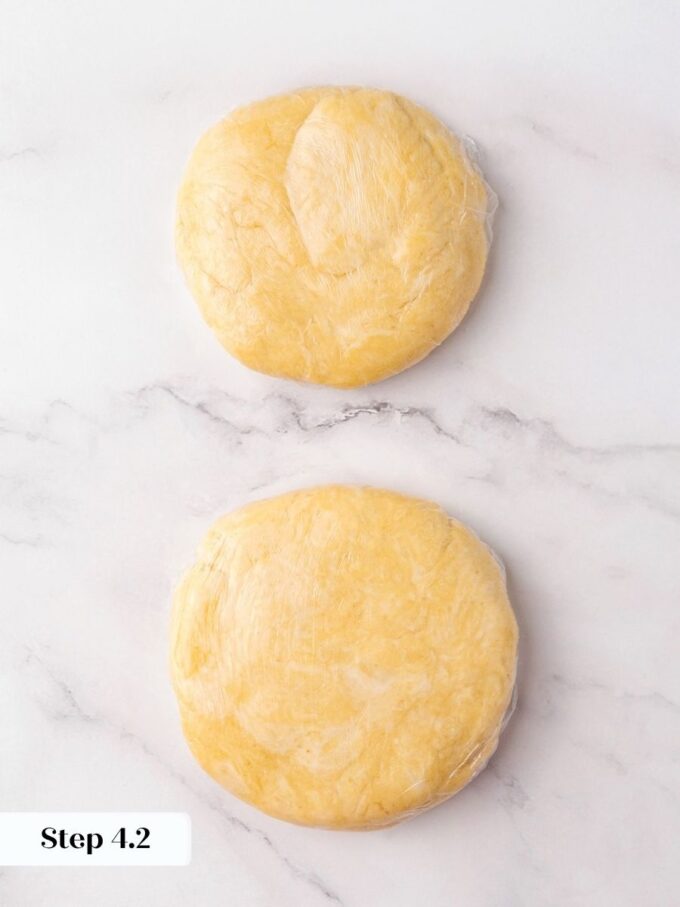
Step 4: Divide the dough into two unequal pieces: roughly two-thirds for the bottom crust and one-third for the top. The bottom crust needs enough dough to line the dish and hang over the edges, so dividing evenly will leave you short. Press each piece into a flat disk, wrap tightly in plastic wrap, and refrigerate for at least 2 hours or overnight. (photos 6&7)
If you chilled the dough overnight, let it sit at room temperature for 10 to 15 minutes before rolling, or it will crack at the edges when you try to work it.
Roll Out the Crusts
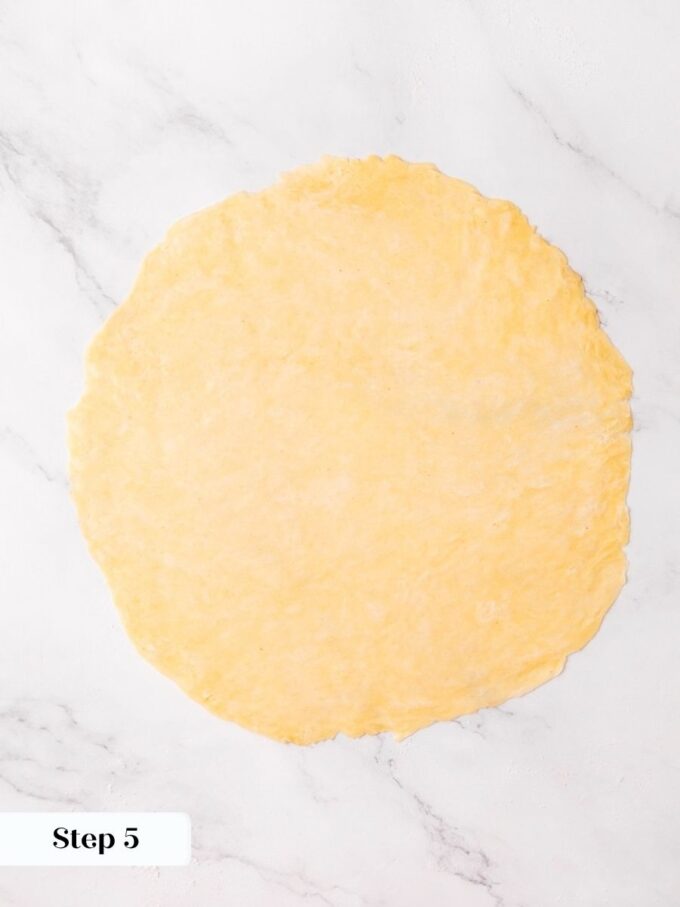
Step 5: Lightly flour your work surface, rolling pin, and the top of each dough disk. Working quickly and with firm, even pressure, roll the larger piece to roughly ⅛ inch thick, rotating the dough as you go and adding small dustings of flour underneath as needed to prevent sticking. Aim for a round about 2 inches wider than your pie dish. Roll the smaller piece just wide enough to cover the filling with about 1 inch of overhang on all sides. (photo 8)
If the dough starts to spring back or shrink as you roll, it has warmed up — slide it onto a parchment-lined baking sheet and chill it for 10 minutes before continuing.
Step 6: Transfer both rolled rounds to a parchment-lined baking sheet, layering parchment between them if needed. Refrigerate for 30 minutes while you prepare the filling. This rest firms the butter back up and relaxes any tension in the dough, so the crusts hold their shape when you line the dish.
Prepare the Apple Pie Filling
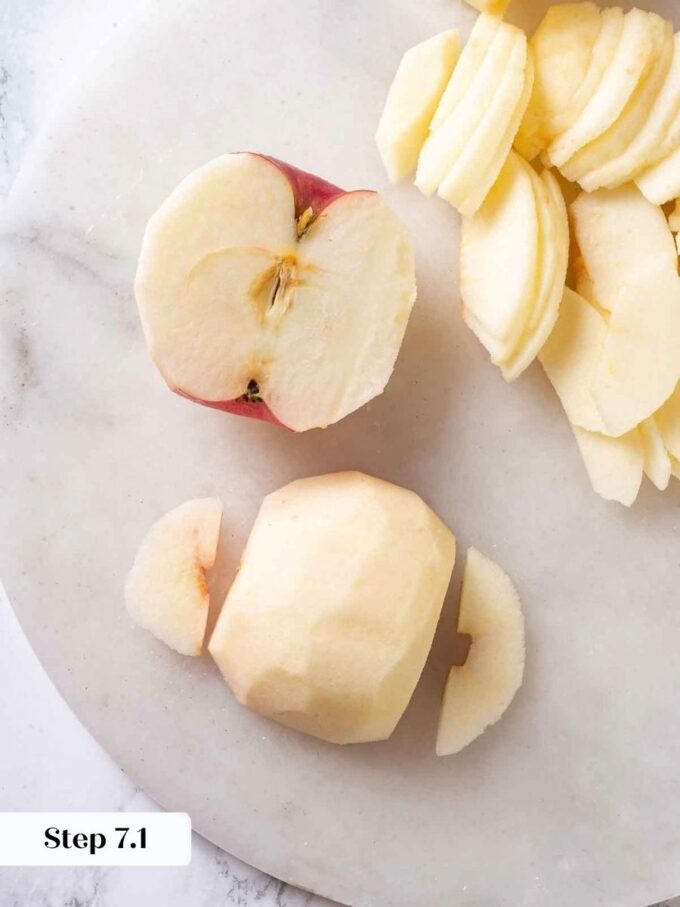
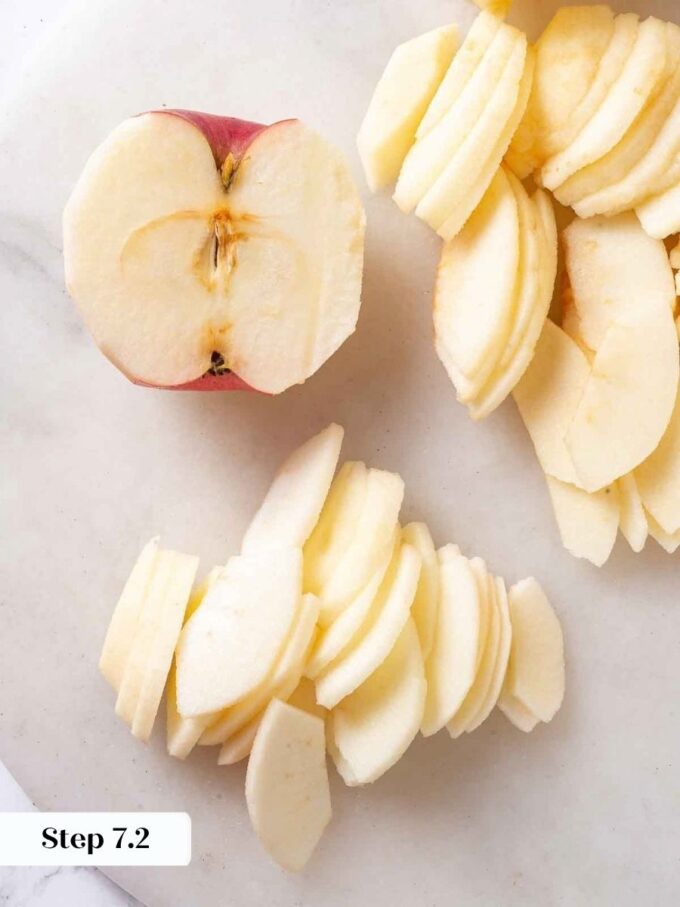
Step 7: Peel, core, and slice the apples to a consistent ⅛-inch thickness. Keeping the slices uniform matters here — if some pieces are twice as thick as others, the thinner ones will turn to mush while the thicker ones are still undercooked. Place all the sliced apples into a large bowl. (photos 9&10)
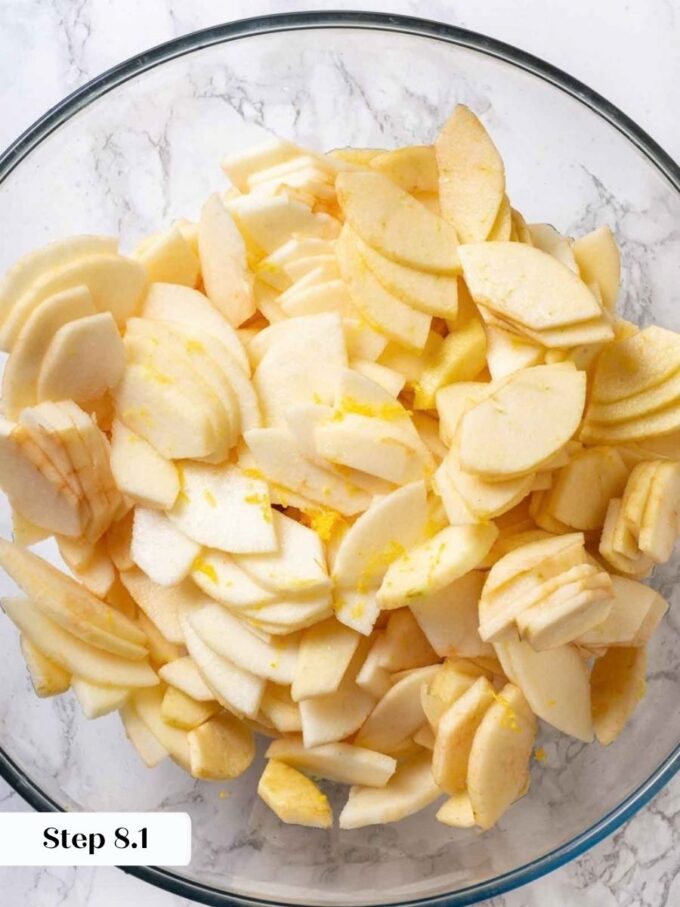
Step 8: Zest the lemon directly over the apples, then squeeze in the juice. Add both the granulated sugar and the brown sugar, along with the cinnamon, and toss with a spoon until every slice is evenly coated. Let the mixture sit for about 30 minutes. (photo 11 & 12)
The sugars will draw out juice from the apples, and the flavors will deepen considerably — the filling that goes into your pan after macerating will be noticeably more fragrant and silky than one rushed straight to the stove.
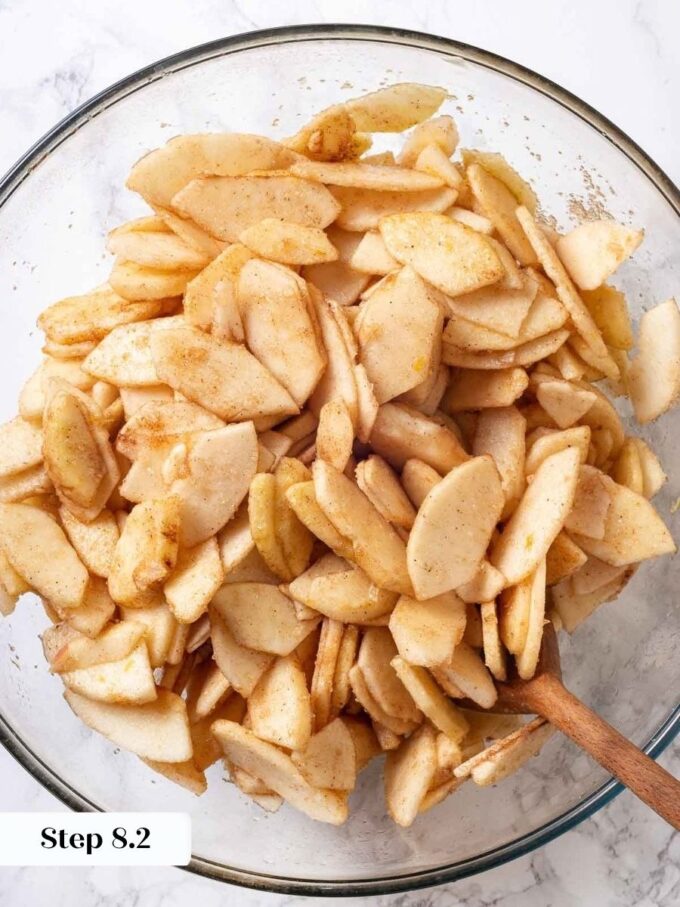
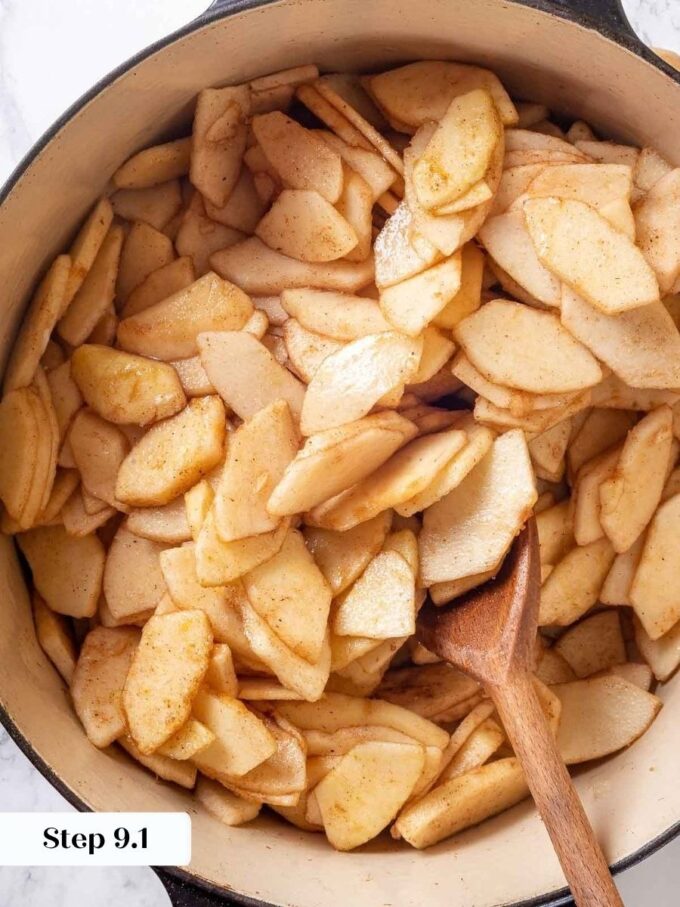
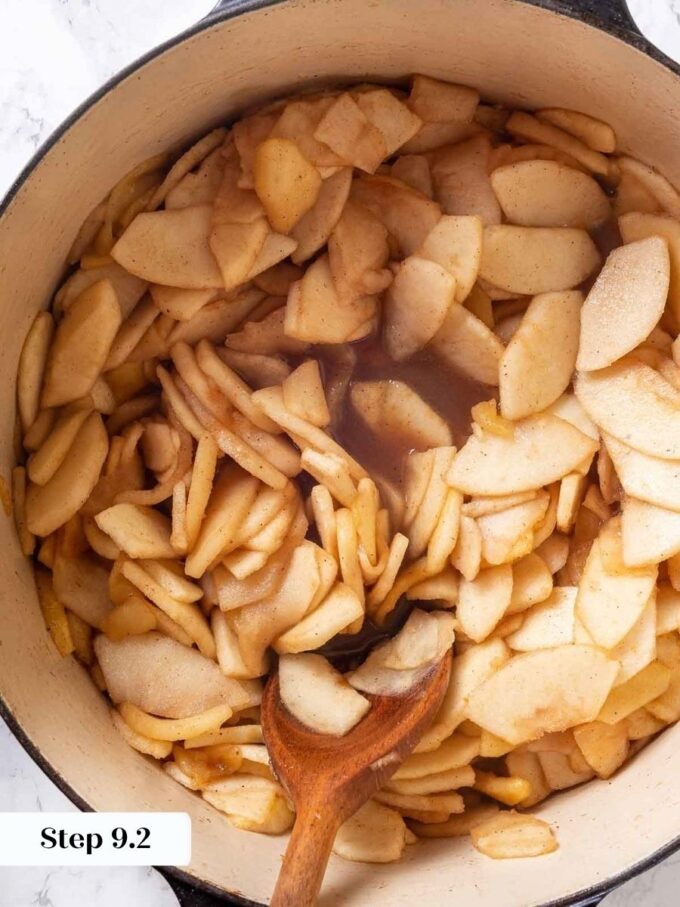
Step 9: Transfer the apples and all the accumulated juices to a large saucepan or Dutch oven. Cook over medium heat, stirring occasionally, until the apples are crisp-tender: softened and opaque, but still with a little resistance when you press one with a spoon. You are intentionally undercooking them here because they will bake again inside the pie. Mushy apples at this stage mean a mushy filling later, and you can’t recover from that. (photos 13&14)
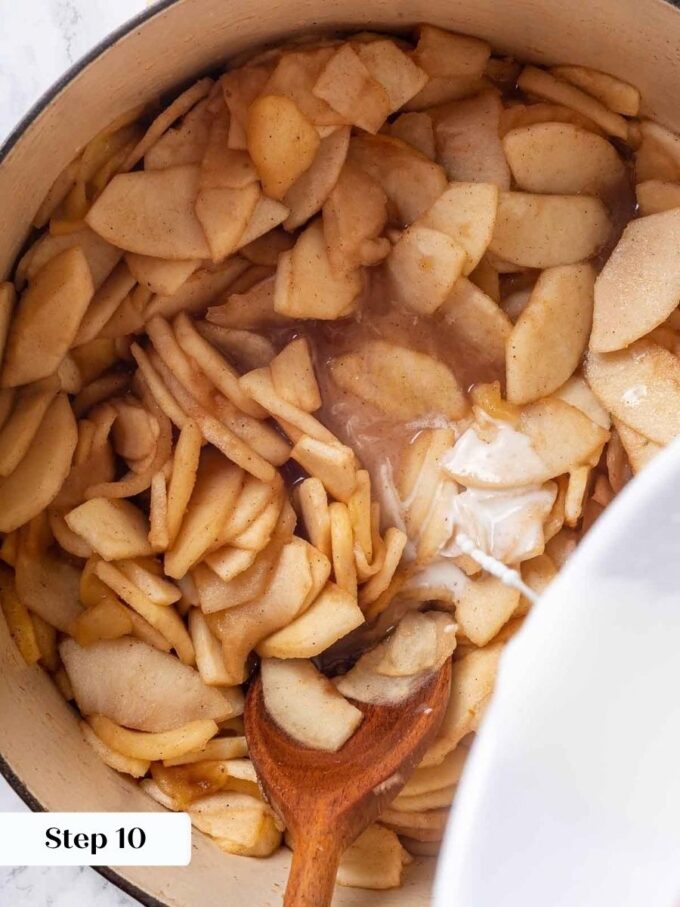
Step 10: Whisk the cornstarch together with 1 tablespoon of water until completely smooth. Pour the slurry into the hot apple mixture, stirring constantly. Watch the filling closely: it will turn cloudy white the moment the slurry hits the pan, and you will know it is fully cooked when it turns opaque and glossy again, after about 1 minute of gentle boiling. Stir in the cubed butter until it melts, and the filling looks silky and cohesive. (photo 15)
The color change is your real doneness cue here, not the timer. If the filling still looks white and starchy, keep it moving over the heat for another 30 seconds and check again.
Cool the Filling Completely
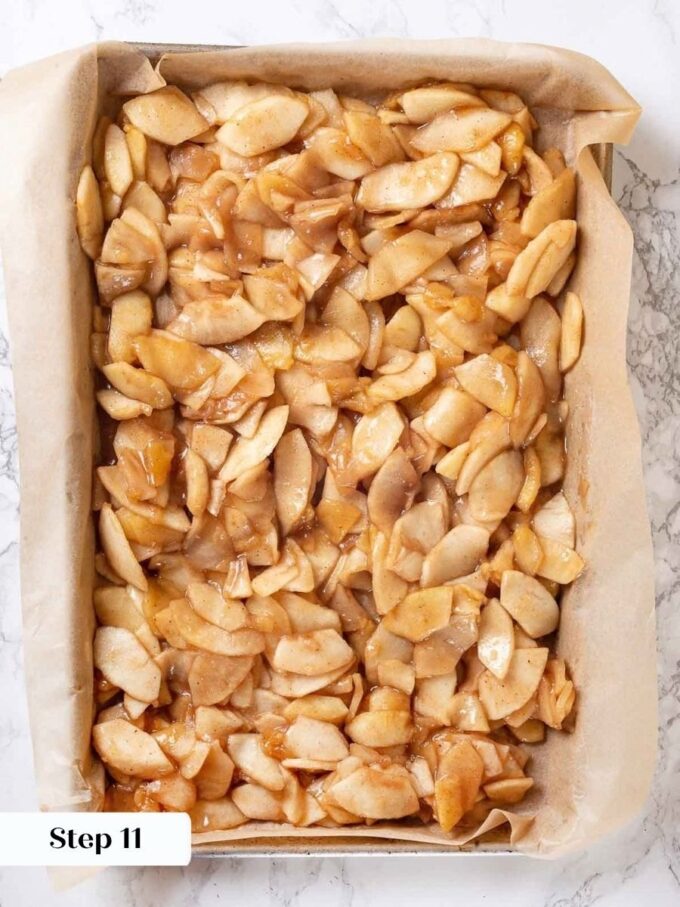
Step 11: Pour the hot filling onto a parchment-lined, rimmed baking sheet or into a wide, shallow dish, and spread it into an even layer. Refrigerate until completely cold before assembling the pie. Warm filling will begin melting the butter in the chilled crust as soon as it touches, and you will lose the flakiness before the pie ever reaches the oven. Spreading the filling thin on a sheet pan speeds up chilling significantly — a deep bowl of hot filling can take hours to cool through to the center. (photo 16)
Assemble the Pie
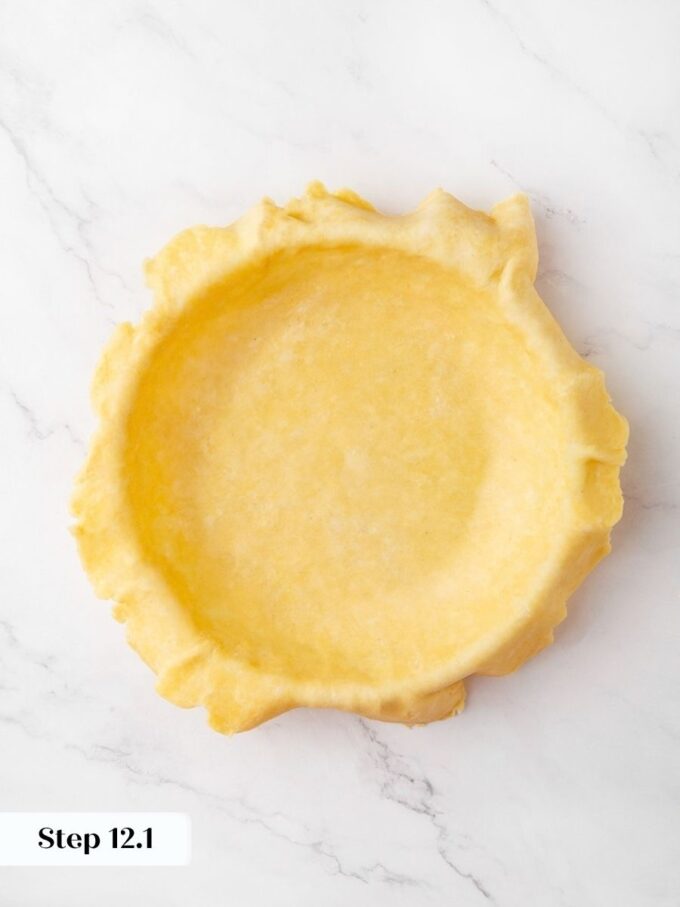
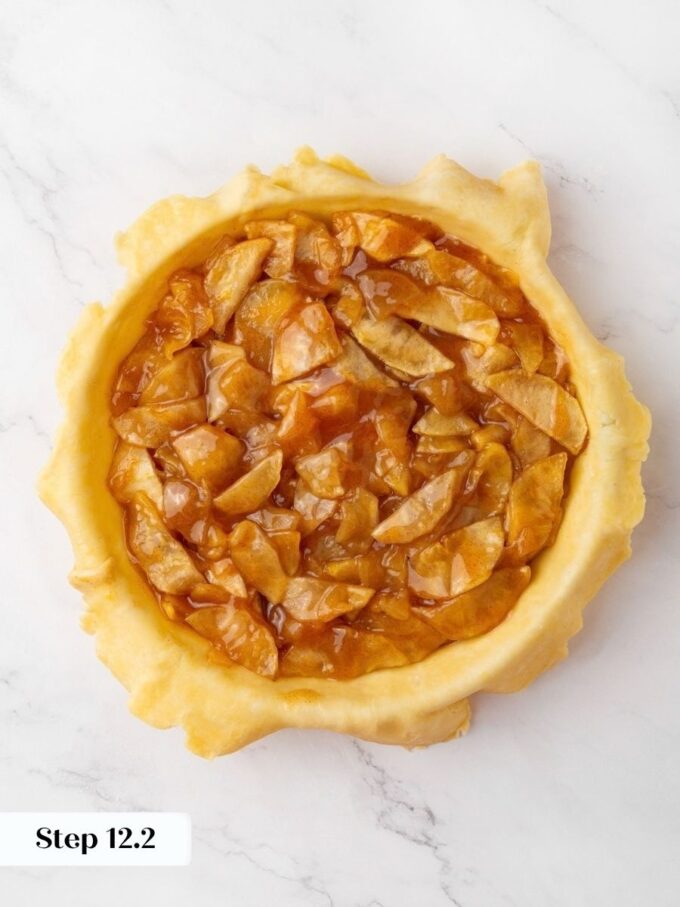
Step 12: Preheat the oven to 425°F conventional (400°F convection). Remove the larger bottom crust from the refrigerator and lay it in the pie dish, letting the excess hang over the edges without pressing or stretching. This works in any 9- to 10-inch dish. Pour in all the cold apple filling, mounding it gently toward the center — the apples will settle as they bake, so a slight dome now means a level slice later. (photos 17&18)
Shape and Crimp the Edge
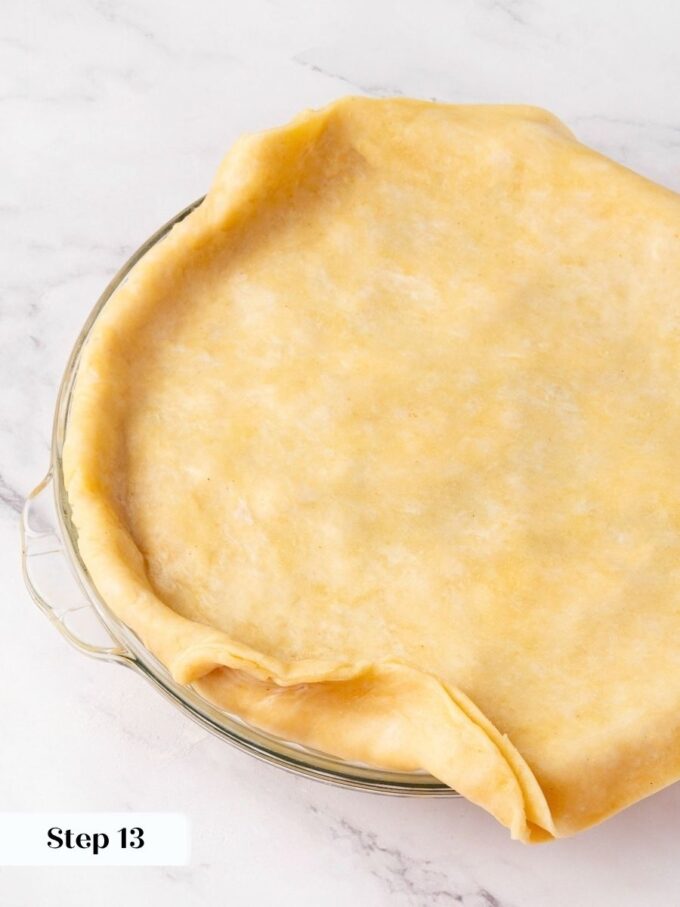
Step 13: Lay the smaller top crust over the filling. Using kitchen shears, trim the overhanging dough from both crusts to about 1 inch beyond the rim of the dish all the way around. (photo 19)
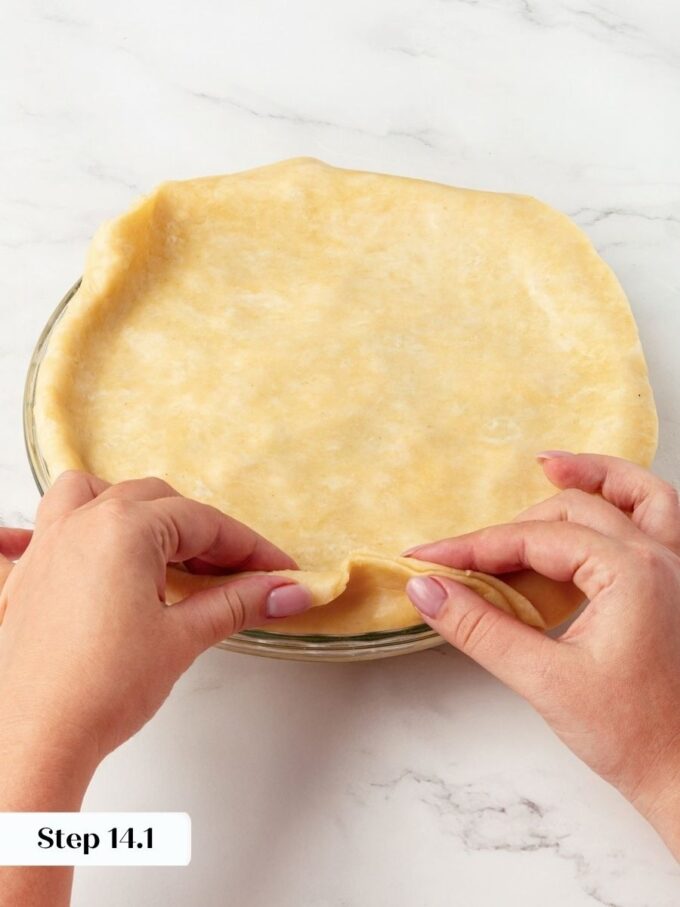
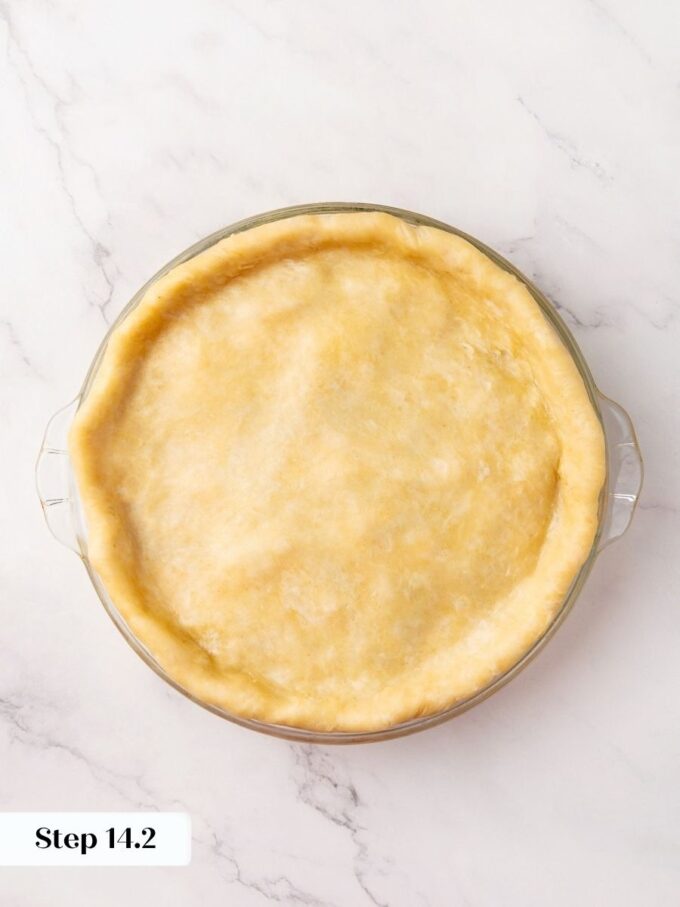
Step 14: Gather the top and bottom crust together with your fingers, then roll the combined edge inward and under itself so the two crusts finish as one tucked rim sitting squarely on the lip of the dish. Work your way around the entire circumference, tucking as you go, until the rim feels even and compact. Then crimp the edge decoratively in your preferred pattern. (photo 20&21)
Rolling the edge inward and under before crimping keeps the crust in place. As the dough puffs in the oven, a rim that is merely pinched will separate and slide down the side of the dish, while a rolled-under rim is anchored by its own weight.
Vent, Finish, and Bake
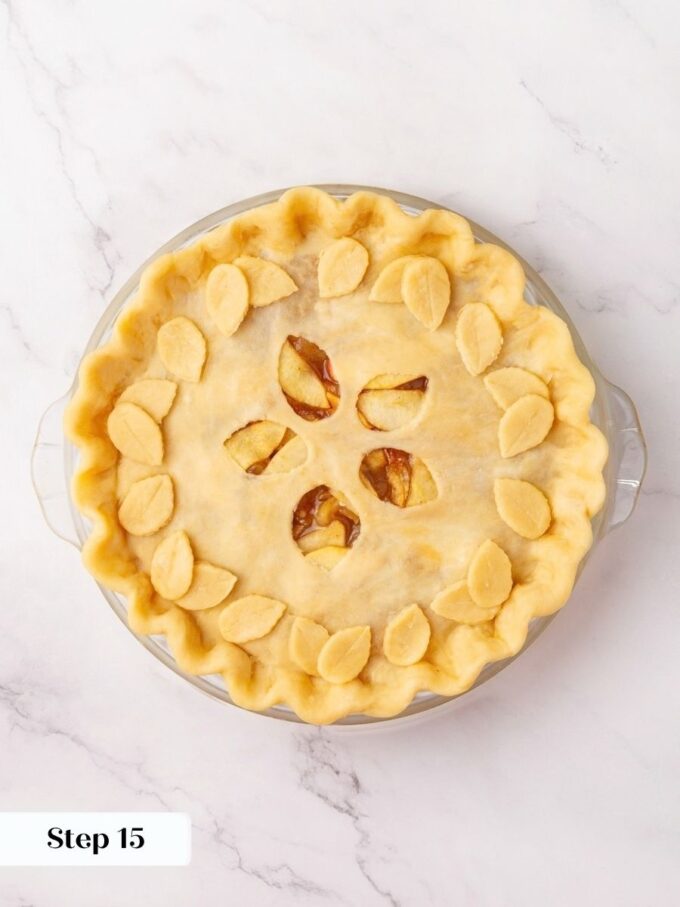
Step 15: Cut steam vents in the top crust with a sharp knife or small cookie cutter. Keep the cuts toward the center of the pie and away from the edges — vents near the rim let the juices run directly into the oven rather than staying in the filling. (photo 22)
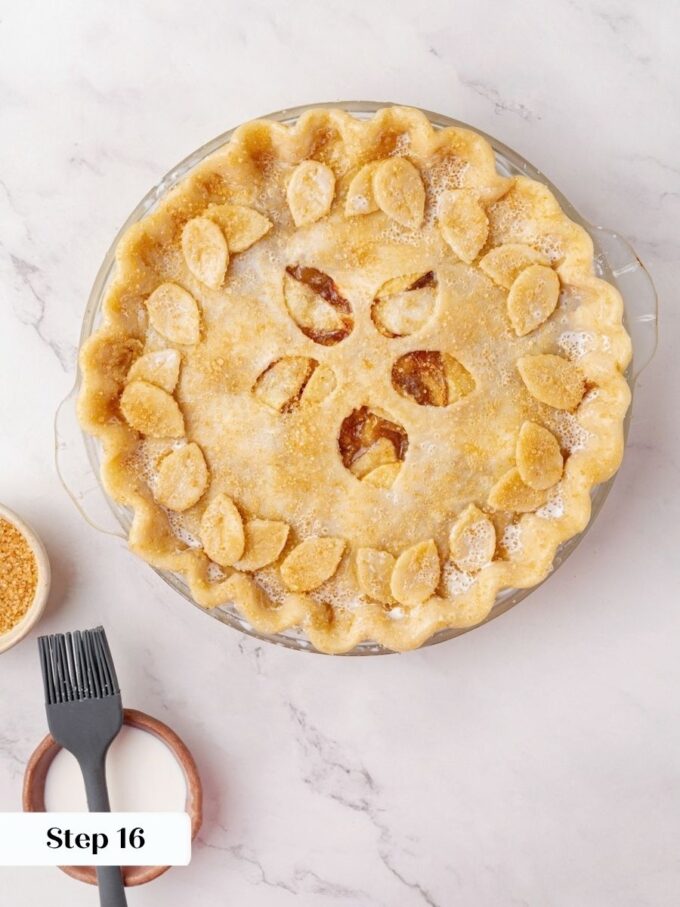
Step 16: Set the pie dish on a rimmed baking sheet to catch any drips. Brush the top crust lightly and evenly with heavy cream, working quickly to keep the crust cold. Do not let the cream pool in the crimped edge, or it can cause uneven browning. Sprinkle generously with turbinado or sanding sugar. (photo 23)
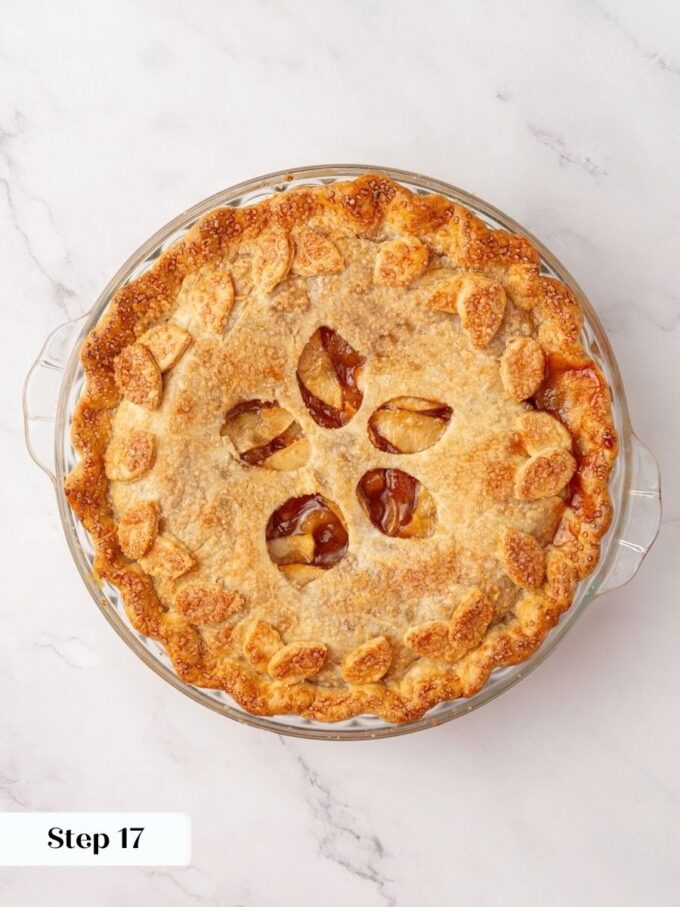
Step 17: Bake at 425°F for 15 minutes, then rotate the pan and reduce the oven temperature to 350°F. Continue baking for 45-60 minutes. The pie is done when the filling is visibly bubbling in the center (not just at the edges), the apples yield easily when poked through a vent with a paring knife or cake tester, and the top crust is a deep, even golden brown. If the crimped edge begins to darken before the center bubbles, tent those edges loosely with strips of aluminum foil and continue baking. (photo 24)
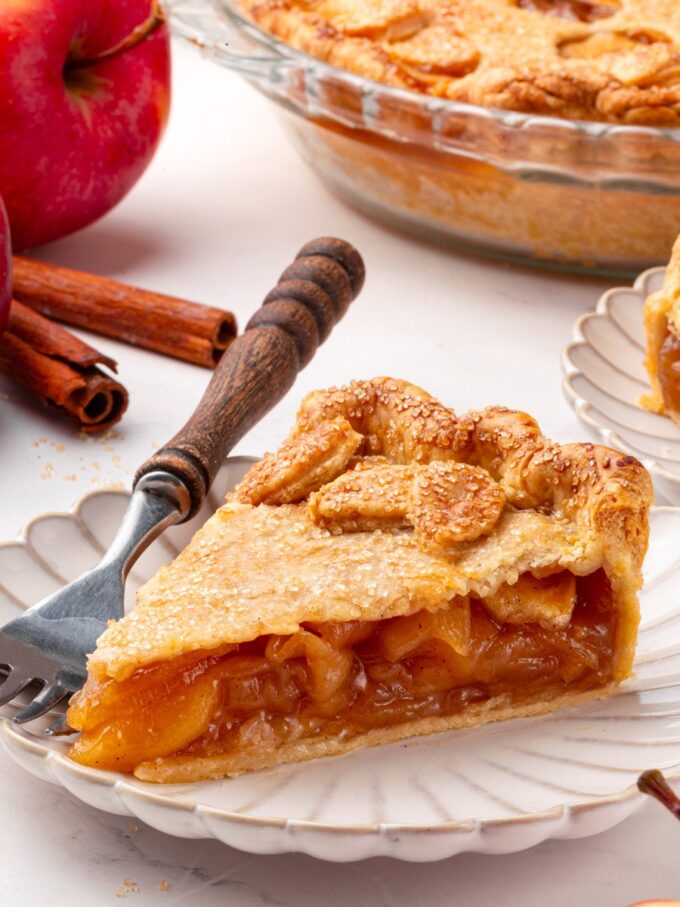
Step 18: Cool Completely Before Slicing. Transfer the finished pie to a wire rack and let it cool completely before cutting, at least 3 to 4 hours. The filling is still liquid when the pie comes out of the oven and sets only as it cools. Slicing early means the filling runs across the plate rather than holding its shape in the slice. (photo 25)
Recipe FAQs
Homemade apple pie keeps at room temperature, loosely covered, for up to 2 days. After that, refrigerate it for up to 5 days, or freeze individual slices tightly wrapped for up to 2 months. To reheat, warm slices in a 325°F oven for 10 to 15 minutes until the filling is heated through and the crust crisps back up, or in the microwave for about 45 seconds, like I do when I just need a slice right now.
Yes, and honestly, making it ahead is one of the best things you can do for this recipe. You can make both the filling and the crust dough up to 2 days in advance and store them separately in the refrigerator. Assemble and bake the day you plan to serve it, then let it cool completely before slicing so the filling sets properly.
The most common reason is that the cornstarch slurry was not cooked long enough. After adding the slurry, bring the filling to a full boil and hold it for about 1 minute, until it turns from cloudy white back to opaque and glossy. The second most common reason is slicing the pie before it cools completely. The filling is still liquid when the pie comes out of the oven and needs 3 to 4 hours on a wire rack to set.
Recommended Pie Recipes!

Pies & Tarts
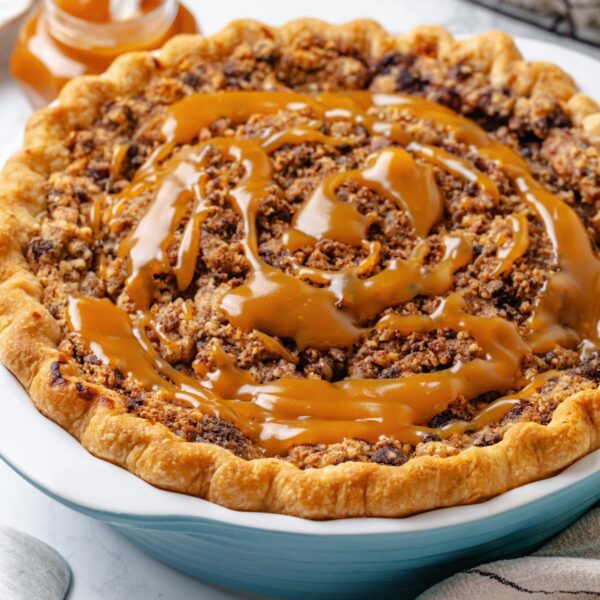
Pies & Tarts
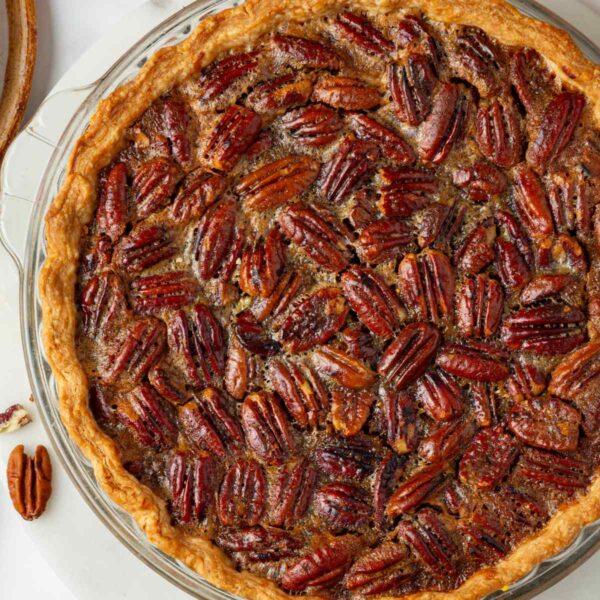
Pies & Tarts

Pies & Tarts
Homemade Apple Pie
Ingredients
All-Butter Pie Crust
- 2 cups all-purpose flour, fluffed and spooned
- 1 teaspoon kosher salt
- 1 teaspoon granulated sugar
- 9 tablespoons unsalted butter, cold, cut into ½-inch cubes
- 5 tablespoons cold water, or as needed
For the Apple Pie Filling
- 3 # apples, a mix of sweet and tart varieties such as Honeycrisp, Braeburn, Macoun, Cortland, or Pink Lady
- ¾ cup granulated sugar
- ½ cup light brown sugar, packed
- 1 teaspoon ground cinnamon
- 1 tablespoon cornstarch
- 1 tablespoon water, for the slurry
- 2 tablespoons unsalted butter, cubed
For Assembly
- Heavy cream, for brushing
- Turbinado sugar, or sanding ,for sprinkling
Instructions
- Whisk together the flour, salt, and sugar. Cut in the cold butter using a bench scraper, pastry blender, or two knives with an up-and-down chopping motion until you have pea-sized pieces. (If using a stand mixer or food processor, leave slightly larger pieces and pulse, watching closely.)
- Remove the ice from your water. Add the ice water one tablespoon at a time, tossing gently, until the dough is shaggy with some loose flour remaining. Turn it out and press it together with the heel of your hand just until it comes together.
- Divide the dough into two unequal pieces: two-thirds for the bottom crust and one-third for the top. Press each into a disk, wrap in plastic, and refrigerate at least 2 hours or overnight.
- Peel, core, and slice the apples to a consistent ?-inch thickness. Toss with the lemon zest, lemon juice, both sugars, and cinnamon. Let sit 30 minutes.
- Transfer the apples and all accumulated juices to a large saucepan or Dutch oven. Cook over medium heat until the apples are crisp-tender. Whisk the cornstarch with 1 tablespoon of water and stir the slurry into the hot filling. Boil 1 minute, until the filling turns opaque again. Stir in the butter.
- Spread the filling onto a parchment-lined baking sheet and refrigerate until completely cold.
- If the dough was chilled overnight, let it rest at room temperature before rolling or it will crack. On a lightly floured surface, roll the larger disk to ? inch thick and about 2 inches wider than your pie dish. Roll the smaller disk just wide enough to cover the filling with about 1 inch of overhang. Place both rounds on a parchment-lined baking sheet and refrigerate 30 minutes.
- Preheat the oven to 425°F conventional (400°F convection).
- Line the pie dish with the larger crust, letting the excess hang over the edges. Add all the cooled filling, mounding it slightly in the center. Lay the top crust over the filling and trim any excess beyond 1 inch with kitchen shears.
- Gather the top and bottom crusts together and roll the edge inward and under so both crusts finish as one tucked rim sitting on the lip of the dish. Crimp decoratively. Cut steam vents in the top crust, keeping them away from the edges.
- Place the pie on a baking sheet. Brush the top crust lightly with heavy cream and sprinkle with turbinado or sanding sugar. Work quickly so the crust stays cool.
- Bake for 15 minutes, rotate, then reduce the oven to 350°F. Continue baking 45 to 60 minutes, until the filling bubbles in the center, the apples are tender when poked with a paring knife, and the crust is deep golden brown. Tent the edges with foil strips if they begin to darken too quickly.
- Cool completely before slicing so the filling sets.
Notes
Technique: Roll the edge inward and under before crimping rather than simply pinching the two crusts together. A rolled-under rim is anchored by its own weight and will not slide down the side of the dish as the crust puffs in the oven.
Filling Temperature: The filling must be completely cold before it goes into the crust. Warm filling melts the butter in the brisée before it ever reaches the oven, and you will lose the flakiness. Spreading it on a sheet pan speeds up chilling significantly.
Storage: Filling keeps for 1 week refrigerated or up to 2 months frozen. Thaw in the fridge or at room temperature. The baked pie can be stored at room temperature loosely covered for up to 2 days or refrigerated for up to 4 days.
Nutrition
Nutrition information is automatically calculated, so should only be used as an approximation.
 Like this recipe? Rate & comment below!
Before You Go
I hope this homemade apple pie becomes your go-to for every fall gathering and holiday table. Browse our Dessert Recipes or make this apple dump cake next!