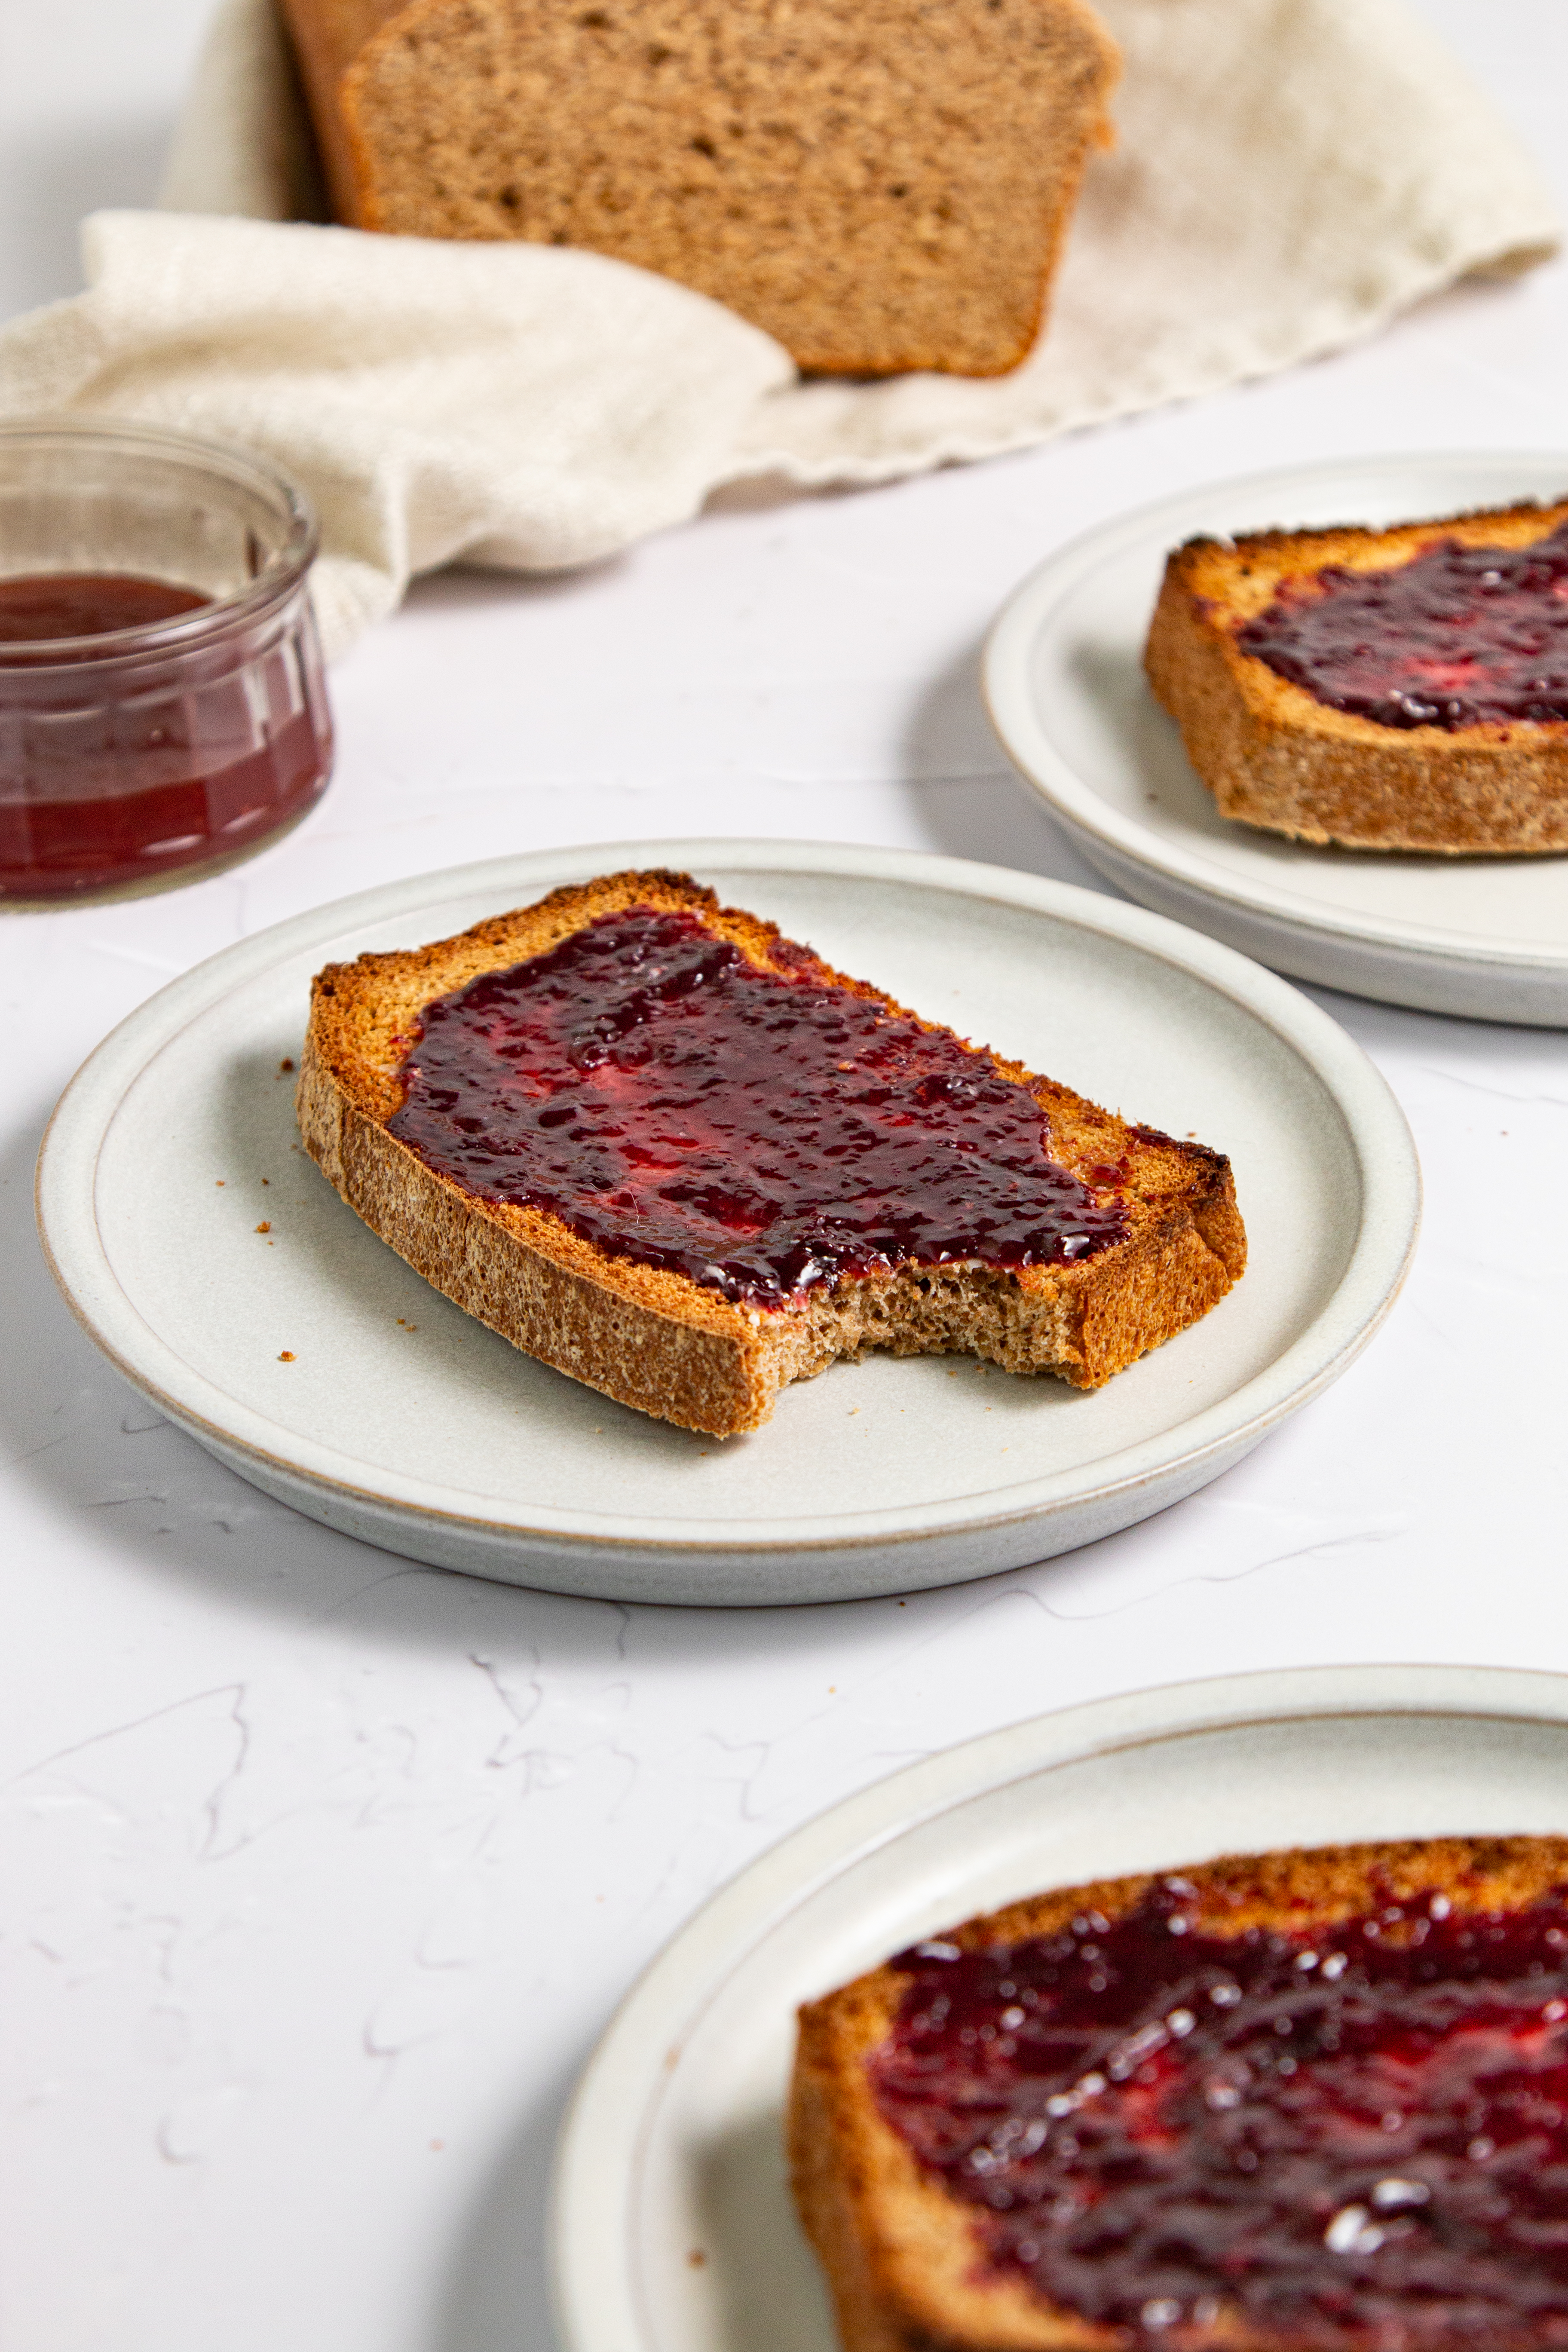
This whole wheat bread recipe creates a soft, lofty loaf with a rich, nutty flavor. With just six simple ingredients, it produces a tender crumb and beautifully soft texture perfect for toast and sandwiches!
A Quick Look At The Recipe
This is a brief summary of the recipe. Jump to the recipe to get the full details.
Prep Time
15 minutes
Cook Time
40 minutes
Proof Time
1 hour 30 minutes
Total Time
2 hours 25 minutes
Servings
10 slices
Difficulty
Easy, great for everyday baking.
Calories *
162 kcal per serving
Technique
Bloom yeast, mix, knead until elastic, proof twice, then bake.
Flavor Profile
Lightly nutty taste, soft interior with a delicate crisp crust.
* Based on nutrition panel
I was nervous about using 100% whole wheat flour, but this turned out so soft! Letting it rise the full time like you suggested made all the difference. We used it for toast the next morning and it was perfect.⭐⭐⭐⭐⭐
Lauren
Why You Will Love This
- Soft and fluffy. This loaf stays tender while still using 100% whole wheat flour.
- No bread machine required. Just bowls, your hands, and a loaf pan.
- Only 6 ingredients. Simple pantry staples, just like my brioche buns and whole wheat biscuits.
- Versatile for any meal. Toast it for breakfast, make sandwiches for lunch, or turn it into crunchy French toast. It easily outshines most store-bought loaves in both texture and flavor!
Table of Contents
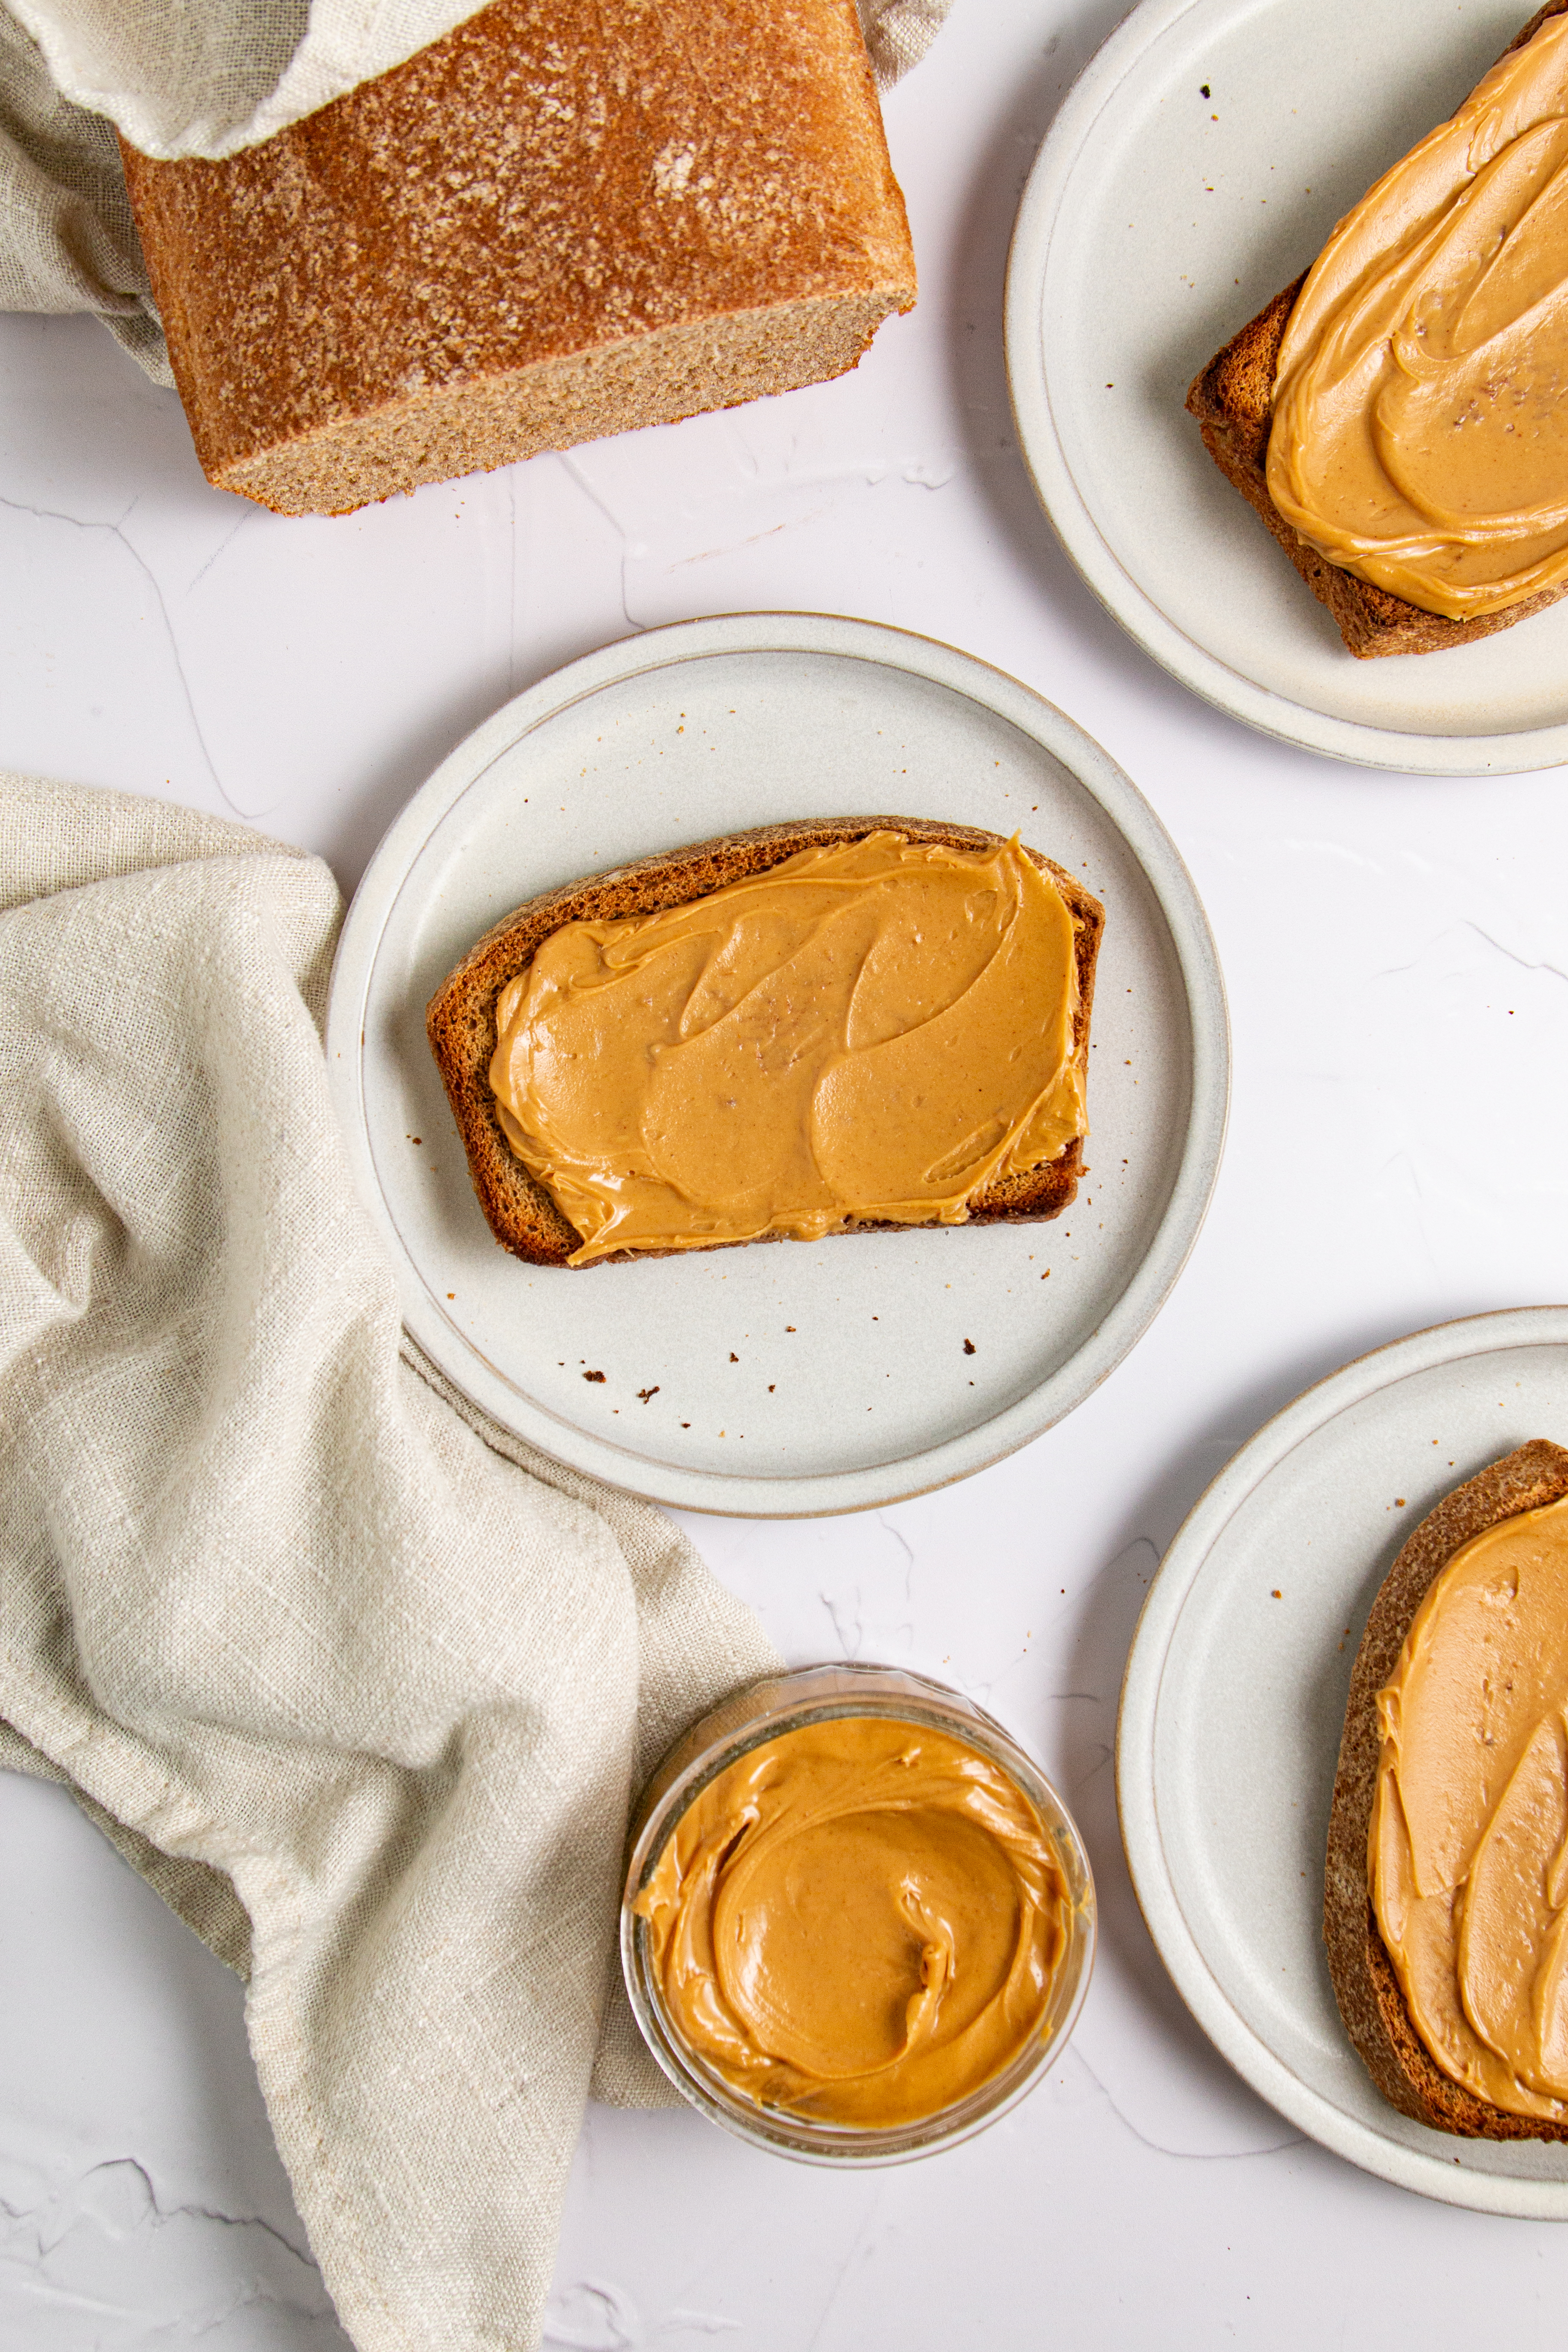
I’m a firm believer that everyone should have a dependable whole wheat bread recipe in their back pocket. Just like my multigrain bread recipe or whole wheat sourdough bread, this loaf is hearty without being heavy. It slices beautifully and doesn’t crumble when you spread peanut butter or jam.
If you love baking bread at home, you might also enjoy my french bread, classic italian bread, or even something sweeter like chocolate chip banana bread and chocolate chip pumpkin bread.
Ingredients & Substitutions

- Can I use only whole wheat flour to make bread? Yes! I prefer 100% whole wheat flour for a true whole grain loaf. It gives structure and that subtle nutty flavor just like my whole wheat dinner rolls. If you prefer, you can use a combination of whole wheat and bread flour for a lighter crumb. Avoid adding too much flour during kneading, or the loaf may become dense.
- Warm water: Keep it between 105°F and 115°F. Too hot will kill the yeast; too cool and it won’t activate properly.
- Honey: Adds just enough sweetness without making the bread sweet. Maple syrup works well, too.
- Olive oil: Keeps the crumb soft and moist. Melted butter can be substituted if you prefer. But, because this recipe contains no egg and is naturally whole wheat bread dairy-free when made with olive oil.
- Active dry yeast: Make sure it’s fresh and not expired. Proper blooming ensures a good rise. You may substitute instant yeast; simply mix it directly into the flour without blooming like I do in these whole wheat sourdough rolls made with discard.
- Kosher salt: Enhances flavor and balances the sweetness.
See the recipe card for full information on ingredients and quantities.
Variations for This Whole Wheat Bread Recipe
- Add some crunch: Stir in sunflower seeds or flax seeds for texture.
- Add herbs: Rosemary or thyme give it a savory twist similar to my potato bread.
- Add sweetness: Mix in raisins for a version reminiscent of cinnamon raisin sourdough bread. You could also try dried figs and then make this fig bread next!
Professional Tips
- Use properly warmed water. I always check that my water is between 105–115°F. Too hot will kill the yeast instantly; too cool and it will struggle to activate. If your yeast doesn’t foam in 5 minutes, start over.
- Knead until smooth, not rough. Whole wheat dough can look slightly textured, but it shouldn’t look torn or shaggy after kneading. After 8–10 minutes, it should feel elastic and spring back when gently pressed.
- Do not rush the first rise. Proper dough rise develops structure and flavor. If your kitchen is cool, you can let the dough rise inside the microwave (turned off) or near a warm oven.
- Cool completely before slicing. I know it’s tempting. But slicing too early compresses the crumb and makes it gummy. Let it cool fully on a wire rack for clean slices.
How to Make Whole Wheat Bread
Use these instructions to make the perfect whole wheat bread recipe every time! Further details and measurements can be found in the recipe card below.
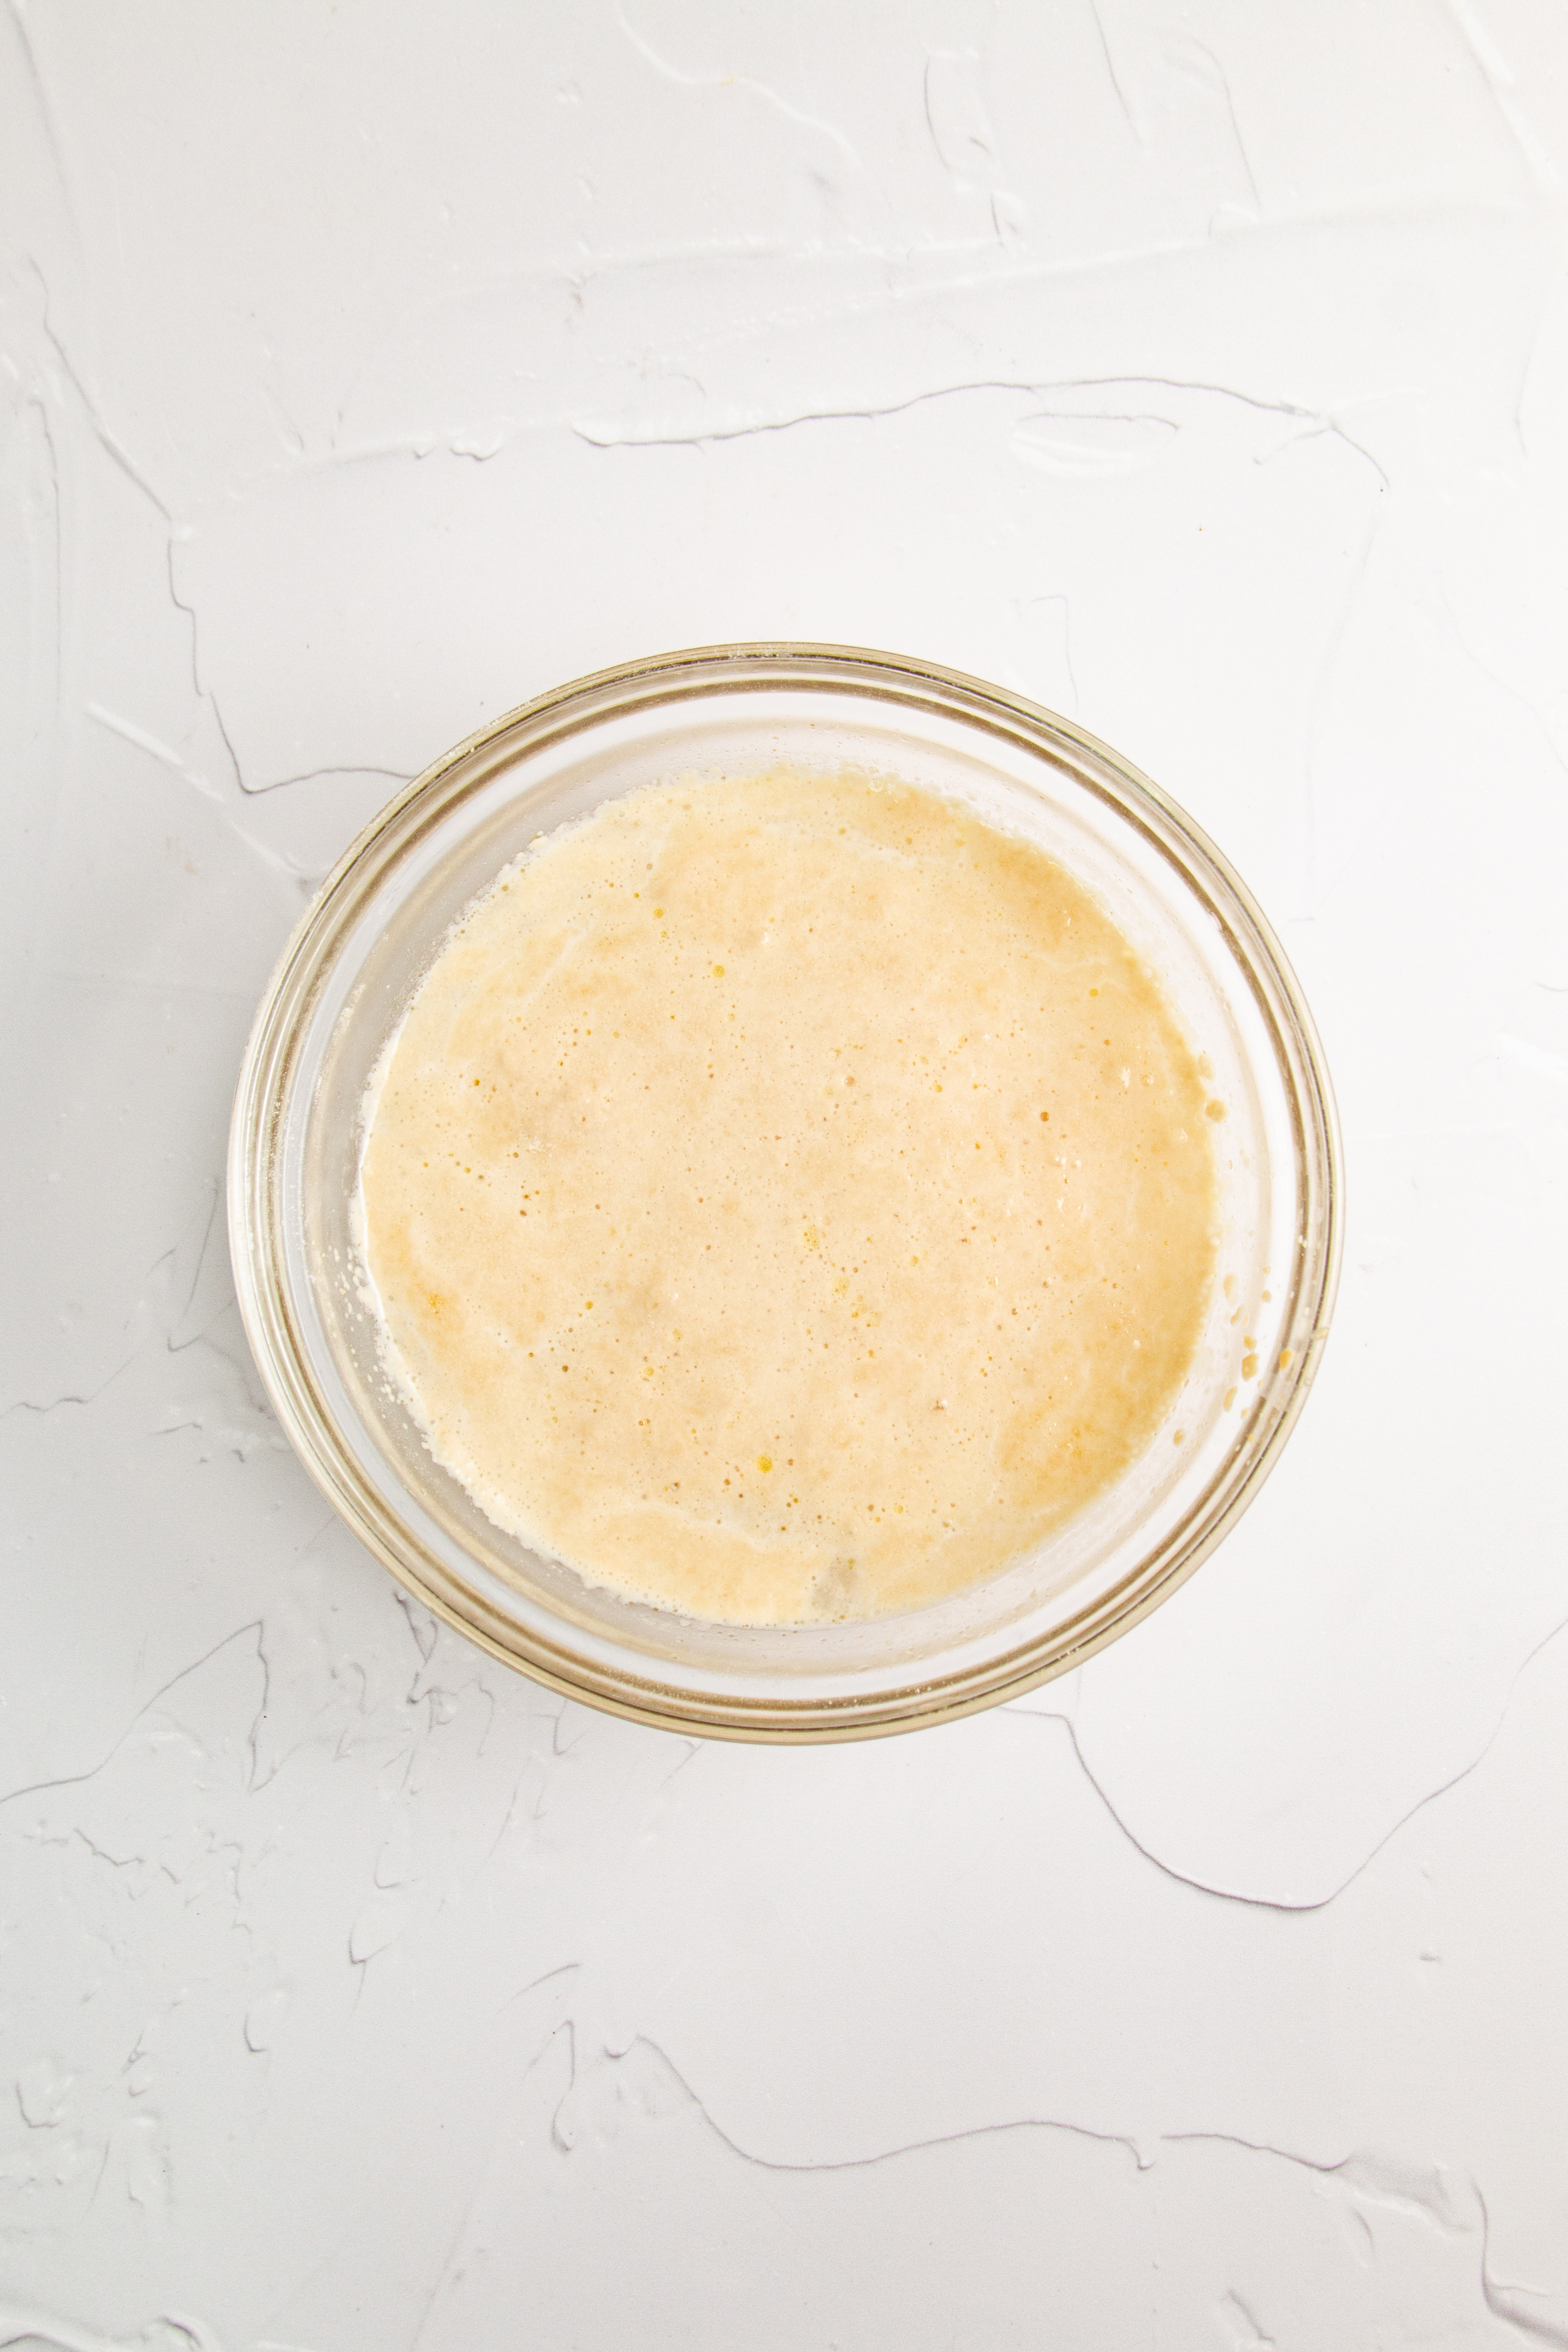
Step 1: Bloom the yeast. In a large bowl or the bowl of your stand mixer, combine warm water and honey. Stir with a wooden spoon until dissolved. Sprinkle the yeast over the top and let sit for 5 minutes, until foamy (photo 1).
Step 2: Add the oil. Stir olive oil into the yeast mixture until combined.
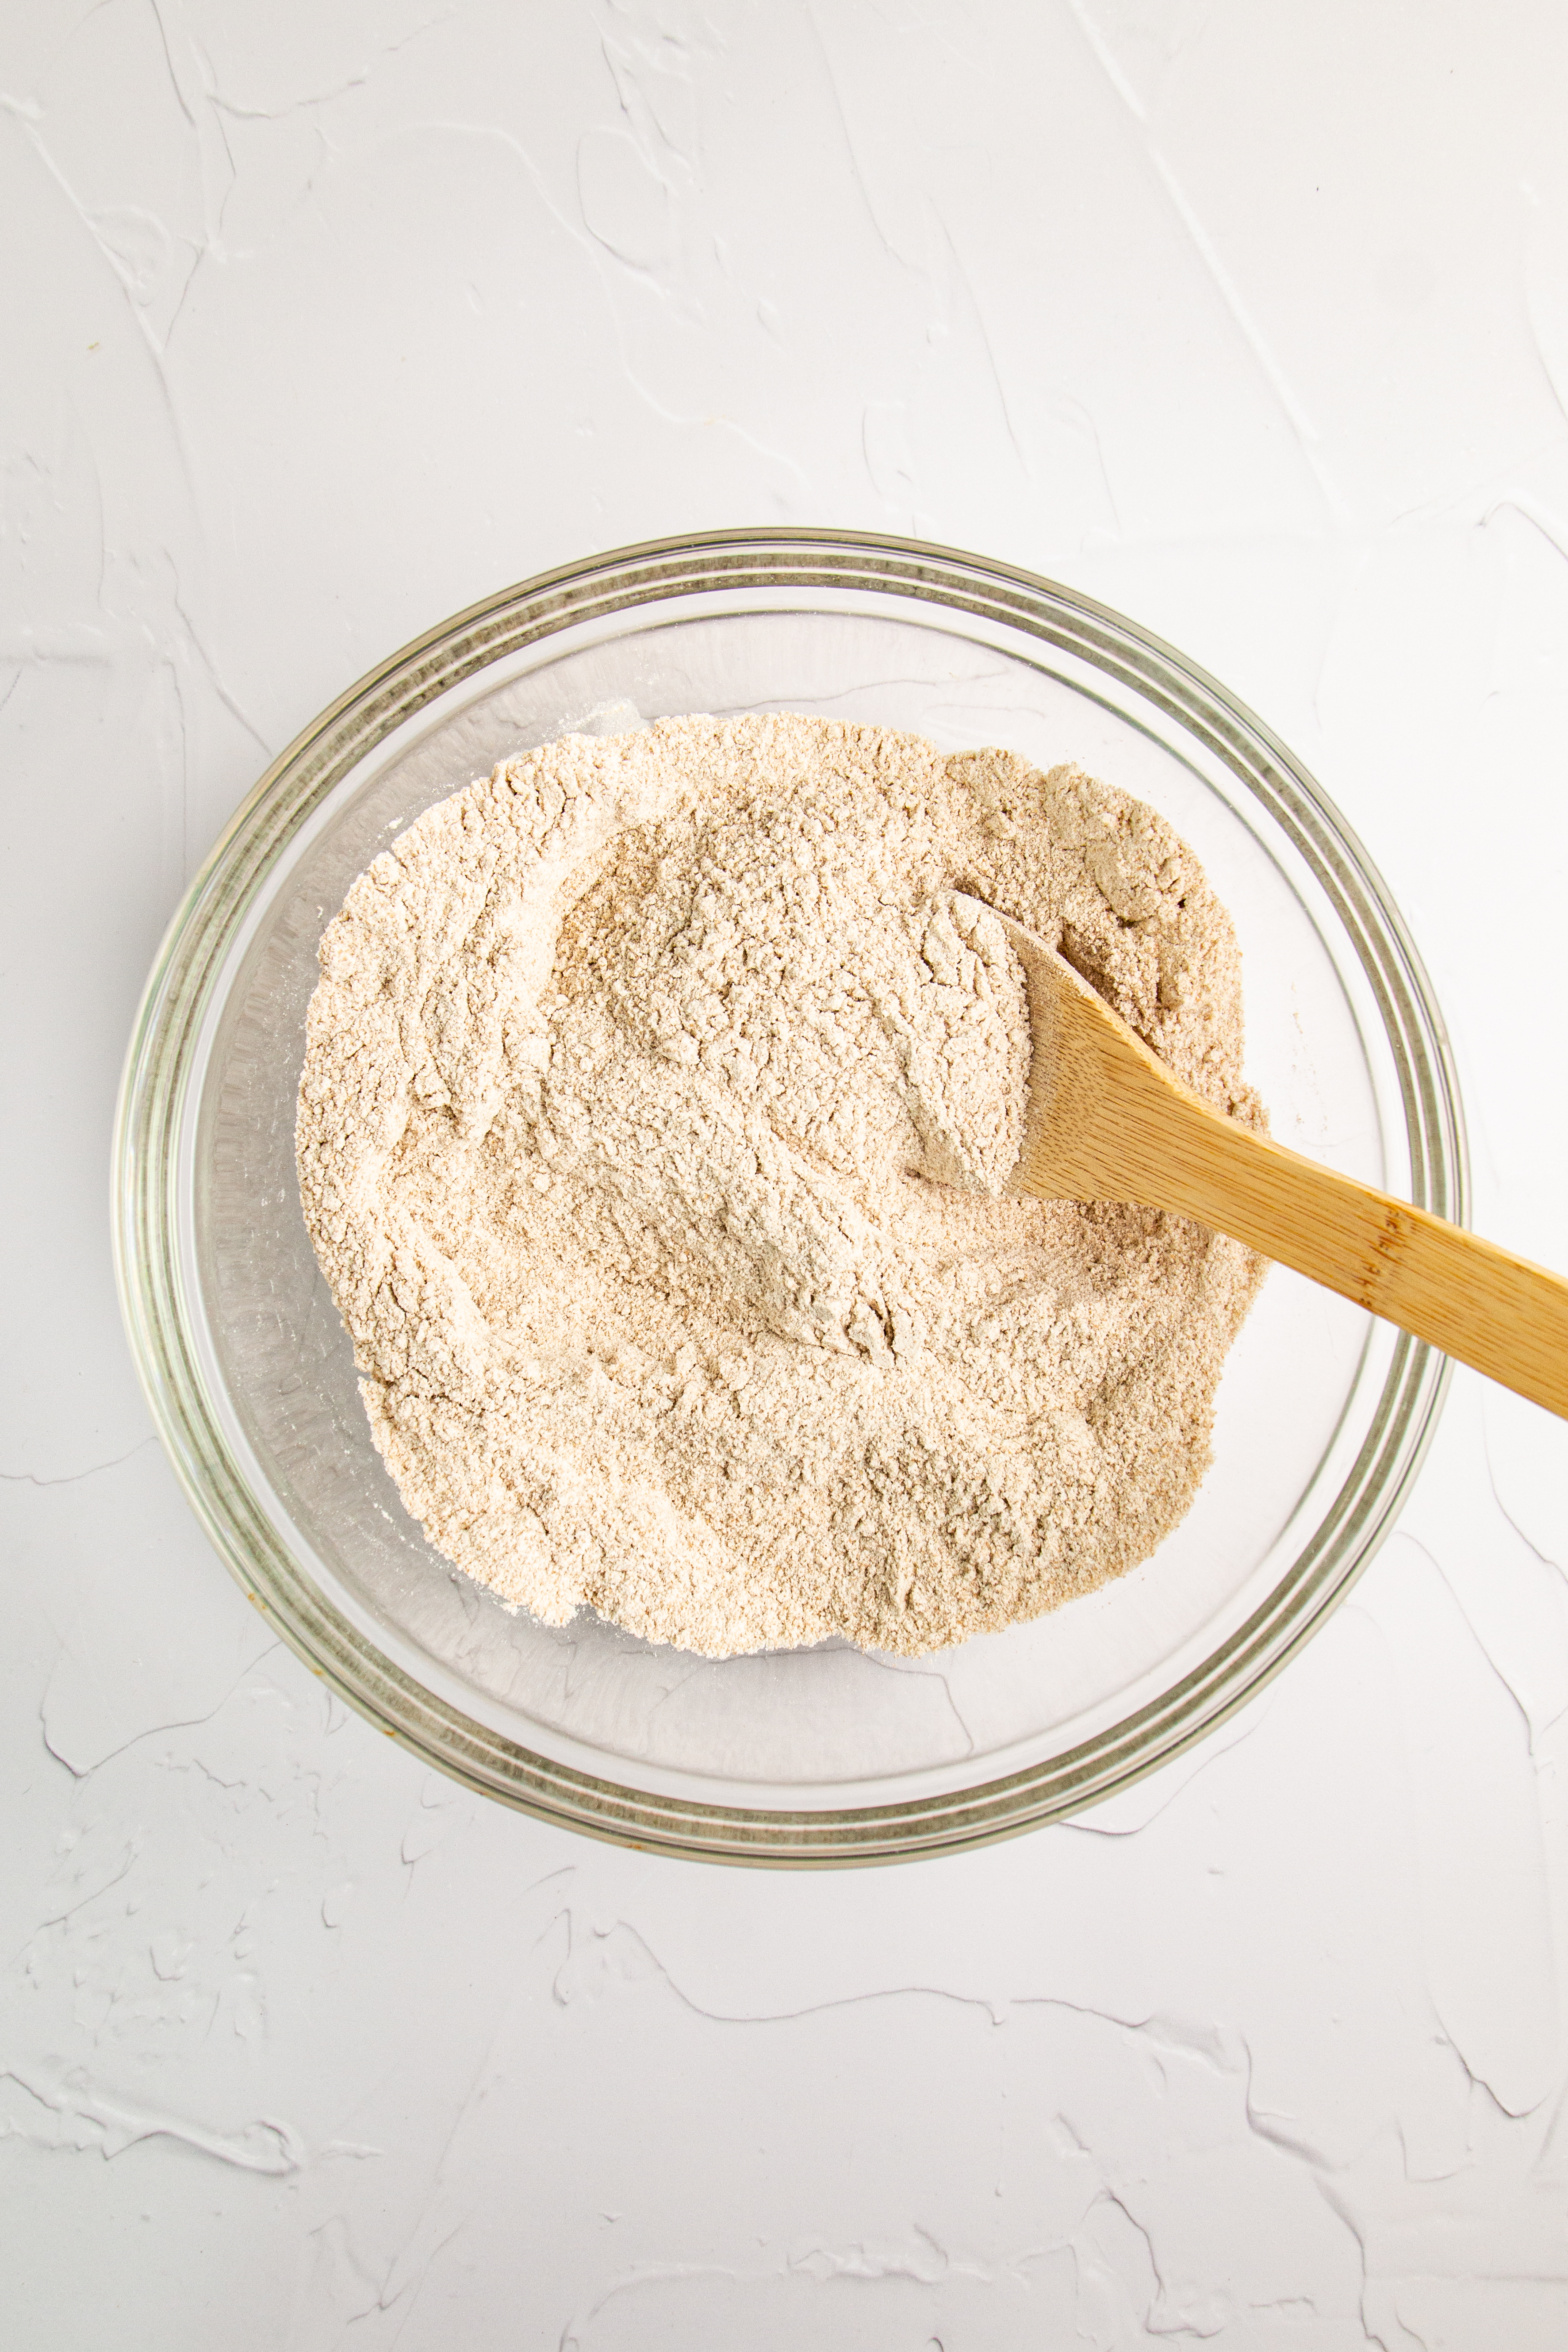
Step 3: Mix dry ingredients. In a separate bowl, whisk together the whole wheat flour and salt (photo 2).
Step 4: Form the dough. Gradually add the dry mixture to the wet mixture, stirring until a dough forms.
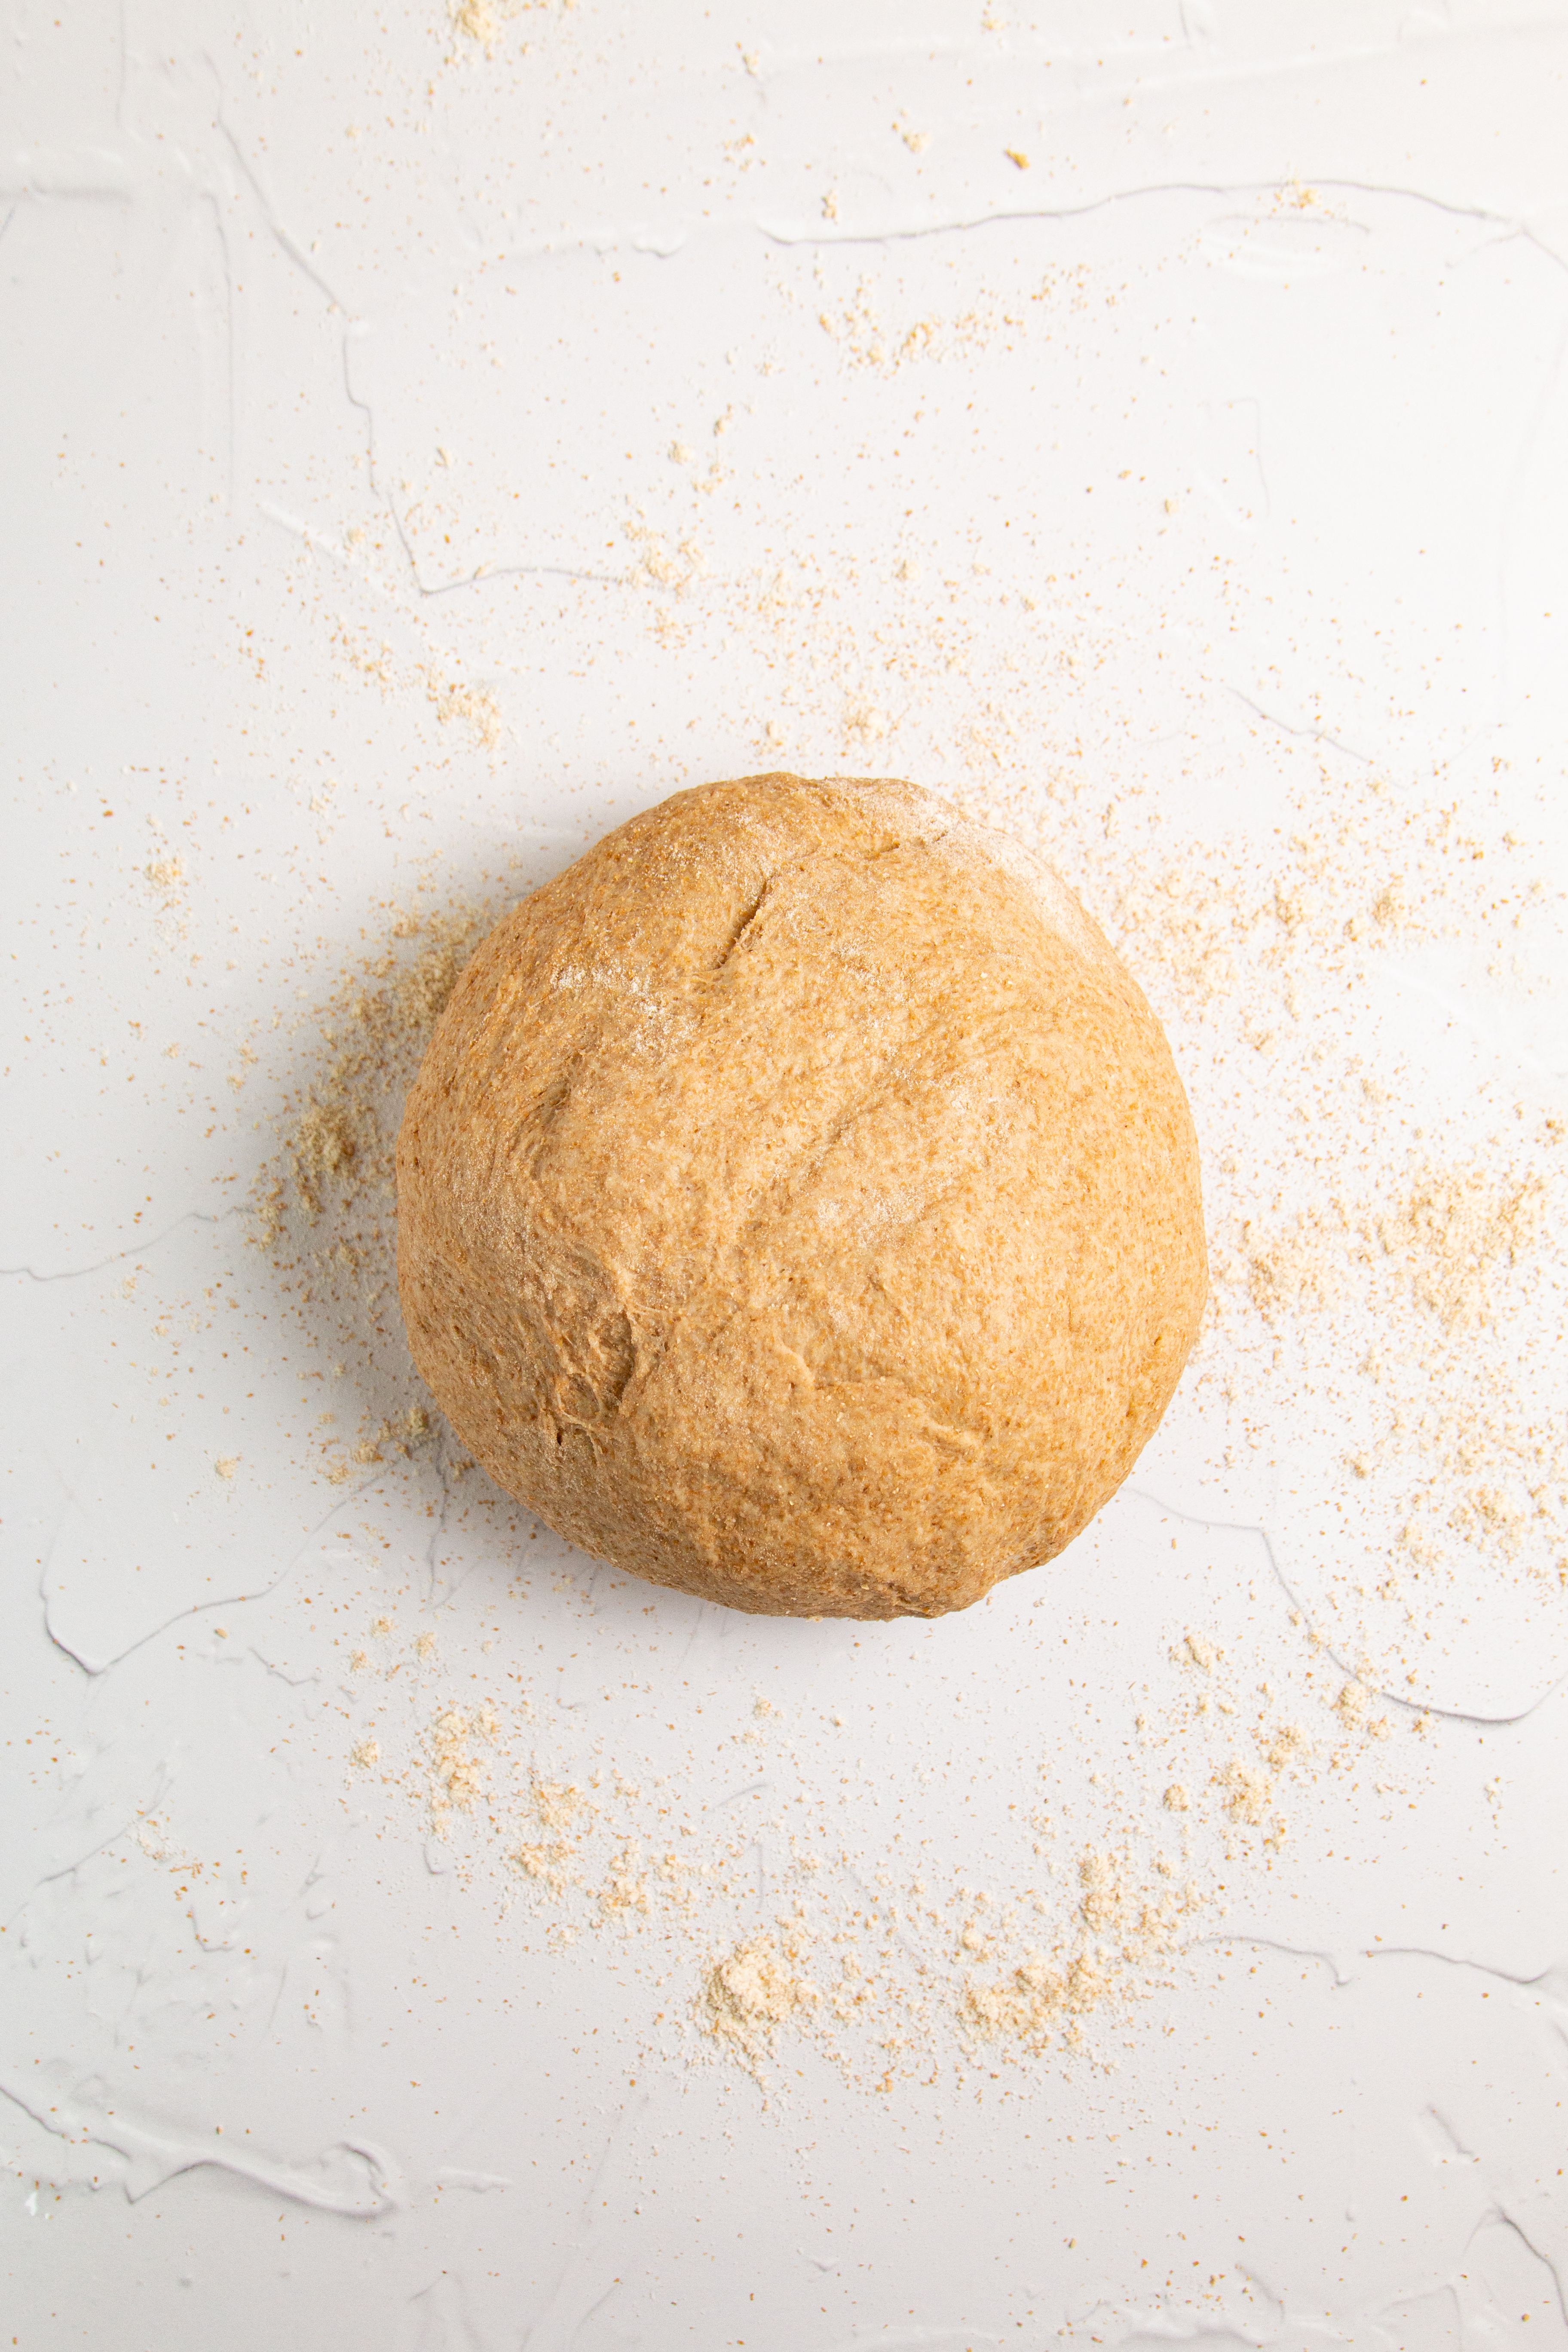
Step 5: Knead until elastic. Transfer to a lightly floured surface and knead for 8–10 minutes, until smooth and elastic. The dough should feel soft but not sticky (photo 3).
You may knead by hand or use a dough hook attachment on medium speed. Whole wheat dough may feel a little sticky at first. Resist adding excess flour!
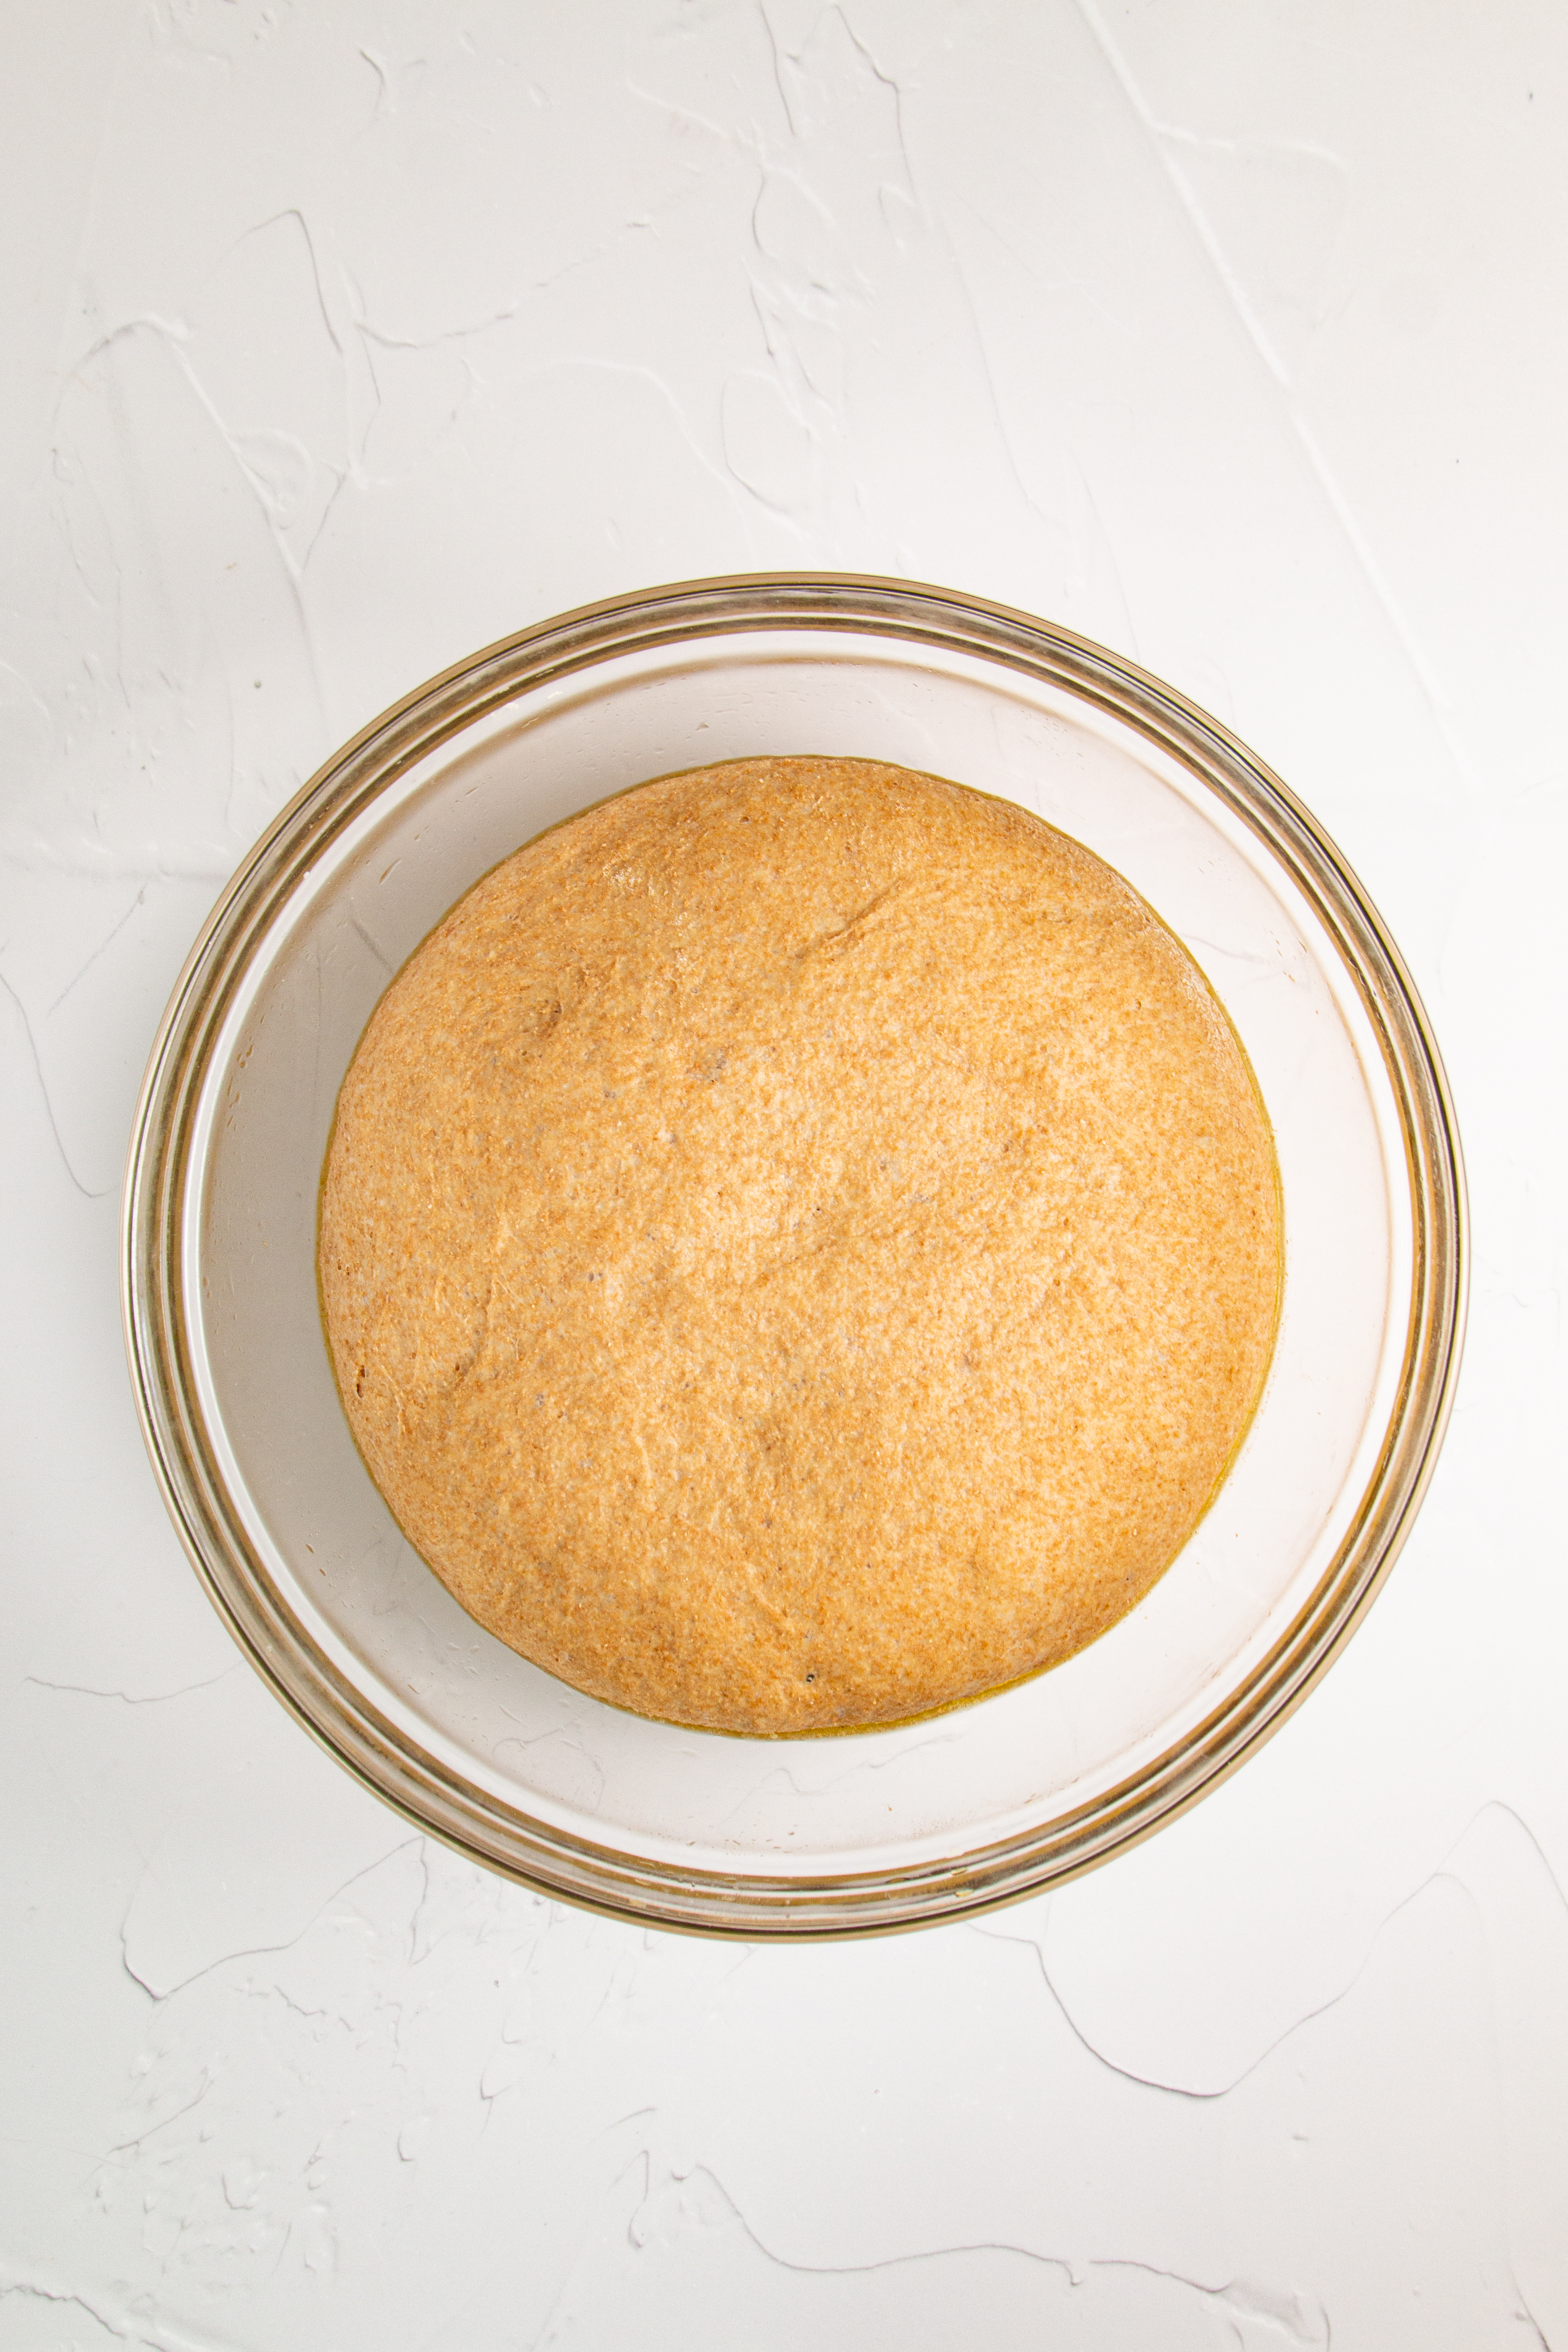
Step 6: First rise. Shape into a ball and place in a greased bowl. Cover with a kitchen towel and let rise in a warm place for 1 to 1½ hours, or until doubled in size (photo 4).
You can create a warm environment by briefly warming your microwave, turning it off, and letting the dough rise inside.
Step 7: Shape the loaf. Punch down the dough to release air. Shape the bread dough into a tight, structured loaf on a lightly floured surface.
My brioche loaf post has detailed loaf shaping instructions to help you out!


Step 8: Second rise. Place in a greased 8×4-inch or 9×5-inch loaf pan. Cover and let rise for 30–45 minutes, until it rises just above the rim of the pan (photo 5).
Alternatively, bake in a preheated pot or hot Dutch oven lined with parchment paper for extra crust development.
Step 9: Preheat the oven. Preheat to 375°F (190°C).
Step 10: Bake until golden. Bake for 35–40 minutes, until golden brown. The loaf should sound hollow when tapped on the bottom.
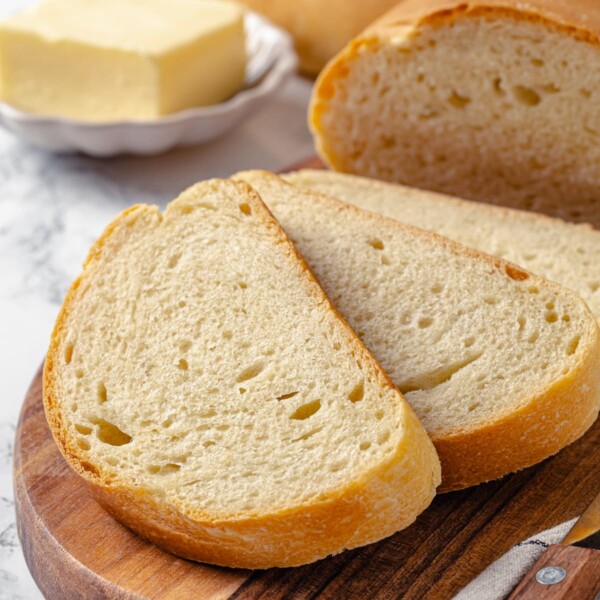
Step 11: Cool completely. Cool in the pan for a few minutes, then transfer to a wire rack. Let cool fully before slicing for clean slices (photo 6).
Recipe FAQs
Whole wheat bread can be more challenging because bran particles interfere with gluten development. Common causes of dense or poorly risen whole wheat bread include: under-kneading, under-proofing, old yeast, and water that is too hot or too cold.
Whole wheat flour absorbs more water and requires stronger gluten development. Knead until elastic and let it fully double before shaping.
Whole wheat bread is typically higher in fiber, vitamins, and minerals because it contains the entire wheat kernel (bran, germ, and endosperm). White bread is made from refined flour, which removes the bran and germ. This lowers fiber content and some micronutrients.
Store at room temperature up to 4 days. For longer storage, freeze. It tastes wonderful the next day after the crumb fully sets.
Recommended Homemade Bread Recipes

Yeast Breads
Yeast Breads

Yeast Breads

Yeast Breads
If you enjoyed this recipe, please leave a star rating and let me know how it goes in the comments below! I love hearing from you and your comments make my day!
Whole Wheat Bread
Ingredients
- 3 cups whole wheat flour
- 1 ½ cups warm water
- 2 tablespoons honey, or maple syrup
- 2 tablespoons olive oil, or melted butter
- 2 teaspoons active dry yeast
- 1 ½ teaspoons kosher salt
Instructions
- In a large bowl, stir warm water (105–115°F) and honey until dissolved. Sprinkle yeast over the surface and let sit for 5 minutes, until foamy. If the yeast does not foam, discard and restart with fresh yeast.
- Stir olive oil into the yeast mixture.
- In a separate bowl, whisk together whole wheat flour and salt.
- Gradually add the dry ingredients to the wet ingredients, stirring until a shaggy dough forms.
- Turn dough onto a lightly floured surface and knead 8–10 minutes, until smooth and elastic. The dough should feel soft and slightly tacky but not sticky. It should spring back slowly when pressed.
- Shape dough into a ball and place into a lightly greased bowl. Cover and let rise in a warm (75–85°F) draft-free place for 1 to 1½ hours, until doubled in size.
- Gently punch down to release excess gas. Shape tightly into a loaf and place into a greased 8×4-inch or 9×5-inch loaf pan.
- Cover and let rise for 30–45 minutes, until the dough crowns slightly above the rim of the pan.
- Bake at 375°F for 35–40 minutes, until deeply golden brown. The loaf should sound hollow when tapped and register 190–200°F internally.
- Cool in the pan 5–10 minutes, then transfer to a wire rack and cool completely (at least 1 hour) before slicing to prevent gumminess.
Notes
- Yeast Activation: Water hotter than 115°F can kill yeast. Use a thermometer for accuracy.
- Proper Development: Whole wheat flour requires full kneading to avoid a dense crumb. Do not shorten kneading time.
- Storage: Store airtight at room temperature up to 4 days. Freeze tightly wrapped up to 2 months.
- Texture Tip: Slicing while warm compresses the crumb. Allow full cooling before cutting.
- Chef Lindsey’s Note 2026: I have updated the metric measurements of this recipe to reflect how I actually make it. People adore it when made by volume but I agree with reviewers that the metric conversions were off. When I make this exact recipe, I use 438g (my conversion for 3 cups whole wheat flour) and it comes out perfectly.
Nutrition
Nutrition information is automatically calculated, so should only be used as an approximation.
 Like this recipe? Rate & comment below!
Before You Go
I hope you enjoyed this soft, hearty homemade loaf. Be sure to check out our other delicious bread recipes for more baking inspiration!


I really love this recipe! It always works!
Oh thank you, Julia! I appreciate you coming back and taking the time to comment! You made my day!
Hi, can I let the dough rise longer, each time?
Hi Bina! Yes you can let the dough rise a little longer each time, but please be careful, since there is some possibility of over-proofing. You can probably safely increase your rise time by about 30 minutes each time, but keep an eye on the dough because based on a lot of different factors (ex: temperature) you might need to make an adjustment based on how much it has expanded!
Happy proofing! ~gvd team
Thanks! I made the bread again today, but am actually weighing the flour, Wegman’s brand whole wheat flour, which weighs 112 grams per cup (336 g total). The dough did not come together in a ball, so I added about 40g more flour. I did use a stand mixer. It still did mot form a ball. Do I need more flour? Thanks!
Hi Bina! It sounds like you’re doing everything right. Whole wheat flour is sometimes a little tricky because absorbency varies based on brand. It’s so sensitive that even the humidity of your kitchen sometimes makes a difference! Yes, adding a little more flour, about a tablespoon at a time is a good solution. Using a stand mixer could also be giving you a slightly stickier dough, so if you’ve put in a lot of flour and you’re still not getting the ball, kneading it by hand for a few minutes might help! Keep me posted, excited you’re baking! ~gvd team
This is the second time I’ve used this recipe. The first time I used honey as the sweetener and this time I used cane syrup.
The first time I kneaded the dough mixture by hand and added the dry to the wet. This time I added the wet to the dry in mt stand mixer using the dough hook. It was a much better operation this time.
I’m letting the loaf cool as I’m typing, before I cut it like the notes state. I think it came out so much better this time and I’ll be baking this much more often.
I’m so happy to hear that Donald. I find that bread made in a stand mixer typically has a better texture because it isn’t as difficult to work with and doesn’t require the extra bench flour that kneading it by hand does. That extra bread makes it more dense. ~Lindsey
Best whole wheat bread recipe ever! Very few ingredients and easy instructions. Will be my to go recipe for this one. It came out just perfect, thank you so much?
Super happy to hear! Thanks for stopping back by to comment and rate!
I ran out of honey. Can I use brown sugar?
Absolutely, Carlie!
I’m a novice bread baker and was so pleased with the results of this recipe. Thanks for the detailed instructions.
I’m so happy to hear that, Helen!
Can I use a dough hook and stand mixer instead of kneading my hand? If so, how long should I mix with dough hook?
Hi Kristy, Absolutely! Honestly, that is what I would do. Unfortunately there is no specific amount of time, it is more about the gluten development. Mix on the low speed until the dough is incorporated then turn it up to medium and mix until a smooth dough forms. It should pass the window pane test, where you take a piece of the dough and gently pull it outwards. YOu should see light through the center. I hope that helps~ ~Lindsey
The information that you have shared is amazing. Thanks for sharing the valuable content.
The information that you have shared is very helpful about whole wheat bread. The wholemeal bread is always good for health. Thanks for sharing this information with us. Subscribed your blog.
thank you, have never thought about making my own wheat bread, but like everything else, so much better than from the store!