A light, pillowy whole wheat focaccia recipe that’s surprisingly easy! Make this wholesome Italian bread in under 2 ½ hours with just 6 simple ingredients!

A Quick Look At The Recipe
This is a brief summary of the recipe. Jump to the recipe to get the full details.
Prep Time
30 minutes
Cook Time
25 minutes
Proof Time
1 hour 45 minutes
Total Time
2 hours 40 minutes
Servings
12 slices
Difficulty
Intermediate
Calories *
303 kcal per serving
Technique
Stand mixer dough development with gradual stretching and dimpling to preserve air pockets.
Flavor Profile
Nutty whole wheat focaccia with rich olive oil flavor and crisp golden edges.
* Based on nutrition panel
This focaccia was surprisingly easy to make and came out beautifully light and golden. The edges were perfectly crisp while the center stayed soft and pillowy. I loved that the step-by-step stretching made the dough so manageable, even with whole wheat flour! Definitely a recipe I’ll make again. ⭐⭐⭐⭐⭐
Lauren
Why You Will Love This Recipe
- The best focaccia you’ll ever have. The flavorful combination of whole wheat flour and olive oil blew me away!
- Ready in under 2 ½ hours from start to finish. Unlike my no knead focaccia which requires an overnight rest, this version uses a stand mixer and comes together quickly enough for weeknight dinners.
- The gradual stretching technique preserves those iconic air pockets. This is the professional method I learned working at Marea restaurant. Instead of degassing the dough completely, you gently stretch it in intervals, which maintains the open, airy crumb.
- Olive oil is the star ingredient. With over ½ cup of extra virgin olive oil in the dough and more drizzled on top, this focaccia has that distinctive rich flavor and tender texture. It’s also integral to the dough’s hydration and texture.
Table of Contents
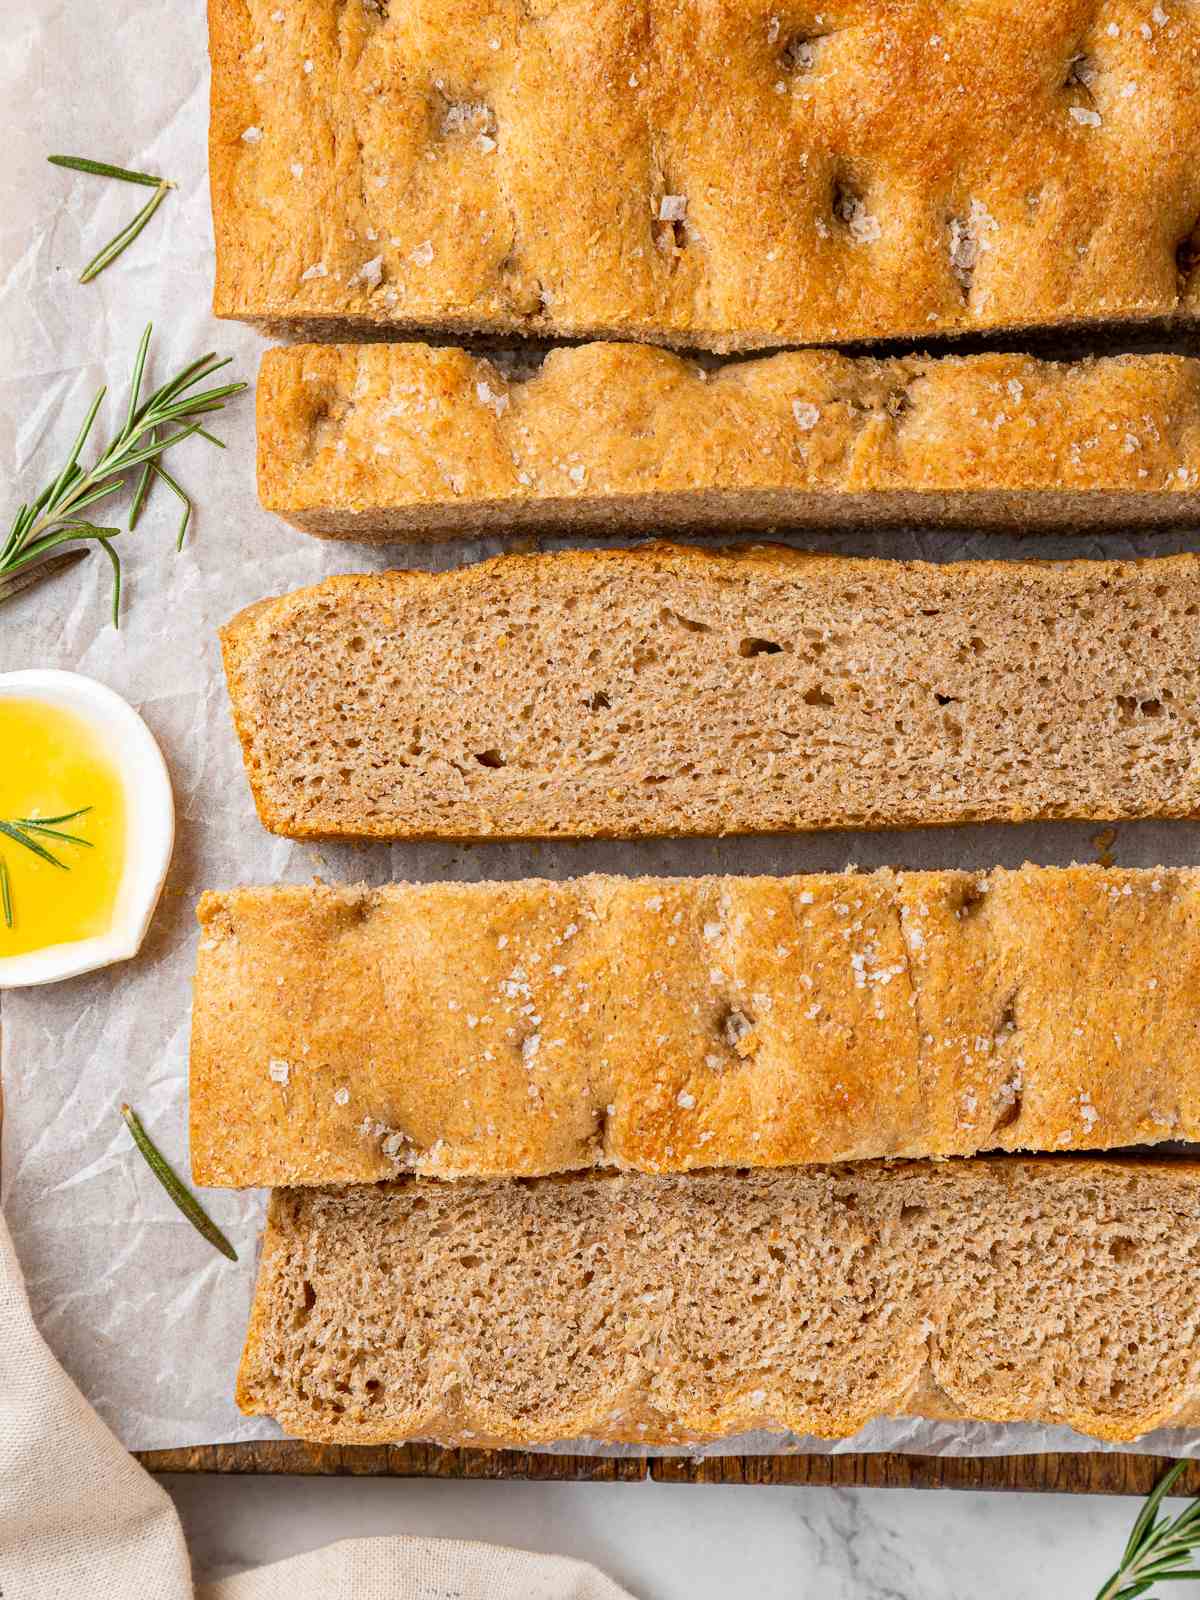
This whole wheat focaccia proves that whole grain bread doesn’t have to be dense or heavy. Adapted from my popular no knead focaccia recipe, this version uses a combination of whole wheat and bread flour like my rye bread recipe, which creates a beautifully light, springy bread.
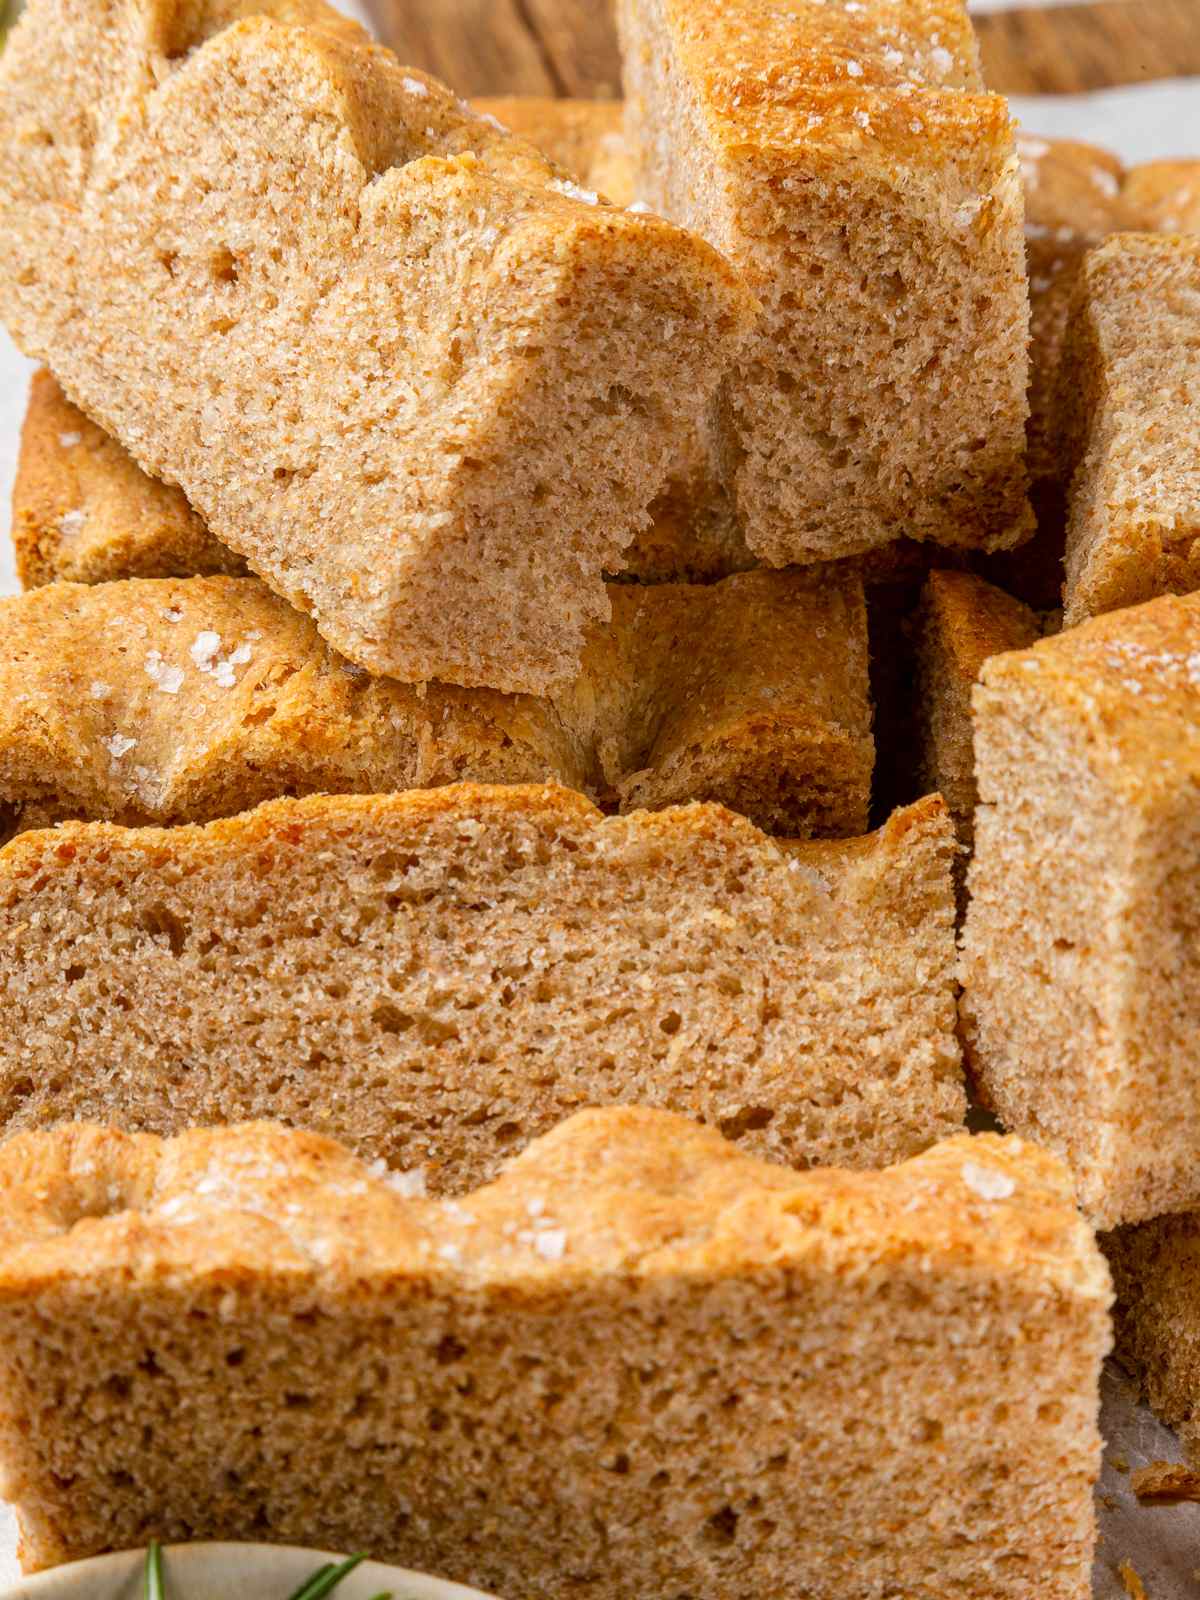
The edges bake up golden and crispy while the center stays pillowy soft. Drizzled with fruity extra virgin olive oil and topped with flaky sea salt, this focaccia is perfect for dipping in Italian meatball sauce, serving alongside a big Italian salad, or turning into the most incredible sandwiches.
Ingredients & Substitutions

- Bread Flour: The bread flour adds essential gluten strength and a lovely lightness you wouldn’t get from 100% whole wheat. With all the olive oil in this recipe, that extra gluten helps support the dough’s structure. You can substitute all-purpose flour if that’s what you have on hand like I do in my oatmeal bread.
- Whole Wheat Flour: I use regular whole wheat flour for a hearty, nutty flavor. White whole wheat flour would work too and would give you a lighter color while maintaining the nutrition.
- Warm Water
- Instant Yeast: I use instant yeast for the easiest mixing and the fastest rise, but you could also use the same quantity of active dry yeast. Bloom the yeast in the warm water for 10-15 minutes or until bubbly before combining.
- Extra Virgin Olive Oil: Don’t skimp on quality here! Use a high quality extra virgin olive oil that you’d enjoy drizzling on salads. You’ll need it for the dough, shaping, and topping — about ¾ cup total.
- Kosher Salt: Salt in the dough enhances flavor and strengthens gluten. You’ll also want flaky finishing salt (like fleur de sel or Maldon) for sprinkling on top before baking.
- Optional Toppings: Just like with a traditional focaccia, this whole wheat variation provides the perfect base for all your favorite savory toppings! Try fresh chopped herbs or a creative mix like this zaatar focaccia; go traditional with sliced red onions or shallots and pesto; or brighten it up for Summer with the toppings from my lemon focaccia or strawberry focaccia!
See the recipe card for full information on ingredients and quantities.
Professional Tips
- Proper proofing is critical for whole wheat bread. Under-leavened dough is the kiss of death for whole wheat focaccia. Just like with whole wheat bread, make sure the dough reaches the top edge of the pan in most places before baking. Don’t rush this final proof!
- The dough won’t pull a perfectly smooth windowpane. The bran and germ in whole wheat flour will create some texture in the windowpane test, but there’s enough bread flour to allow a nice, fairly smooth window. This is different from 100% whole wheat rolls which pull a much rougher windowpane.
- The gradual stretching technique is key to the texture. Instead of pressing all the way to the edges at once, you gently stretch the dough in 15-minute intervals. This preserves the air pockets and creates that characteristic open crumb. It’s the same technique used at high-end Italian restaurants!
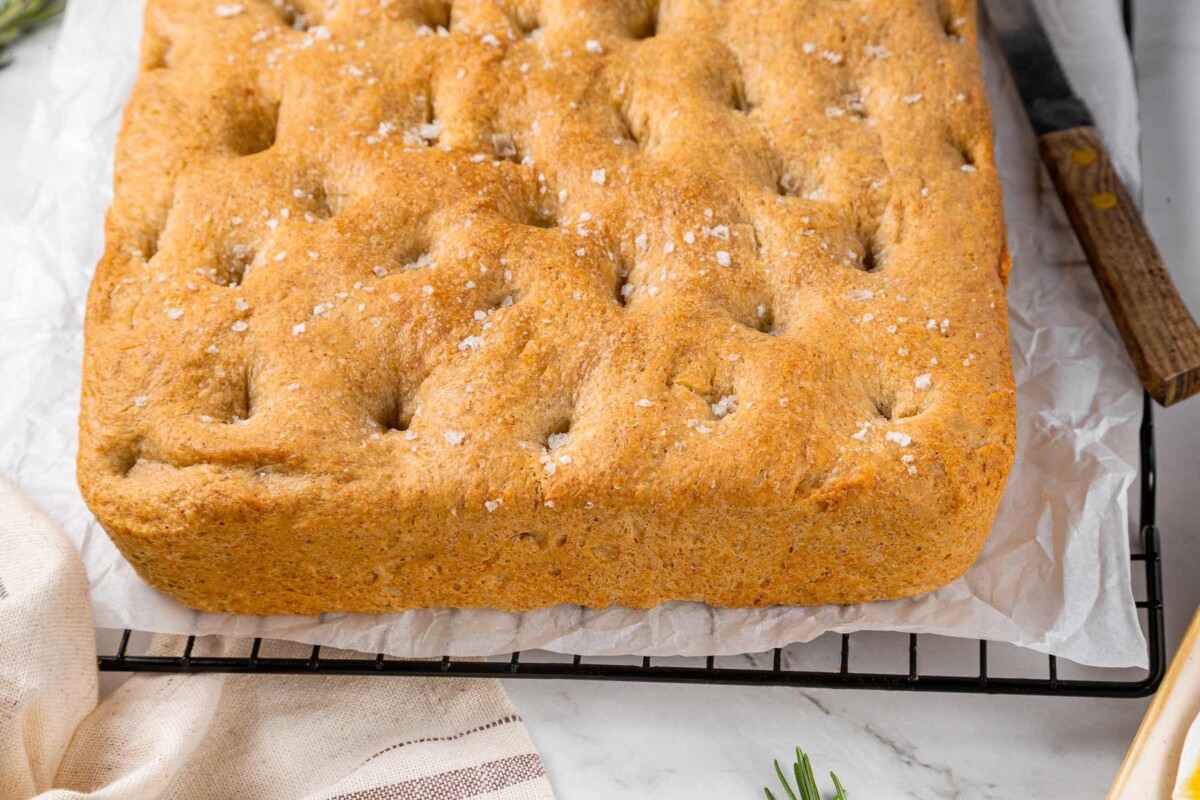
- Dimple all the way to the bottom of the pan before the final proof. This seems aggressive, but it helps the focaccia retain its signature dimpled appearance even after rising and baking. Those dimples are perfect little pools for olive oil!
How to Make Whole Wheat Focaccia
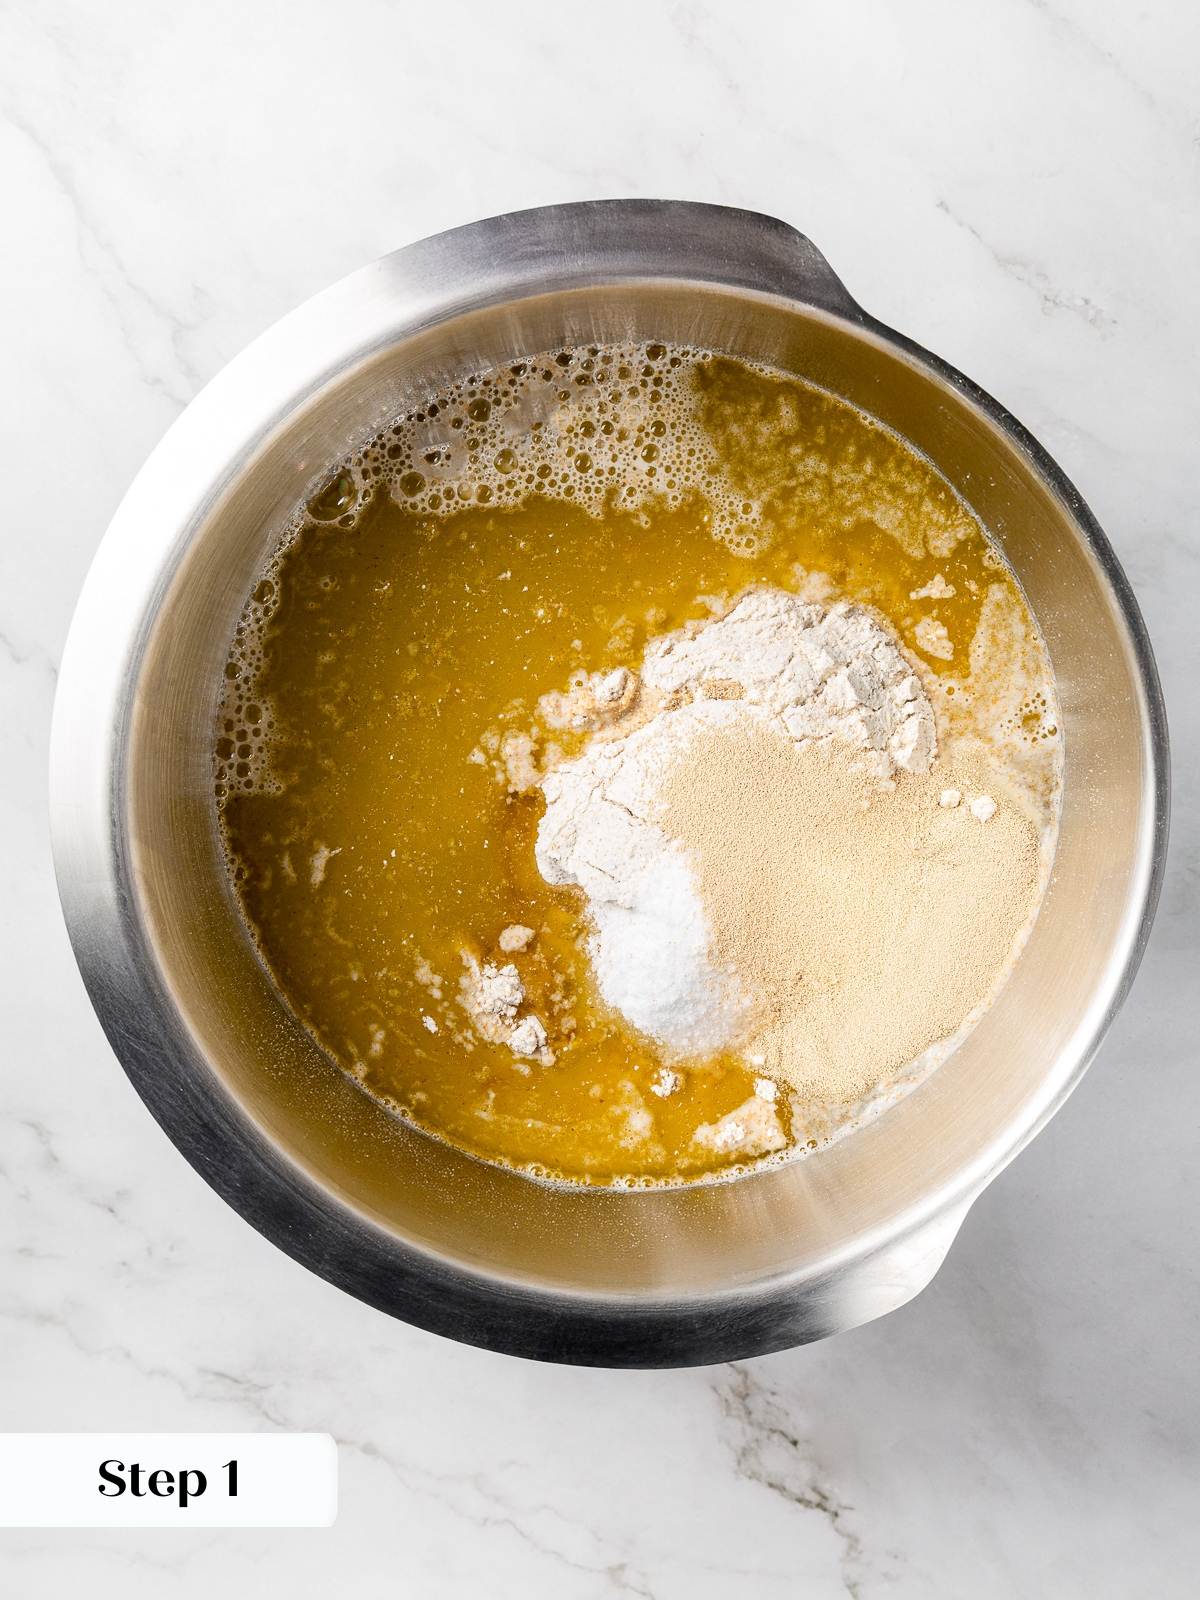


Step 1: Mix the dough. In the bowl of a stand mixer fitted with the dough hook attachment, add flours, yeast, salt, water and olive oil. Incorporate on low speed with the dough hook until homogenous dough forms (photo 1).
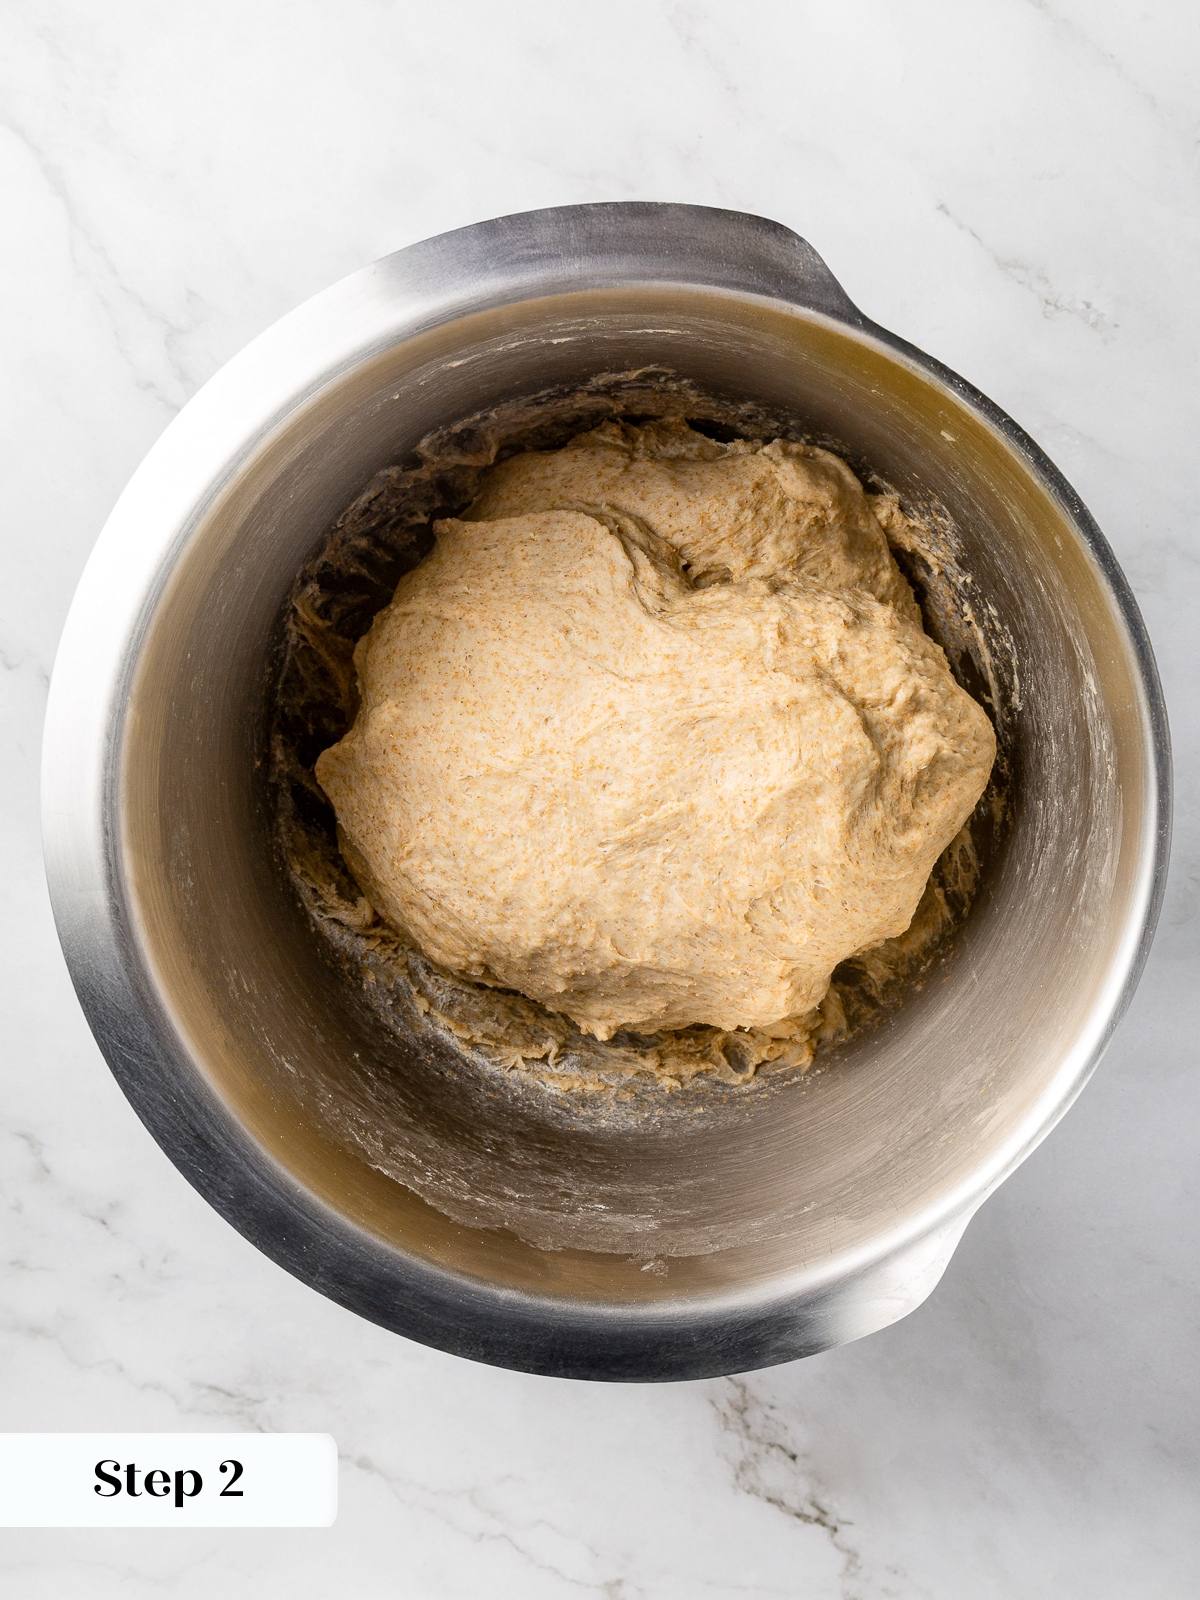
Step 2: Increase the mixer speed to medium and develop for 5 minutes, or until you can pull a fairly smooth windowpane (photo 2).
The germ and bran in the whole wheat flour will keep it from being perfectly smooth, but there is enough bread flour to allow a nice windowpane, unlike 100% whole wheat rolls, for example. You are still going to perform 1 set of envelope folds, so don’t stress about it too much.
Step 3: Oil a rimmed baking sheet for thinner focaccia or a 9 x13 inch baking pan with about 1 tablespoon olive oil.
Step 4: Bulk Proofing & Folding. Scrape the dough from the mixer bowl into the oiled pan, cover with plastic wrap and bulk proof for 30 minutes. Perform one set of envelope folds by folding each of the 4 corners into the center of the dough and then flipping it over onto the seam. This will also, conveniently, make a square, which will be easier to stretch into a rectangle.
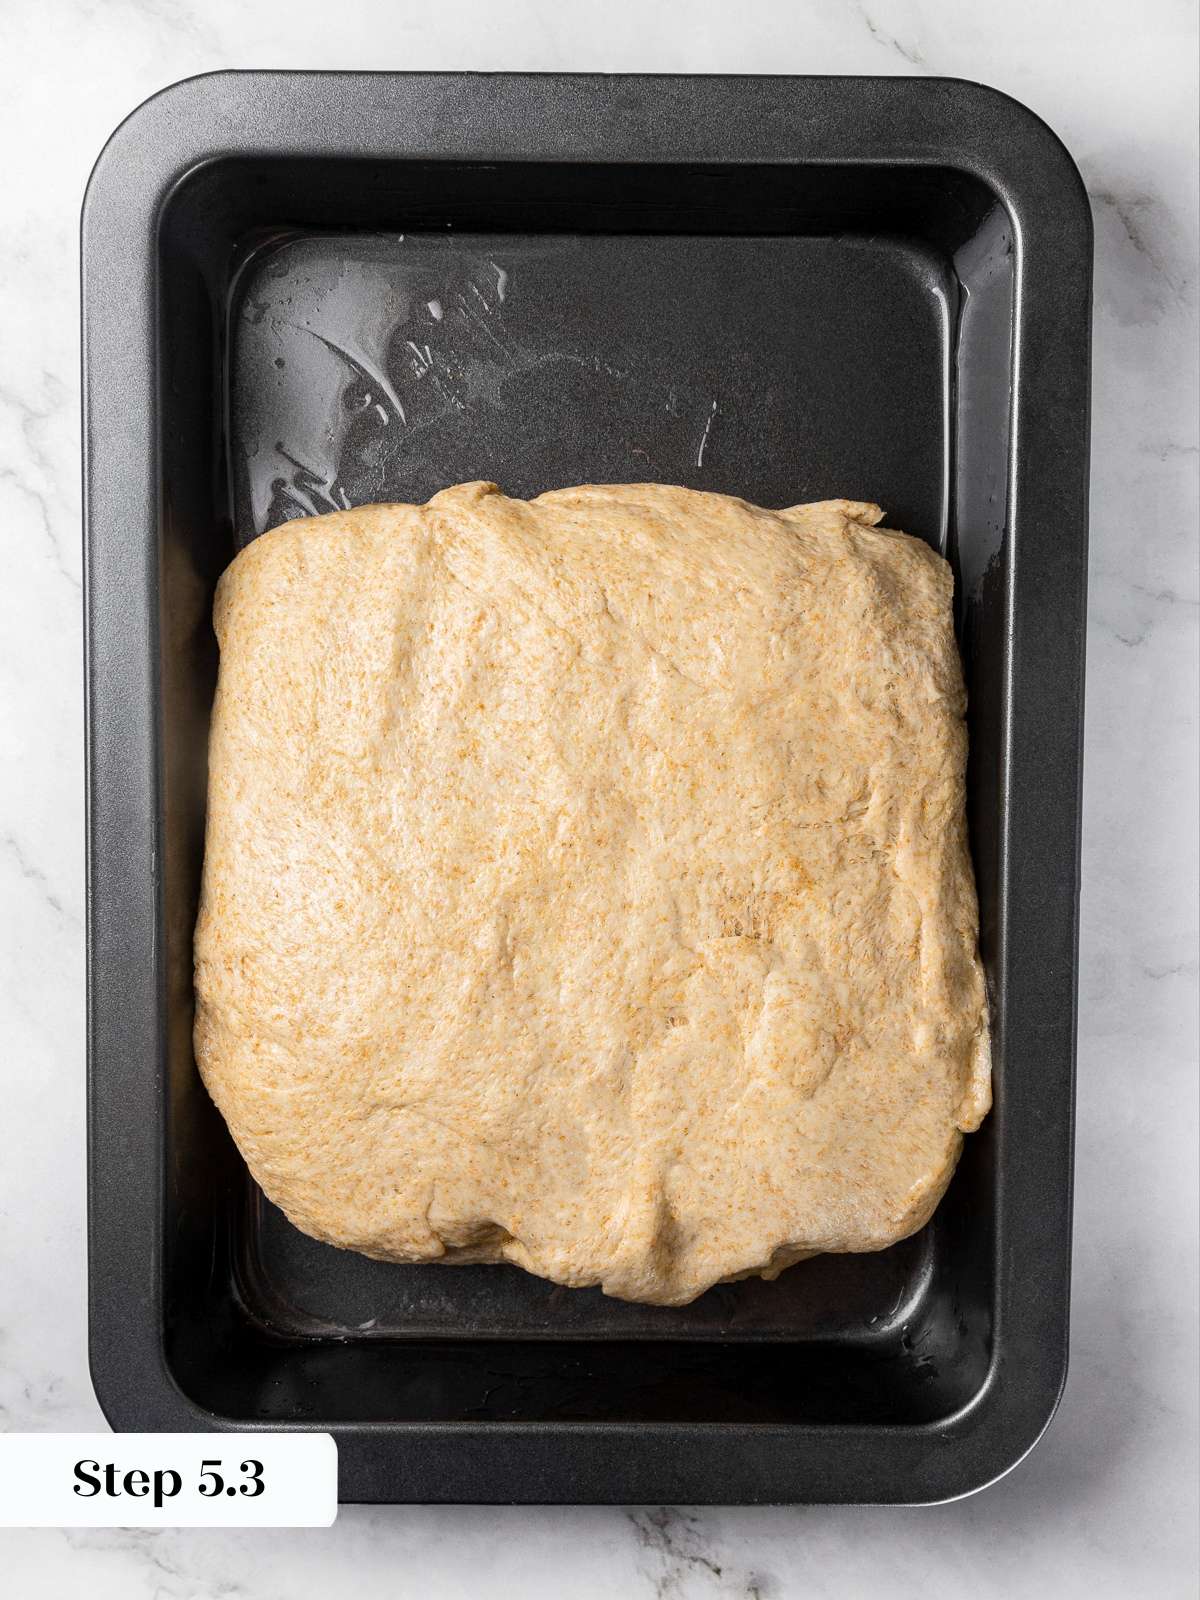
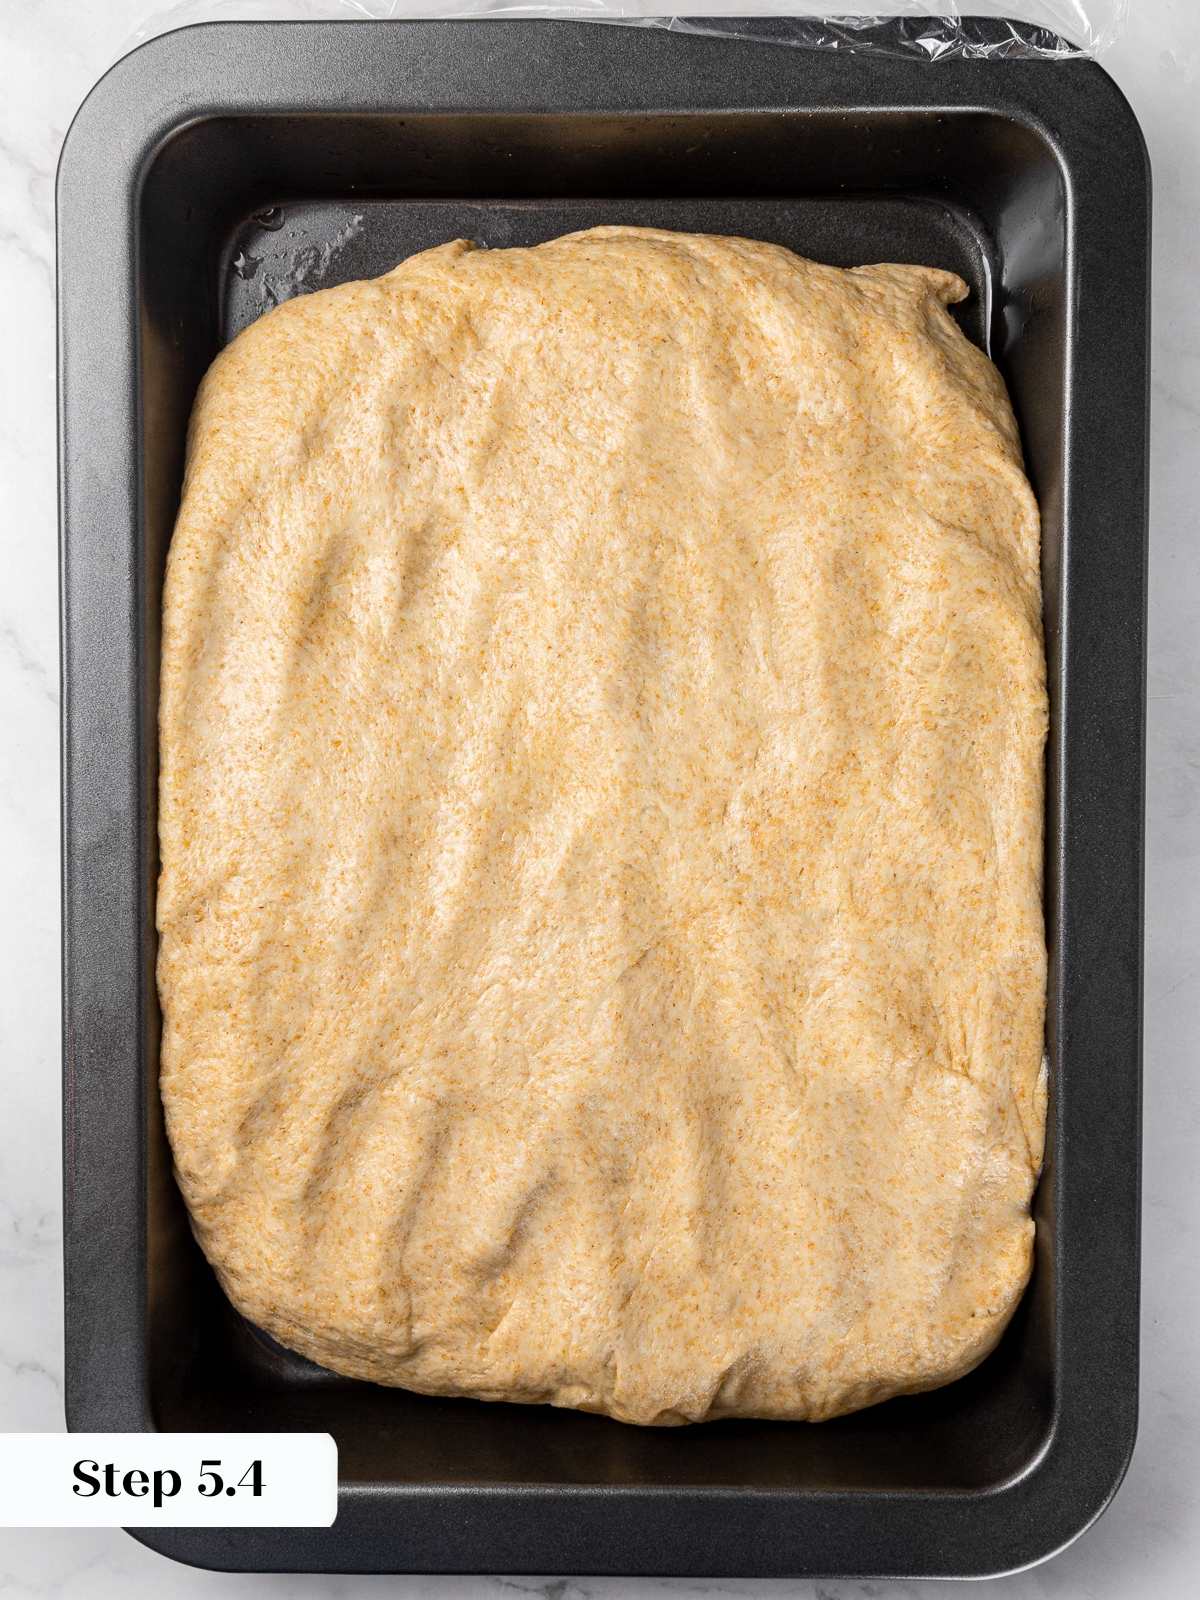
Step 5: Gradual Stretching & Shaping: Cover and place the pan back in a warm spot for 15 minutes then press out by pressing your fingers in the dough (dimpling). The goal is to stretch the dough gently towards the edges, nothing more. Cover and place back in the warm spot for 15 minutes (photos 3-6).
Step 6: Repeat the dimpling and stretch the dough out to reach all the edges. Try to distribute any spots that have more dough than others.
If you are using a 9 x13 inch pan, 2 stretches should suffice to reach the edges. If you are making a thinner loaf of focaccia in a baking sheet, then you’ll need to rest the dough for a third 15 minute interval and do one more set of dimpling and stretches.
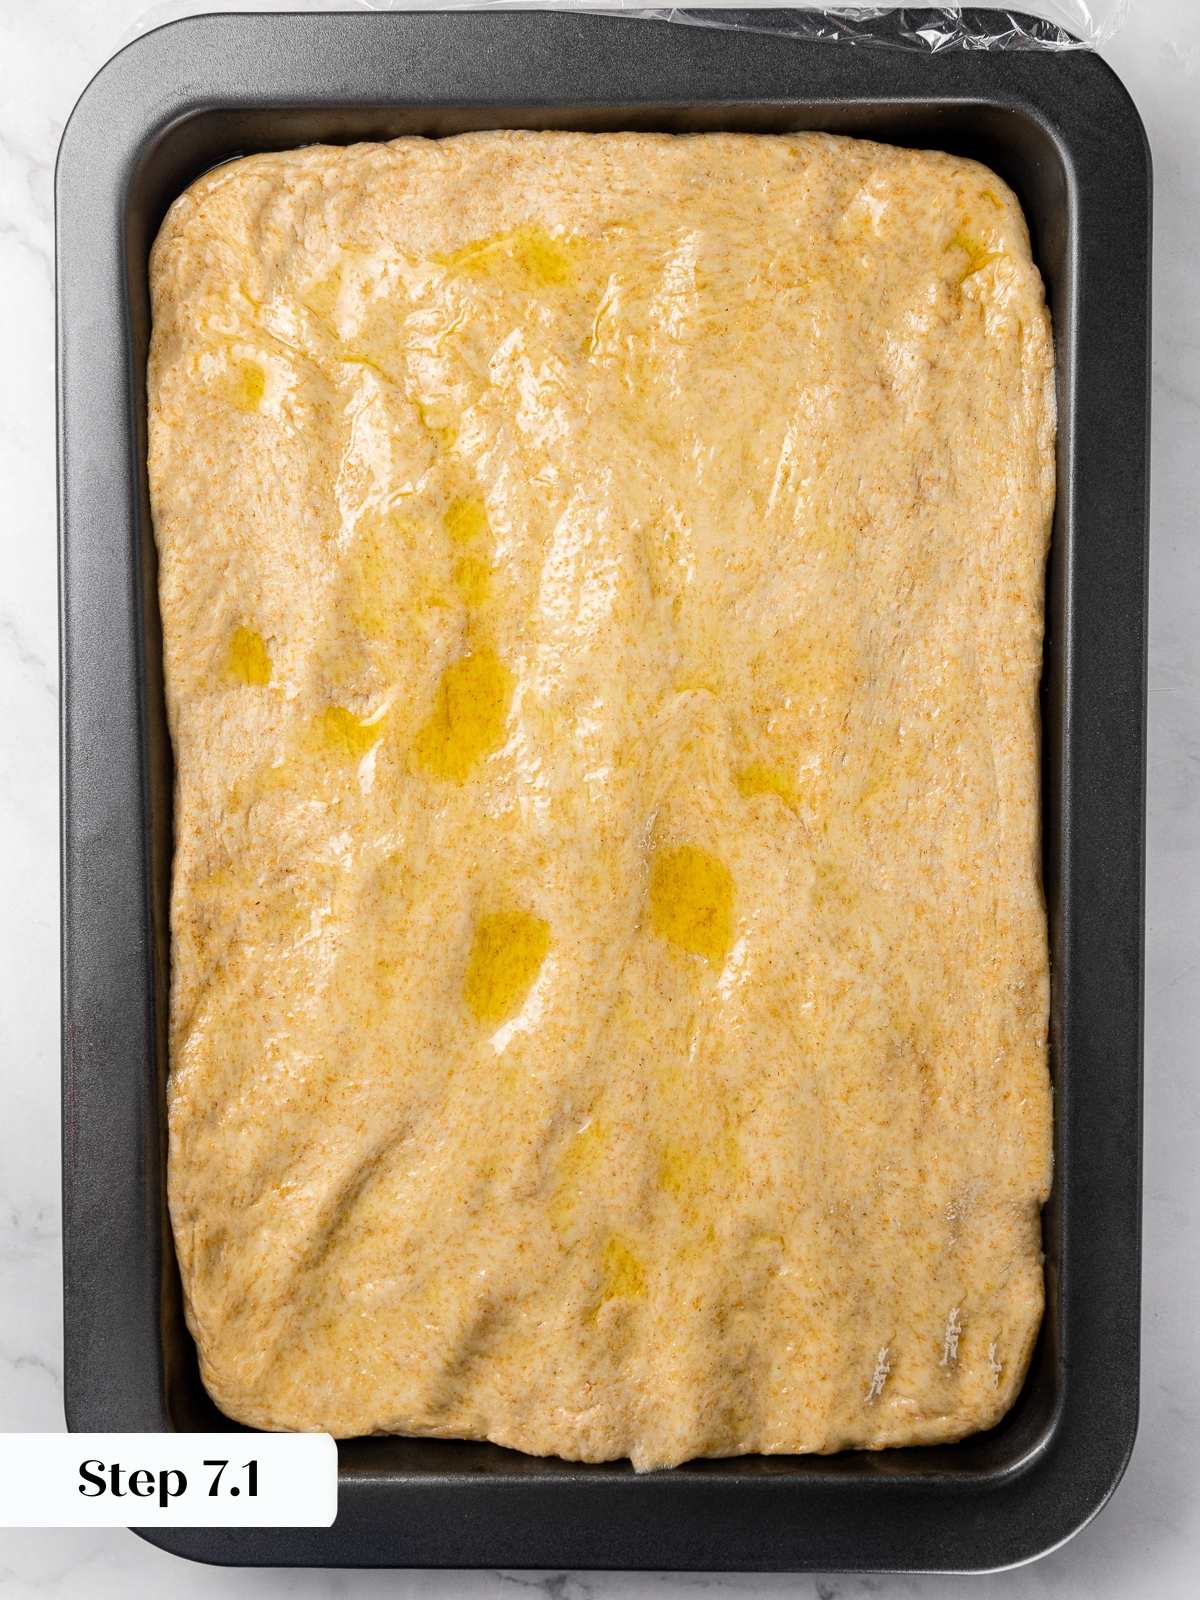
Step 7: After you get the dough to reach the edges, drizzle some olive oil over the top and then dimple by pressing your fingers into the dough until they reach the bottom of the pan (photos 7 & 8).
This helps the focaccia retain some dimpled appearance even after proofing and baking.
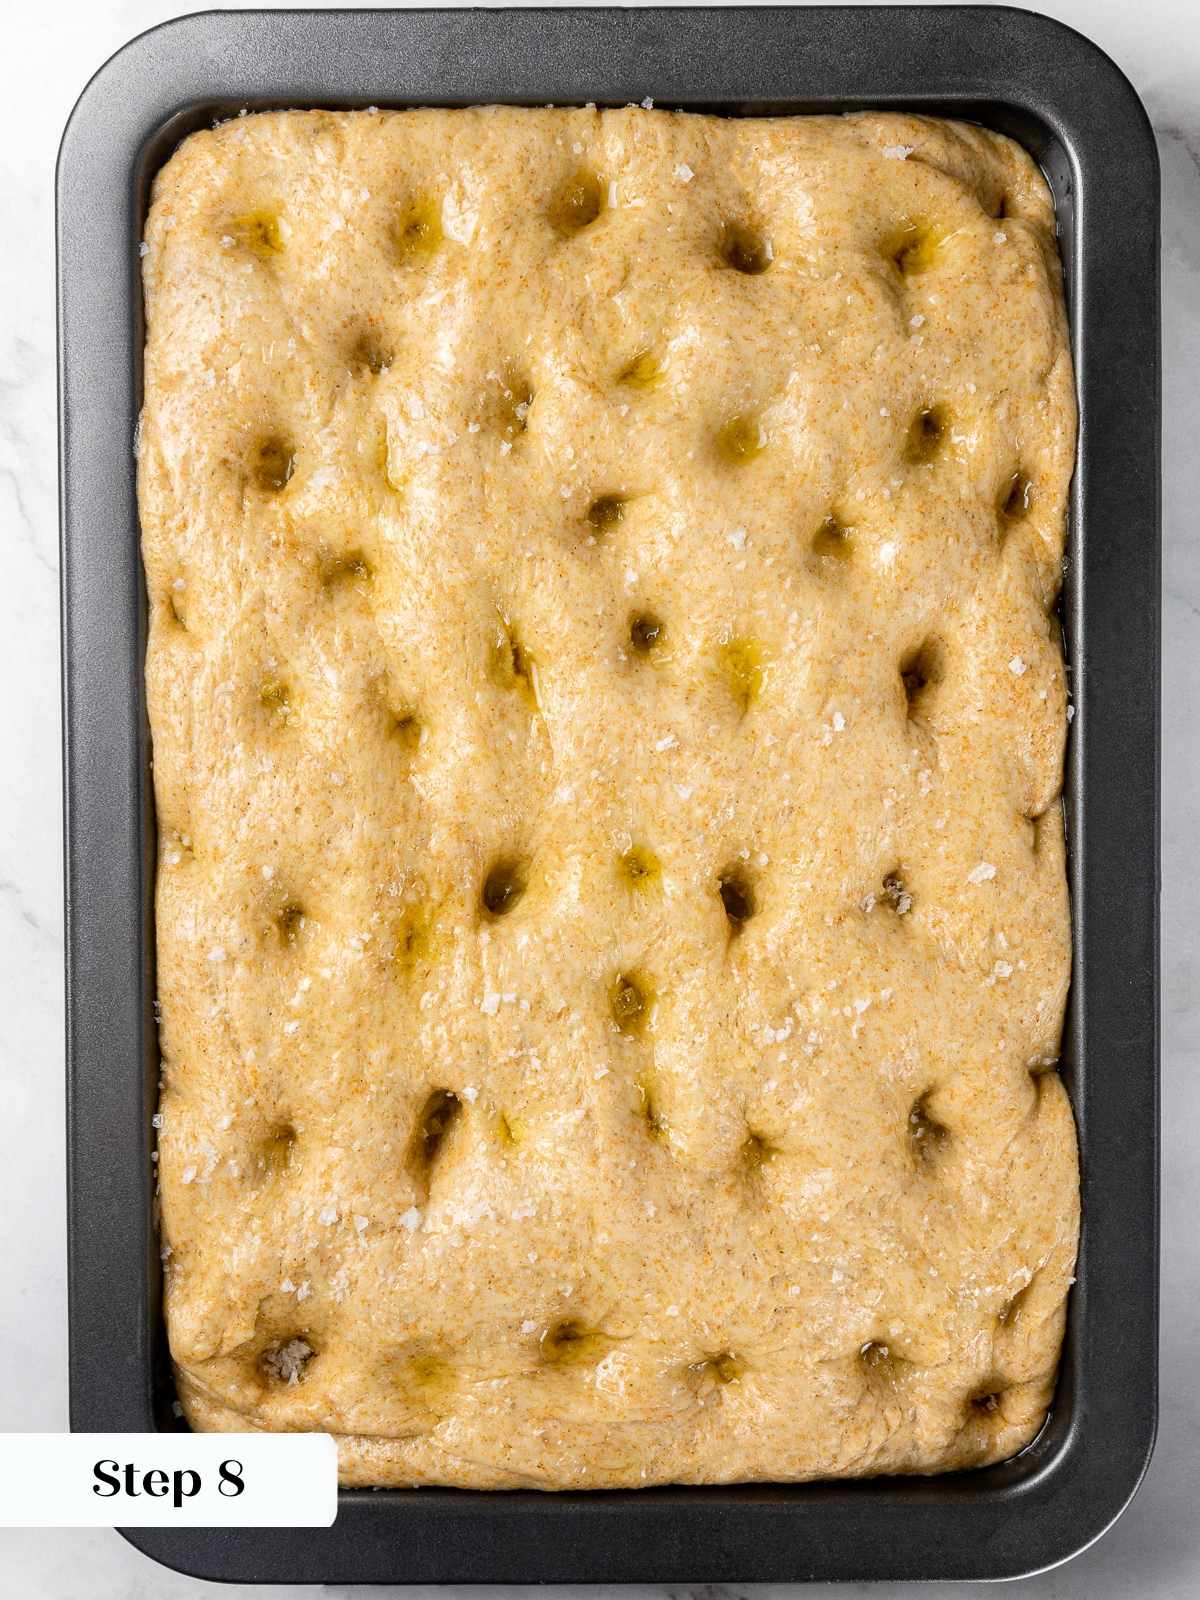

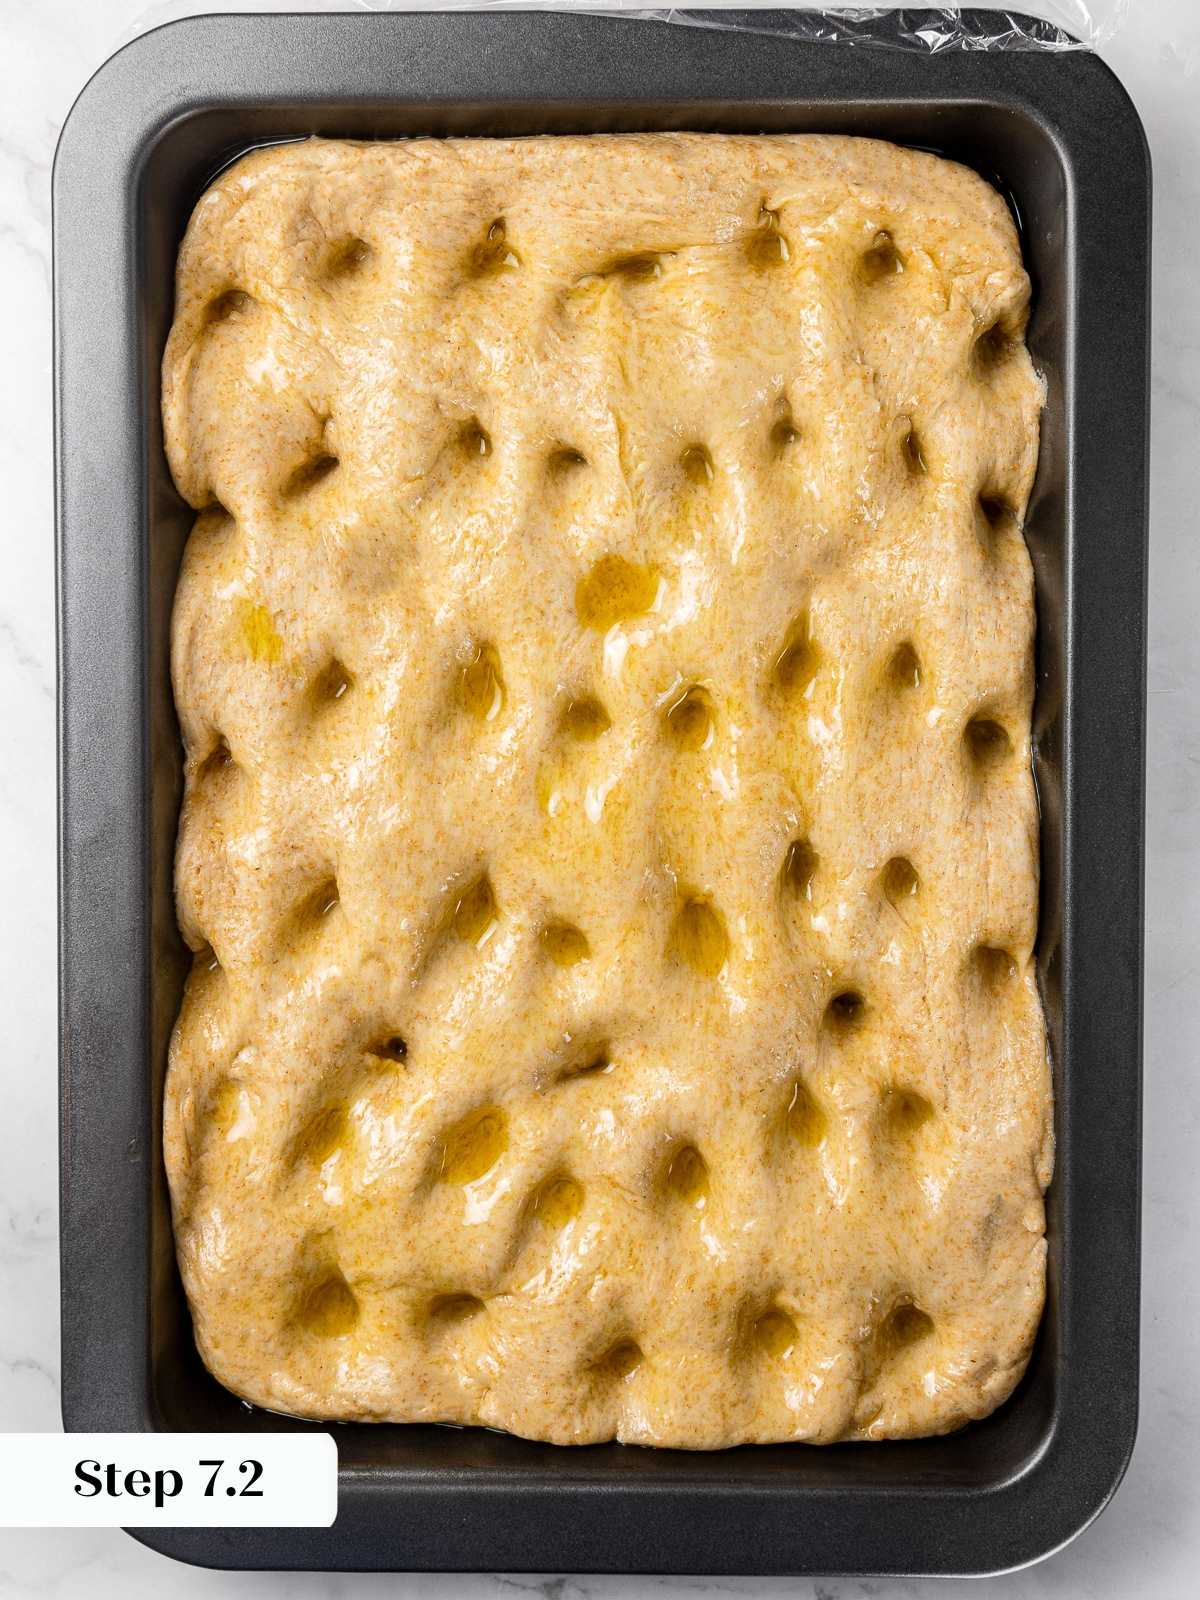
Step 8: Final Proof (second rise). Cover and place back in the warm spot for 30-45 minutes, or until the dough reaches the top edge of the pan in most places. In the final 15 minutes preheat the oven to 400°F conventional (photo 9).
Step 9: Drizzle on additional olive oil, flaked sea salt and any other desired topping. Bake for 25 minutes in a preheated oven.
The thinner variation makes an excellent appetizer! You can’t go wrong with anything you would use to top a pizza.
Step 10: Turn out immediately on a wire cooling rack. This keeps the bottoms and edges crispy rather than steaming them in the pan (photo 10).
Recipe FAQs
The bread flour adds gluten strength and lightness that you wouldn’t get from 100% whole wheat or all-purpose. With all the olive oil in focaccia, that extra gluten helps support the dough’s structure and creates those signature air pockets.
You could, but the texture will be noticeably denser and you’ll lose some of those characteristic big air pockets. Just like with my 100% whole wheat dinner rolls, you’ll want to ensure a proper proof for the lightest texture.
Yes! All-purpose flour will work fine like in my easy sourdough focaccia recipe, though the focaccia will be slightly less pillowy with a softer crumb.
Store cooled focaccia wrapped in plastic wrap or in an airtight container at room temperature for up to 3 days. For longer storage, wrap individual pieces in plastic wrap, place in a zip-top freezer bag, and freeze for up to 3 months.
Unwrap and briefly microwave to thaw (about 30 seconds), then pop in a 400°F oven, toaster oven, or air fryer for 5-10 minutes to heat through and recrisp the outside. It comes back beautifully!
Recommended Whole Wheat Bread Recipes

Yeast Breads
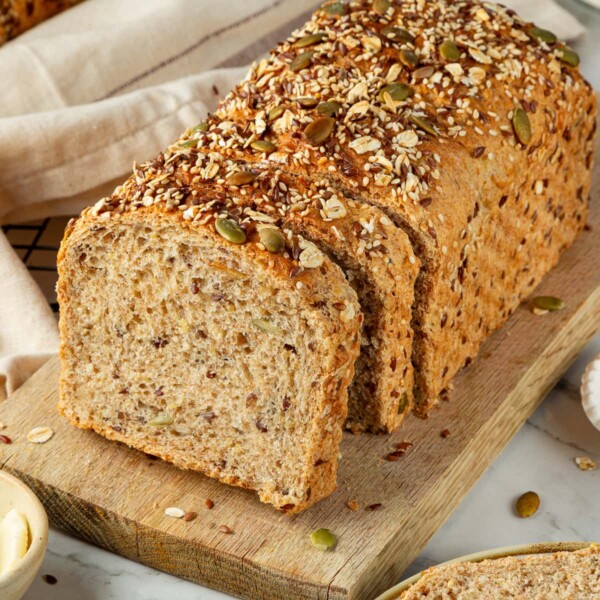
Yeast Breads
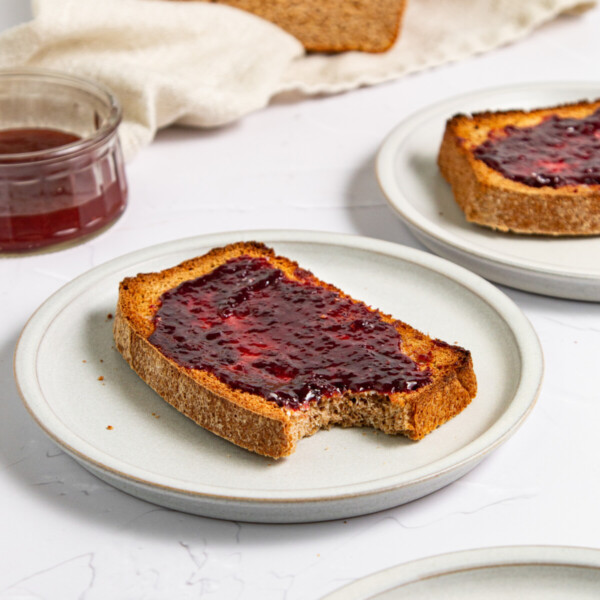
Yeast Breads

Yeast Breads
If you enjoyed this recipe, please leave a star rating and let me know how it goes in the comments below! I love hearing from you and your comments make my day!
Whole Wheat Focaccia
Ingredients
- 2 ½ cups bread flour
- 3 cups whole wheat flour
- 2 ⅛ cups warm water, 2 cups + 2 tablespoons, 100-110°F
- 2 ¼ teaspoons instant yeast
- ⅝ cup extra virgin olive oil, ½ cup + 2 tablespoons, plus more for pan and topping
- 1 tablespoon kosher salt
- Flaky sea salt, fleur de sel or Maldon, for topping
- Fresh rosemary, as desired
Instructions
Mix and Knead the Dough
- In the bowl of a stand mixer fitted with the dough hook attachment, add bread flour, whole wheat flour, yeast, salt, warm water, and olive oil.
- Incorporate on low speed with the dough hook until a homogenous dough forms.
- Increase the mixer speed to medium and knead for 5 minutes, or until you can pull a fairly smooth windowpane. The germ and bran in the whole wheat flour will keep it from being perfectly smooth, but there’s enough bread flour to allow a nice windowpane. You’re still going to perform envelope folds, so don’t stress about perfection.
First Proof and Folding
- Oil a rimmed half sheet pan (for thinner focaccia) or a 9×13-inch baking pan (for thicker focaccia) with about 1 tablespoon olive oil.
- Scrape the dough from the mixer bowl into the oiled pan. Cover with plastic wrap and bulk proof for 30 minutes in a warm spot.
- Perform one set of envelope folds by folding each of the 4 corners into the center of the dough, then flip it over onto the seam. This will also conveniently make a square, which will be easier to stretch into a rectangle.
Stretching and Shaping
- Cover and place the pan back in a warm spot for 15 minutes, then press out by dimpling with your fingers. The goal is to gently stretch the dough towards the edges, nothing more. Cover and rest for another 15 minutes.
- Repeat the dimpling and stretching to reach all the edges of the pan. Try to distribute the dough evenly. For a 9×13-inch pan, 2 stretches should be enough to reach the edges. For thinner focaccia on a sheet pan, you may need a third 15-minute interval and one more stretch.
- After the dough reaches the edges, drizzle olive oil over the top and dimple by pressing your fingers into the dough until they reach the bottom of the pan. This helps the focaccia retain its dimpled appearance even after proofing and baking.
Final Proof and Bake
- Cover and place back in a warm spot for 30-45 minutes, or until the dough reaches the top edge of the pan in most places. The dough should look puffy and light. In the final 15 minutes, preheat the oven to 400°F conventional (no fan). Under-leavened dough is the kiss of death for whole wheat bread — it makes it even more dense.
- Drizzle on additional olive oil, sprinkle with flaked sea salt, and add any other desired toppings like fresh rosemary.
- Bake for 25 minutes in the preheated oven until golden brown on top and bottom.
- Remove from the oven, turn out onto a wire rack and let cool slightly before slicing. Serve warm or at room temperature.
Notes
- Yield: 1, 9×13-inch focaccia or 1, thinner focaccia baked in a rimmed baking sheet.
- Technique: The gradual stretching technique in intervals preserves those big air pockets that are characteristic of focaccia.
- Variations: Add fresh rosemary, halved cherry tomatoes, sliced red onions, or olives before baking. You can also use this dough as a pizza base after the final proof.
- Storage: Wrap in plastic wrap or store in an airtight container at room temperature for up to 3 days. Freeze wrapped pieces in zip-top bags for up to 3 months. Reheat in a hot oven or air fryer to recrisp.
Nutrition
Nutrition information is automatically calculated, so should only be used as an approximation.
 Like this recipe? Rate & comment below!
Before You Go
I hope you enjoyed this light and pillowy whole wheat focaccia recipe! Check out our other hearty whole grain variations including whole wheat pita bread and whole wheat biscuits!


This focaccia was surprisingly easy to make and came out beautifully light and golden. The edges were perfectly crisp while the center stayed soft and pillowy. I loved that the step-by-step stretching made the dough so manageable, even with whole wheat flour! Definitely a recipe I’ll make again.
The recipe sounds good, but I dont see where it says what size pan(s) to use?
Hi Priscilla! We are going to give this post a little love soon, but from what Stephanie wrote, you’ll need two pans. I recommend either two 9-inch square pans or one 9×13-inch pan plus one 8-inch square pan (as she used). The dough is divided in half, so aim for pans that give you about ¾–1 inch thickness. Bake at 425°F for about 20–25 minutes until golden! Happy baking!
I really enjoyed this multigrain focaccia. The poolish really added a great flavor to the bread. I had extra left over and I sliced the bread thin and turned it into crackers, they were terrific!