Toasted breadcrumbs are one of the simplest things you can make from leftover bread, and they add more texture and flavor to a dish than almost any other finishing touch.
A Quick Look At The Recipe
This is a brief summary of the recipe. Jump to the recipe to get the full details.
Prep Time
5 minutes
Cook Time
15 minutes
Total Time
20 minutes
Servings
4 servings
Difficulty
Easy
Calories *
114 kcal per serving
Technique
Toasting and seasoning
Flavor Profile
Savory, toasty, buttery, aromatic
* Based on nutrition panel
“I had a half loaf of sourdough going stale on my counter and finally tried making these instead of tossing it. The butter and olive oil combination made them so much more flavorful than I expected. I put them on roasted vegetables and my family asked what the secret ingredient was!” ⭐⭐⭐⭐⭐
Prue
Why You Will Love This Recipe
- Zero waste. Day-old bread that would otherwise go stale gets a second life as a crunchy, flavorful topping. Any bread works here, from whole wheat sourdough to sandwich bread to leftover dinner rolls.
- Ready in under 10 minutes once the bread is dry. The actual skillet time is only 3 to 5 minutes. If you have dry crumbs on hand, this comes together faster than opening a canister from the store.
- Fully customizable seasoning. The base recipe uses onion powder, garlic powder, and salt, but the formula is flexible enough to match whatever you are topping.
Making these toasted breadcrumbs started as a way to use up the end of a sourdough loaf before it crossed the line from stale to sad. After the first batch, I started saving and using all leftover bread. It’s a great way to use bread that wouldn’t work for an easy bread pudding!
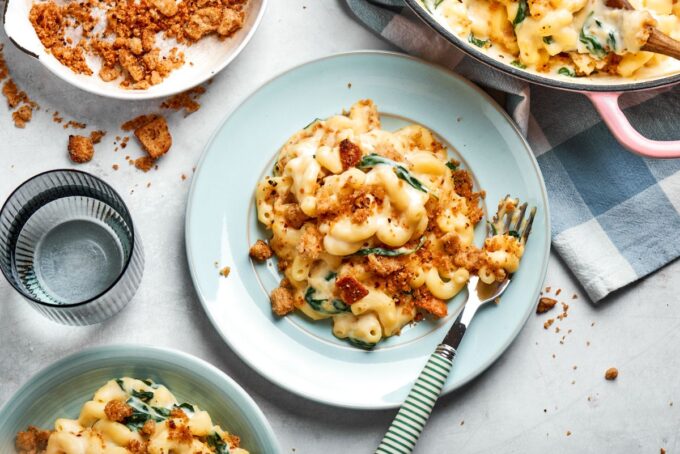
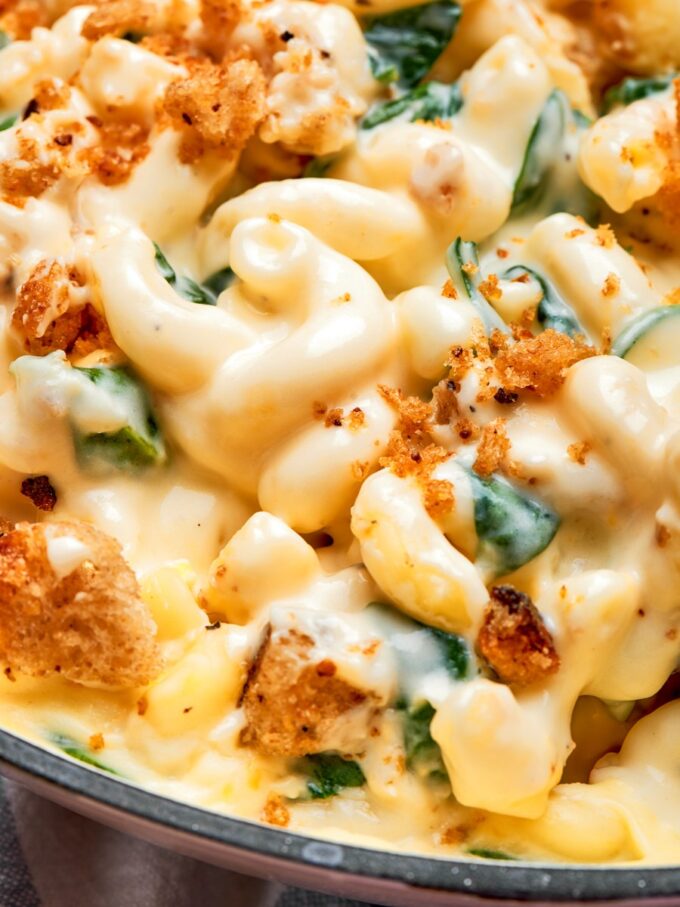
They are great on pasta, roasted vegetables, soup, and stovetop mac and cheese—which is honestly where I reach for them most. If you love recipes that make use of bread in clever ways, you can learn how to make homemade croutons!
Ingredients & Substitutions
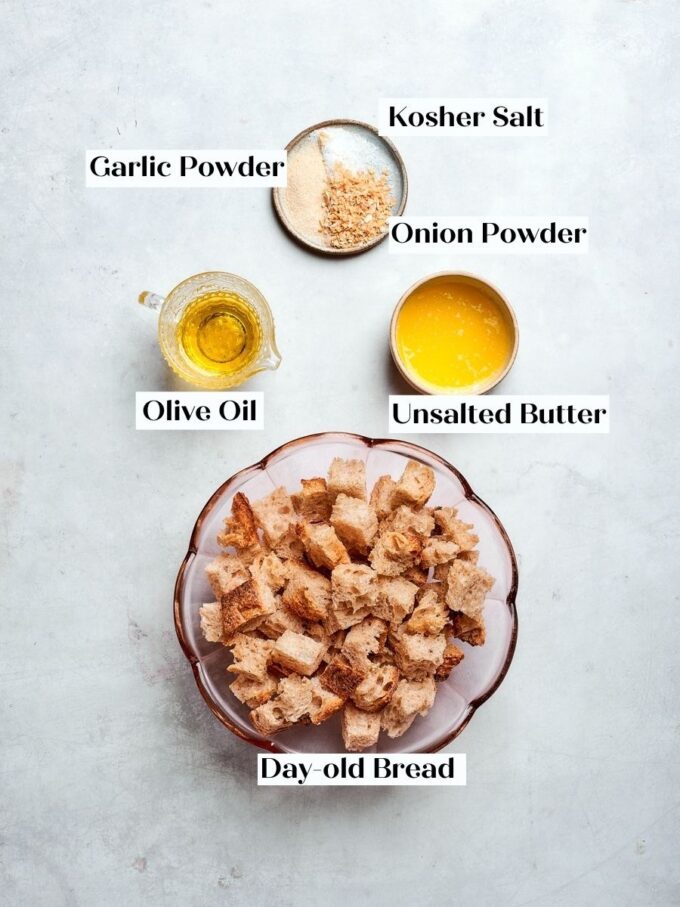
- Day-Old Bread: Stale bread is drier than fresh, which means it crumbles into crumbs more easily and toasts without turning soggy. Sourdough adds tang, white sandwich bread is neutral, and milk bread gives a slight sweetness. You need enough to yield 1½ cups of crumbs.
- Unsalted Butter: Butter adds depth and richness to the crumbs that olive oil alone cannot replicate. Using unsalted butter lets you control the final salt level precisely.
- Onion Powder: Onion powder provides a savory, aromatic backbone without adding moisture or bits that could scorch. Add it with the crumbs, not directly to the hot fat, so it coats evenly without burning.
- Garlic Powder: Garlic powder works alongside onion powder to build flavor from the inside of every crumb. Add both spices together with the crumbs for even distribution.
Variations for How to Make Breadcrumbs
- Herbed Breadcrumbs: Stir in a teaspoon of dried Italian seasoning, dried thyme, or smoked paprika along with the crumbs before they go into the skillet. The dry herbs toast lightly in the fat and bloom into something much more aromatic than sprinkling them on at the end.
- Sweet Breadcrumbs for Dessert Toppings: Swap the onion powder and garlic powder for an equal amount of cinnamon and a pinch of sugar. Great for my chocolate sourdough or my cinnamon raisin sourdough.
- Cheesy Breadcrumbs: Remove the skillet from the heat as soon as the crumbs are golden, then toss with two tablespoons of finely grated Parmesan before spreading onto the parchment to cool. Adding the cheese off heat keeps it from clumping or burning in the residual fat.
- Coarser Crumbs for More Crunch: Pulse the dried bread fewer times and stop when the largest pieces are closer to chickpea-size rather than pea-size. The uneven texture gives you distinct crunchy bits alongside the finer crumbs, which works especially well on soups and grain bowls.
Professional Tips for Perfect How to Make Breadcrumbs
- Dry the bread completely before you pulse it. If even one section of the bread is still soft in the middle, the crumbs will clump in the skillet and steam rather than toast. Press a cube between your fingers before you start: it should feel uniformly dry and snap, not compress. When in doubt, give the cubes another 10 minutes in a 350°F oven and let them cool fully before proceeding.
- Add the spices with the crumbs, not into the hot fat alone. Garlic powder and onion powder hit their smoke point quickly, and scorched spices are bitter in a way you cannot mask. Tossing them in with the crumbs means the bread absorbs the fat first, which buffers the heat and distributes the seasoning evenly.
- Pull the pan from the heat the moment most crumbs are golden, not when all of them are. The smallest crumbs brown first and will be fully dark by the time the larger pieces catch up, which is fine! Pour everything onto parchment immediately so the residual heat from the skillet does not carry them over. They will continue to crisp as they cool, and that final texture is much better than anything you will get from a canister.
- Make a full batch even if you only need half. Stored airtight at room temperature, these keep for up to a week and are ready to finish pasta, roasted vegetables, eggs, or soup with no extra effort—like I do on weeknights when I want something that feels assembled without actually assembling anything.
How to Make Breadcrumbs
Use these instructions to make crispy, golden, perfectly seasoned breadcrumbs that add crunch and flavor to pasta, salads, and more. Further details and measurements are in the recipe card below.
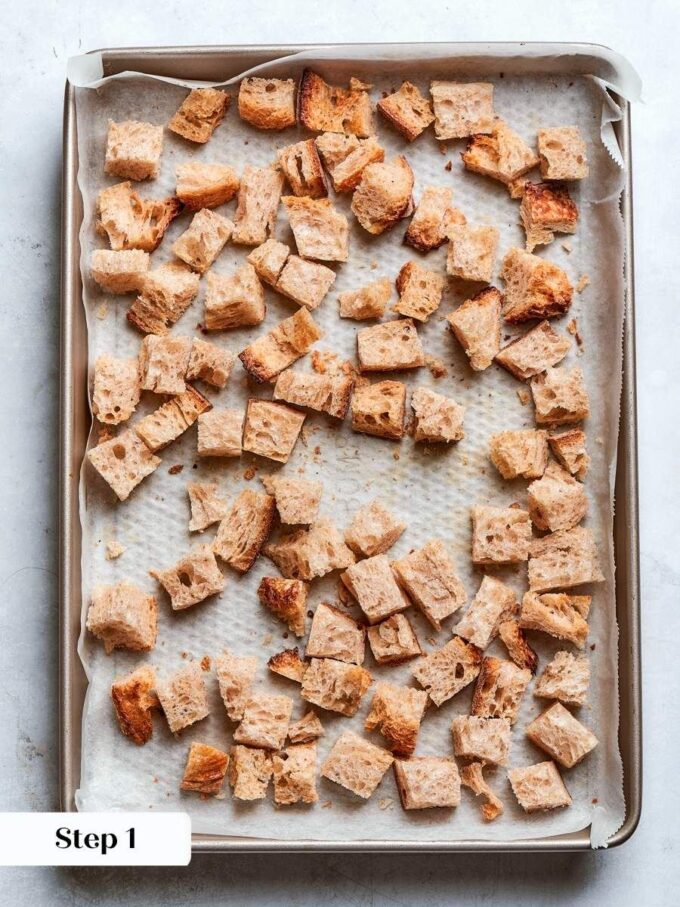
Step 1: Dry the Bread. Spread the bread cubes in a single layer on a parchment-lined sheet pan and let them air-dry at room temperature for up to 2 days, tossing occasionally. To speed things up, bake in a 350°F oven for about 15 minutes (tossing once halfway through). Either way, you want the cubes dry and crisp but still pale — they will get their real color in the skillet later. Flip the cubes during drying, because the sides touching the pan stay softer longer. Cool completely before moving on. (photo 1)
Add the garlic powder and onion powder together with the crumbs, not directly to the hot fat, so the spices coat the crumbs without burning.
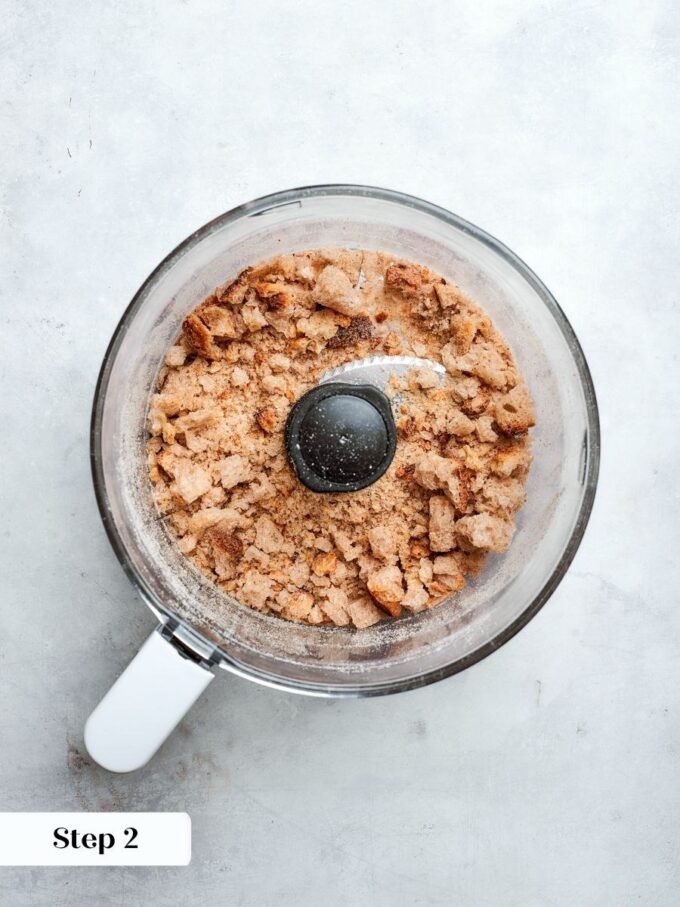
Step 2: Pulse the Crumbs. Add the dried bread cubes to a food processor or blender and pulse until you have coarse crumbs of mixed sizes, from pea-sized and smaller. If your bread was air-dried, you can also crumble it by hand, which is what I do when I want a little more control over the texture. A mix of crumb sizes is a good thing here — those varied bits give you satisfying crunch throughout. You need enough to yield 1½ cups of crumbs. If the bread still feels the least bit soft after pulsing, give the crumbs a brief pass in the oven and cool them completely before proceeding. (photo 2)
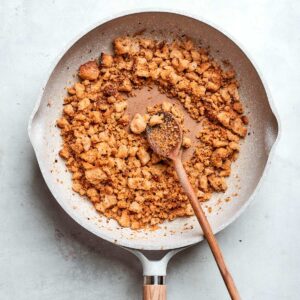
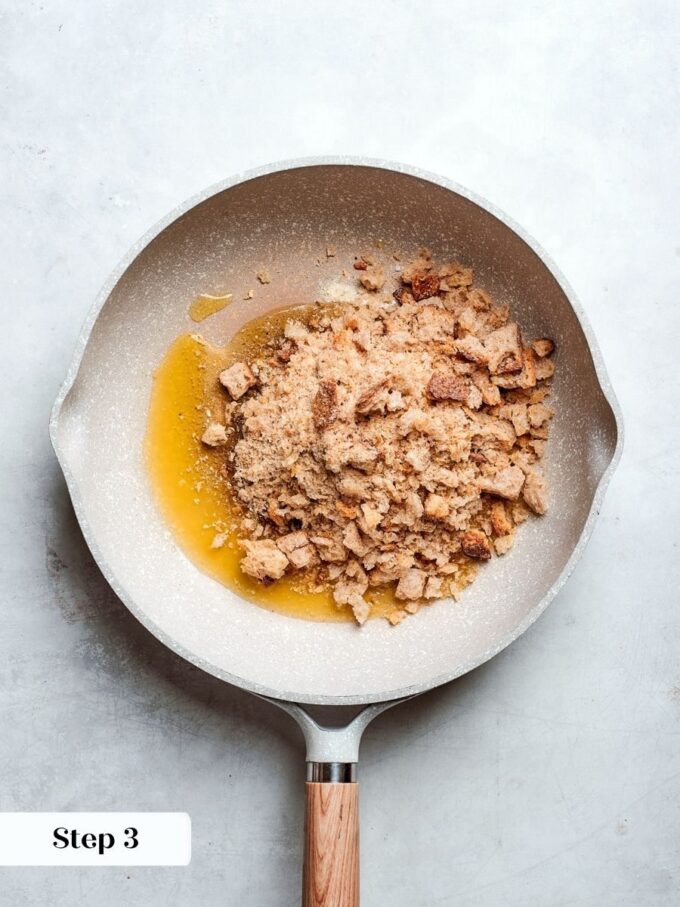
Step 3: Toast on the Stovetop. In a large skillet over medium heat, melt the butter in the olive oil until the mixture is foamy and shimmering. Add the crumbs, onion powder, garlic powder, and salt all at once and stir immediately so every crumb gets coated before the heat climbs. Reduce the heat to medium-low. (photo 3)
Stir the crumbs constantly for the full 3–5 minutes and resist the urge to multitask; in my testing, the first batch burned when I stepped away, and the smallest crumbs brown first.
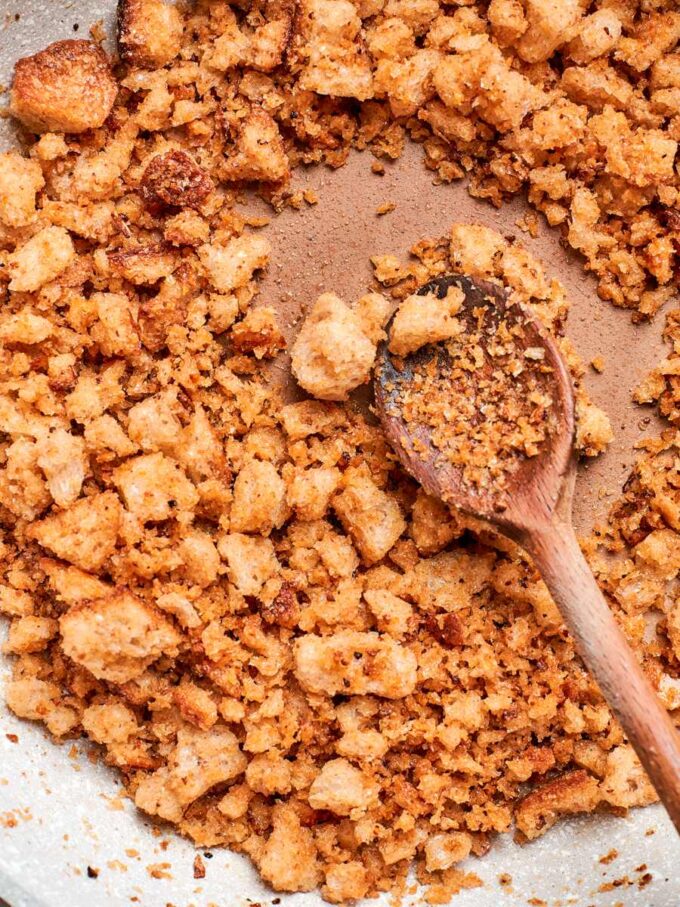
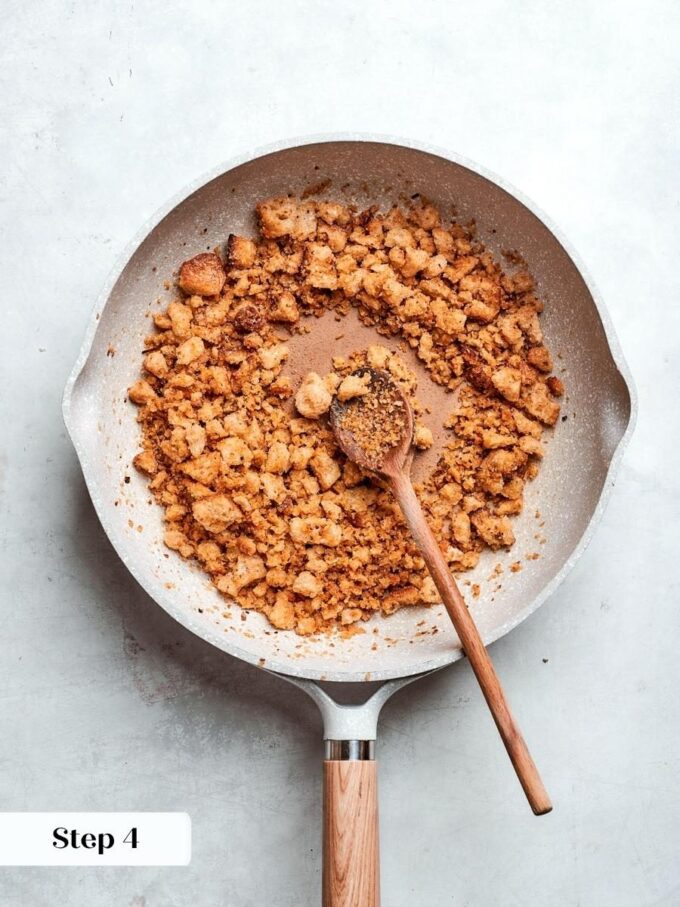
Step 4: Toast Until Golden. Keep stirring constantly until the crumbs smell toasty and turn an even golden brown, about 3–5 minutes. The small crumbs brown first, so pull the pan when most of the crumbs are golden rather than waiting for every last one to catch up. Do not walk away, not even briefly — they go from golden to burnt very fast. (photo 4)
Step 5: Cool the Crumbs. Immediately pour the toasted crumbs onto a parchment-lined sheet pan and spread them in a single layer. Do not leave them in the hot skillet — they will keep cooking from the residual heat and can go from golden to bitter in under a minute. Let them cool completely, about 10–15 minutes. They will feel softer right out of the pan, which is completely normal — they crisp up as they cool.
Step 6: Store the Breadcrumbs. Once fully cool, transfer the crumbs to an airtight container and store at room temperature for up to 1 week. They are ready to use immediately over pasta, salads, or wherever you need crunch. (photo 5)
Recipe FAQs
Store the crumbs in an airtight container at room temperature for up to one week. They do not need refrigeration, and keeping them at room temperature actually helps them stay crispy rather than picking up moisture from the fridge. Freezing is possible but not necessary for such a short shelf life — if you find yourself with more than you can use in a week, freeze them in a zip-top bag for up to two months and re-crisp them in a dry skillet for a minute before using.
The two most common reasons are too much heat and walking away from the pan. Start at medium when the butter and oil melt, then drop to medium-low the moment the crumbs go in. The smallest crumbs brown significantly faster than the larger ones, so if you step away even briefly, you will come back to a pan where the fine crumbs are already dark and bitter. Stir constantly for the full 3 to 5 minutes and pull the pan the moment most crumbs are golden — not when every single one has caught up.
Absolutely. If the bread has been air-dried for a full day or two, it crumbles easily by hand into naturally uneven pieces. Press and break the cubes between your fingers over a bowl and stop when the pieces range from pea-sized down to fine dust! A zip-top bag and a rolling pin work too if you want more uniformity without pulling out a machine.
Recipes to Turn into Breadcrumbs!

Yeast Breads
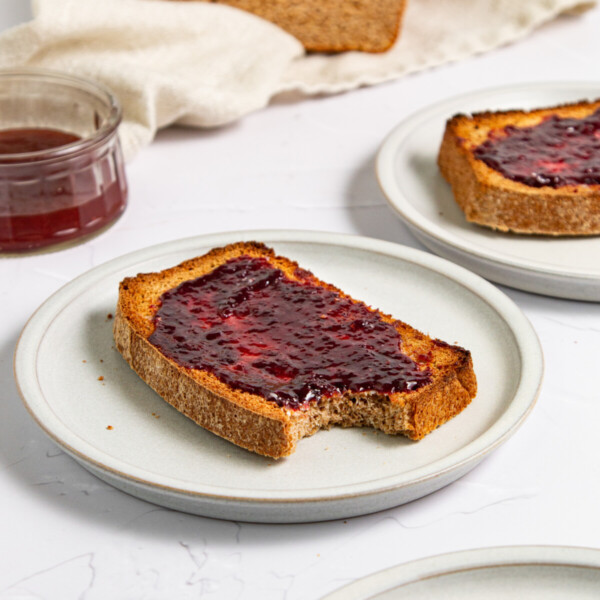
Yeast Breads

Sourdough
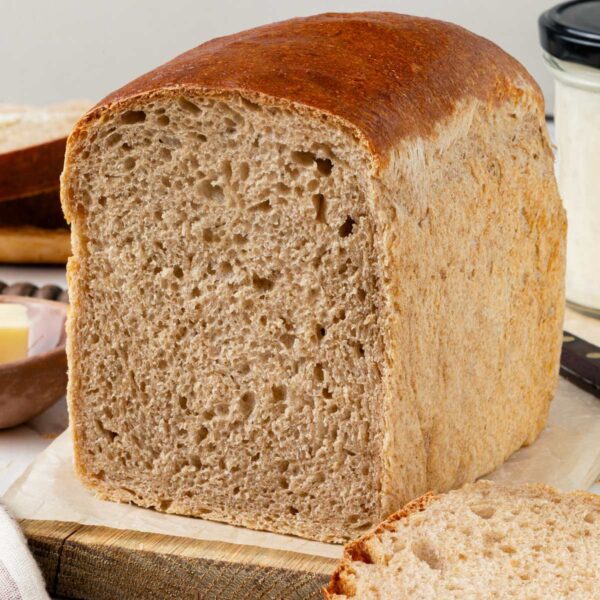
Bread
Toasted Breadcrumbs
Ingredients
- 3 cups day-old bread, sourdough, white sandwich bread, milk bread loaf or rolls, cut into ½-inch cubes
- 2 tablespoons olive oil
- 2 tablespoons unsalted butter
- ½ teaspoon onion powder
- ¼ teaspoon garlic powder
- ½ teaspoon kosher salt, 2 large three-finger pinches
Instructions
- Spread the bread cubes in a single layer on a parchment-lined sheet pan. Let them air-dry at room temperature for up to 2 days, tossing occasionally, or dry them in a 350°F oven for about 15 minutes, tossing once halfway. Toss so all sides dry evenly. The cubes should be crisp and dry but still pale.
- Pulse the dried bread in a food processor or blender until you have coarse crumbs of mixed sizes, from pea-size and smaller. Air-dried bread can also be crumbled by hand. You need enough to yield 1½ cups of crumbs.
- If the crumbs are not fully dry at this point, spread them on the sheet pan and toast briefly in the oven. Cool completely before proceeding.
- In a large skillet over medium heat, melt the butter in the olive oil until foamy. Add the crumbs, onion powder, garlic powder, and salt all at once and stir until every crumb is coated. Reduce the heat to medium-low.
- Stir constantly until the crumbs are an even golden brown and smell toasty, about 3 to 5 minutes. The smallest crumbs brown first, so pull the pan when most are golden.
- Immediately pour the crumbs onto a parchment-lined sheet pan and let them cool completely. They will crisp as they cool.
- Store in an airtight container at room temperature for up to 1 week.
Notes
Technique: Add the onion powder and garlic powder with the crumbs, not directly into the hot fat. Adding spices to hot fat burns them before they can coat anything.
Doneness: Pull the pan the moment most crumbs are golden, even if a few look pale. Pouring them onto parchment immediately stops the cooking; they will continue to darken slightly and crisp fully as they cool.
Storage: Store airtight at room temperature for up to 1 week. Make them ahead and they are ready to use any time without any extra prep.
Nutrition
Nutrition information is automatically calculated, so should only be used as an approximation.
 Like this recipe? Rate & comment below!
Before You Go
If toasted breadcrumbs have earned a permanent spot in your kitchen rotation, there is plenty more to explore. Browse our Bread Recipes to make into breadcrumbs; I might suggest this tomato basil bread!