
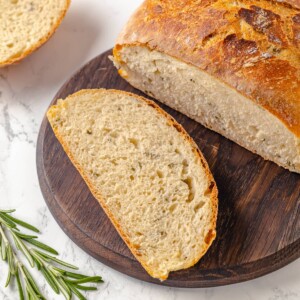
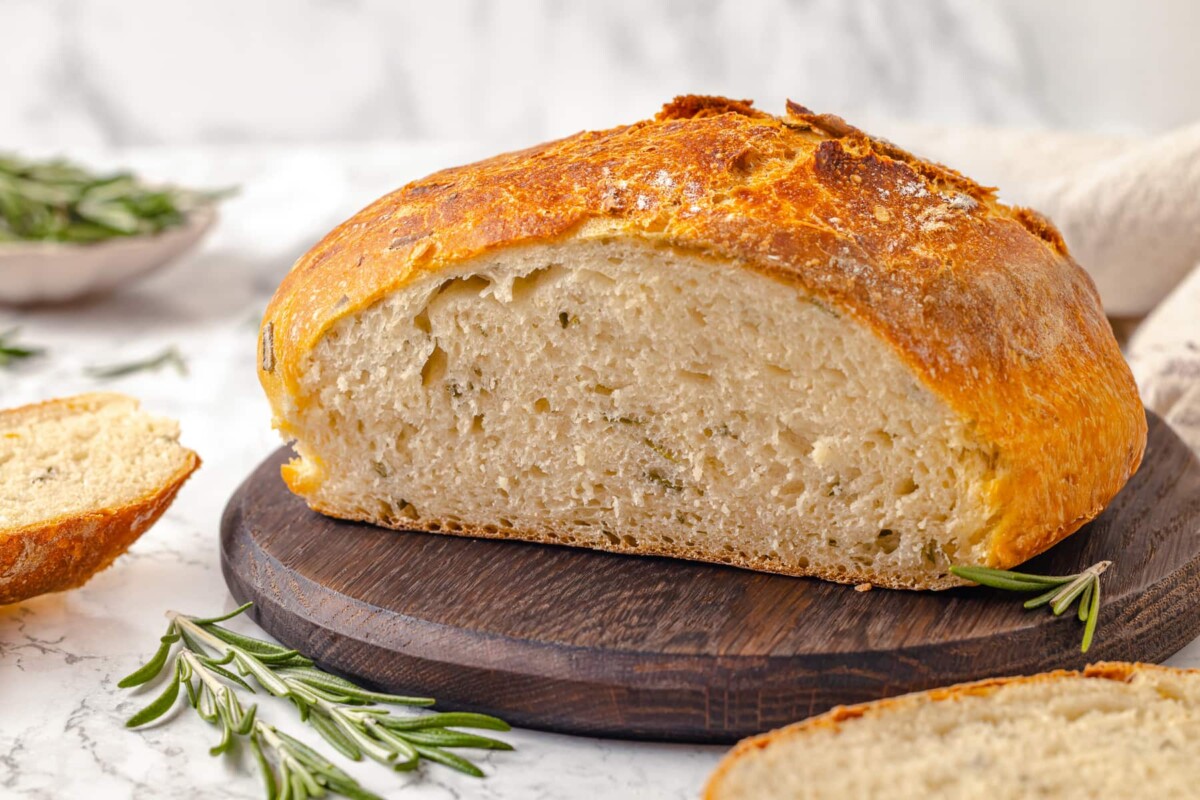
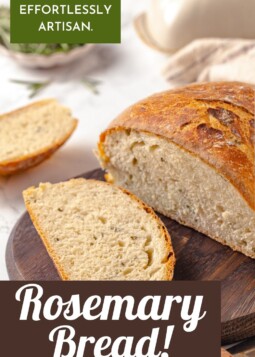
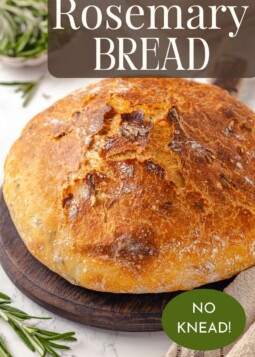
An easy, no-knead rosemary bread recipe with only 5 ingredients! Crusty, crunchy crust with a chewy, soft interior! This bread is not only easy, it is delicious!

A Quick Look At The Recipe
This is a brief summary of the recipe. Jump to the recipe to get the full details.
Prep Time
15 minutes
Proof
8 hours
Servings
12 slices
Difficulty
For confident beginners. Simple to make; it just requires time and patience for the rise.
Calories *
115 kcal per serving
Technique
Mix until a shaggy dough forms, let it rise slowly overnight, then bake in a hot Dutch oven until crisp and golden.
Flavor Profile
Rustic, crusty bread with a tender crumb and fresh rosemary in each slice.
* Based on nutrition panel
I made this thinking it’d just be a side, but I ended up tearing into it while it was still warm. The texture was incredible! chewy and soft inside with a crisp crust. The rosemary gives it that perfect earthy flavor. ⭐⭐⭐⭐⭐
Lauren
Why You Will Love this Recipe
- The scent & flavor of fresh rosemary permeates the whole loaf. Rosemary is my favorite herb (don’t you have a favorite?), and this bread is the perfect way to showcase its complex aroma and flavor. Cooking rosemary releases its essential oils and blooms the flavor to perfection.
- A no knead bread recipe without any sets of stretch and folds. This recipe couldn’t be simpler: As in, you stir a few ingredients together, let them sit overnight, and the next morning, you shape and bake a loaf of bread. The only thing you have to do is wait! If you must have rosemary flavored bread ASAP, make this rosemary cornmeal quick bread while you wait!
- It’s mega-soft on the inside but with a light, tender, almost flaky crust on the outside. All the qualities of a loaf of artisan bread from a bakery, with minimal work!
- Preheating & baking in a Dutch oven makes that ideal loaf, but also I include instructions for baking this rosemary bread without a Dutch oven in the FAQ section below.
Table of Contents
This rosemary bread recipe is a variation of my incredibly popular no knead dutch oven bread recipe! There is no need to mess with perfection. Chopped fresh rosemary infuses the whole loaf and makes a savory, Italian twist on a classic recipe.
Ingredients & Substitutions
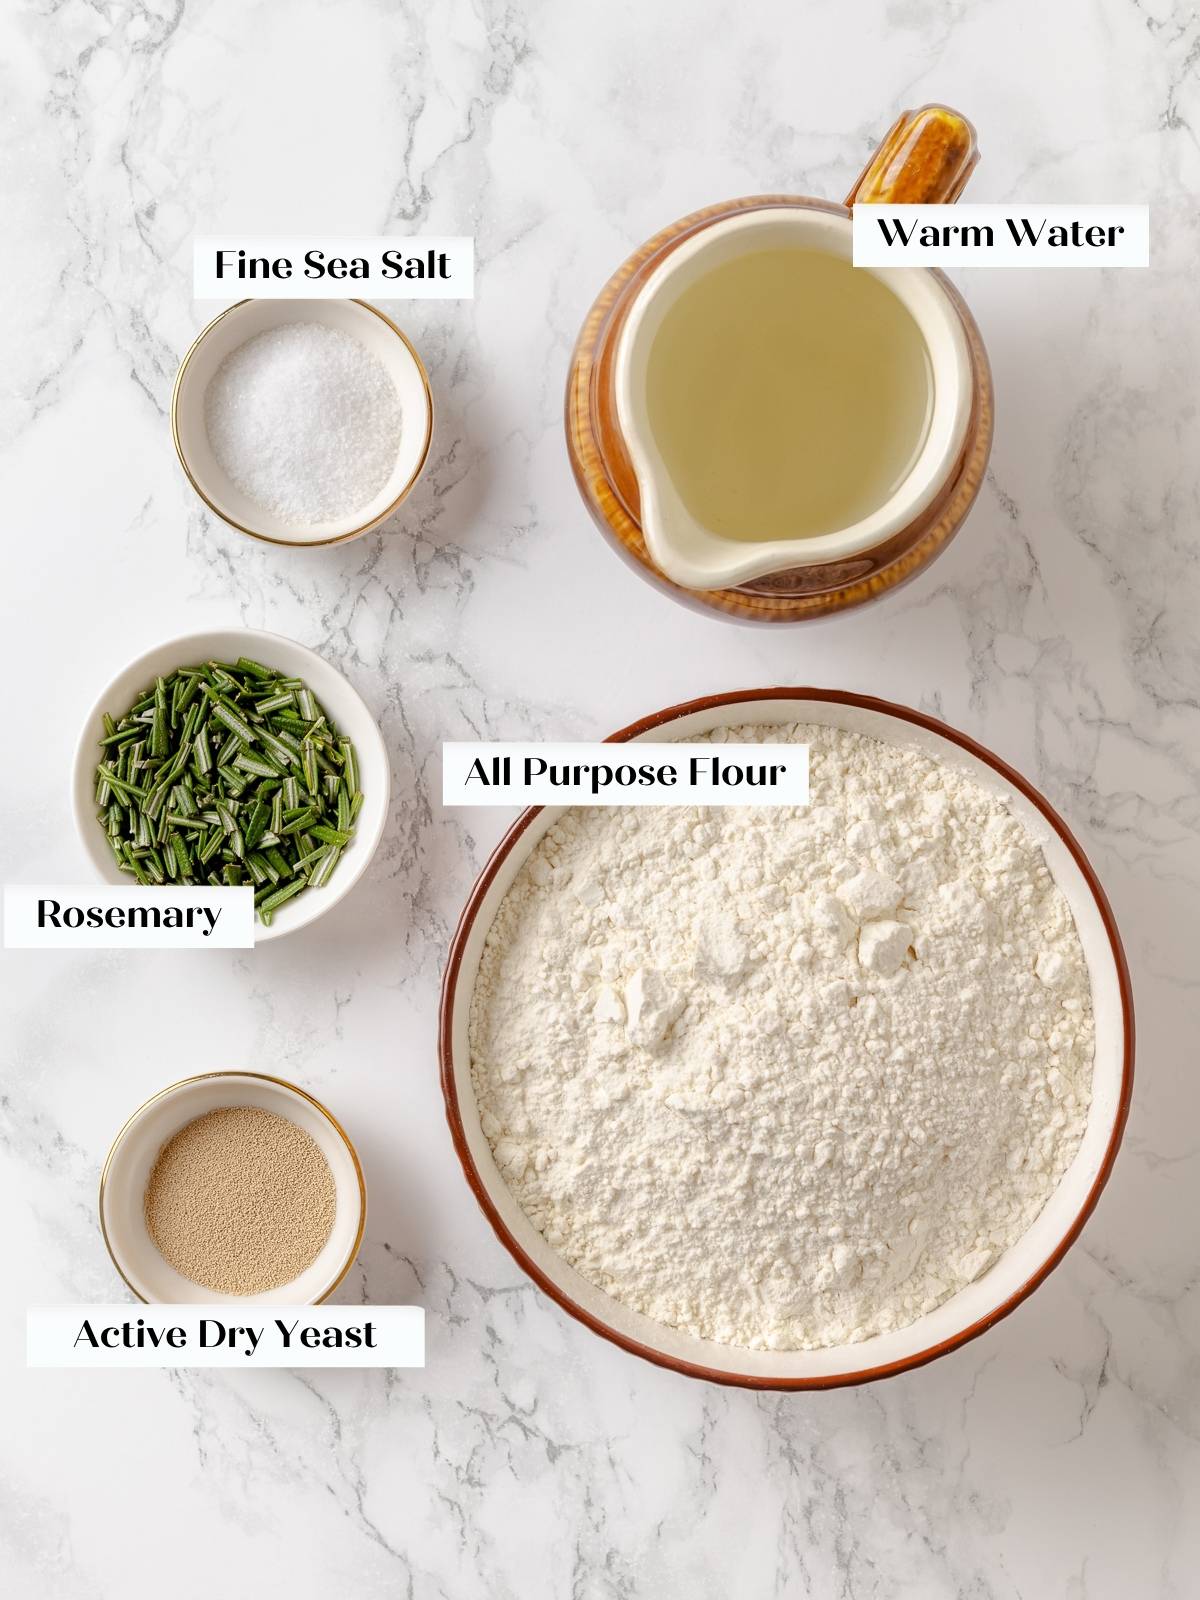
- All-Purpose Flour: I use all-purpose flour in this easy bread recipe but you could also take a page from my same day sourdough bread recipe and use bread flour to develop more gluten, faster.
- Sea Salt: You can also use kosher salt.
- Active Dry Yeast: You can use either active dry yeast or instant yeast in the recipe below, but I recommend using active dry yeast. It has a slower, more consistent rise and will allow your bread enough time to develop a strong gluten network before attempting to shape it.
- Warm Water: I use tap water for my yeasted bread recipes but you can use filtered water if you want.
- Rosemary: Use fresh rosemary for this recipe and my cornbread loaf. I do not recommend using dried rosemary, as the flavor will not come through well. If you love rosemary as much as I do, you can add an additional tablespoon or more!
See the recipe card for full information on ingredients and quantities.
Variations
- Make it rosemary parmesan bread: There is nothing like the smell of freshly baked cheesy bread. I prefer to add grated parmesan cheese to this rosemary bread recipe, but if you want to try shredded cheddar, you HAVE TO try my no-knead cheese bread recipe.
- Add some flavorful mix-ins to the dough: Add fresh minced garlic like in my rosemary garlic bread or roasted garlic. Chopped sun-dried tomatoes like this sun dried tomato bread would also be a wonderful addition. You can also add a mix of chopped, fresh herbs like oregano, sage and thyme.
- Add hearty whole grains, seeds, or try whole grain flours: Add some whole grains and seeds like in this whole grain seeded bread or by substituting some whole wheat flour and adding multigrain hot cereal like in my multigrain bread. It will take a little experimentation but isn’t that what baking is all about?! If you have no patience for experimenting, add fresh chopped rosemary to my peasant bread recipe and enjoy a no-knead, whole wheat bread in under 3 hours.
- Master this recipe and then try my no knead sourdough bread with fresh rosemary! If you don’t already have an active starter, start with my sourdough starter recipe, then read all about how to feed sourdough starter and finally bake a fresh loaf of sourdough bread with that hard-won natural yeast!
- Turn it into a bread bowl. Take a page from my easy homemade bread bowls book. Carve out the center and then pair this with your favorite soup!
How to Make Rosemary Bread
Use these instructions to make an easy no-knead rosemary bread in a Dutch oven! Further details and measurements can be found in the recipe card below.
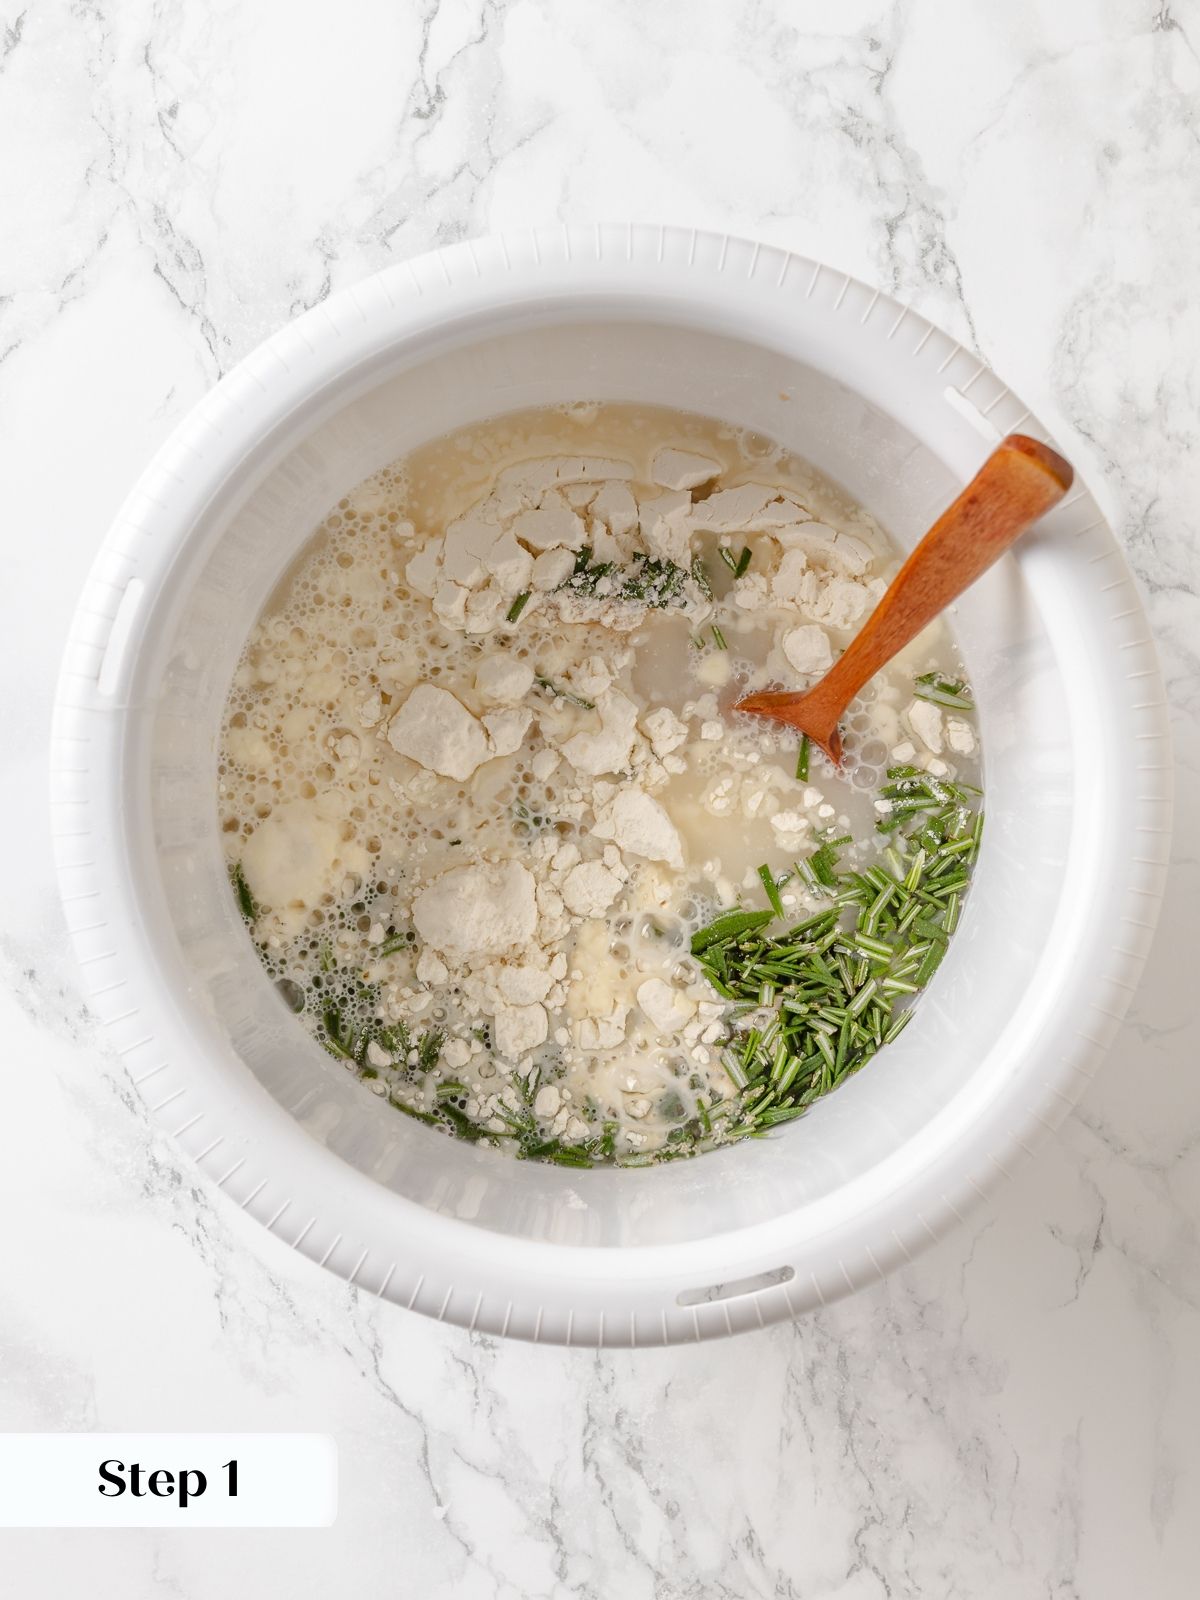
Step 1: Mix ingredients. In a large bowl, whisk flour, salt, chopped rosemary and yeast. Pour in warm water and use a wooden spoon to stir until a shaggy dough forms. The mixture will be wet and very sticky to the touch (photo 1).
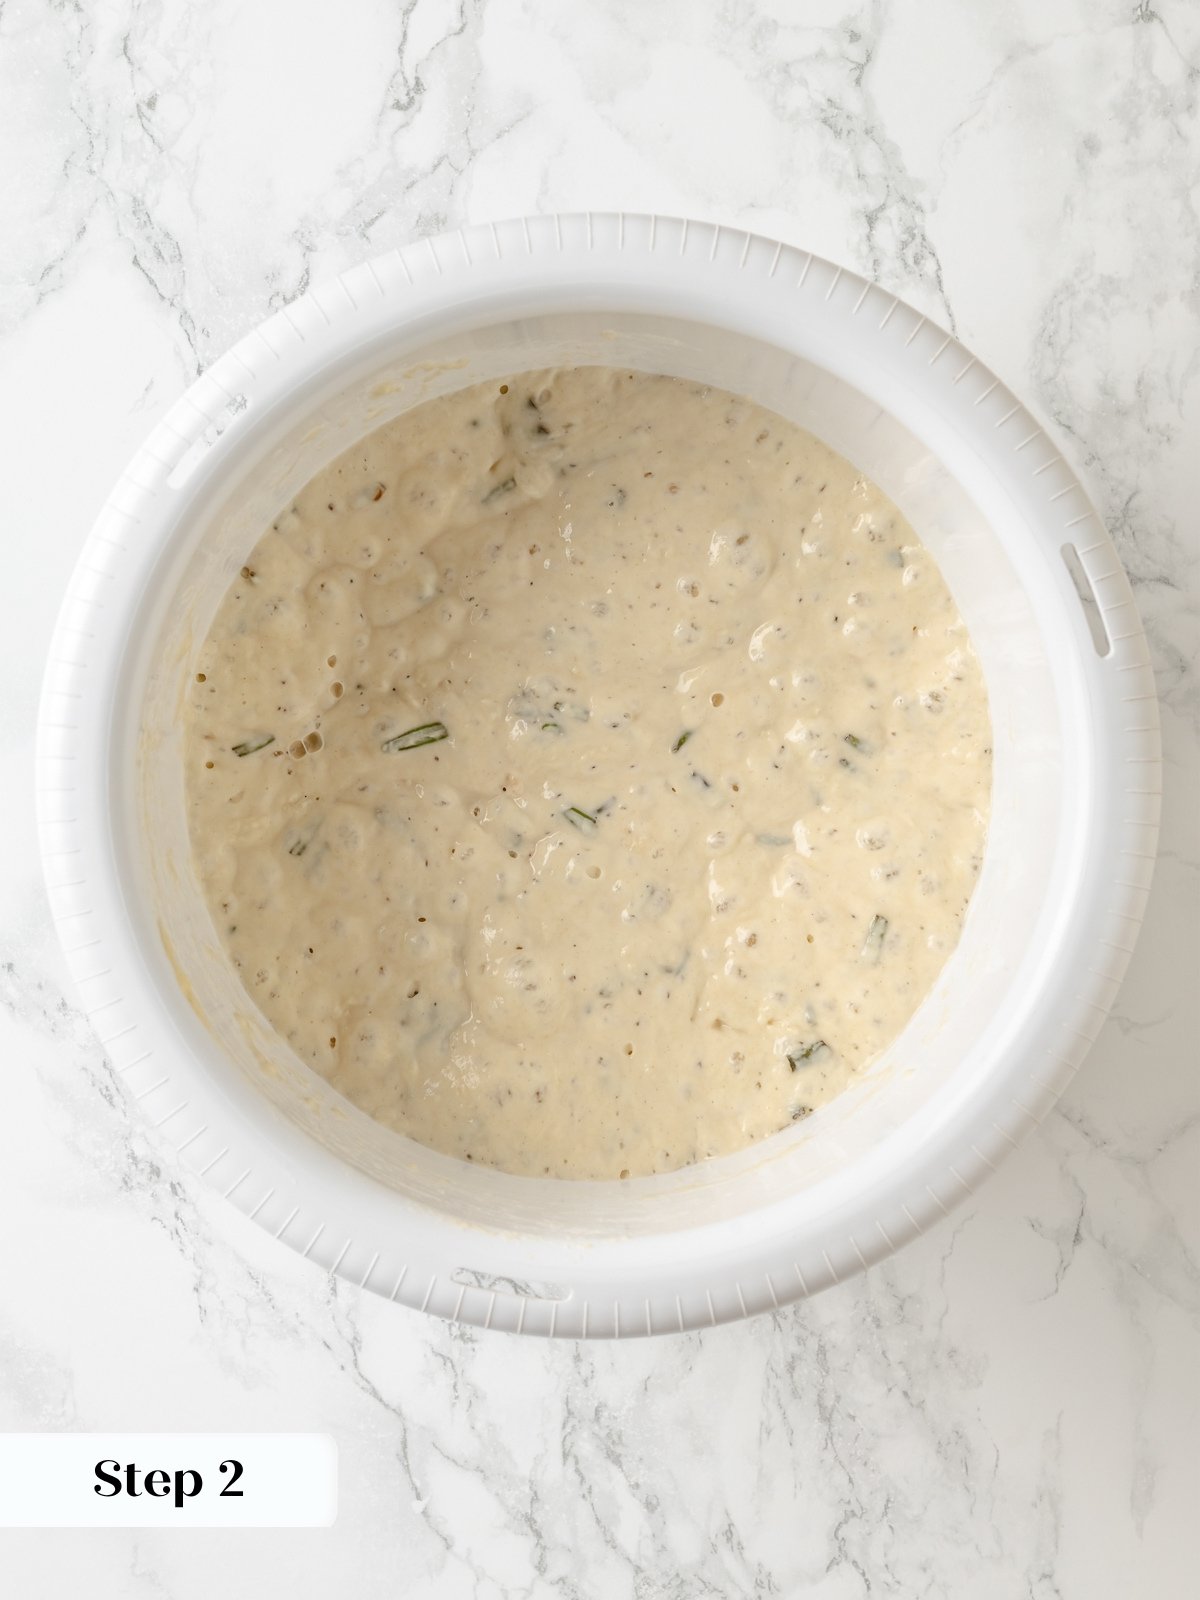
Step 2: Let dough rise. Cover bowl tightly with plastic wrap and set aside in a warm place 8 to 18 hours until dough rises, bubbles and flattens on top (photo 2).
Step 3: Preheat the oven and Dutch oven. Heat oven to 450°F. Once oven is preheated, place a 6-quart Dutch oven (with cover) in the oven 30 minutes before baking. You can also preheat the Dutch oven with the oven.
Step 4: Generously flour a smooth work surface or counter. Turn out the dough onto the floured surface with floured hands or a bowl scraper.
There is no need to degas or punch down the dough because just the act of transferring it will do that for you and you won’t get all sticky. This will make shaping easier.
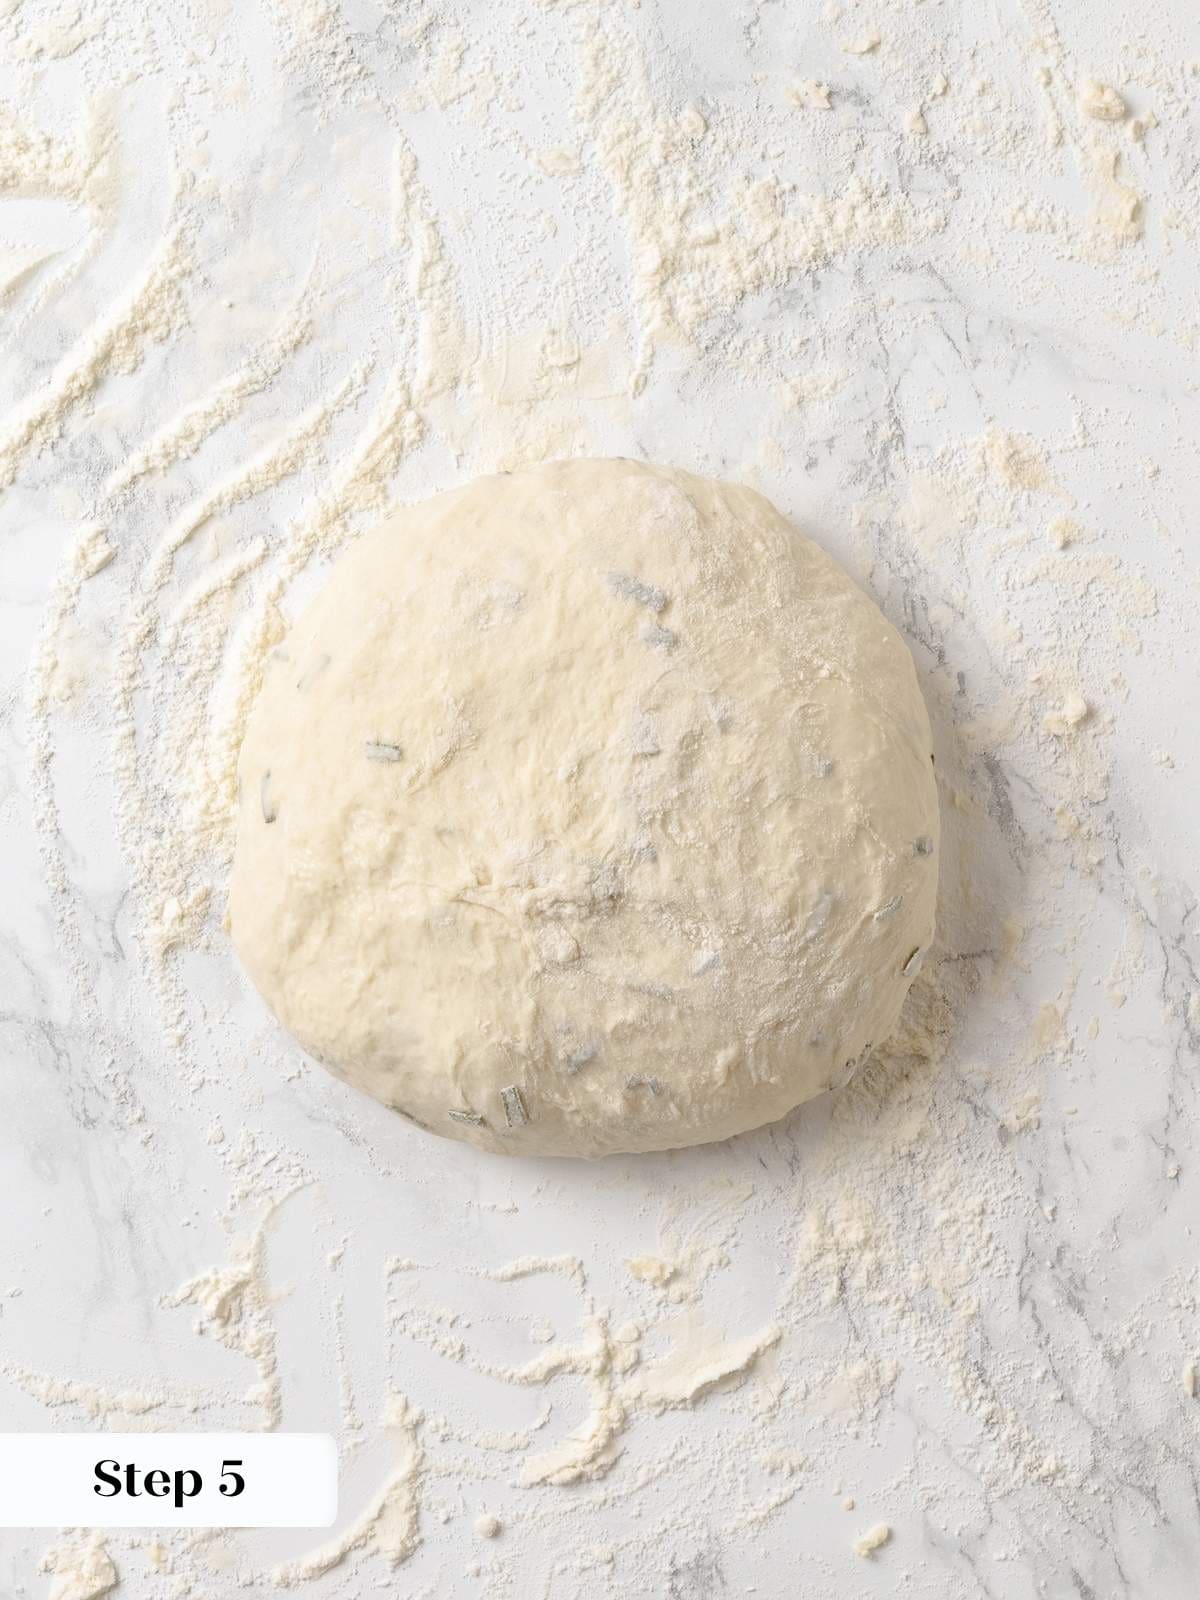
Step 5: Shape the dough. Dust the top with more flour and working quickly, with floured hands, fold two sides in towards the center then flip over. Re-flour hands and gently shape the dough into a ball by rotating it with both of your hands and pulling it under itself (photo 3).
It will not form as tight of a ball or have a smooth surface like a more developed dough such as whole wheat bread. That is expected and don’t try to force it or it will just get more and more sticky!
Step 6: Let dough rest. Re-flour your hands and scoop up the dough and place it on a piece of parchment paper and sprinkle top lightly with flour. Top with a sheet of plastic wrap and let rest for 30 minutes. Cut the parchment to be just a little larger than the bottom of your Dutch oven, as needed.
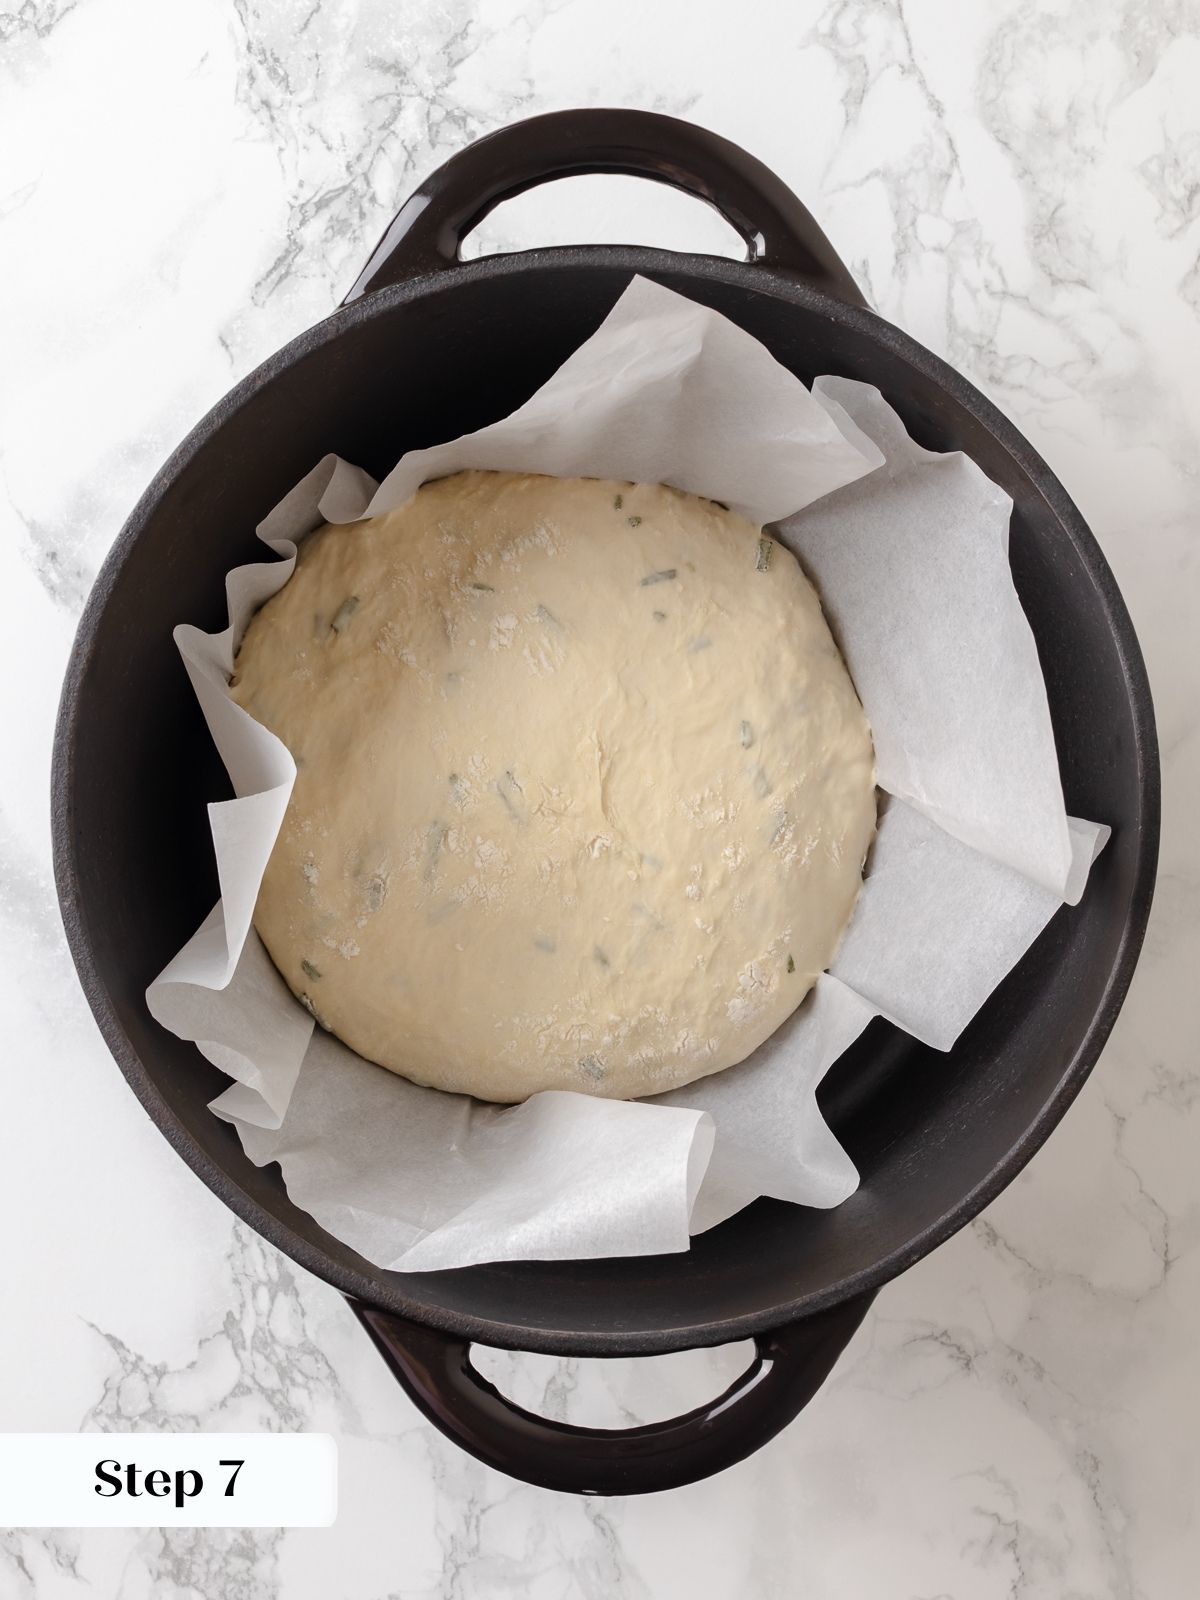
Step 7: Transfer to Dutch oven. Remove the Dutch oven from the oven. Uncover dough and carefully transfer to the Dutch oven, with the parchment paper beneath (photo 4). Place the lid on the Dutch oven and return it to the oven.
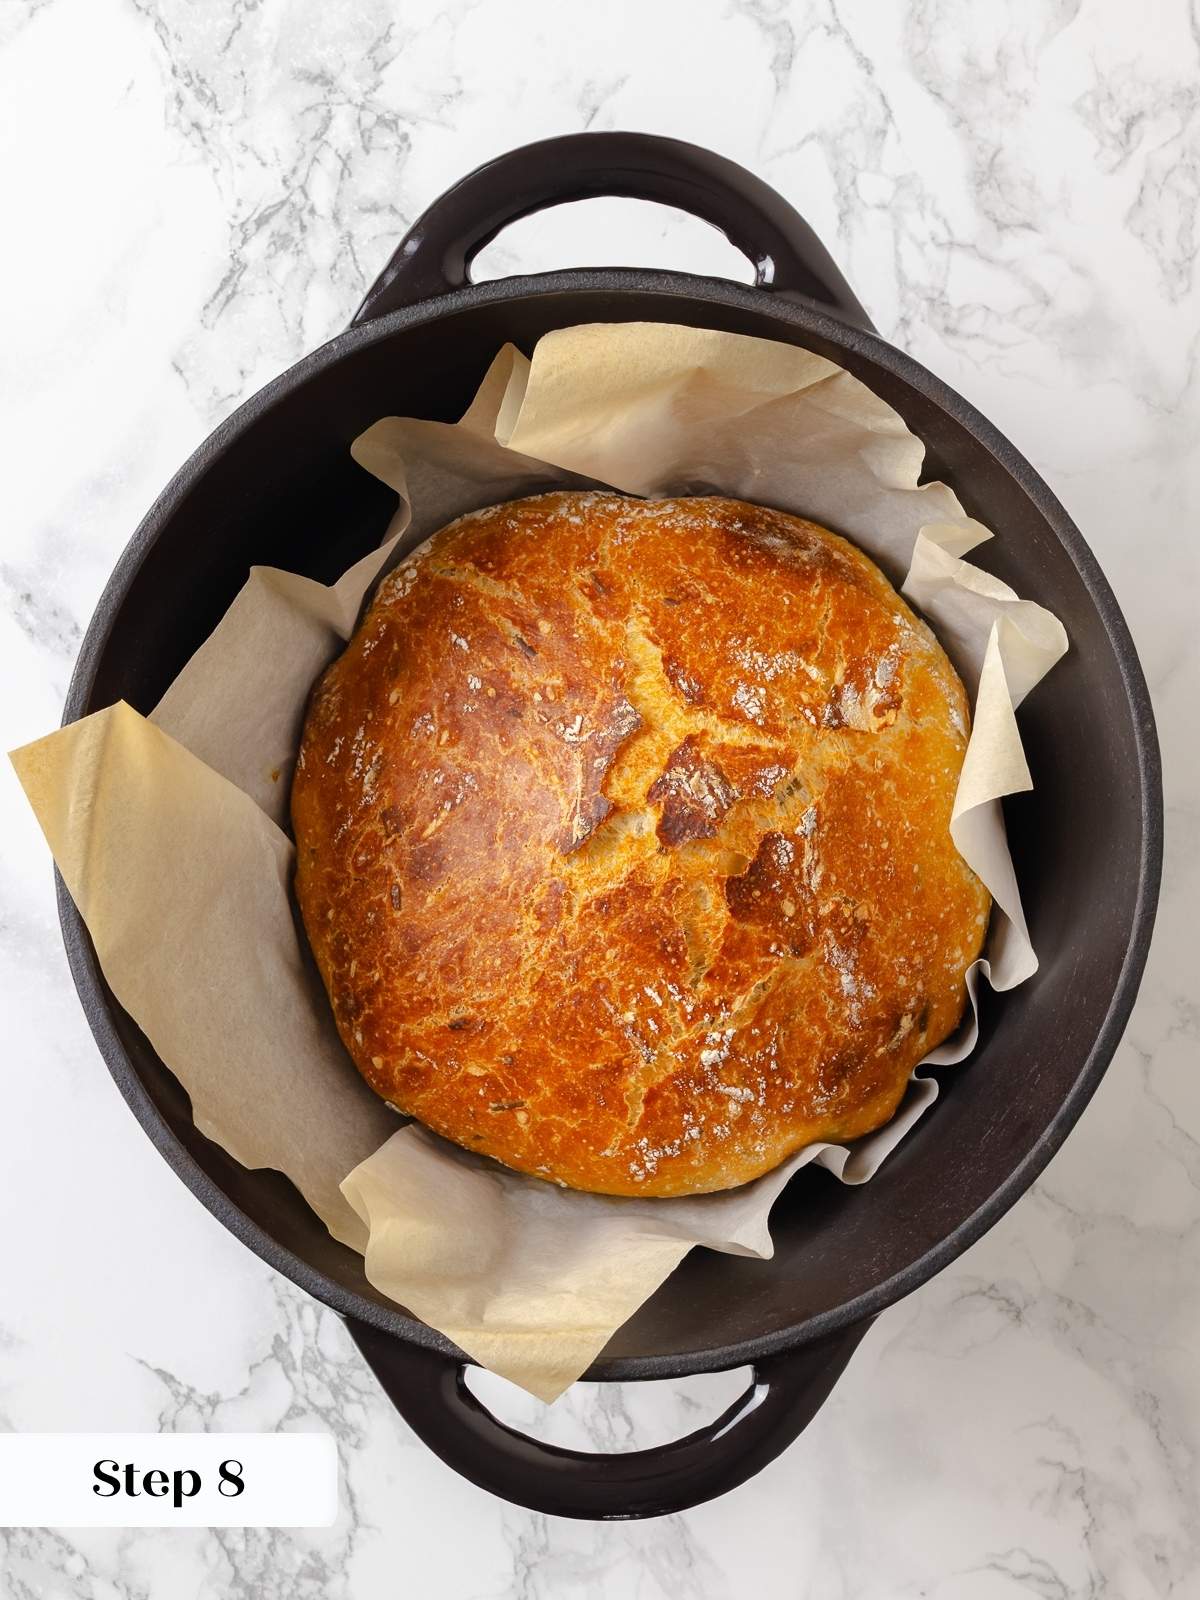
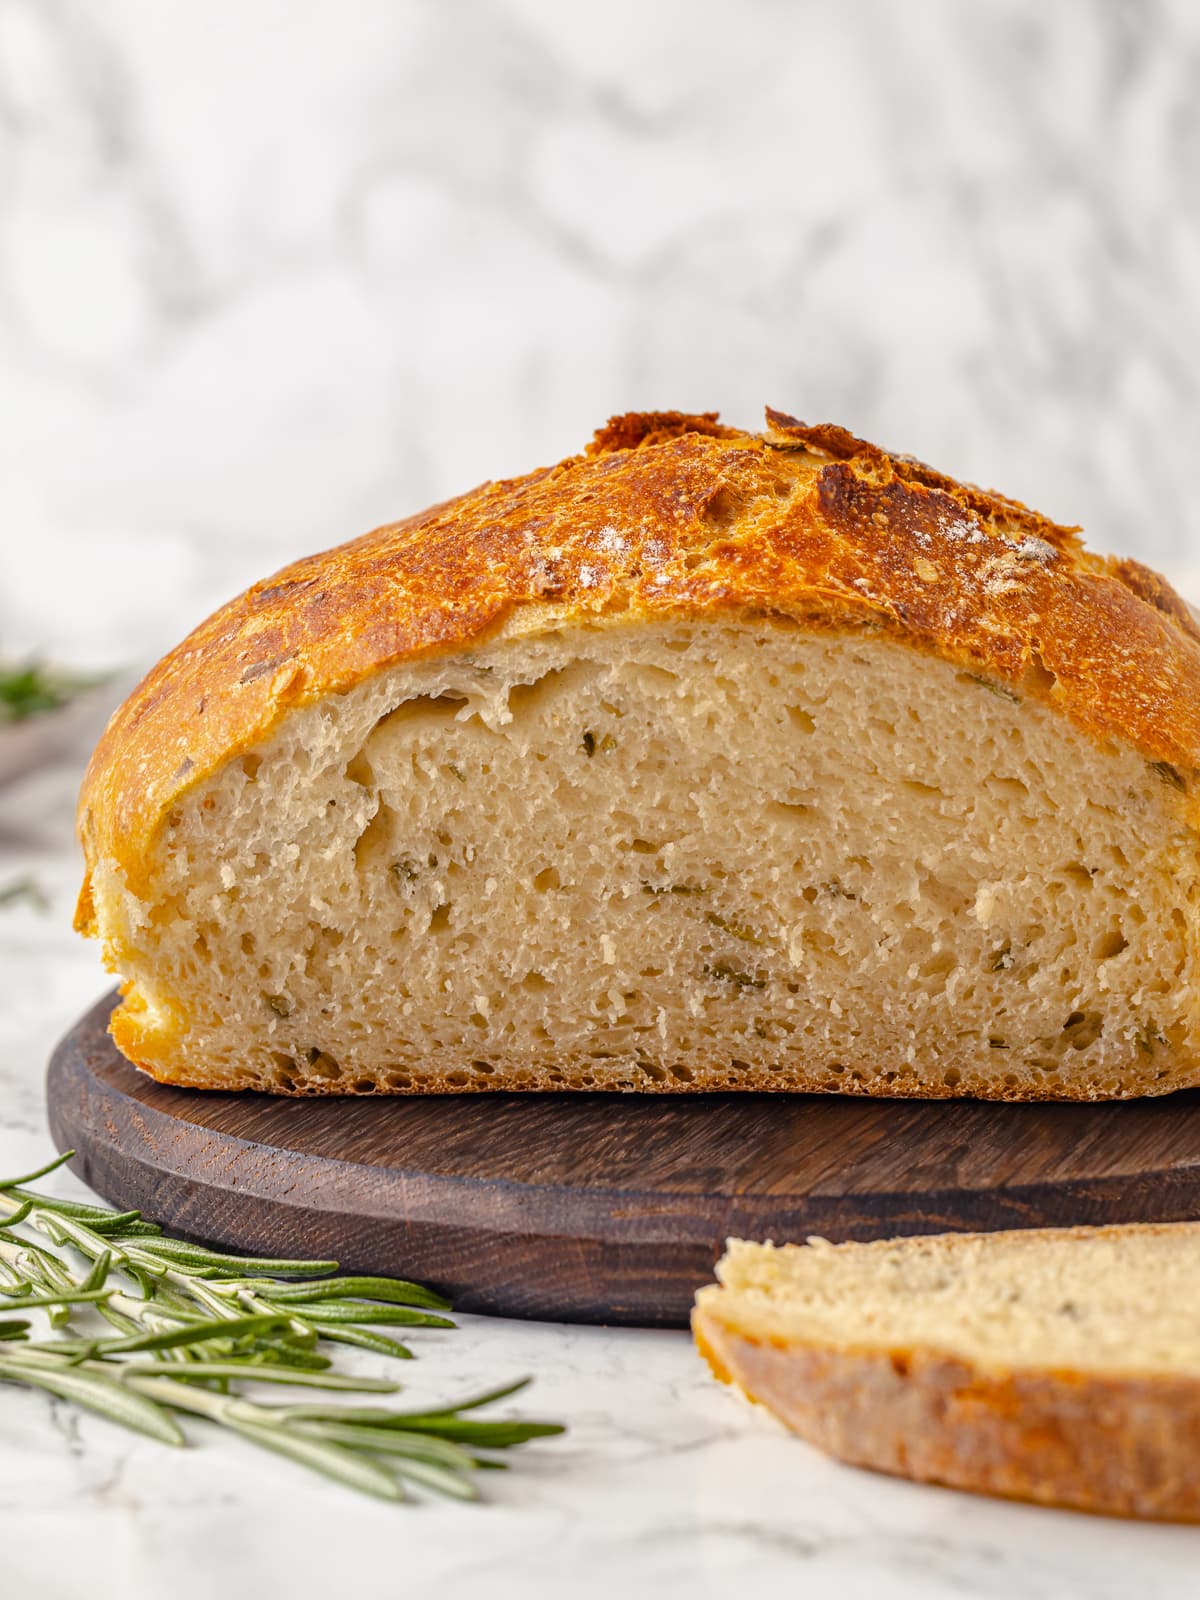
Step 8: Bake bread 45 minutes covered, then another 10 to 15 minutes uncovered until dough is baked through and golden brown on top. Cool completely before slicing, at least 1 hour (photo 5).
Step 9: Serve warm or room temperature with salted butter or olive oil for dipping (photo 6).
Recipe FAQs
To preserve the bread’s crunchy crust, you’ll need to store it at room temperature unwrapped, either cut side down on a cutting board or in a bread box. You can store it in an airtight container at room temperature but it will lose the crispy crust almost immediately. Store at room temperature up to 5 days. It doesn’t keep as long as sourdough, so watch for signs of mold!
You can store the whole loaf well wrapped in plastic wrap in the freezer, however, I like to slice my bread before freezing so I don’t need to thaw the whole loaf at one time.
The best oven-spring, most open crumb and crusty crust will occur if baked in a Dutch oven or Challenger bread pan, but you can also preheat a baking sheet on the center rack and a large roasting pan on the bottom of the oven. When ready to bake, place the parchment paper with the scored loaf directly on the hot baking sheet and pour at least 2 quarts of hot water into the baking pan on the bottom. Close the door as quickly as possible. Release the steam after 30 minutes by opening the door.
If you haven’t sliced the loaf yet, but would like to rewarm it for serving, preheat an oven to 400° F. Place the loaf directly onto the oven rack and bake until heated through. It will take about 15-20 minutes. You can also toast a slice at a time. Reheating a partially sliced loaf will dry it out on one side.

Recommended Rosemary Recipes

No-Knead Breads

Quick Breads

Quick Breads
Yeast Breads
If you enjoyed this recipe, please leave a star rating and let me know how it goes in the comments below! I love hearing from you and your comments make my day!
Rosemary Bread
Ingredients
- 3 cups all-purpose flour
- 2 teaspoons fine sea salt
- 1 teaspoon active dry yeast
- 3 tablespoons fresh rosemary, roughly chopped
- 1 ½ cups warm water, 110°F to 115°F
Instructions
- In a large bowl, whisk flour, salt, chopped rosemary and yeast. Pour in warm water and use a wooden spoon to stir until a shaggy dough forms. The mixture will be wet and very sticky to the touch.
- Cover bowl tightly with plastic wrap and set aside in a warm place 8 to 18 hours until dough rises, bubbles and flattens on top.
- Heat oven to 450°F. Once oven is preheated, place a 6-quart Dutch oven (with cover) in the oven 30 minutes before baking. You can also preheat the Dutch oven with the oven.
- Generously flour a smooth work surface or counter. Turn out the dough onto the floured surface with floured hands or a bowl scraper.
- Dust the top with more flour and working quickly, with floured hands, fold two sides in towards the center then flip over. Re-flour hands and gently shape the dough into a ball by rotating it with both of your hands and pulling it under itself.
- Re-flour your hands and scoop up the dough and place it on a piece of parchment paper and sprinkle top lightly with flour. Top with a sheet of plastic wrap and let rest for 30 minutes. Cut the parchment to be just a little larger than the bottom of your Dutch oven, as needed.
- Remove the Dutch oven from the oven. Uncover dough and carefully transfer to the Dutch oven, with the parchment paper beneath. Place the lid on the Dutch oven and return it to the oven.
- Bake bread 45 minutes covered, then another 10 to 15 minutes uncovered until dough is baked through and golden brown on top. Cool completely before slicing, at least 1 hour.
- Serve warm or room temperature with salted butter or olive oil for dipping.
Notes
Nutrition
Nutrition information is automatically calculated, so should only be used as an approximation.
 Like this recipe? Rate & comment below!
Before You Go
I hope you enjoyed this delicious rosemary bread recipe. Check out all our no-knead bread recipes including unexpected recipes like no-knead naan bread or try a quick bread like my buttermilk cornbread next!





I made this thinking it’d just be a side, but I ended up tearing into it while it was still warm. The texture was incredible! chewy and soft inside with a crisp crust. The rosemary gives it that perfect earthy flavor.
What’s the process if you’re kneading/mixing by hand? I am without stand mixer 🙂
EllieC — Just knead it by hand on a lightly floured counter top for a little longer than you would in a stand mixer, about 10-15 minutes. The dough should be smooth, elastic and slightly sticky when it’s fully kneaded.
This was awesome. Very similar to the bread served at macaroni grille but way tastier. Thanks so much for this. My husband loved it and it was very easy to make!
My first time to your blog and I really enjoyed myself! The bread looks wonderful and will give it a shot soon. Good luck with decluttering/living simply….it is a thought that has been running through my mind lately as well. Happy baking!
You really got me thinking! Down here where we live in Brazil, people live very simply. Most of our friends are very poor and would never dream of living like we do…and we’ve simplified a lot since we moved here! However, now I’m feeling challenged to simply our life even more! Thanks so much for the challenge…and the yummy recipe that I’m going to try ASAP. 🙂
You are right, living simply is sometimes easier to say than do. This bread brings us back to the simple basics though, and it looks terrific!
-Brenda
This is my first time ever visitng your blog/website and I have to say the opening article had me laughing at myself and how I can relate to your de-cluttering issues! LOL
I have been trying to commit myself to an process free diet for my family and I. I love to cook and bake but never took on the challenge of bread making. However, I have been making a rosemary/lemon zest bread which my familiy just loves and cannot wait to try this one as well.
Thanks for the great laugh today.
Is the outer layer hard-crusted or soft? I bet you can make bread bowls out of them. Sounds like another winner!
This looks so good. I can almost get the wafting smells of the rosemary. I need to make these. Could this be made with other herbs, say with thyme, for soups and other stews?
Kartik — You can definitely swap out the rosemary for another favorite herb, like thyme, or mix the two. Thanks for the comment!
Mom — The crust is soft, but I was thinking the same thing with the bread bowls! If you don’t put olive oil on the crust during baking, I think the crust would be harder, which is great for bread bowls. 🙂