
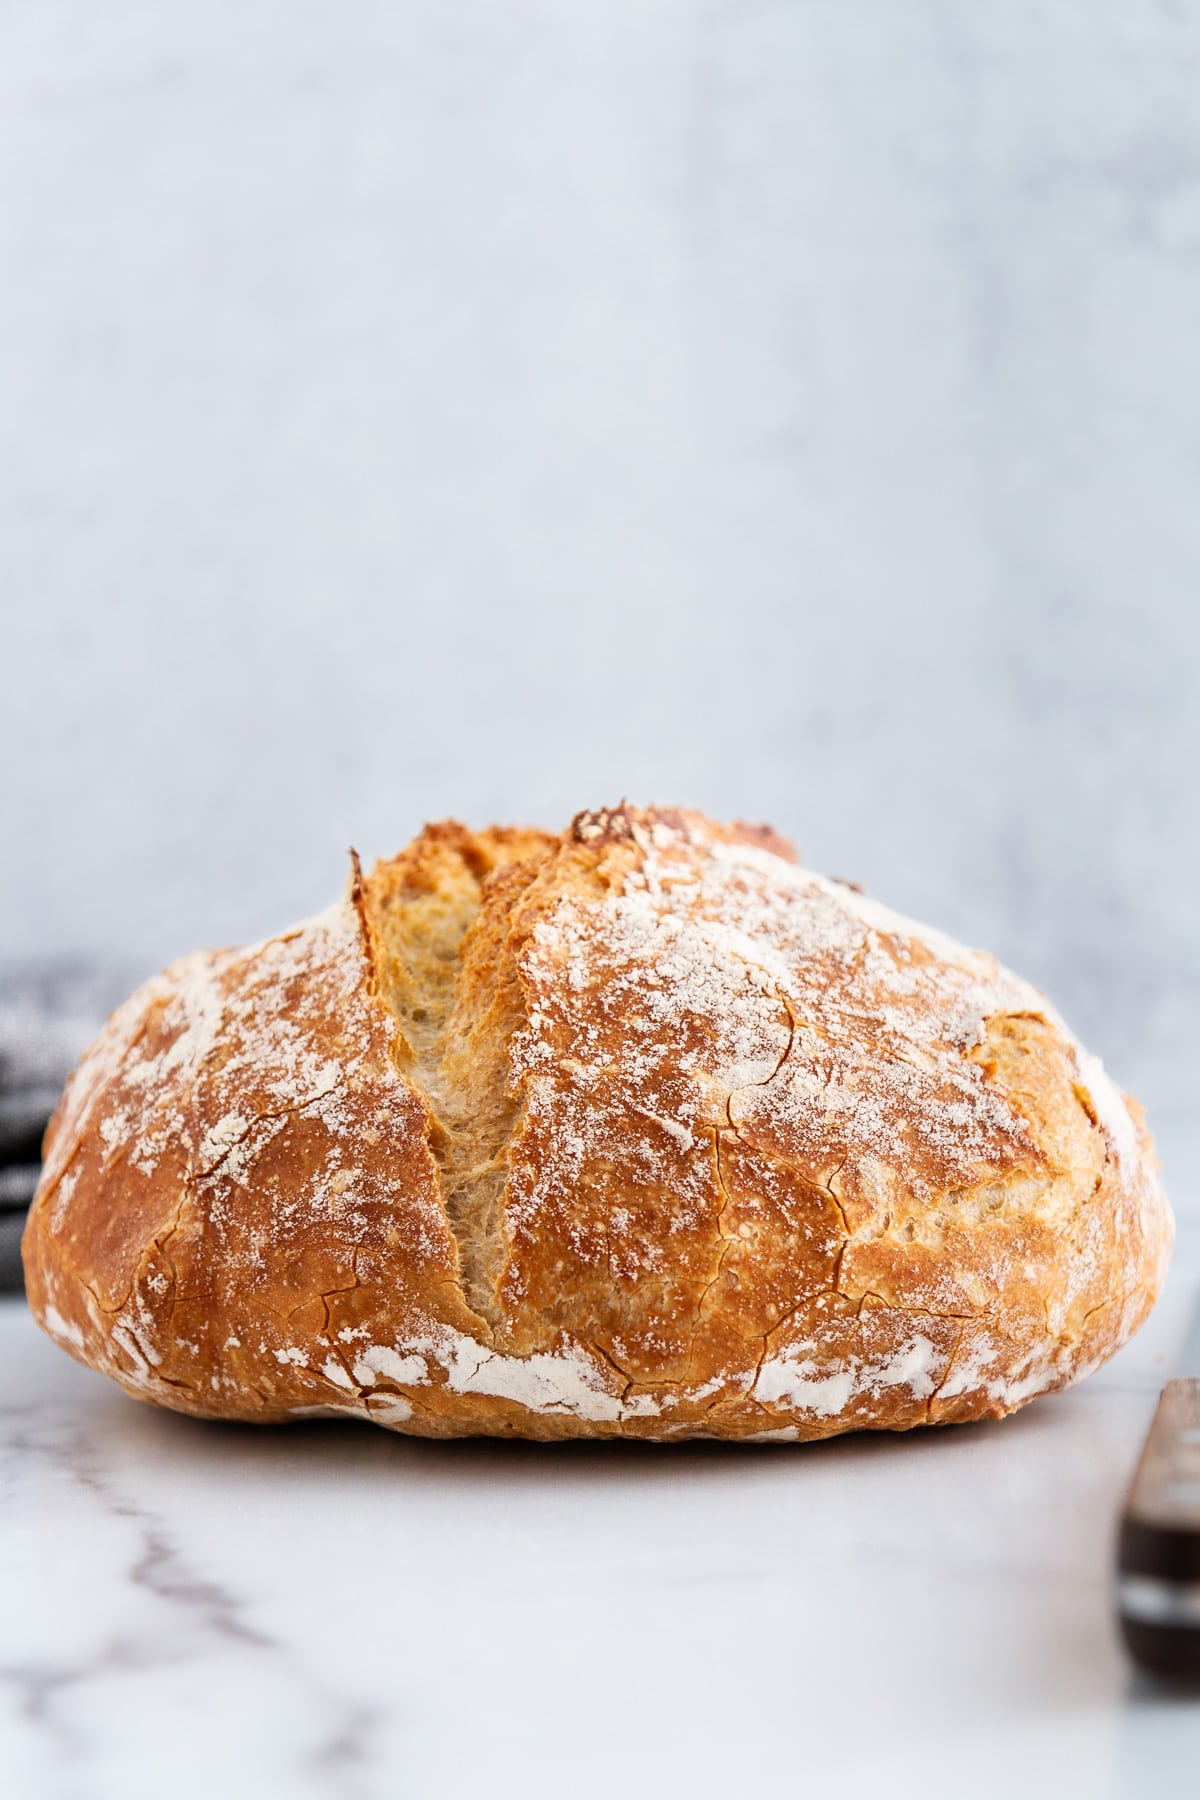
This no knead Dutch oven bread is the easiest bread you’ll ever bake! You just need 3 ingredient for a perfect loaf that is soft and chewy inside but crusty and crunchy outside!

A Quick Look At The Recipe
This is a brief summary of the recipe. Jump to the recipe to get the full details.
Prep Time
1 hour 10 minutes
Cook Time
1 hour
Proof Time
8 hours
Total Time
10 hours 10 minutes
Servings
10 Slices
Difficulty
Easy
Calories *
138 kcal per serving
Technique
Mix dough, rest, shape, proof and bake!
Flavor Profile
Mild, slightly salty, with a soft chewy crumb and crisp crust
* Based on nutrition panel
Mmmm!! This bread is amazing!! I was in the baking mood over the weekend and baked your whole wheat bread which was incredible!! This is the second time I have baked this No-knead bread and let me just say it’s a family favorite!!?????⭐⭐⭐⭐⭐
Moema Bentley
I am all about that no-knead lifestyle: everything from no knead pizza dough, to no knead ciabatta, and no knead naan bread! A crusty loaf of artisan-style, no knead Dutch oven bread seemed like a natural next step!
I know this artisan bread looks intimidating, but I promise you it isn’t! I’ll guide you step-by-easy-step through this recipe below, so you can join the thousands who have made and loved this bread!
Table of Contents
- Why You Will Love this Dutch oven bread Recipe
- What are the benefits of a Dutch oven for bread?
- Ingredients & Substitutions
- Possible Variations
- How to Enjoy No Knead Dutch Oven Bread
- Watch How to Make This Recipe
- How to Make this No Knead Dutch Oven Bread Recipe
- Frequently Asked Questions
- No-Knead Dutch Oven Bread Recipe
- Before You Go
Why You Will Love this Dutch oven bread Recipe
- A no knead bread recipe without any sets of stretch and folds. This recipe couldn’t be simpler: As in, you stir a few ingredients together, let them sit overnight, and the next morning, you shape and bake a loaf of bread. You don’t even need to do any folds to develop gluten like in no-knead sourdough bread.
- This simple recipe is actually flavorful. It’s slightly salty and not at all boring, like some basic breads tend to be.
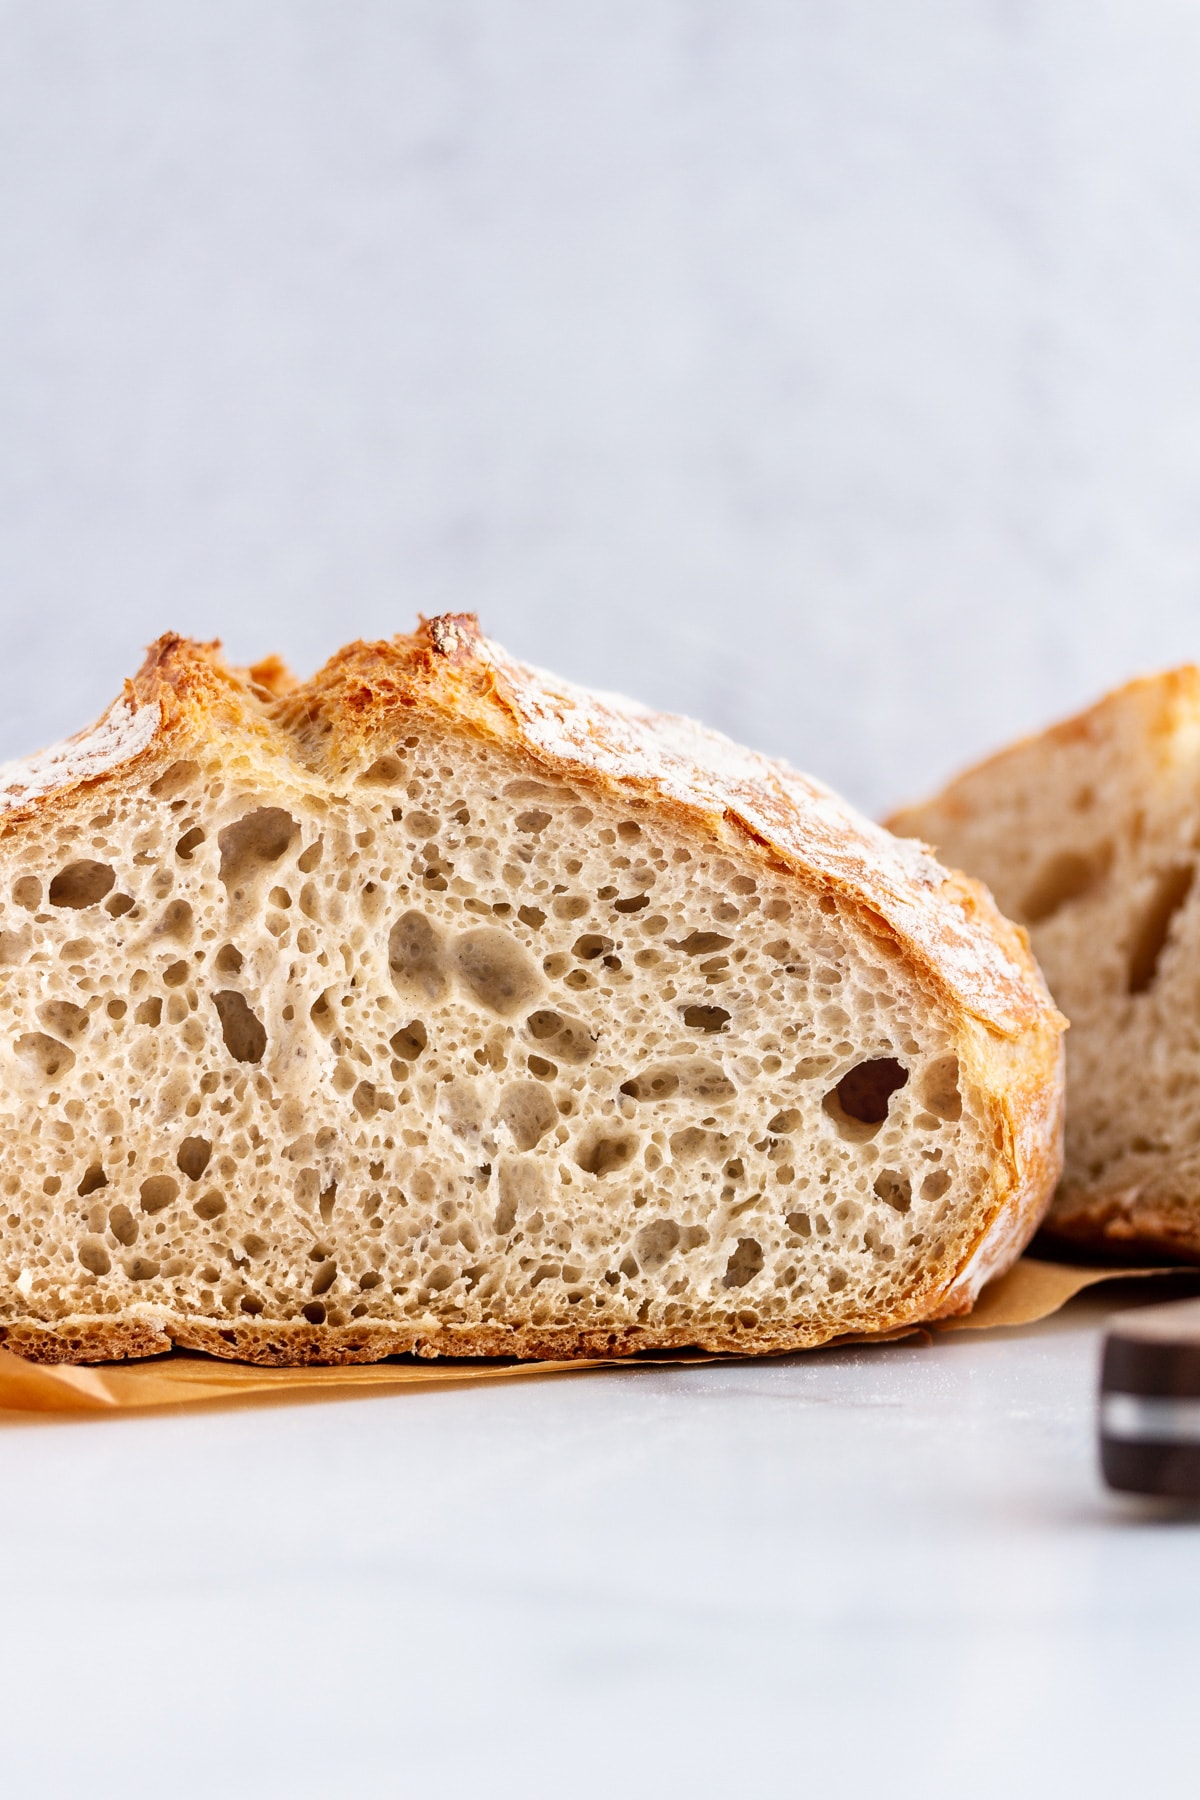
- It’s mega-soft on the inside but with a light, tender, almost flaky crust on the outside. Essentially the texture of this bread is perfect especially considering all the work we didn’t have to do! And the air pockets in the bread slices just slay me.
What are the benefits of a Dutch oven for bread?
- A Dutch oven imitates the results of a professional steam-injected oven. Professional bread ovens have a steam injection option, which allow you to add steam at the beginning and then release the steam from the oven deck to continue baking and crisping the crust. You are essentially using the Dutch oven as a miniature deck oven, whereby you can control the release of the steam by removing the top.
- Preheating the Dutch oven with the lid, creates a small, hot mini-oven. This mini oven is small enough to trap the steam released by the bread during baking. A regular oven or even a large Dutch oven are too large and will allow the steam to dissipate. This trapped steam keeps the crust soft (delays crust formation), which allows for maximum expansion and the largest, most open crumb possible.
- Removing the lid of the Dutch oven allows that steam to escape like releasing the steam on a professional bread oven. Once the steam dissipates, the crust will begin forming and you will get that nice thick, crusty, crunchy crust!
- This technique is not just for no-knead breads. You can use this same baking technique for any bread where you want a soft, chewy interior and crunchy crust. I use this same technique for my whole wheat sourdough bread, sourdough bread recipe for beginners, and even this peasant bread.
Ingredients & Substitutions
- All-Purpose Flour: I use all-purpose flour in this easy bread recipe but you could also take a page from my same day sourdough bread recipe and use bread flour to develop more gluten, faster. If you want to use whole wheat check out this no knead whole wheat bread!
- Sea Salt
- Active Dry Yeast: I include measurements for both active dry yeast and instant yeast in the recipe card below, but I recommend using active dry yeast. It has a slower, more consistent rise and will allow your bread enough time to develop a strong gluten network before attempting to shape it.
- Warm Water: I use tap water for my yeasted bread recipes but you can use filtered water if you want.
See the recipe card for full information on ingredients and quantities.
Possible Variations
- Add some flavorful mix-ins to the dough: Add fresh rosemary and garlic like in my rosemary garlic bread or go in a sweet direct with dried fruit and nuts like cinnamon raisin sourdough bread. Add chopped sun-dried tomatoes like this sun dried tomato bread or parmesan cheese like this tomato basil bread.
- Add a little substance: Add some whole grains and seeds like in this whole grain seeded bread or by substituting some whole wheat flour and adding multigrain hot cereal like in my multigrain bread. It will take a little experimentation but isn’t that what baking is all about?!
- Master this easy Dutch oven bread and then try a no knead sourdough bread! If you don’t already have an active starter, start with my sourdough starter recipe, then read all about how to feed sourdough starter and finally bake your very first loaf with my sourdough bread recipe for beginners!
How to Enjoy No Knead Dutch Oven Bread
- As the most versatile side dish. Dip this bread in soup like 13 bean minestrone, homemade tomato soup or healthy Italian wedding soup. Brush it with garlic butter and bake for easy garlic bread or serve it next to a salad to make a light lunch. Use it to soak up all the juicy goodness from sheet pan shakshuka or slow cooker Italian meatballs.
- Transform any sandwich into a filling meal! This easy bread makes fantastic grilled cheese, bacon turkey bravo, spicy Thai veggie sandwich, or open faced caprese sandwiches.
- Use leftovers in creative ways. Make croutons or make a panzanella like this Summer tomato panzanella salad. You can even make homemade bread crumbs.
Watch How to Make This Recipe
How to Make this No Knead Dutch Oven Bread Recipe
Use these instructions to make the easiest Dutch oven bread! Further details and measurements can be found in the recipe card below.
Step 1: In a large bowl, whisk flour, salt and yeast until well mixed. Pour in warm water and use a wooden spoon to stir until a shaggy dough forms. The mixture will be wet and very sticky to the touch.
Step 2: Cover bowl tightly with plastic wrap and set aside in a warm place 8 to 18 hours until dough rises, bubbles and flattens on top.


Step 3: Heat oven to 450°F. Once oven is preheated, place a 6-quart Dutch oven (with cover) in oven 30 minutes before baking. You can also preheat the Dutch oven with the oven.
Step 4: Generously flour a smooth work surface or counter. Turn out the dough onto the floured surface with floured hands or a bowl scraper.
There is no need to degas or punch down the dough because just the act of transferring it will do that for you and you won’t get all sticky. This will make shaping easier.
Step 5: Dust the top with more flour and working quickly, with floured hands, fold two sides in towards the center then flip over. Re-flour hands and gently shape the dough into a ball by rotating it with both of your hands and pulling it under itself.
It will not form as tight of a ball or have a smooth surface like a more developed dough such as whole wheat bread. That is expected and don’t try to force it or it will just get more and more sticky!
Step 6: Re-flour your hands and scoop up the dough and place it on a piece of parchment paper and sprinkle top lightly with flour. Top with a sheet of plastic wrap and let rest 30 minutes. Cut the parchment to be just a little larger than the bottom of your Dutch oven, as needed.
Step 7: Remove Dutch oven from oven. Uncover dough and carefully transfer to Dutch oven, with the parchment paper beneath. Place the lid on the Dutch oven and return it to oven.
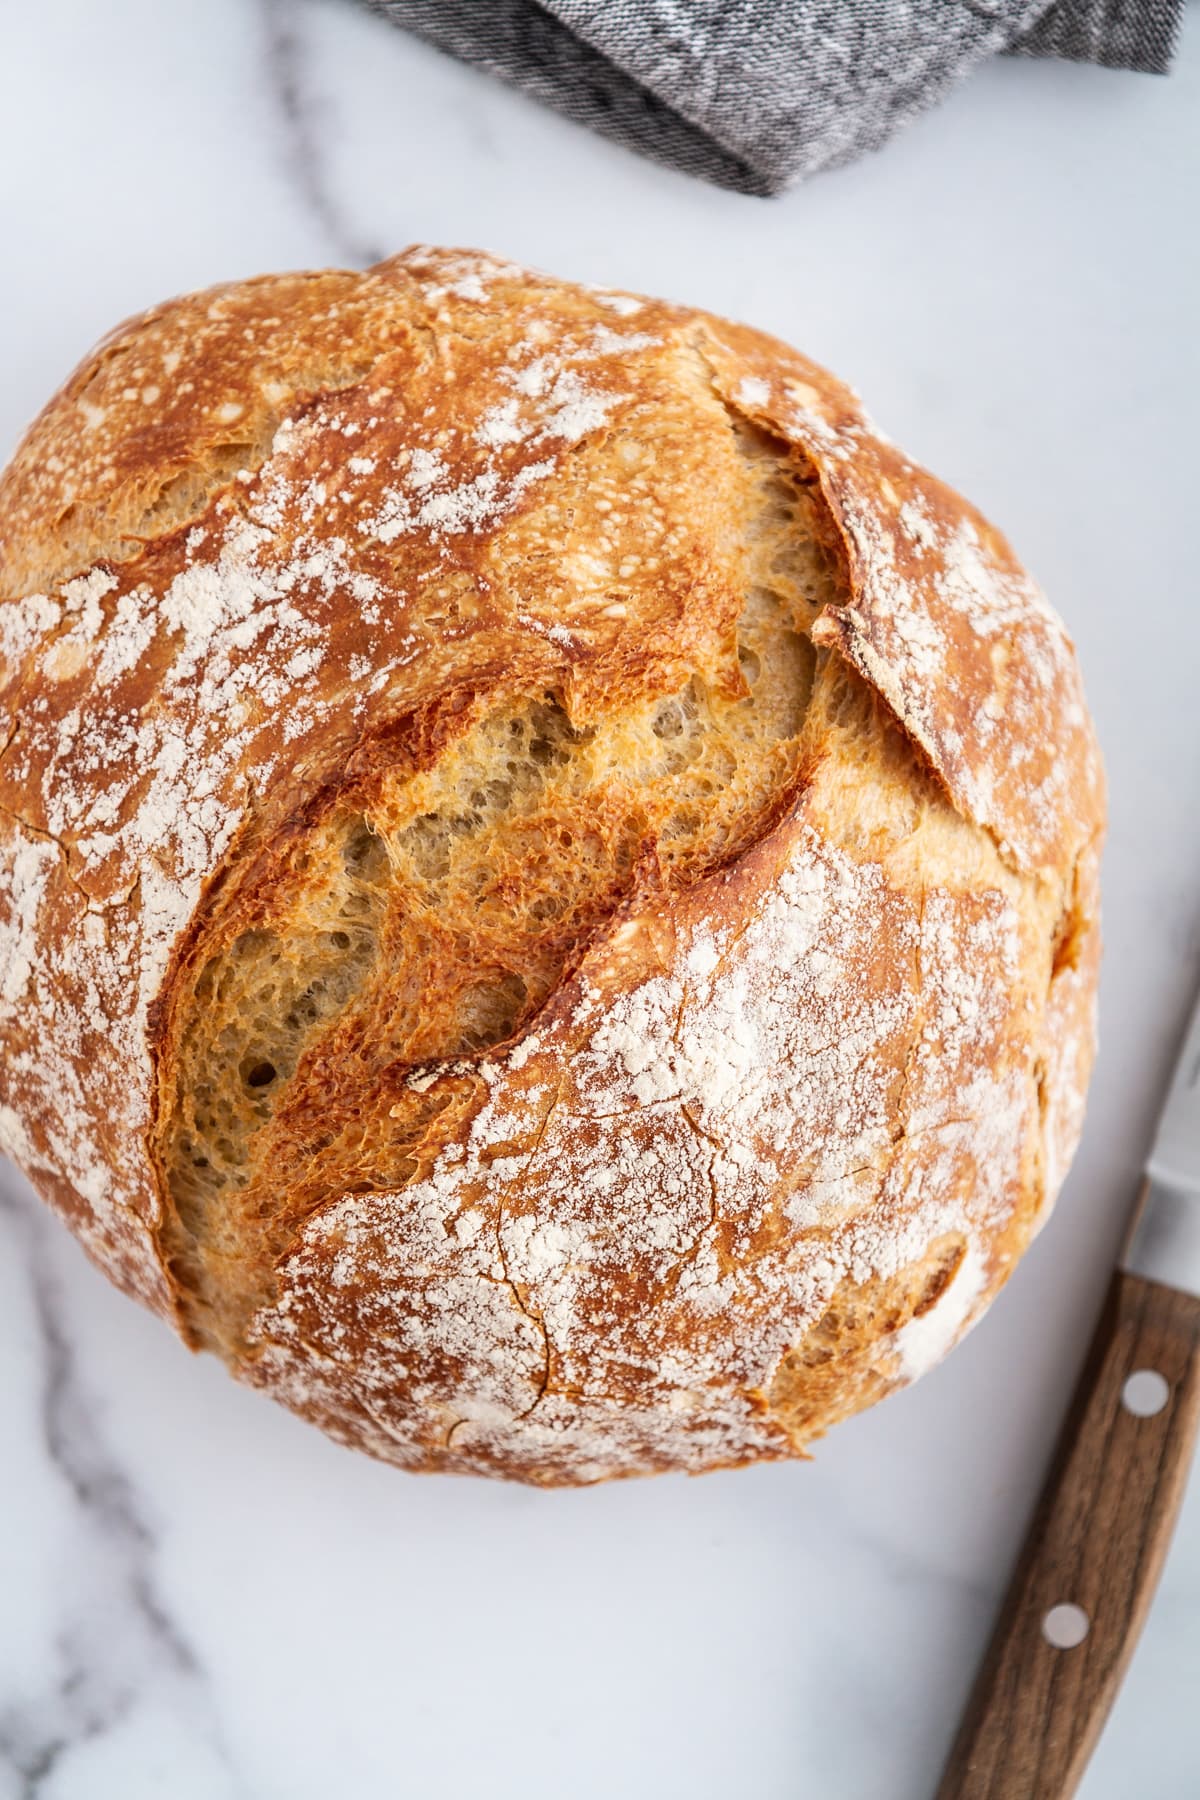
Step 8: Bake bread 45 minutes covered, then another 10 to 15 minutes uncovered until dough is baked through and golden brown on top. Cool completely before slicing, at least 1 hour.


Frequently Asked Questions
A Dutch oven is an enameled cast iron pot with a tight-fitting lid. You can use an uncoated cast iron pot but you will not want to skip the parchment paper. It will keep it from sticking.
To preserve the bread’s crunchy crust, you’ll need to store it at room temperature unwrapped either cut side down on a cutting board or in a bread box. You can store it in an airtight container at room temperature but it will lose the crispy crust almost immediately. Store at room temperature up to 5 days. It doesn’t keep as long as sourdough, so watch for signs of mold!
You can also store well wrapped in the freezer, however, I like to slice my bread before freezing so I don’t need to thaw the whole loaf at one time.
The best oven-spring, most open crumb and crusty crust will occur if baked in a Dutch oven or Challenger bread pan, but you can also preheat a baking sheet on the center rack and a large roasting pan on the bottom of the oven. When ready to bake, place the parchment paper with the scored loaf directly on the hot baking sheet and pour at least 2 quarts of hot water into the baking pan on the bottom. Close the door as quickly as possible. Release the steam after 30 minutes by opening the door.
If you haven’t sliced the loaf yet, but would like to rewarm it for serving, preheat an oven to 400° F. Place the loaf directly onto the oven rack and bake until heated through. It will take about 15-20 minutes. You can also toast a slice at a time. Reheating a partially sliced loaf will dry it out on one side.
No knead bread and bread baked in a Dutch oven are two separate techniques that sometimes overlap! This bread recipe happens to be a no knead bread that is baked in a Dutch oven to get the most open crumb and crusty crust! You can bake any lean dough in a Dutch oven to achieve that ideal crusty crust. I bake all sourdough bread recipes using this technique.
If you enjoyed this recipe, please leave a star rating and let me know how it goes in the comments below! I love hearing from you and your comments make my day!
No-Knead Dutch Oven Bread
Ingredients
- 3 cups all-purpose flour, plus more for shaping
- 2 teaspoons sea salt
- 1 teaspoon active dry yeast , OR ¾ teaspoon instant yeast
- 1 ½ cups warm water, about 110 to 115°F
Instructions
- In a large bowl, whisk flour, salt and yeast until well mixed. Pour in warm water and use a wooden spoon to stir until a shaggy dough forms. The mixture will be wet and very sticky to the touch.
- Cover bowl tightly with plastic wrap and set aside in a warm place 8 to 18 hours until dough rises, bubbles and flattens on top.
- Heat oven to 450°F. Once oven is preheated, place a 6-quart Dutch oven (with cover) in oven 30 minutes before baking. You can also preheat the Dutch oven with the oven.
- Generously flour a smooth work surface. Turn out the dough onto the floured surface with floured hands or a bowl scraper.
- Dust the top with more flour and working quickly, with floured hands, fold two sides in towards the center then flip over. Re-flour hands and gently shape the dough into a ball by rotating it with both of your hands and pulling it under itself.
- Re-flour your hands and scoop up the dough and place it on a piece of parchment paper and sprinkle top lightly with flour. Top with a sheet of plastic wrap and let rest 30 minutes. Cut the parchment to be just a little larger than the bottom of your Dutch oven, as needed.
- Remove the hot Dutch oven from oven. Uncover dough and carefully transfer to Dutch oven, with the parchment paper beneath. Place the lid on the Dutch oven and return it to oven.
- Bake bread 45 minutes covered, then another 10 to 15 minutes uncovered until dough is baked through and golden brown on top. Cool completely before slicing, at least 1 hour.
Video
Notes
Nutrition
Nutrition information is automatically calculated, so should only be used as an approximation.
 Like this recipe? Rate & comment below!
Before You Go
I hope you enjoyed this easy bread recipe. Explore our lunch and dinner recipes for ways to use this delicious and easy bread!





Thanks for the recipe! Made it today, while on furlough from the federal govt. It is amazing and I cant believe I made bread!! #furloughbreadbaking
Great recipe, makes an impressive loaf even if you don’t have mad bread baking skills! Thank you, Stephanie for sharing this recipe. We had a need in my house recently for bread to use for dipping so I cut up this loaf and it was gone in a flash. Everyone was impressed that it was homemade. ??
Have made this bread now 3 times, with overall success! However, some people might be put off by how wet this dough can seem to be when ready to form into a loaf. I sprinkled mine generously with flour after the 8+ hours rise and used a spatula plus added flour as I scraped and gathered it from the sides of the mixing bowl. I tried not to over handle the dough since the more you do, the messier it can get. Another reader commented on putting the parchment lined “loaf” into a large bowl as it rises the second time. I think that’s a good idea too because you won’t have a “spreading” issue. Whether it actually shapes into a ball-like loaf or not won’t affect the end result because it is put into the preheated dutch oven, (parchment paper and all) which will curve it into a loaf. As I read somewhere, even a not quite perfect loaf will taste deliciously better than none! Hope this helps others.
I baked this with my 12 year old daughter. Not only a fun lesson in homemade bread but a successful one as well. I did the prep before bed and baked it the next morning. Fresh bread for lunch and a house that smelled yummy as well. The bread was fully cooked at the 45 minutes and came out picture perfect. Thanks for the recipe!
My Lodge brand Dutch oven says not to heat it empty. Any suggestions or comments?
Joseph, I’m not entirely sure why the Dutch oven has that recommendation, but I would say in the case of this recipe it should be fine to heat it empty for the amount of time that is called for in the recipe. Hope that helps!
My Dutch oven has a temperature limit of 400 degrees. Can I do this recipe at that temp and just bake a little longer?
You could try, but you may not end up with the same results in terms of height and crust.
Can you double or triple the recipe? If so, how long is the baking time?
I would not recommend doubling or tripling the recipe in one Dutch oven. This recipe is ideal to fit in one Dutch oven, so if you increase the recipe yield, it’s best to bake one loaf at a time.
I’ve made this bread several times and I love it, but for some reason my bread is extremely burnt at the bottom every time. It’s so black and burnt that we have to cut off the bottom. I’m really not sure what to do. It’s a new oven, not sure if this has anything to do with it. I’ve made it with and without parchment paper. Any recommendations??
Becky, that is strange! My best guess is that it’s either the type of Dutch oven you’re using or the length of time you’re leaving it to bake in the oven. Do you use a ceramic Dutch oven or stainless steel? I would suggest a heavy-bottomed Dutch oven so there’s enough of a barrier to avoid the burning.
I had the same problem, Becky, so I put a round, stainless steel trivet (with parchment) under the dough, lifting it ’bout 1/2″ off the enamel — the crust on the bottom comes out perfect!
Any thoughts on what would happen if I added a tablespoon or two of honey to the dough?
Hi, I wouldn’t recommend it because it will add moisture to the dough that might affect the overall outcome, even with a small amount.
I made this today and it is my first attempt at baking bread. It turned out great! So delicious. I will use this recipe over and over. Thanks!!